We’re at the halfway point of the One Room Challenge, and I’m sharing a post that I desperately search for but couldn’t find: How to Remove a Backsplash and Prep the Walls for New Tiles!
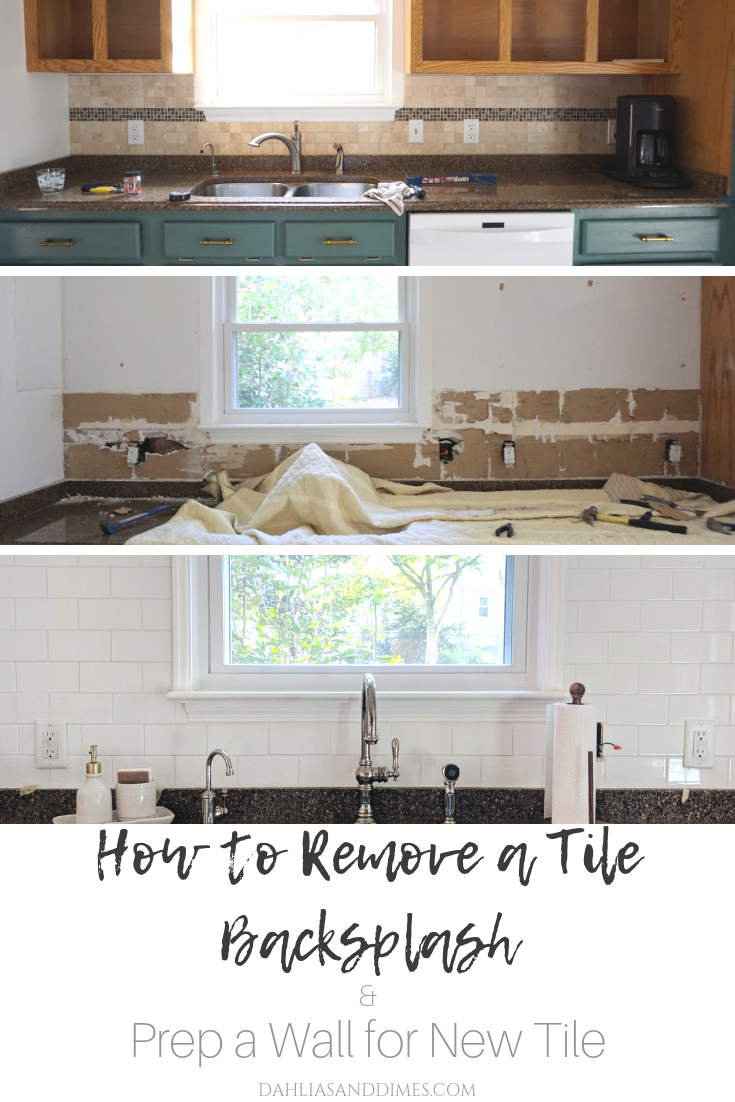
One of my most popular posts of all time is about how to install a subway tile backsplash. You can find the posts here: Part 1 and Part 2. It was our first time laying tile, and I was pleasantly surprised that it only took two days. However, we were working with a clean, level wall with no major issues or previous tiles. This time around was a bit different. We were faced with two walls of small, beige tiles to remove with hopefully as little damage as possible before installing our new white subway tile backsplash. In this post, I’ll show you exactly how we removed the old tile and repaired the wall damage properly for new tile.
(Disclaimer: Some links are affiliated for you ease of shopping.)
Tools Needed for Removal
Hammer // Scraping Tool/Chisel // Safety Glasses + Gloves // Bucket
Tools Needed for Repair and Prep
Drywall Patch (optional) // Drywall Panel (optional) // Easy Sand Joint Compound // Mud Pan // Drywall Saw // Drywall Taping Knife // Drywall Tape // Spackling // Sanding Block // Safety Glasses + Respirator Mask
Reference Videos Mentioned
How to Patch and Repair Drywall
How to Fix Damaged Drywall Paper
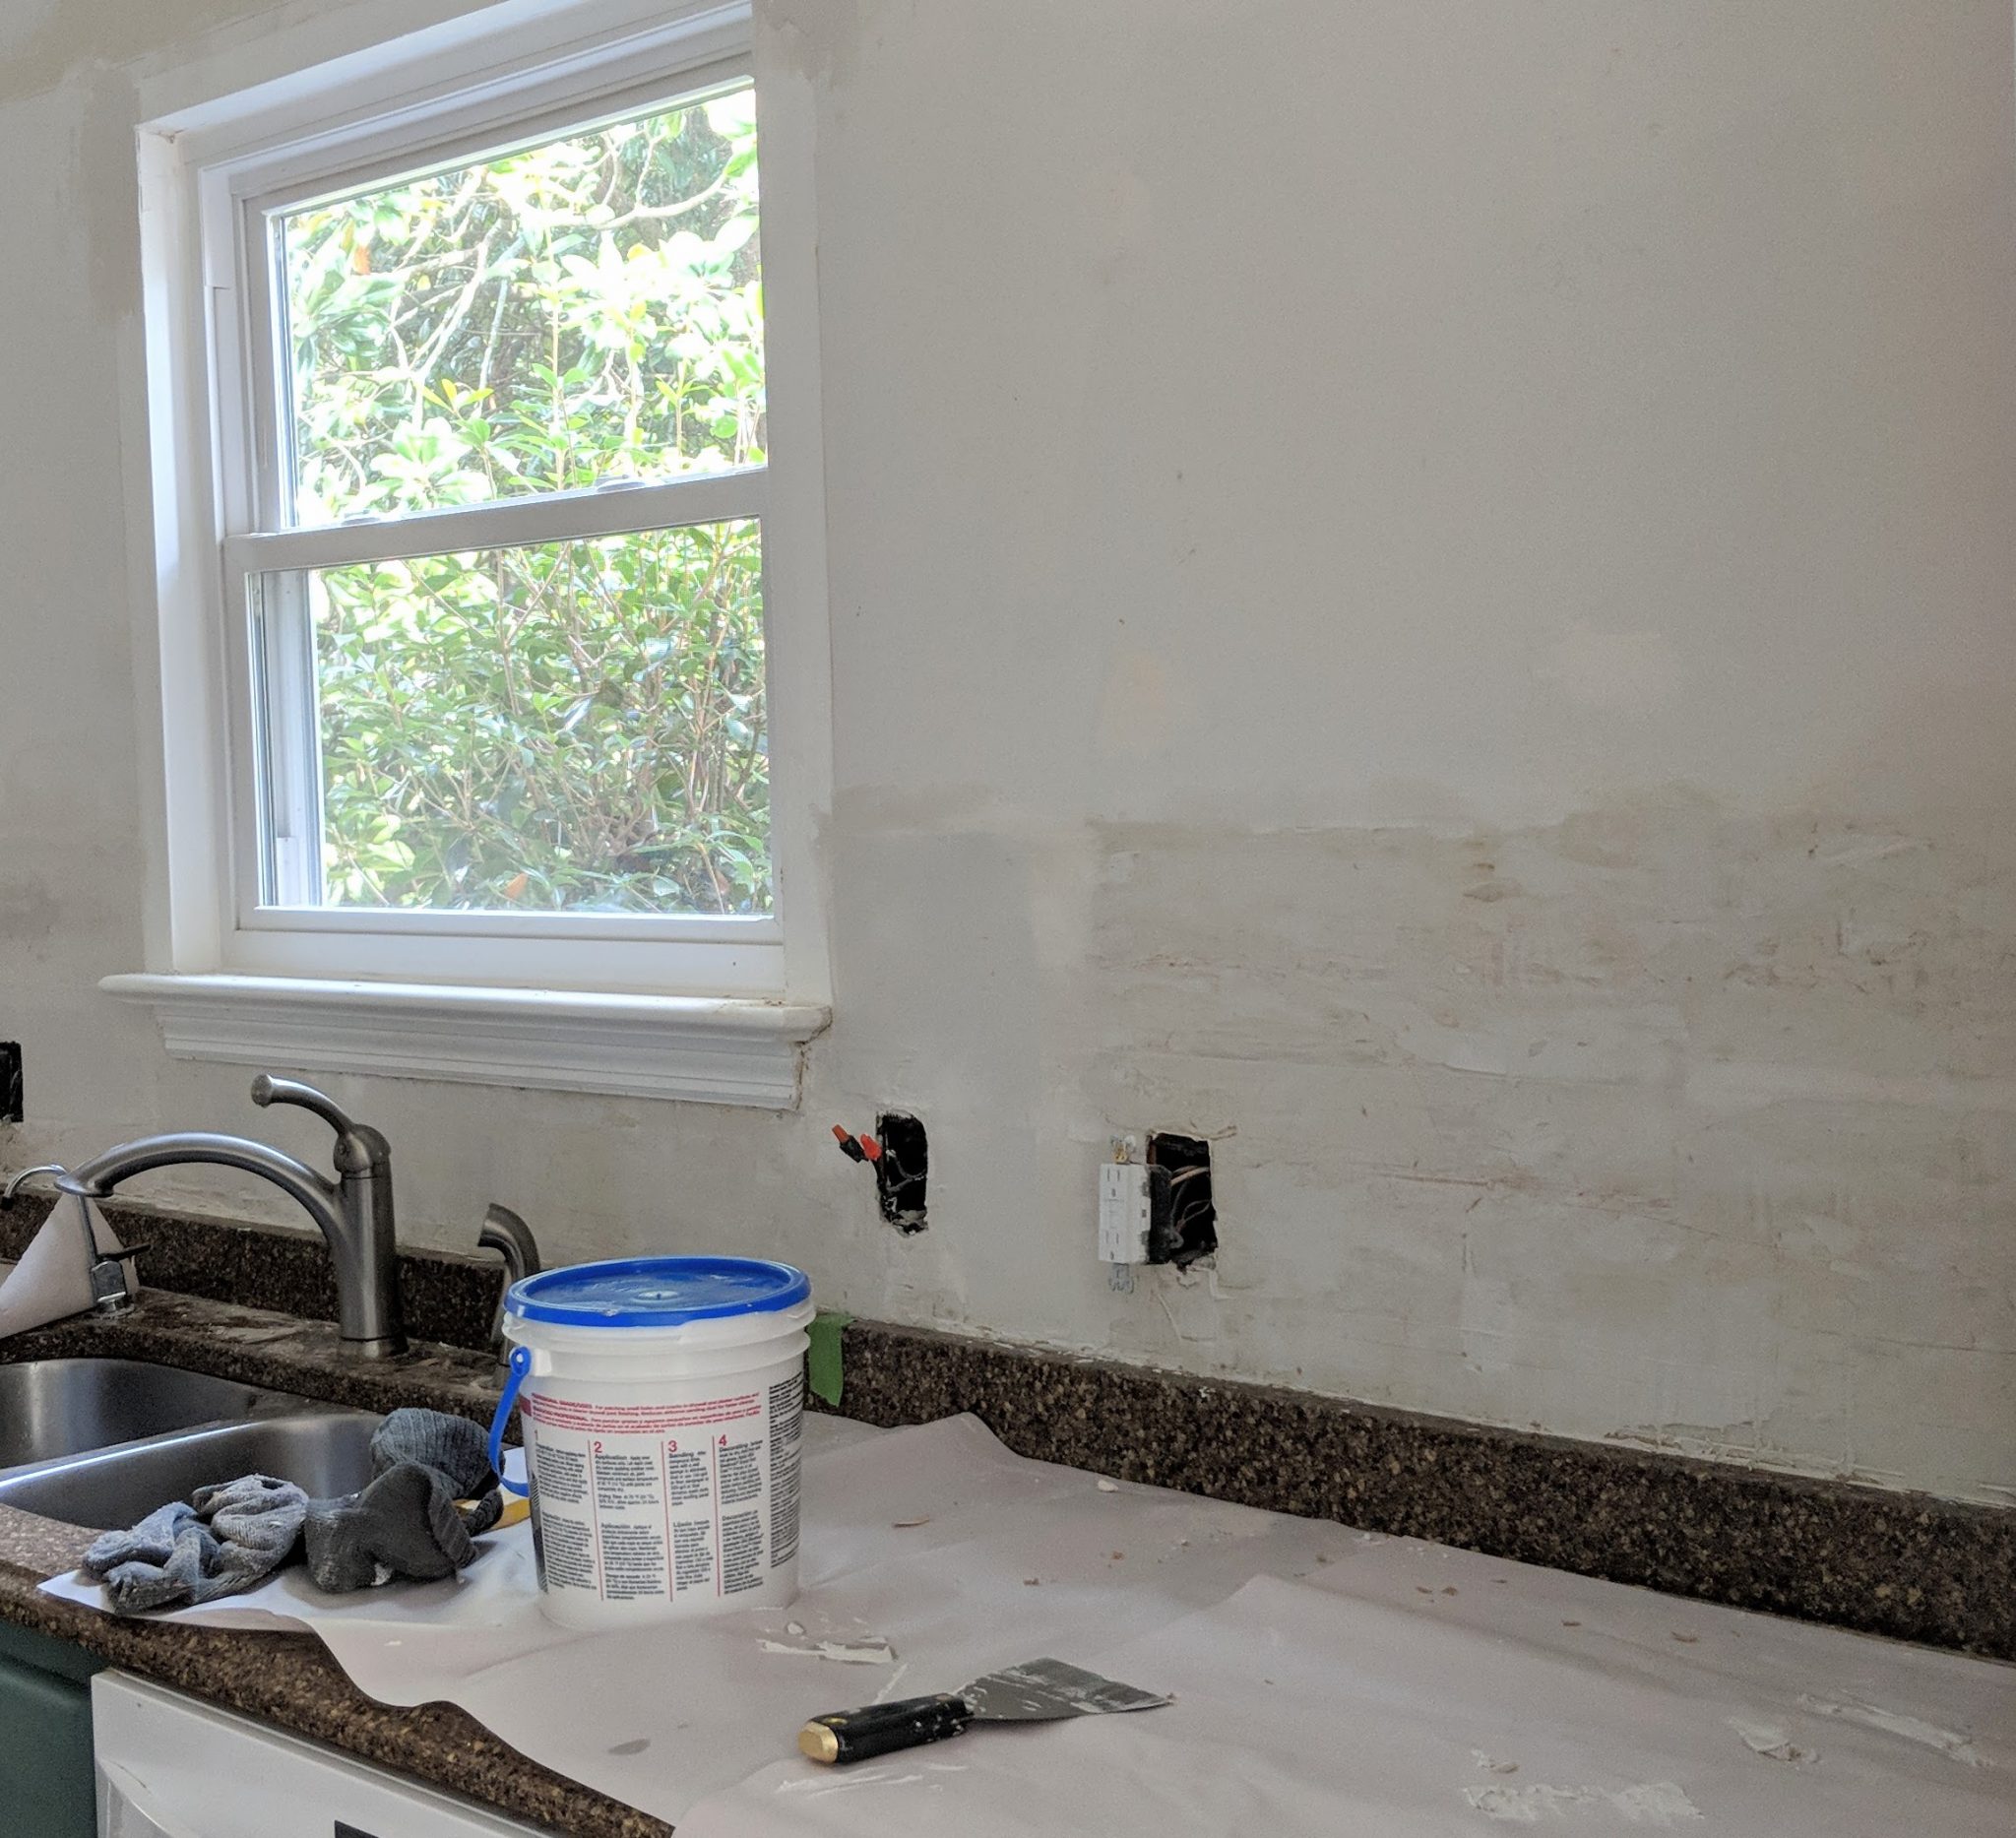
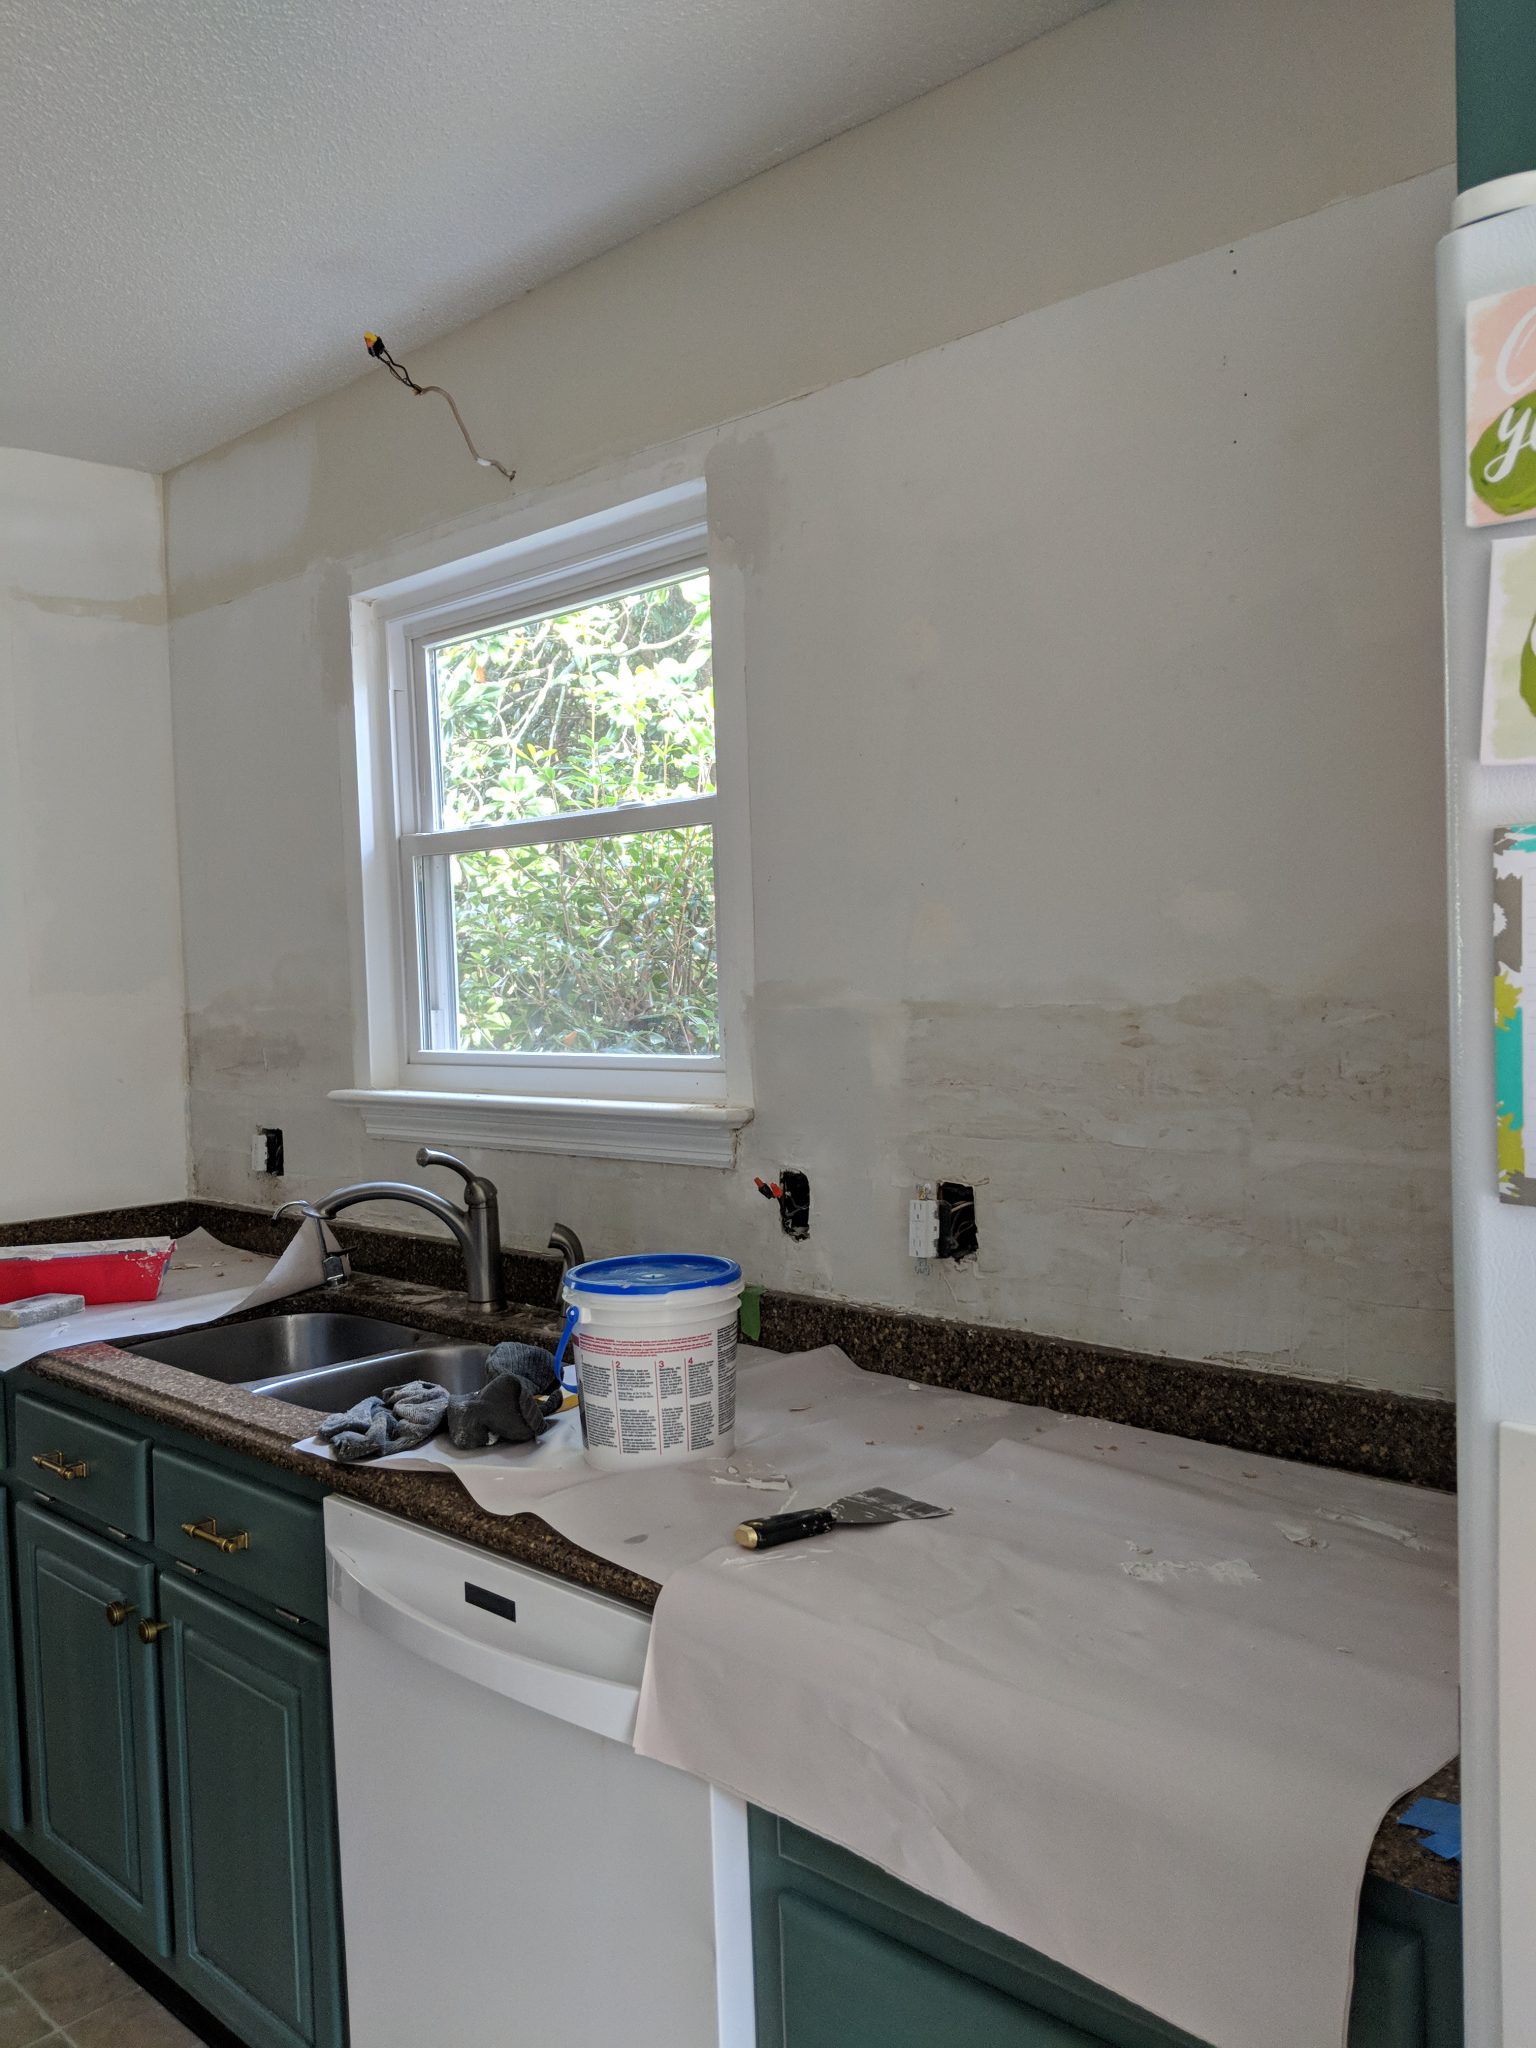
Step 1 // Protect + Prepare Your Surfaces
You’ll want to begin with placing a protective barrier over your countertops if you will be keeping them. This is a messy job!
Most importantly, turn off the power to the outlets and remove outlet covers! You will be hammering and chiseling away all around the outlets, so you need to protect yourself and your home by switching off the power.
Prepare for the job by having a large bucket for tiles, and have your tools ready and safety gear on. I’ll repeat, it’s a messy job!
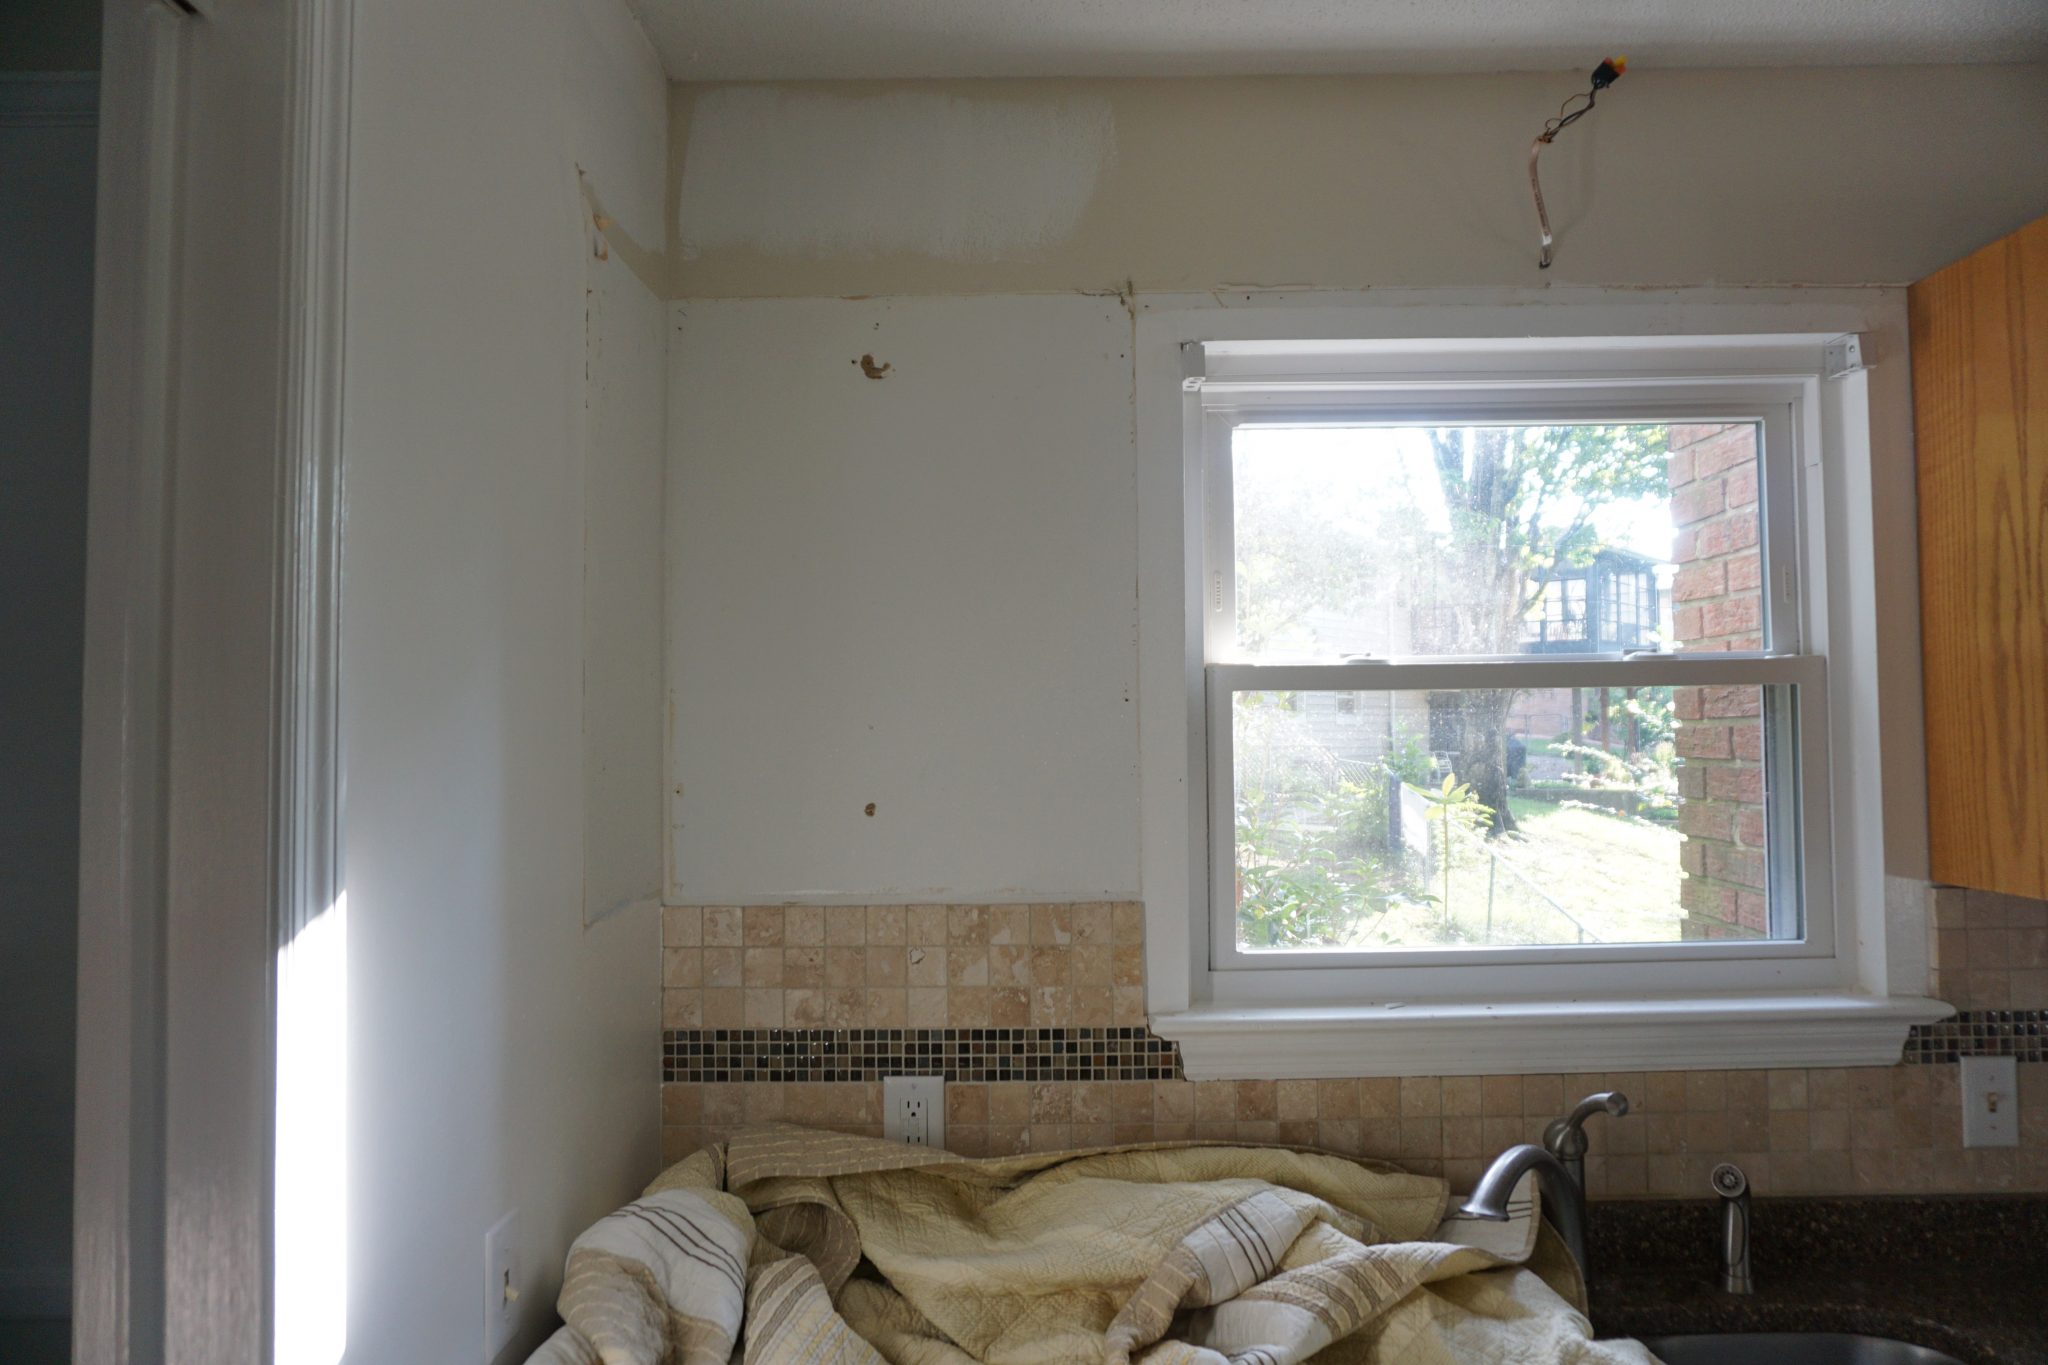
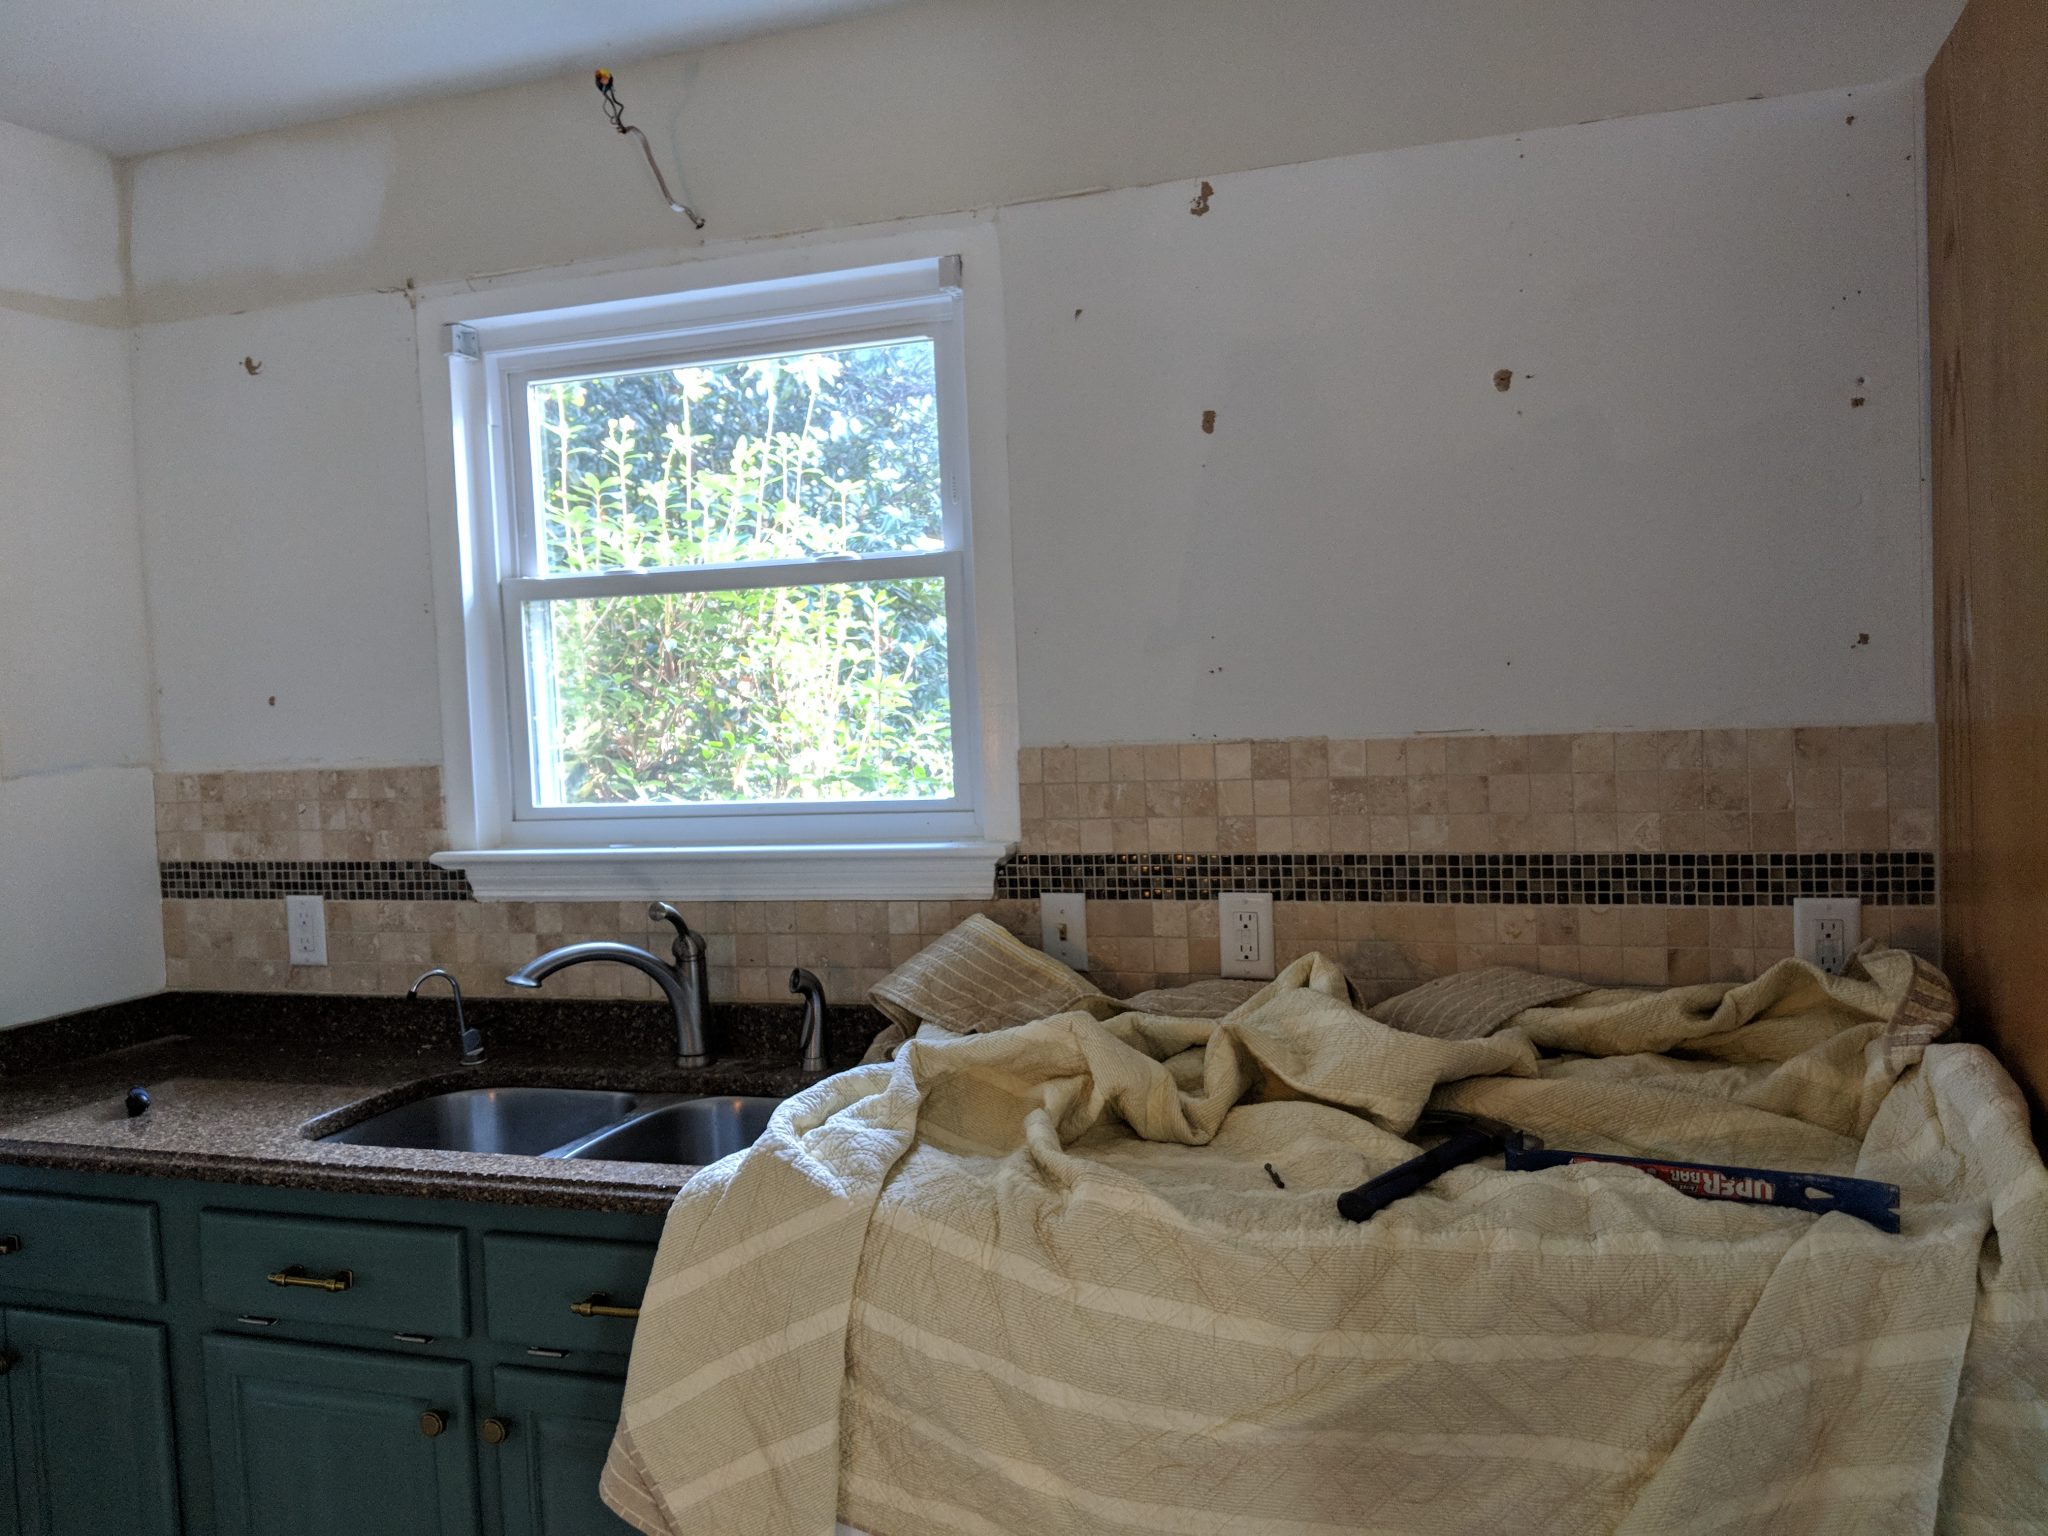
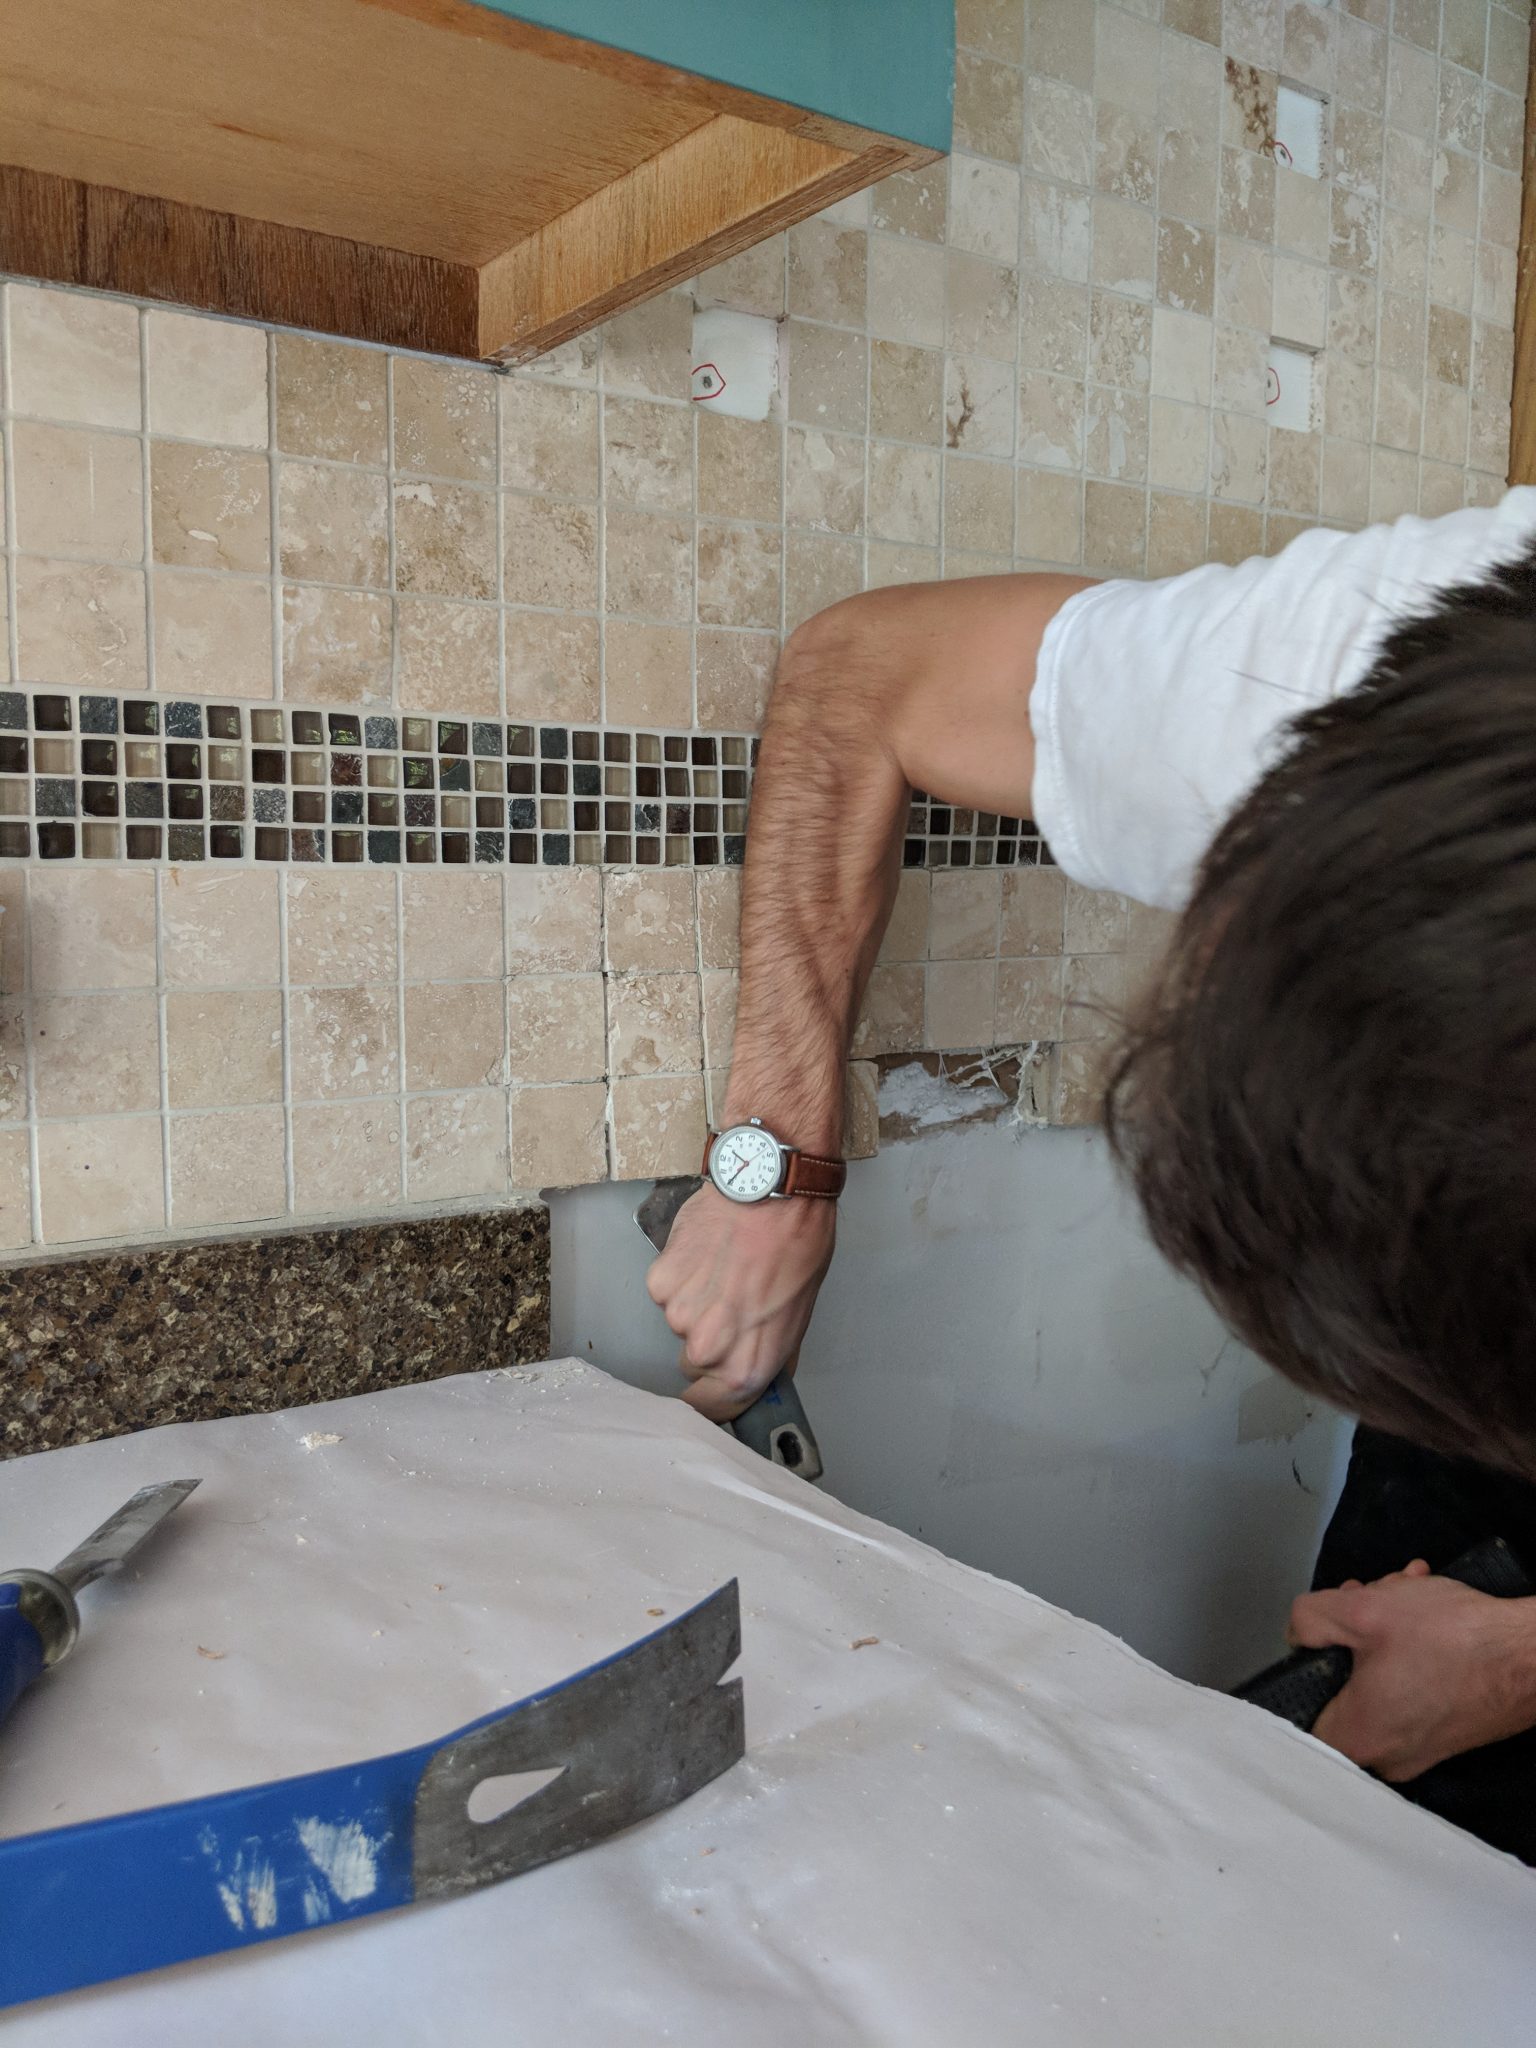
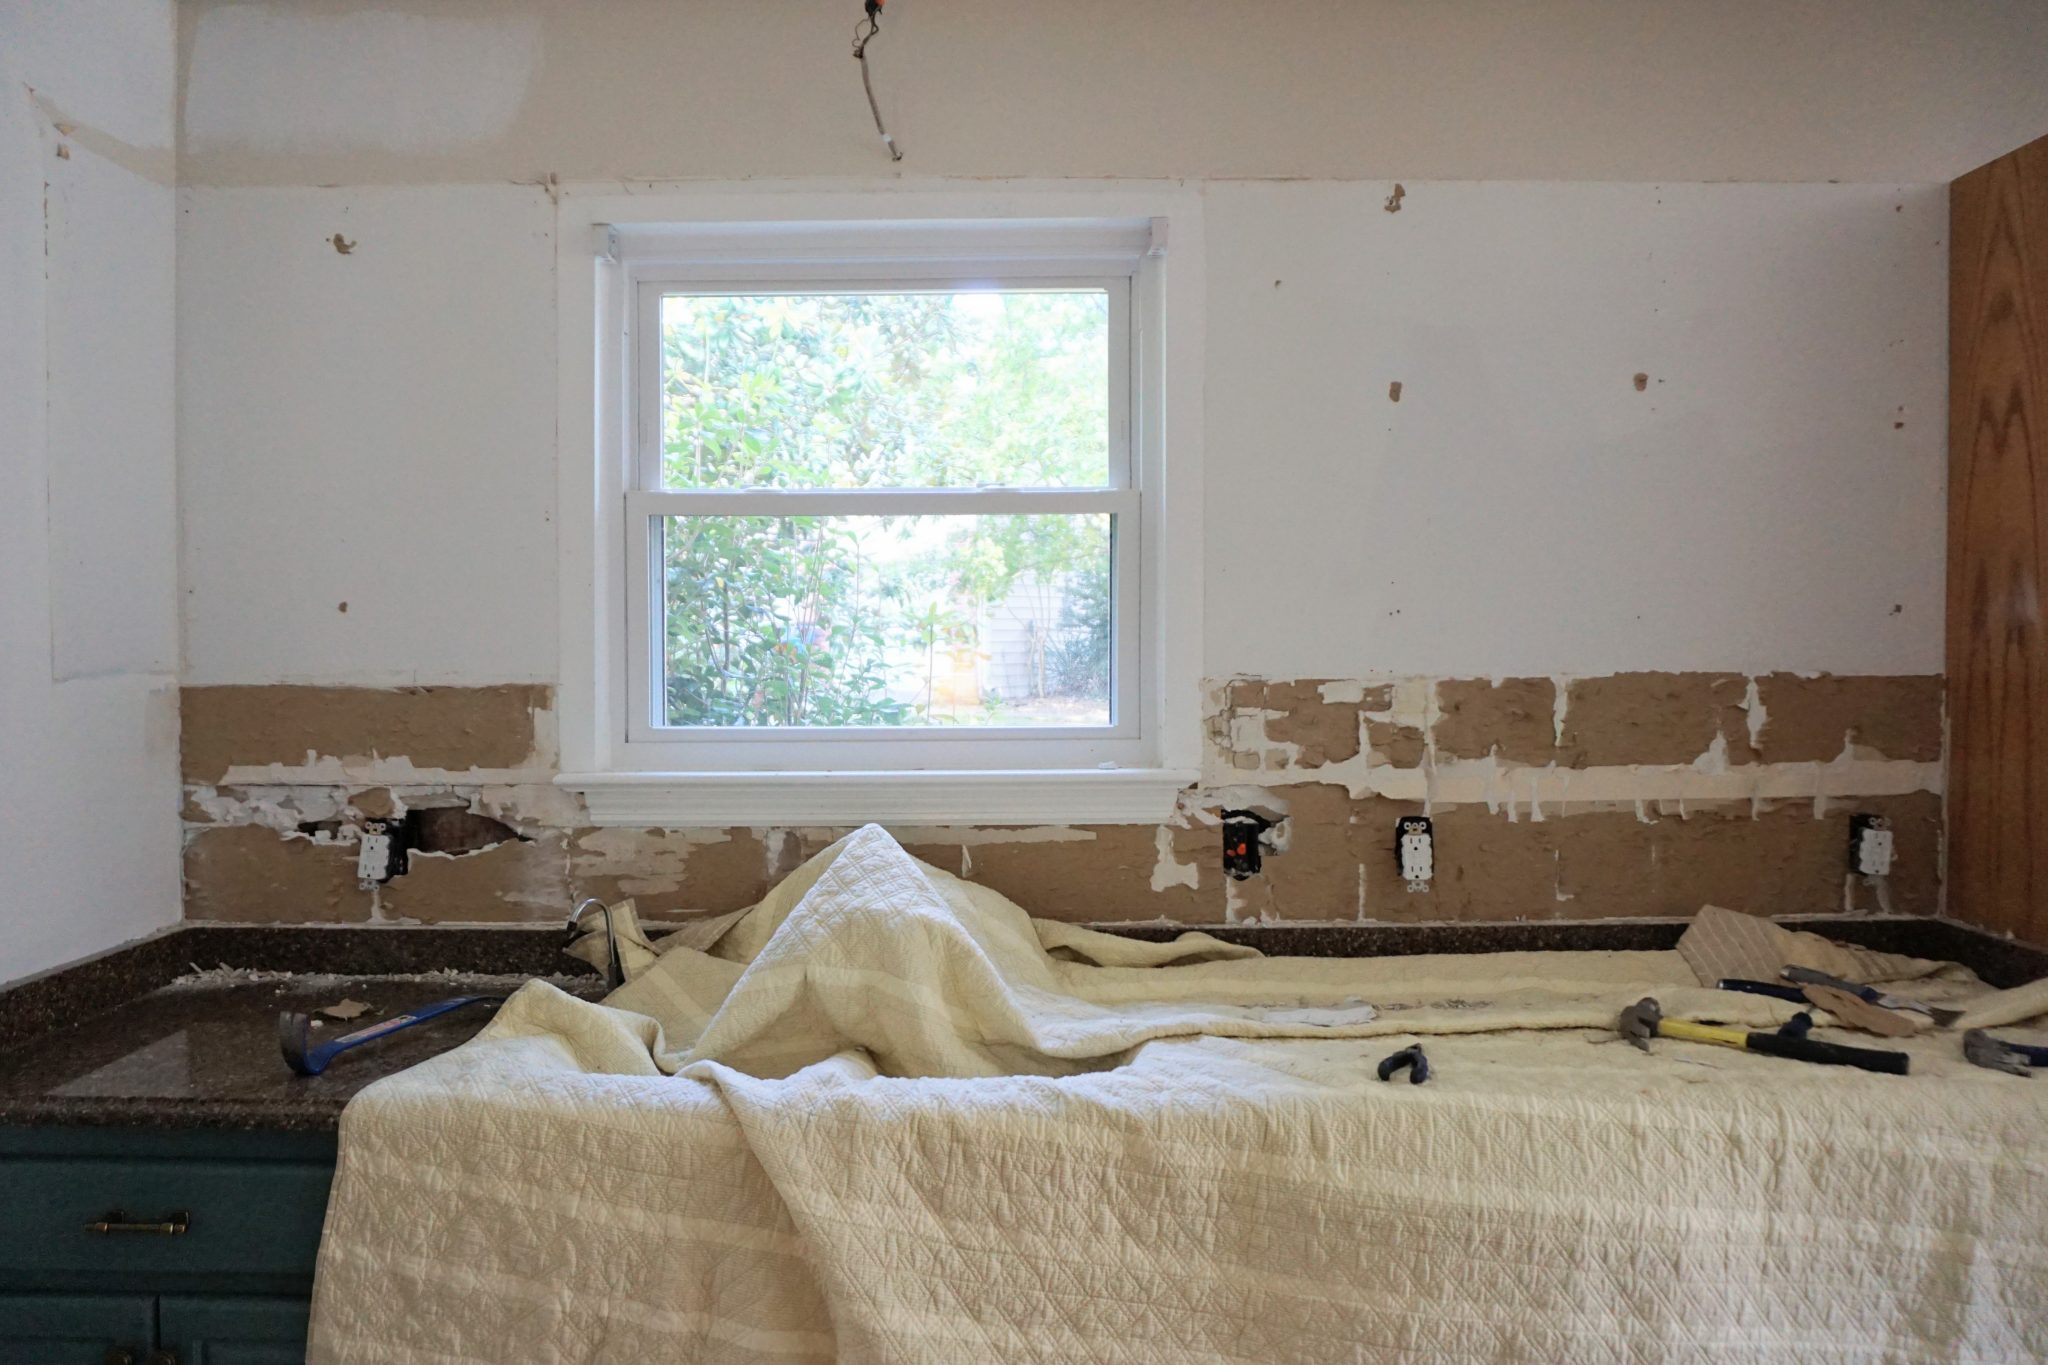
Step 2 // Chisel Away with Patience
Taking a hammer and chisel or scraping tool, chip away at the existing grout. Once you can get your chisel under the tile, hold it as flat as you can against the wall under the tile but avoiding the drywall. You will then gently tap the end of the chisel to loosen the tile away from the wall. The tile may come off in sections or piece by piece. Pull the tile away from the wall while trying to avoid pulling the drywall with it.
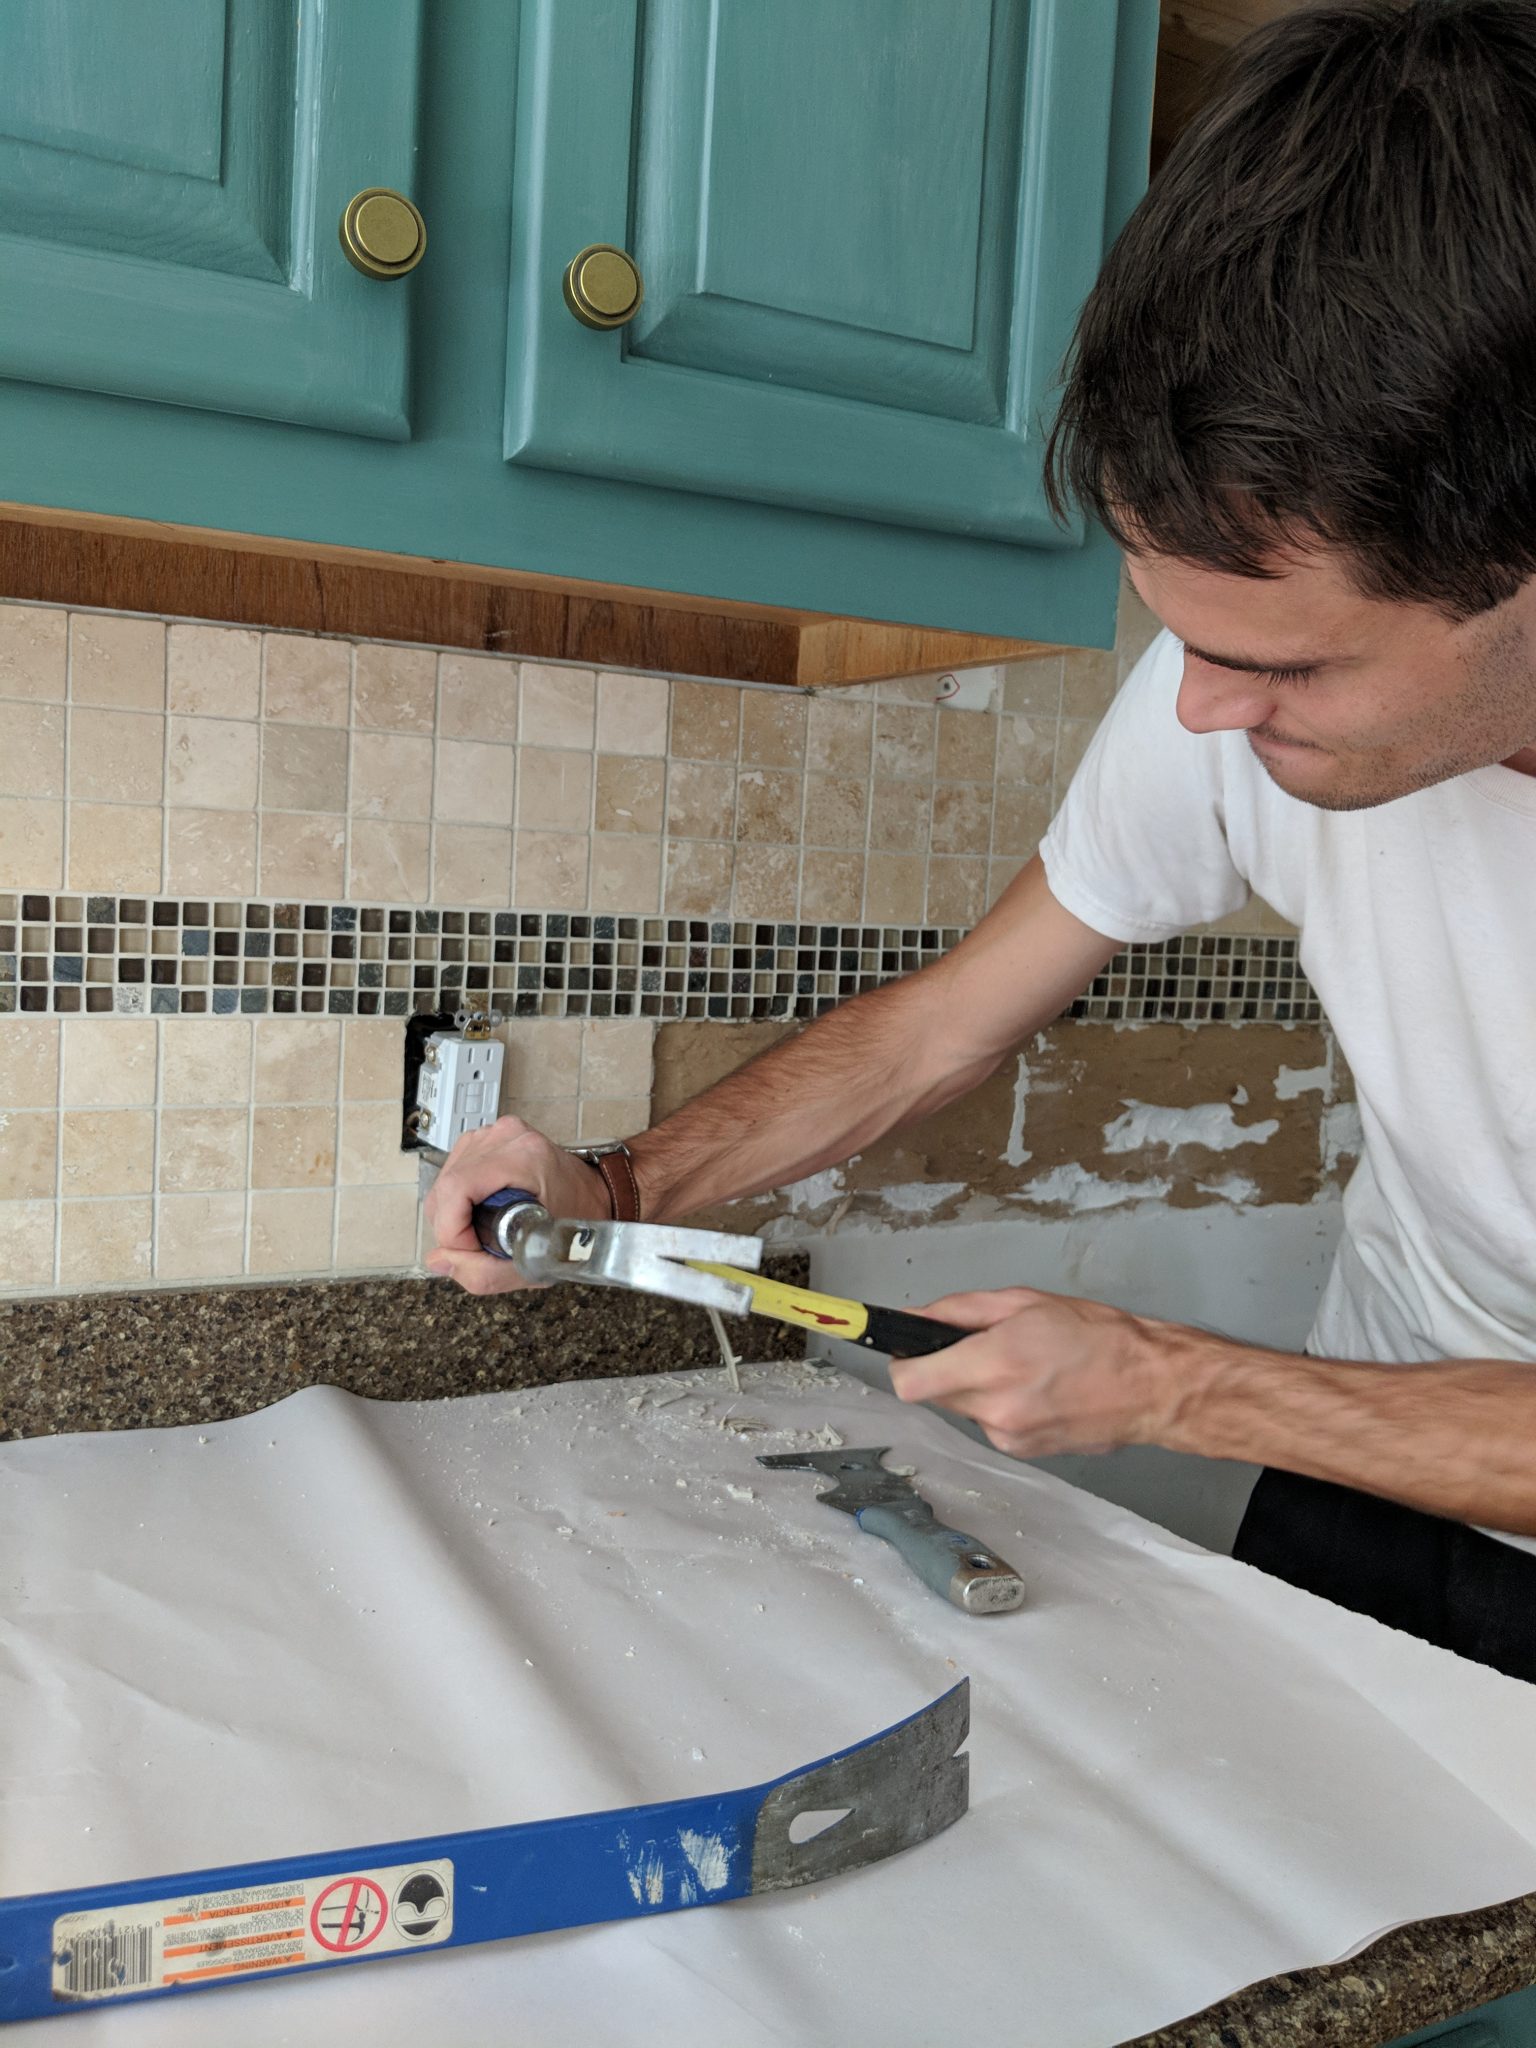
Tips: To loosen stubborn mortor, hit the tile in several places with a hammer before chiseling. Also, if you find that drywall is coming off with a section of tile, try removing it from another side and getting your chisel or scraping tool directly behind the tile and away from the drywall.

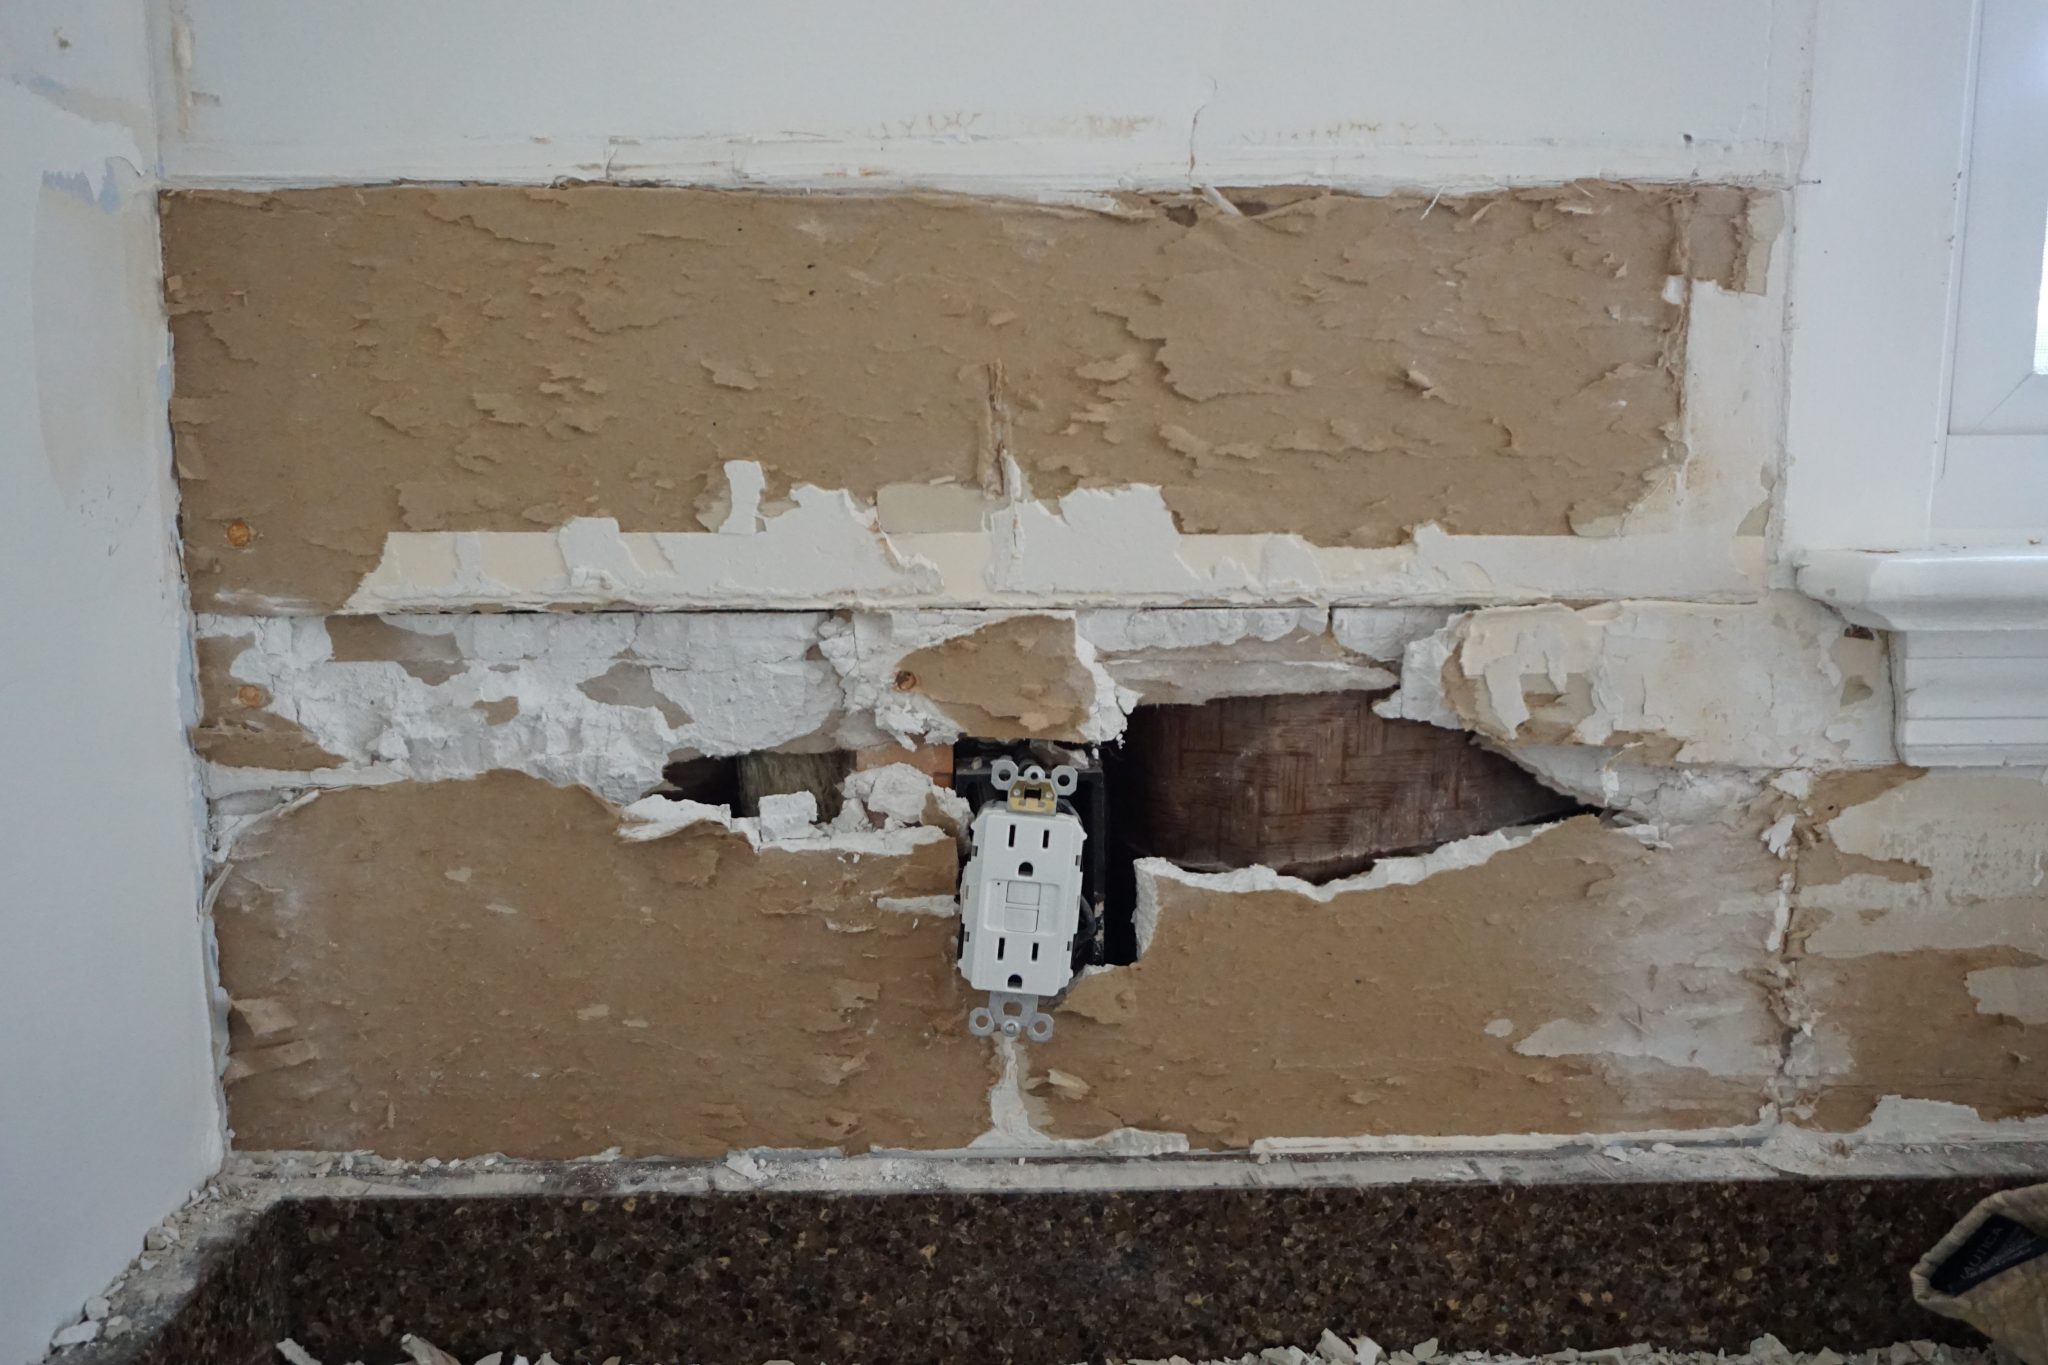
This is the part where my husband gently offered to finish the job. I wanted the tile down quickly, and that resulted in a massive hole in the wall that needed a new piece of drywall. As I was watching him work, you quickly got the hang of how the tiles came down. This is definitely a learn as you go job, so start in a small, unnoticeable area to practice.
Step 3 // Patch and Repair Walls
Any hole 6-8″ or less can be repaired using a patch kit. Anything larger will probably need a piece of drywall. You can purchase 2’x2′ drywall panels at Home Depot. I watched this video to patch our large hole with drywall. Any smaller hole can be repaired with a patch or simply with spackle.
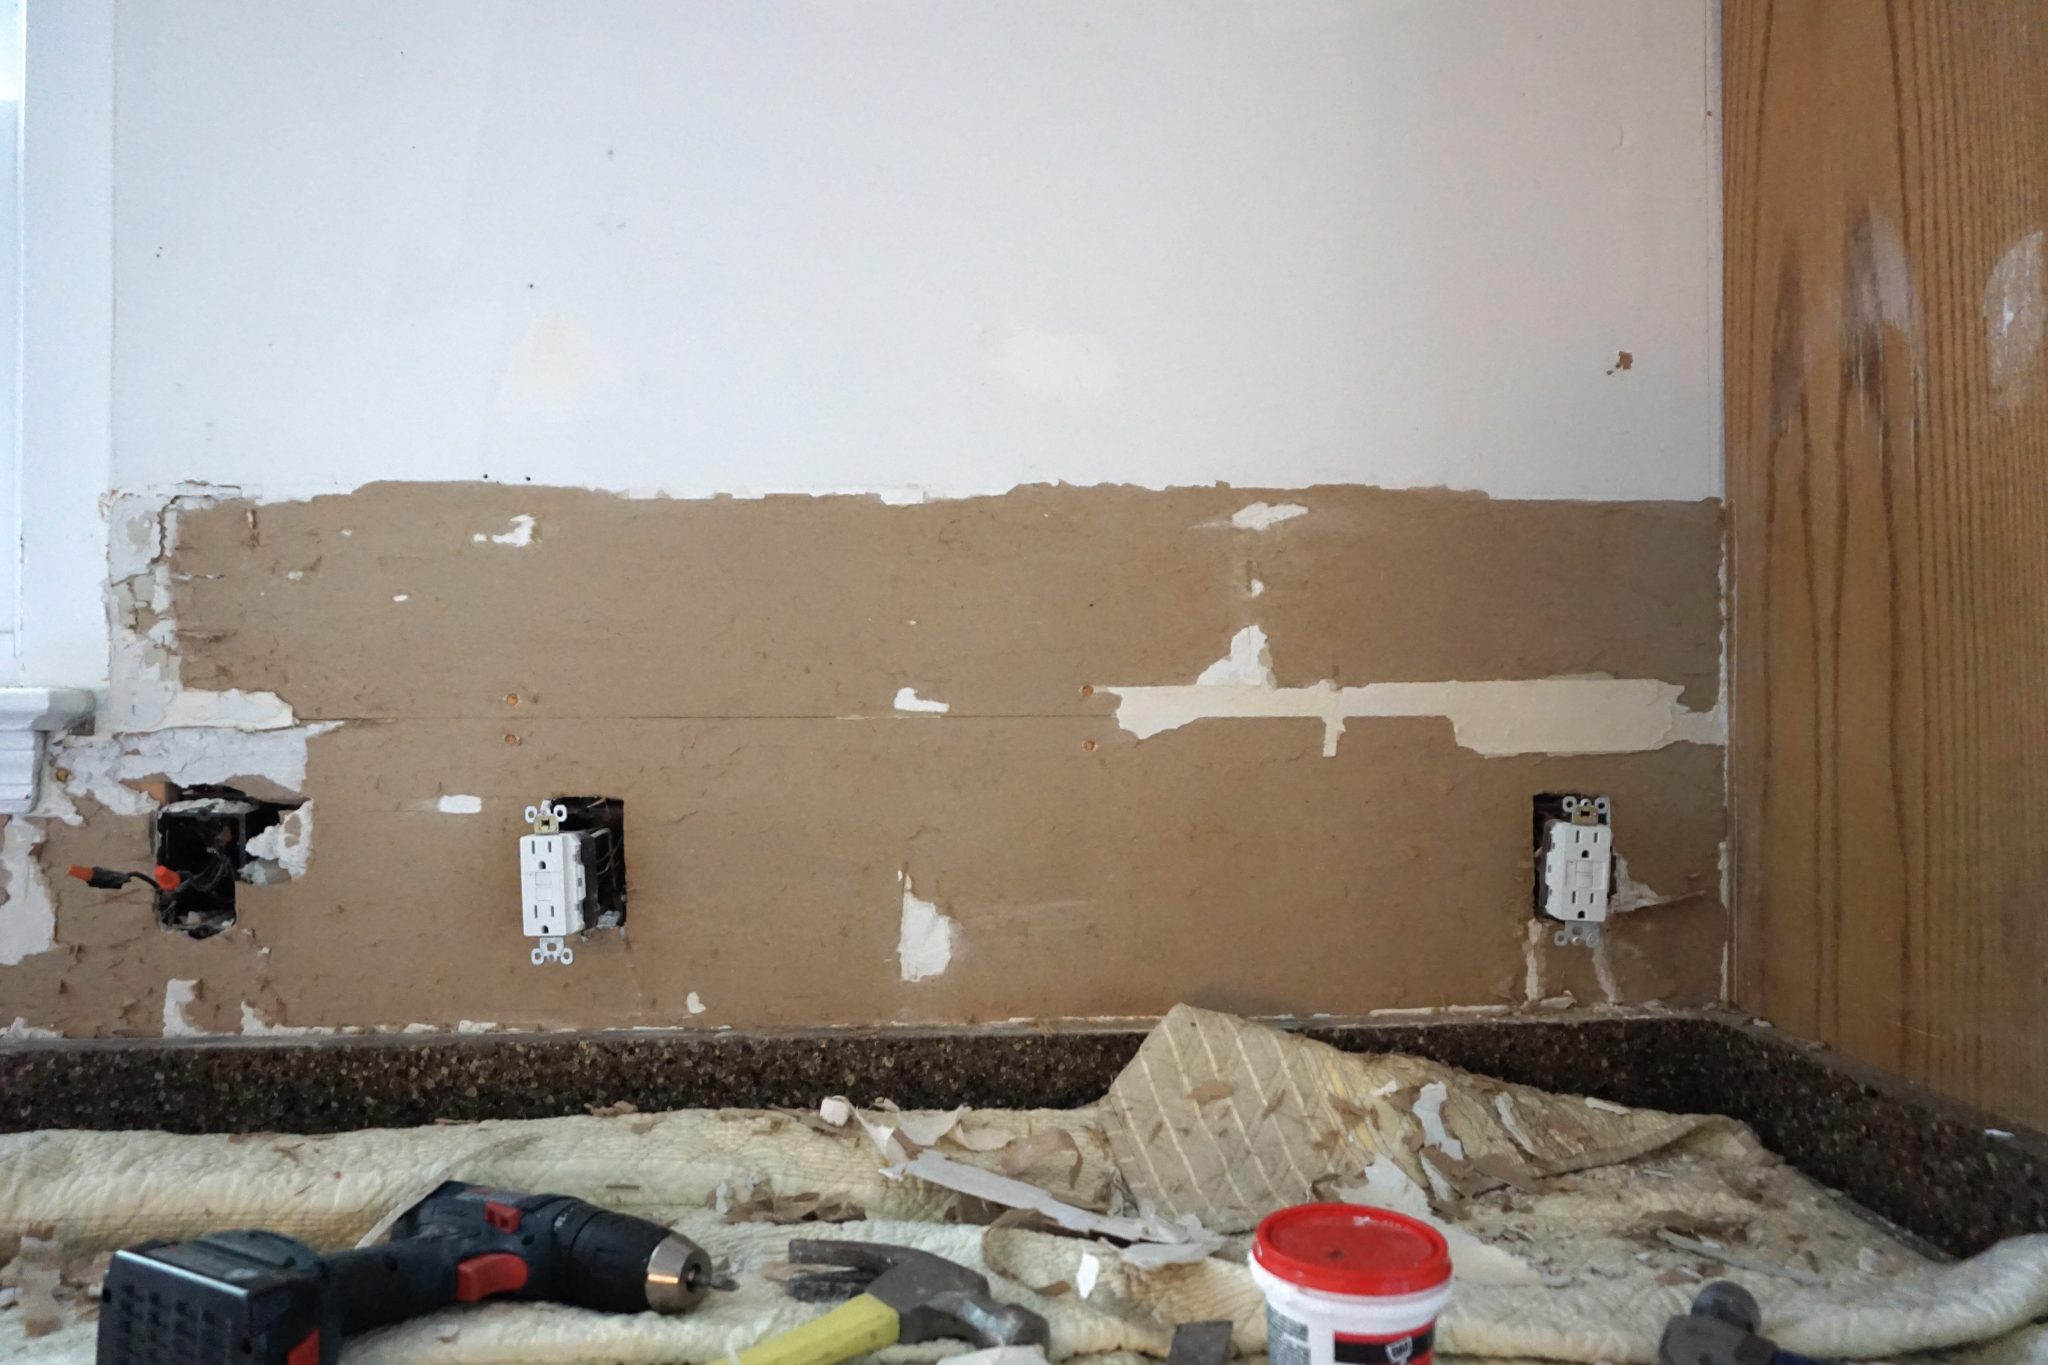
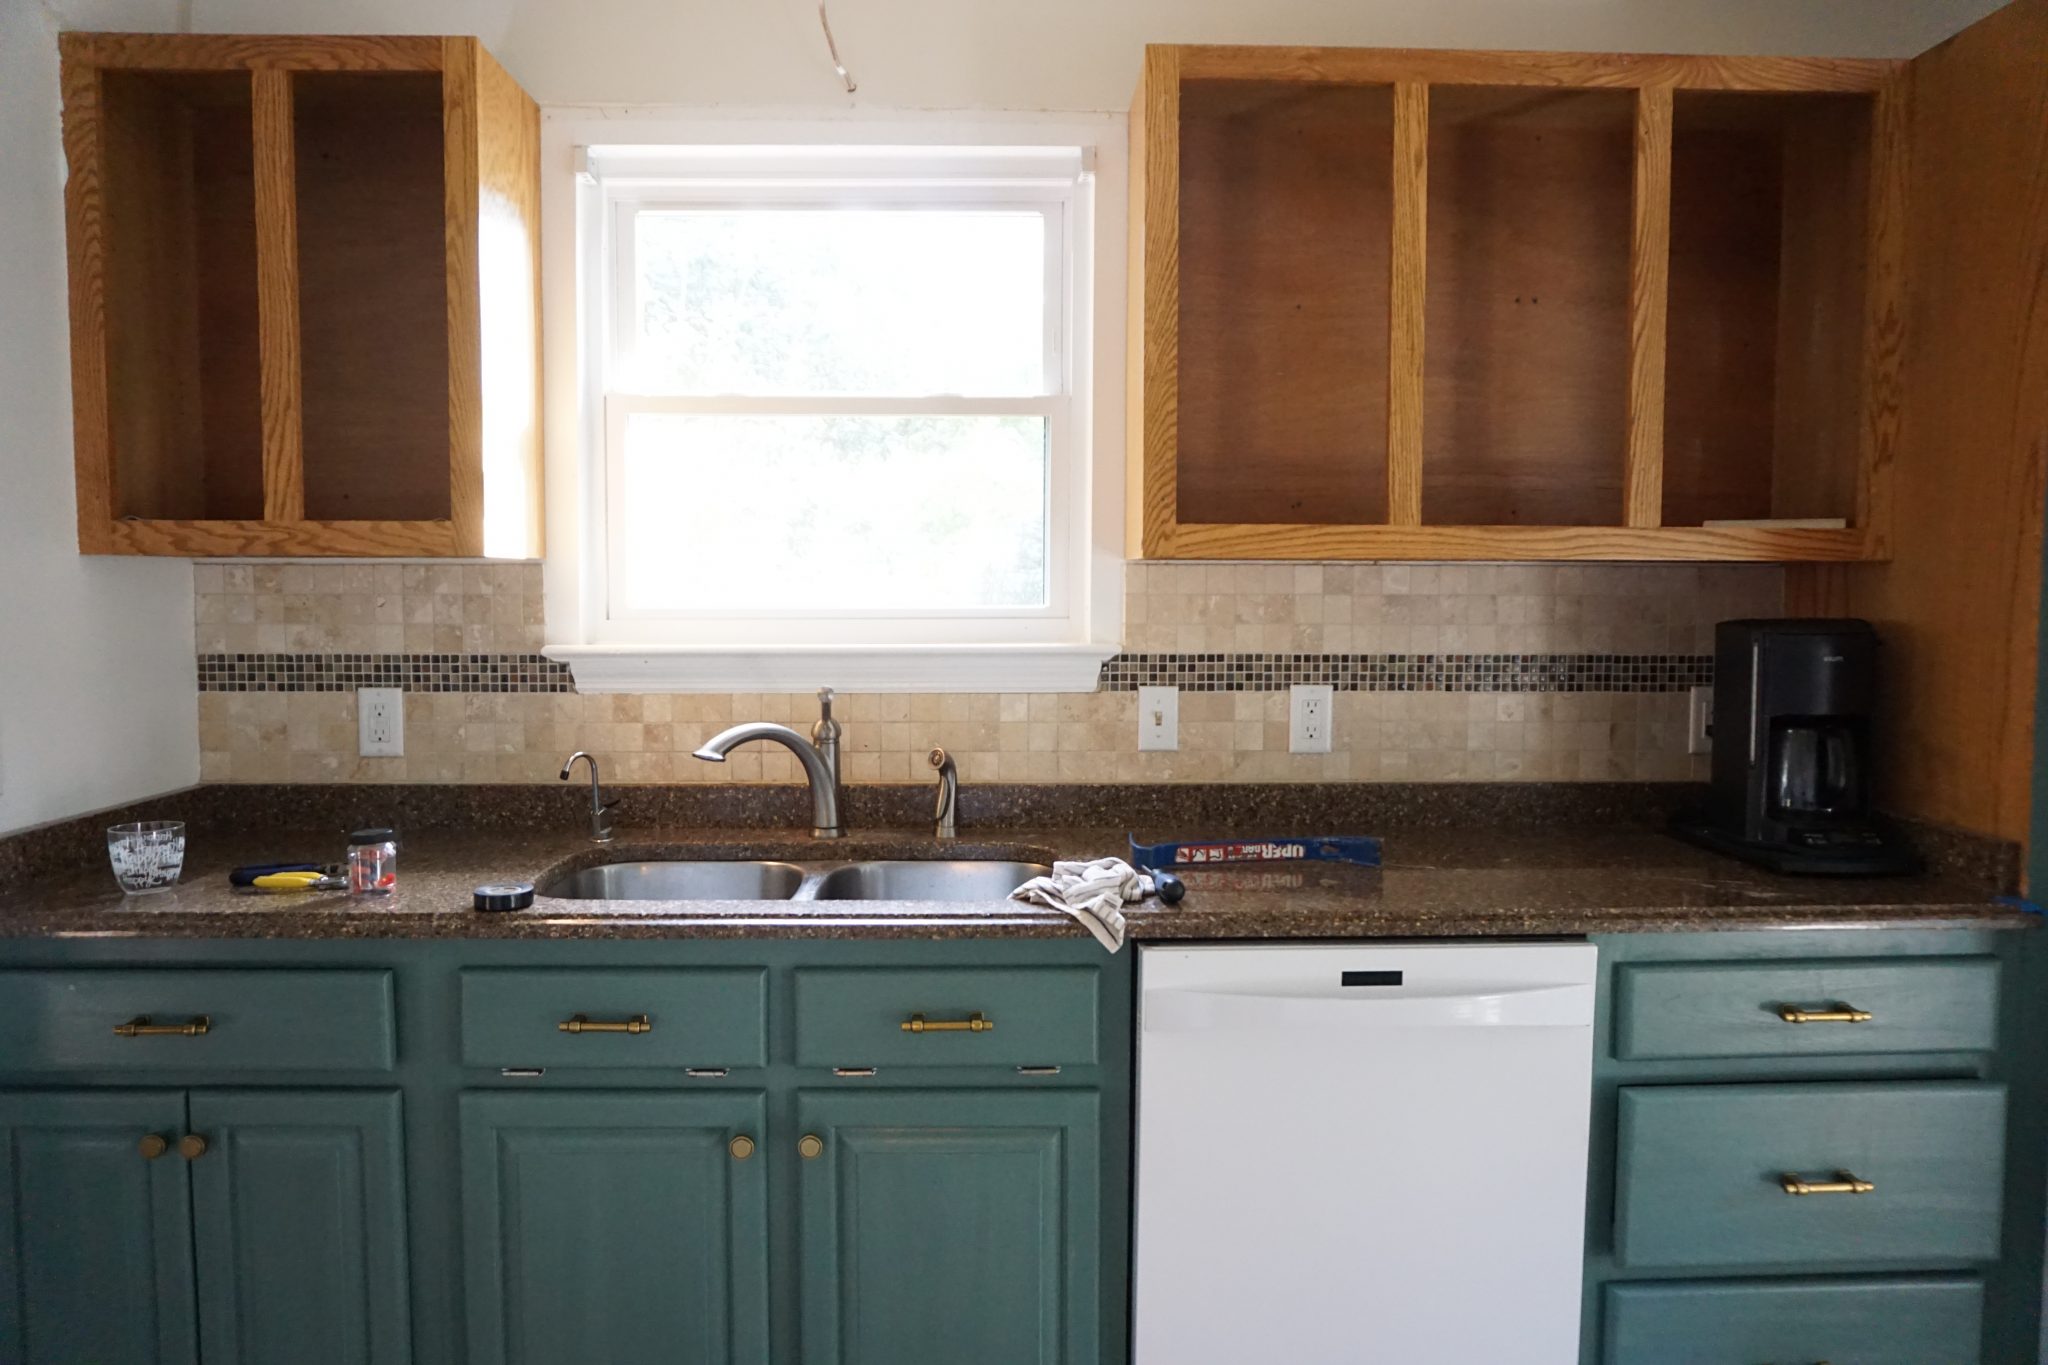
Before
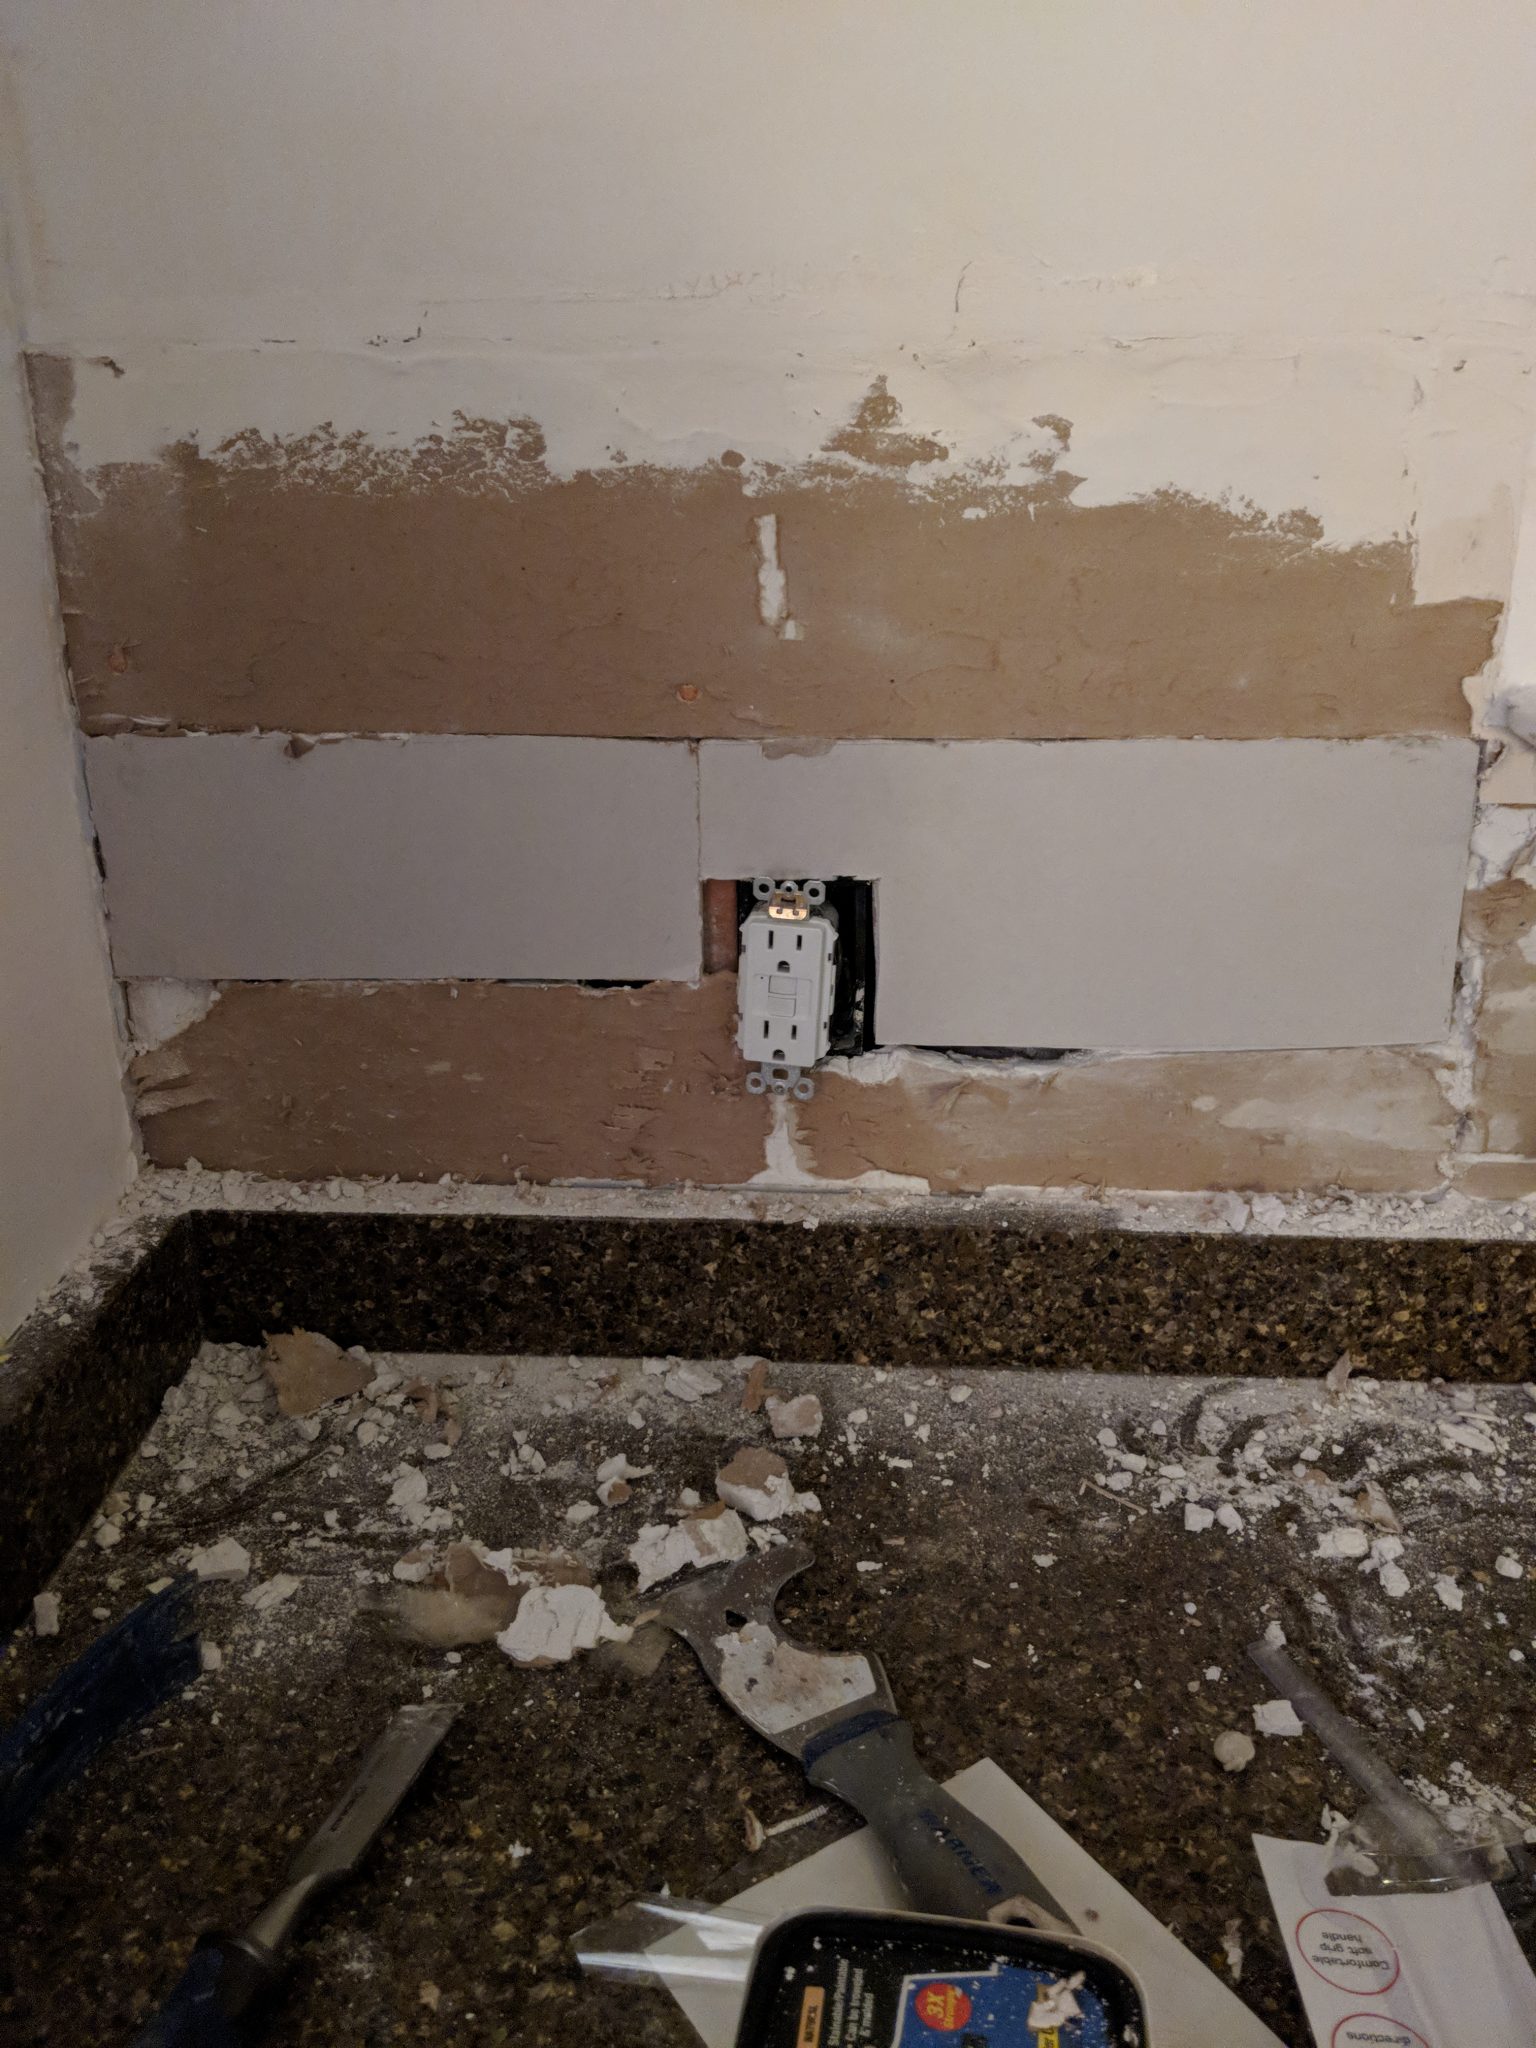
Drywall Fitting
Taped
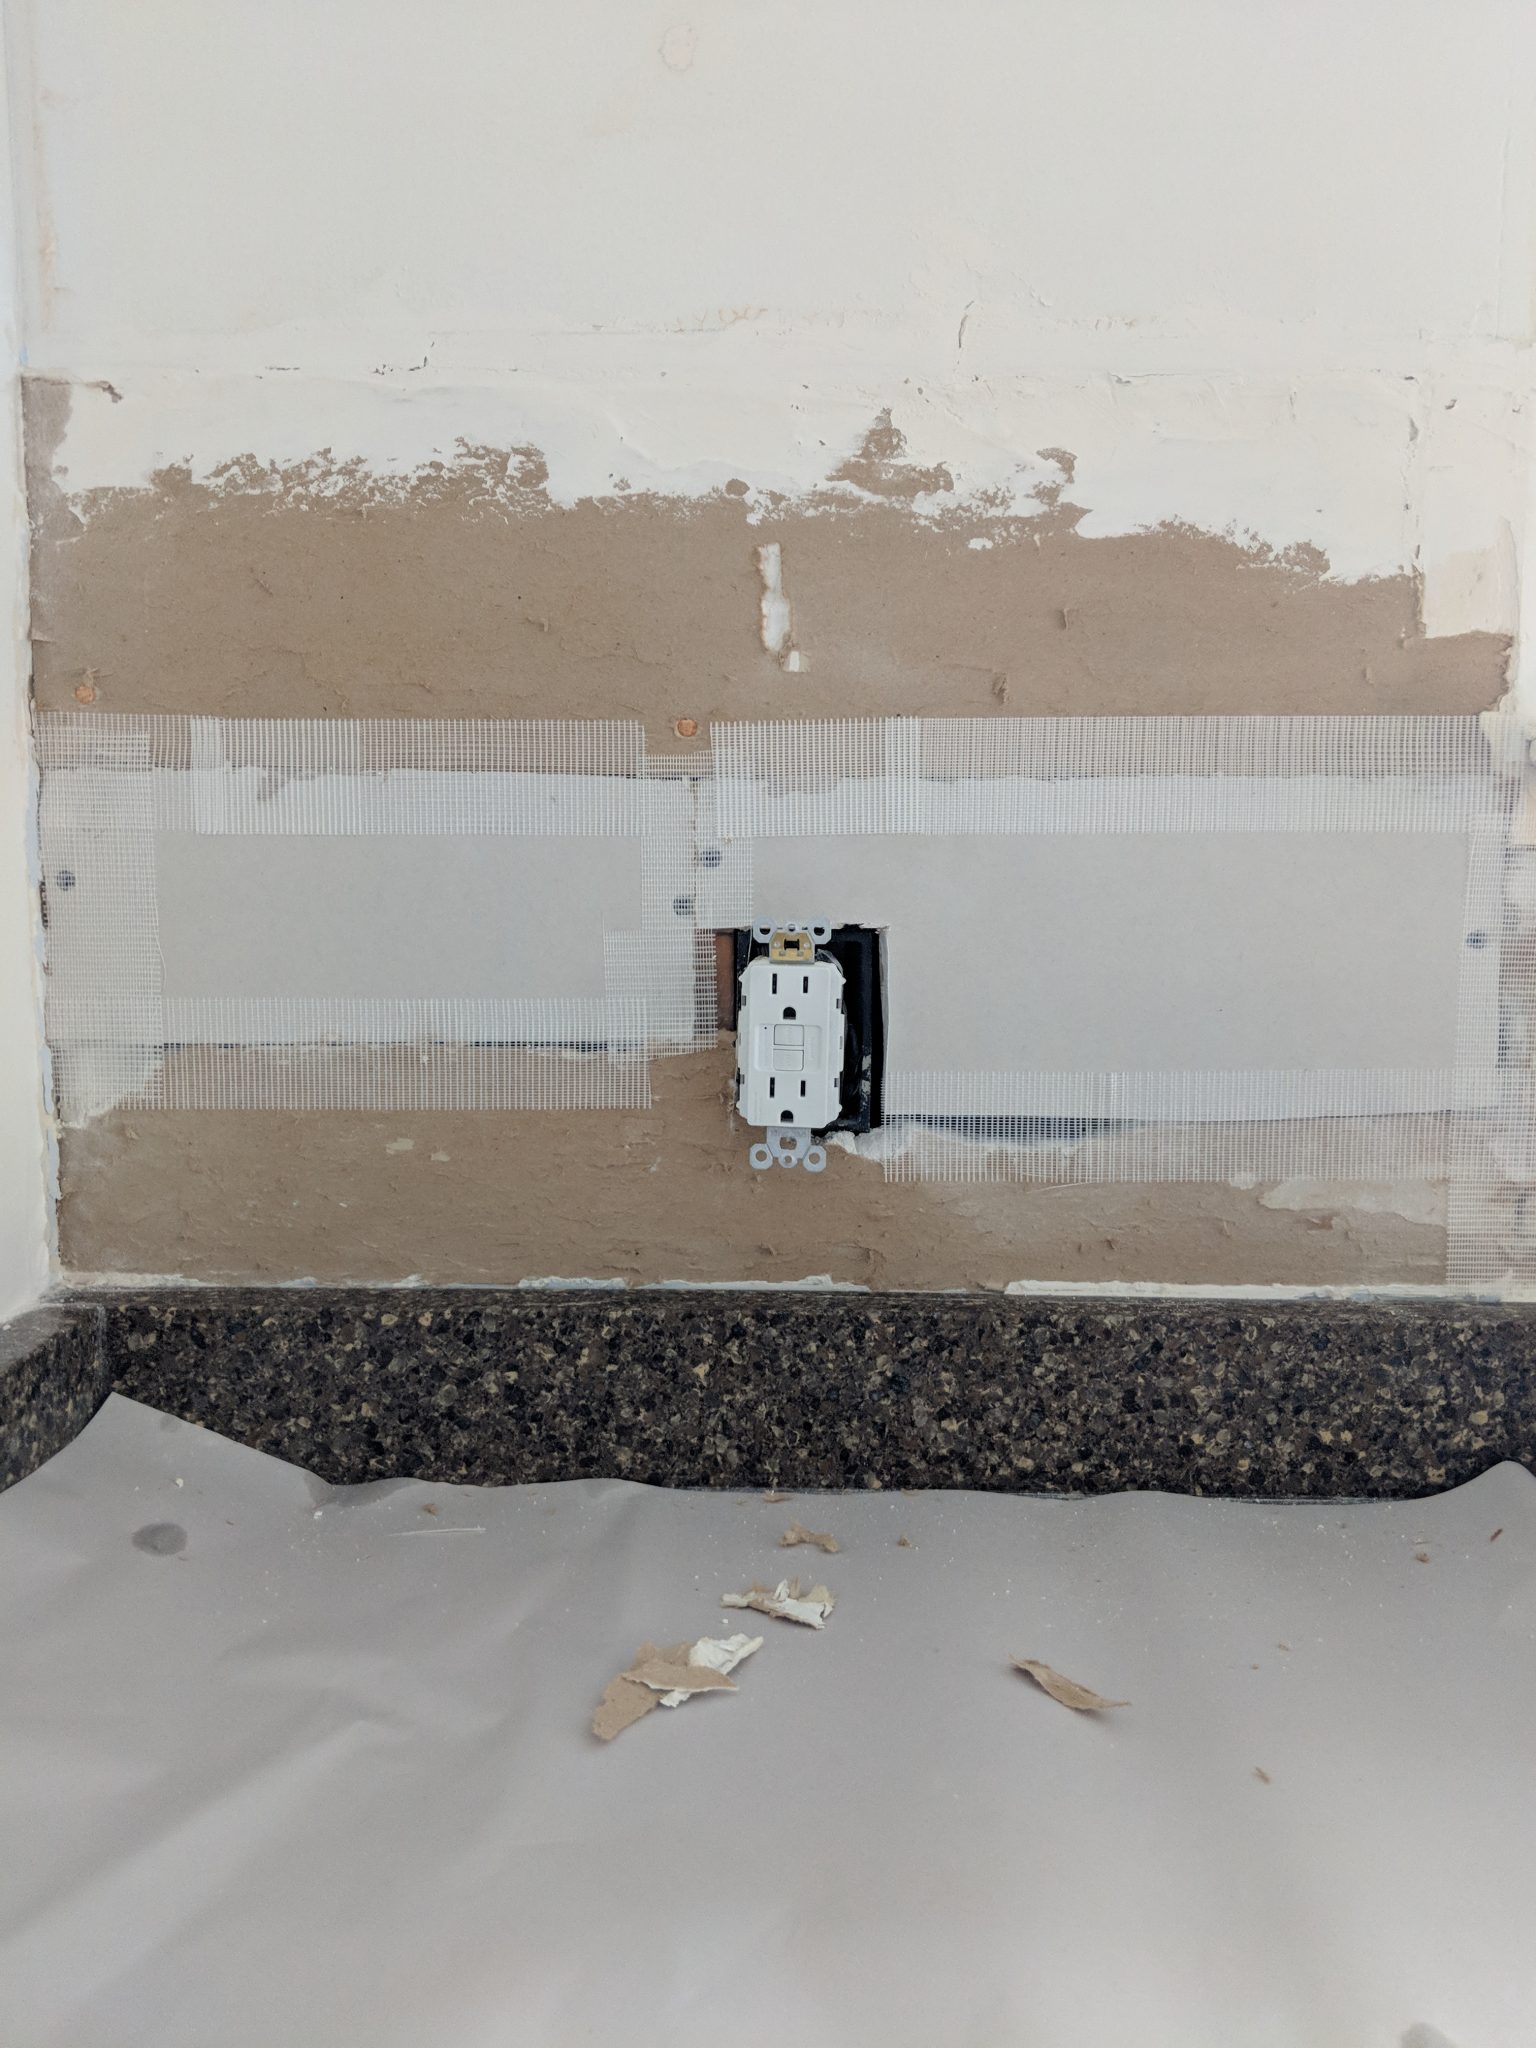
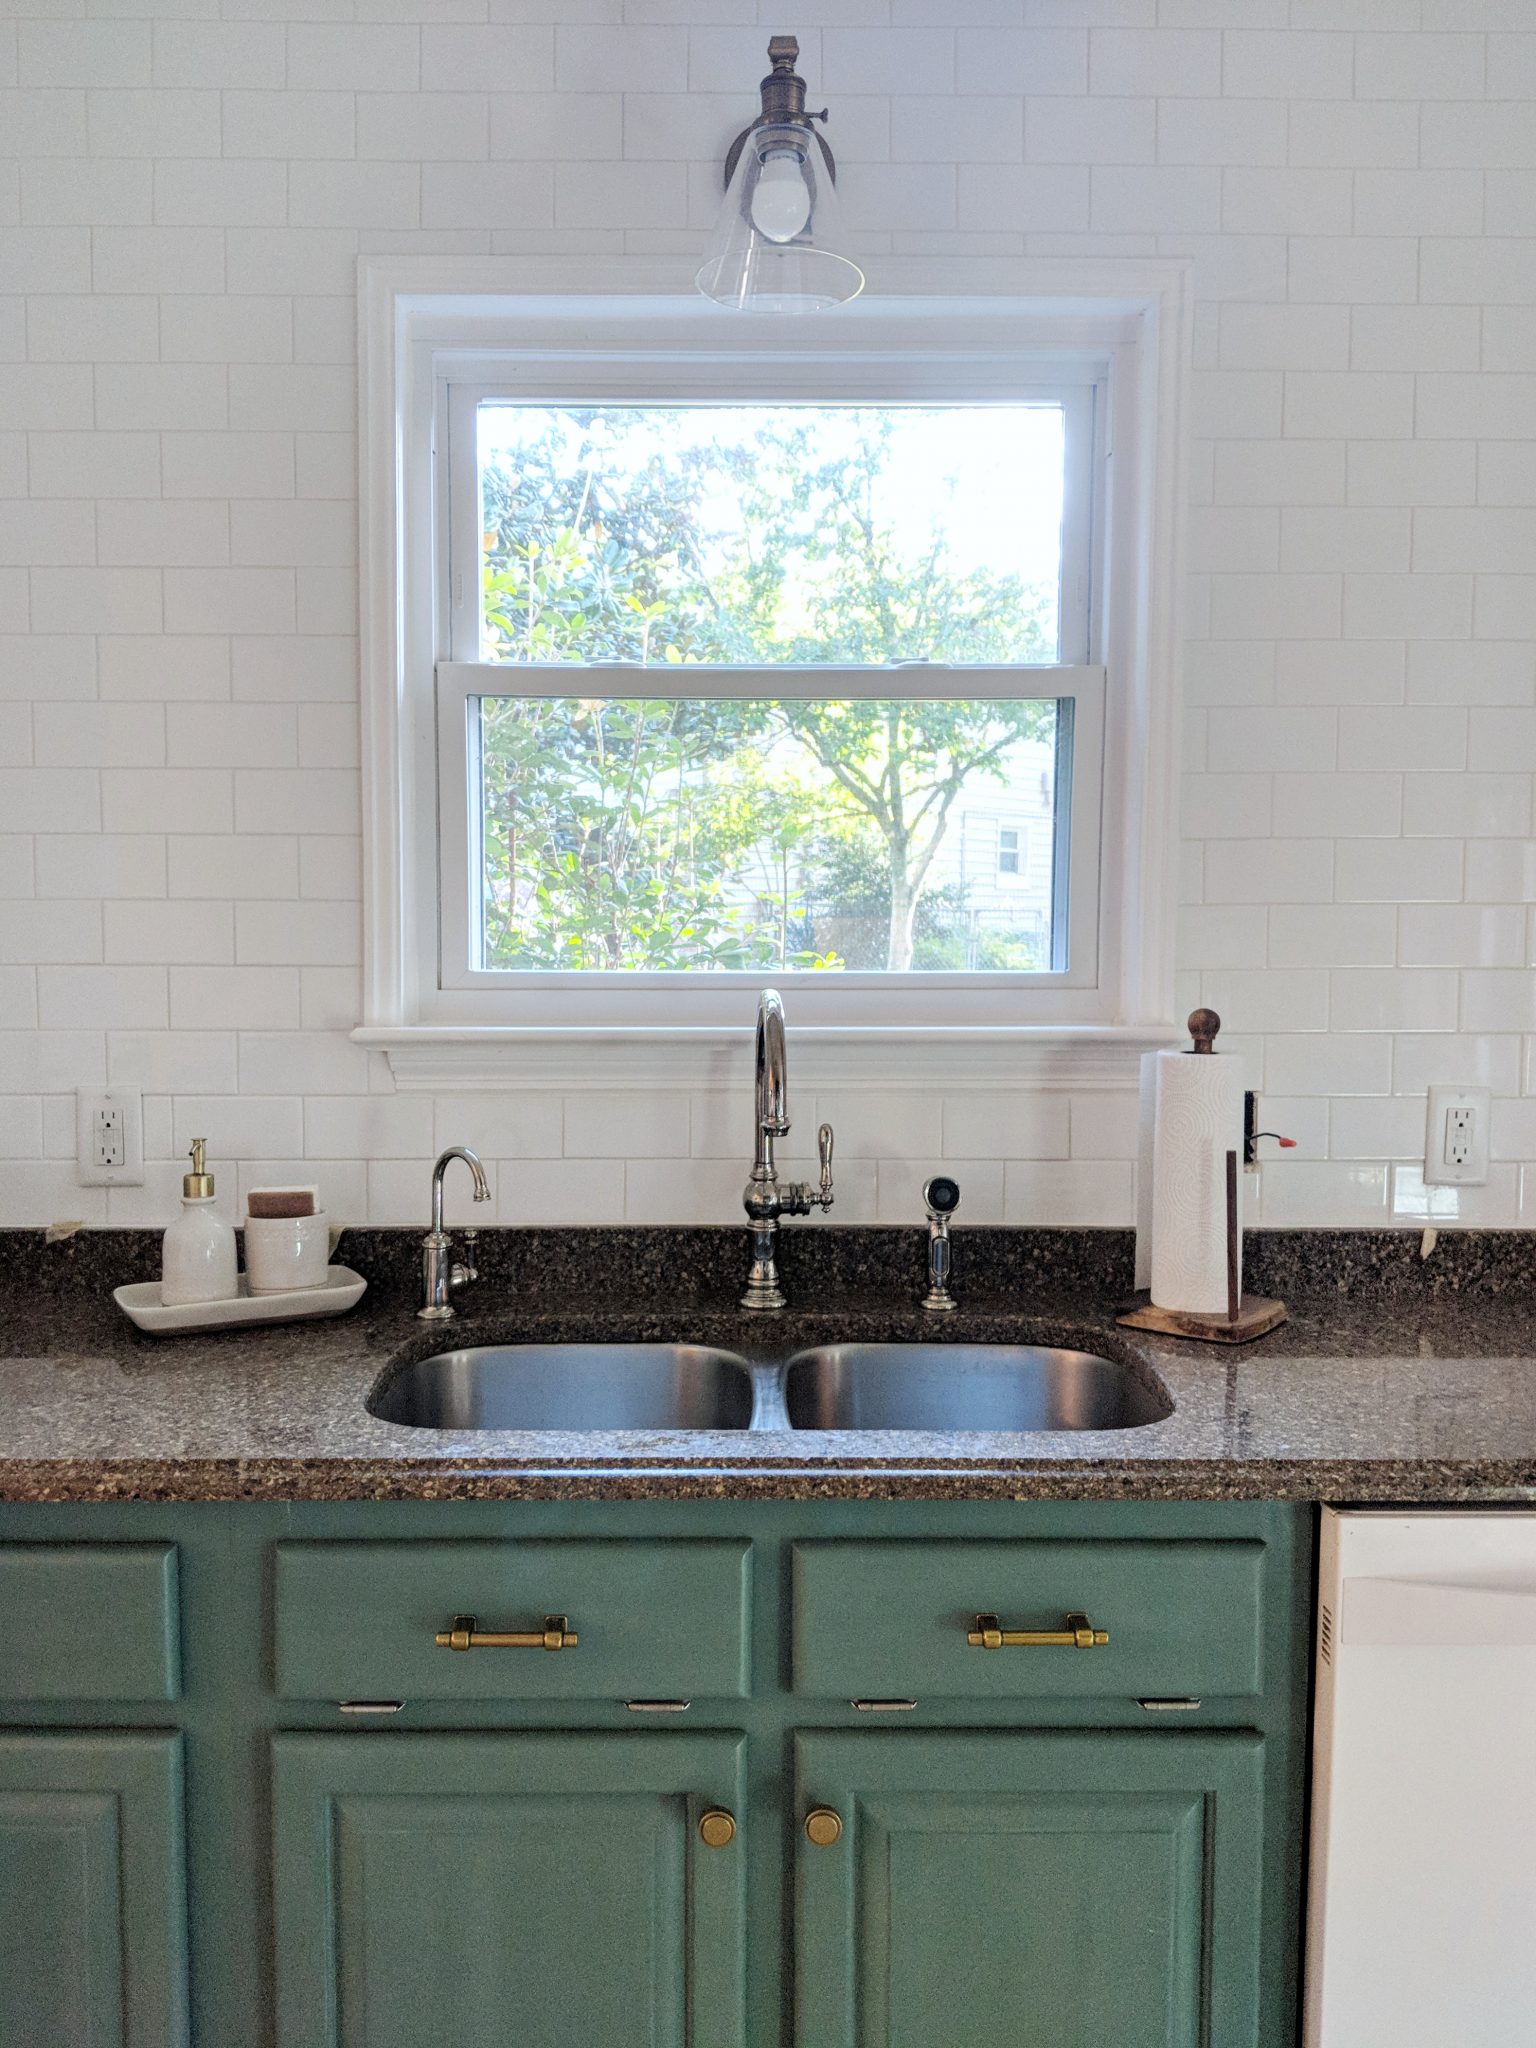
Ready for New Tile
When you remove your tile, you will more than likely be left with a layer of peeling brown paper. The key is to have a smooth, level surface, so many articles recommended applying a skim coat on the entire surface where the tile was removed. It’s kind of like a crumb coat for all you bakers out there. I learned a lot from this video and followed it almost exactly, but I didn’t use the Gardz product she mentioned since tile would be covering up the wall.
I put joint compound in a drywall trowel and applied it with my drywall tape knife in a rainbow shape. After cleaning my knife, I went pack over what I just applied with a horizontal stroke, cleaning my knife as I went. This will fill in any gaps and level out the wall for your new tile. You may need another light skim coat once the first coat is dry, sanded, and free of dust.
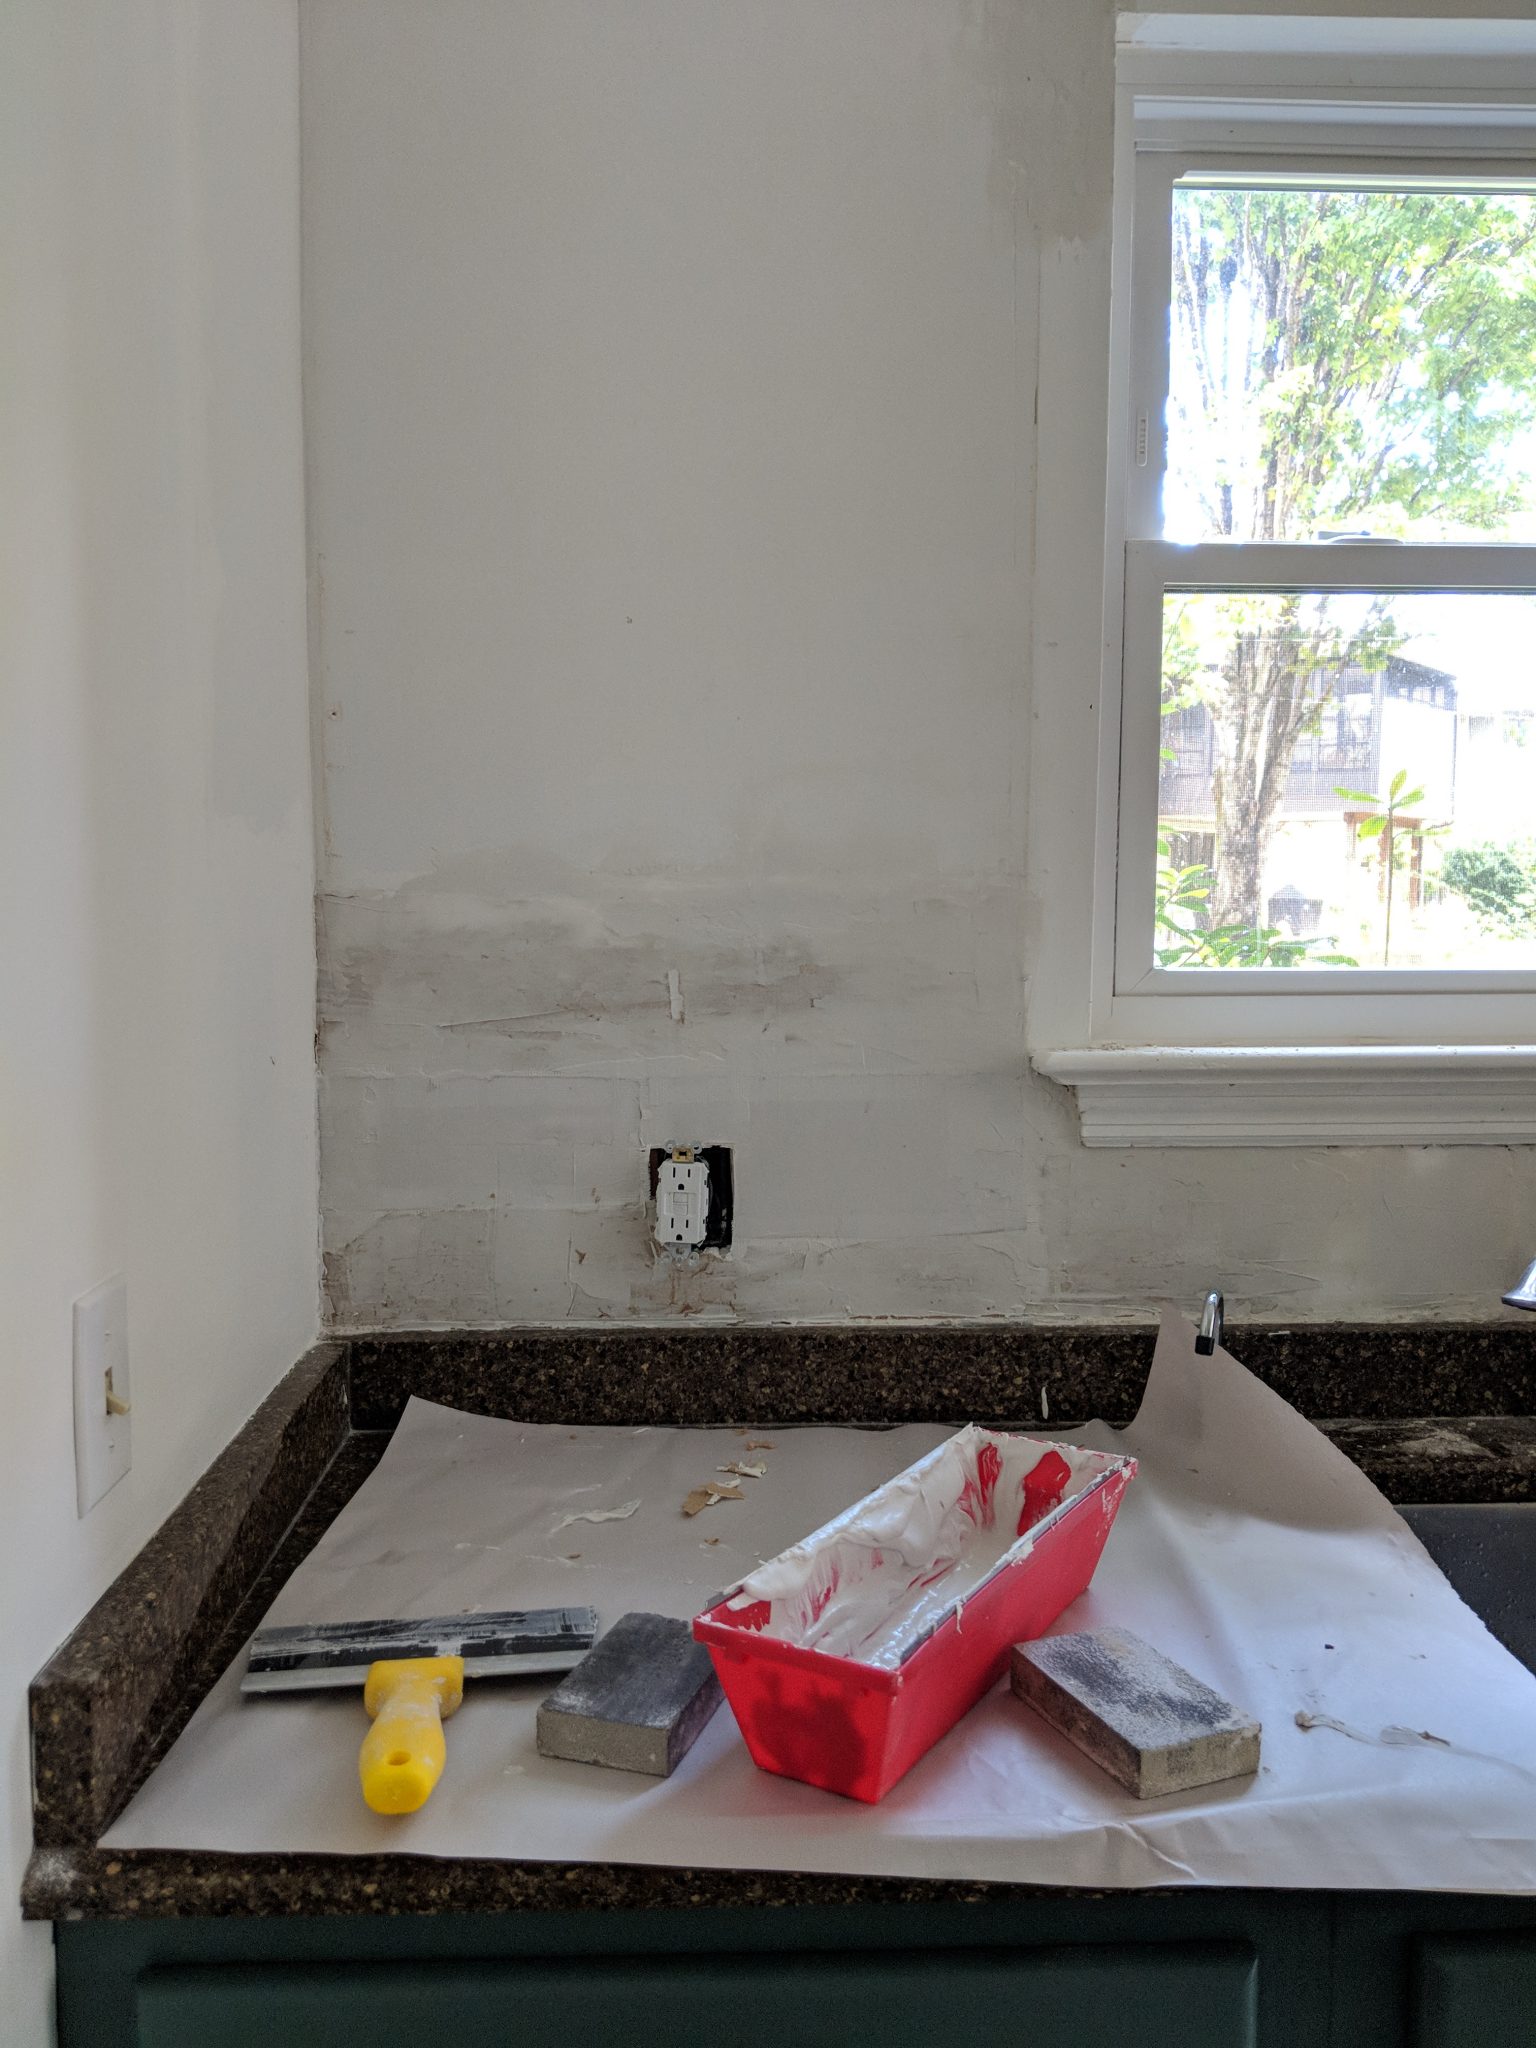
Step 4 // Smooth + Clean
Now that your holes are filled and your skim coat is completely dry, you will need to put your mask and safety glasses on to start sanding. Your goal here is to get a smooth, level surface. It doesn’t have to look pretty nor does the brown paper have to be completely hidden. Your wall just need to be as smooth to the touch as possible.
Once your happy with the sanding results, take your vacuum attachment or shop vac and run it over your walls to pick up as much dust as possible. You will then take a damp microfiber cloth and wipe down the walls before tiling.
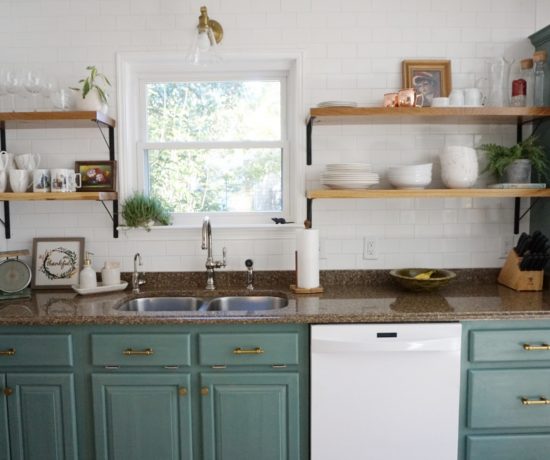
So here’s a quick BEFORE & AFTER to remind you of what this space looked like before we took a hammer to it.
Make sure to check out the other bloggers and designers participating in the One Room Challenge HERE. There are some amazing transformations happening!