It’s here! Can you believe it? A kitchen renovation in 6 weeks…well, sorta.
Though this wasn’t a completely live renovation like some of the other amazing, hard working participates of the One Room Challenge, the bulk of our kitchen was finished up in the past 5 weeks. In total, this project took close to 3 months. To say that I’m glad it’s finished is an understatement. Here’s a crash course on what we’ve been up to lately in our kitchen.
_______________________________________________________________________________________________________
Week 1 | The Kitchen Before + Design Plan
Week 2 | Painting Oak Cabinets
Week 3 | Removing Old Tile + Prepping Walls for New Tile
Week 5 | All About Our Open Shelves
_______________________________________________________________________________________________________
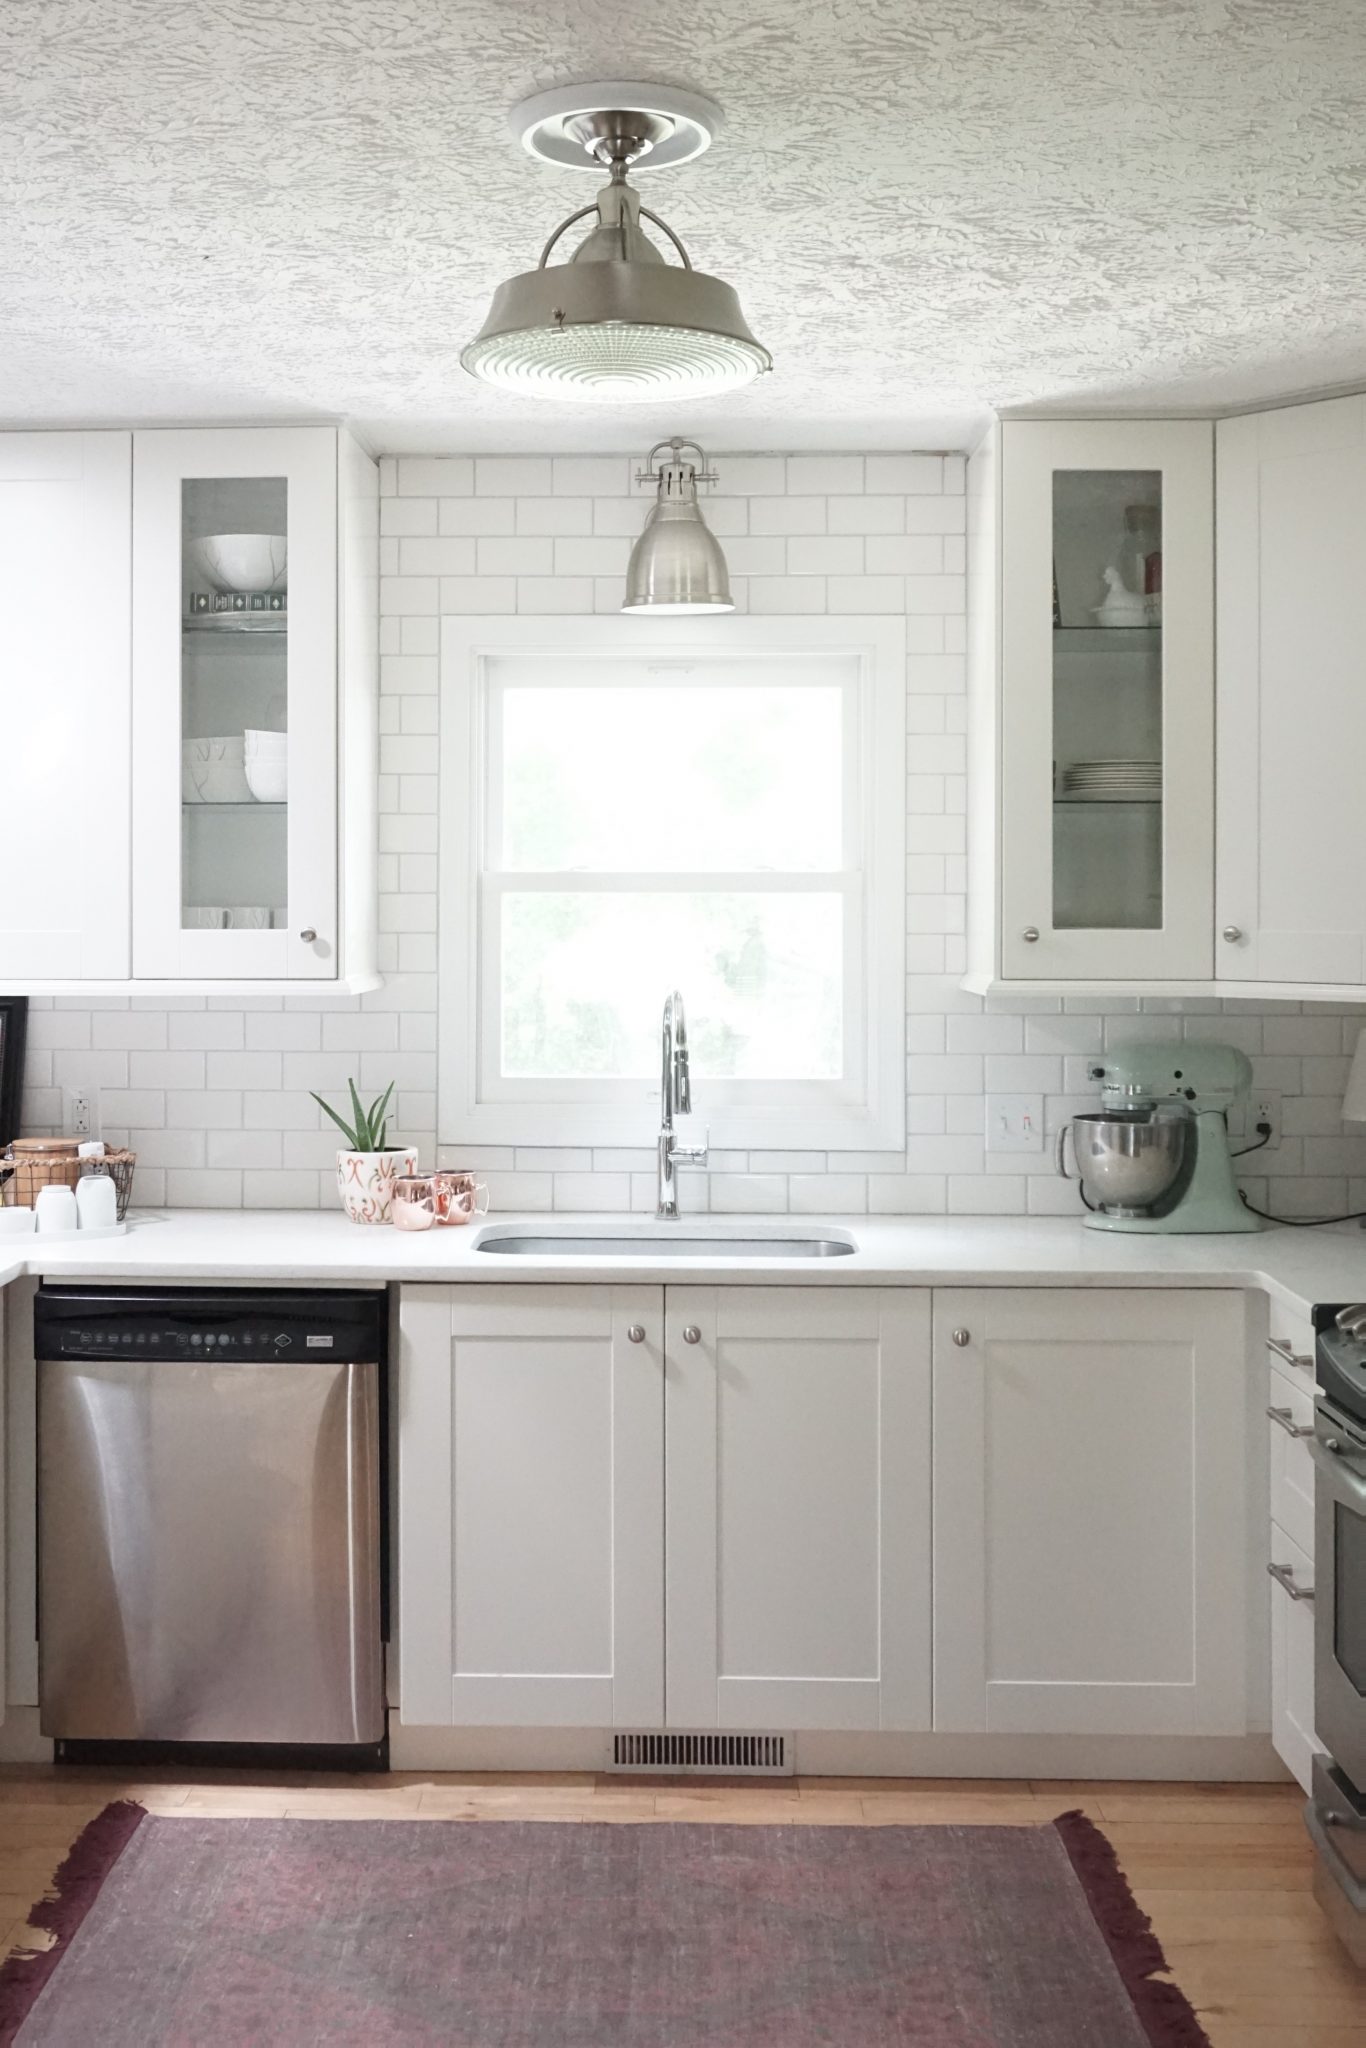
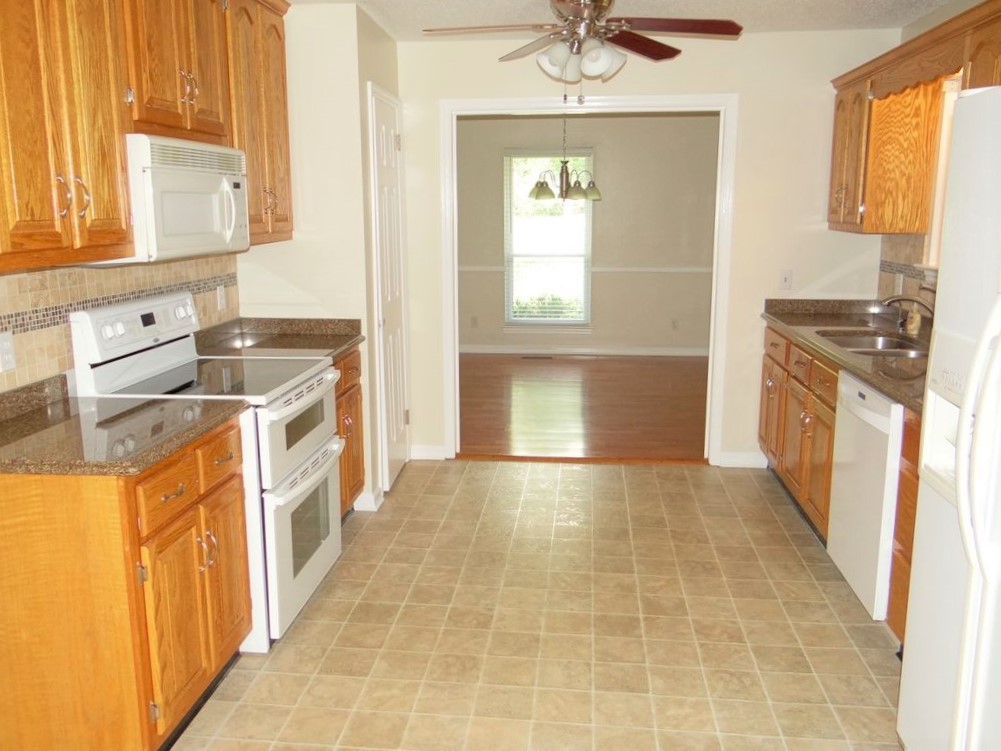
Before we get into the full reveal, here’s a quick glimpse at what we started with, a dated 90s kitchen.
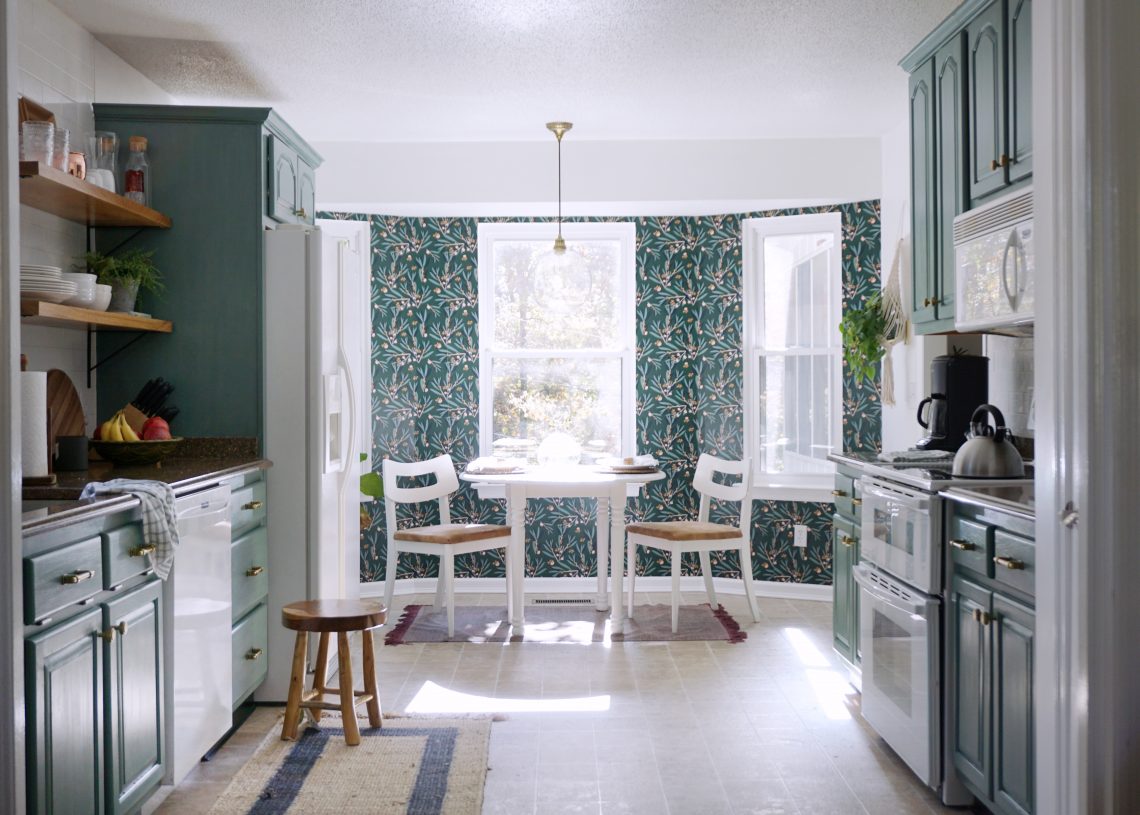
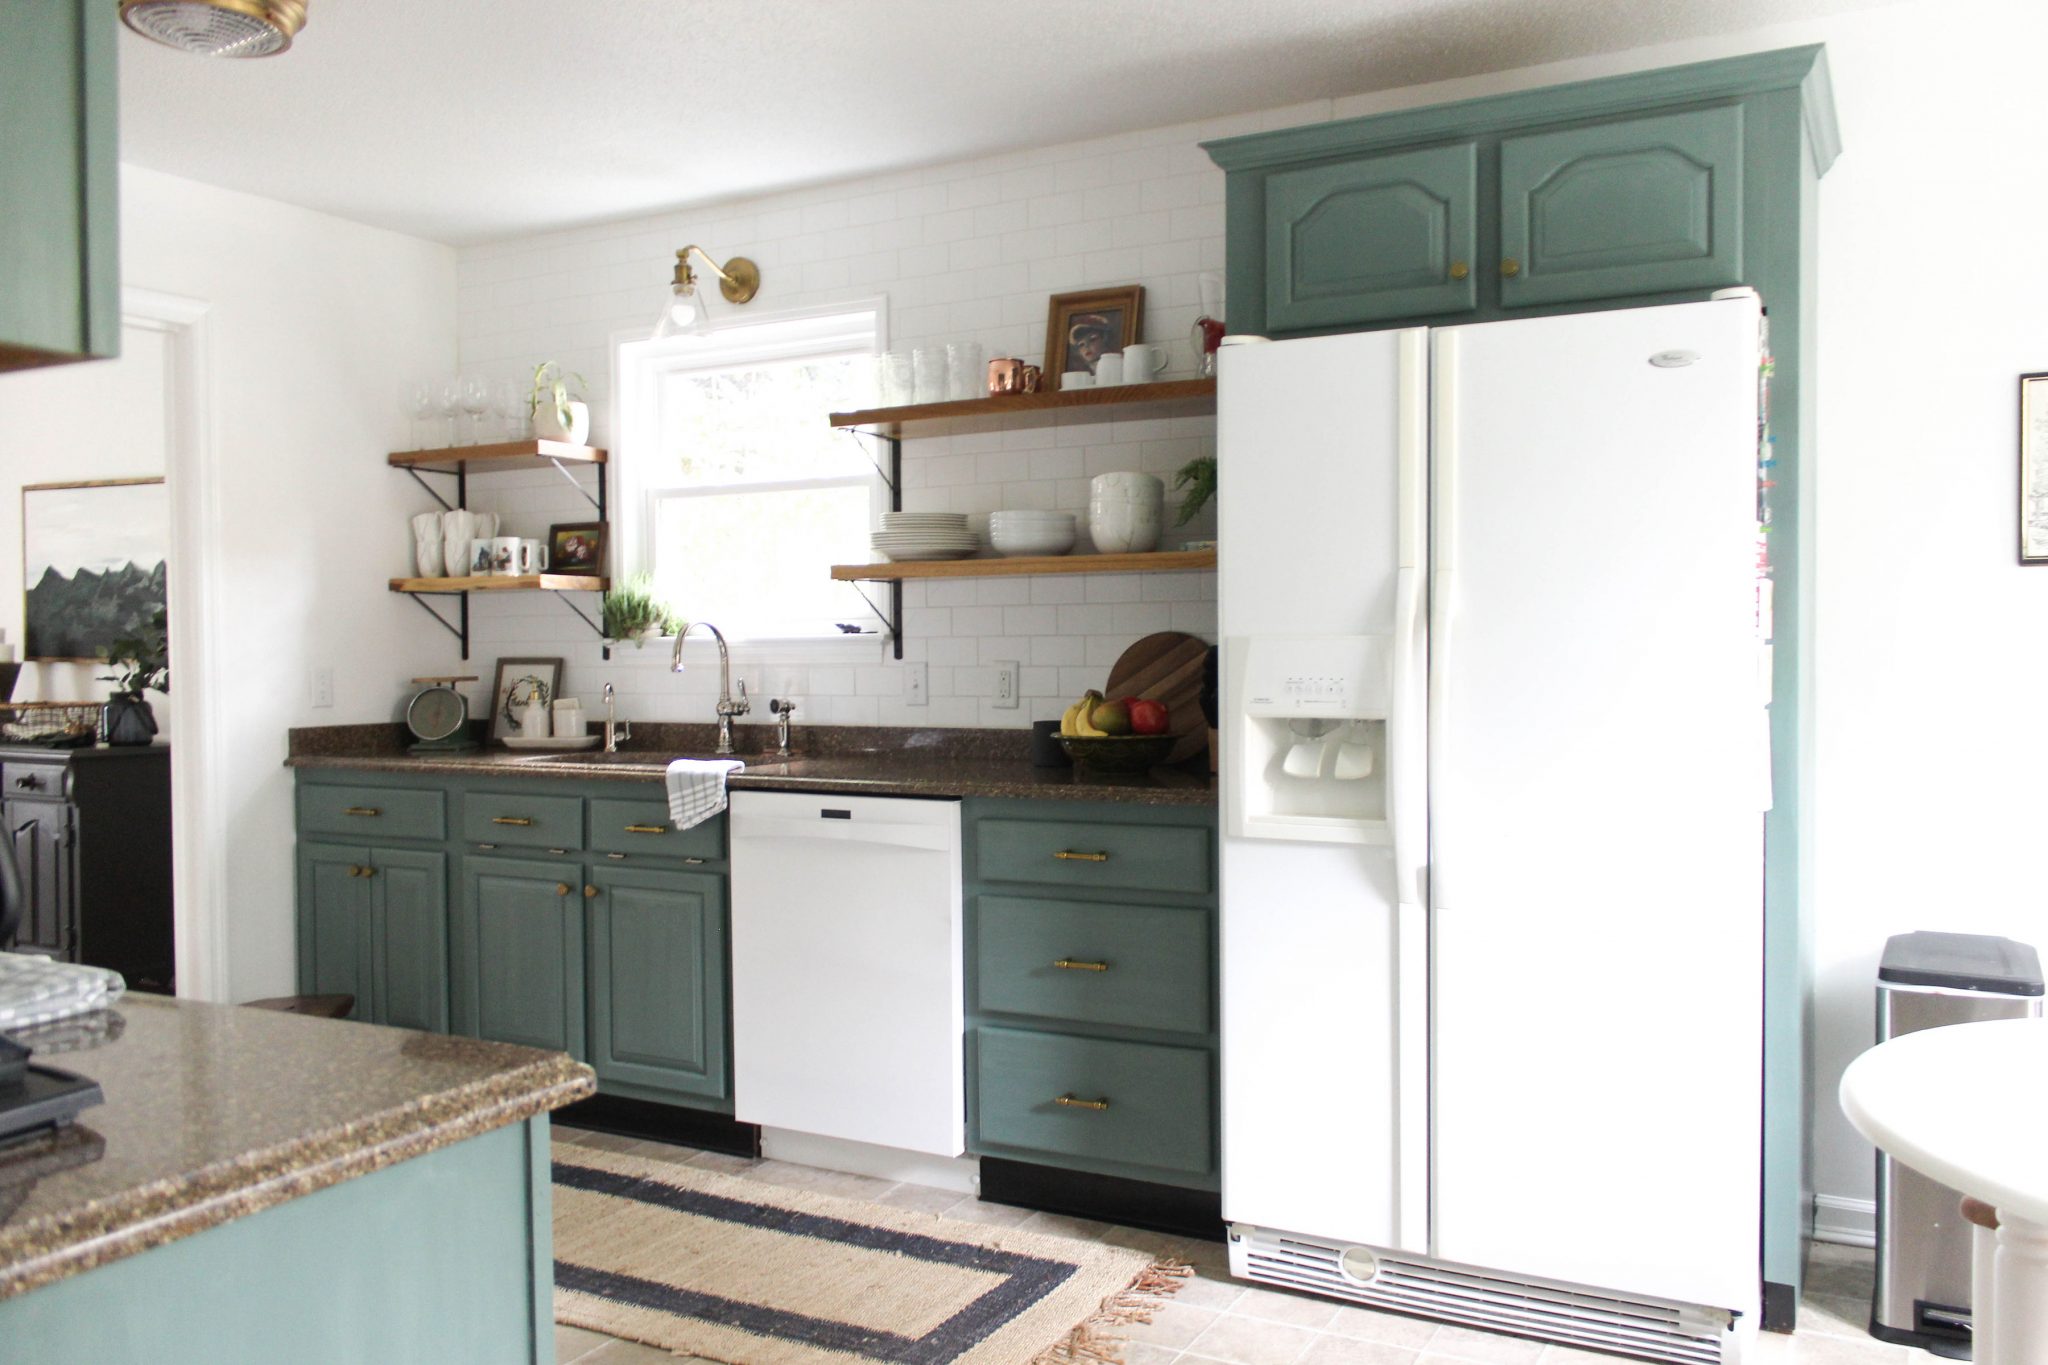
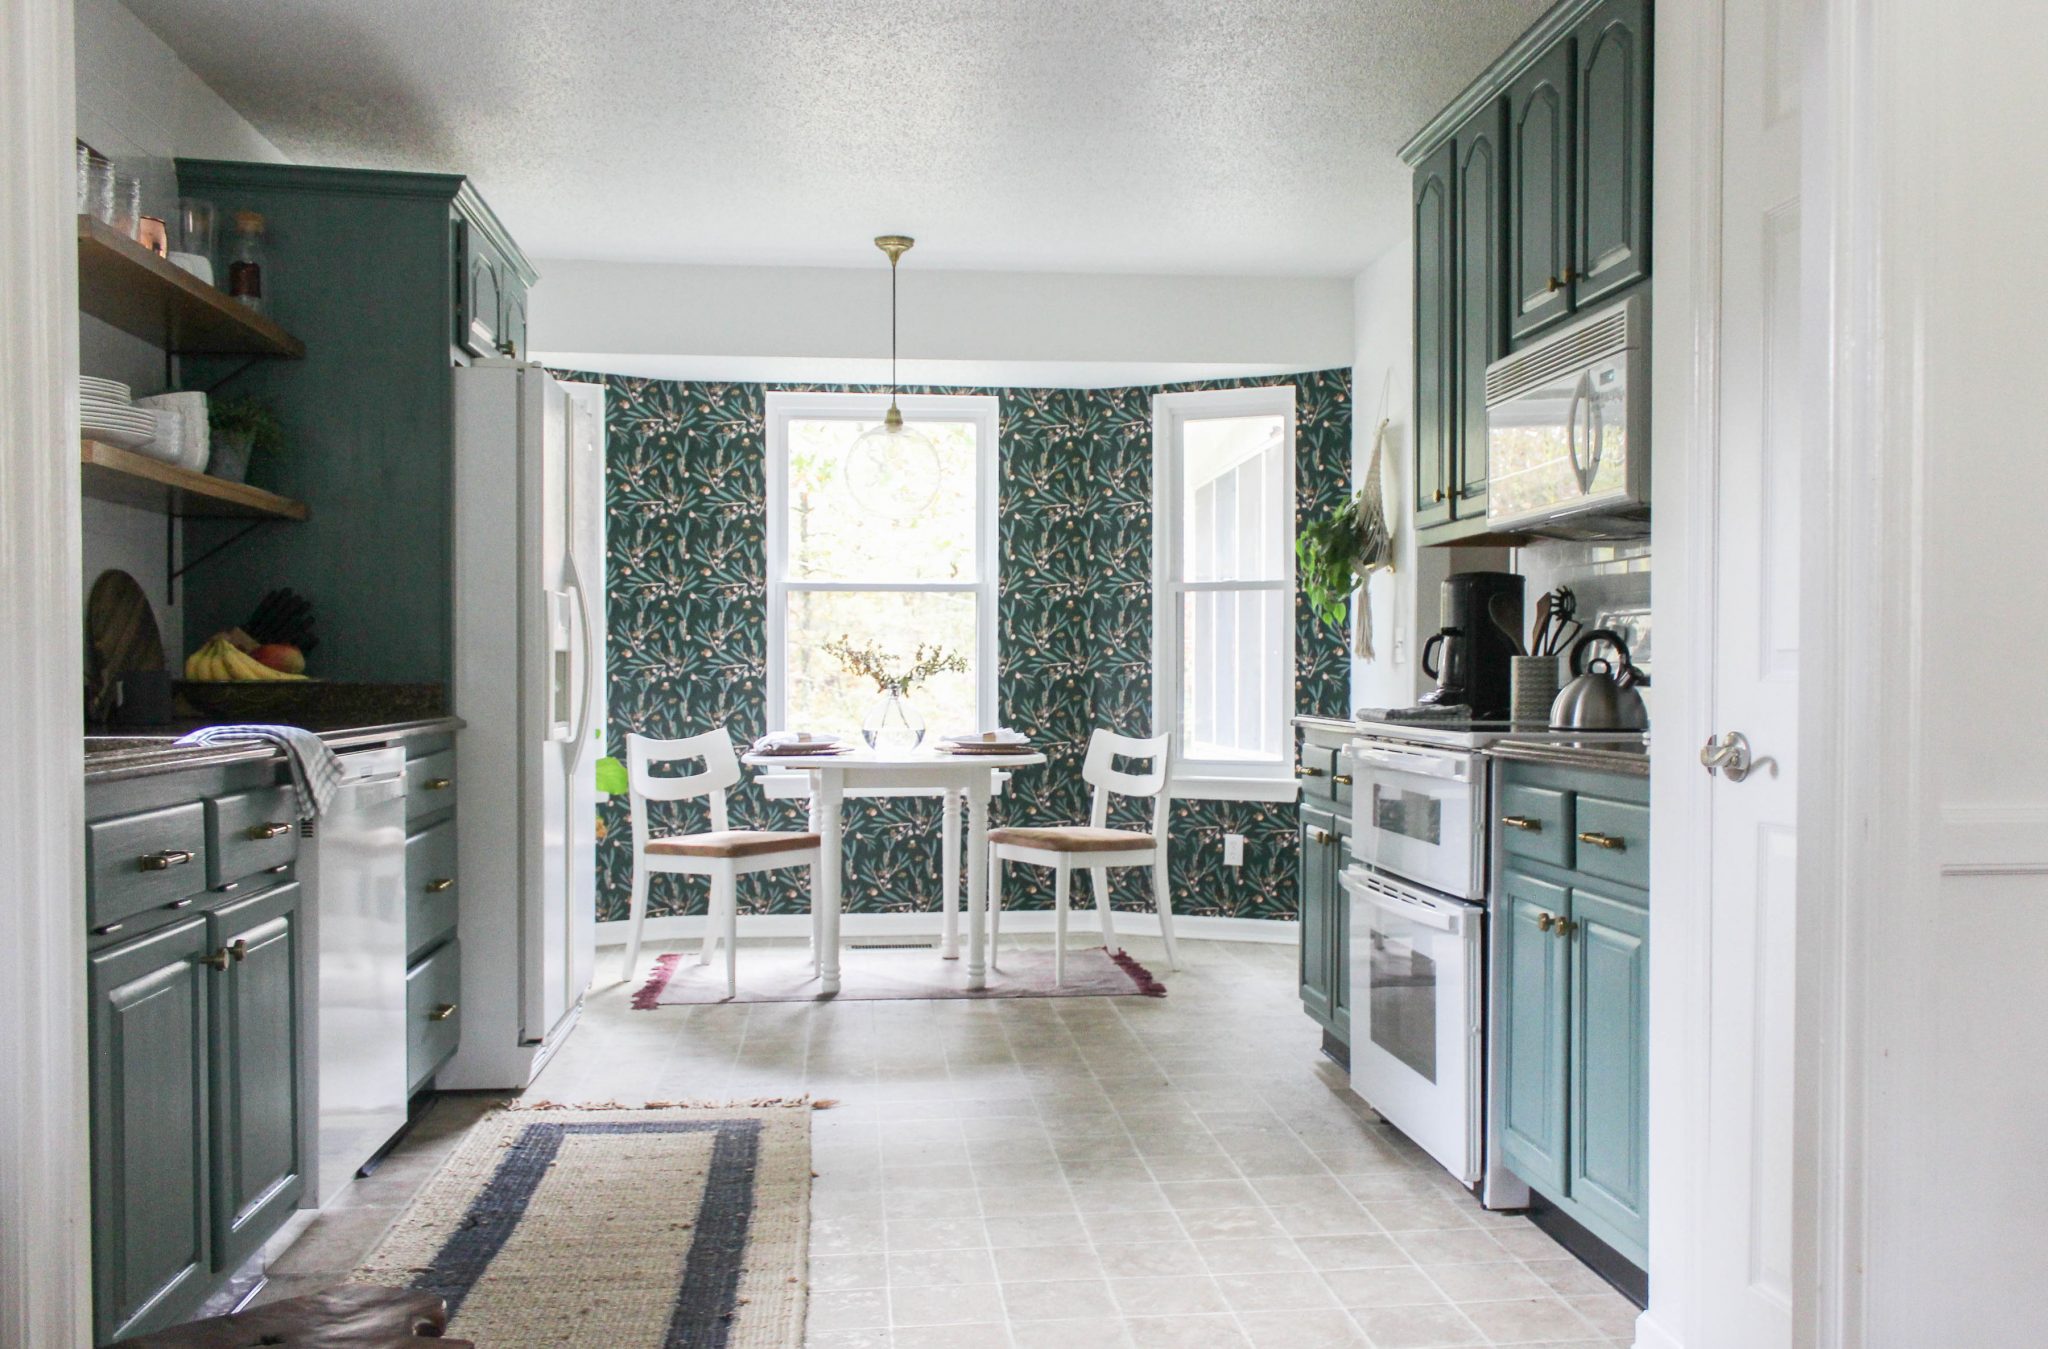
And here it is after 3 months of painting, tiling, drilling, and stressing.
(All sources are listed at the end.)
Painting the Cabinets
Week 1 Post – Painting Oak Cabinets
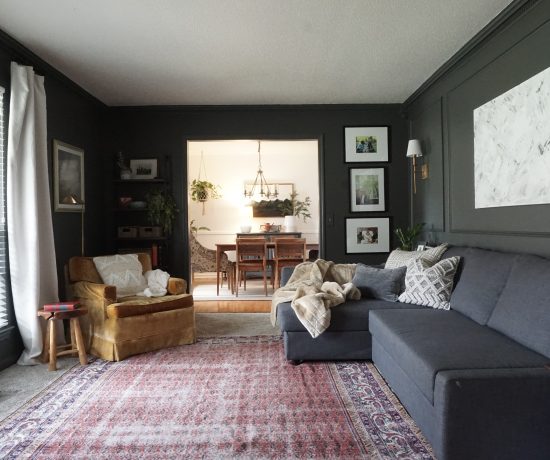
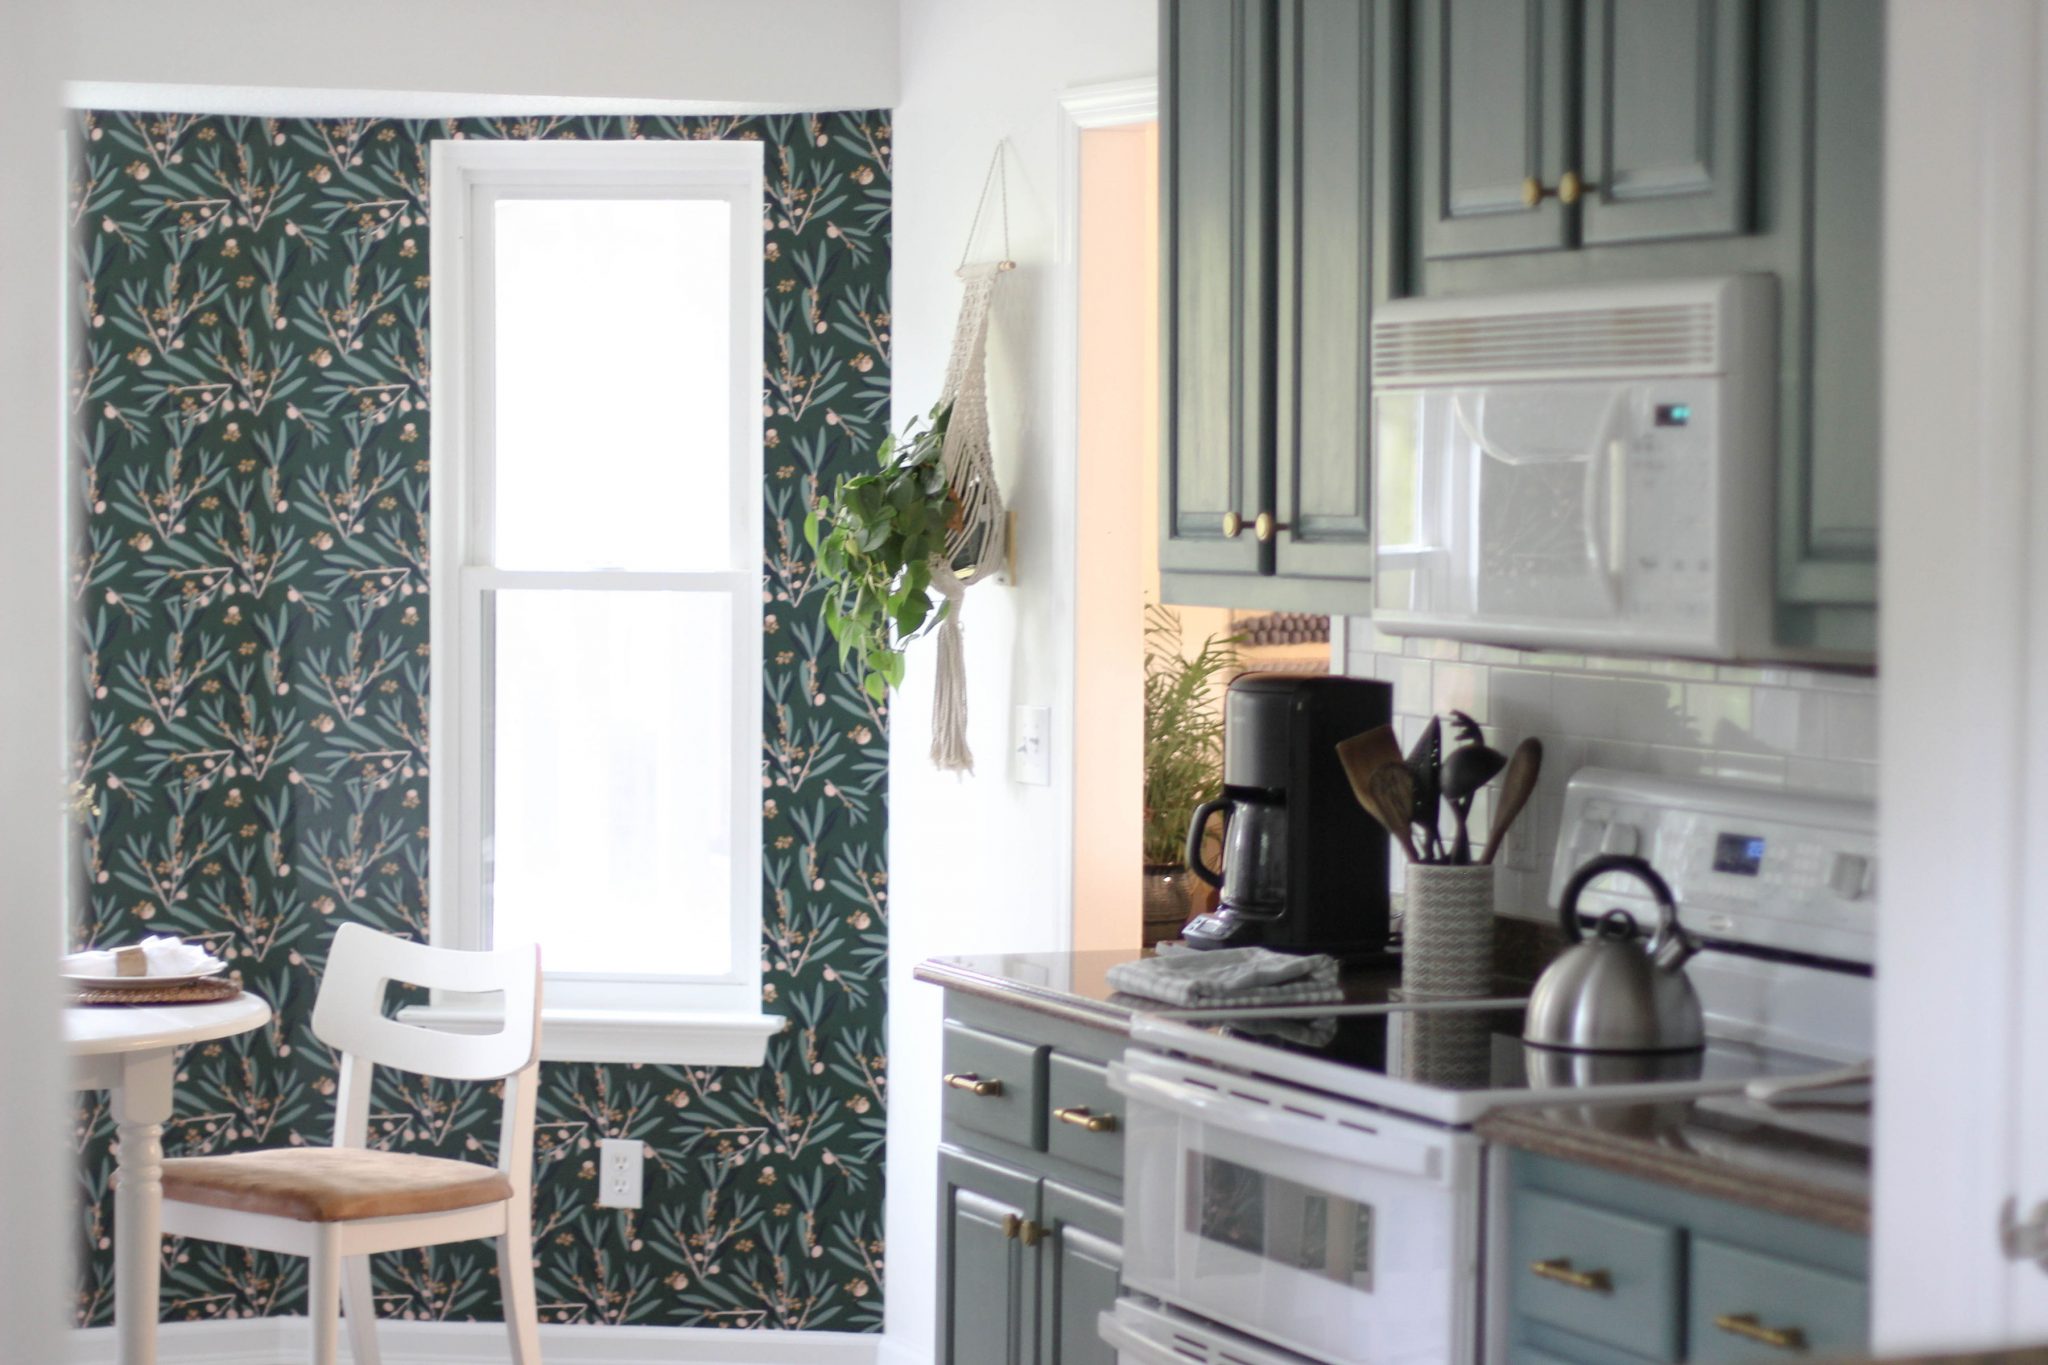
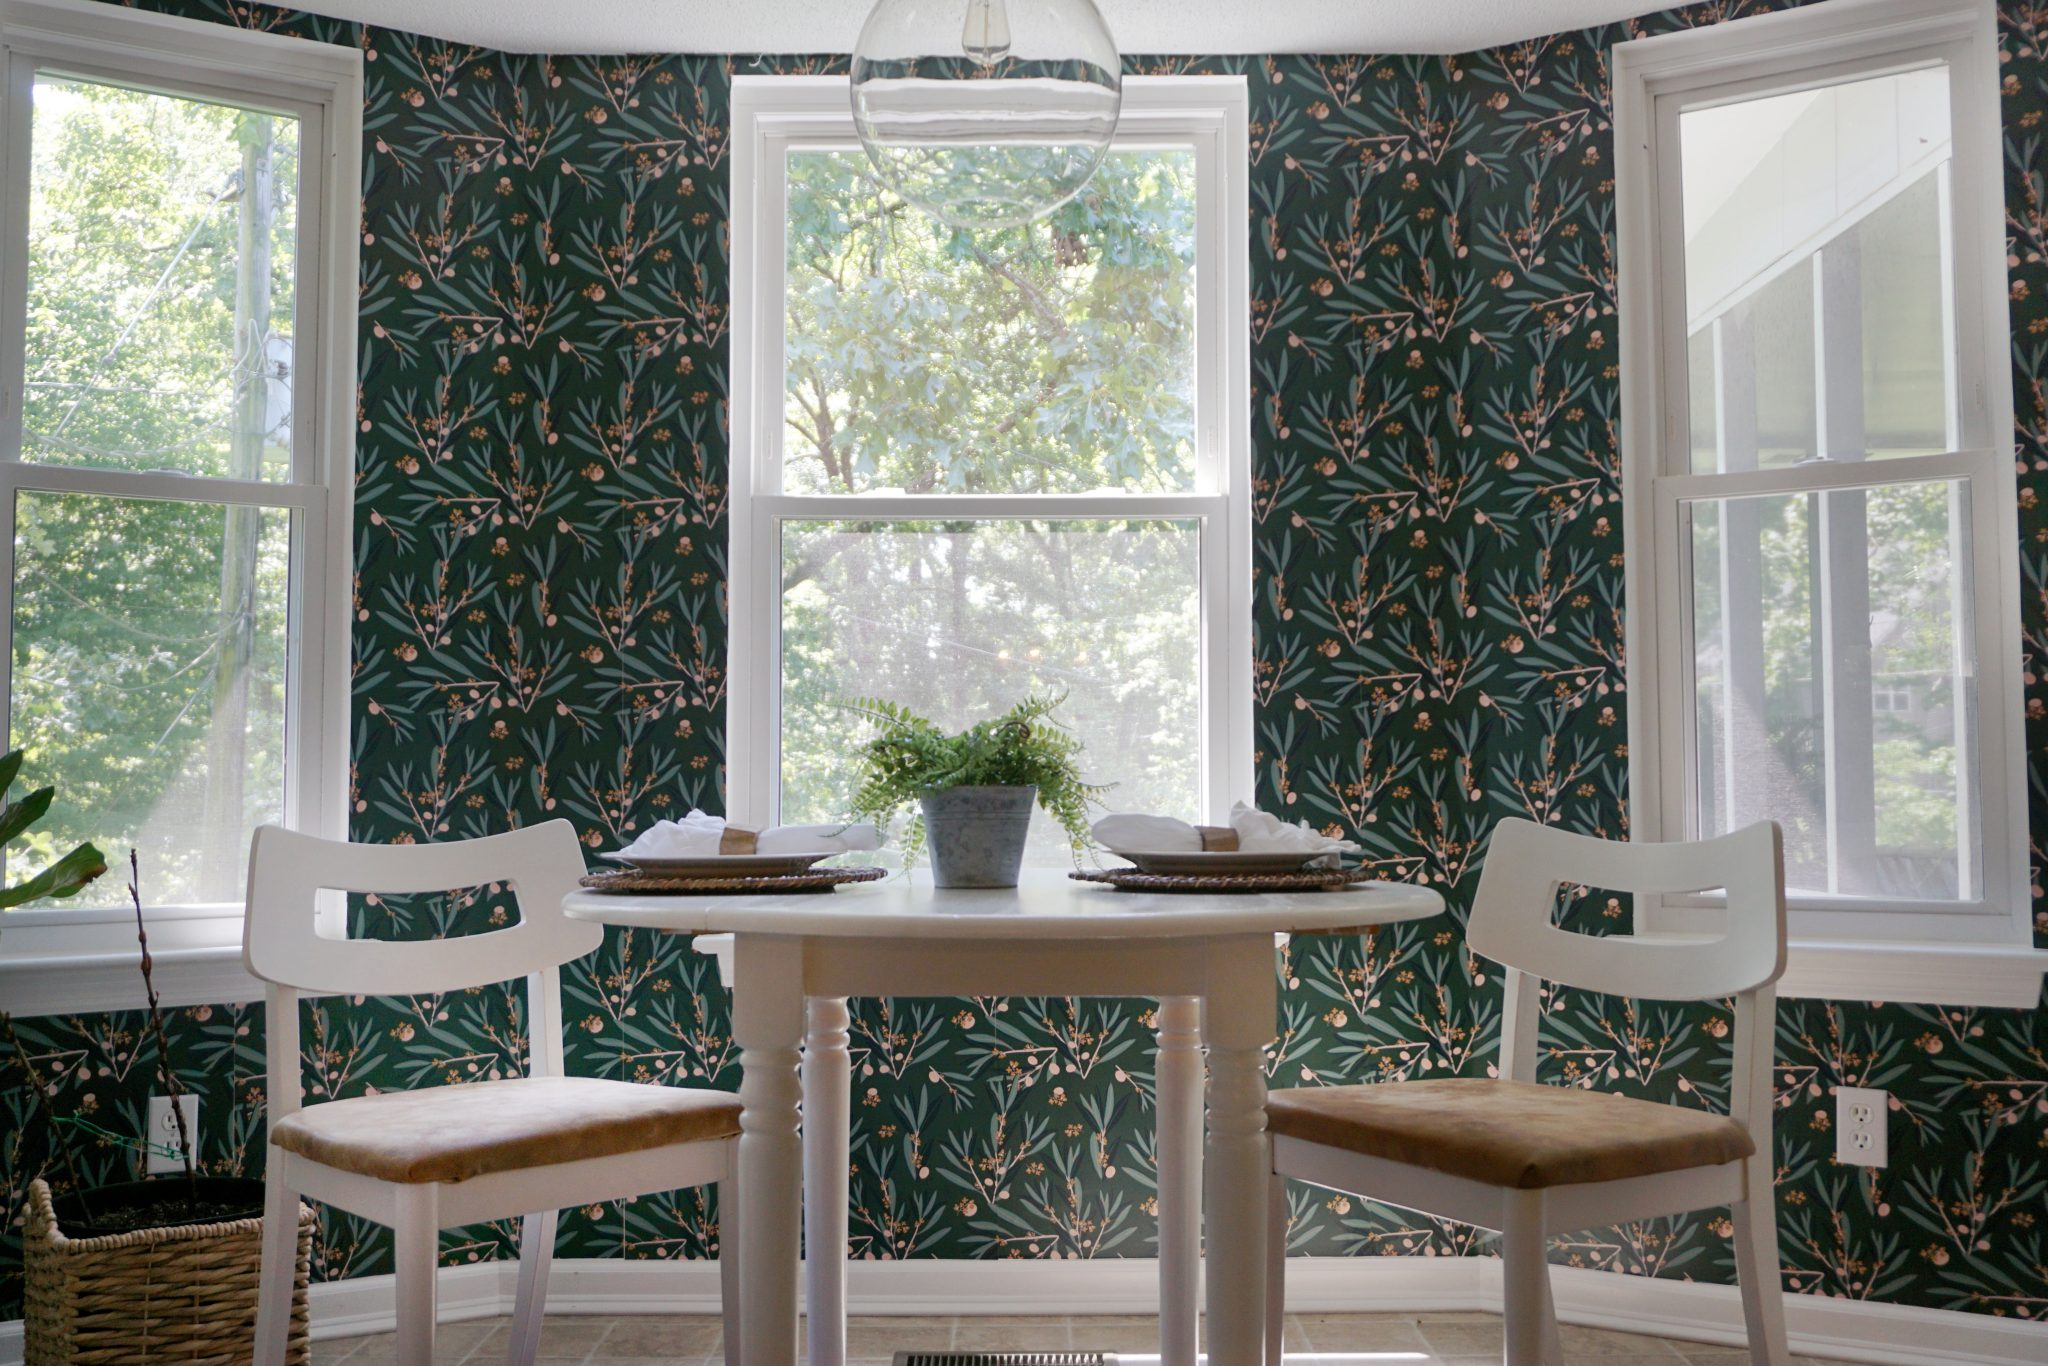
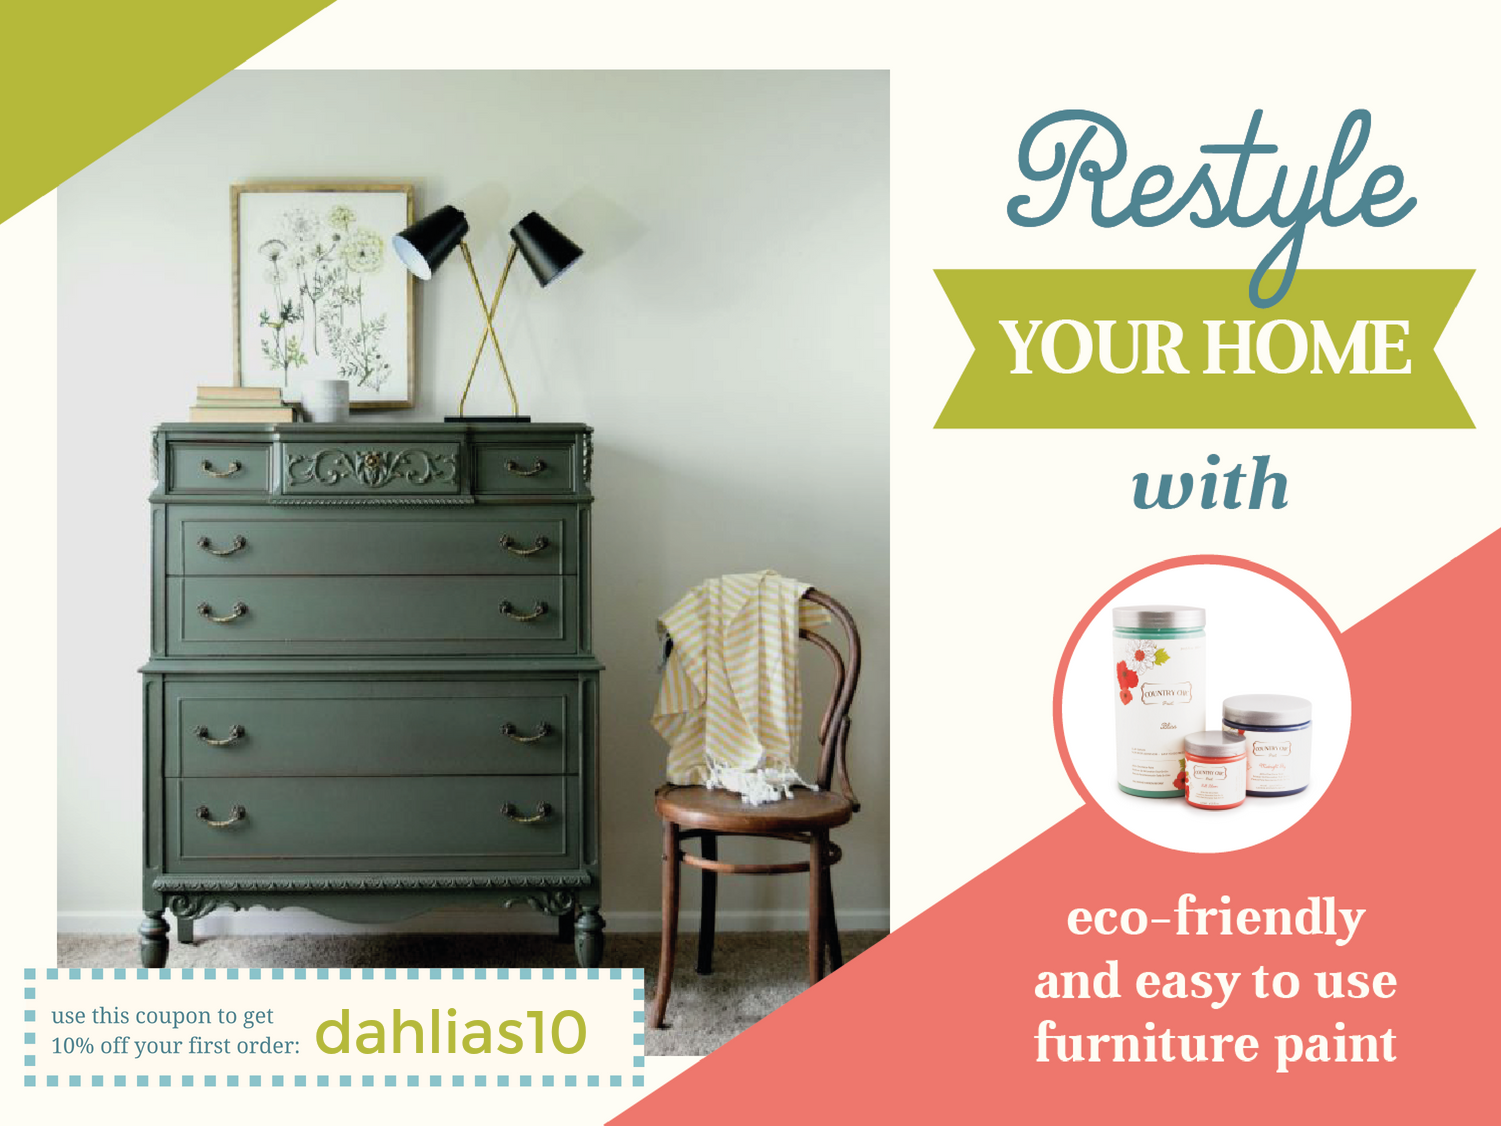
It all started with the wallpaper selection for our breakfast nook from Milton & King. Once it was on the walls, I knew a white cabinet, though a safe choice, would not be the right fit. I boldly and fearfully chose Wanderess by Country Chic Paint.
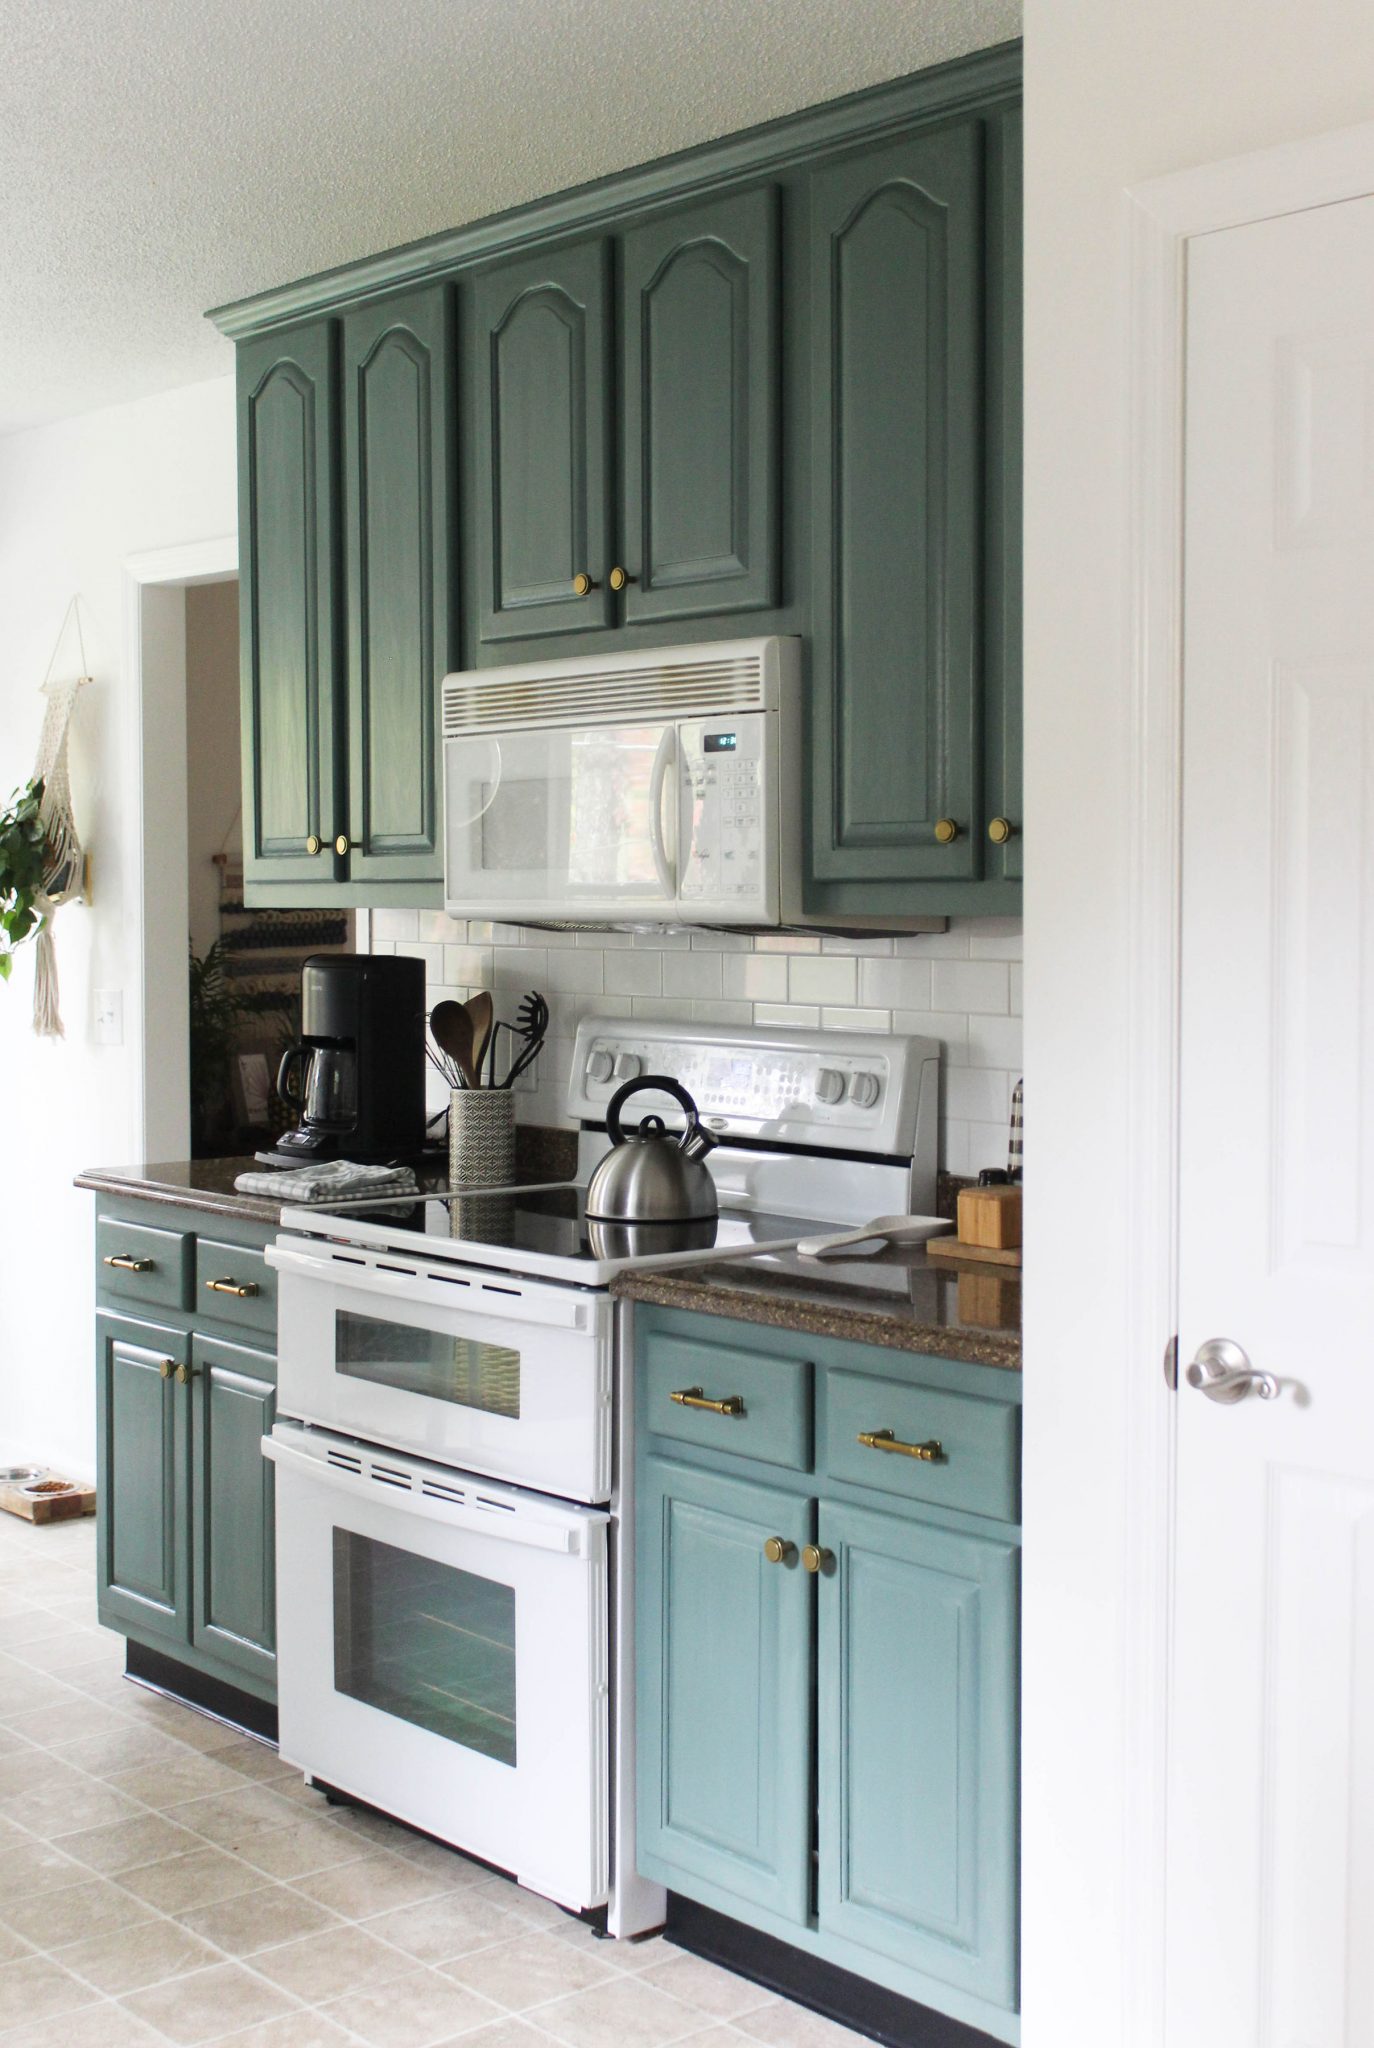
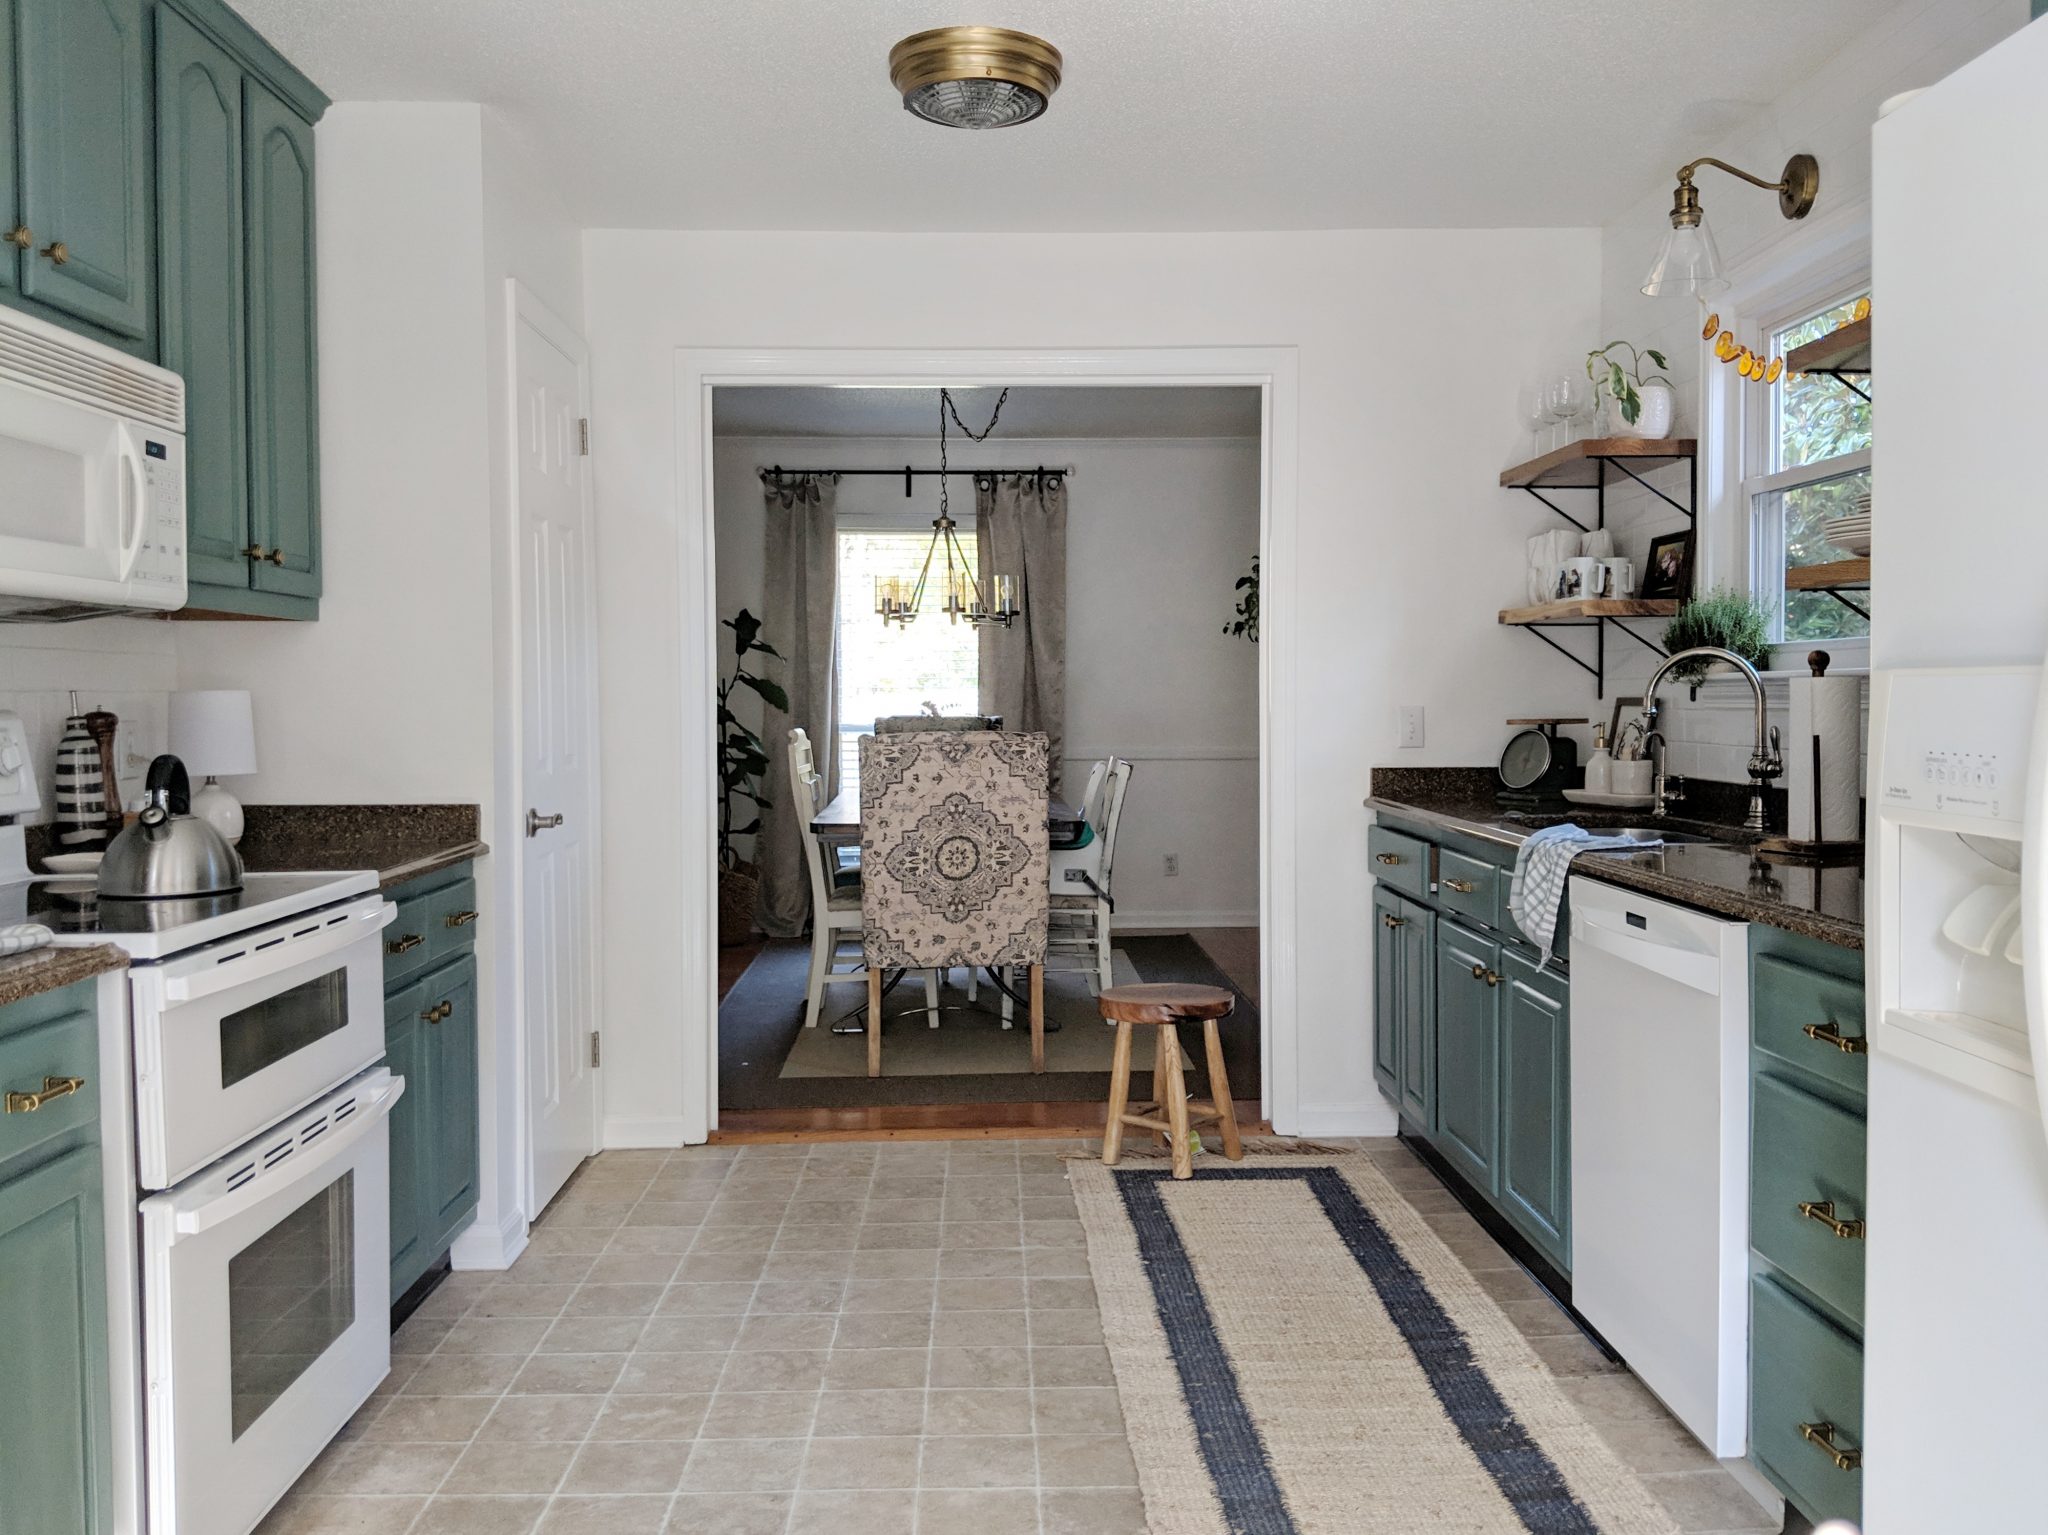
I have been drawn to this greenish teal color ever since moving into our home last year. Now that it’s on our cabinets, I’ve been seeing this color everywhere (Devol Kitchens + Emily Henderson). Coincidence? Perhaps.
Choosing the Finishes + Details
Week 4 Post – Choosing a Faucet
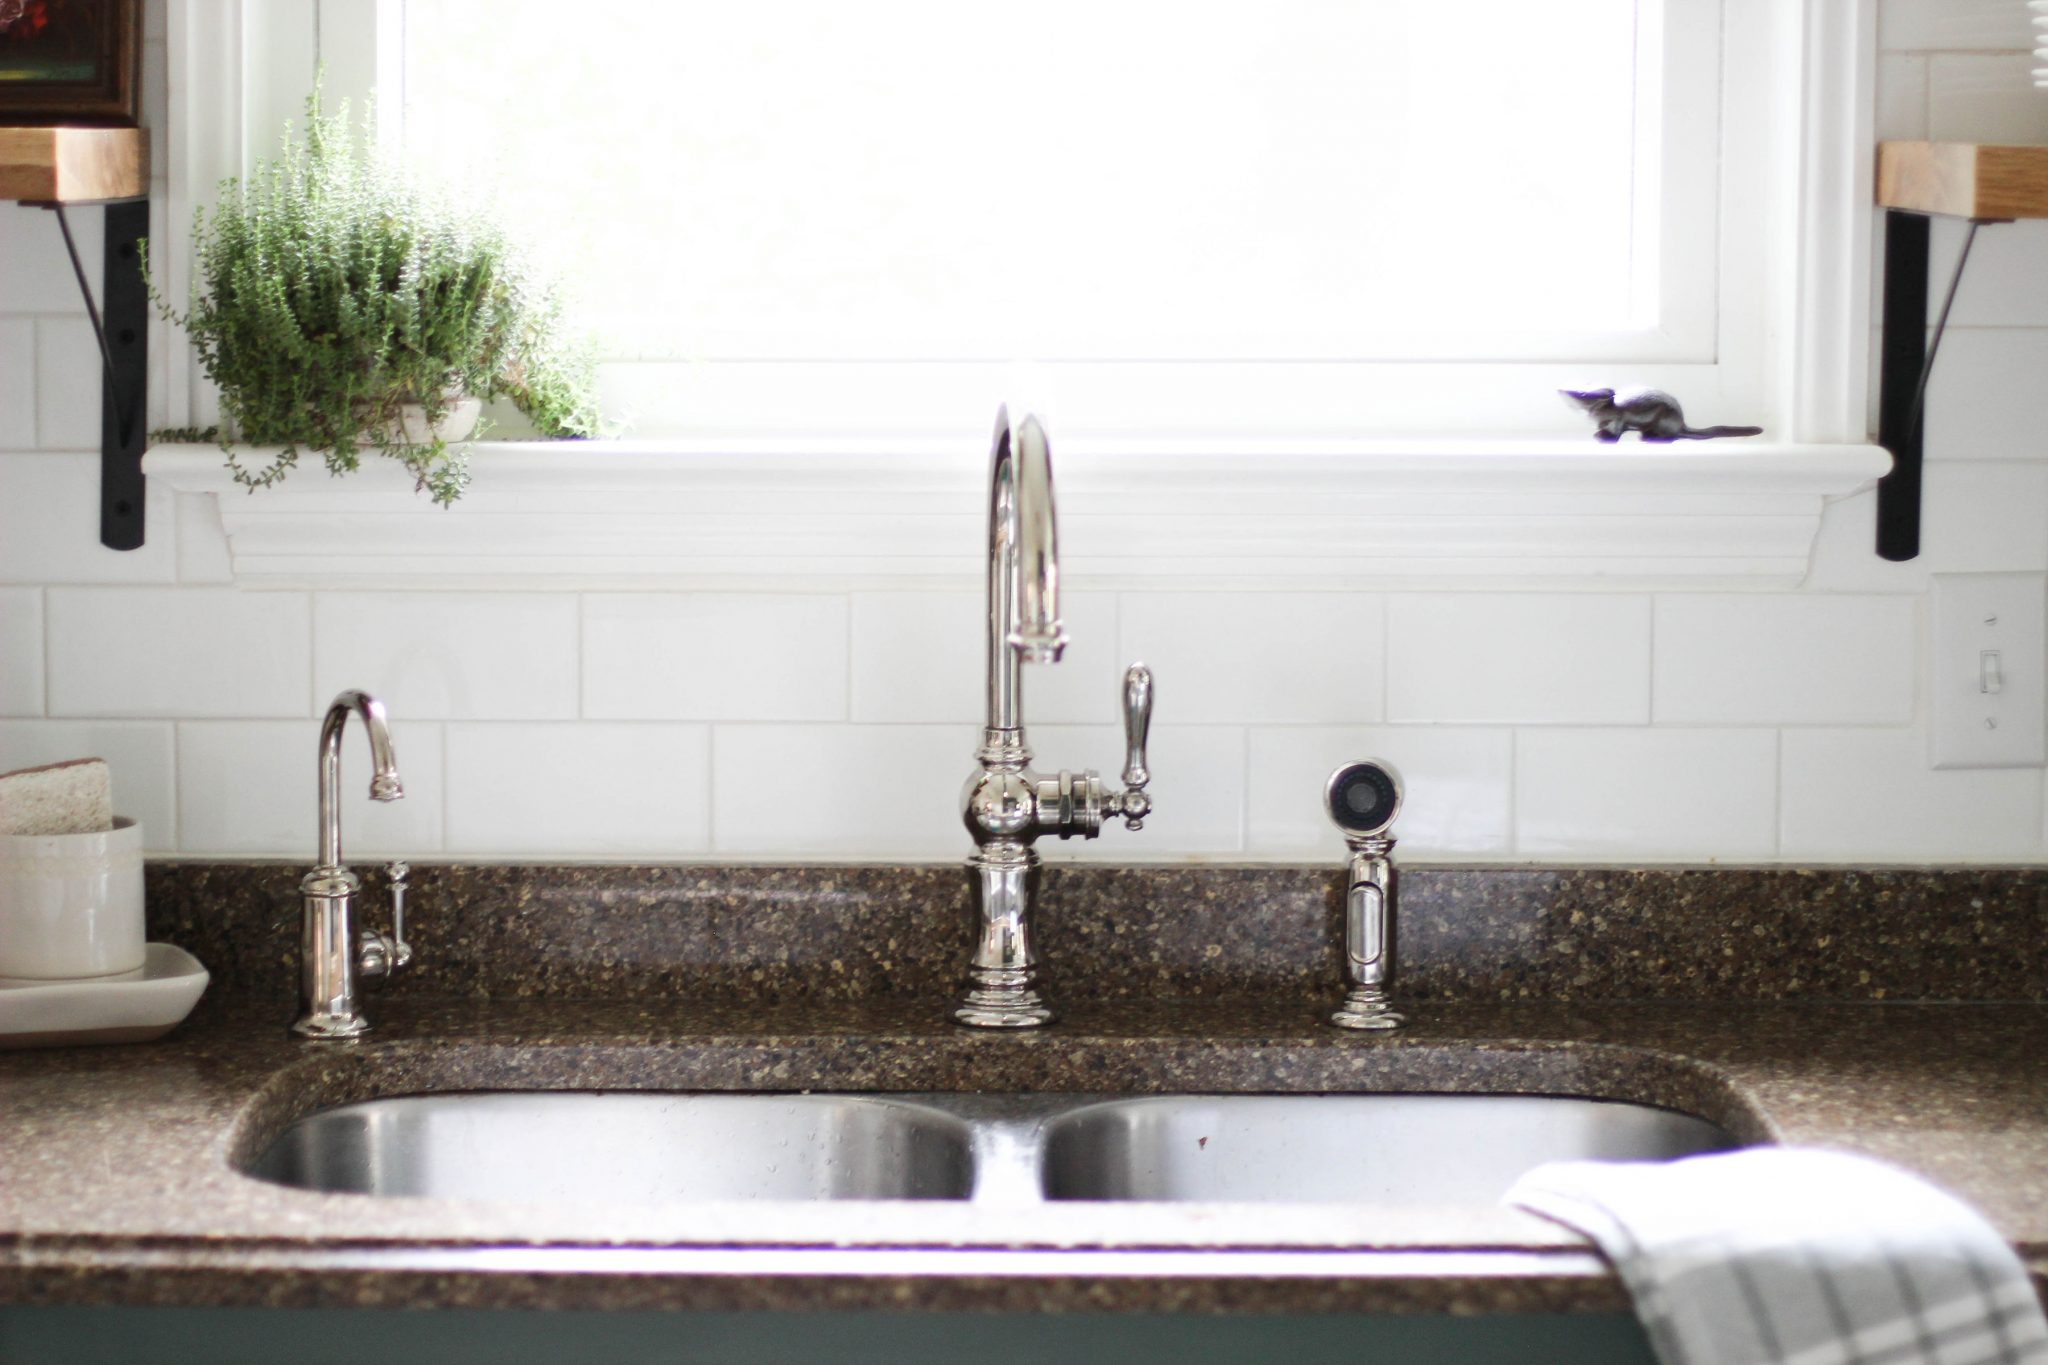
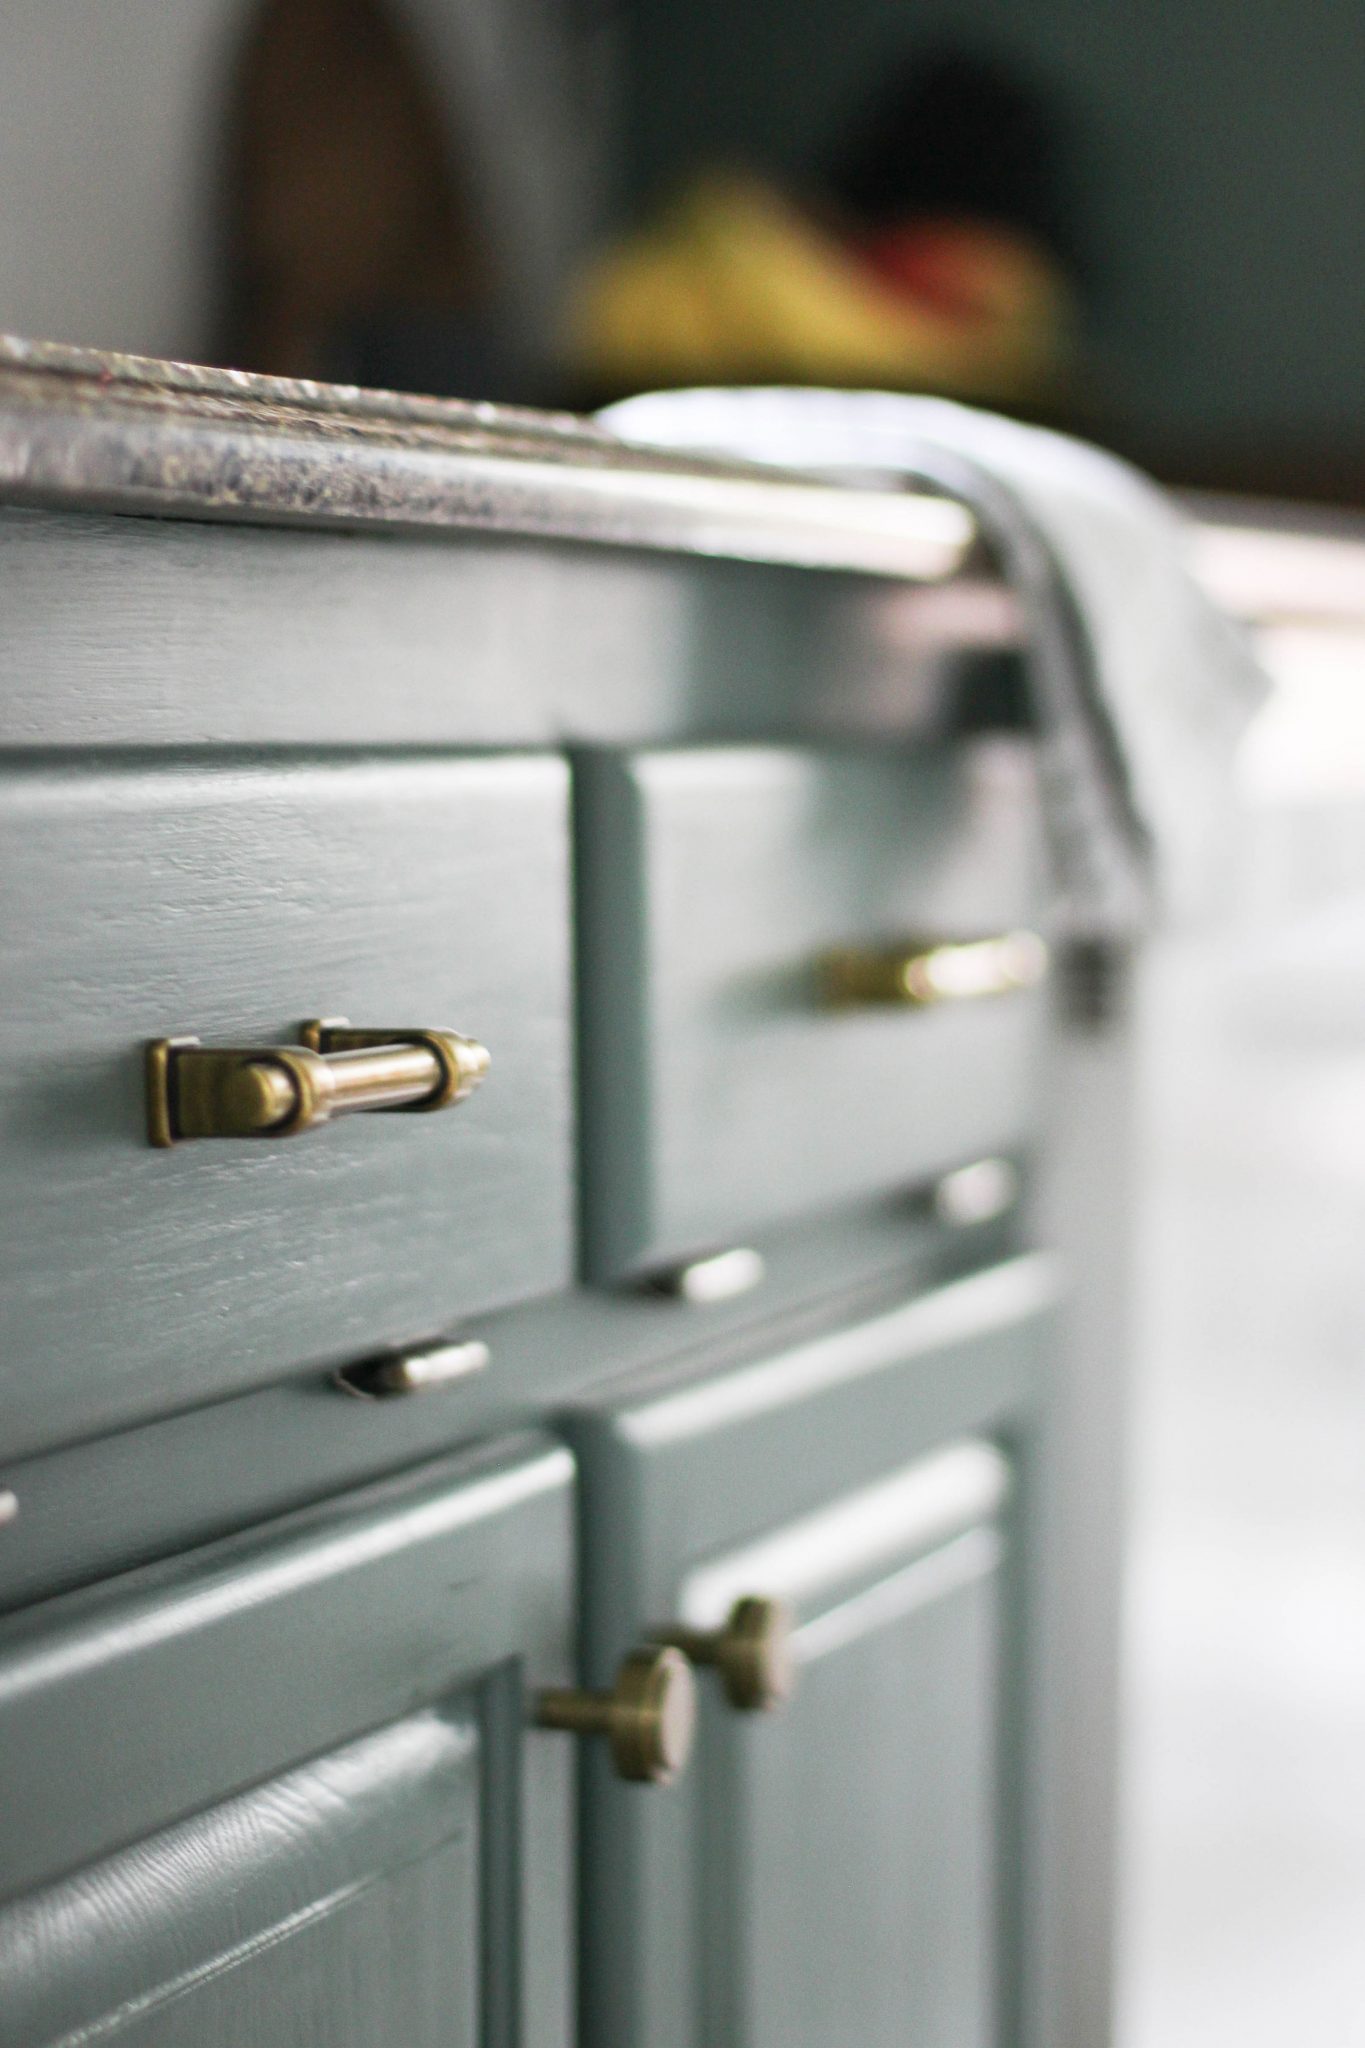
I love the look of an aged brass against darker colors. Brass finishes also went along with my eclectic, vintage feel I was going for in our kitchen. Though our hardware and light fixtures are brass, I wanted to break up the space with a timeless polished nickel faucet. Though it’s easier to choose all the same metal finish in a space, mixing metals can add depth and character to your design.
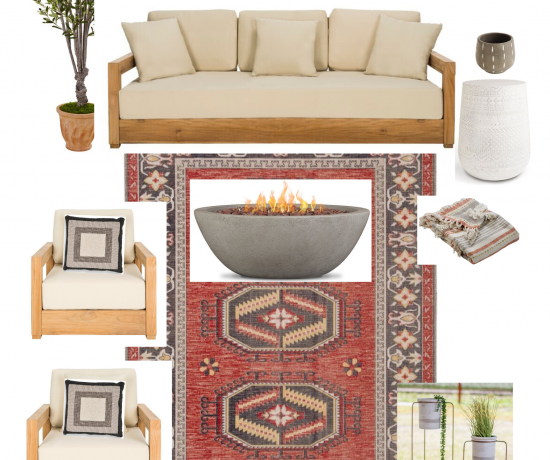
For the details of the kitchen, I went with natural, neutral touches. For instance, I added several natural wood touches throughout the space with the place mats, cutting boards, and shelves. After a long debate on a rug, I had an epiphany and moved our jute runner from our entryway into the kitchen. Let’s just say I wasted hours of searching for the perfect rug online and nearly a $30 return fee before making this move. We live and we learn.
Installing Backsplash
Week 3 Post – Removing a Tile Backsplash
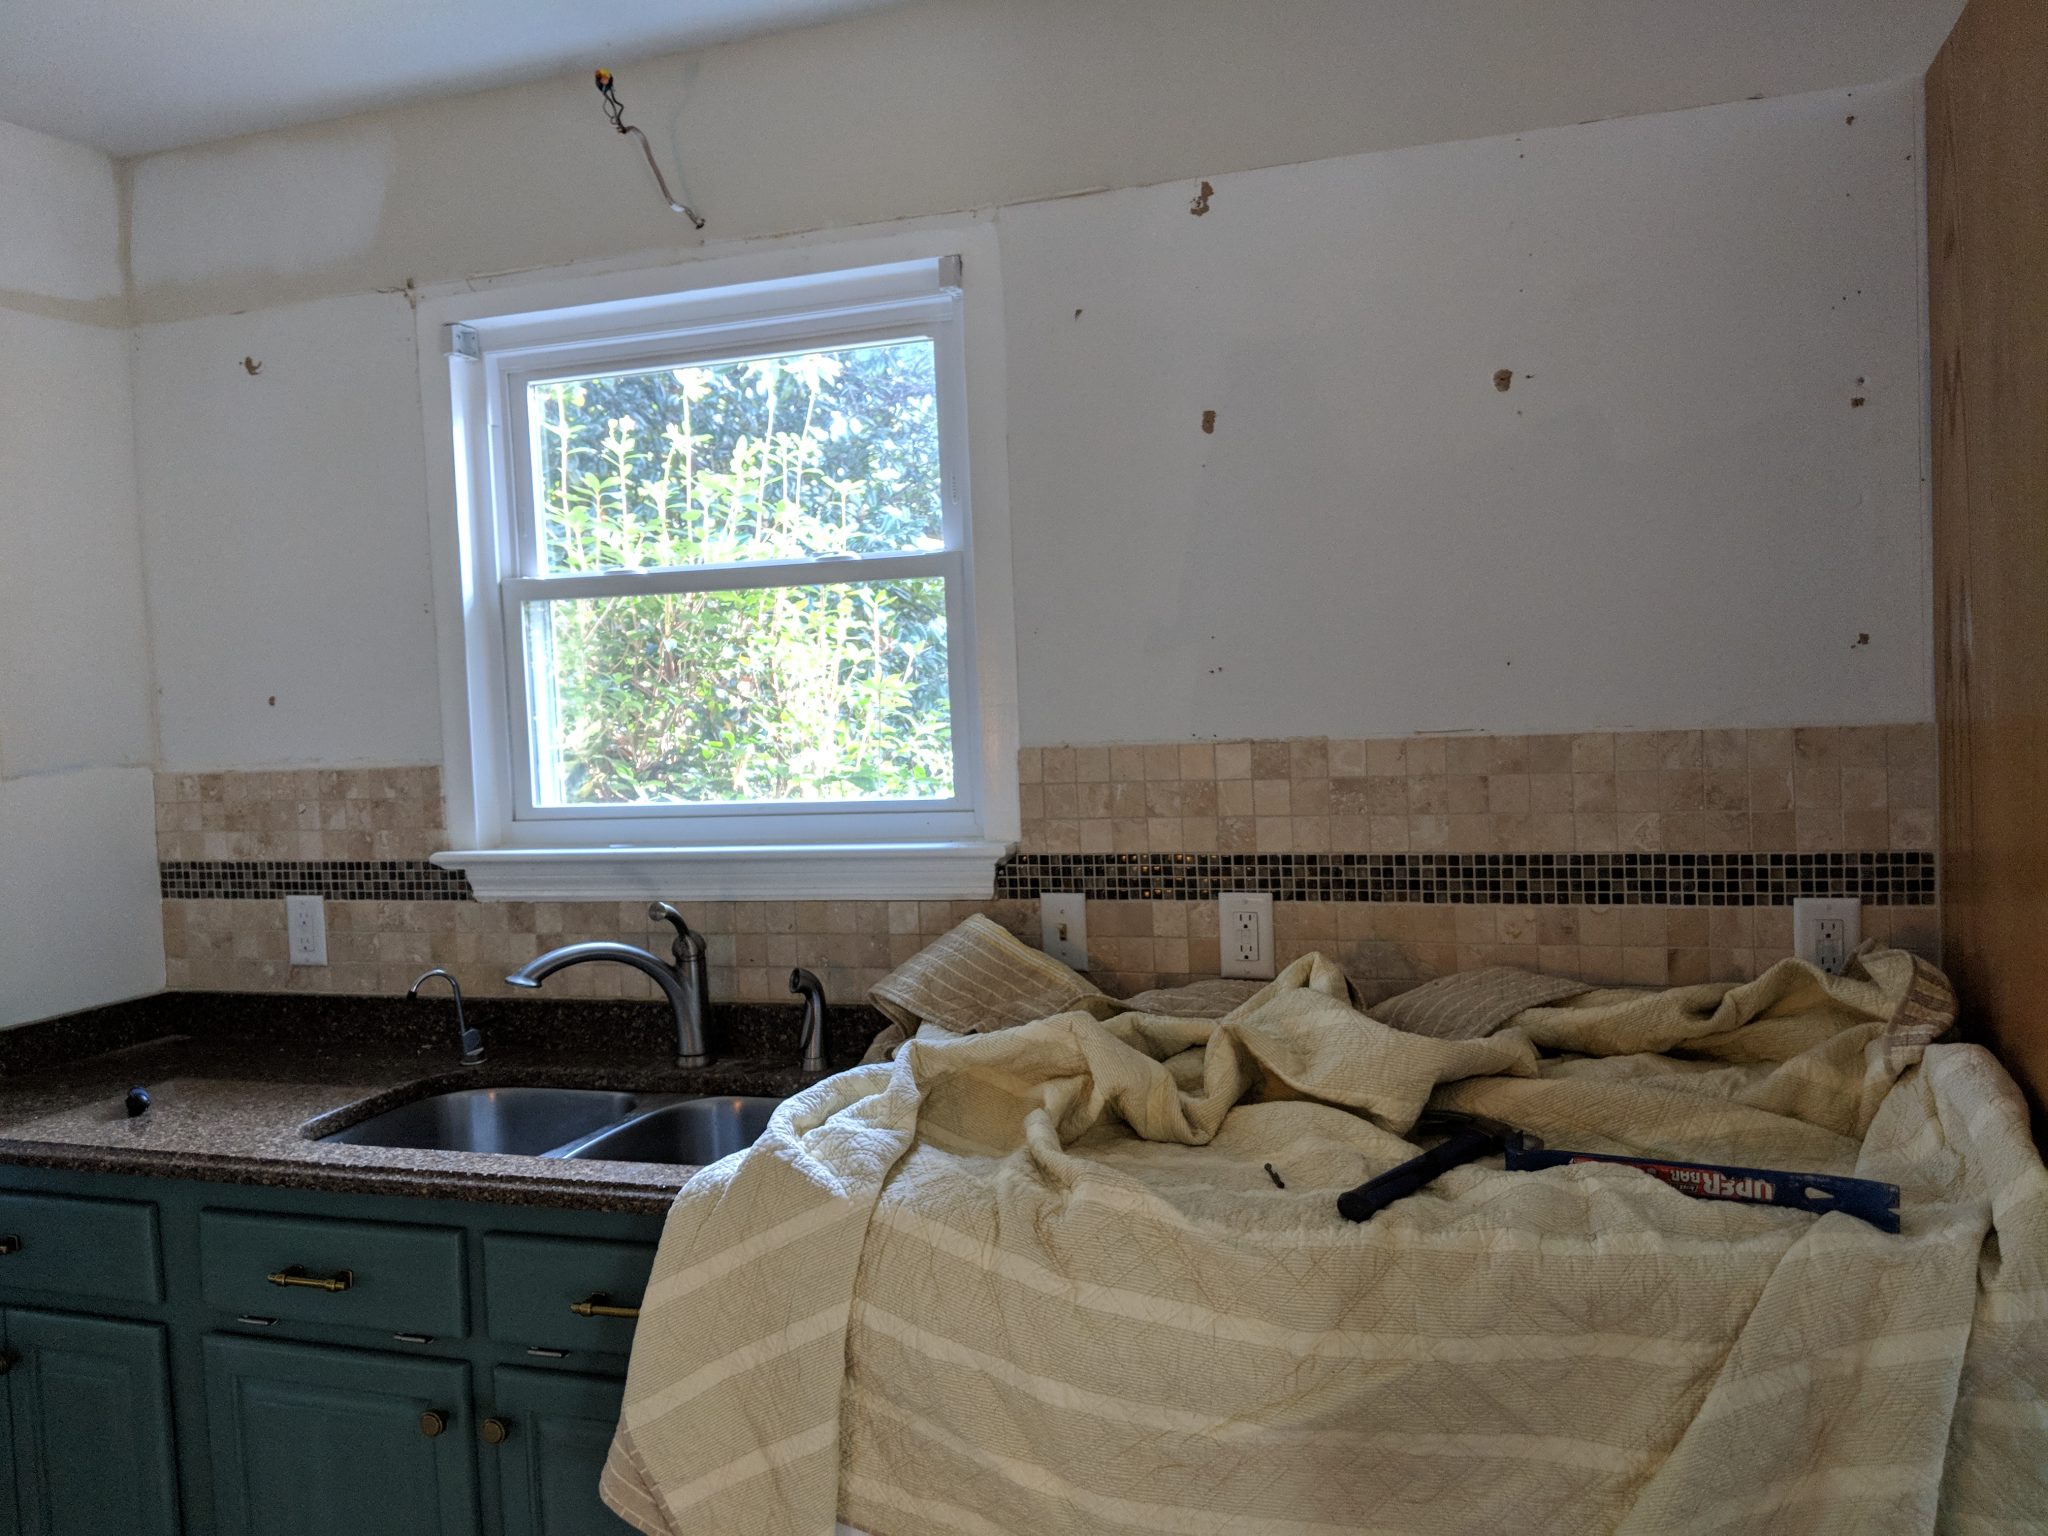
A backsplash can completely transform a space, but it’s a full weekend project in and of itself. It was easily the messiest, most labor intensive project of our renovation. Tearing out our old backsplash had a lot to do with that.
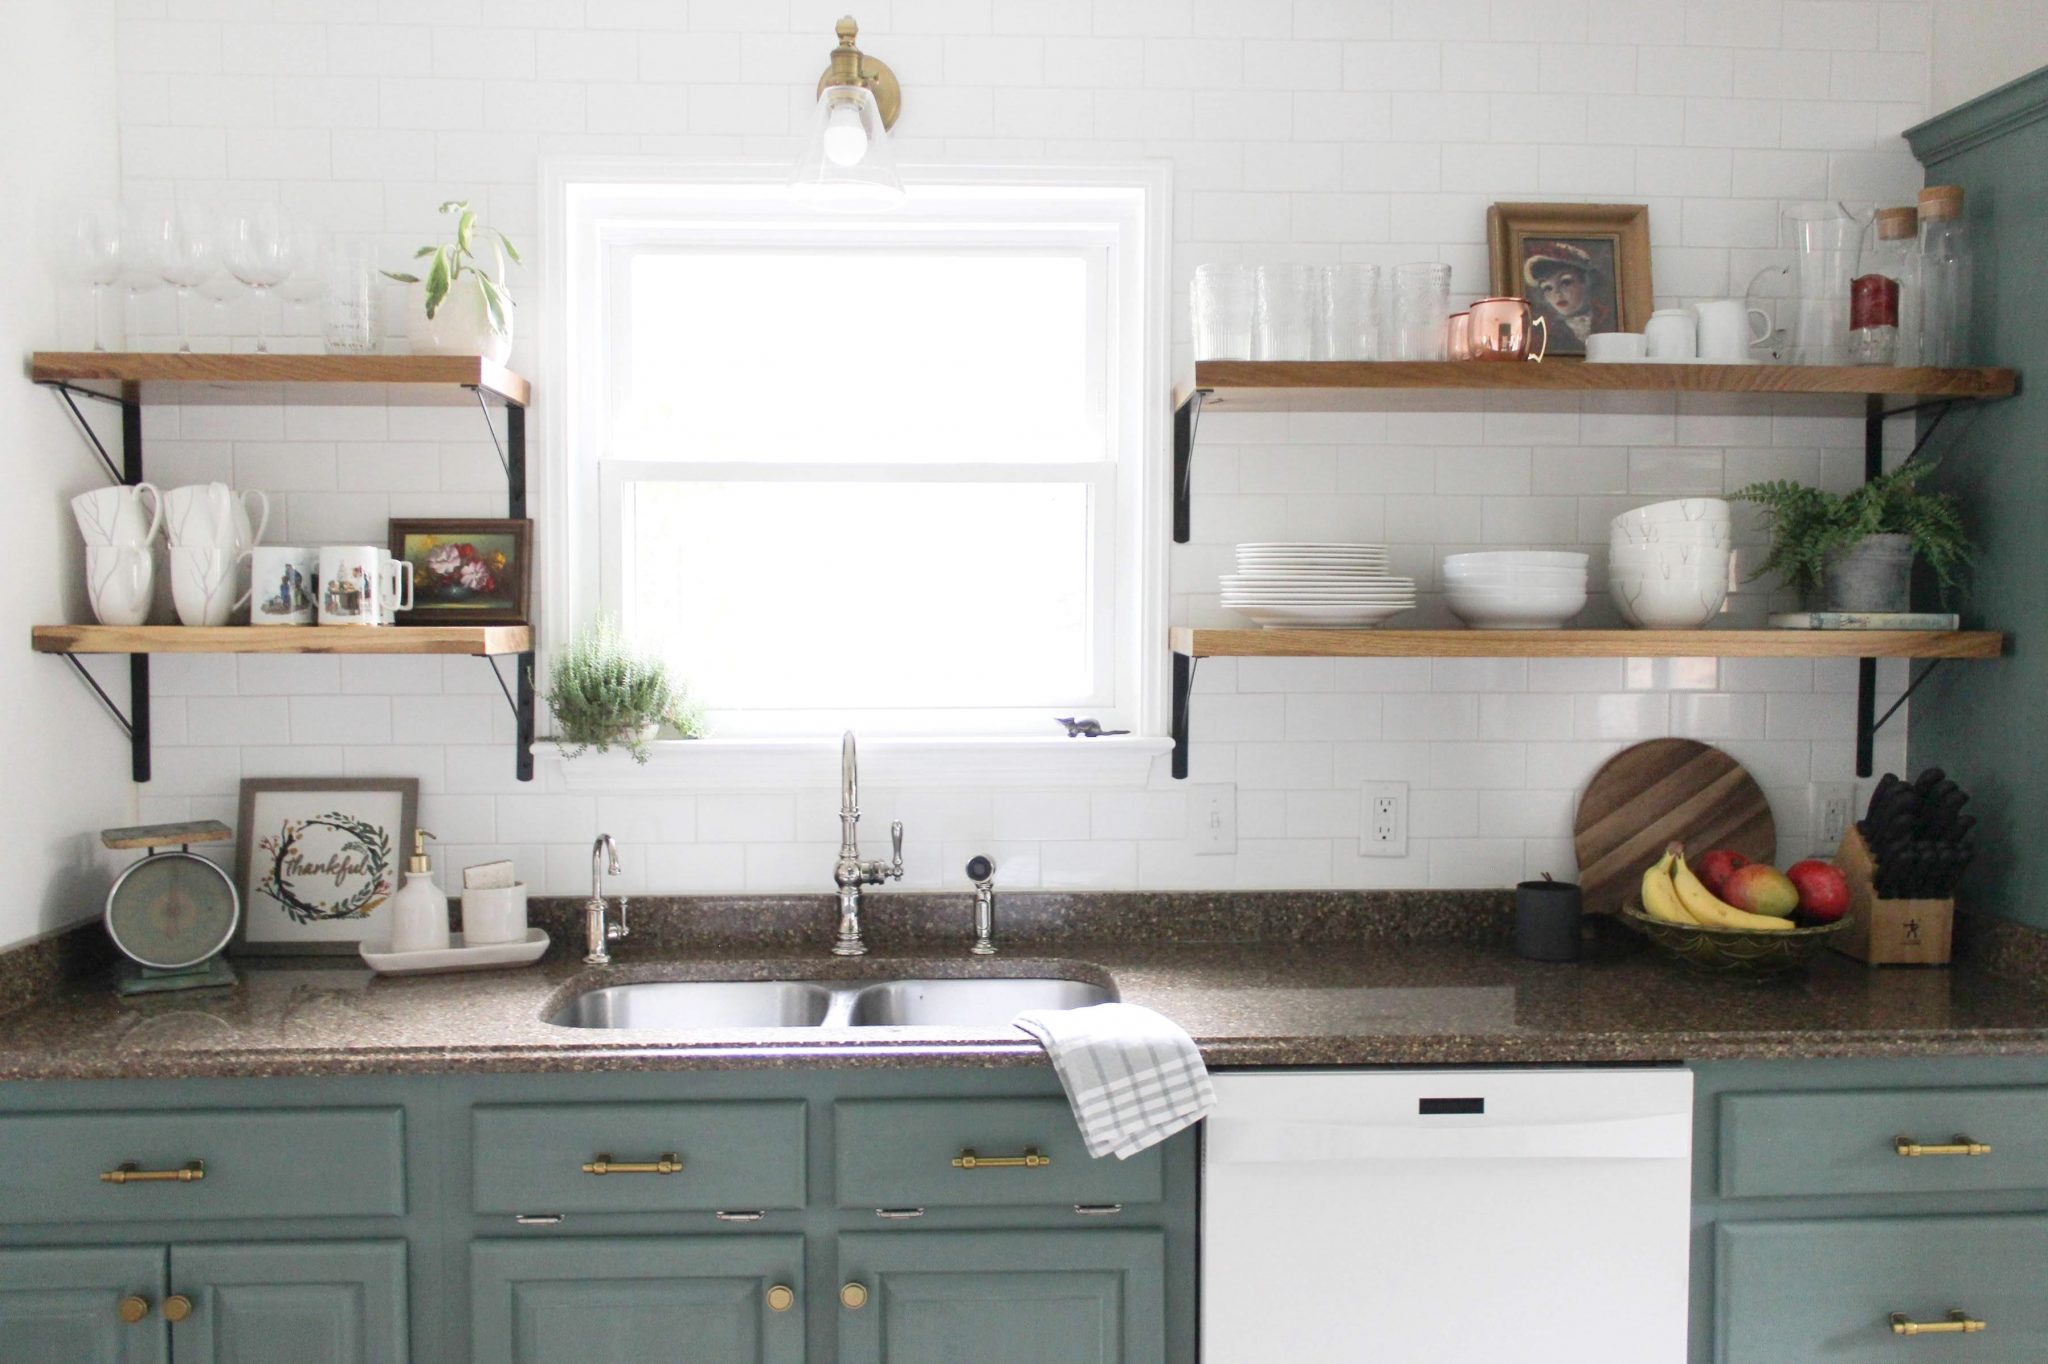
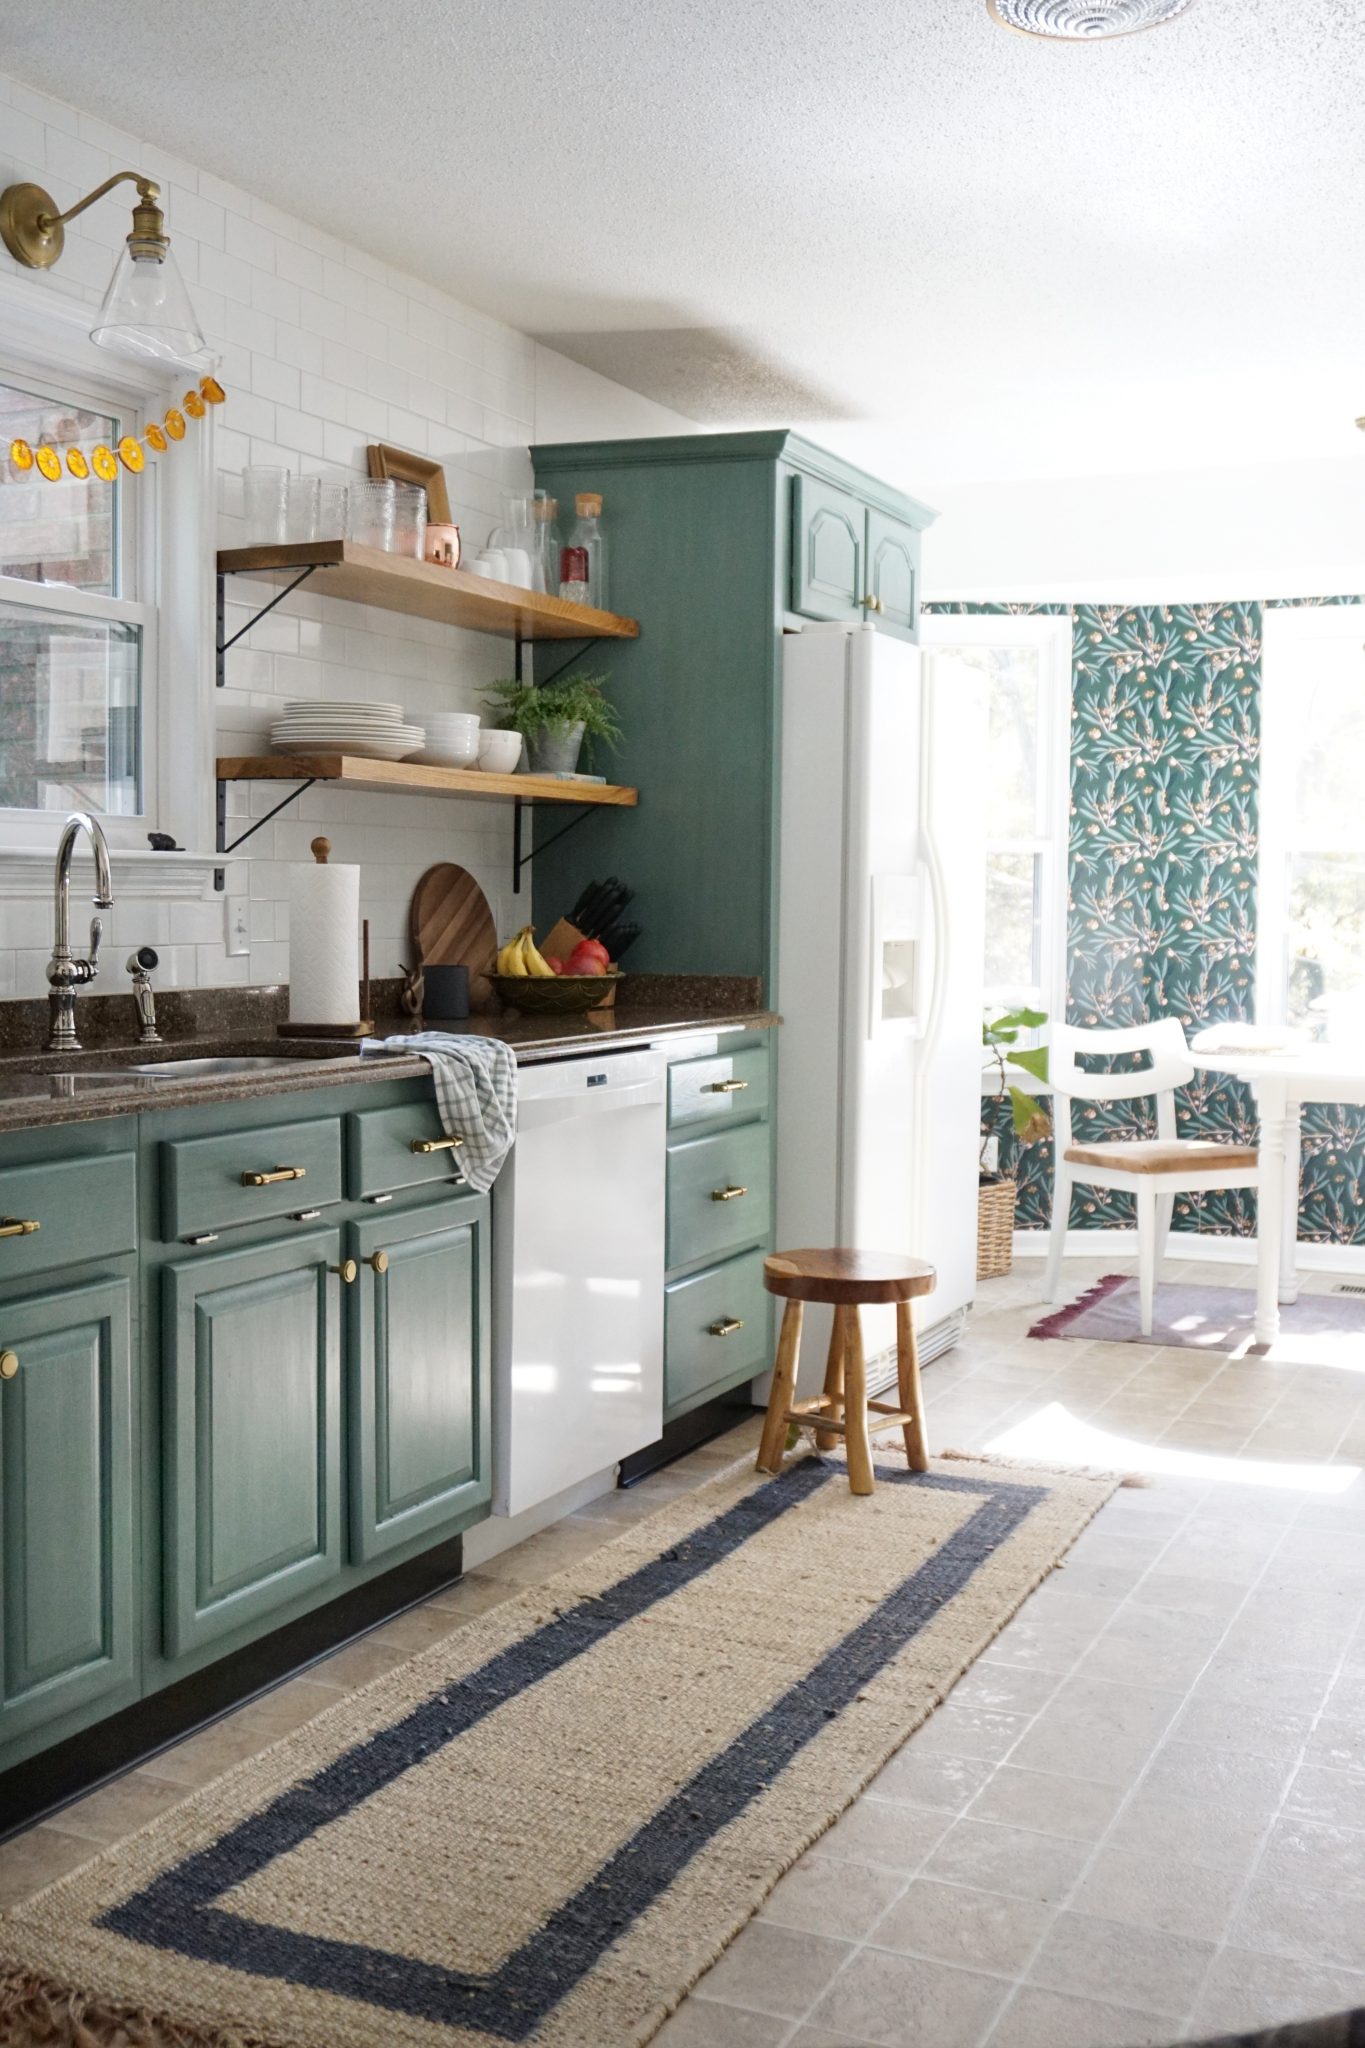
I decided to take the subway tile all the way up to the ceiling to really make this wall the feature. We did the same in our last kitchen, and I’m convinced that it’s the way to go with a backsplash. It instantly made our kitchen feel 10 times more fresh and modern. A more detailed post on this to come!
Hanging Shelves
Week 5 Post – All About Our Open Shelves
We’ve painted furniture, installed light fixtures, tile, and hardware, but we’ve never hung 20lb solid oak shelves on a tiled wall before. My husband was a bit nervous and hesitated to dive into this project until he had that okay from an experienced contractor, which was wise. In the end, it really wasn’t a tricky project. It just took some good measuring and the right tools.
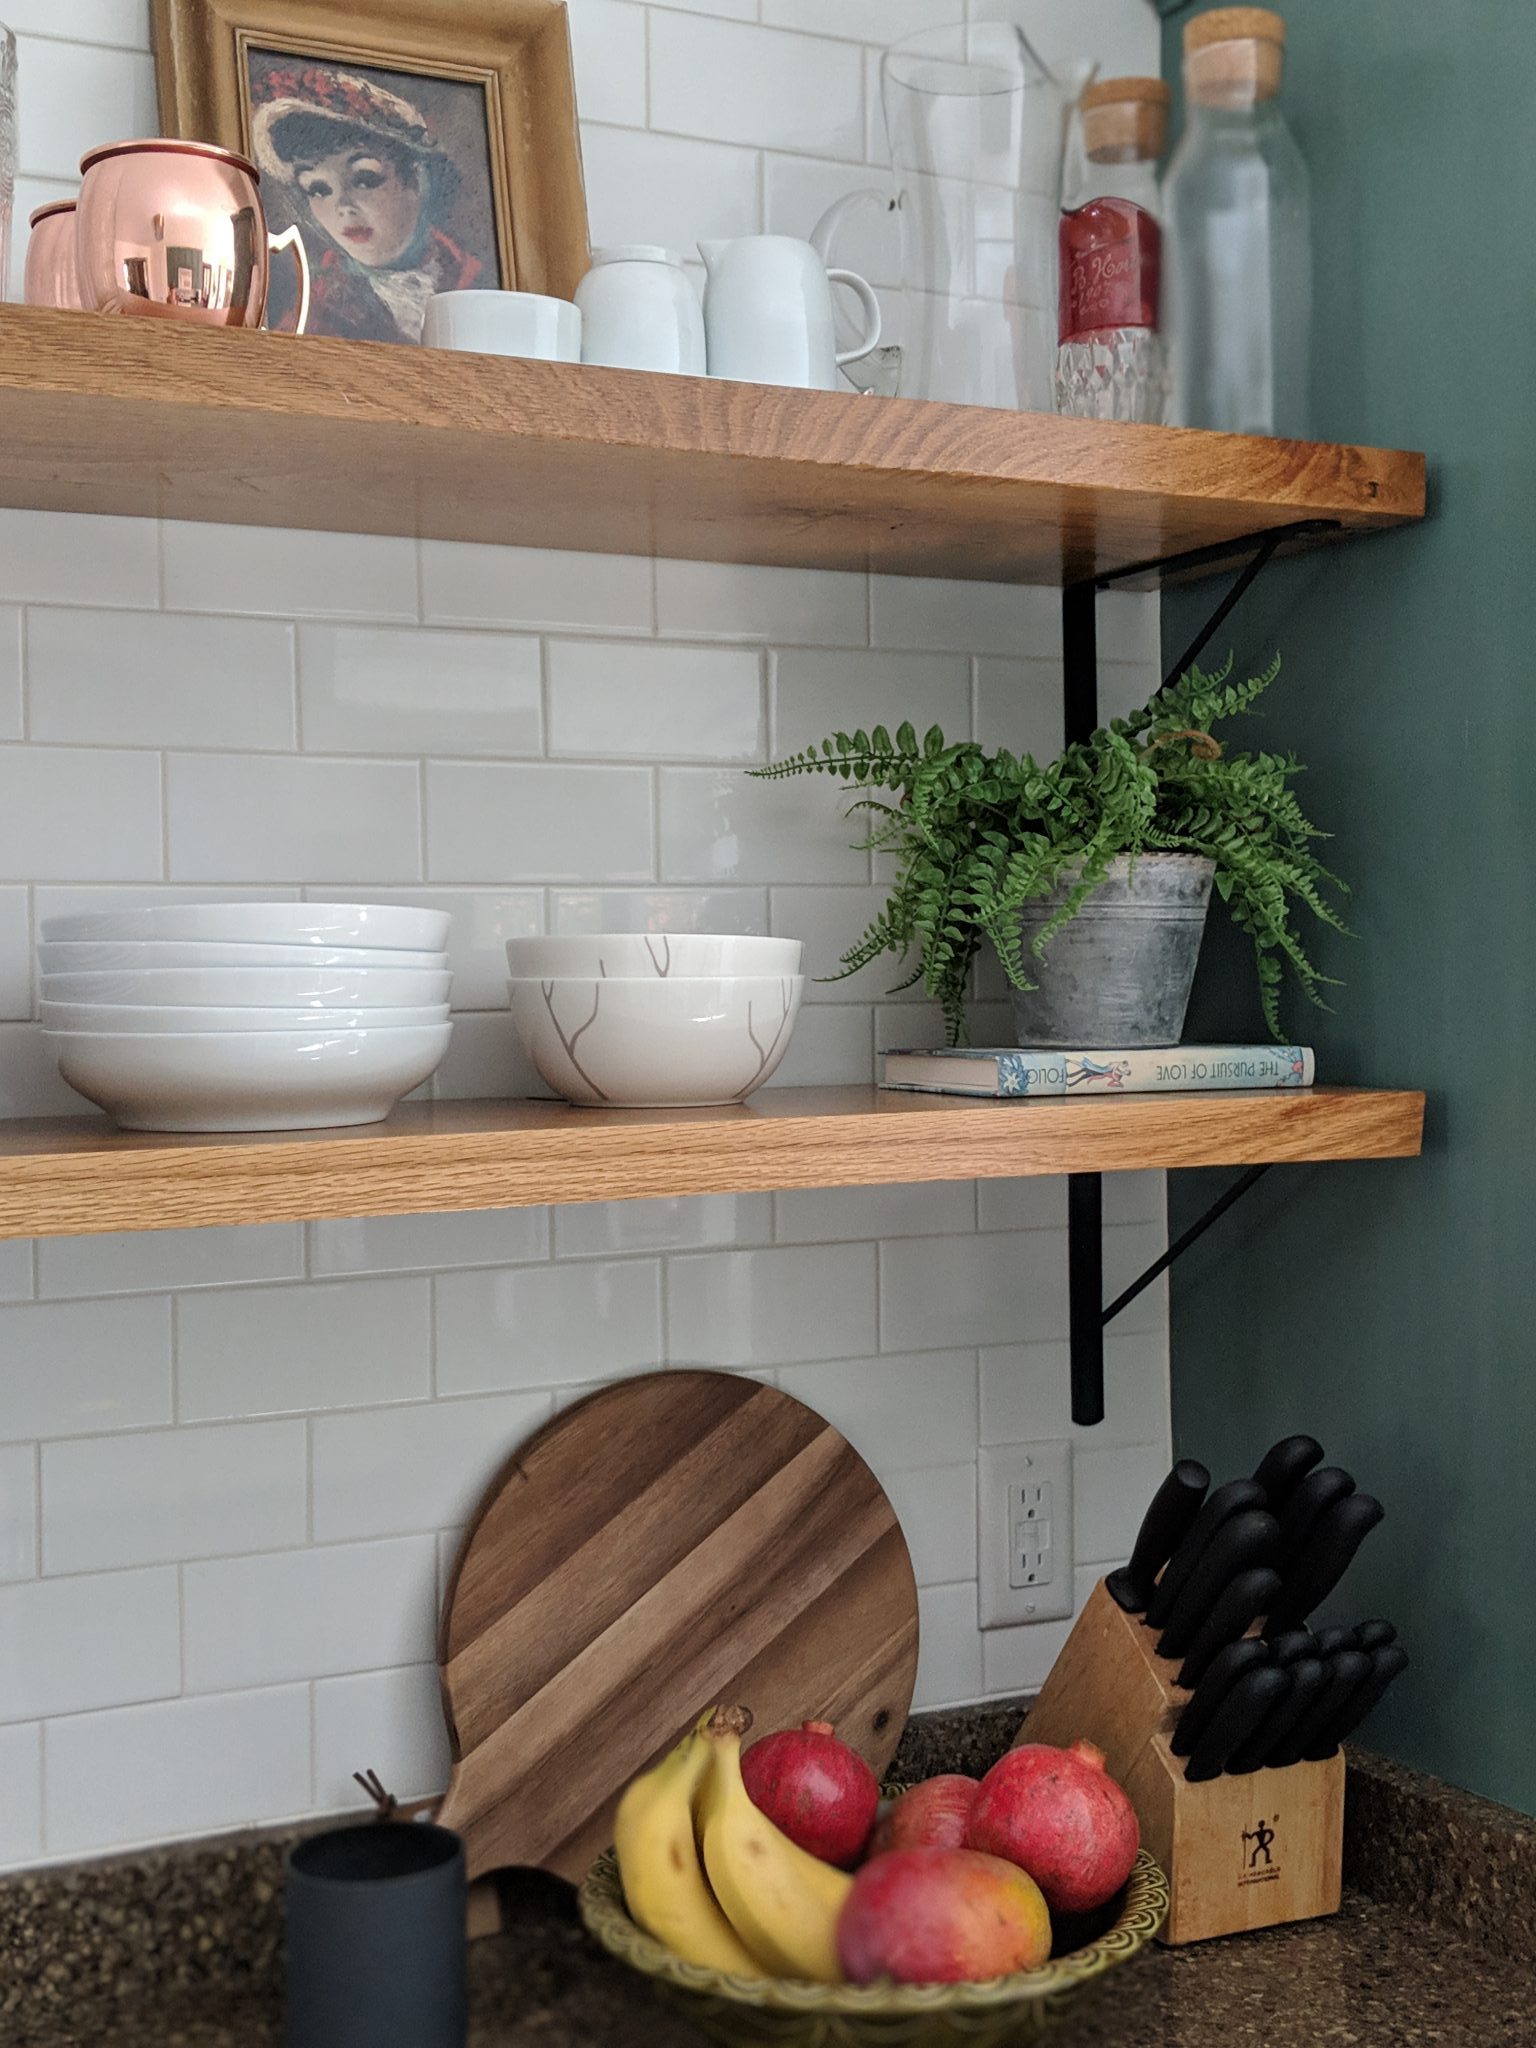
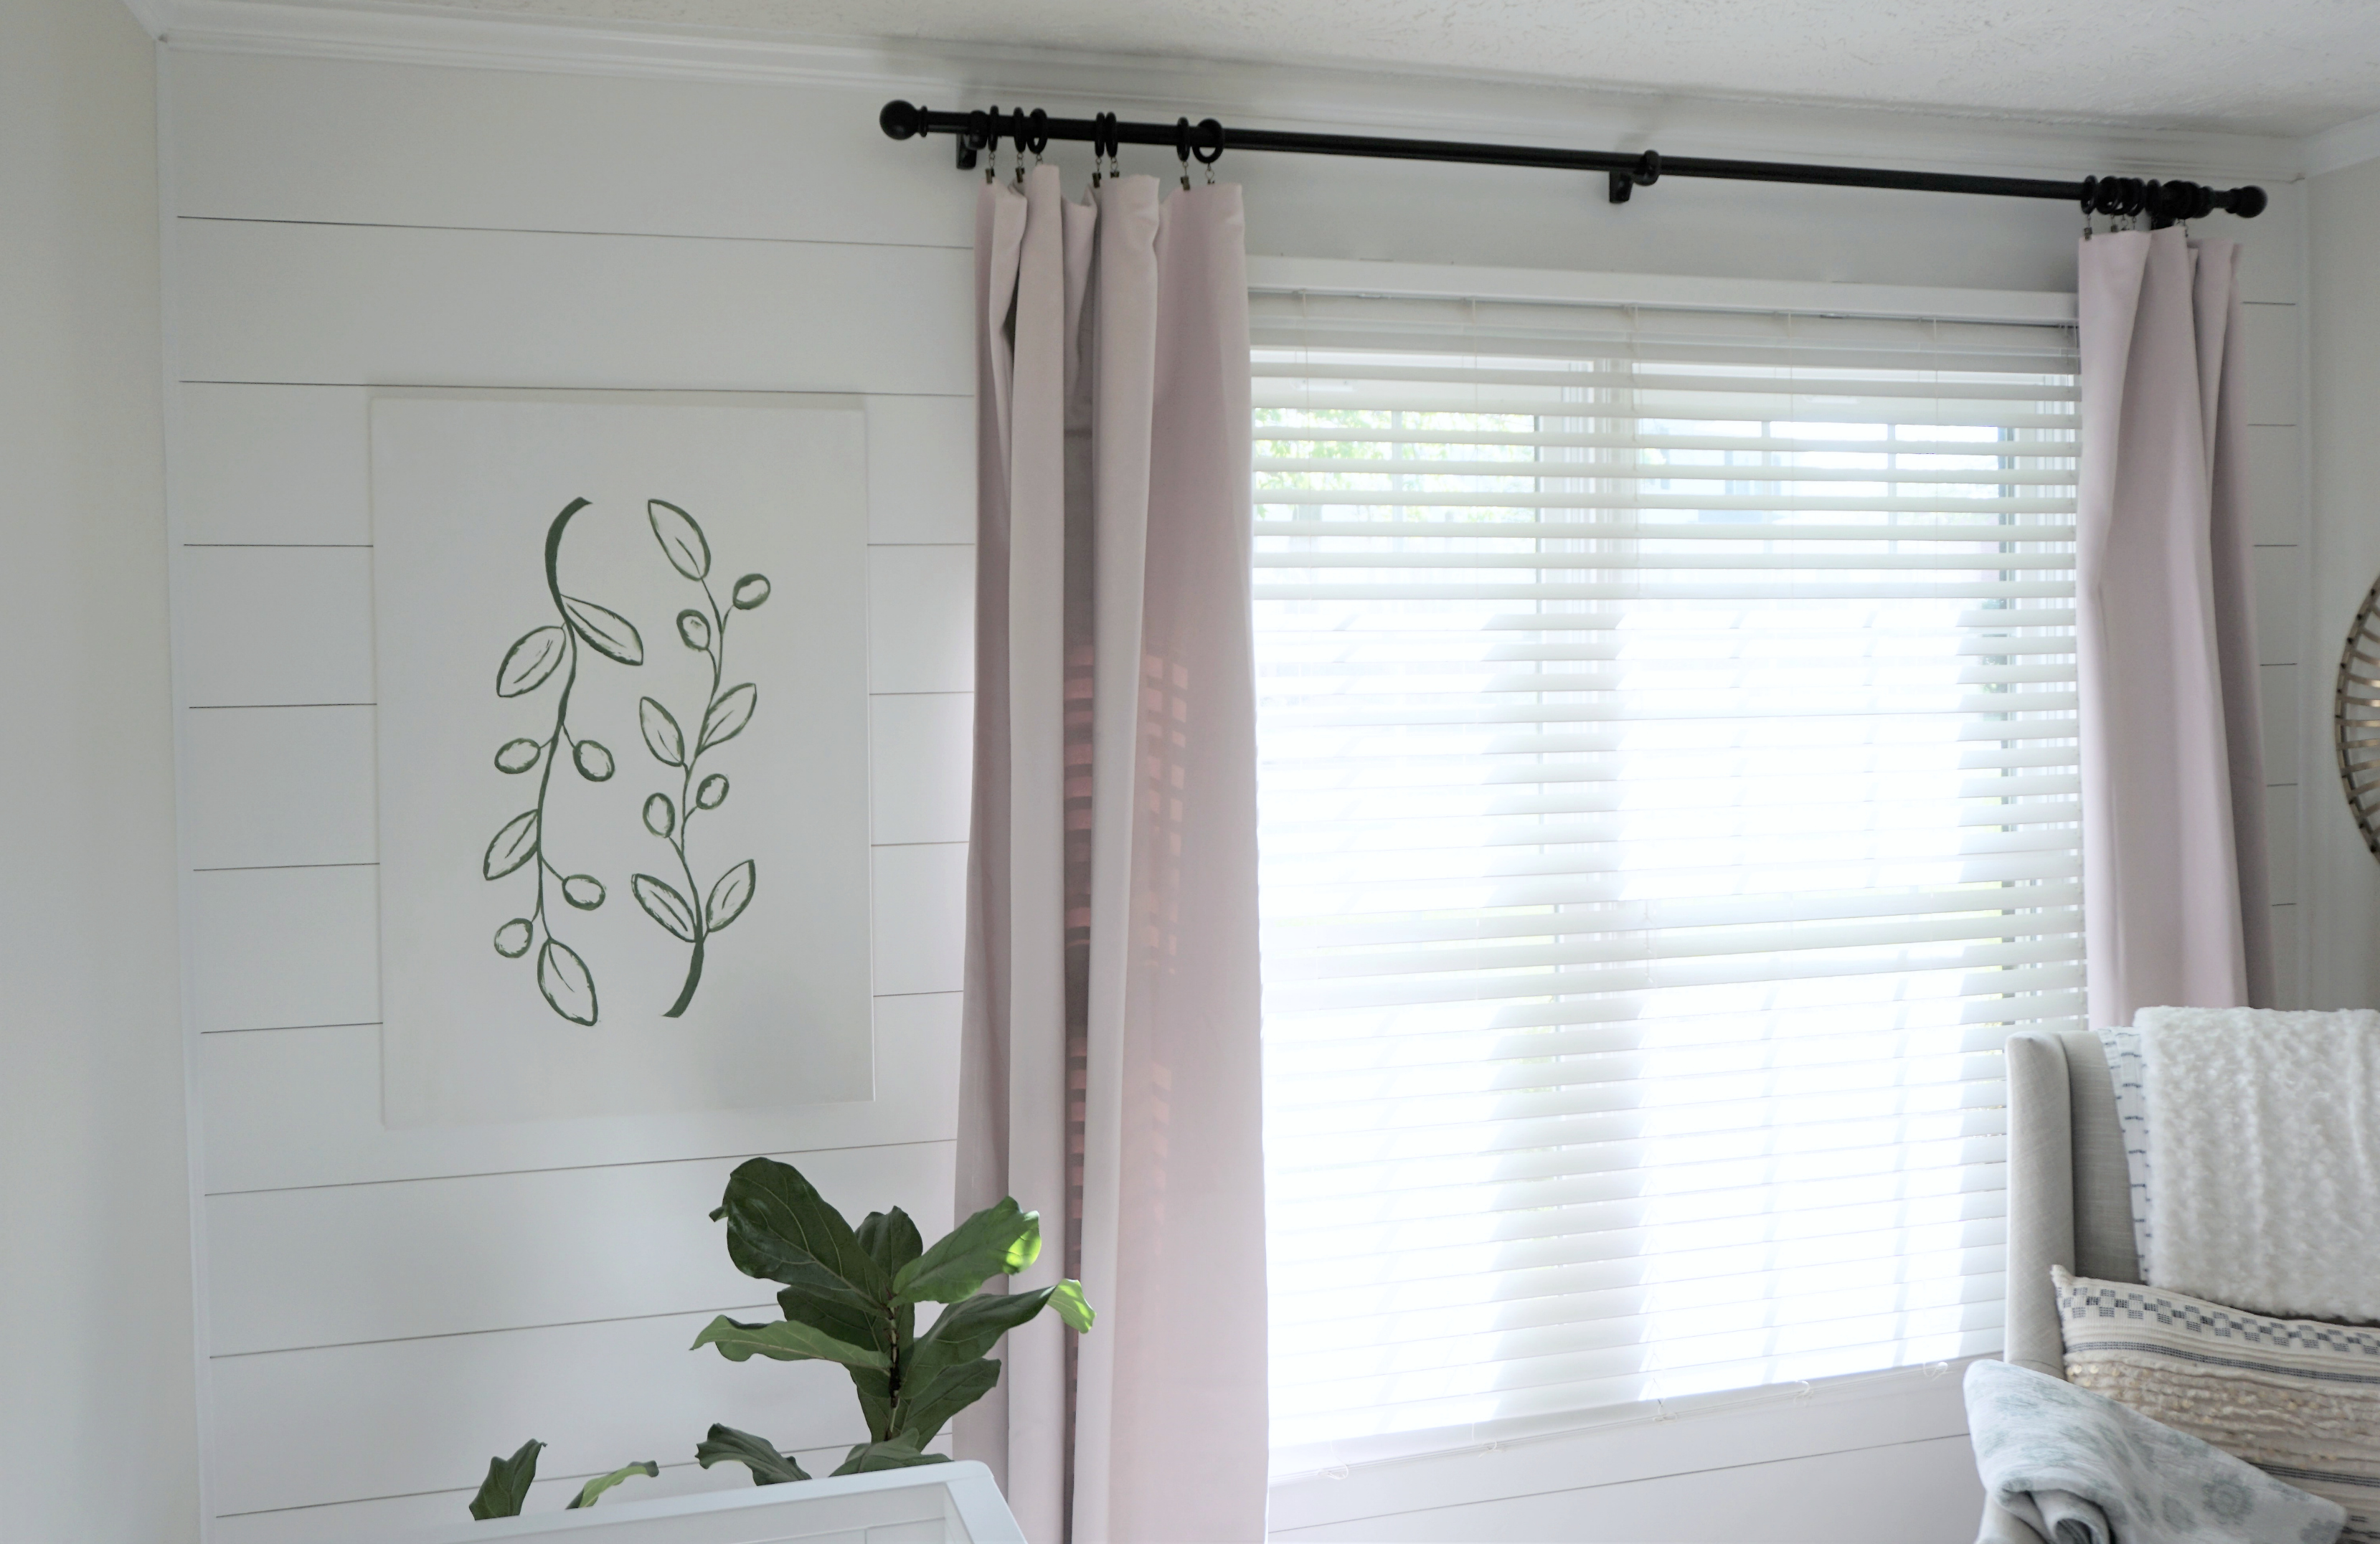
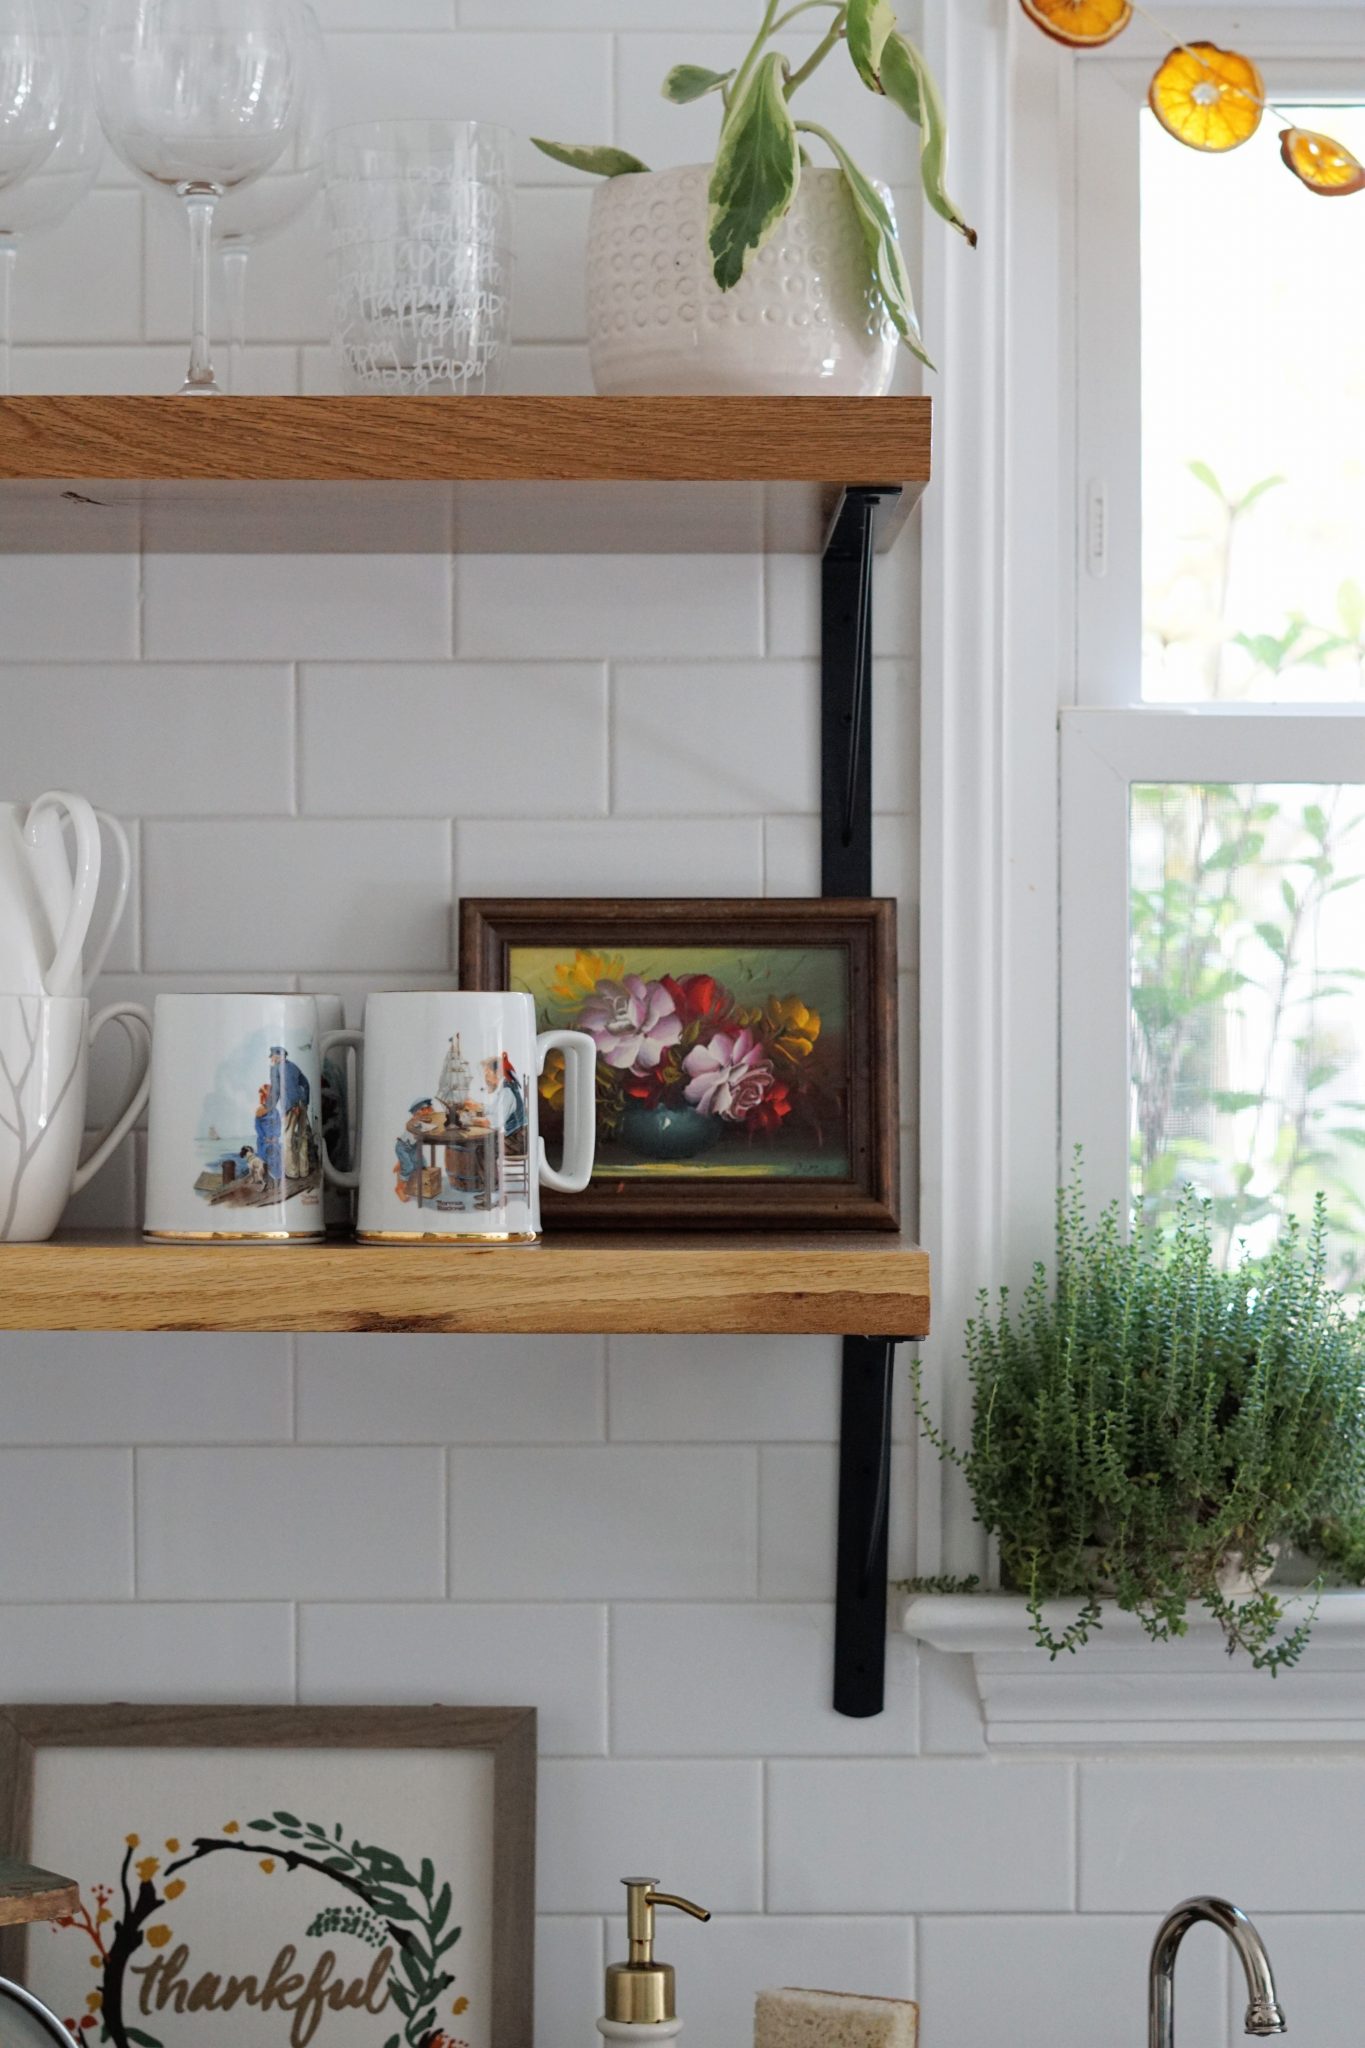
The shelves were the finishing touch on our kitchen. They’ve really made the space so special by allowing me to showcase meaningful pieces, vintage art, and greenery. The shelves are not just practical, but they’re a showstopper as well.
A Final Look
My husband and I both agree that this kitchen is our favorite yet, which is wild since we loved and put our blood, sweat, and tears into our first kitchen. I think we love this one more because we went with what we like right now and not just what media tells us to love. Even though it may be different than a showroom kitchen, it flows with our home and expresses who we are.
Our breakfast nook was phase 1 of our kitchen remodel. You can check out that reveal HERE.

It’s really been the first time I let my guards down in my home and design without fear. It was freeing, and I think that free feeling fills this space, the heart of our home.
*Photography by Kayla Joy Photography
Sources
Cabinet Paint | Country Chic Paint – Wanderess
Cabinet Hardware | Liberty Hardware
Wallpaper | Milton & King – Olive Dapple
Pendant | Pottery Barn
Sconce | Pottery Barn
Faucet | eFaucets
Tile & Supplies | Home Depot
Rug Runner | World Market (similar)
A massive thank you to everyone who made this room come to life.


Also, check out our first kitchen remodel HERE.