One of the joys of living in a home built in the early 80s is having a slapbrush ceiling. It’s the kind of ceiling that you can see different images in every time you look at it. Mostly flowers. Sometimes a man’s face. I grew up in a house with this type of ceiling, so it really doesn’t bother me. Plus, the thought of somehow removing this texture throughout our house sounds like an absolute nightmare! Is it even possible??
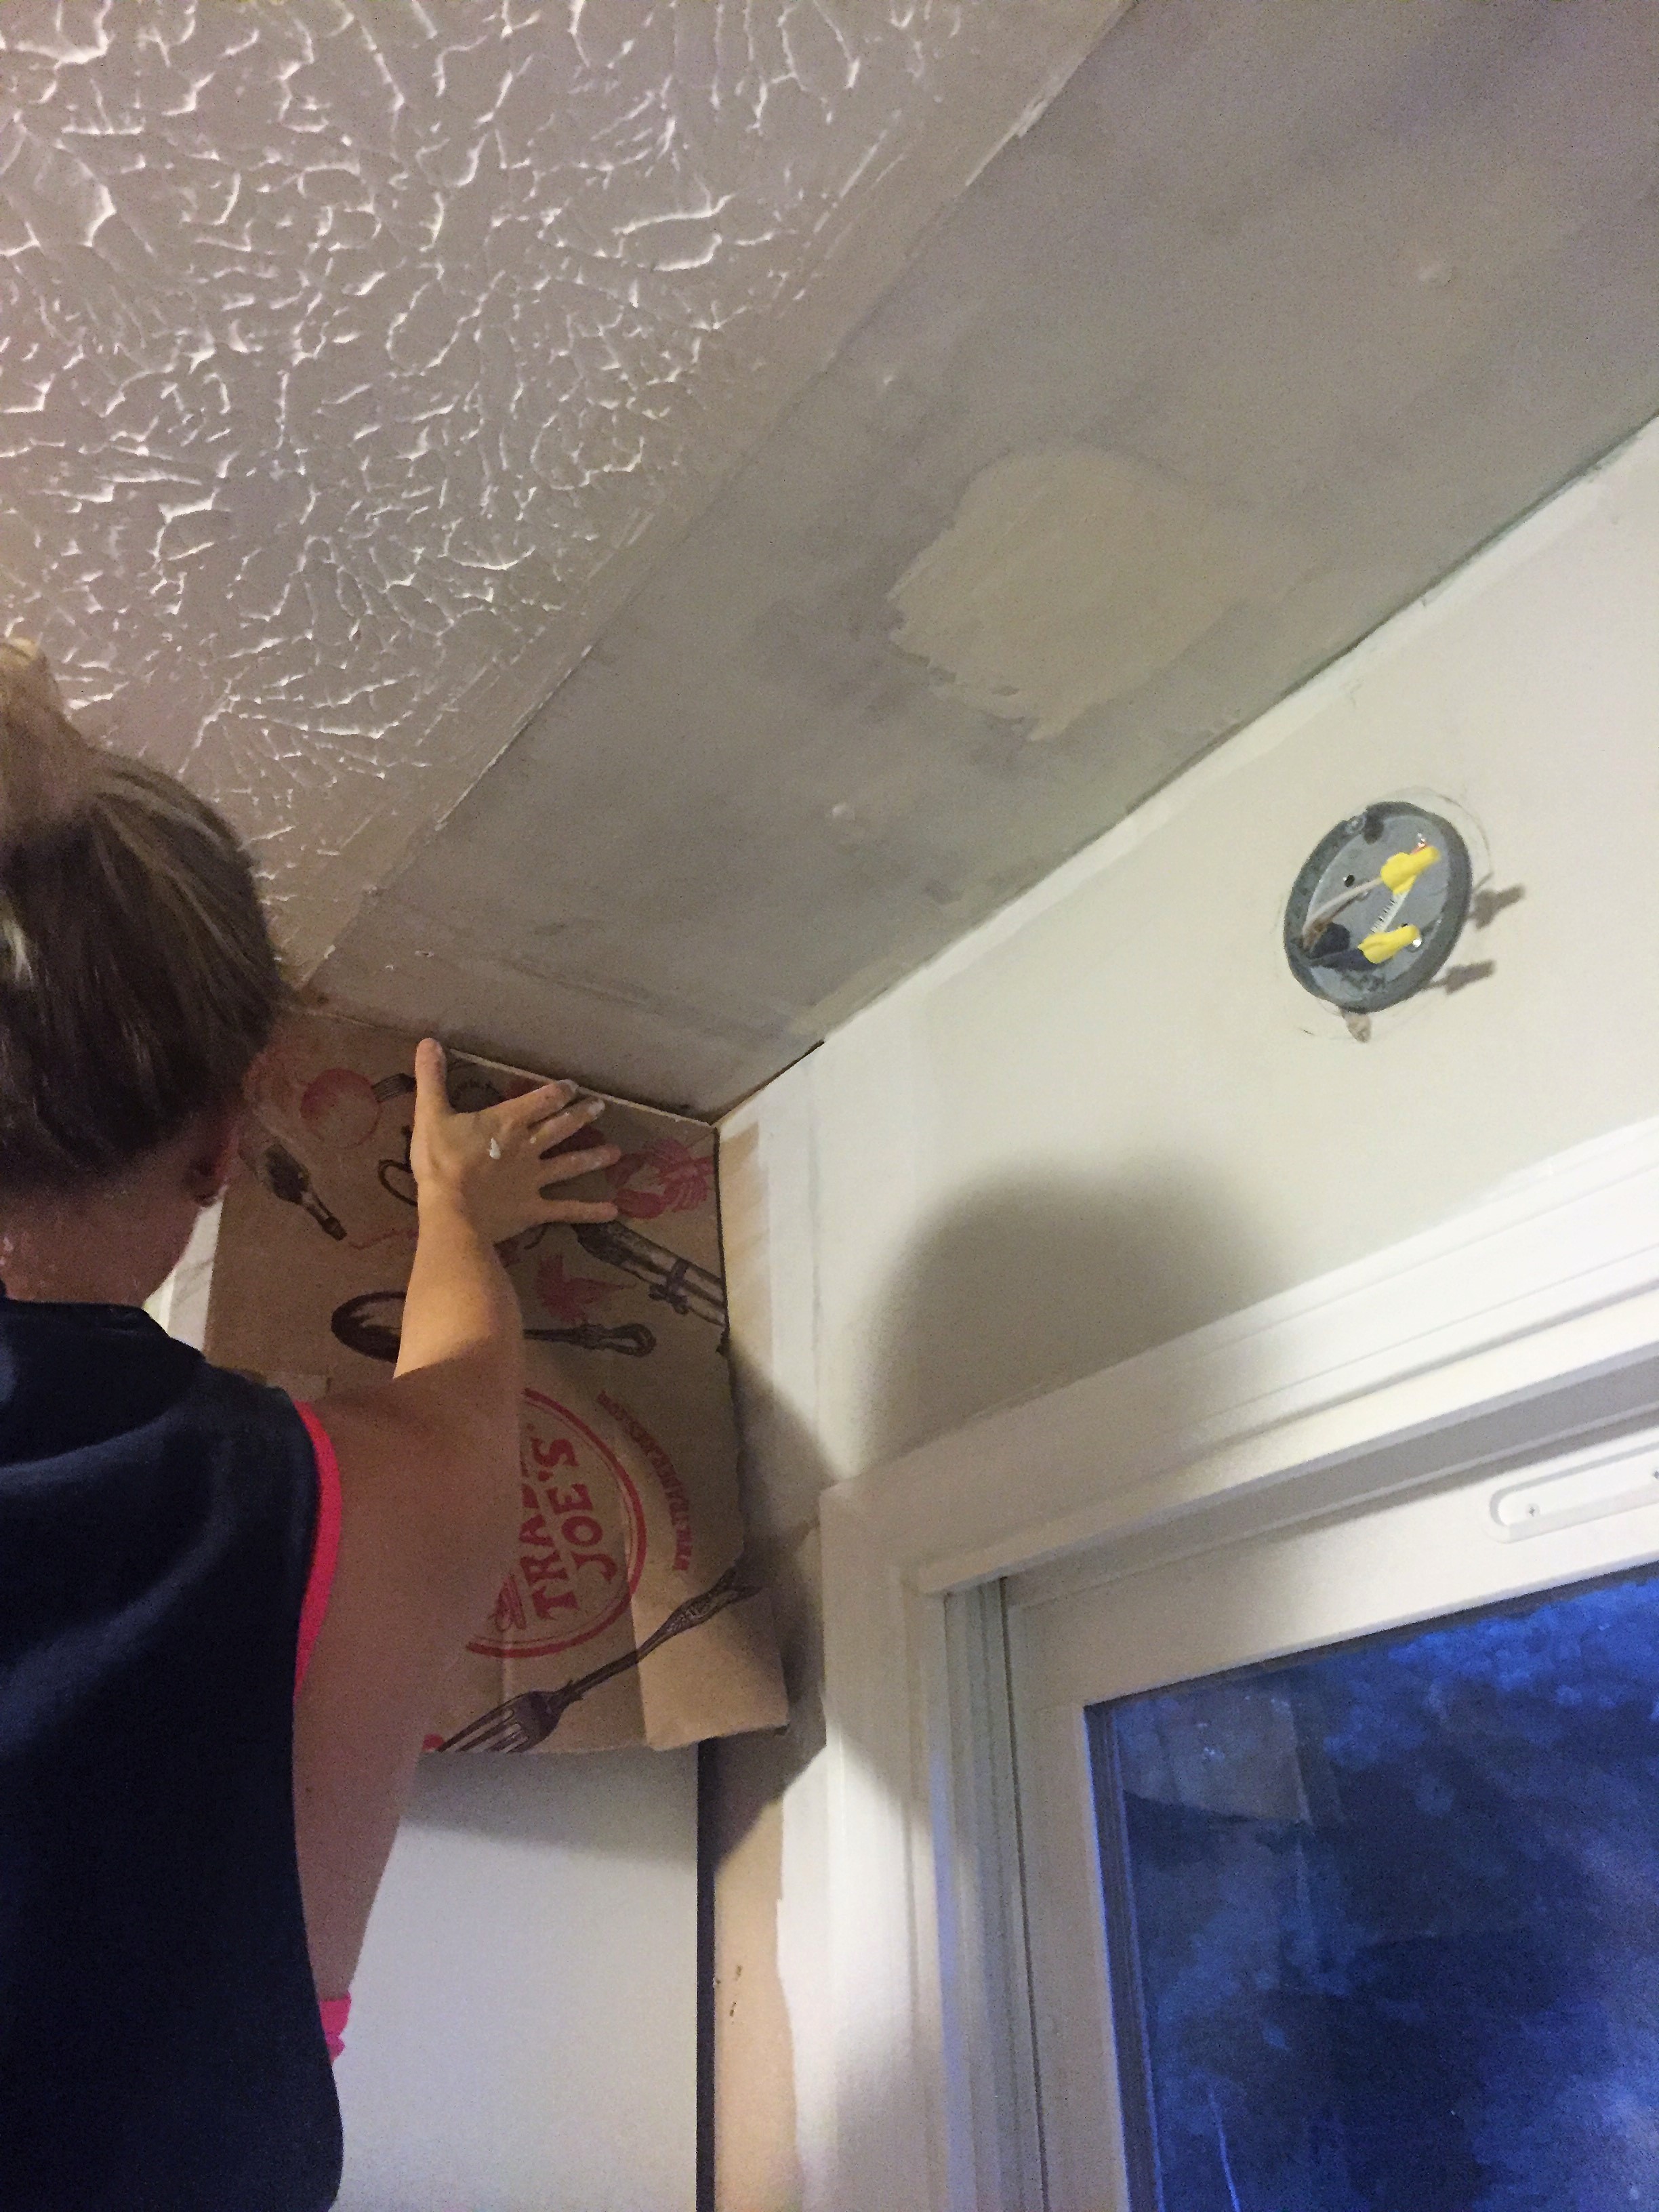
Our kitchen plans included expanding a walkway, replacing cabinets, and tearing out our existing pantry. All of these things would expose unfinished parts of our ceiling, which would need to be repaired. Paying someone to do this was not an option because I knew it would be an inexpensive project if I could just figure out how to do it myself. That was the problem though. I spent hours searching for videos and articles on how to mimic a slapbrush texture with little to no help. My biggest hurdle was just trying to figure out what this type of texture is called. After I felt semi-comfortable with my abilities, I gathered a list of supplies from various sources and just went for it. Luckily, it blends in perfectly, and it was just one of the many ways we saved money by completing a project ourselves. Check out our full reveal here.
Though this isn’t a glamorous post with beautiful, dreamy pictures, I think it can serve as a great resource for the hundreds of thousands of homes with slapbrush ceilings. So here’s what you need:
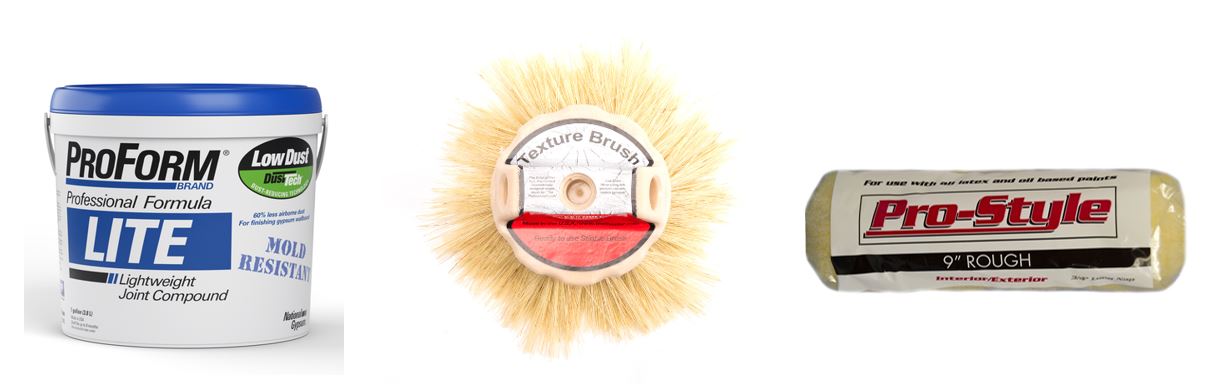 Joint Compound – Texture/Slap Brush – Paint Roller-Rough Textures
Instructions
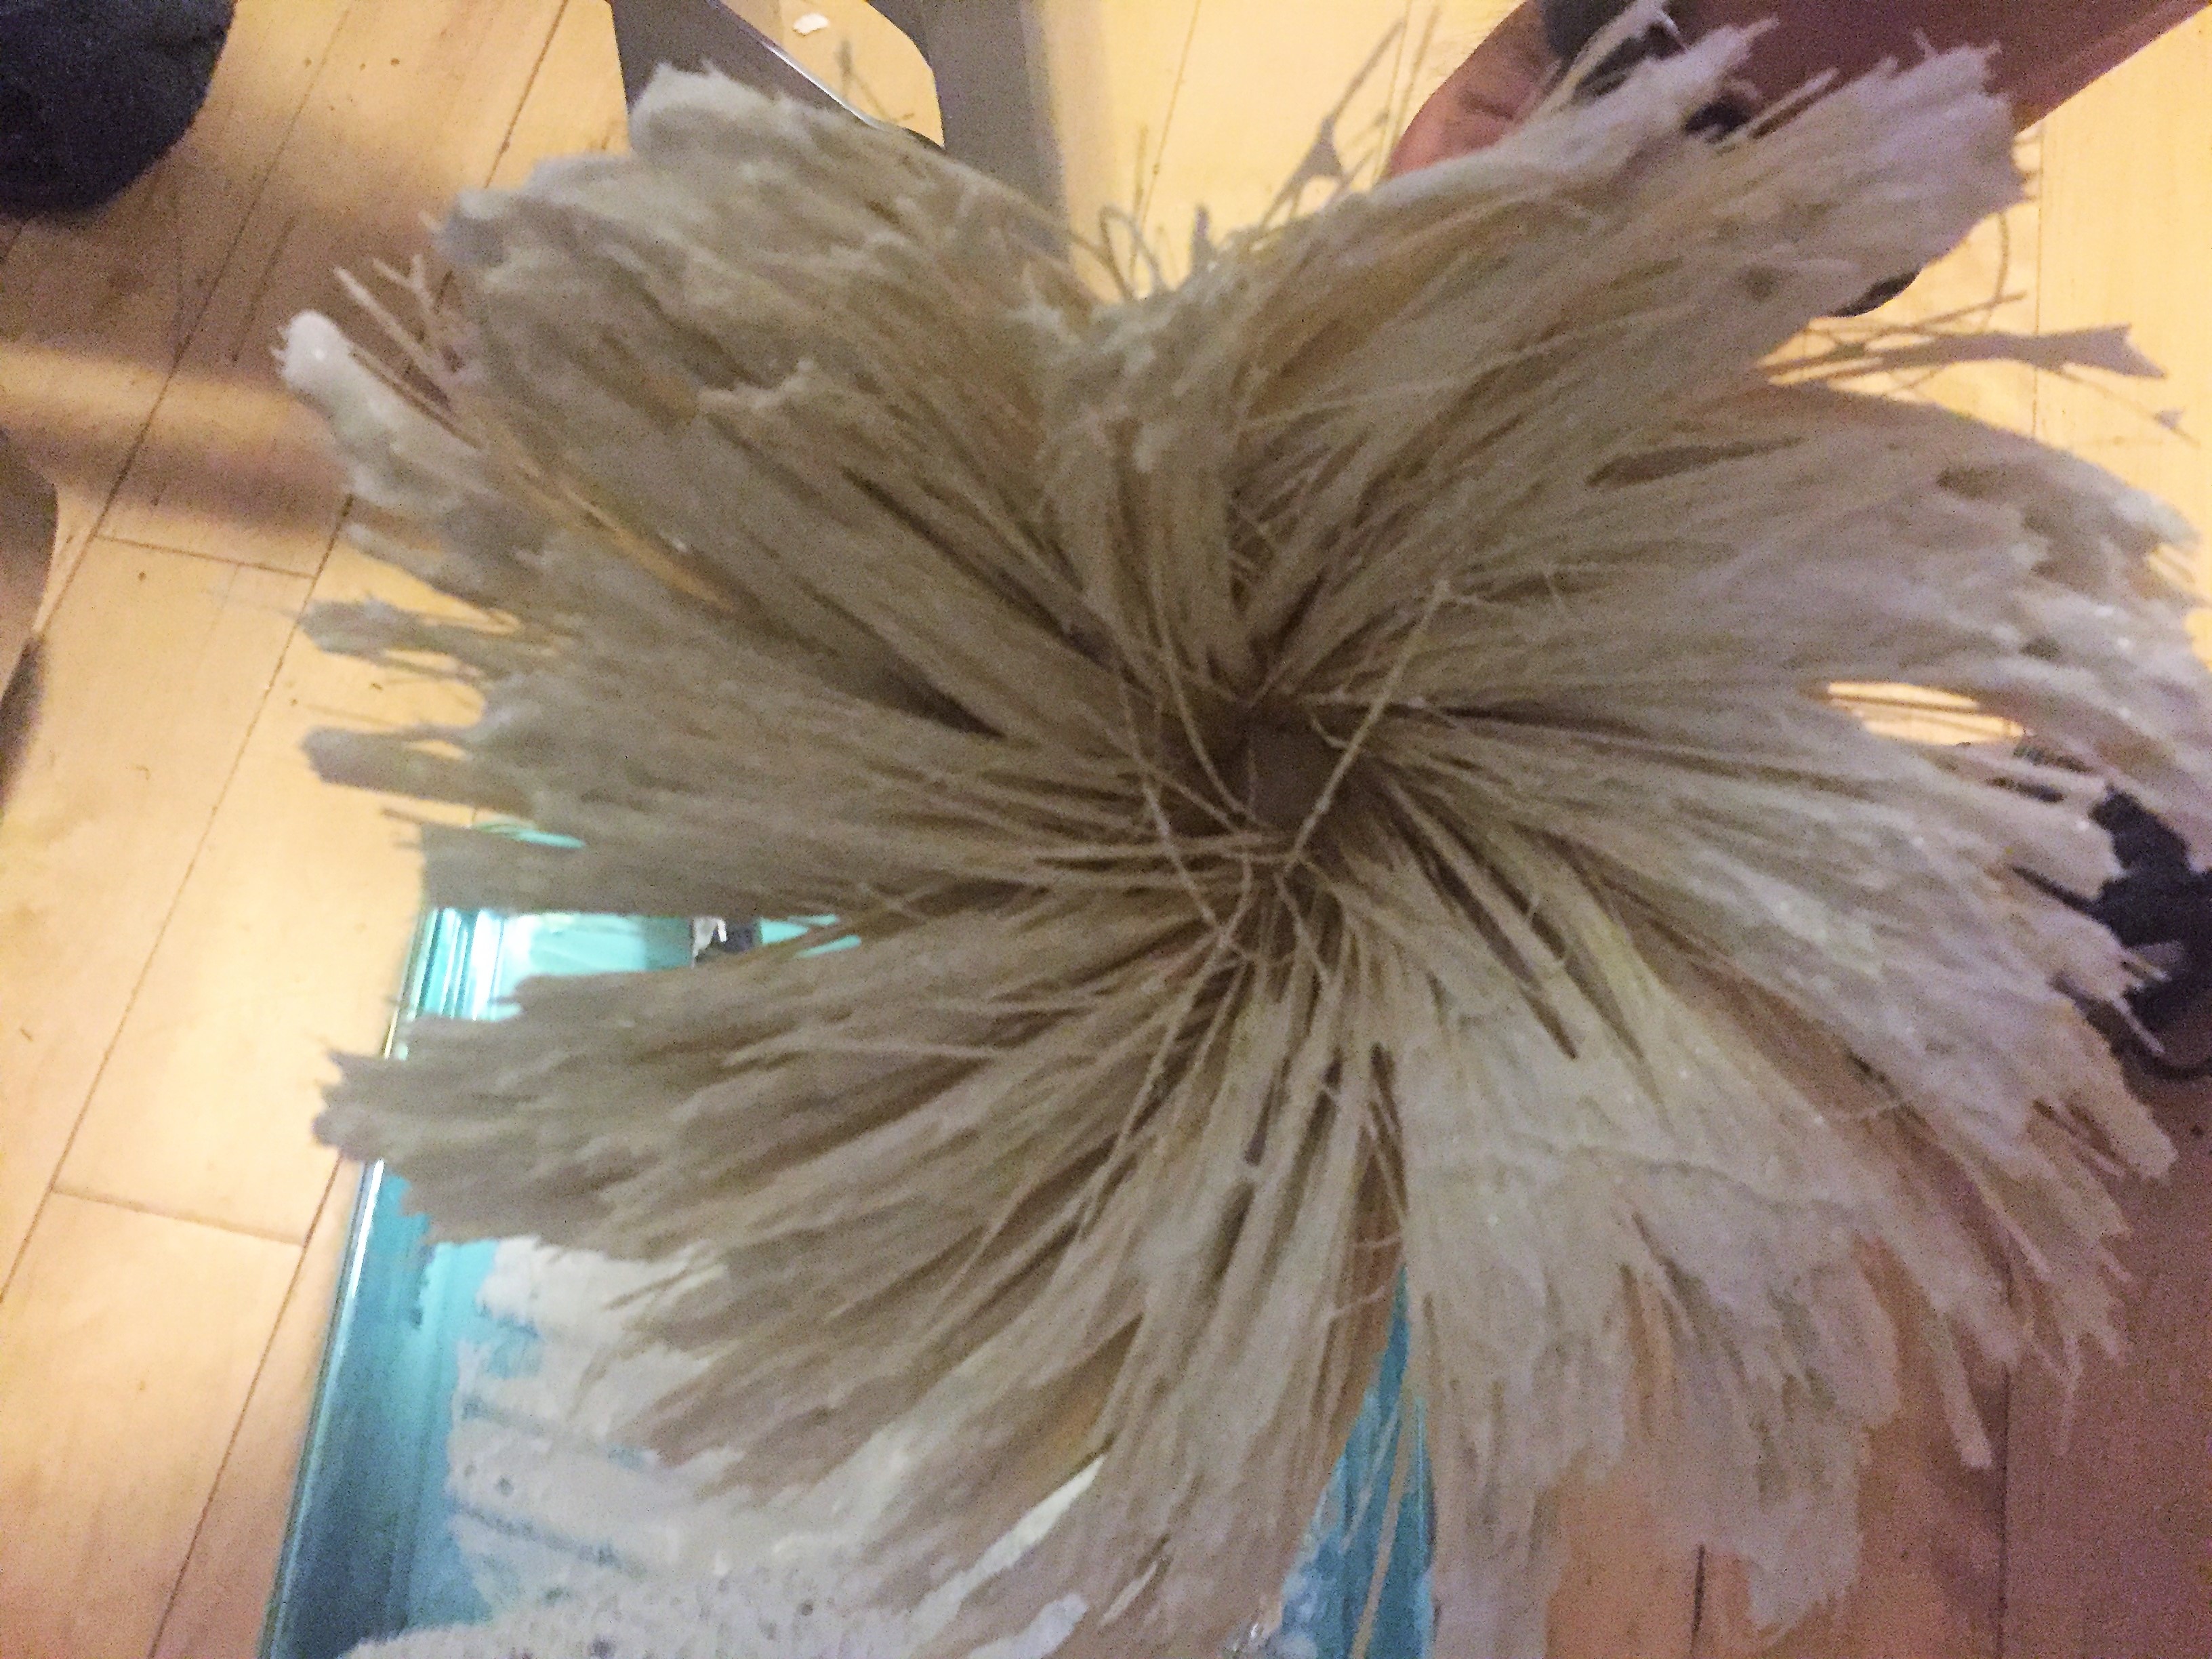
Soak Texture Brush
Per the instructions on the texture brush, you will want to soak the brush in a bucket of warm water for at least an hour, but preferably overnight. This loosens up the bristles for when you go to create the slapbrush texture.
Patch and Prime Your Surface (Optional)
This step was a must for us because when we removed our upper cabinets, the ceiling surface was unfinished. It provides a protective barrier between the joint compound and the ceiling. I typically use Zinsser primer on most projects. Before priming, take the time to patch any areas in need. Wait a couple hours for the paint to dry before applying the compound.
Apply Joint Compound with Roller
Stir the joint compound with a paint stick to loosen it up then pour/scoop it into a paint pan. This stuff is thick. Don’t be alarmed. You will paint the compound onto your surface with a paint roller made for rough textures. This will allow the compound to stick to the brush and ceiling properly for the next step. Roll it on thickly in small sections, roughly 4’x4′, so that it doesn’t begin to dry before the next step. You’ll want to have a good amount of compound on your surface so that your brush will be able to recreate the slapbrush texture. Don’t be shy with this stuff!
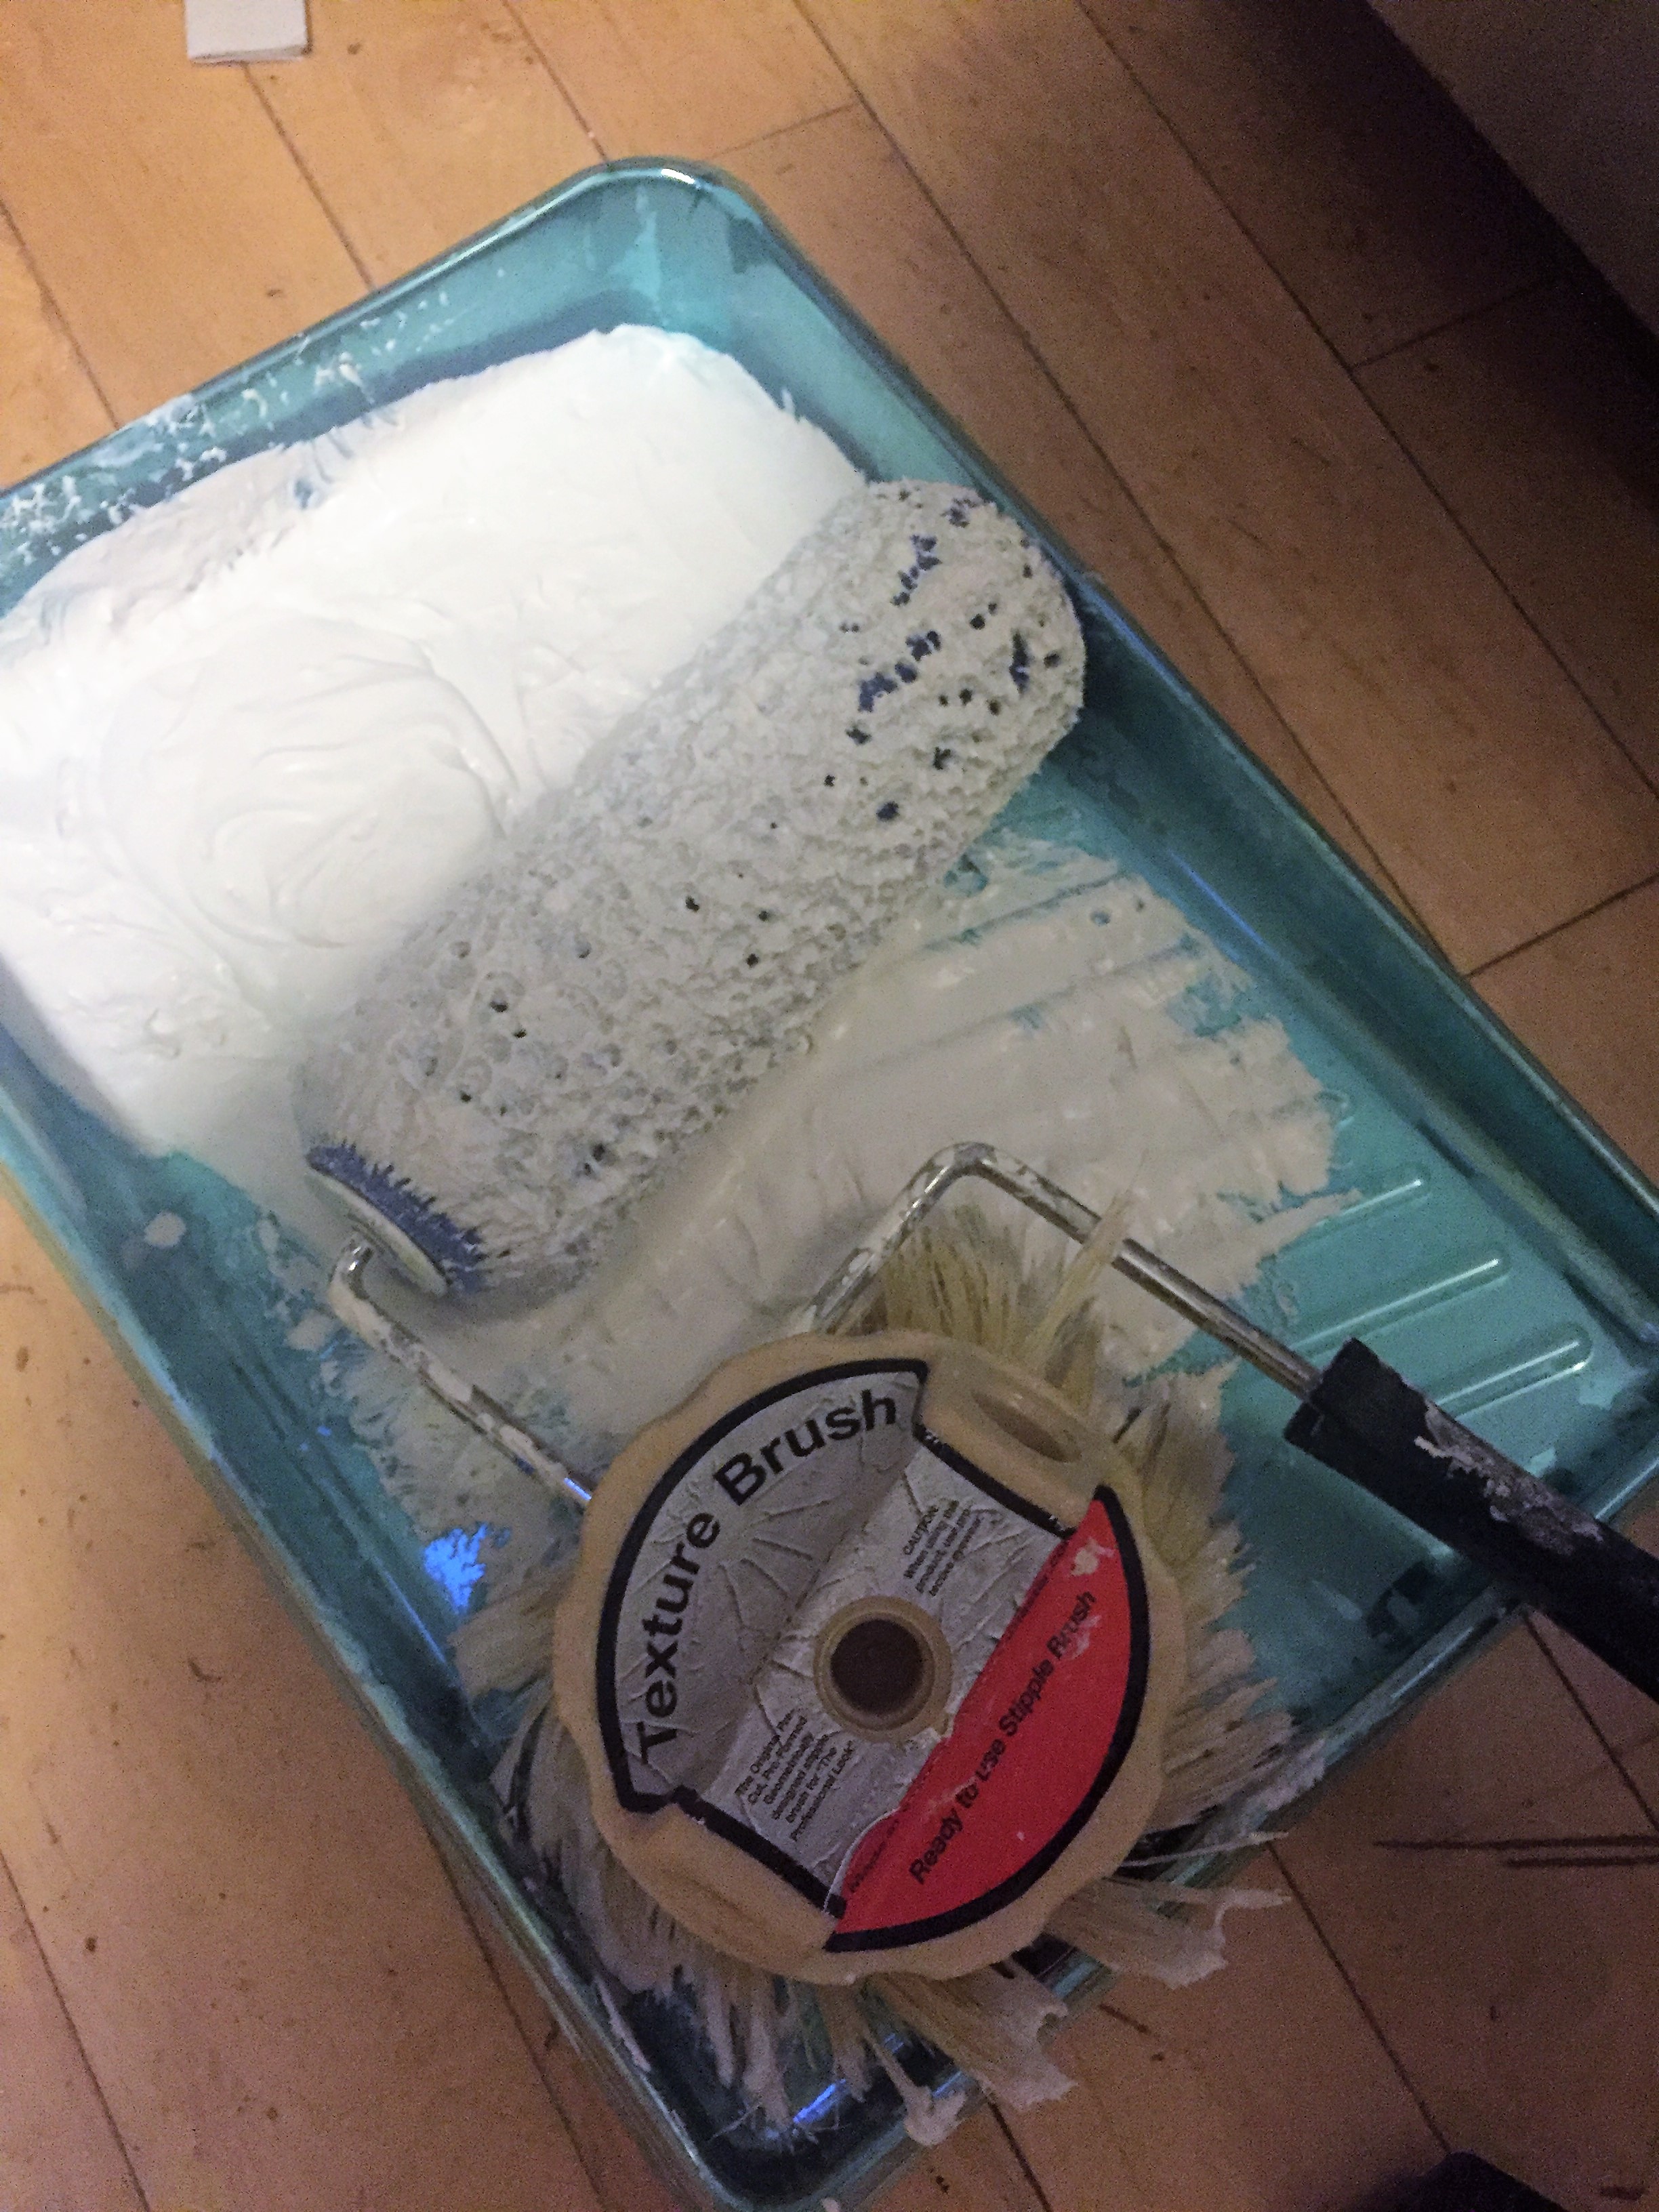
Create Texture with Texture Brush
This is the intimidating part, but don’t be scared like I was. It just takes a little practice and patience. If you applied enough compound, like preached above, it will make your job much easier. Place the brush in the recently rolled compound and pull down. Turn the brush 90 degrees in the same section and repeat. You probably won’t need to rotate the brush more than once. Look at the original pattern and simply try to recreate it the best as you can. The main feature you’re looking for are the peaks. These can be sanded down once it’s dry, but it’s tough to add to them. So it’s better to over-exaggerate a little bit initially so that you can even them out later on. Once you get to the finished ceiling, blend the new surface by slightly overlapping your brush with the original texture.
Paint
Once you’ve achieved the pattern or texture you desire, wait for a few hours or overnight before you paint it. This is the part was most frustrating to me. I paint cheap ceiling paint since I just needed a little, and it didn’t match the rest of the ceiling. I still haven’t found the right shade, and I’m too lazy refusing to purchase another can.
I’m extremely please with how the patched surfaces blended in with the rest of the ceiling. The fact that it was done by a novice is not noticeable whatsoever. This is absolutely a project you can do yourself. All you needed was a little guidance.
Have you ever patched your slapbrush ceiling, or are you avoiding a project in fear of having to somehow recreate this texture?
Let me know if you have any questions or if you need clarity on a specific step!
