Hanging wallpaper can seem like a daunting task. I’ve wallpapered multiple rooms now and have gathered a handful of my most useful tips to hopefully give you confidence to do it yourself.
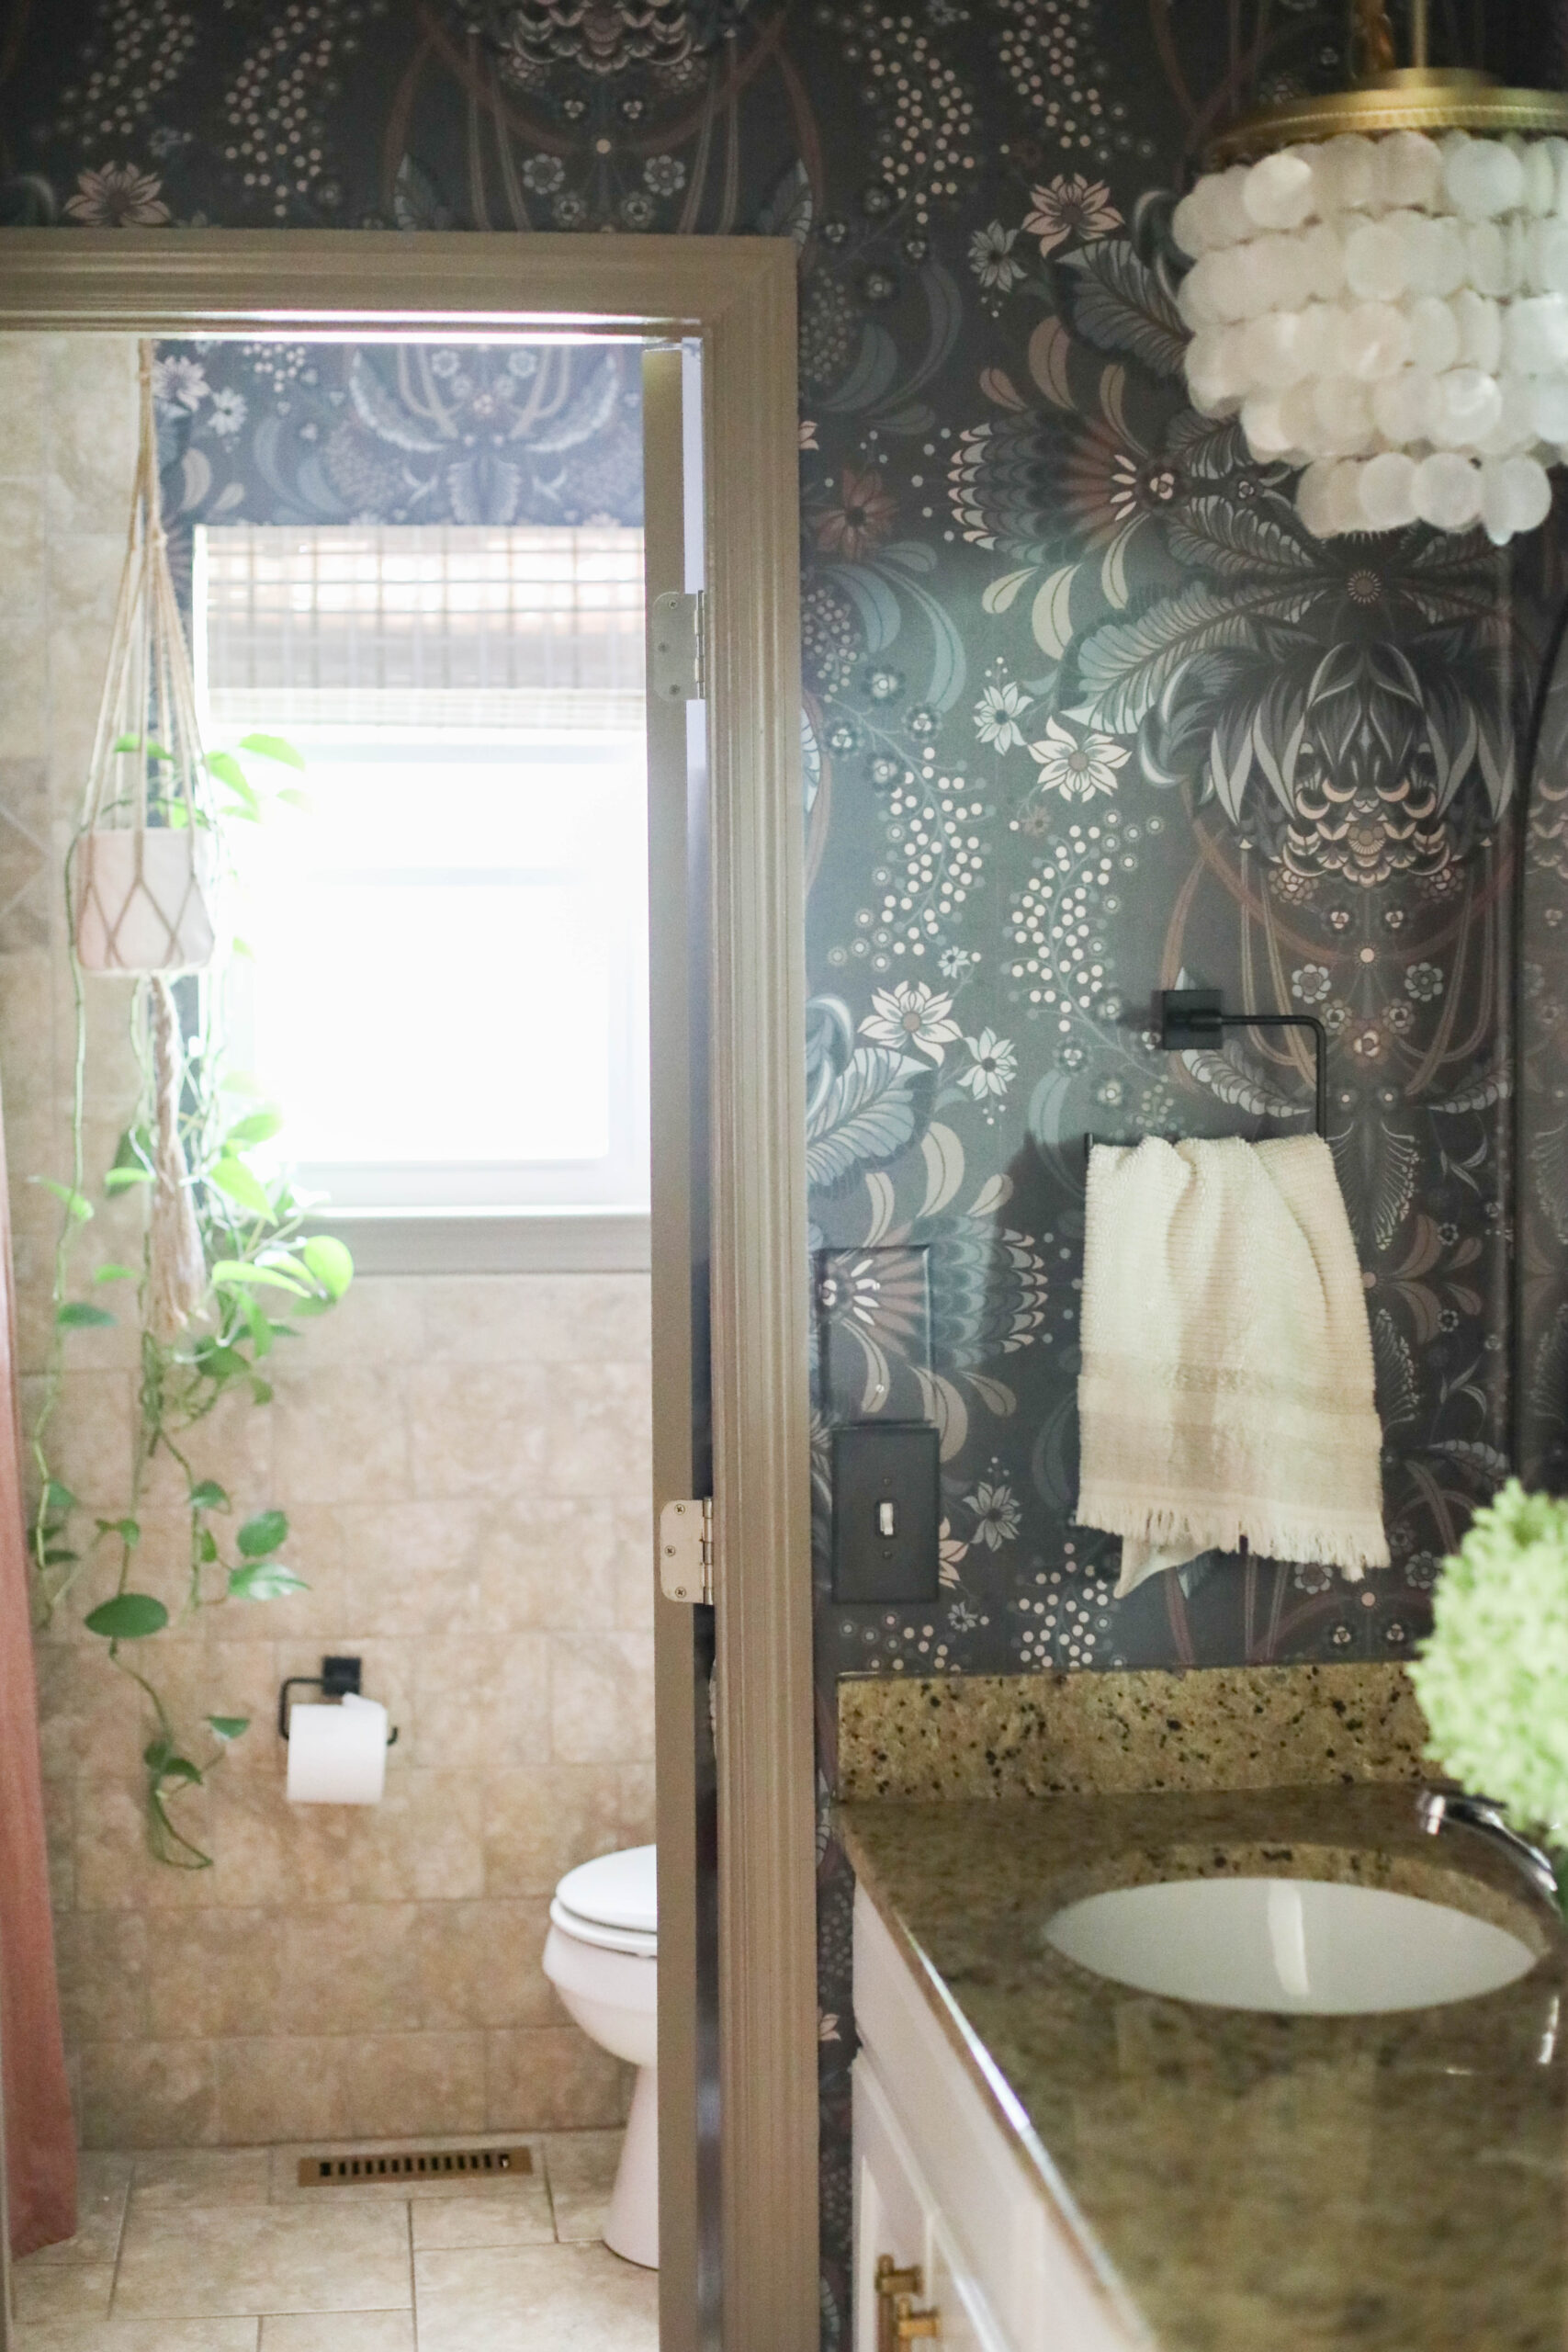
For starters, let me introduce you to my bathroom. She was given a makeover before we moved in 5 years ago with tile that is not awful, but I definitely would not have chosen it. Instead of being wasteful and knocking it all out, I decided to make the tile look like I always wanted it there.
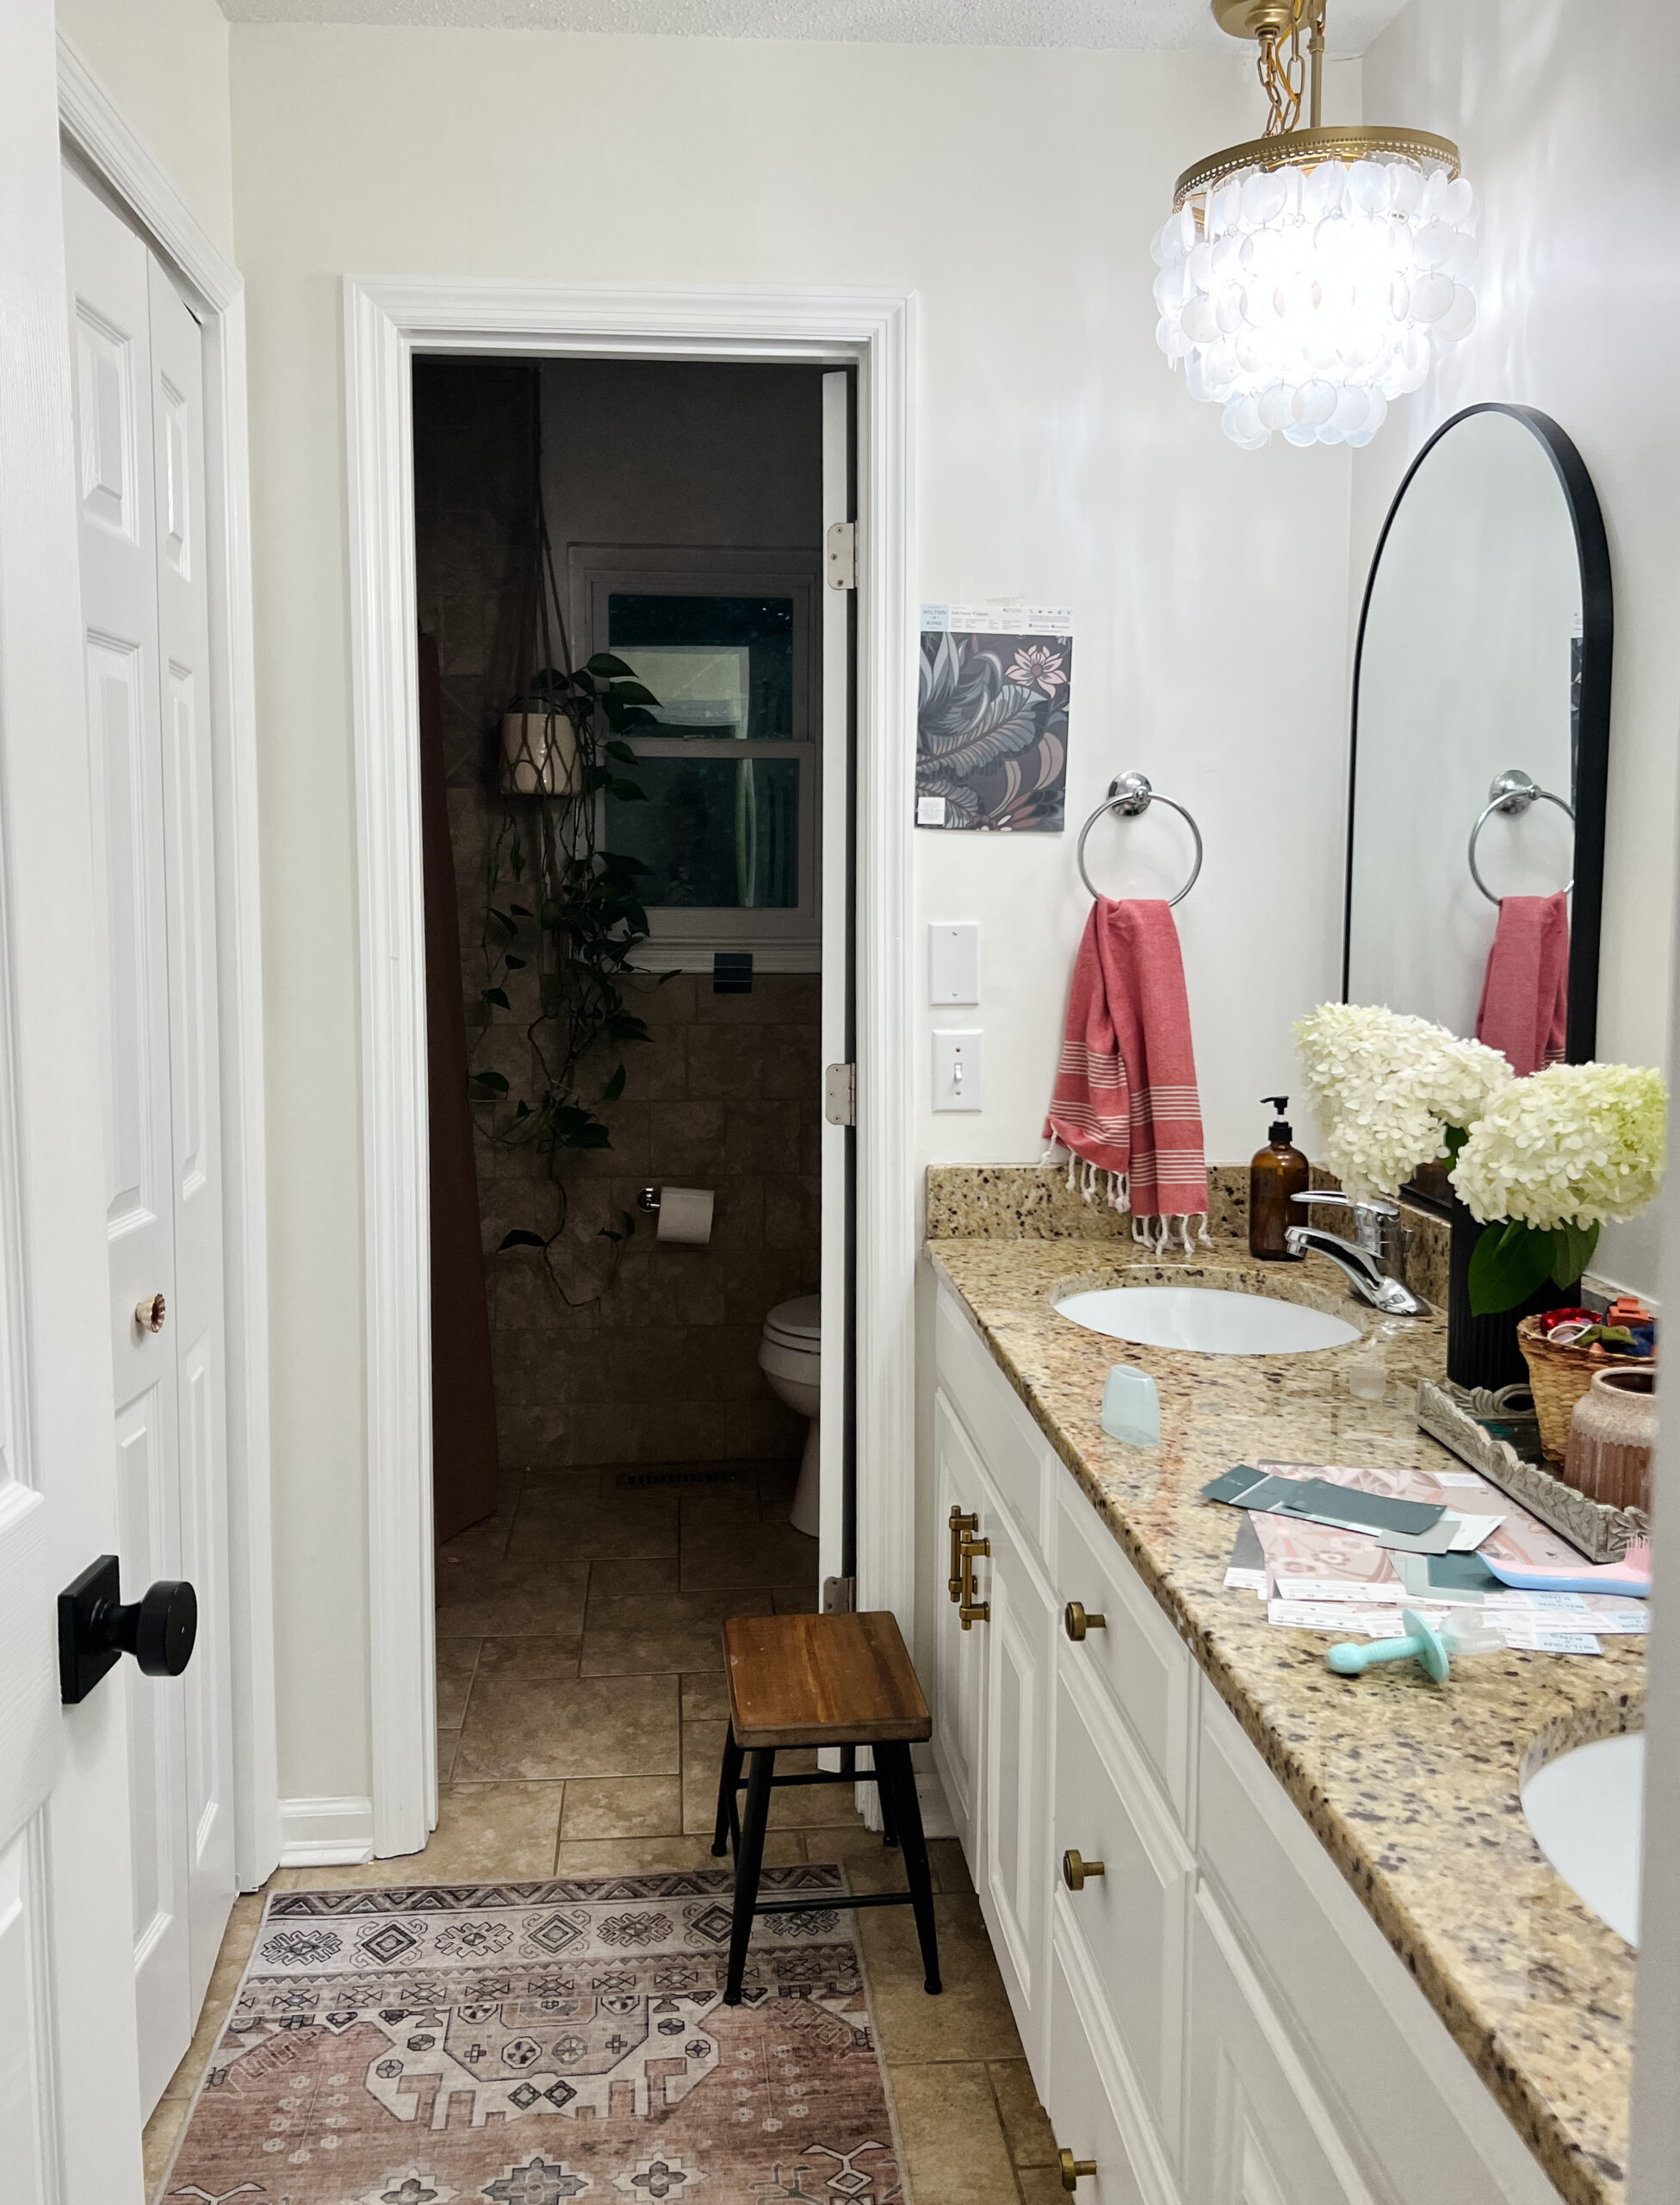
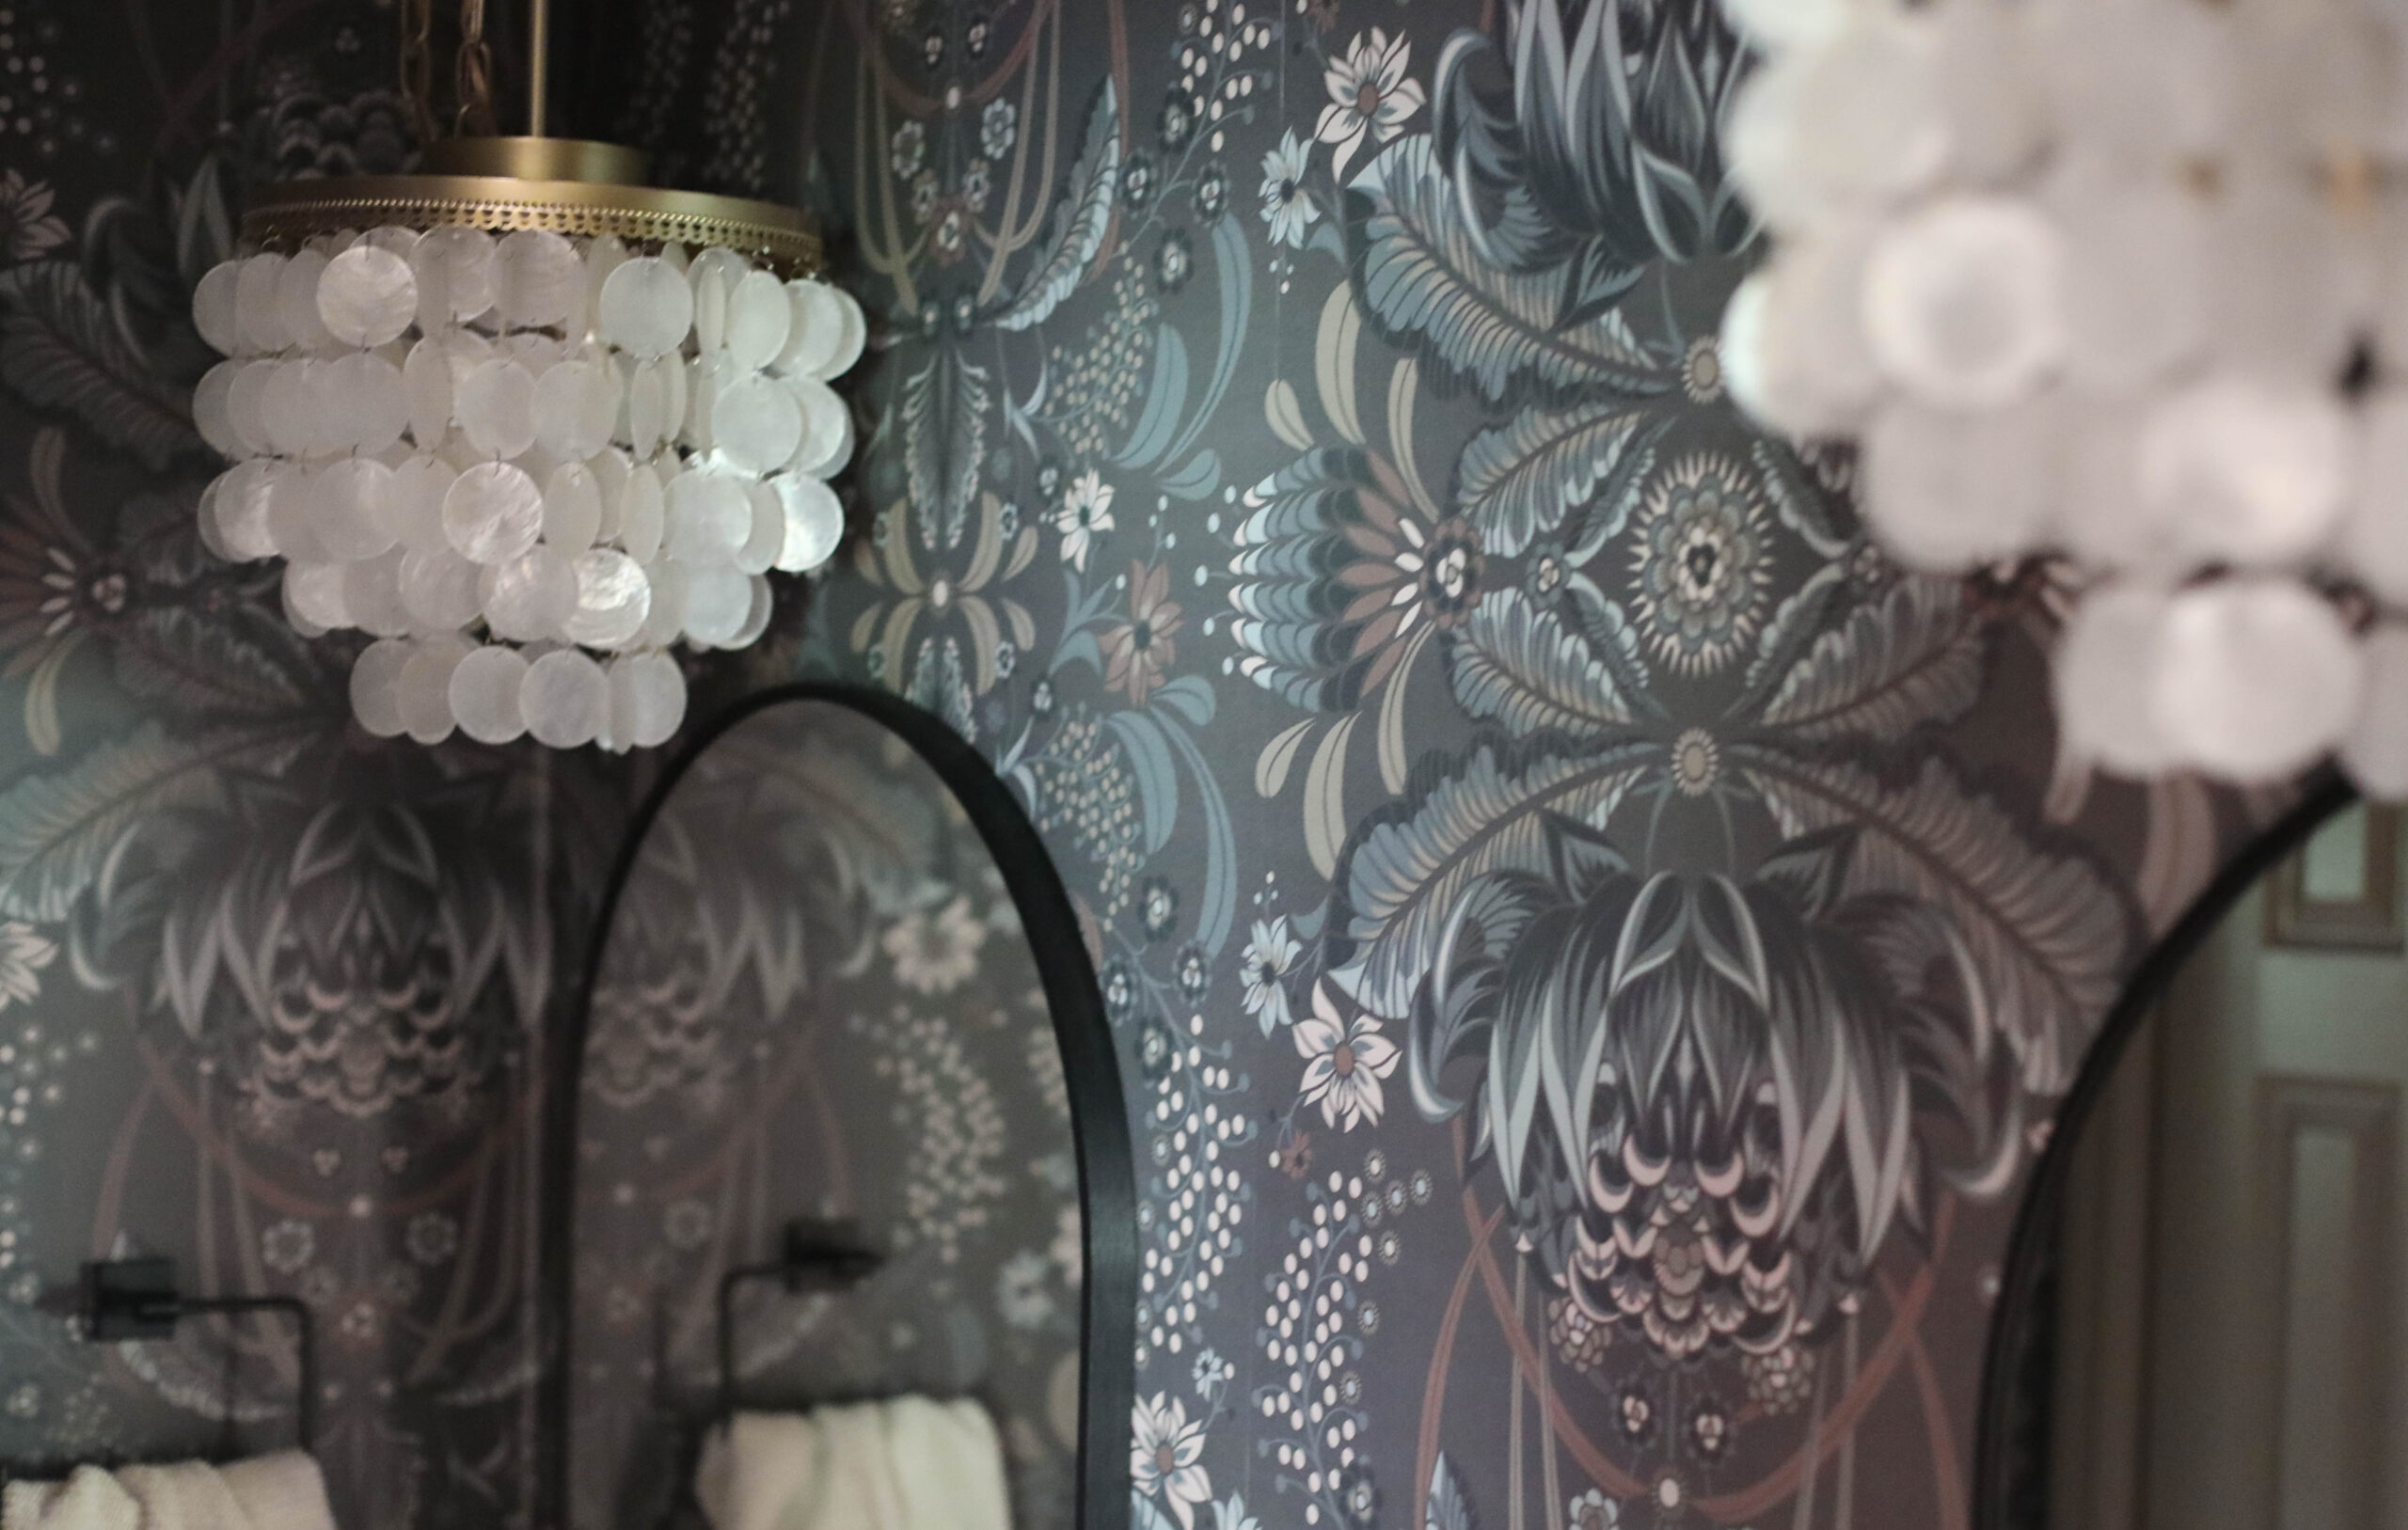
I used Milton & King’s Bush Beauty in Denim to completely transform my least favorite space in our home to one of my favorites.
This post is sponsored by Milton & King.
So you’ve found the perfect print with just the right colors for the bare wall(s) that are screaming for a bold design. Now you either need to pay a professional to install it, which can be pricey but worth it for some, or you can do it yourself. The latter can feel like it’s dreadfully more than what you’re capable of. I promise you – it’s not! Here are my top tips to make this job doable for just about anyone.
1. Have the Right Tools and Materials on Hand
To make any wallpapering job a success, you absolutely need the right tools and materials. Here are the items you’ll need to make your life a little easier while you hang your paper:
Paste – Roman 838 – This is the best paste I’ve used and came highly recommended by Milton & King. It’s forgiving yet tacky enough to grab onto the paper immediately.
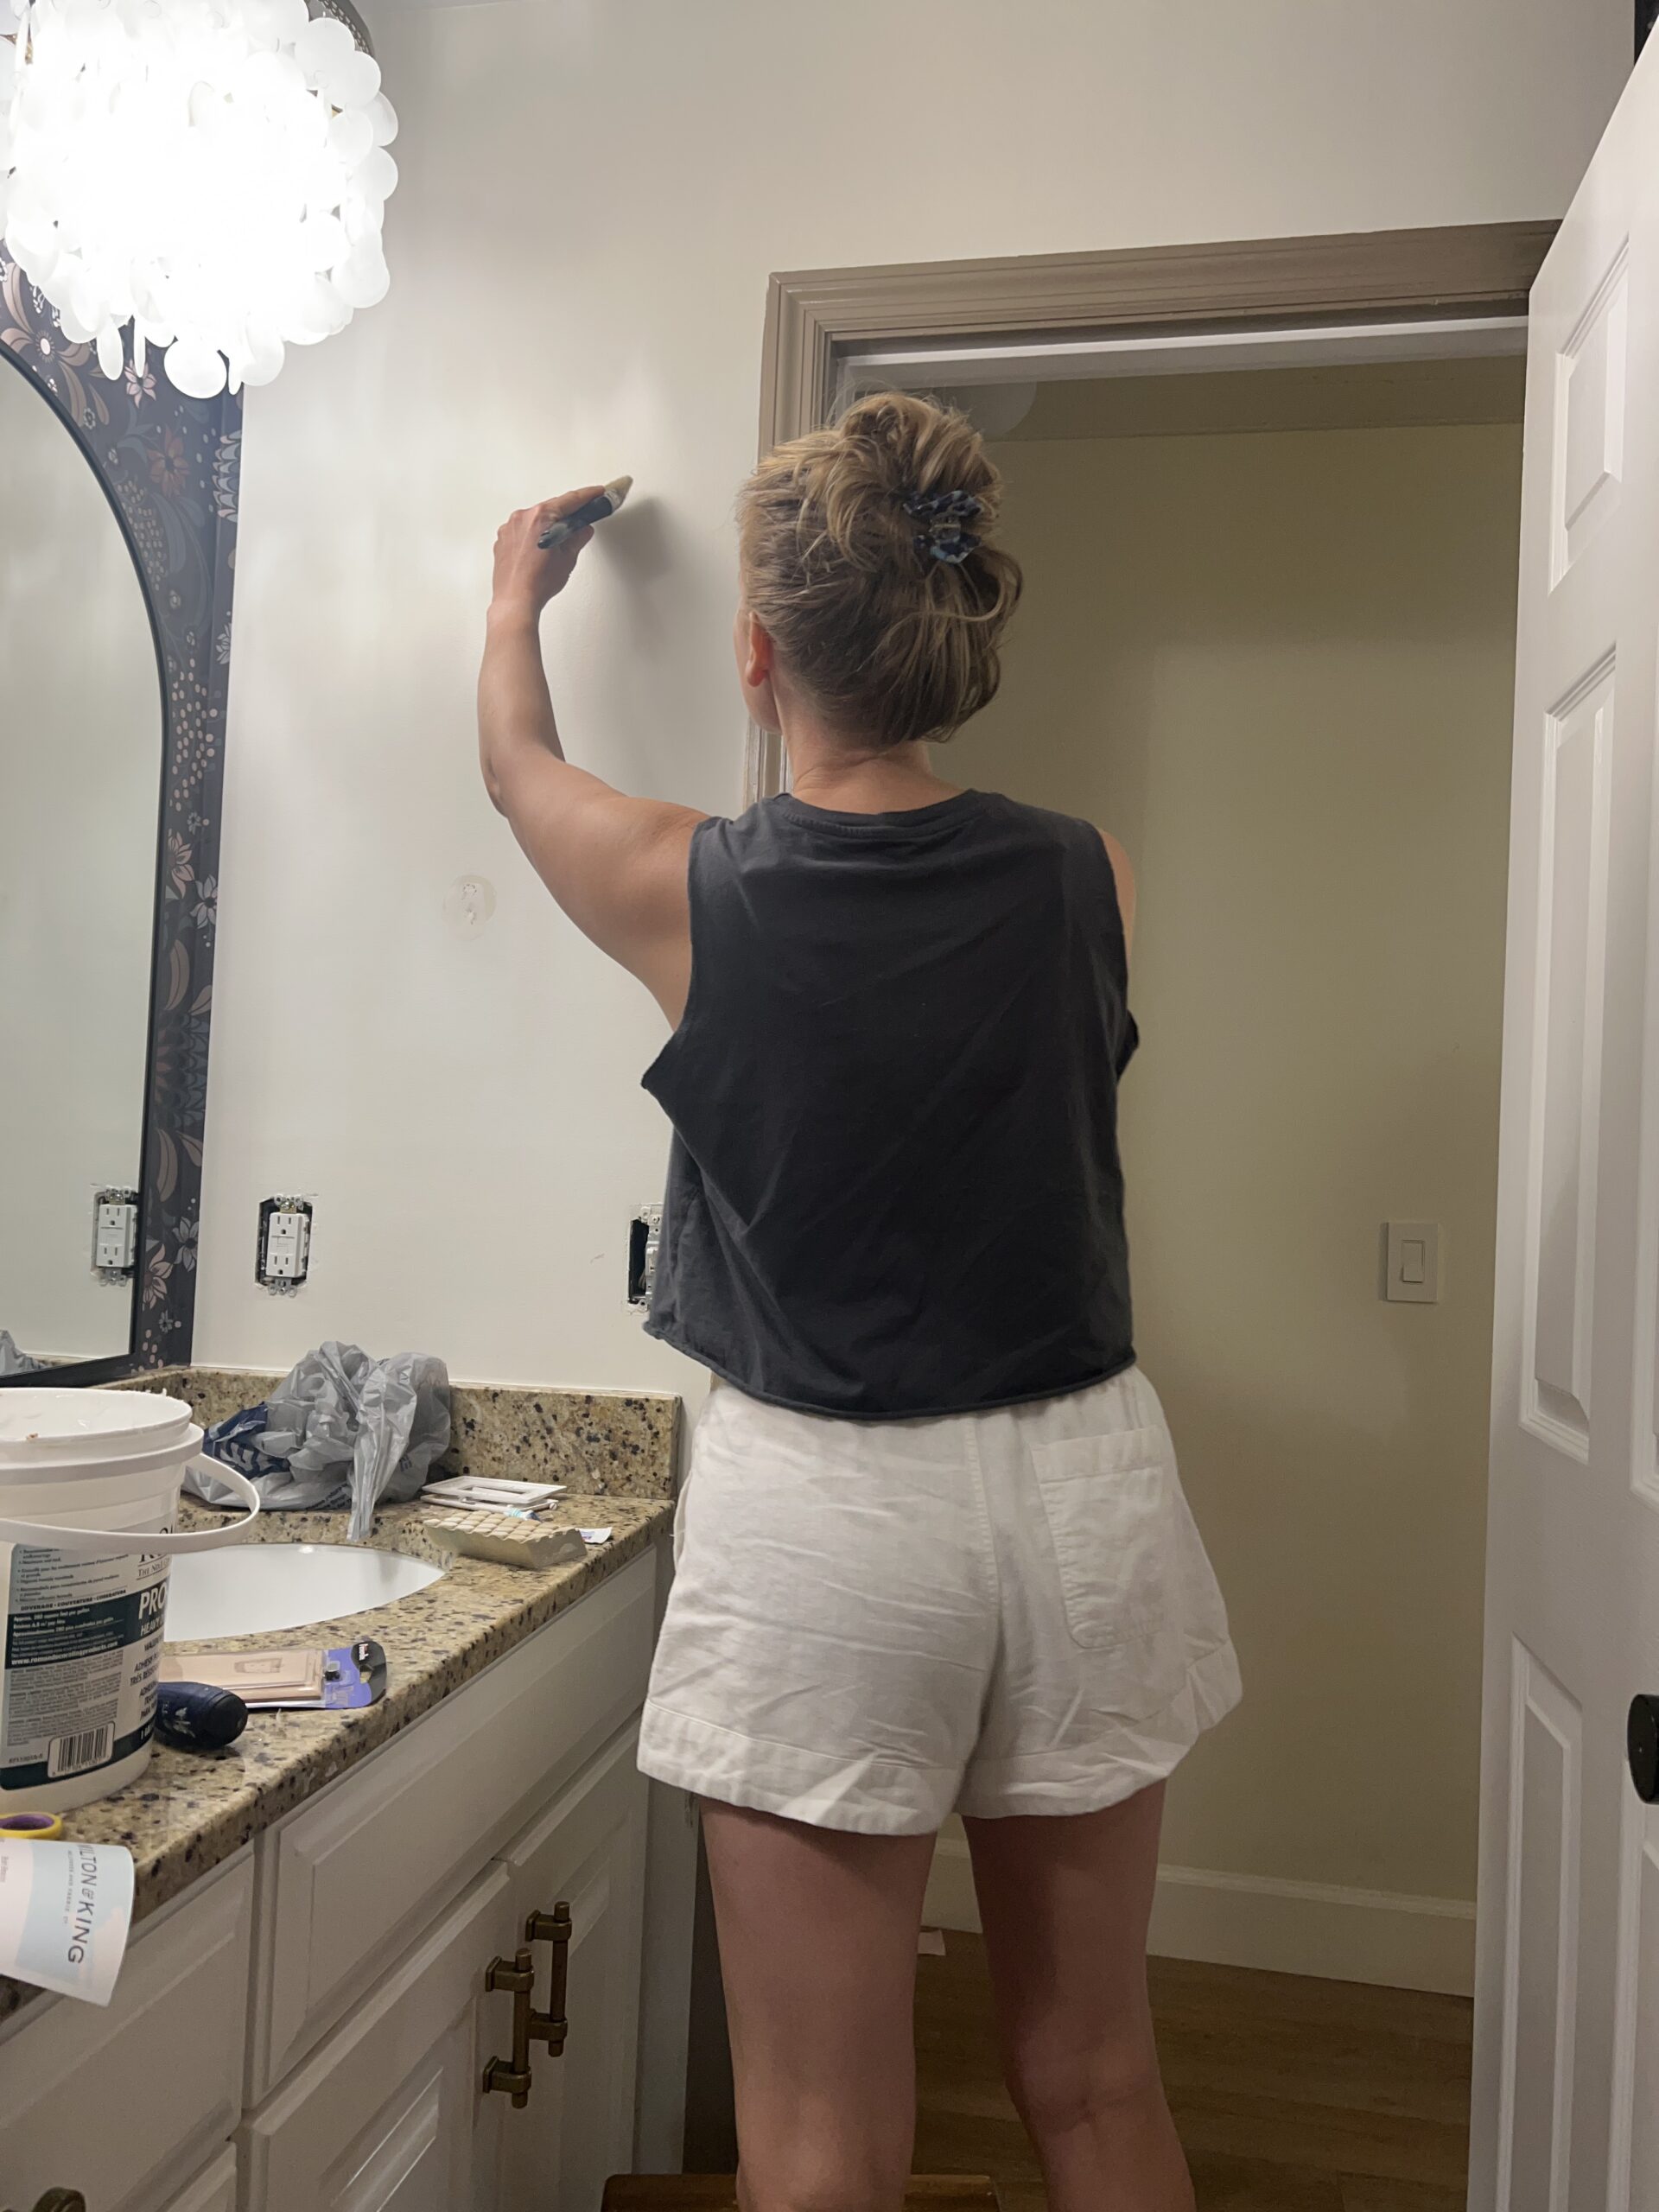
Roller Brush or Large Paint Brush – Either works, but for my small space a large paint brush was easier to use. Larger walls and spaces would be good for a roller brush.
Utility Knife with LOTS of Blades – I will get to this in a bit, so just go ahead and stock up.
Measuring Tape – Measure the length you’ll need for each strip, add 3-4 inches, then cut your strip of paper. It’s a lot more manageable and easier to hang when you have just enough paper for wall.
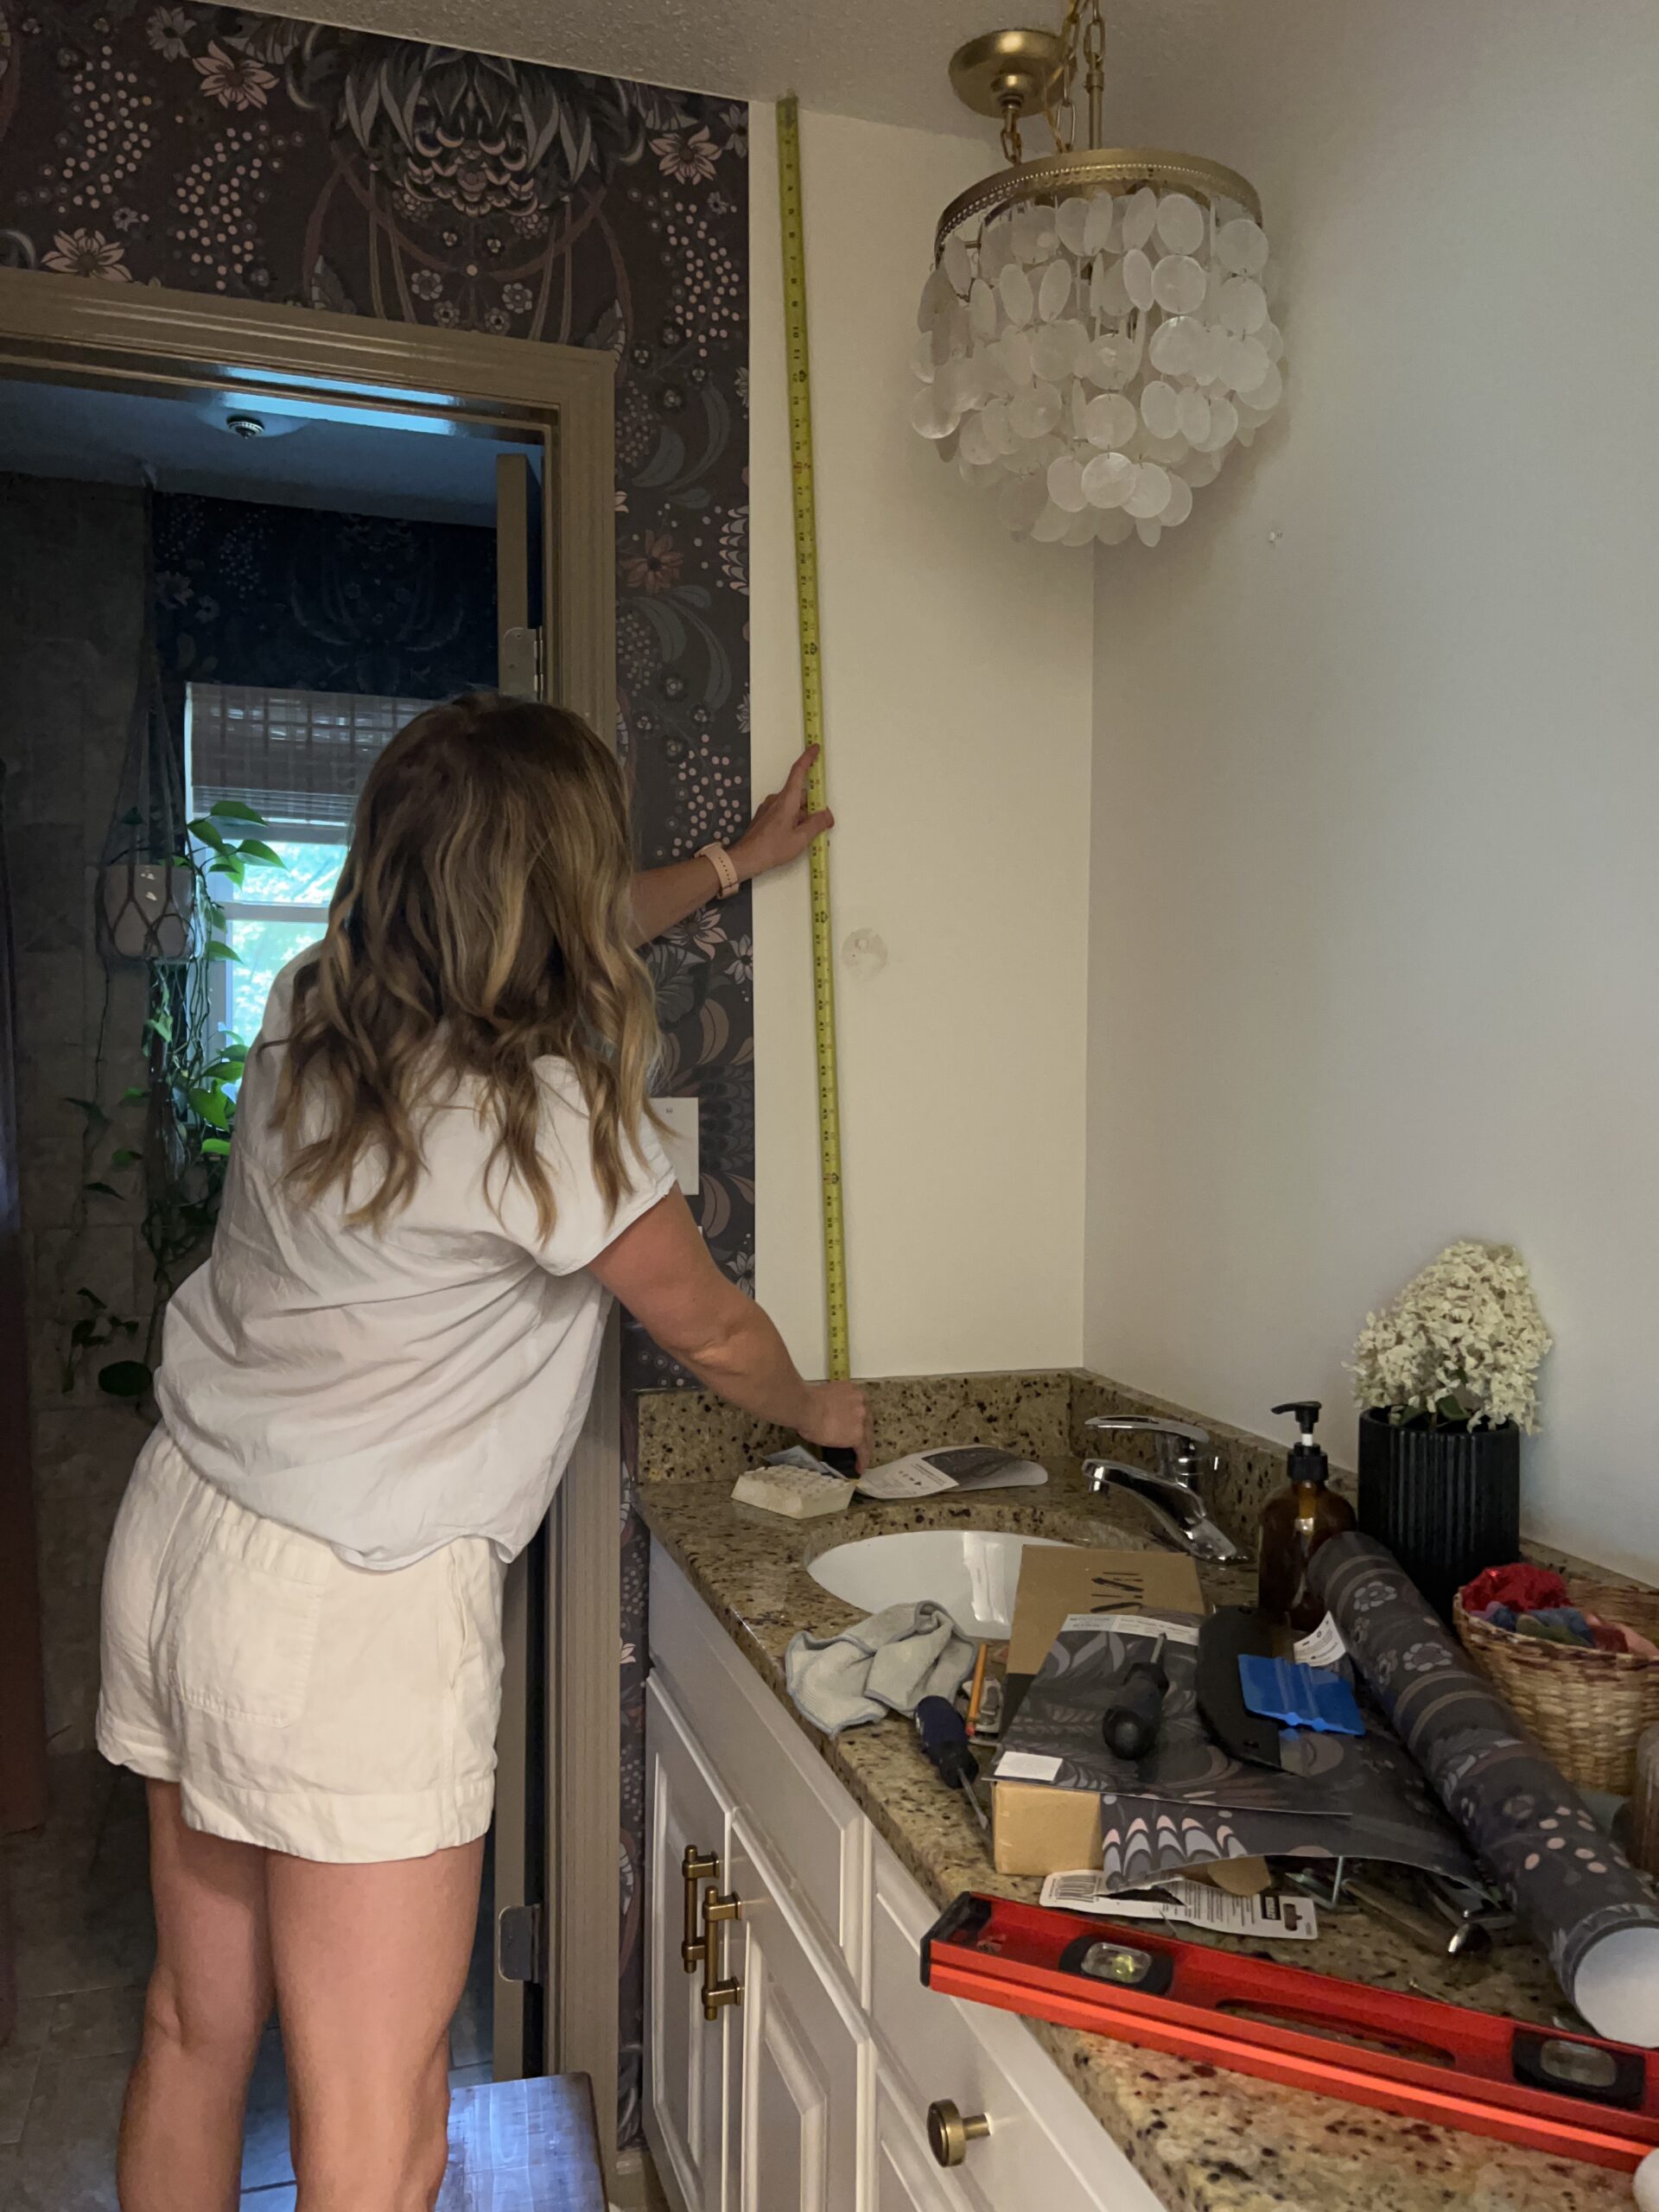
Level – A good level mark will make all the difference. You’ll measure the width of your paper and draw a level mark with a pencil for your first strip. I just used a hand-held level, but I know many professionals use a laser level.
Smoothing Tool – You’ll use this to smooth out the paper and crease into corners and edges. This one is cheap but worth its weight in gold.
Damp Sponge or Rag – …to clean up with excess paste
2. Figure Out the Pattern
Before putting any paste on your wall, you need to study and learn the pattern of your paper like you’re studying for an exam. Learn from my mistake. There’s one strip in my bathroom where the pattern doesn’t match and I thought it was faulty printing, but alas, it was me. Once I truly figured out the pattern, it made this job much smoother.
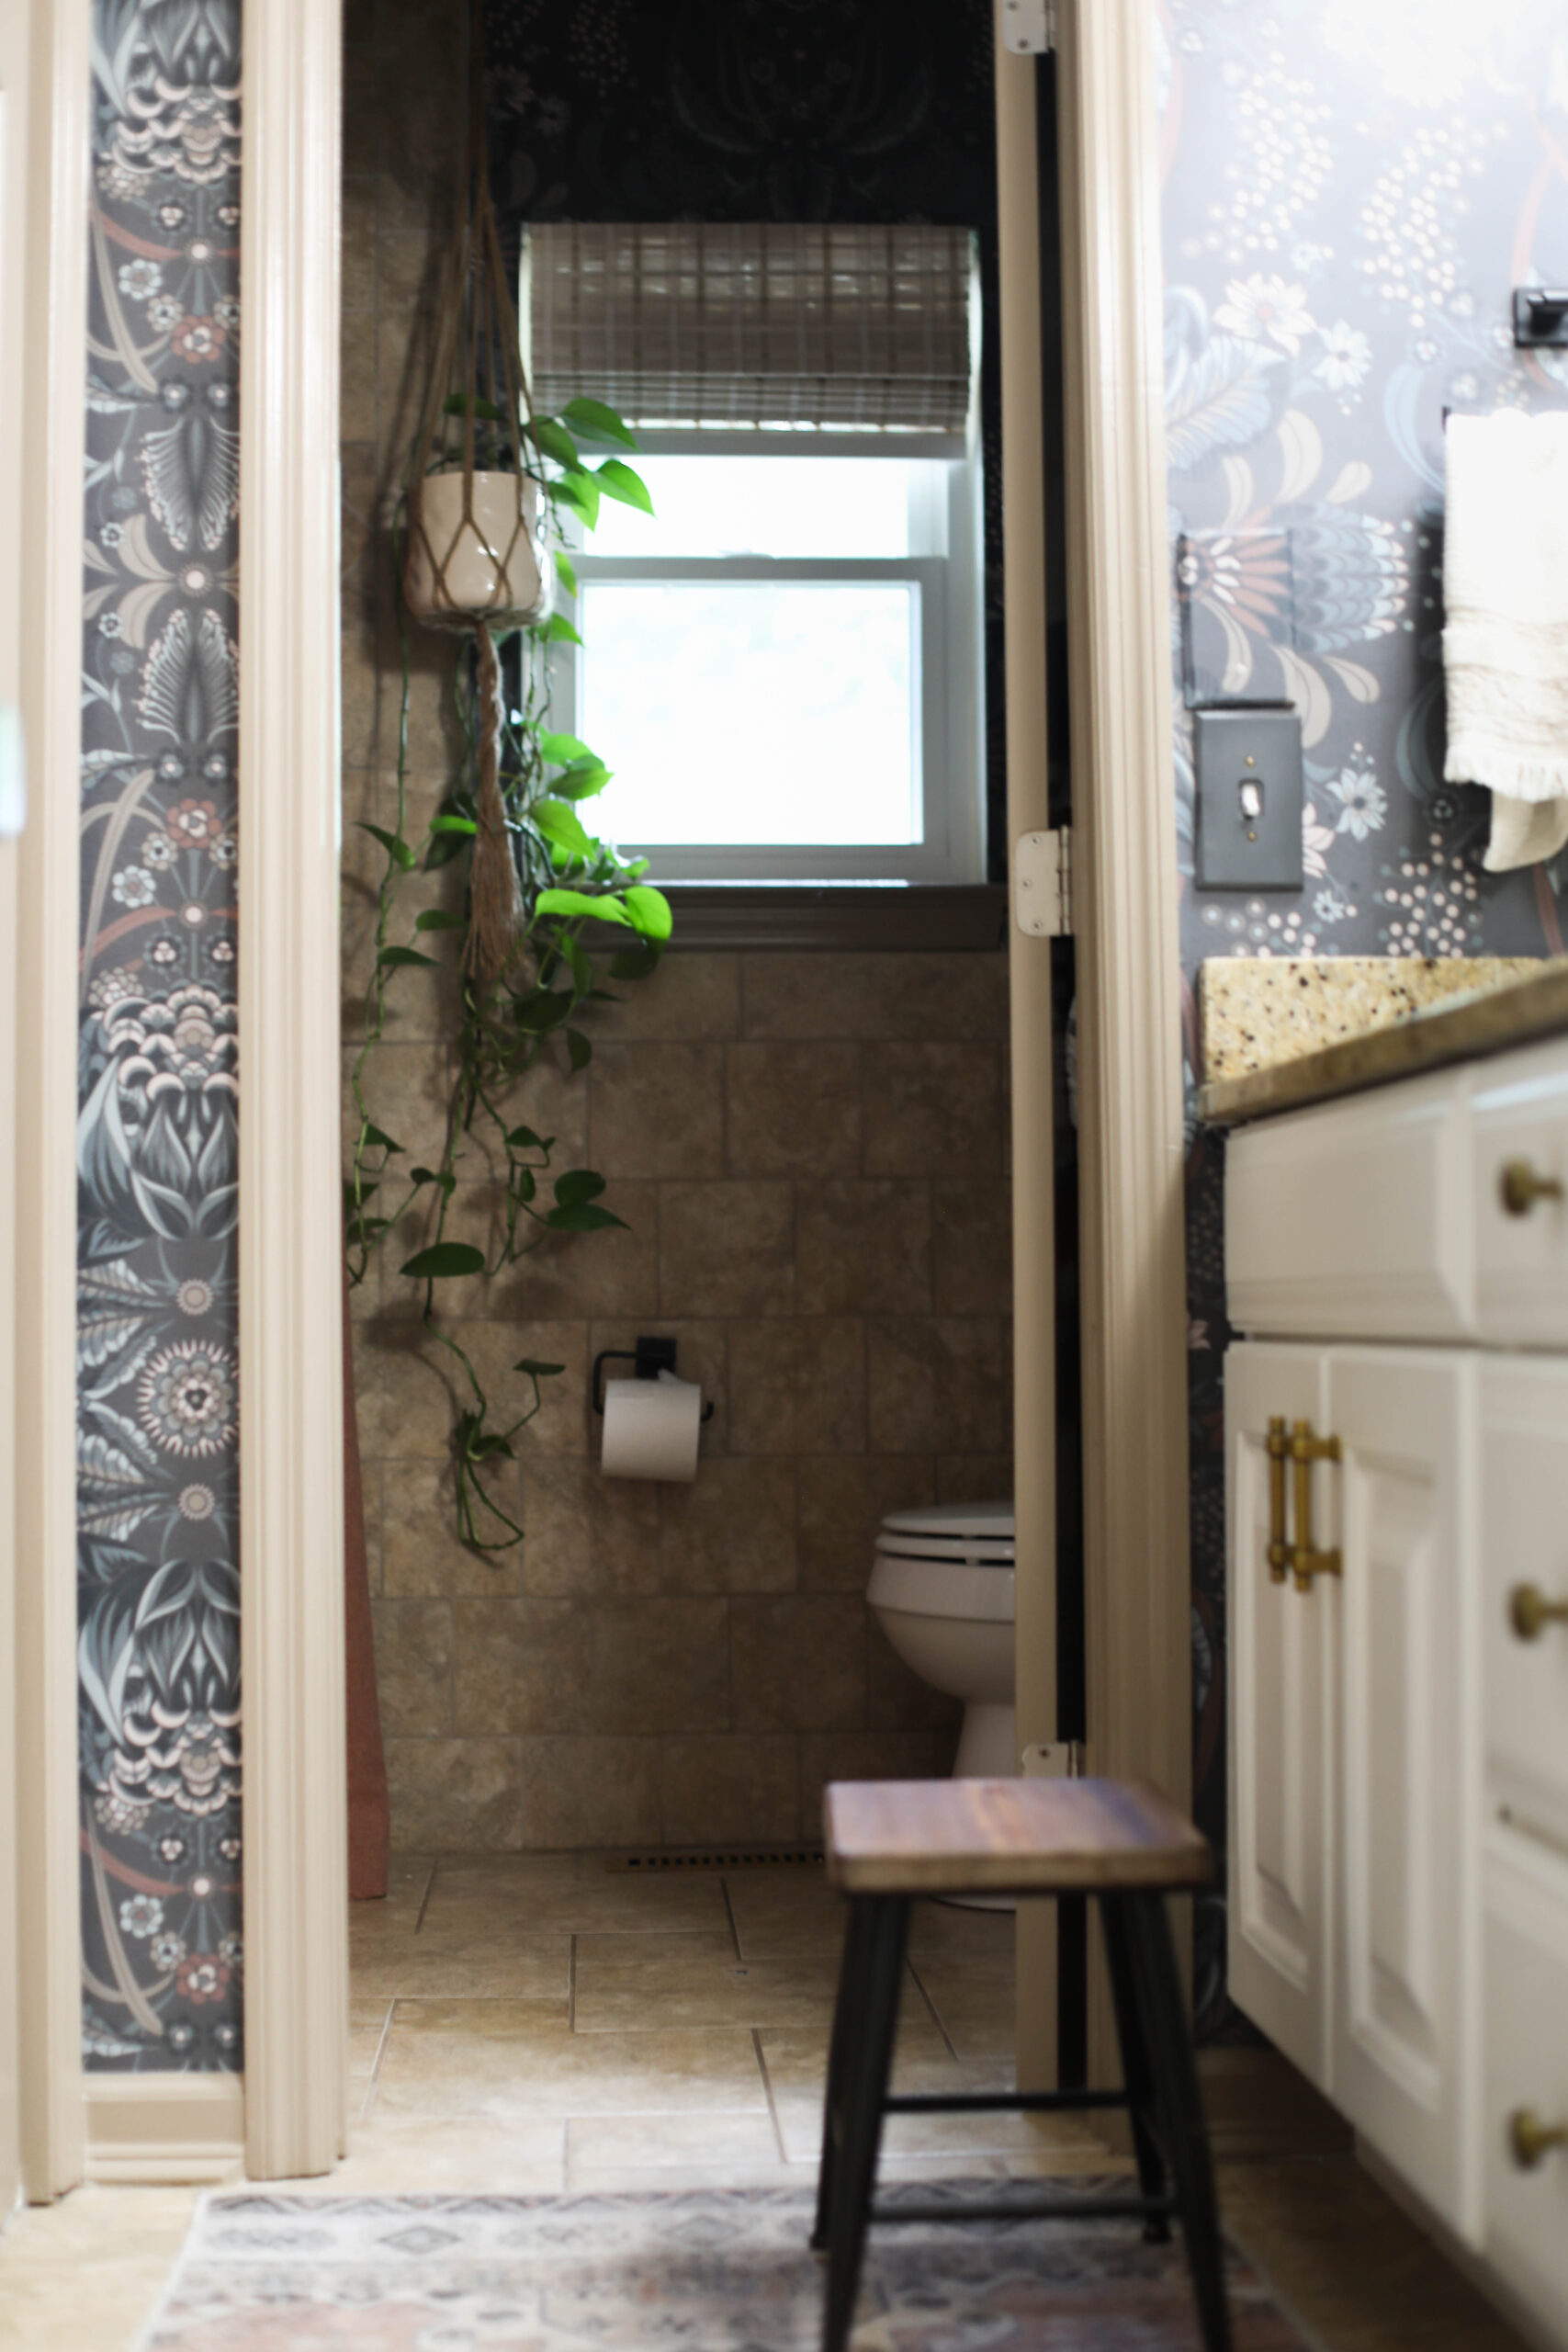
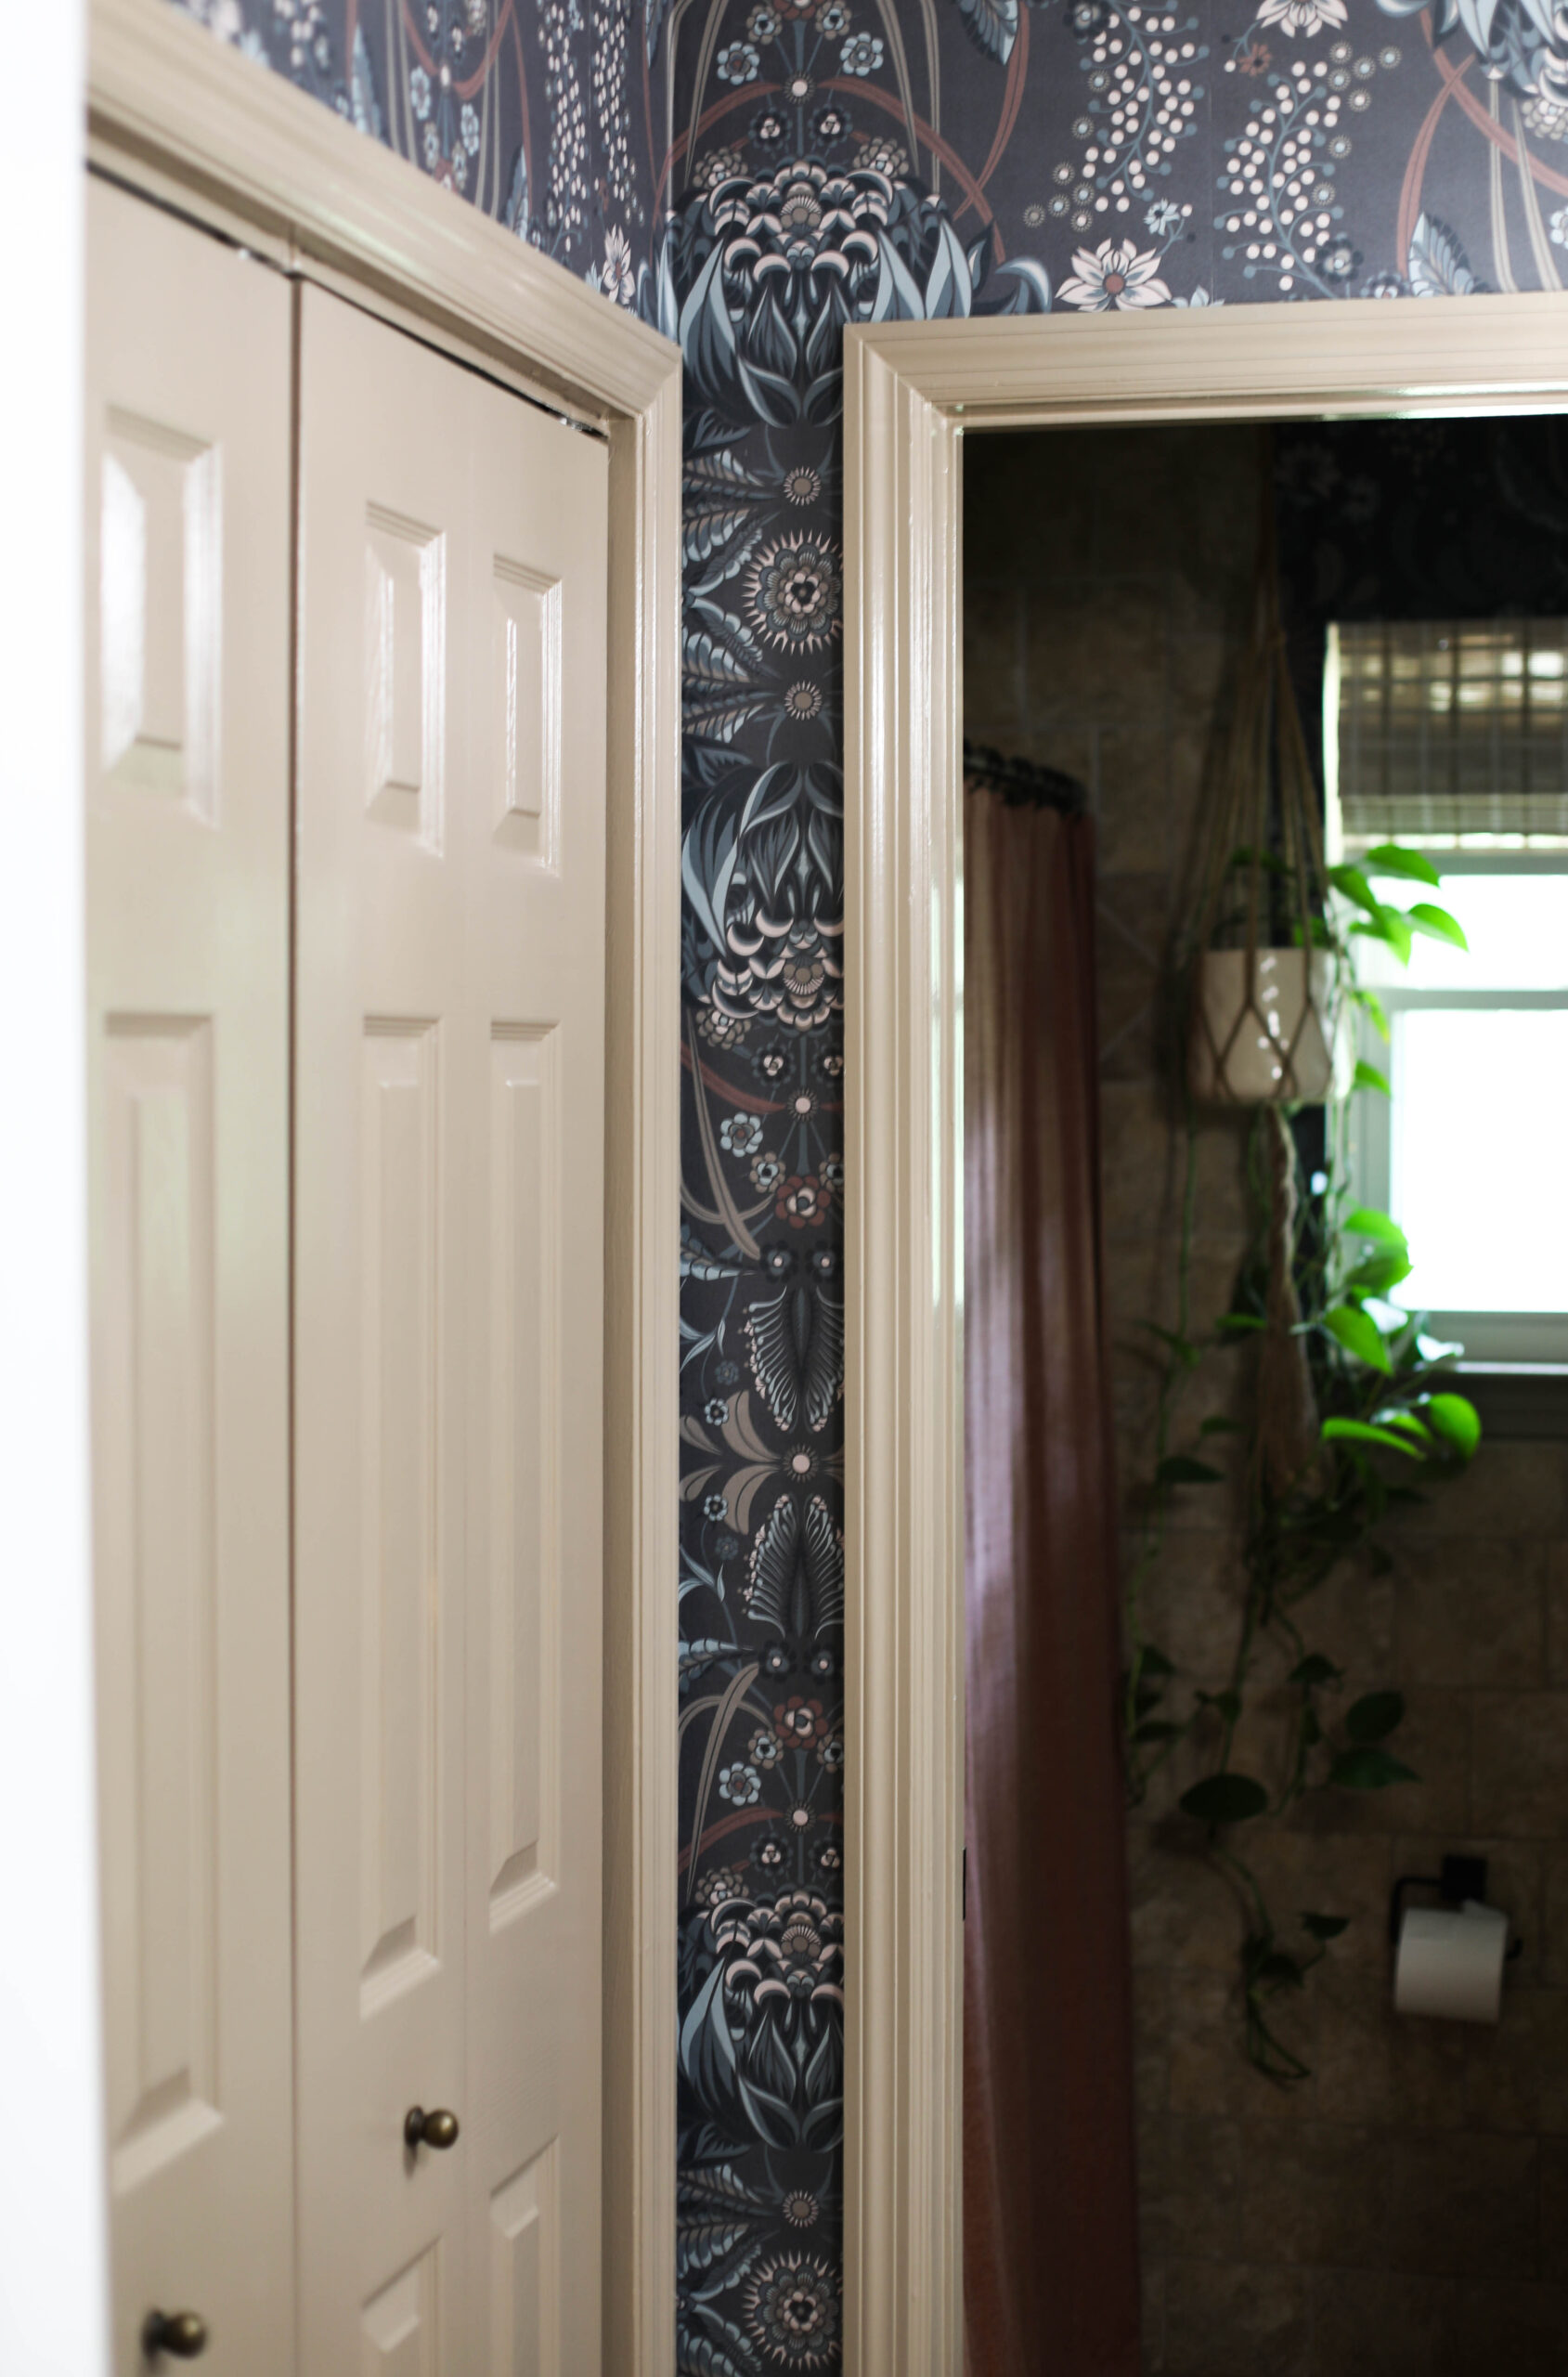
3. Start in the Least-Viewed Area

Luckily, I started in the corner of my bathroom that nobody sees. This is where the incident above happened. Consider this your grace corner. By the time you make it to the focal point in your room, you’ll be a pro.
4. Change Out Your Blade OFTEN.
If you don’t learn anything else, learn this – change your razor blade often. This will keep your edges clean and professional looking. When I say often, I mean every 2-3 strips. I went through at least 5 or 6 blades just in my bathroom. A dull blade will cause snagging and ripping of the paper. You want a fresh sharp blade to glide across your paper like a hot knife through butter.
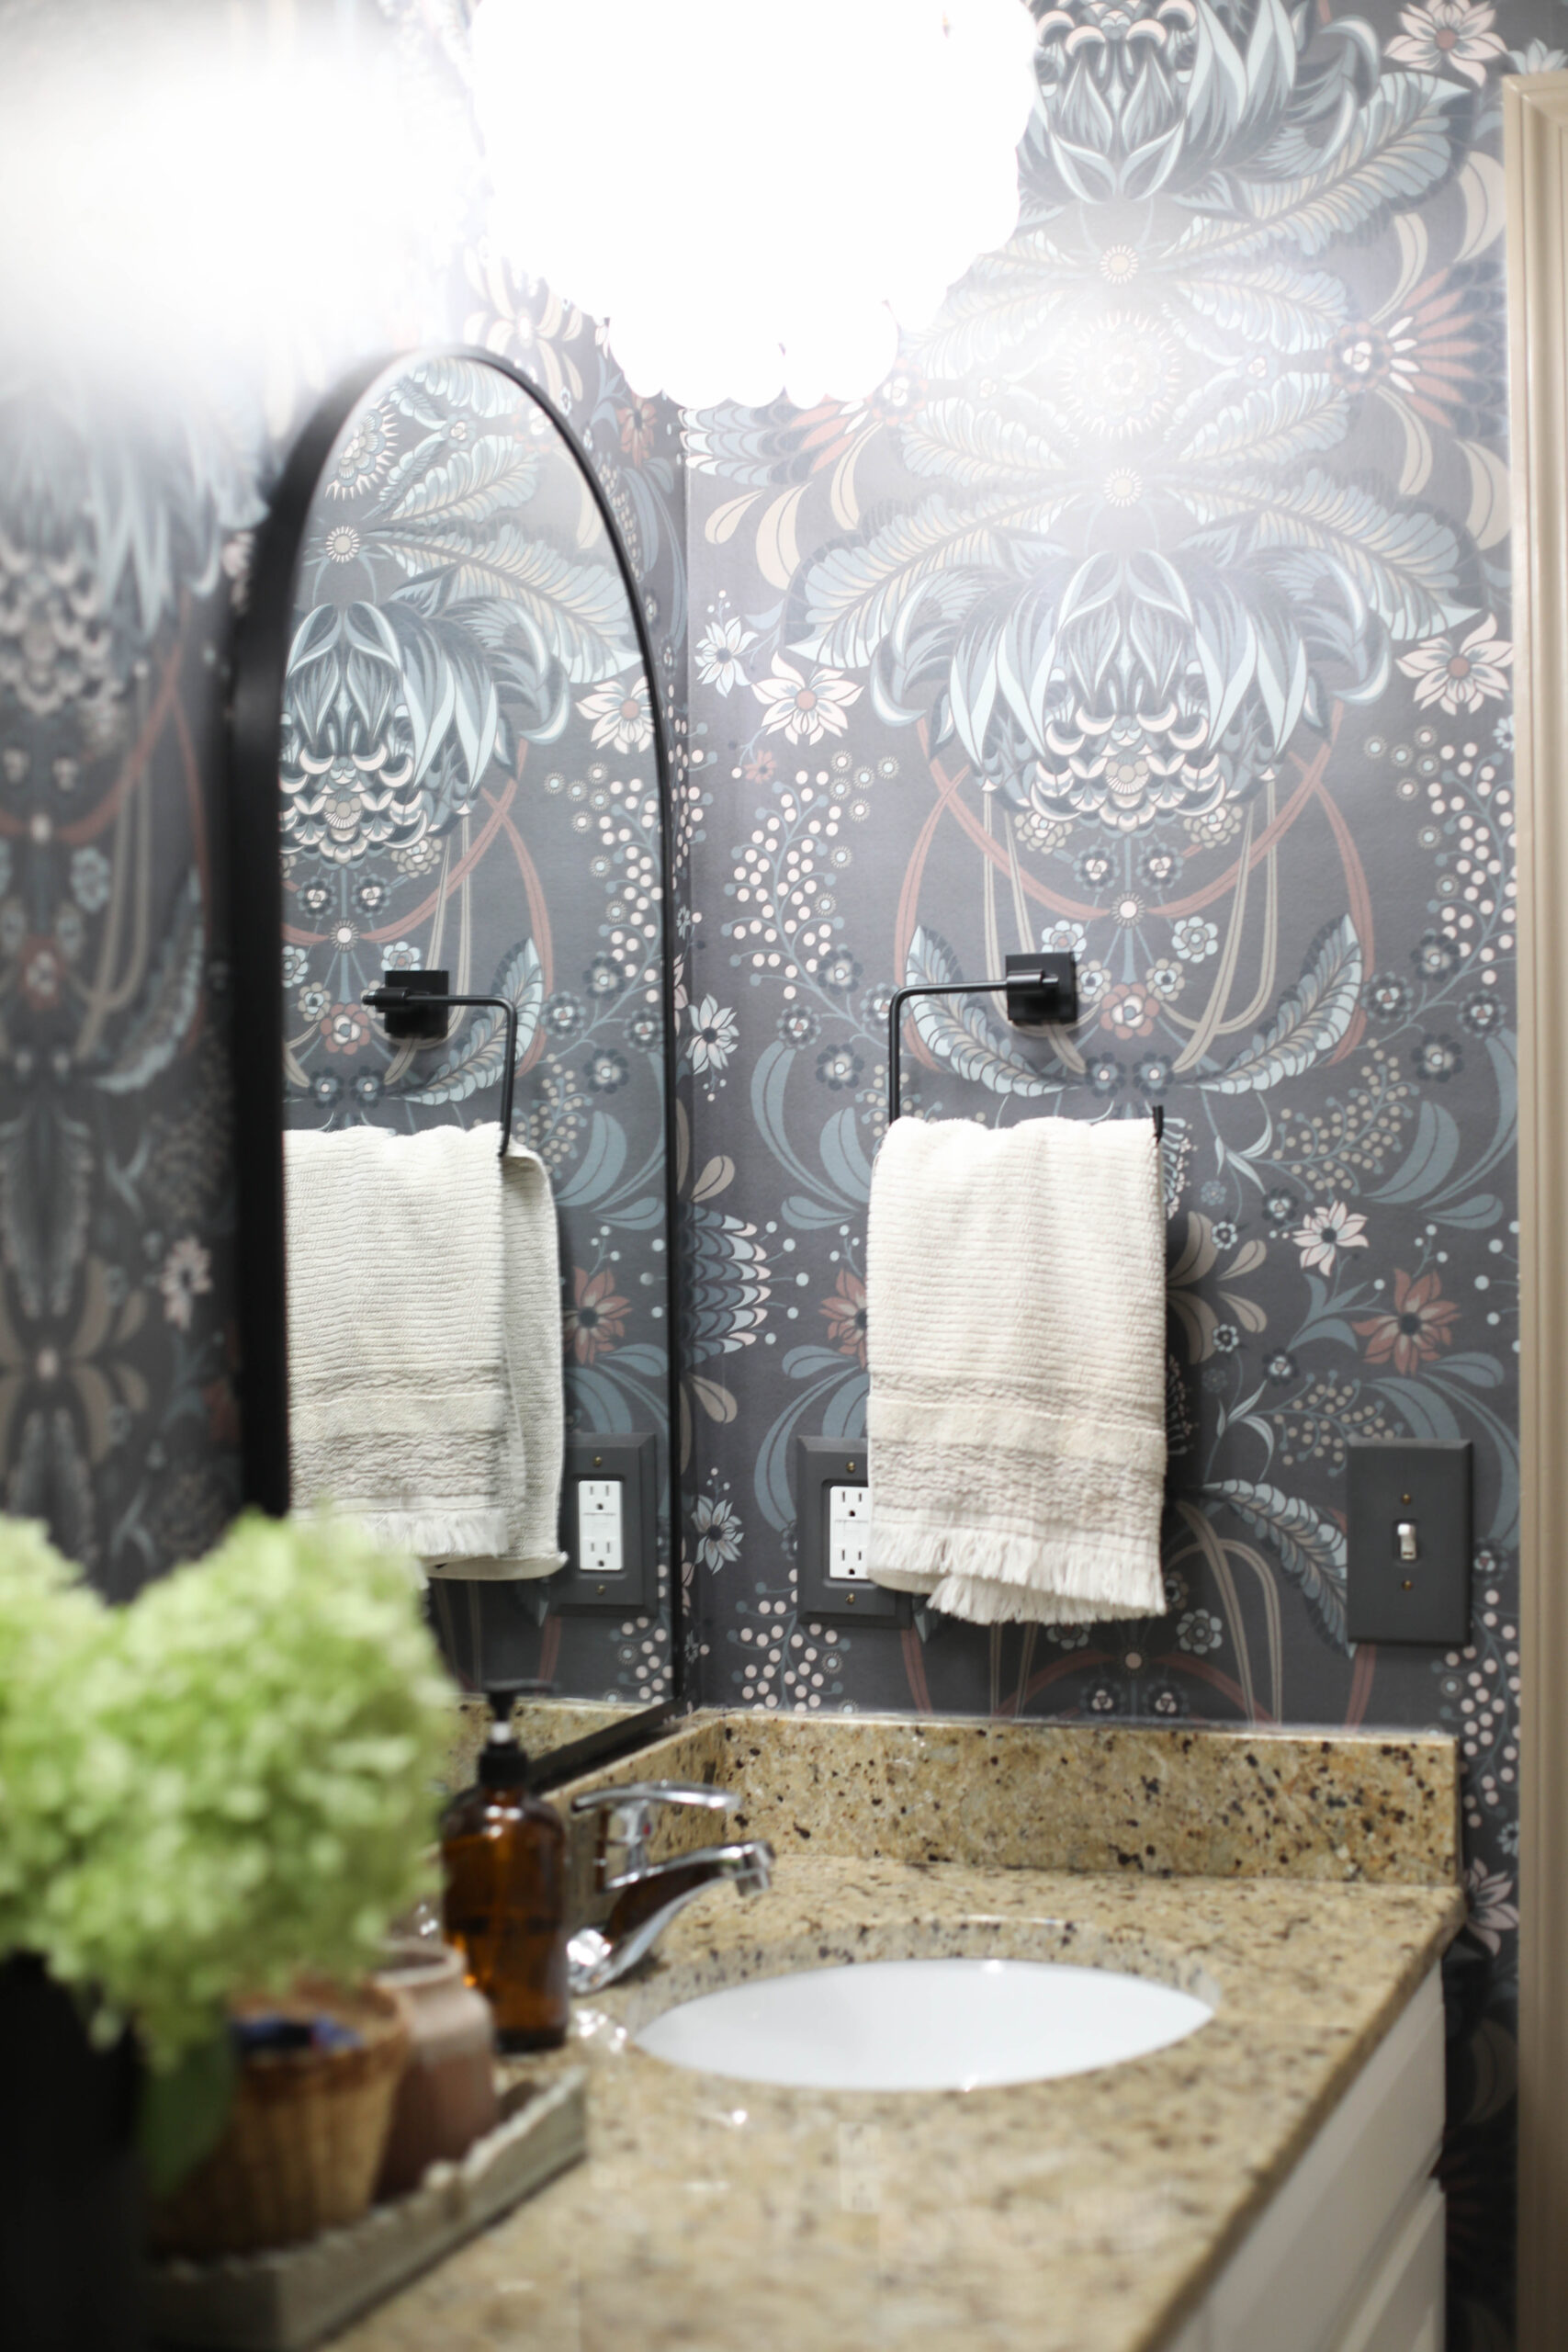
5. Use a Quality Matte, Non-Woven Wallpaper
To make any room look like it’s been wallpapered by a professional, you’ll want a quality wallpaper. A quality wallpaper will be matte, which will not have a glare or funky shadows. A matte paper looks and feel high-end, but it doesn’t always mean you have to pay high-end prices for it. Also, I prefer a non-woven wallpaper. I’ve tried peel-and-stick in the past, and unless you’re living in a rental or just needing a design on your walls for a short amount of time, go with traditional pasted paper. It will last longer and actually be easier to hang , especially in a whole room.
Non-woven paper means you can just brush the paste straight onto the wall and the paper will be ready to to hang. There’s no dipping your paper in water or brushing paste and folding before hanging. Non-woven paper is a DIYer’s dream!
I used Milton & King a few times now, and not only do they have some of the most beautiful designer prints, their paper looks and feel luxurious. It’s easy to work with since it’s non-woven and extremely durable so that you can take it off the wall and move it around to get it just right. Use code DIANA10 for 10% off your Milton & King order.
These are a few of the other designs I was considering for my space.
Now that you are much more confident, go to your cart and purchase that dreamy wallpaper already and make your home feel like you!
You can also go to my Instagram Highlights under “Wallpaper” to see more live install videos.