Could a nursery be a more perfect spot for a wallpaper mural accent wall? A wallpaper accent wall is an easy, one day DIY that can transform a space and make any room, especially a nursery, a cozy, playful retreat. I’m giving you simple tips to do it yourself as well as my top contender wallpaper murals for our baby boy nursery.
(This post is in collaboration with Photowall.)
Choosing Our Nursery Wallpaper Mural
After spending (shamefully) hours scrolling through Photowall’s gorgeous designer wallpapers and nearly the same amount of time pinning nursery on my Pinterest board, I narrowed down the look I wanted to go with a few words – natural, elevated, vintage. My main goal was to also choose a print that would age well through the years with our son. Since Photowall’s wallpapers are traditional paste, I knew I wouldn’t want to be changing things up when he is no longer a baby.
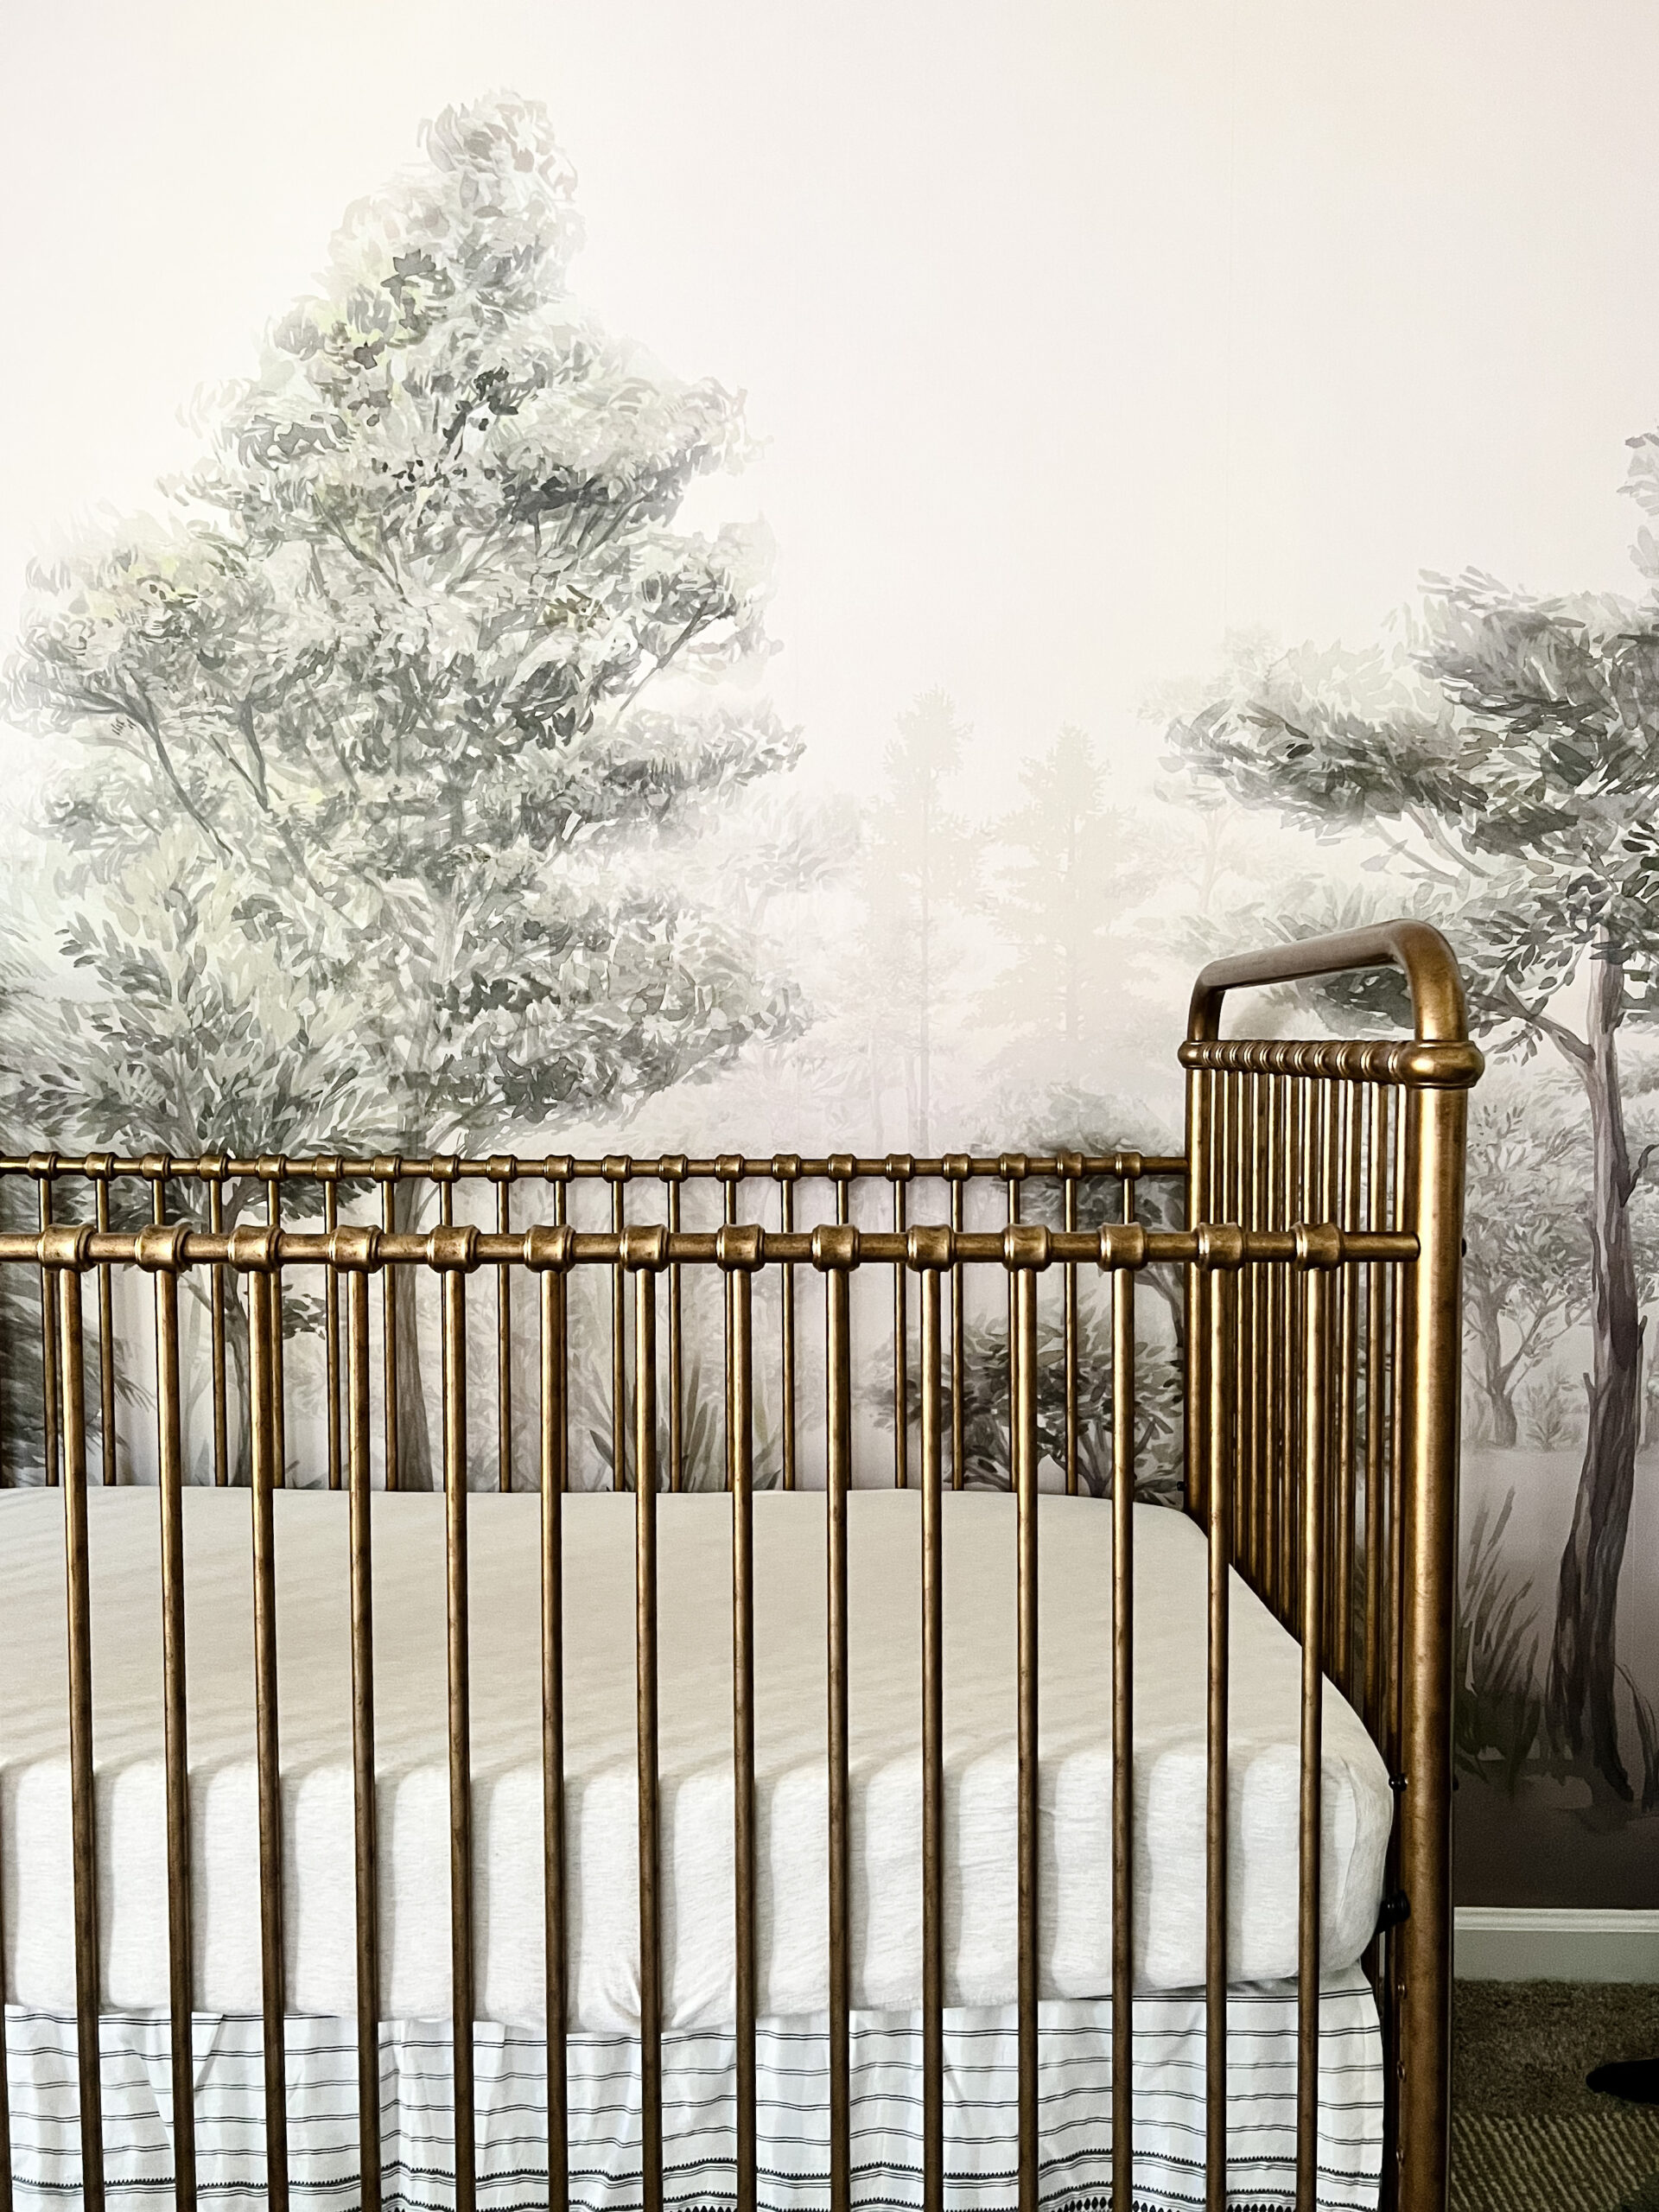
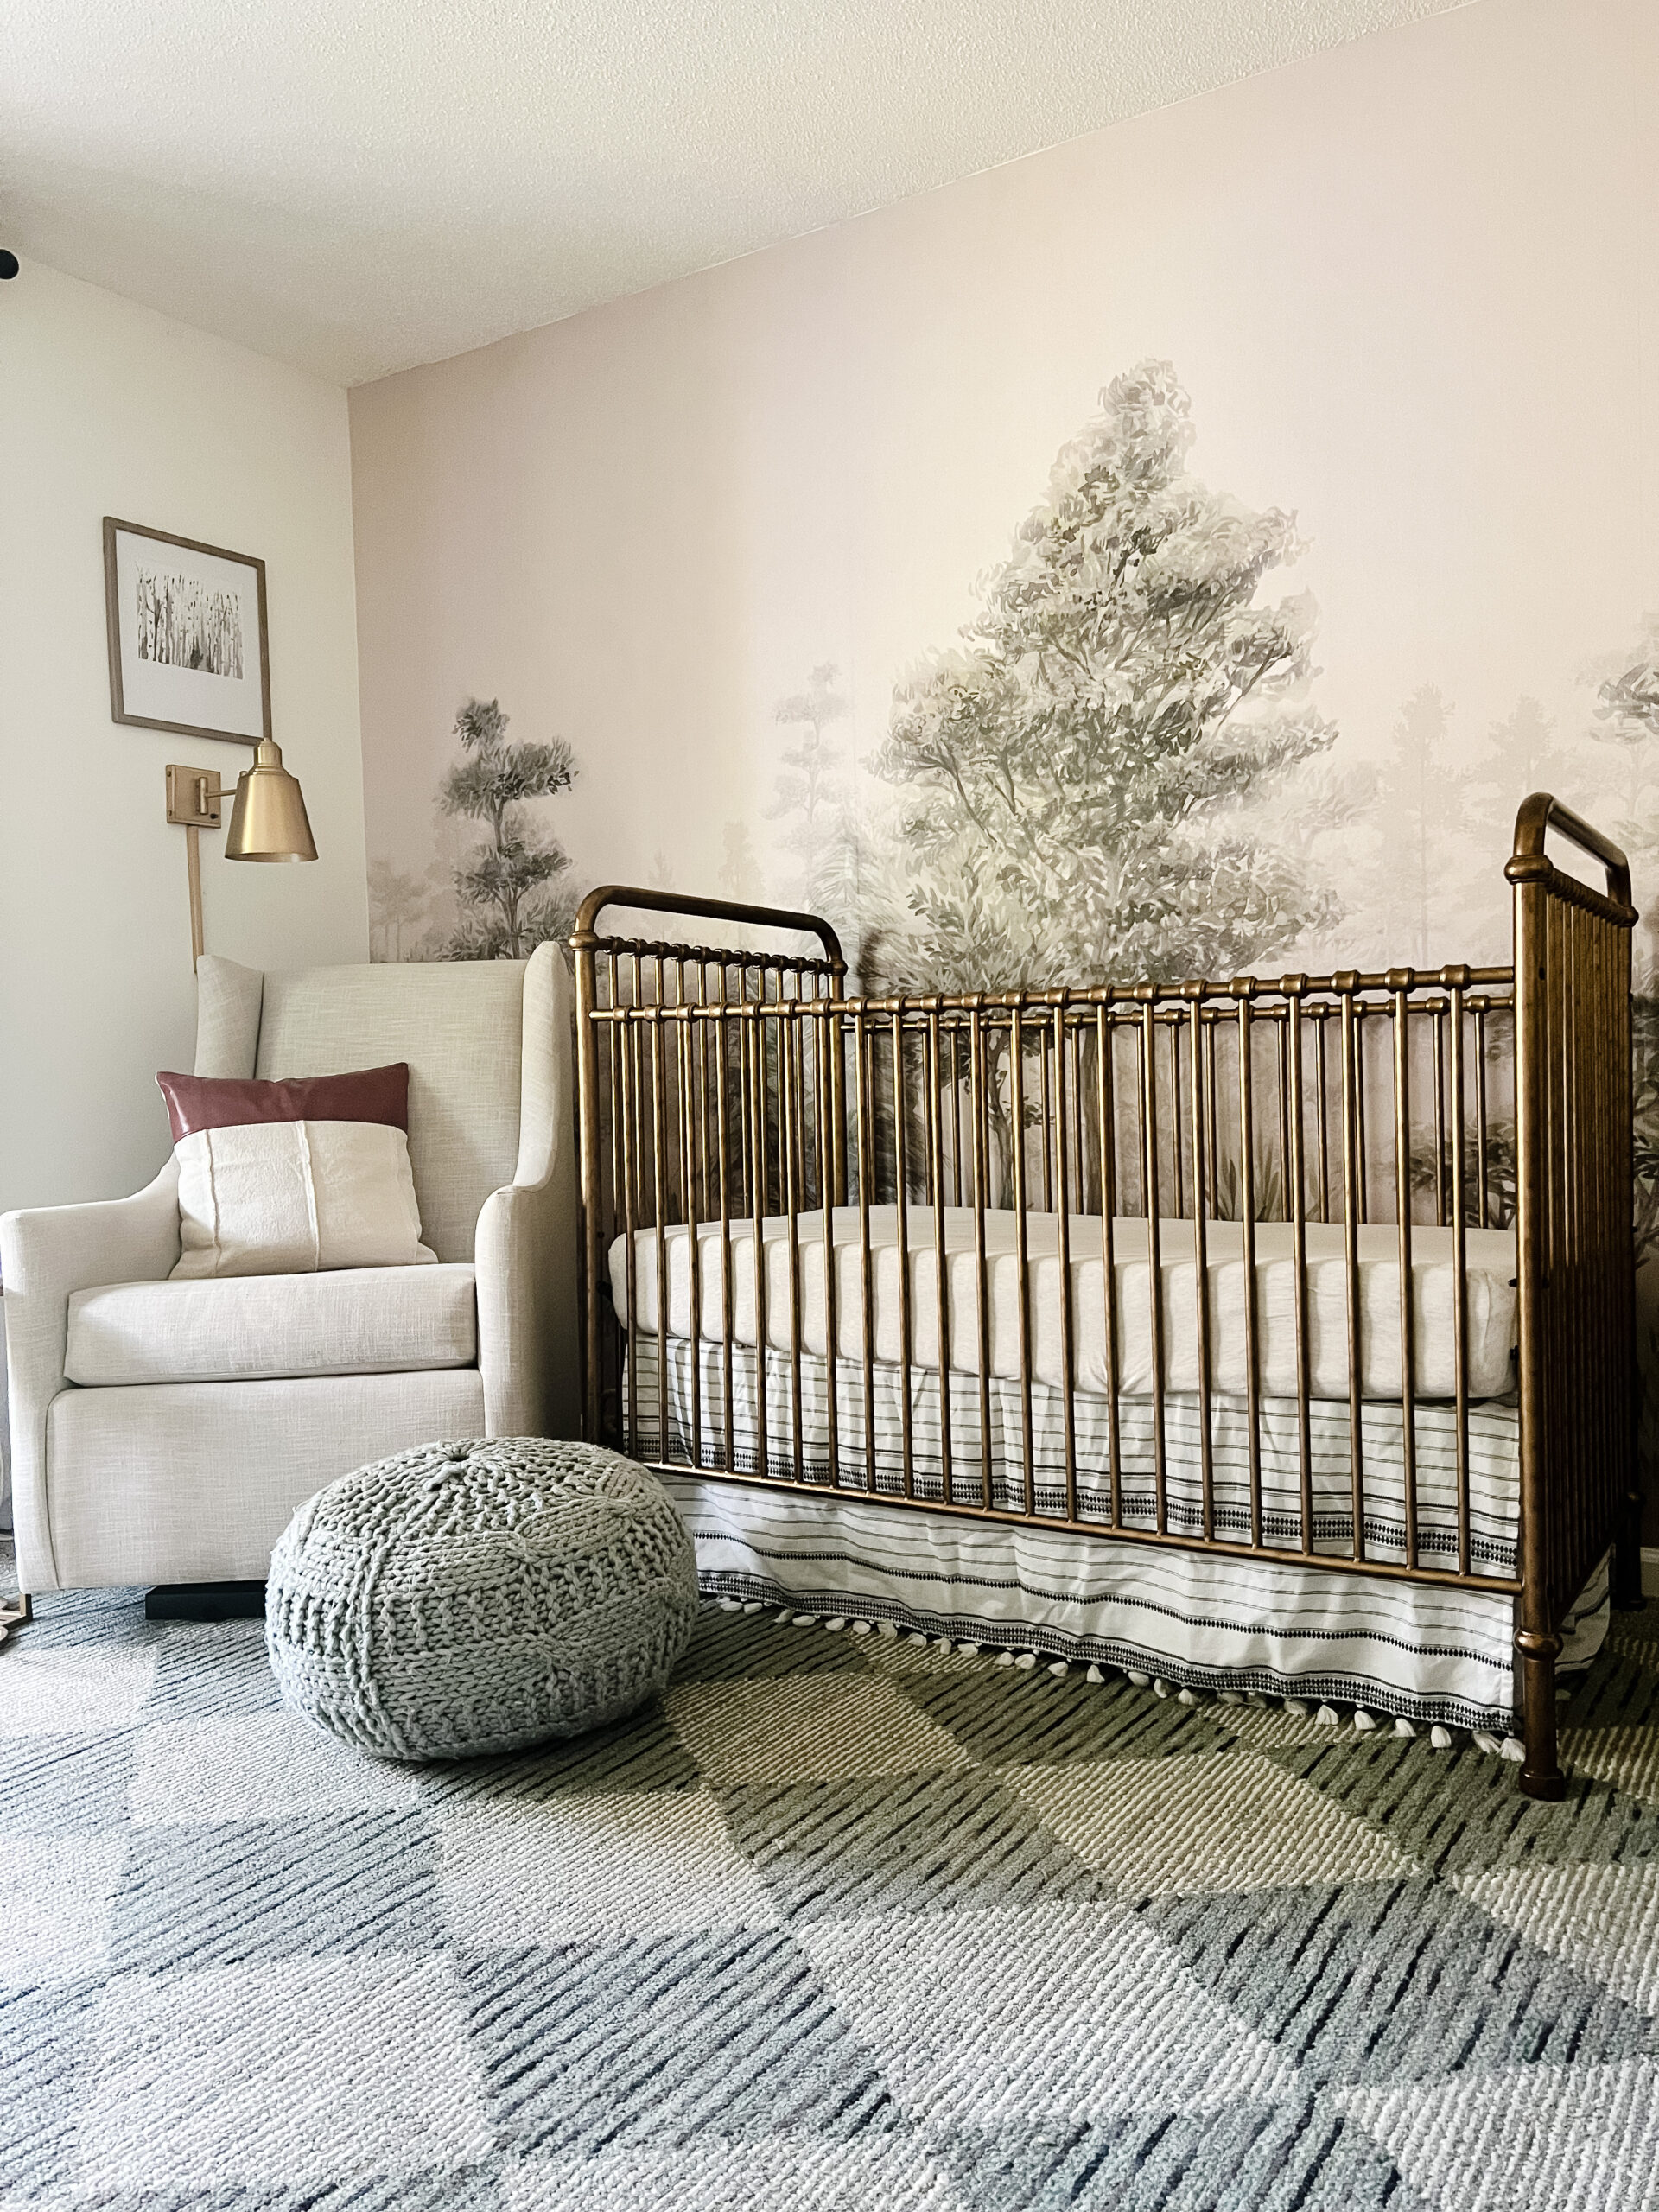
With all of that in mind, I decided on a vintage-feel forest print with a hint of color – Bohemian Forest Natural. It’s a gorgeous wooded scene with hints of many shades of green, teal, and warm tans. Honestly, I just can’t stop staring at it.
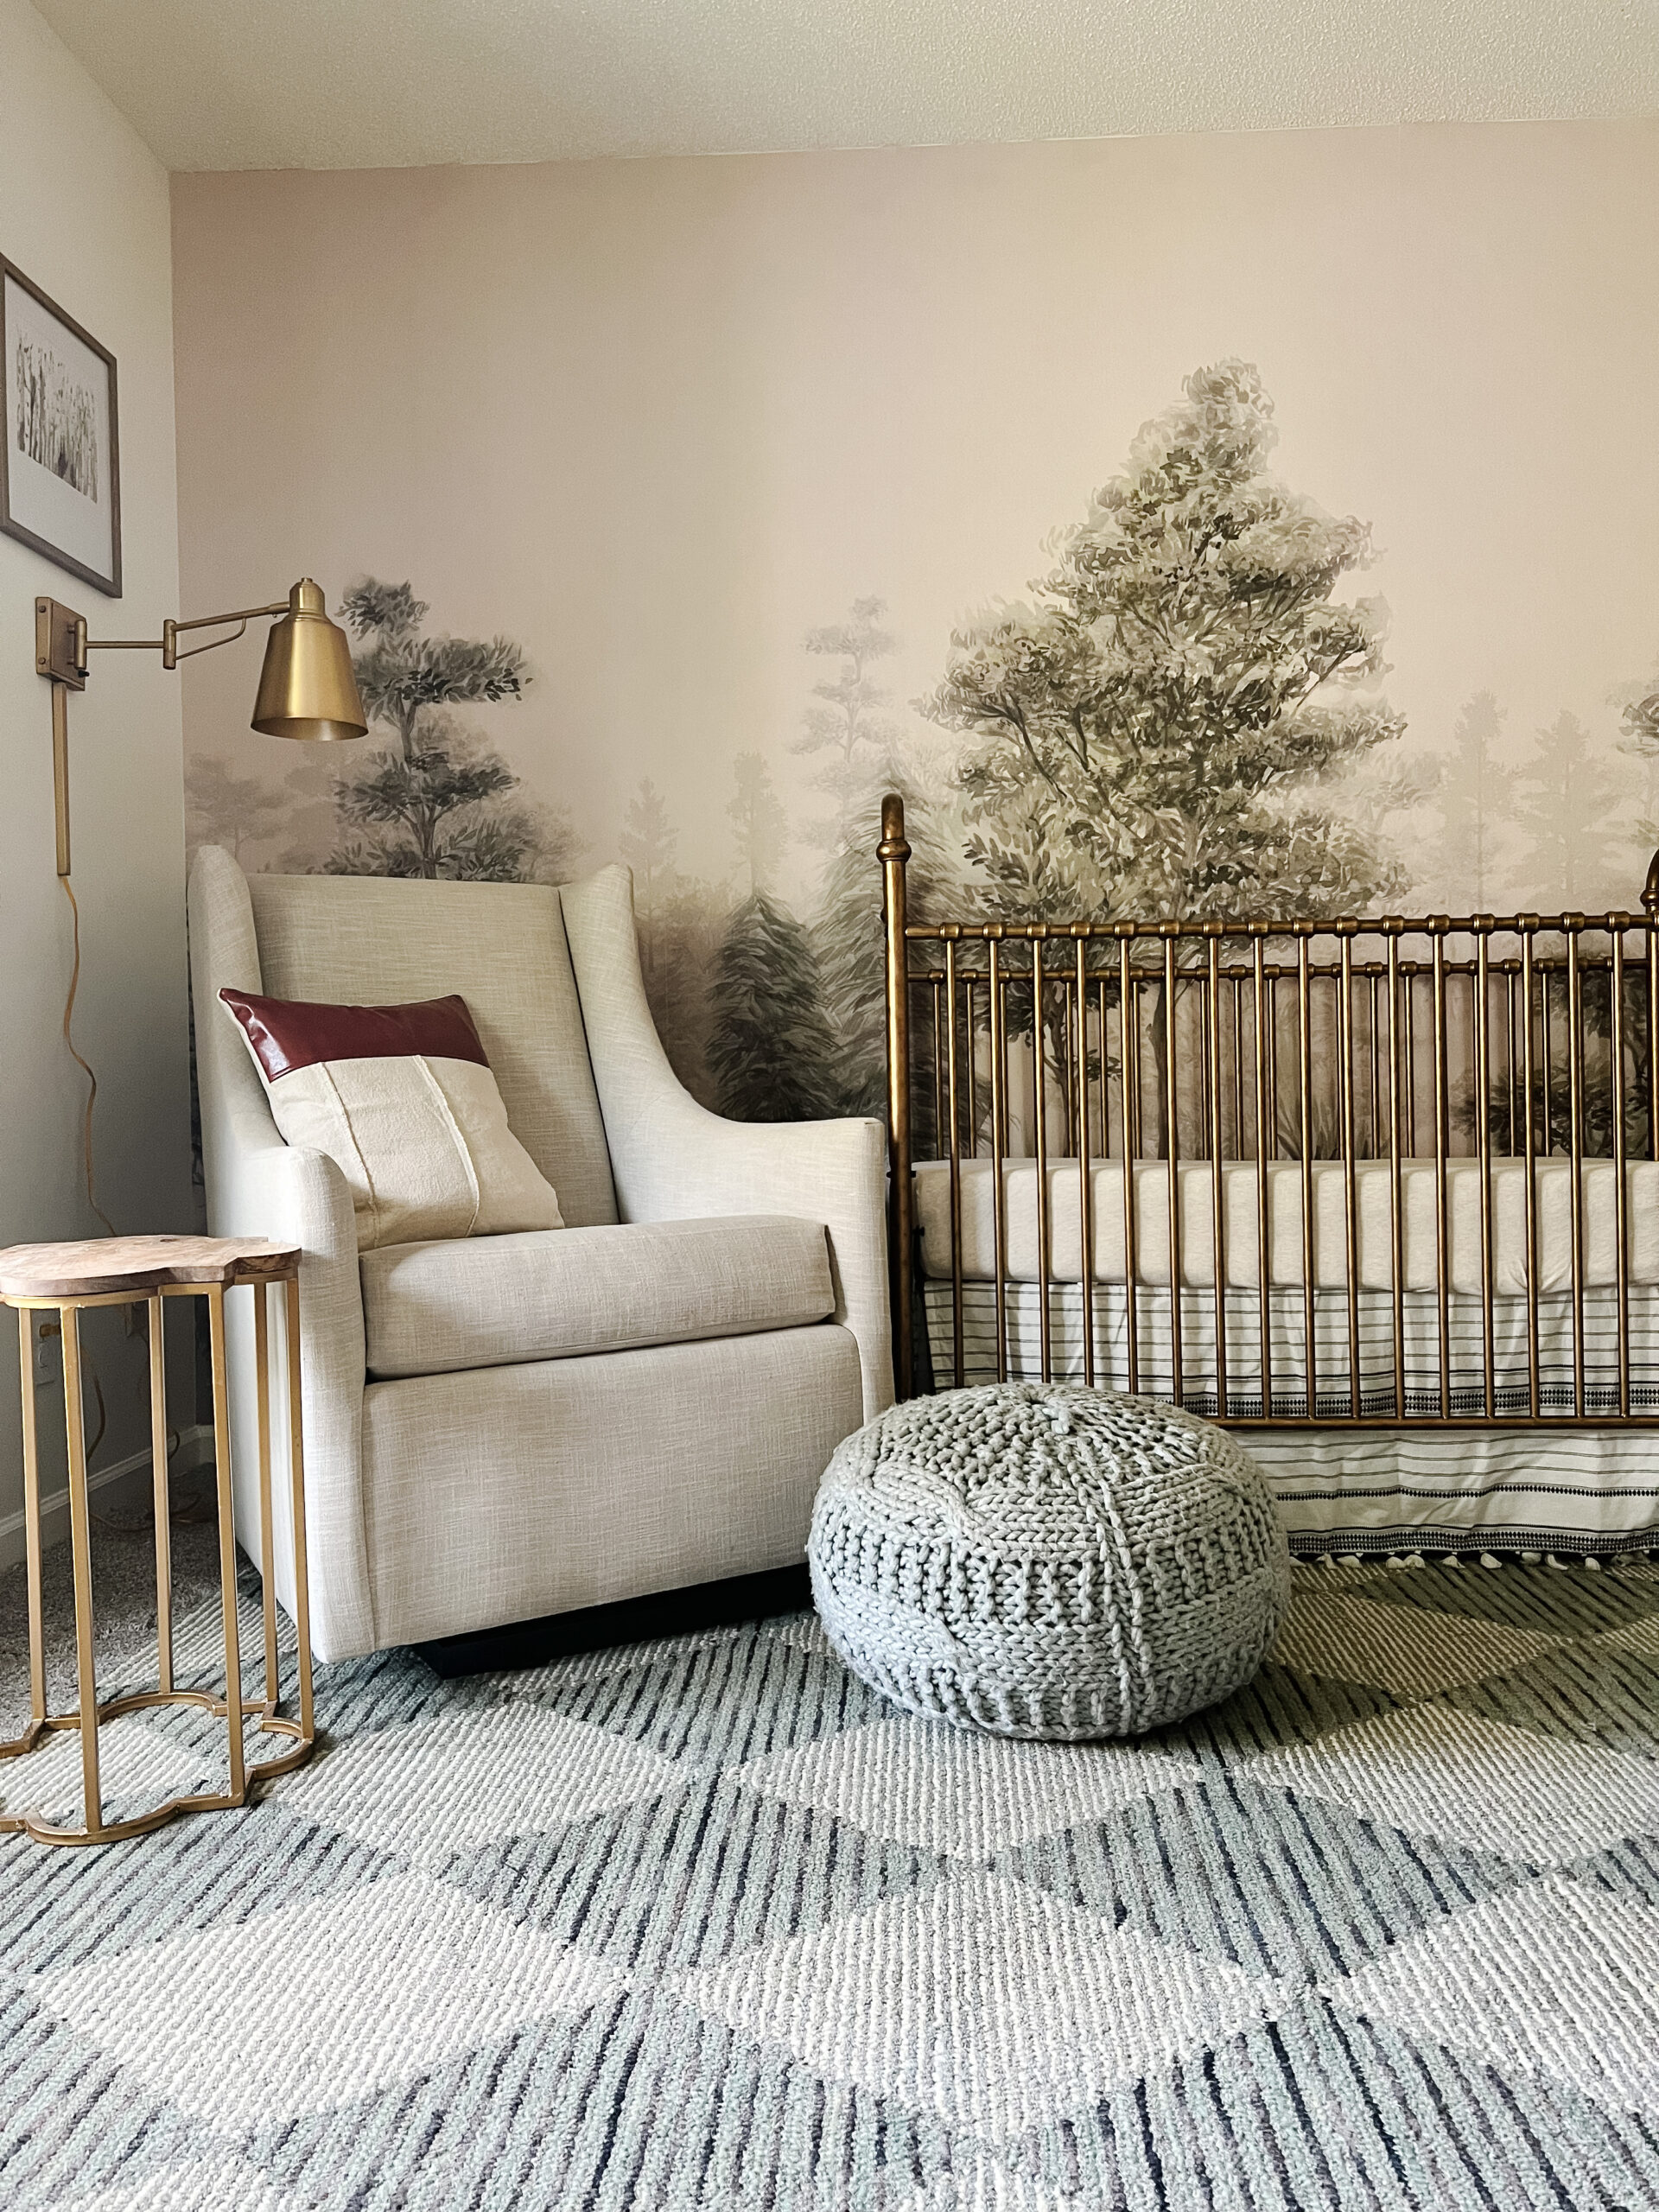
It also goes so perfectly with this wool Loloi checkered rug!
How Photowall is Different
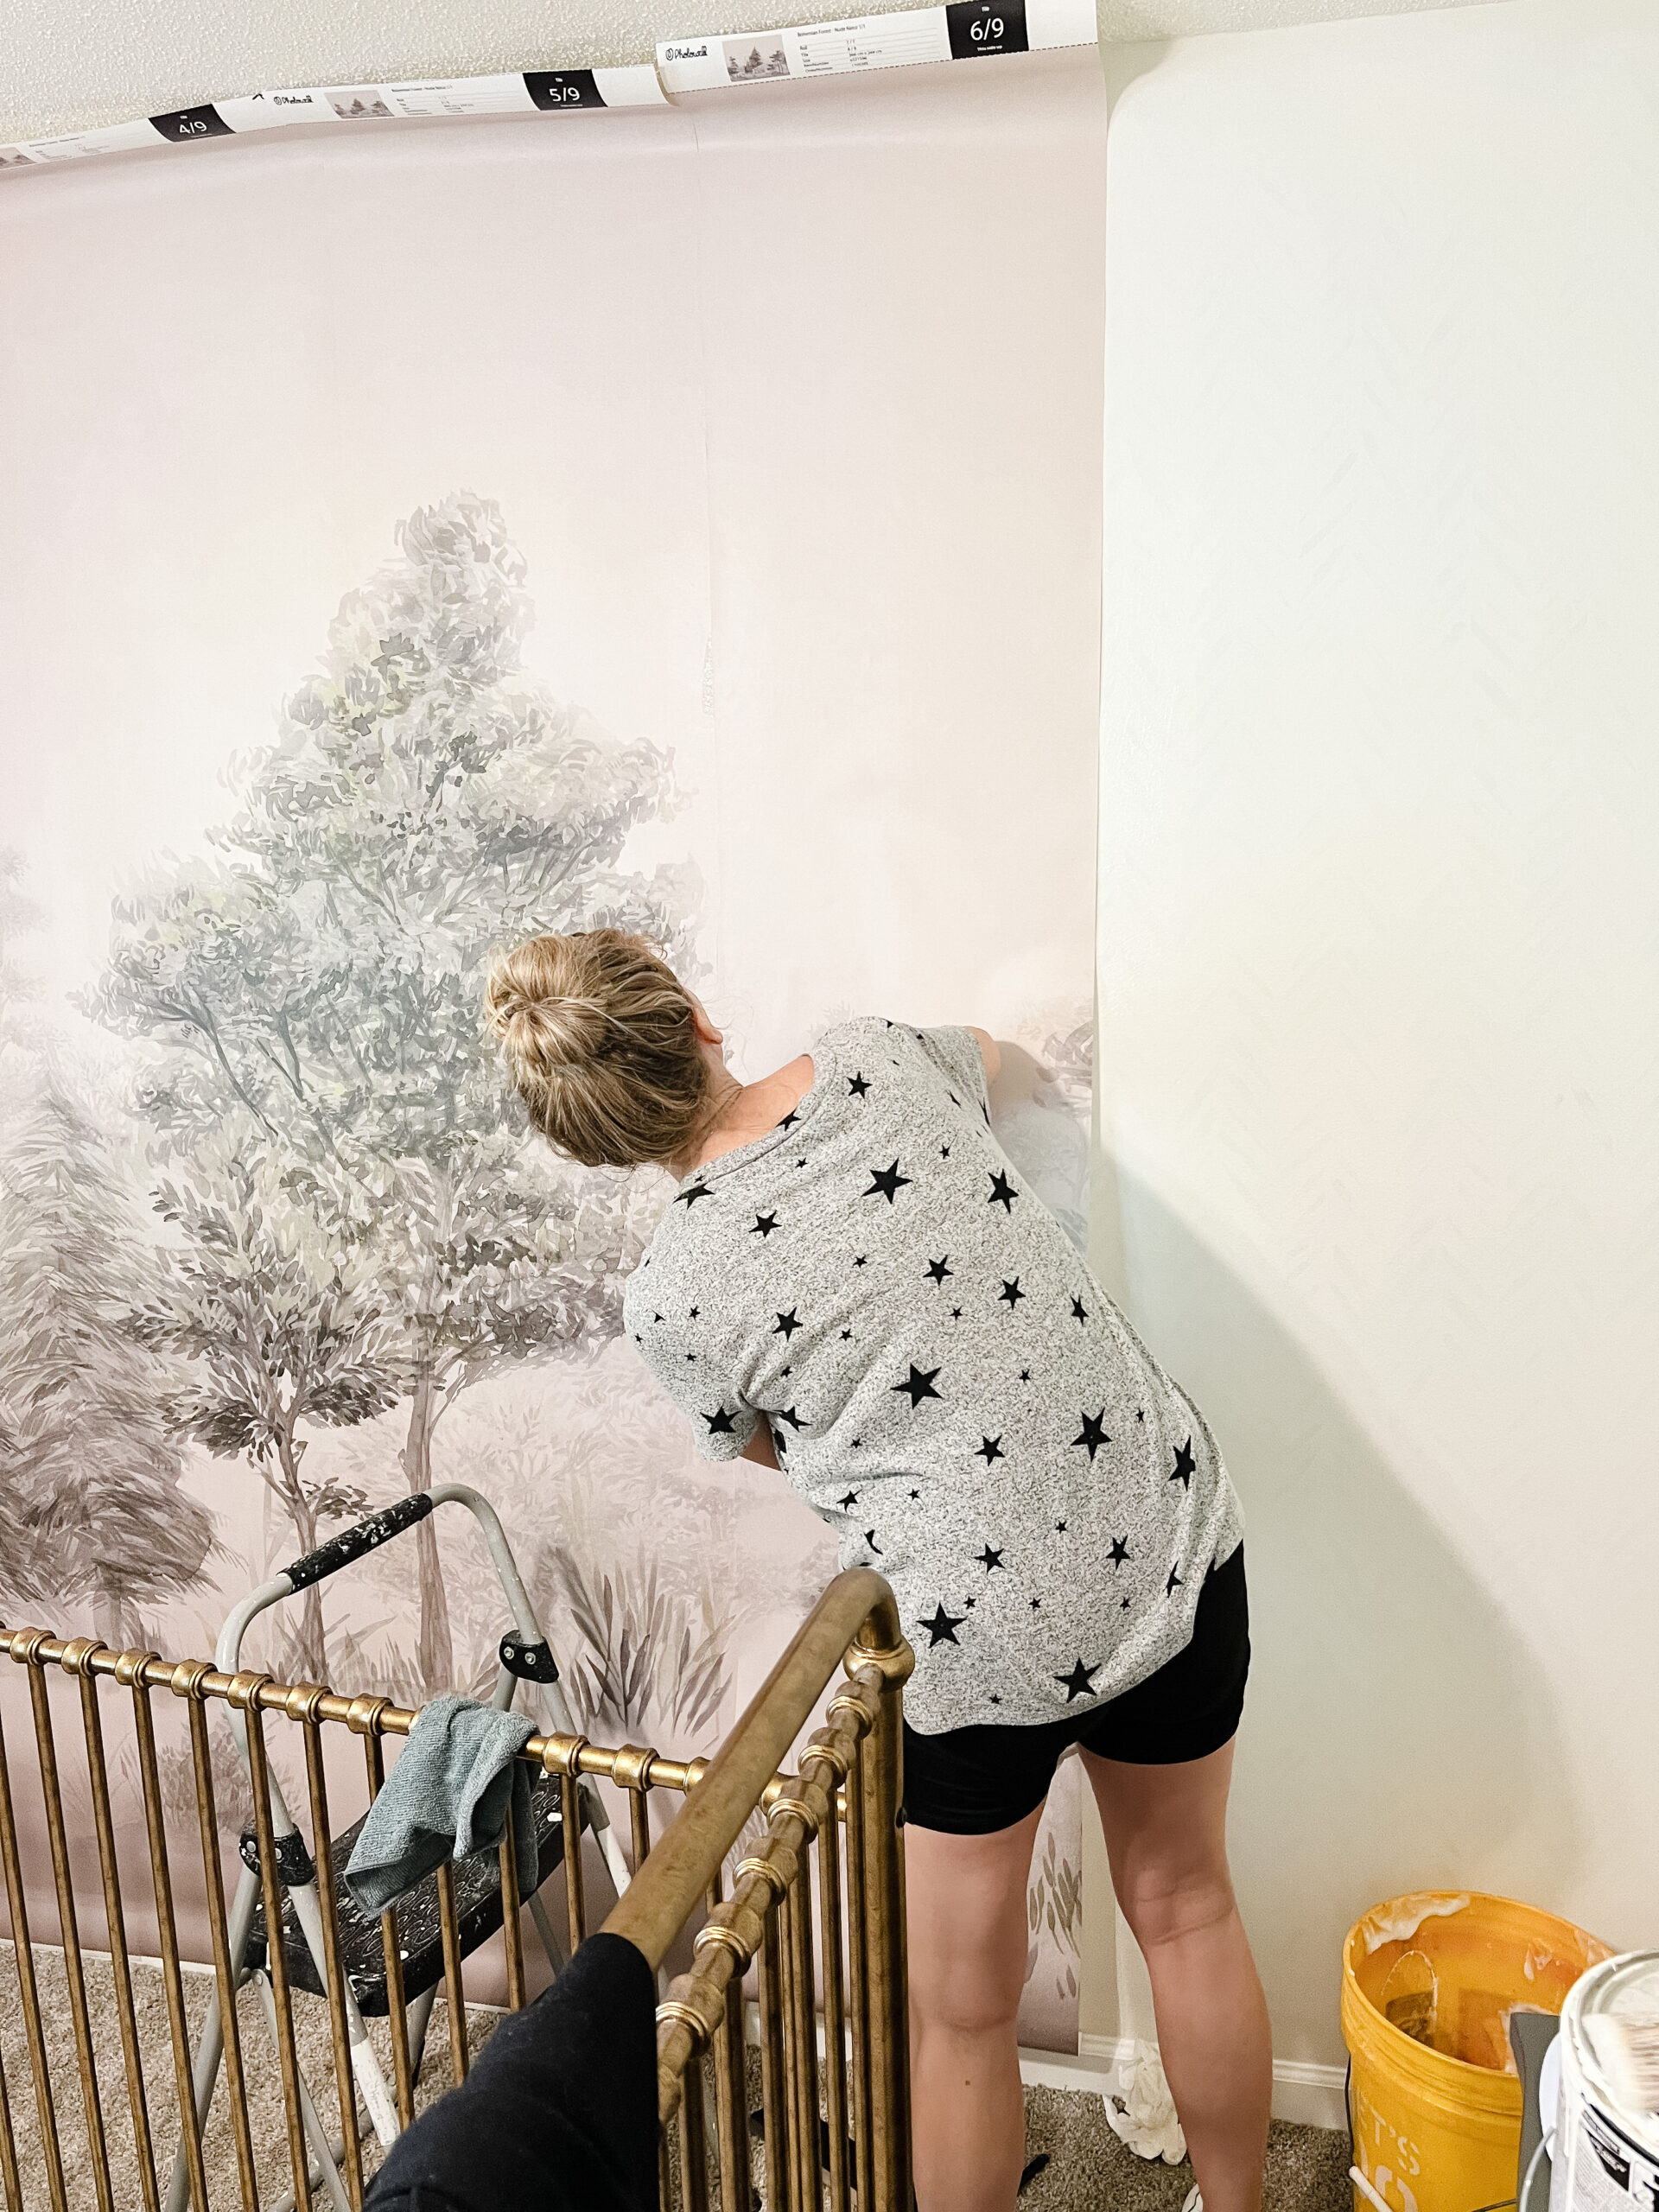
With Photowall, you can upload your own image or choose from thousands of beautiful designs for your home! Wallpaper paste is also included in every wallpaper order. It’s such great paste! Lastly, they’re super DIY friendly. They number each panel in the order the go, and you simply just install left to right. Their premium, durable designer wallpaper has easily become my favorite!
Tips to DIY Your Own Wallpaper Wall
1 | Start with a Clean Slate
With any project in life, you always want to start with the end goal in mind. For this project, you obviously want to end with a beautiful, crisp, professional-looking wallpaper wall. The first thing to get you to that goal is to start with a clean slate. That means: fill in any large nail holes or gashes and paint over any bright colors with a flat white paint or primer. This ensures that any colors will not show through the paper.
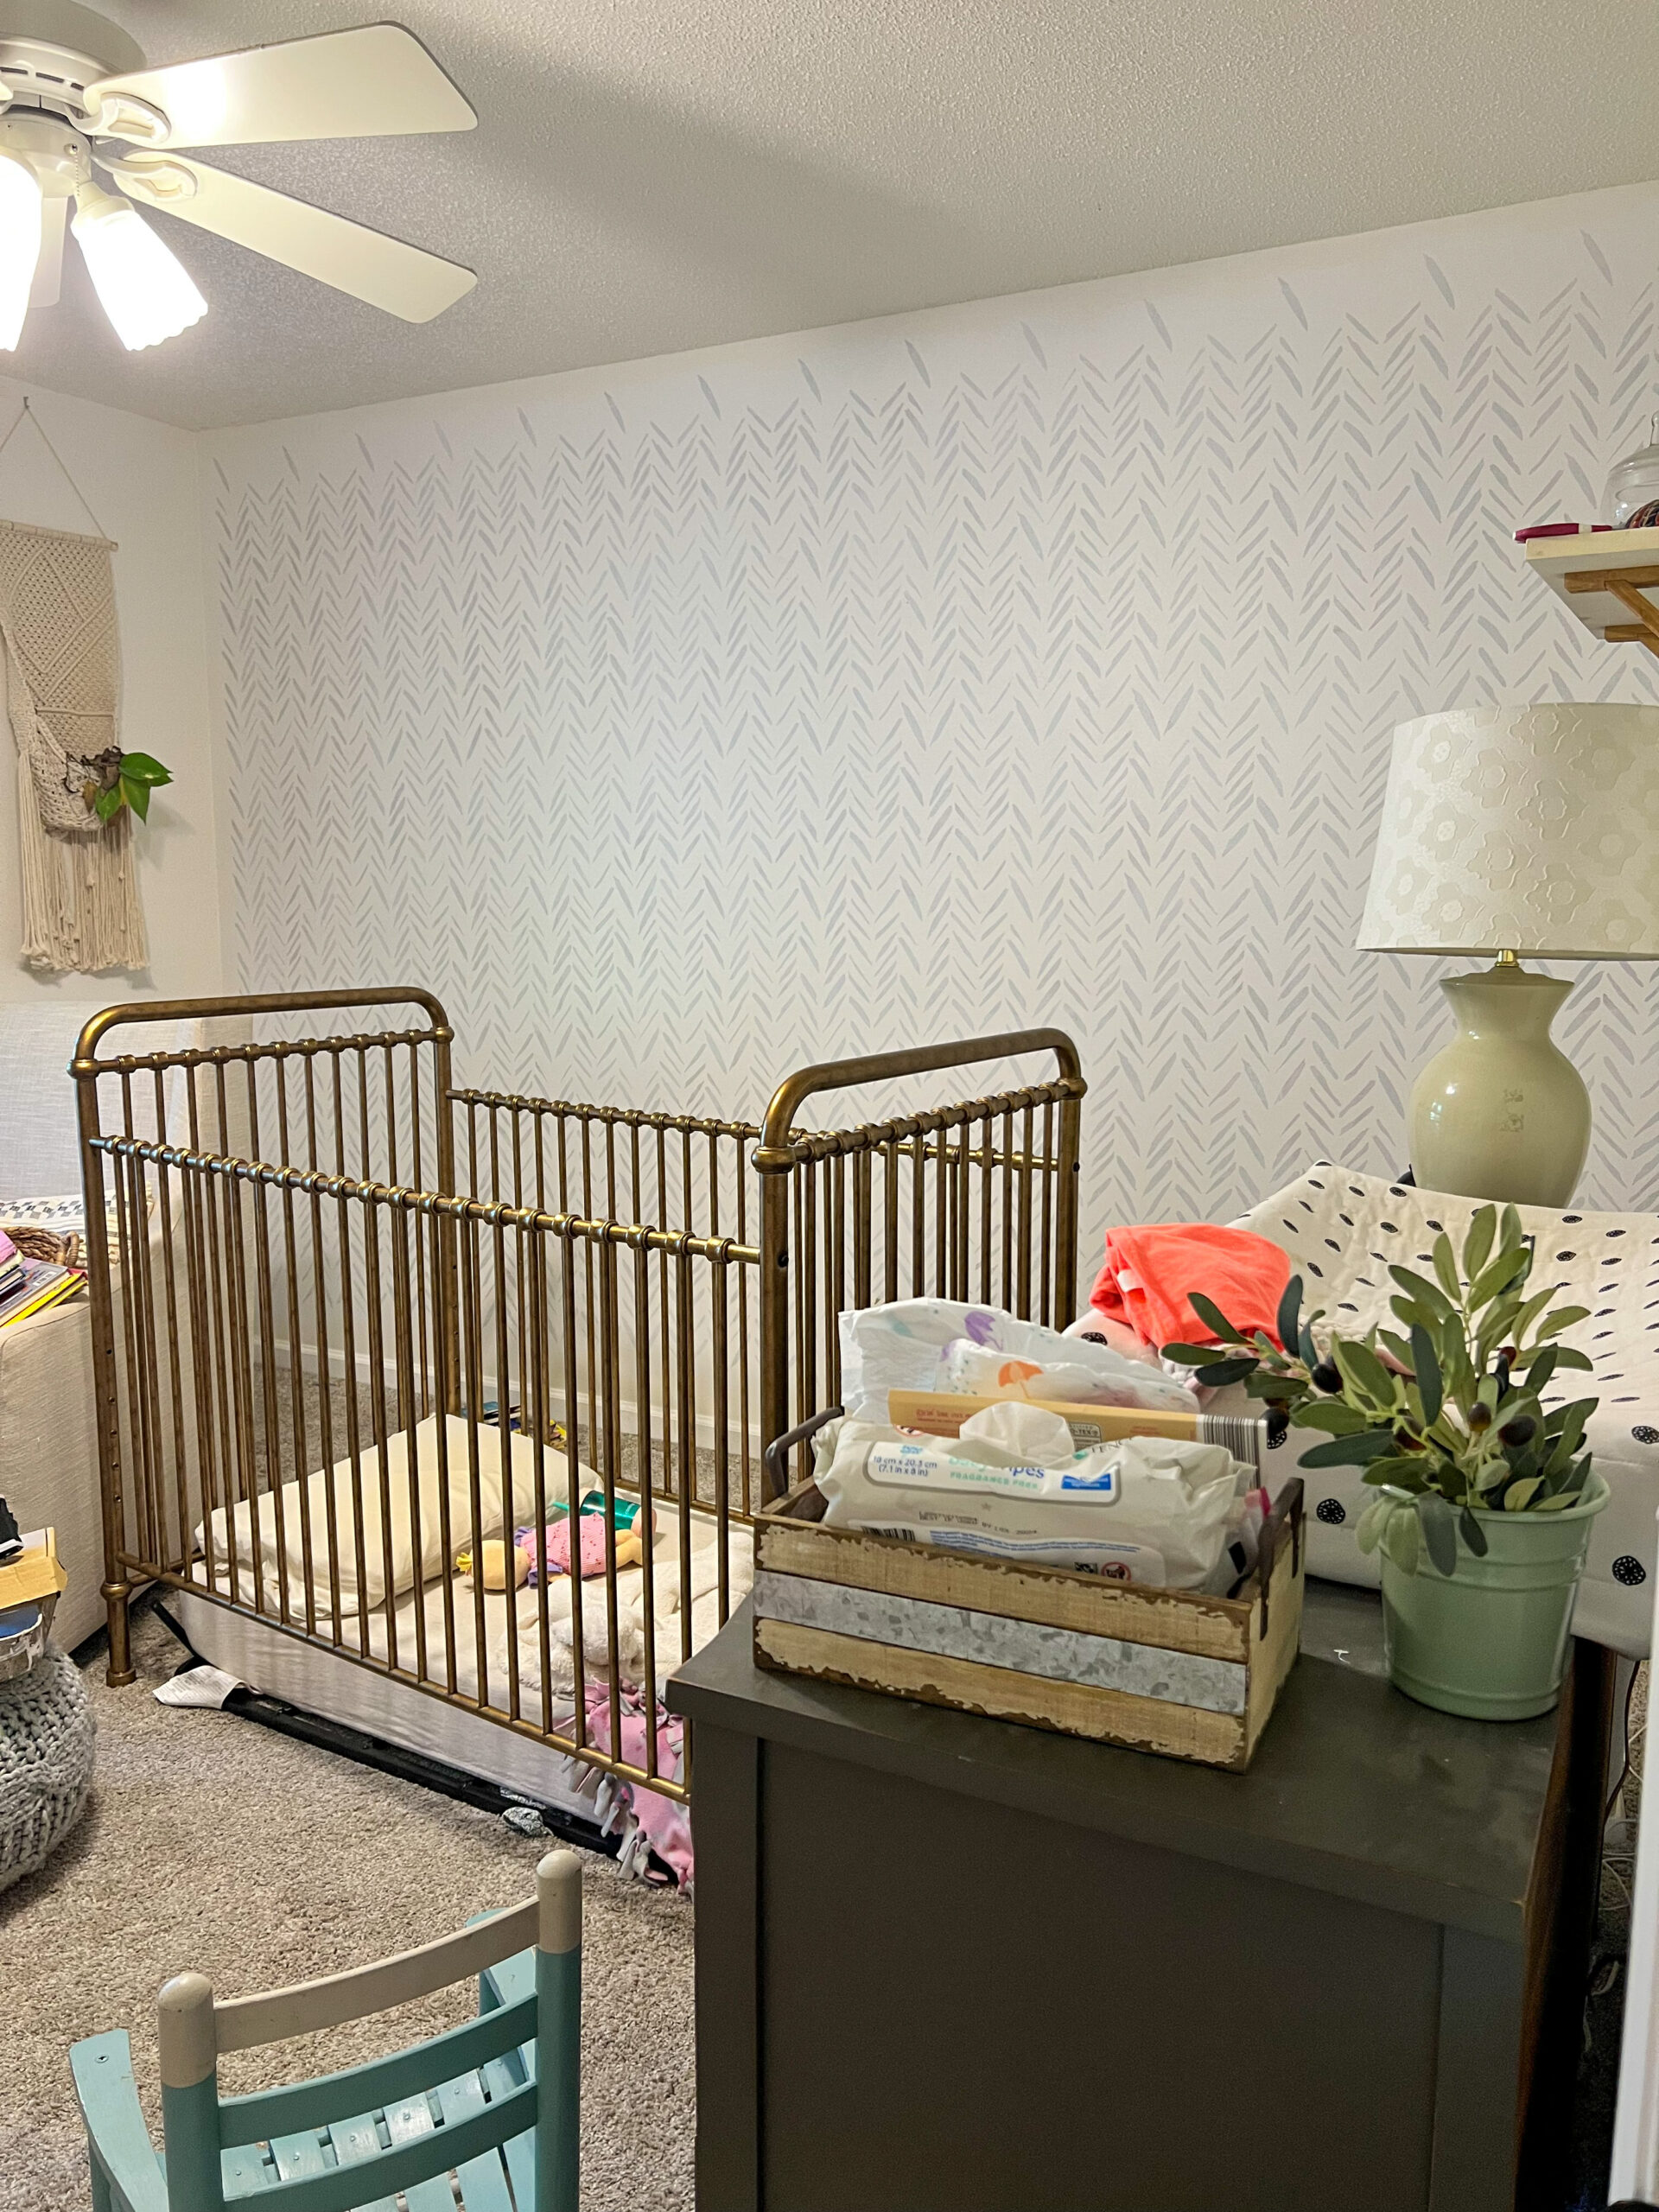
In my case, I had a dark stencil pattern that took a coat of primer and two coats of flat white paint in order to not show through the paper once installed. In the end, it’s better safe than sorry, so I would encourage anyone to start with a fresh coat of white wall of flat-eggshell paint.
2 | Have the Right Tools for the Job
The three most important tools for any wallpaper job are: a seam roller, a smoother/squeegee, and a sharp razor blade. This kit right HERE is a great price and includes the most important basics.
For starters, a seam roller presses your seams together in order for them to appear seamless. With Photowall’s papers, you don’t want to overlap the seams. You do need to press them together as closely as possibly though. A smoother tool is important to push out any excess bubble or glue and ensures for a smooth finish. Lastly, A new, sharp razor blade is a must for cutting crisp edges once your wall is complete.
3 | Leave a Margin for Error
When ordering your wall mural with Photowall, they encourage you to order 2″-4″ more on your height and width. I went with 4″ to be on the safe side. When you begin your first panel (the most important panel), you will need to make sure to leave a good 2″-3″ at the top to adjust for an uneven wall. Trust me, there is hardly ever an even wall out there!
I made the mistake of not leaving enough paper at the top in our entryway and regretted it when I had a gap at the top on the last two panels! Luckily, we have since added crown molding to where it’s not noticeable. But to save you the heart ache, go ahead a leave a good amount room for margin.
My Top Wallpaper Picks for a Boy Nursery

Cradled in Clouds | Misty Pines | Beauty Everywhere | Waves | Zen Flow | Up and Away | Bohemian Forest
