
If you have assembled IKEA furniture before, then you are well acquainted with the ‘Swedish emojis’ used in lieu of any written instructions and the SEKTION line follows suit. Oh, and this guy is your friend too!

This post is a not a step-by-step ‘how to’ post for all things IKEA SEKTION cabinets but a collection of our best advice, mostly lessons learned the hard way, from our kitchen experience. Let me know if you have any questions, I am happy to talk about all our lessons learned.
Lesson Learned #1 – Review the Instructions
I am a manual-reading geek so no surprise this tip made the cut. As mentioned before, there is not much written content, but the Ikea cabinet boxes have several possible configurations to a kitchen footprint. This makes these little instruction booklets flow like a Choose Your Own Adventure novel, and we chose the wrong path a few times. But, we eventually learned to take our time and follow the path needed.
Lesson Learned #2 – IKEA’s Pozidriv Bit
The IKEA hardware used for assembling the cabinet boxes is close to Phillips head standard, but was just different enough to cause us headache. I wish Diana and I had invested the $5 on this bit, it would have prevented stripping and slipping we experienced throughout the assembly process. The Pozidriv Bit can be purchased online or with the FIXA kit.

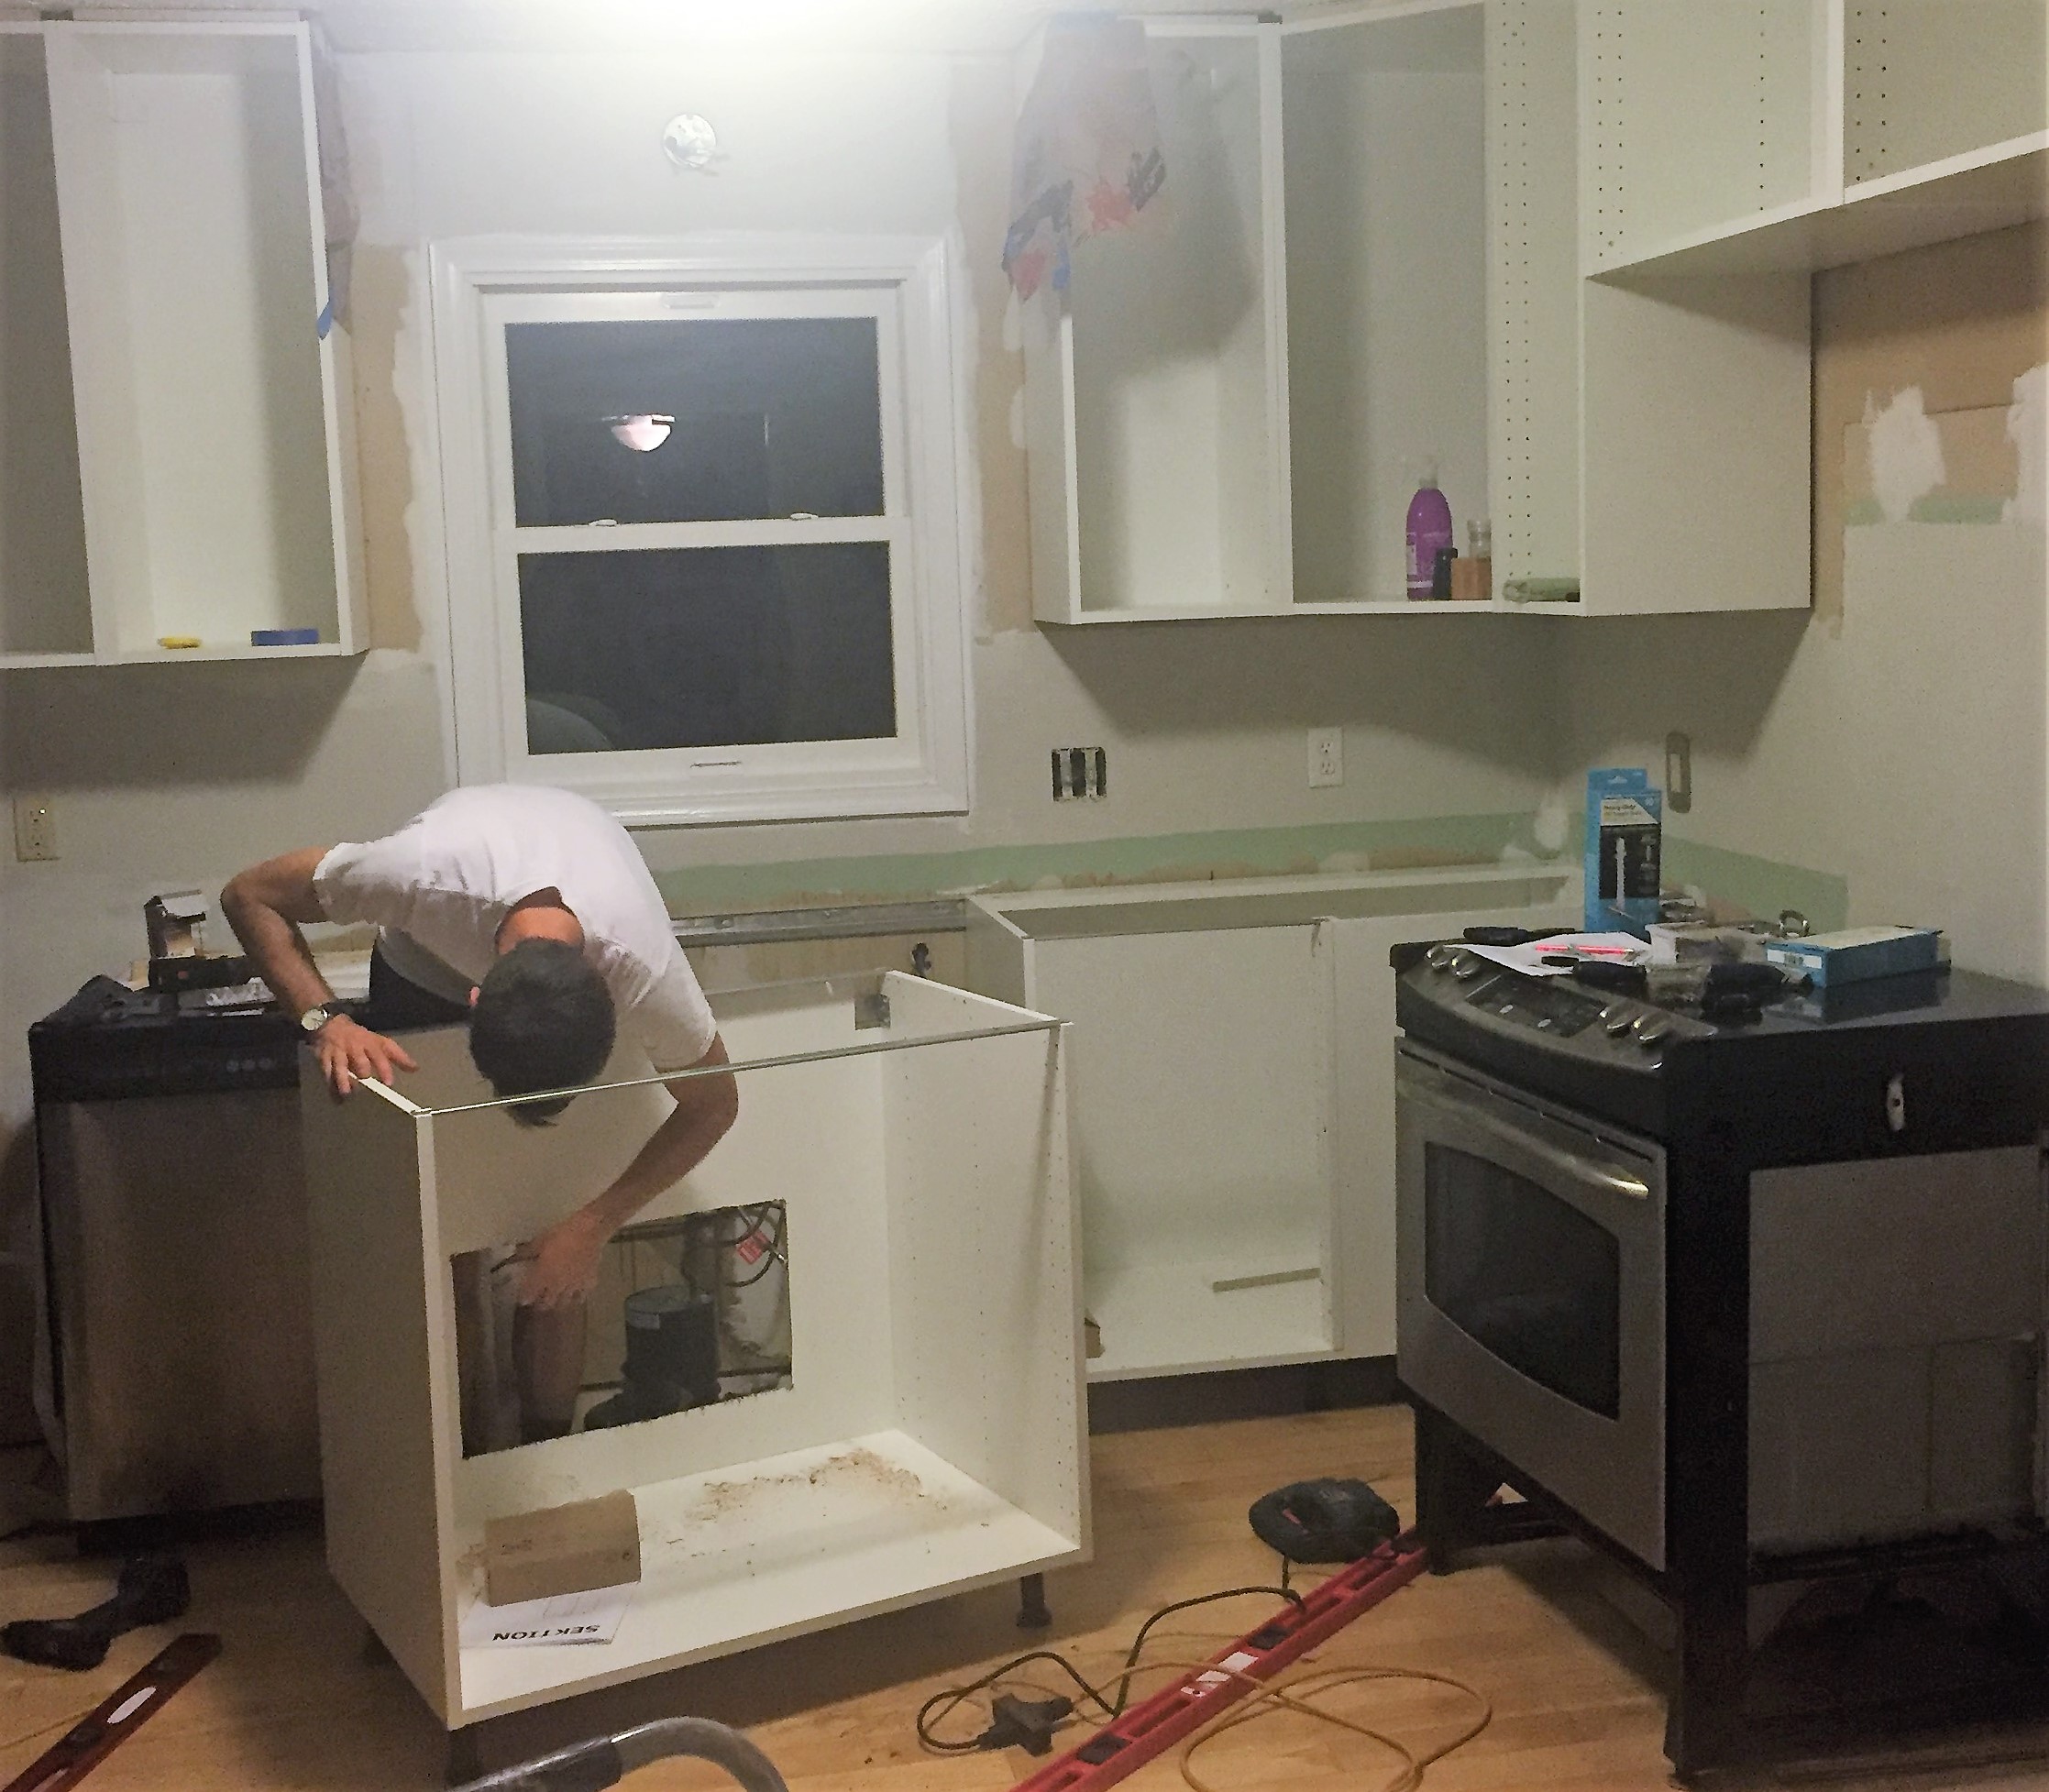
Lesson Learned #3 – Grab a Friend
Hanging the rails and the cabinetry is a two-person job. Our friends were a huge help in this project and I am thankful for them. Your friend is needed for the following tasks…
- Helping lift up the cabinets to the top rail, especially that big corner guy
- Using a pencil to mark the holes to line up with studs, while you hold the rail in place
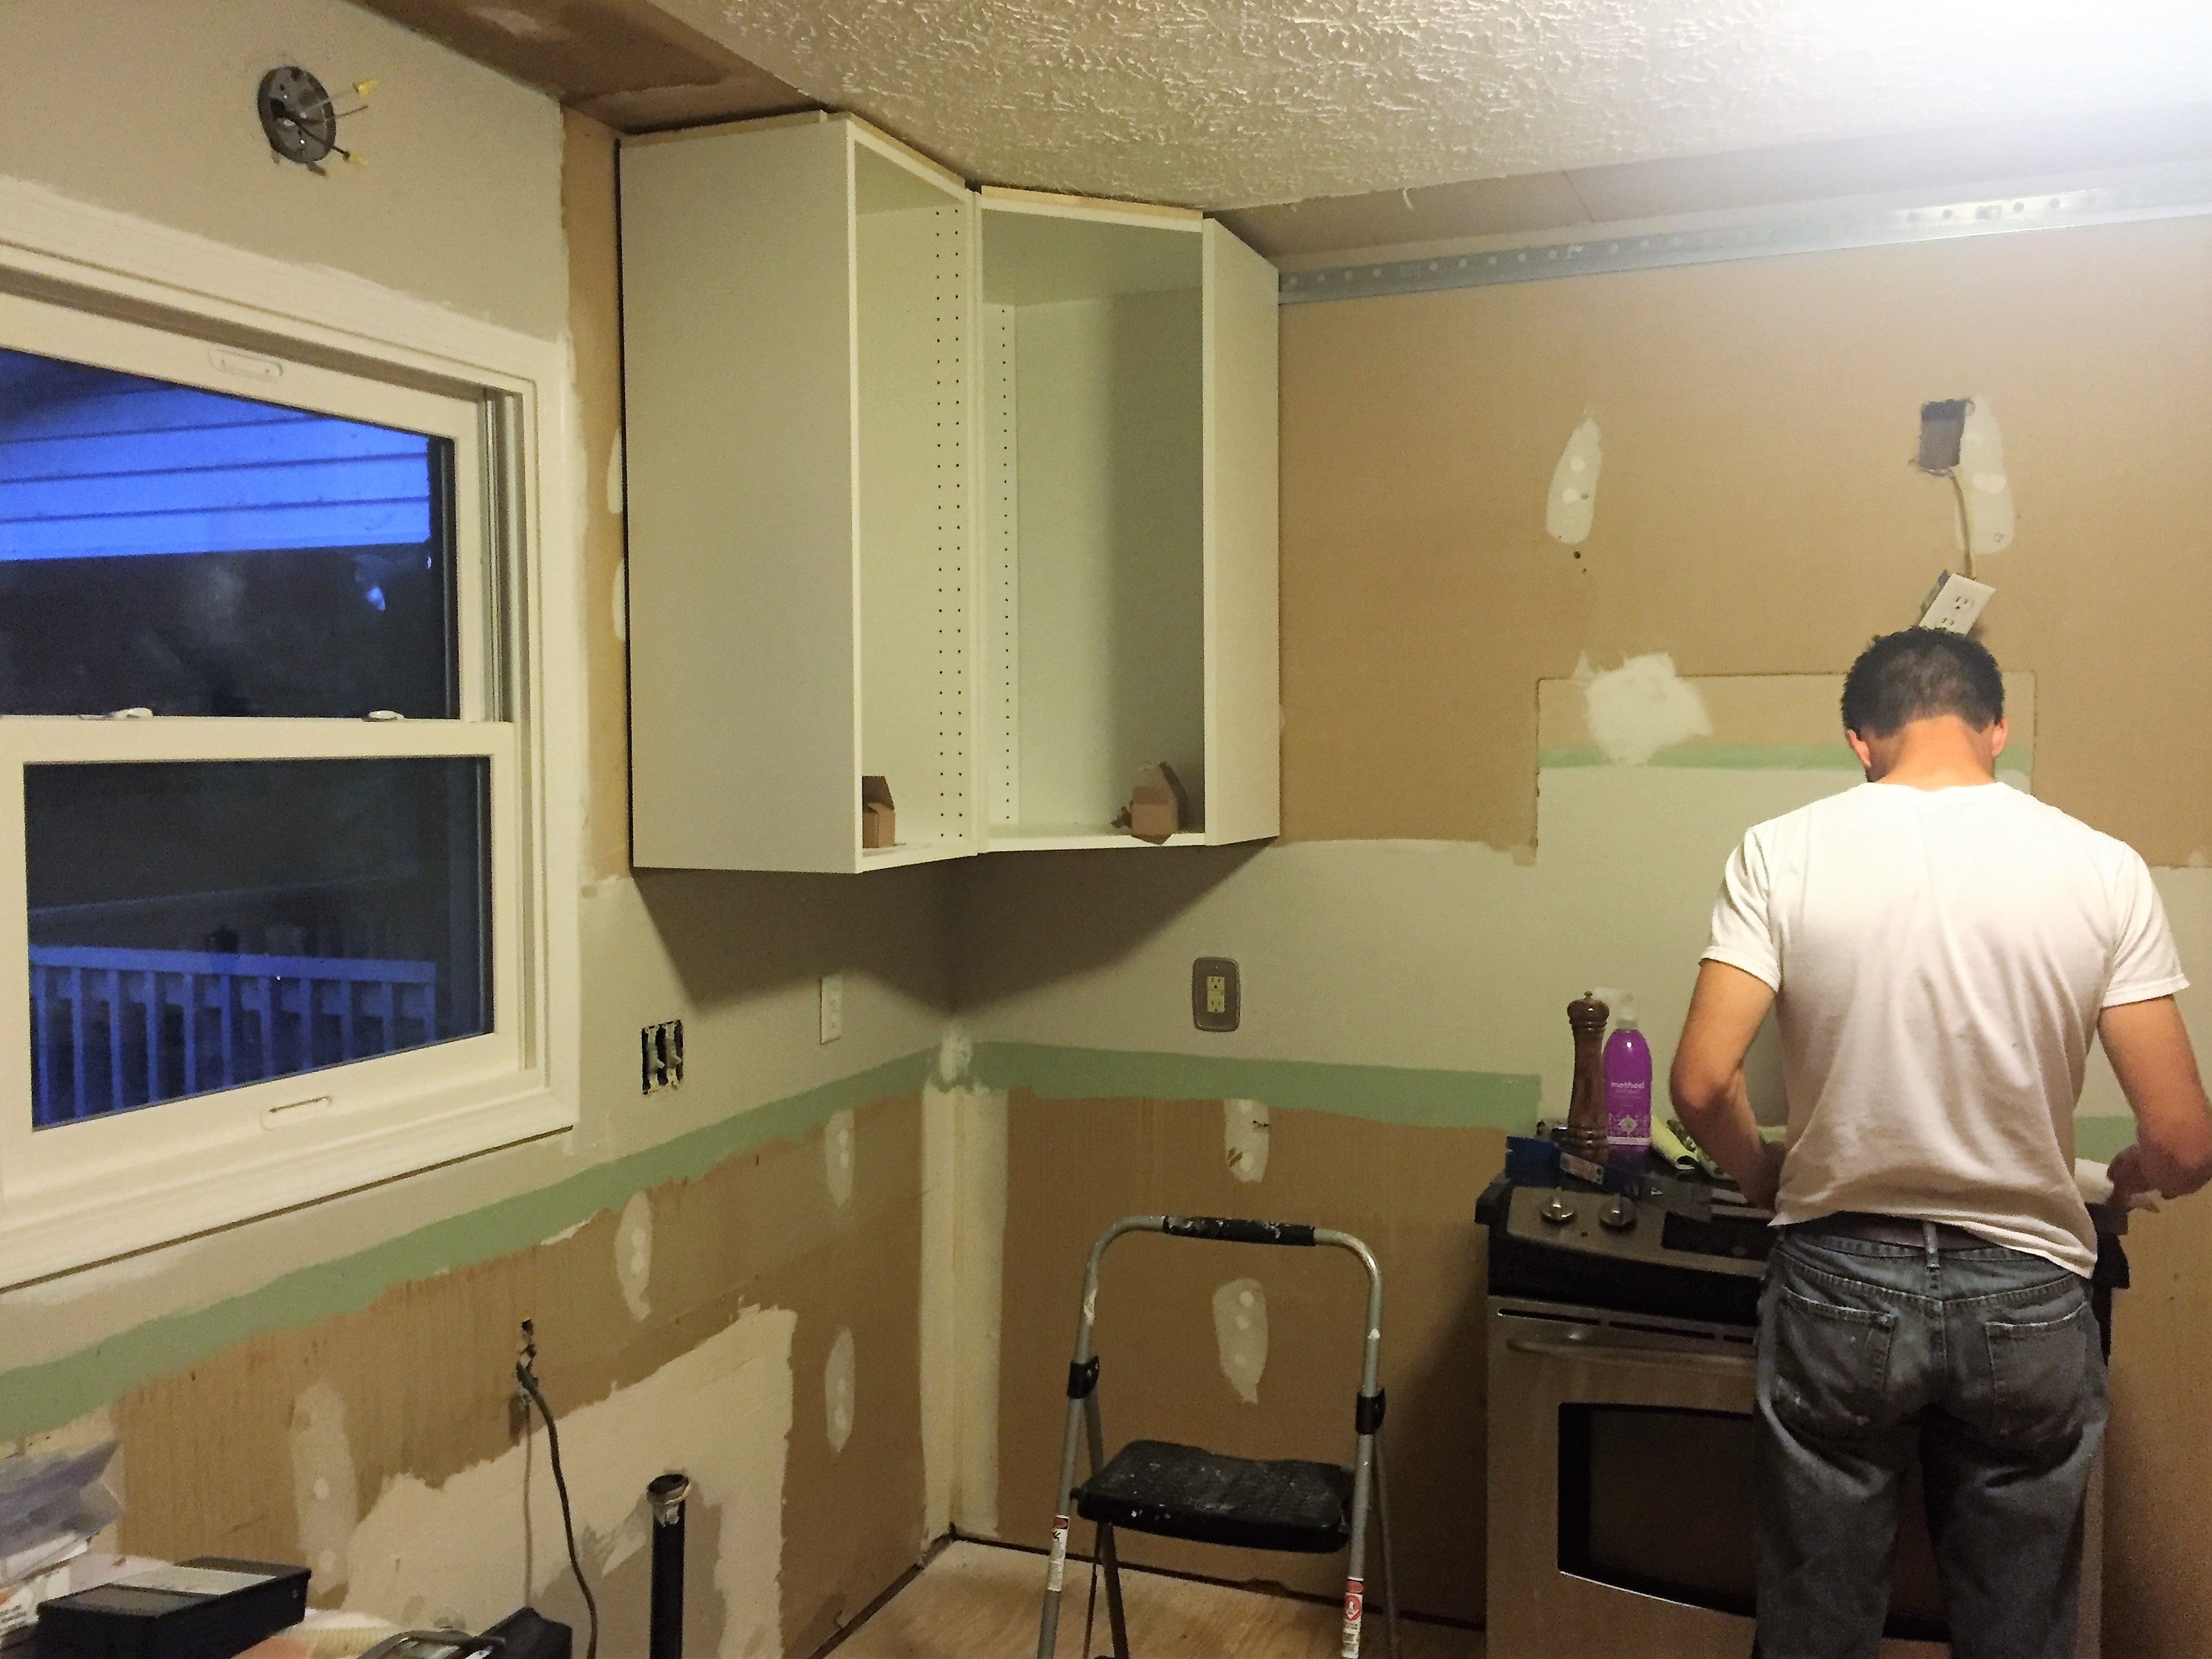
- Understand that nothing in your house in perfectly level, square and flat… talk to your friend about it when this makes your head fuzzy
- You can shim, while your friend checks if the adjustments make things level
Feed your friends pizza when the job is well done!
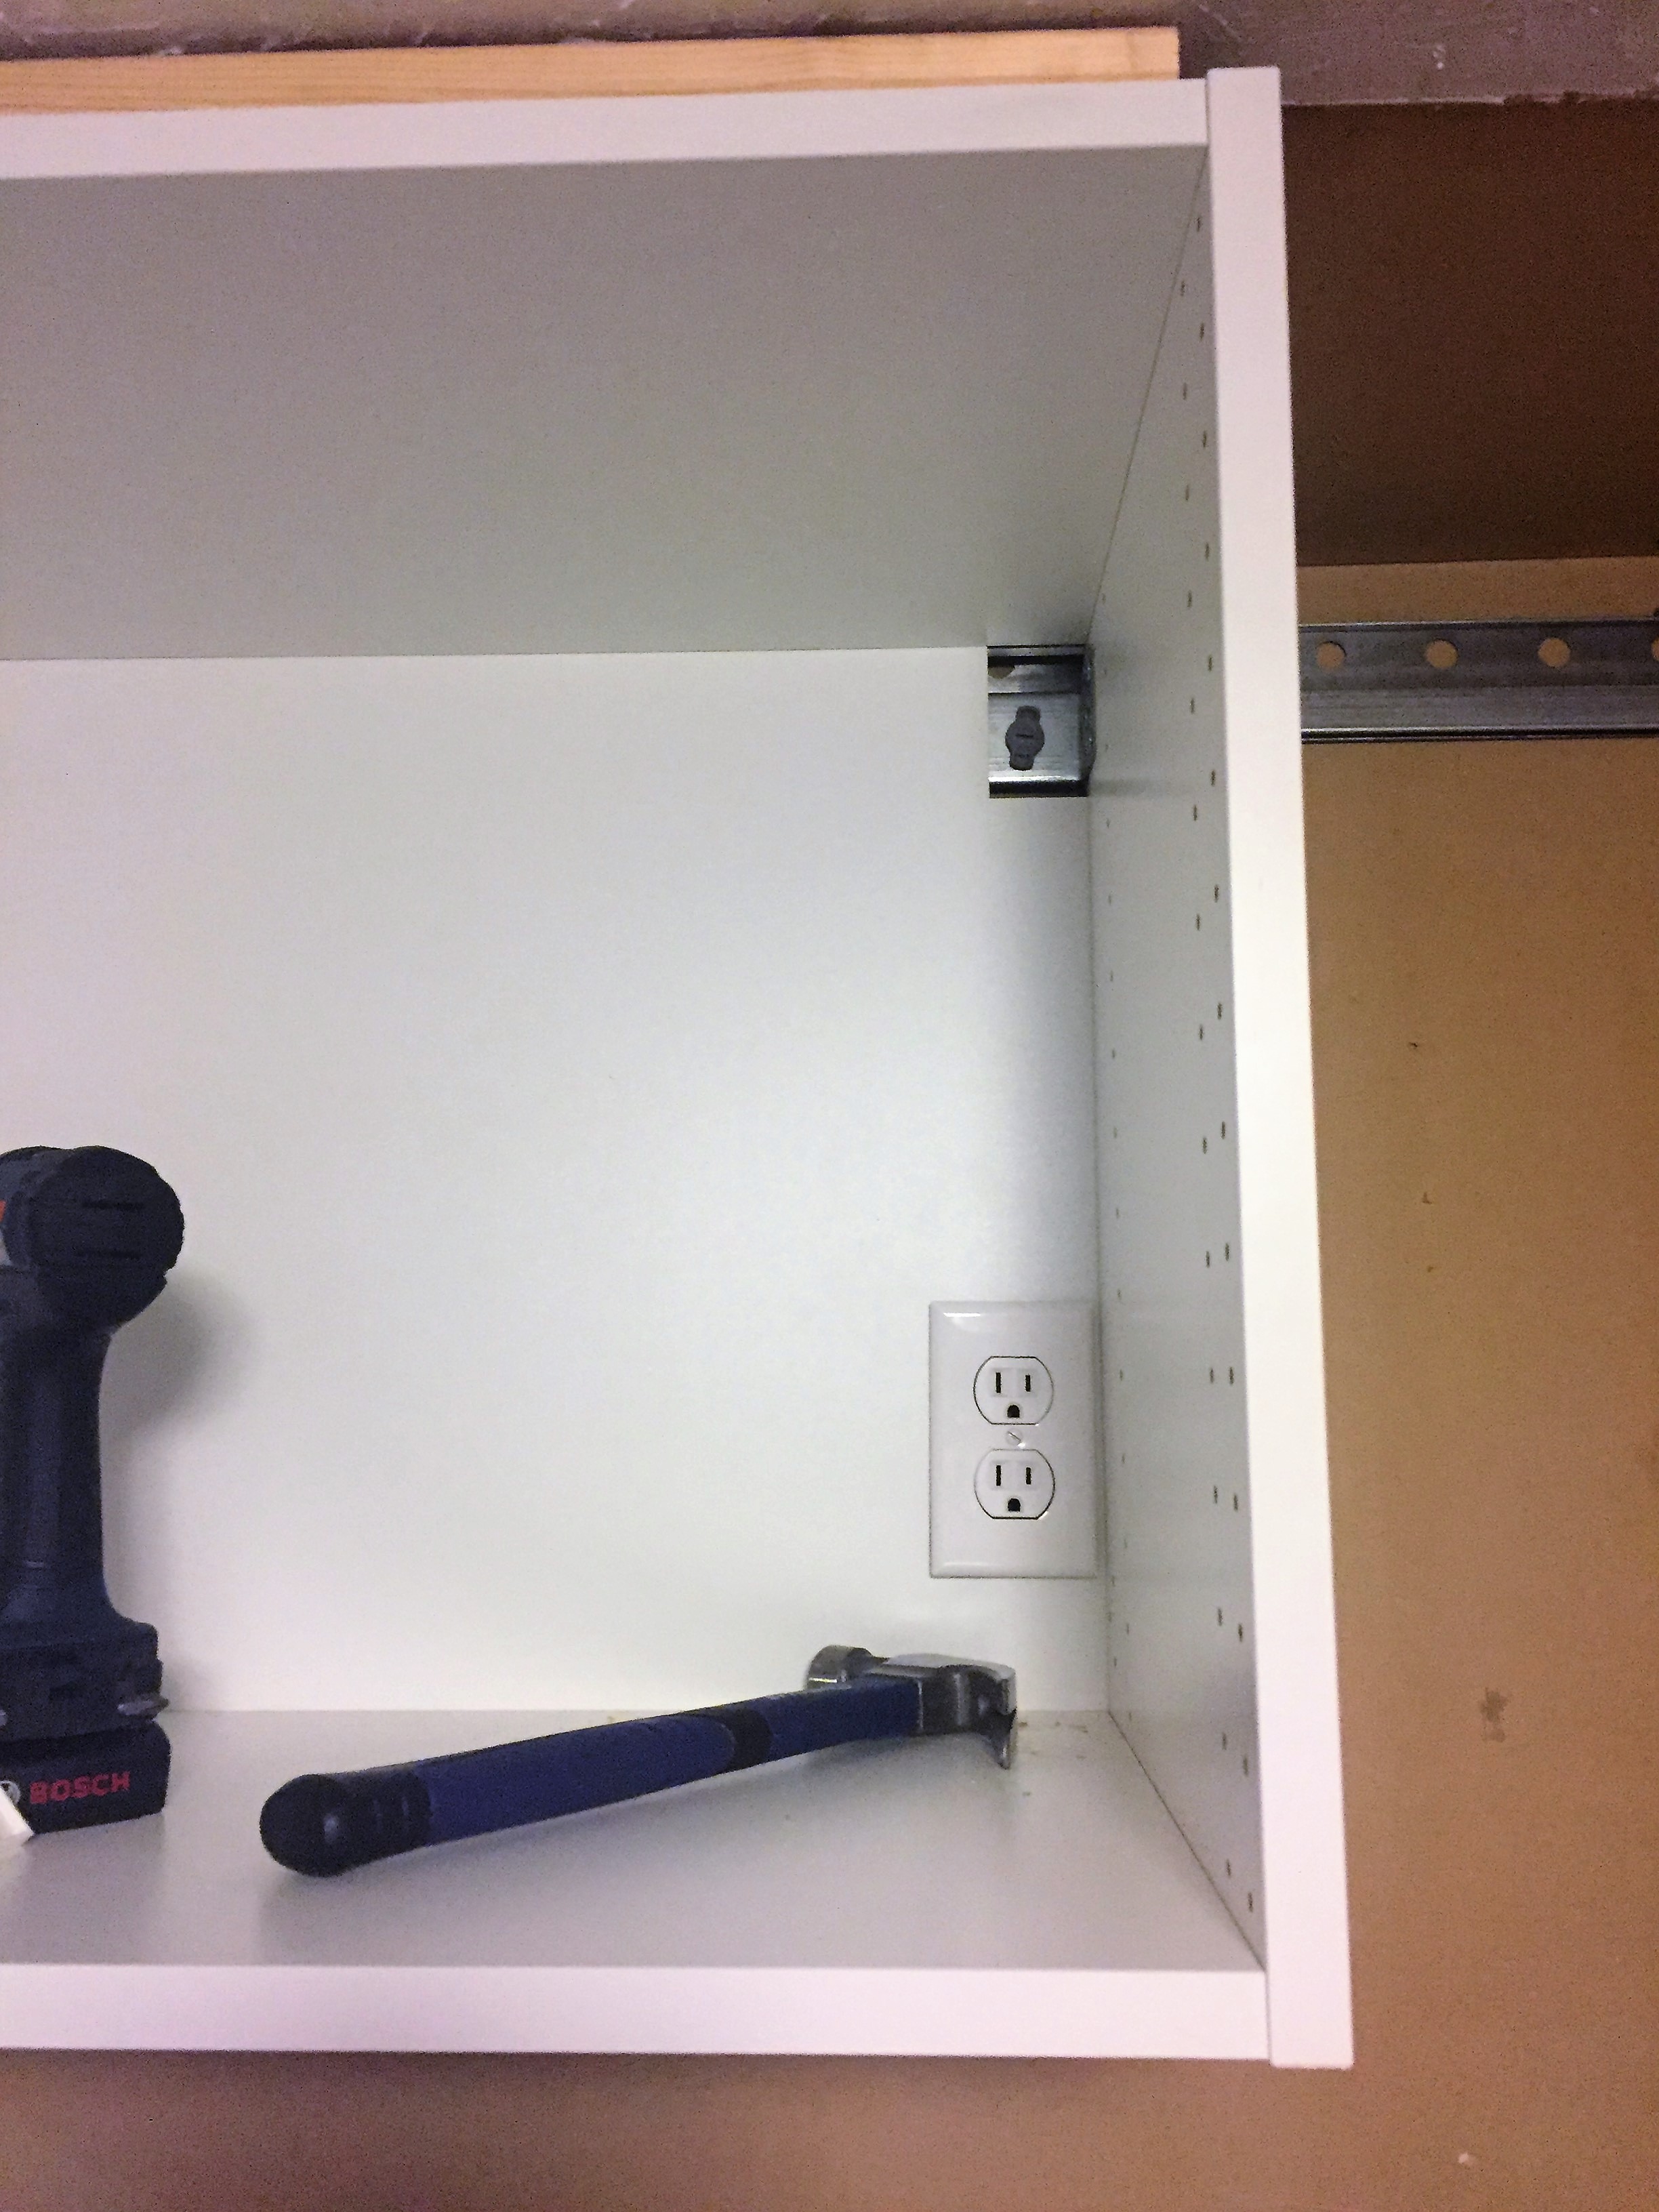
Lesson Learned #4 – 4’ Level Works Best
A level of this length was very convenient. The level allowed us to make small adjustments that were needed on the rails before tightening the screws. A large level is easy to pass from hand to hand and harder to lose in the chaos of your construction zone. Hanging the cabinets will go much more smoothly given rails are installed nice and level using wood shims where needed. There are hooks on the back of the cabinet that hang to the lower portion of the rail and are fastened in place.
Lesson Learned #5 – A Dremel Tool is Versatile
If you are considering doing a similar IKEA renovation yourself but are unsure if you’re up to it, note that you are required to cut the galvanized steel rails to size yourself. This is the one step in the project where I knew I wasn’t just assembling some IKEA furniture anymore. The steel rails can be cut to length using a hacksaw or a proper grinding tool. One option is using a Dremel tool. The tool was also very helpful in cutting utility holes you need prior to hanging the cabinet such as the mounted microwave outlet, dishwasher and sink plumbing, etc. A Dremel is easy to use and nice to have handy in your DIY toolbox.
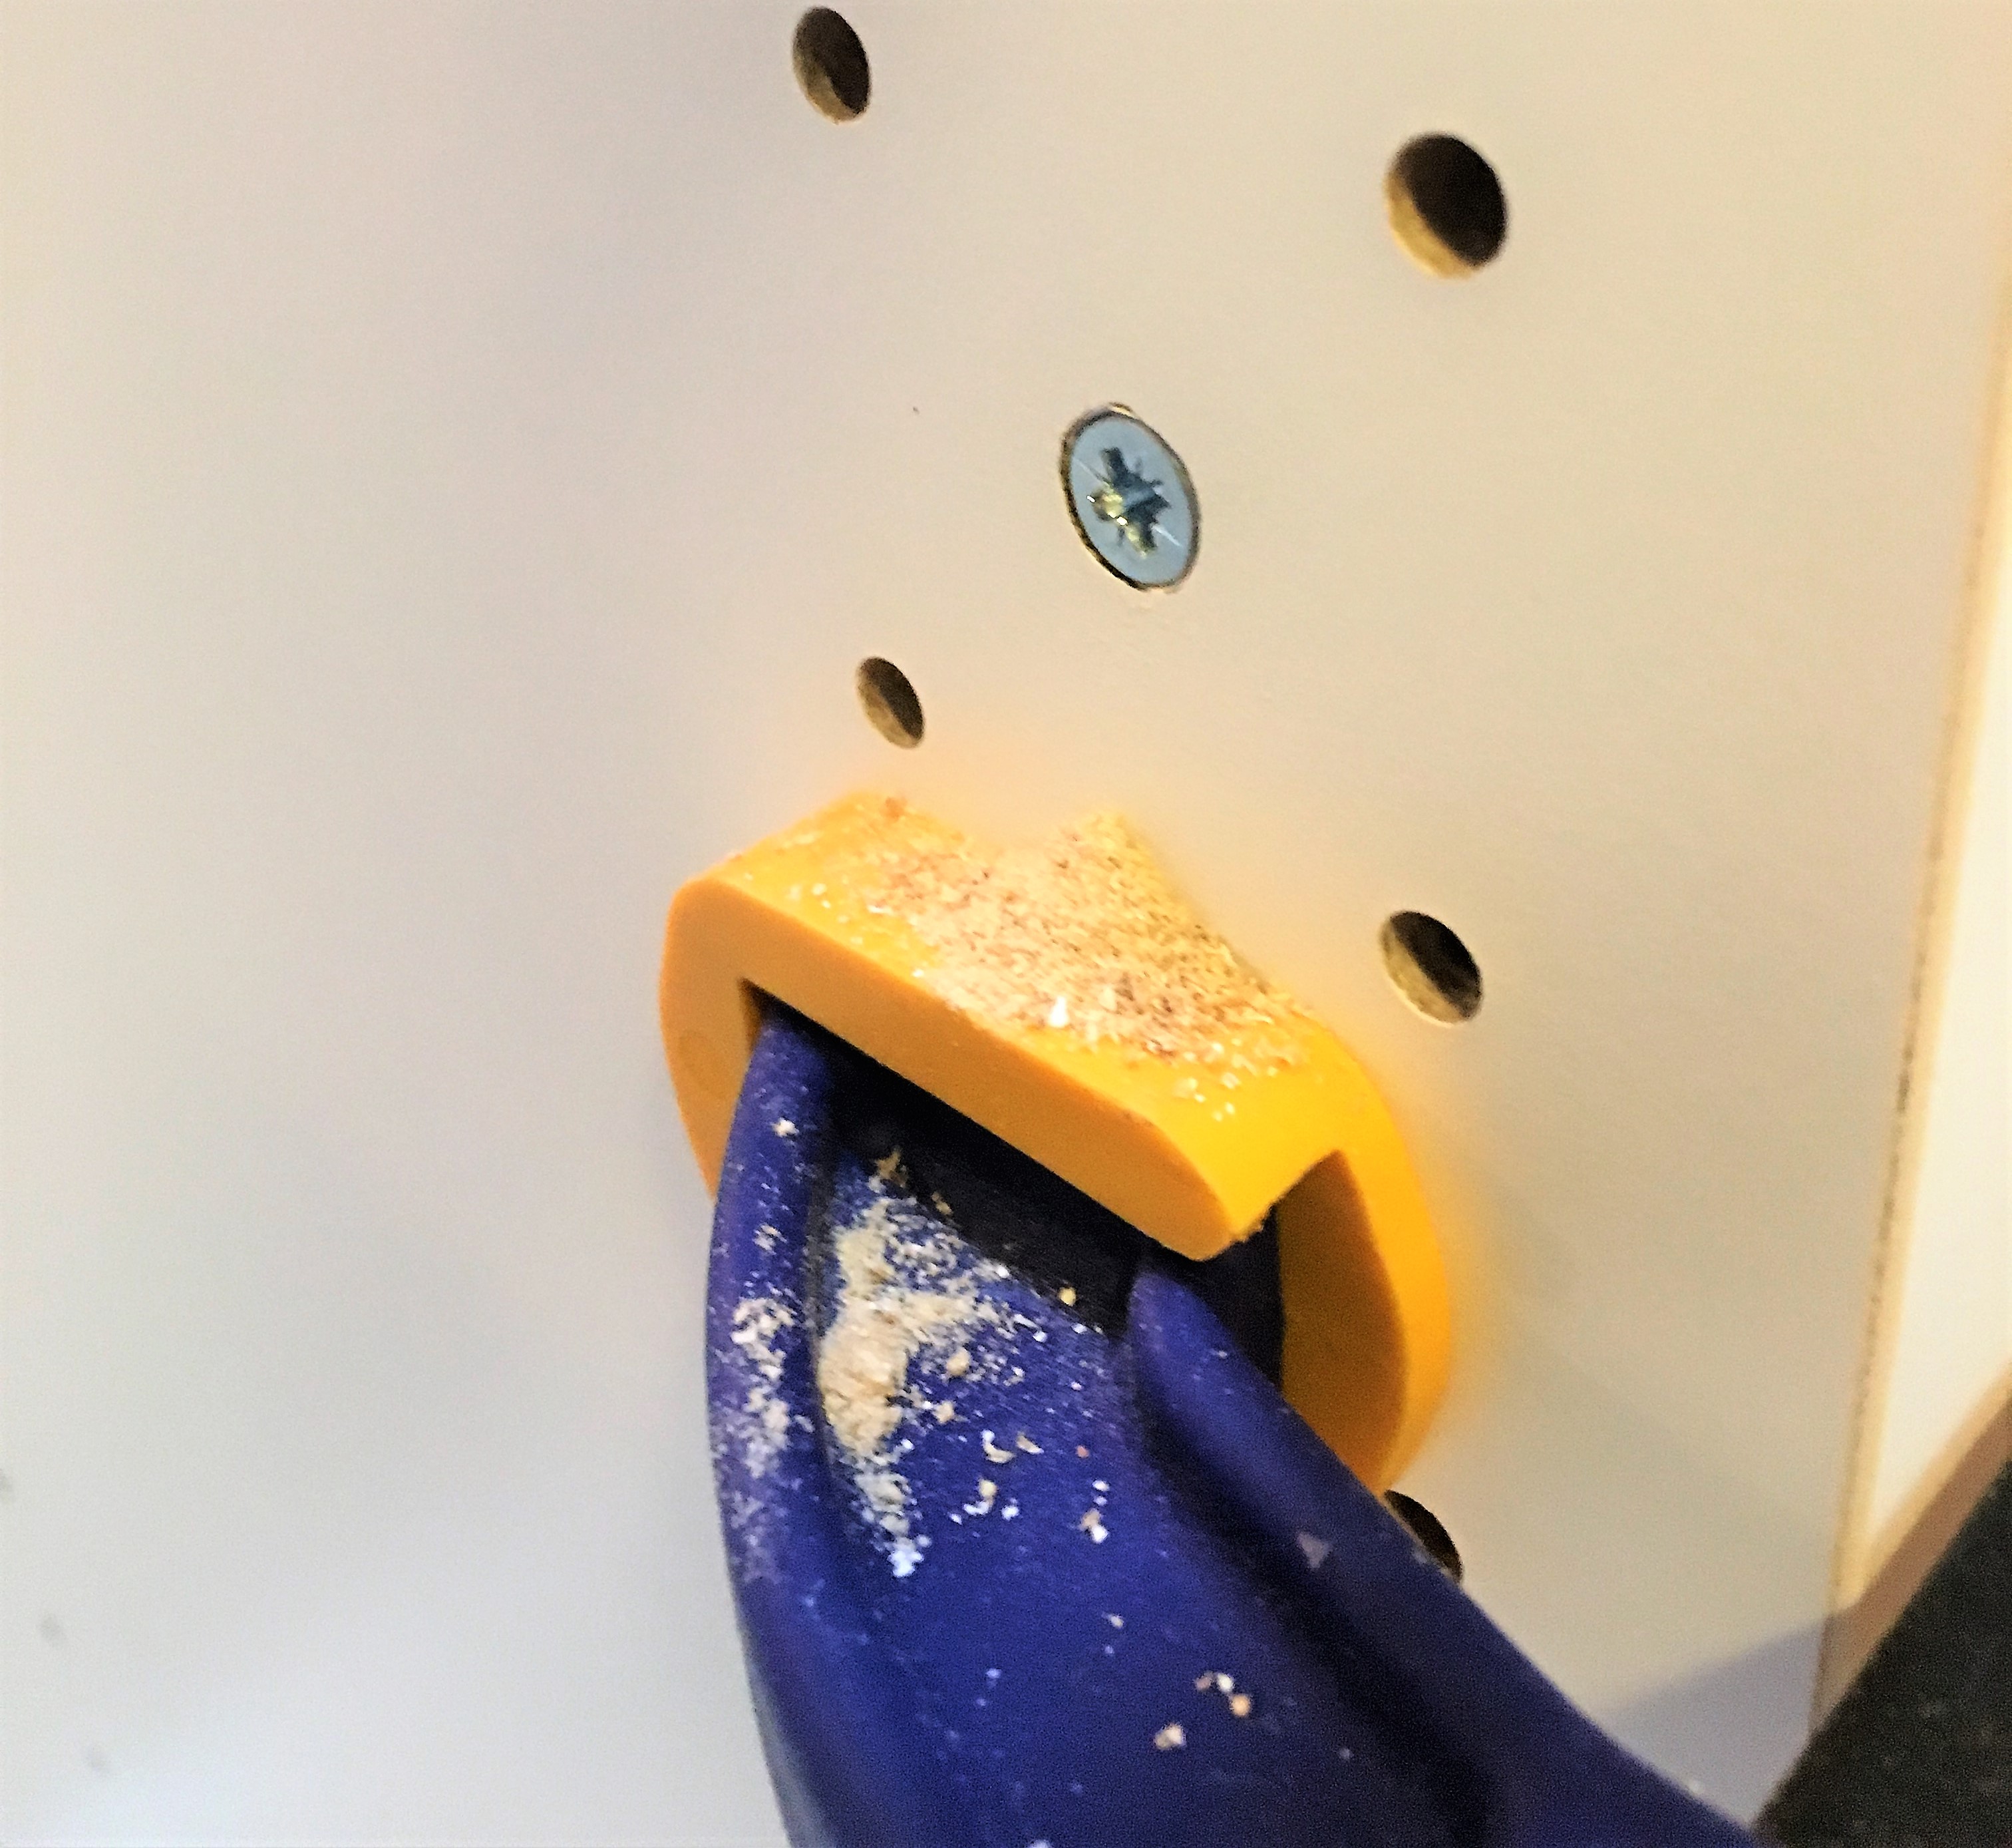
Lesson Learned #6 – Countersink Drill Bit, A Must Buy
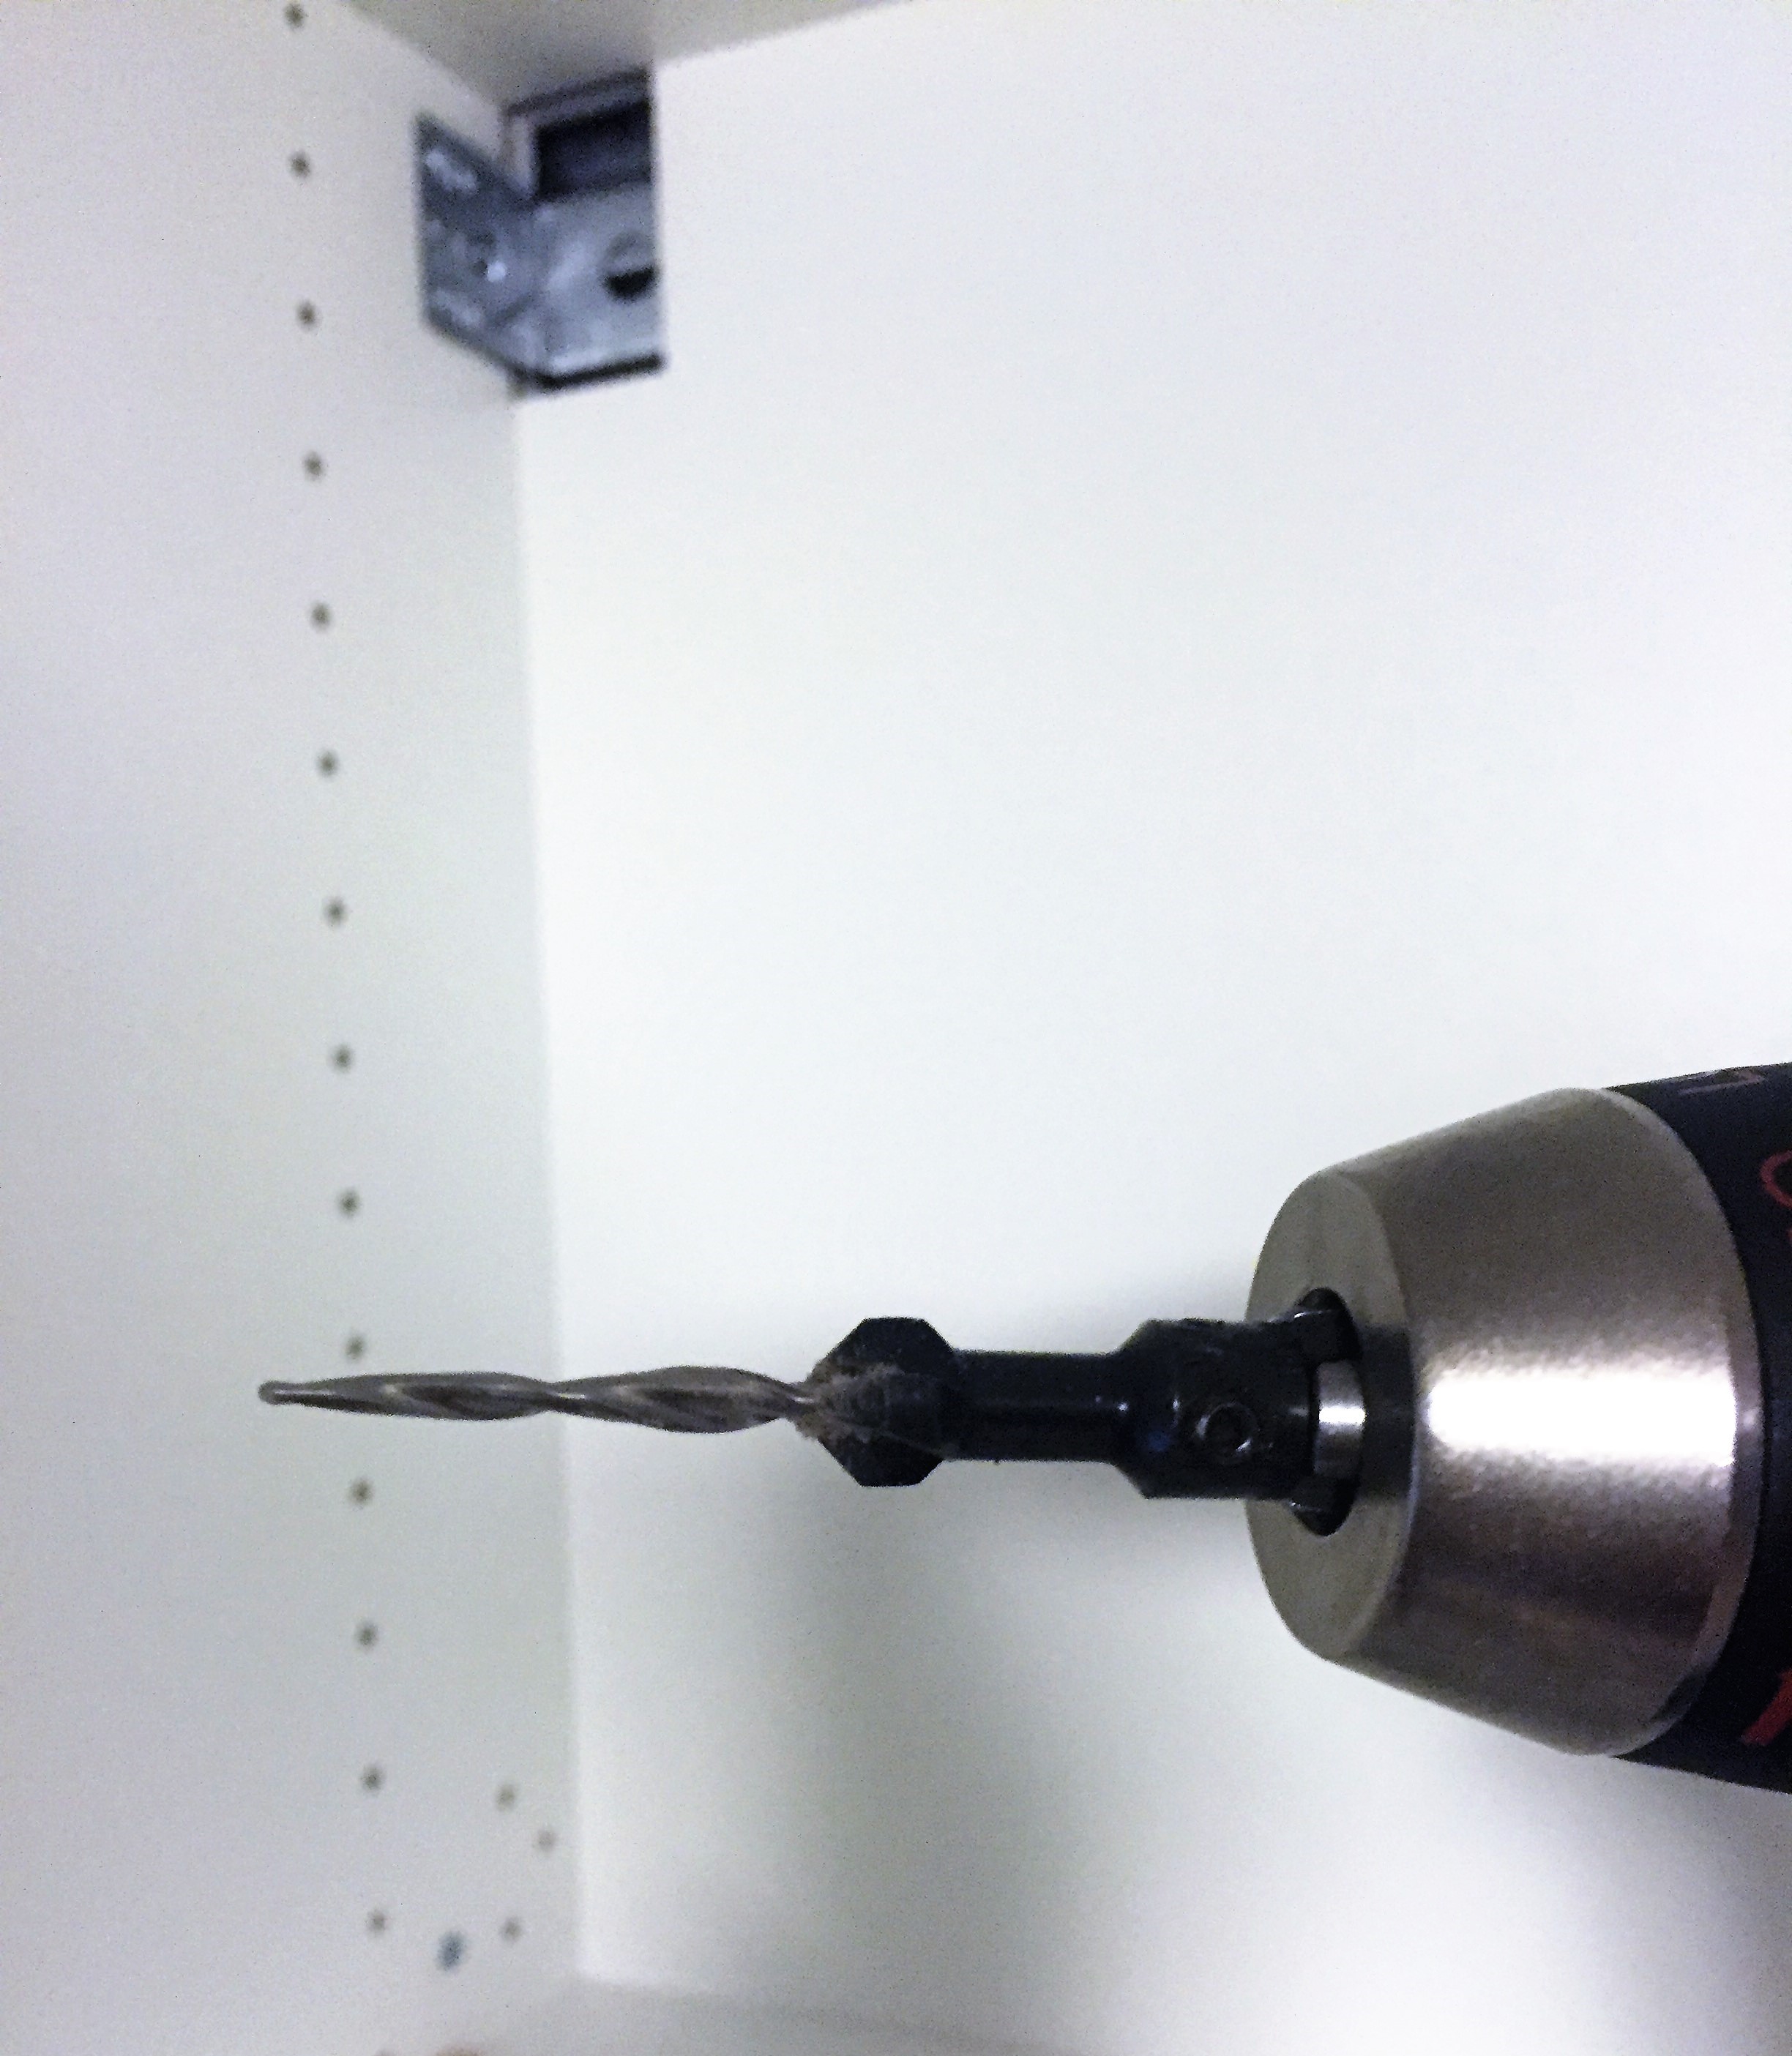
This purchase is one of the best we made for the project. A countersink drill bit helped us in two ways. Firstly, this bit (or using any bit) saved our cabinet veneer from chipping often. The instructions direct you to fasten lots of screws in sections of the cabinet that are not pre-drilled. Do yourself a favor and drill a pilot hole. Secondly, the countersink bits were dynamite in pre-drilling holes needed before screwing together adjacent cabinets. The countersink shape allows the screw head to be nicely flush with the inside of your cabinet wall; an absolute must.
Lesson Learned #7 – Celebrate the Small Wins
Look for small achievements to celebrate, and take time to do so. This will help you remain sane and keep the team motivated. IKEA even suggests you to do so here in their guide.
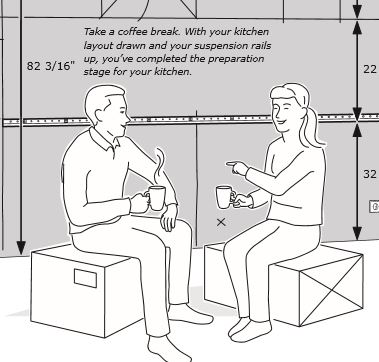
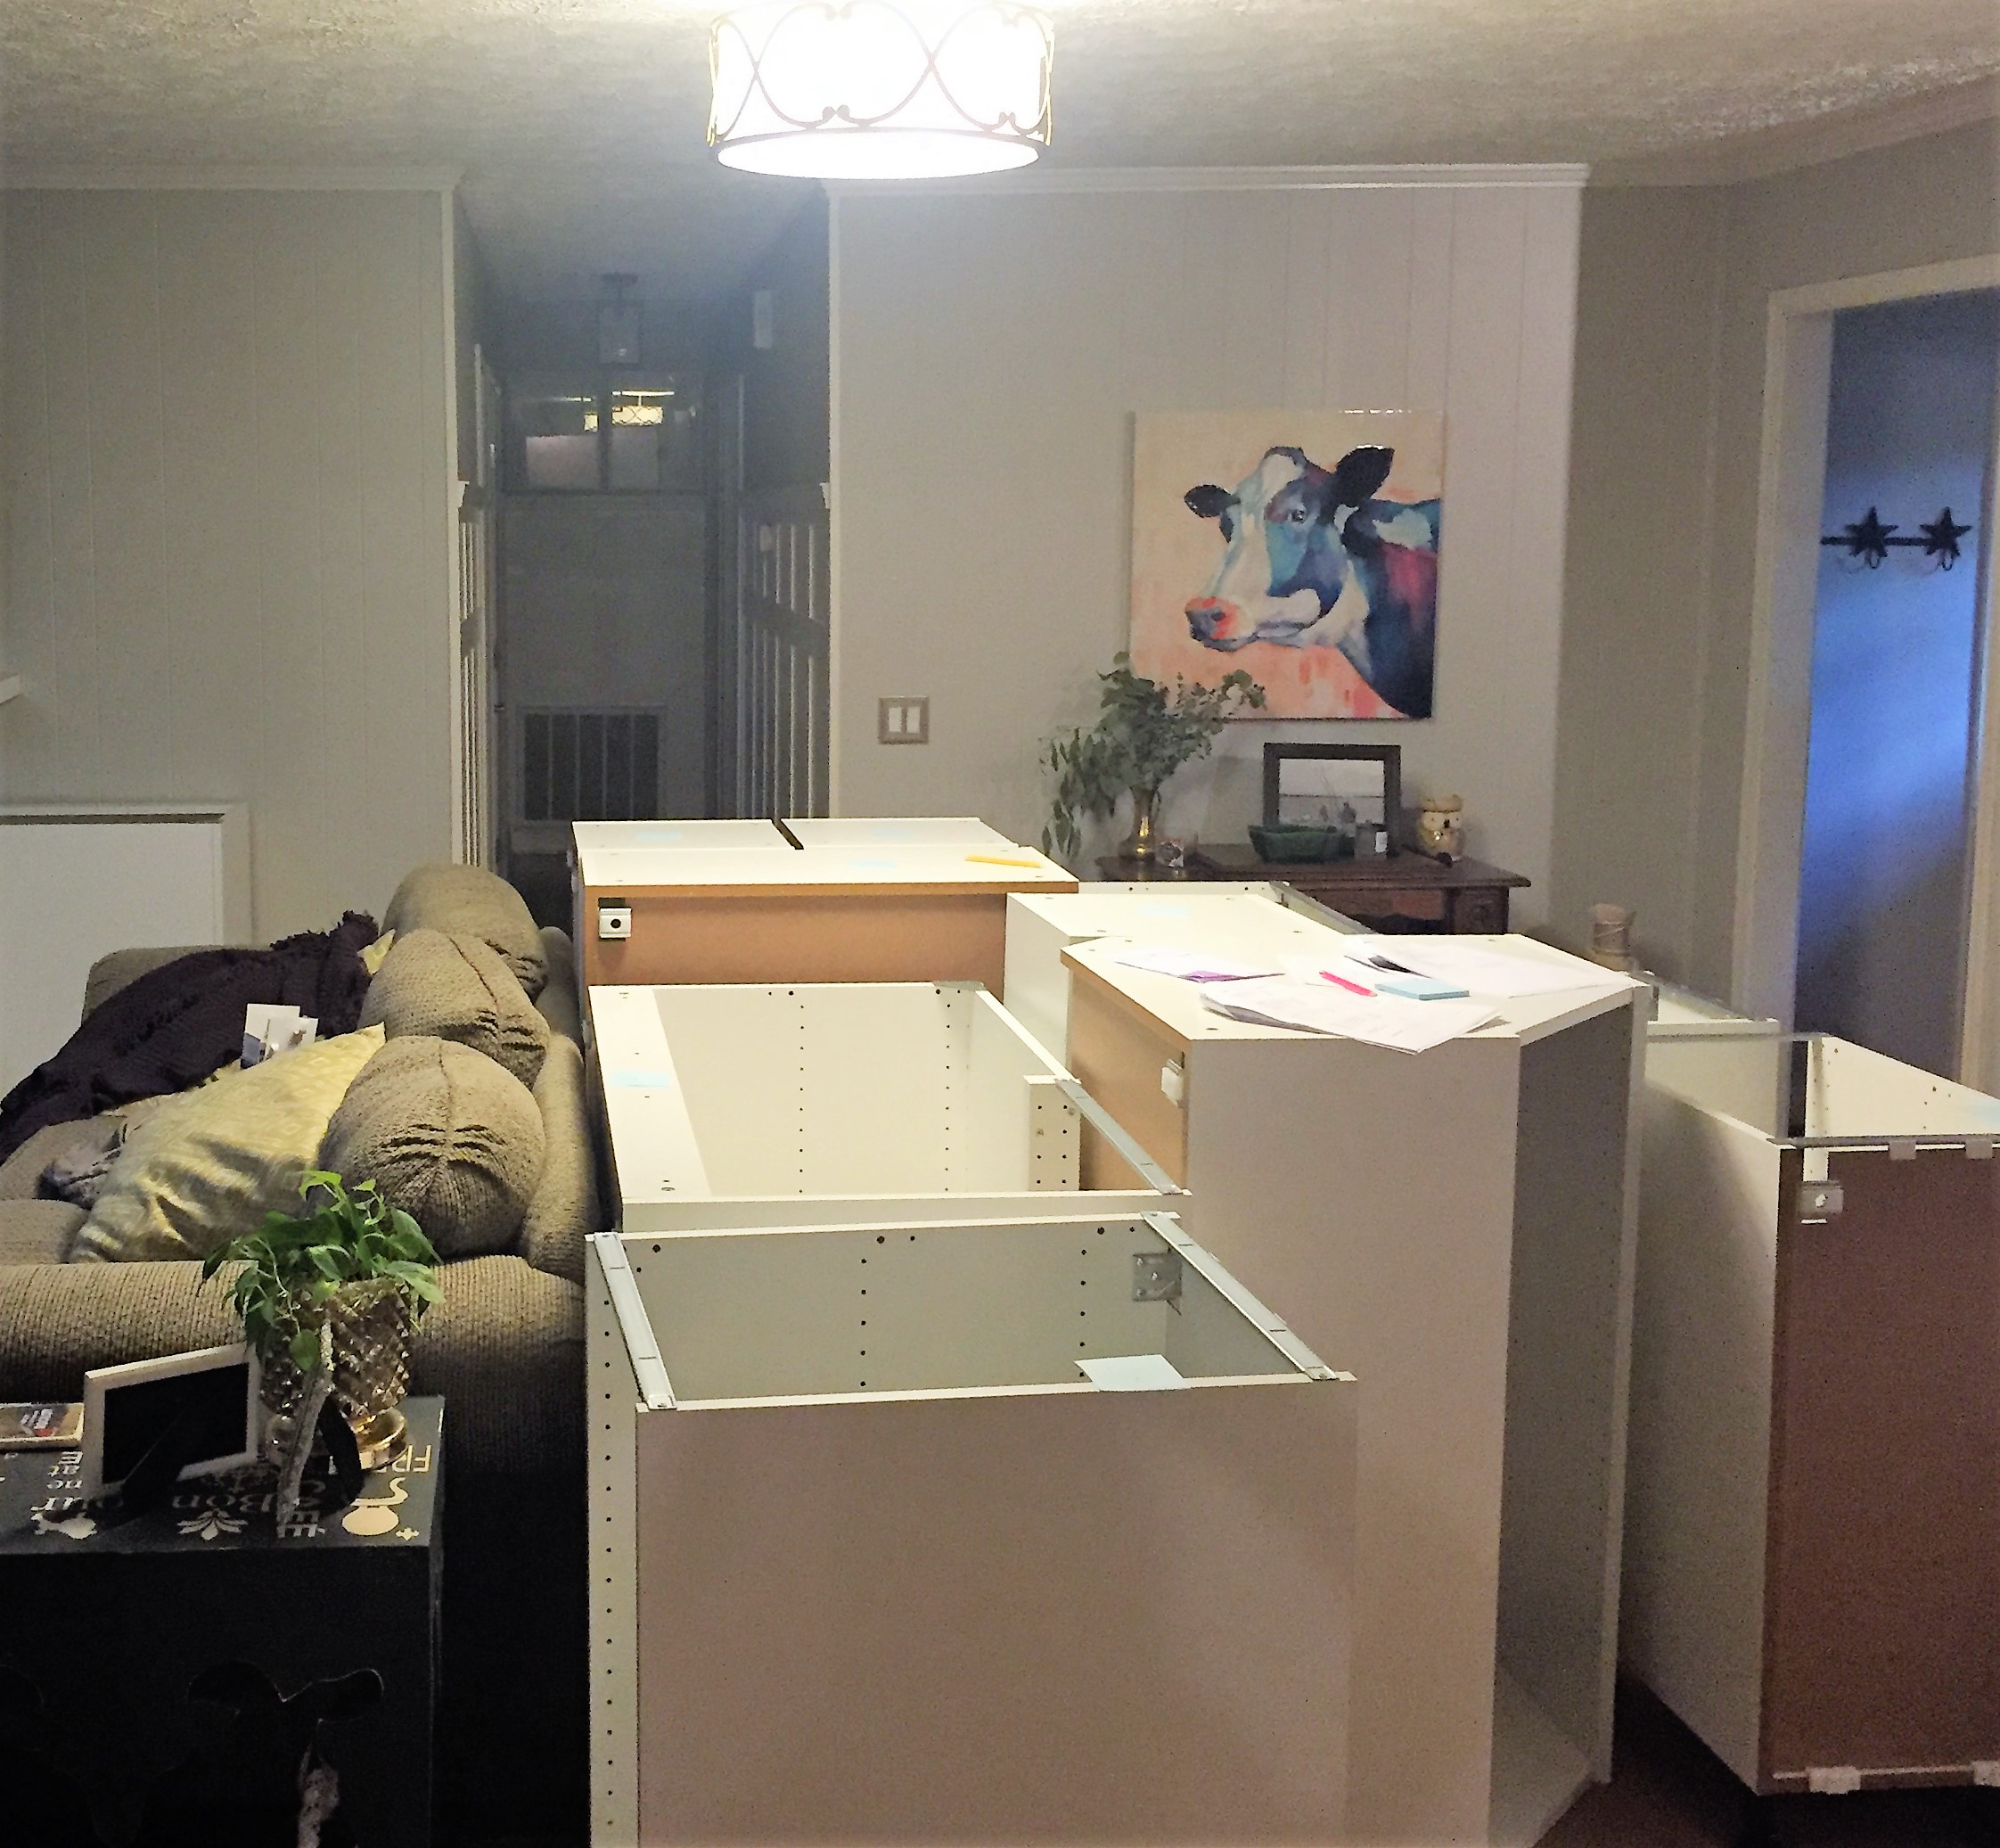
Progress can seem to be at a complete halt if you’re focusing only on the end goal. Cabinet boxes without doors, drawers and shiny hardware are not much to look at while in this headspace. But I say choose celebrate when your living room is filled with assembled cabinet boxes!
I challenge you to take a deep breath when things just aren’t going well, then resolve to keep grinding, baby. Whether it’s a coffee break in the construction zone that used to be your breakfast nook or a simple high five, it’s important to celebrate the wins. And go out on a date or two to escape the mess!

Before assembling cabinets, organizing the 150+ boxes delivered to your home is paramount. Check out my post here for some tips in organizing this.
Stay tuned to hear more about some specific projects we worked in the kitchen. This includes…
- Assembling and securing our peninsula when SEKTION cabinets are designed to only fasten to wall rails.
- Mounting a microwave designed for a US standard 13” depth cabinet (IKEA’s cabinets are 15” deep).
- Building a ‘false wall’ in our pantry to provide the built-in custom look around our refrigerator.
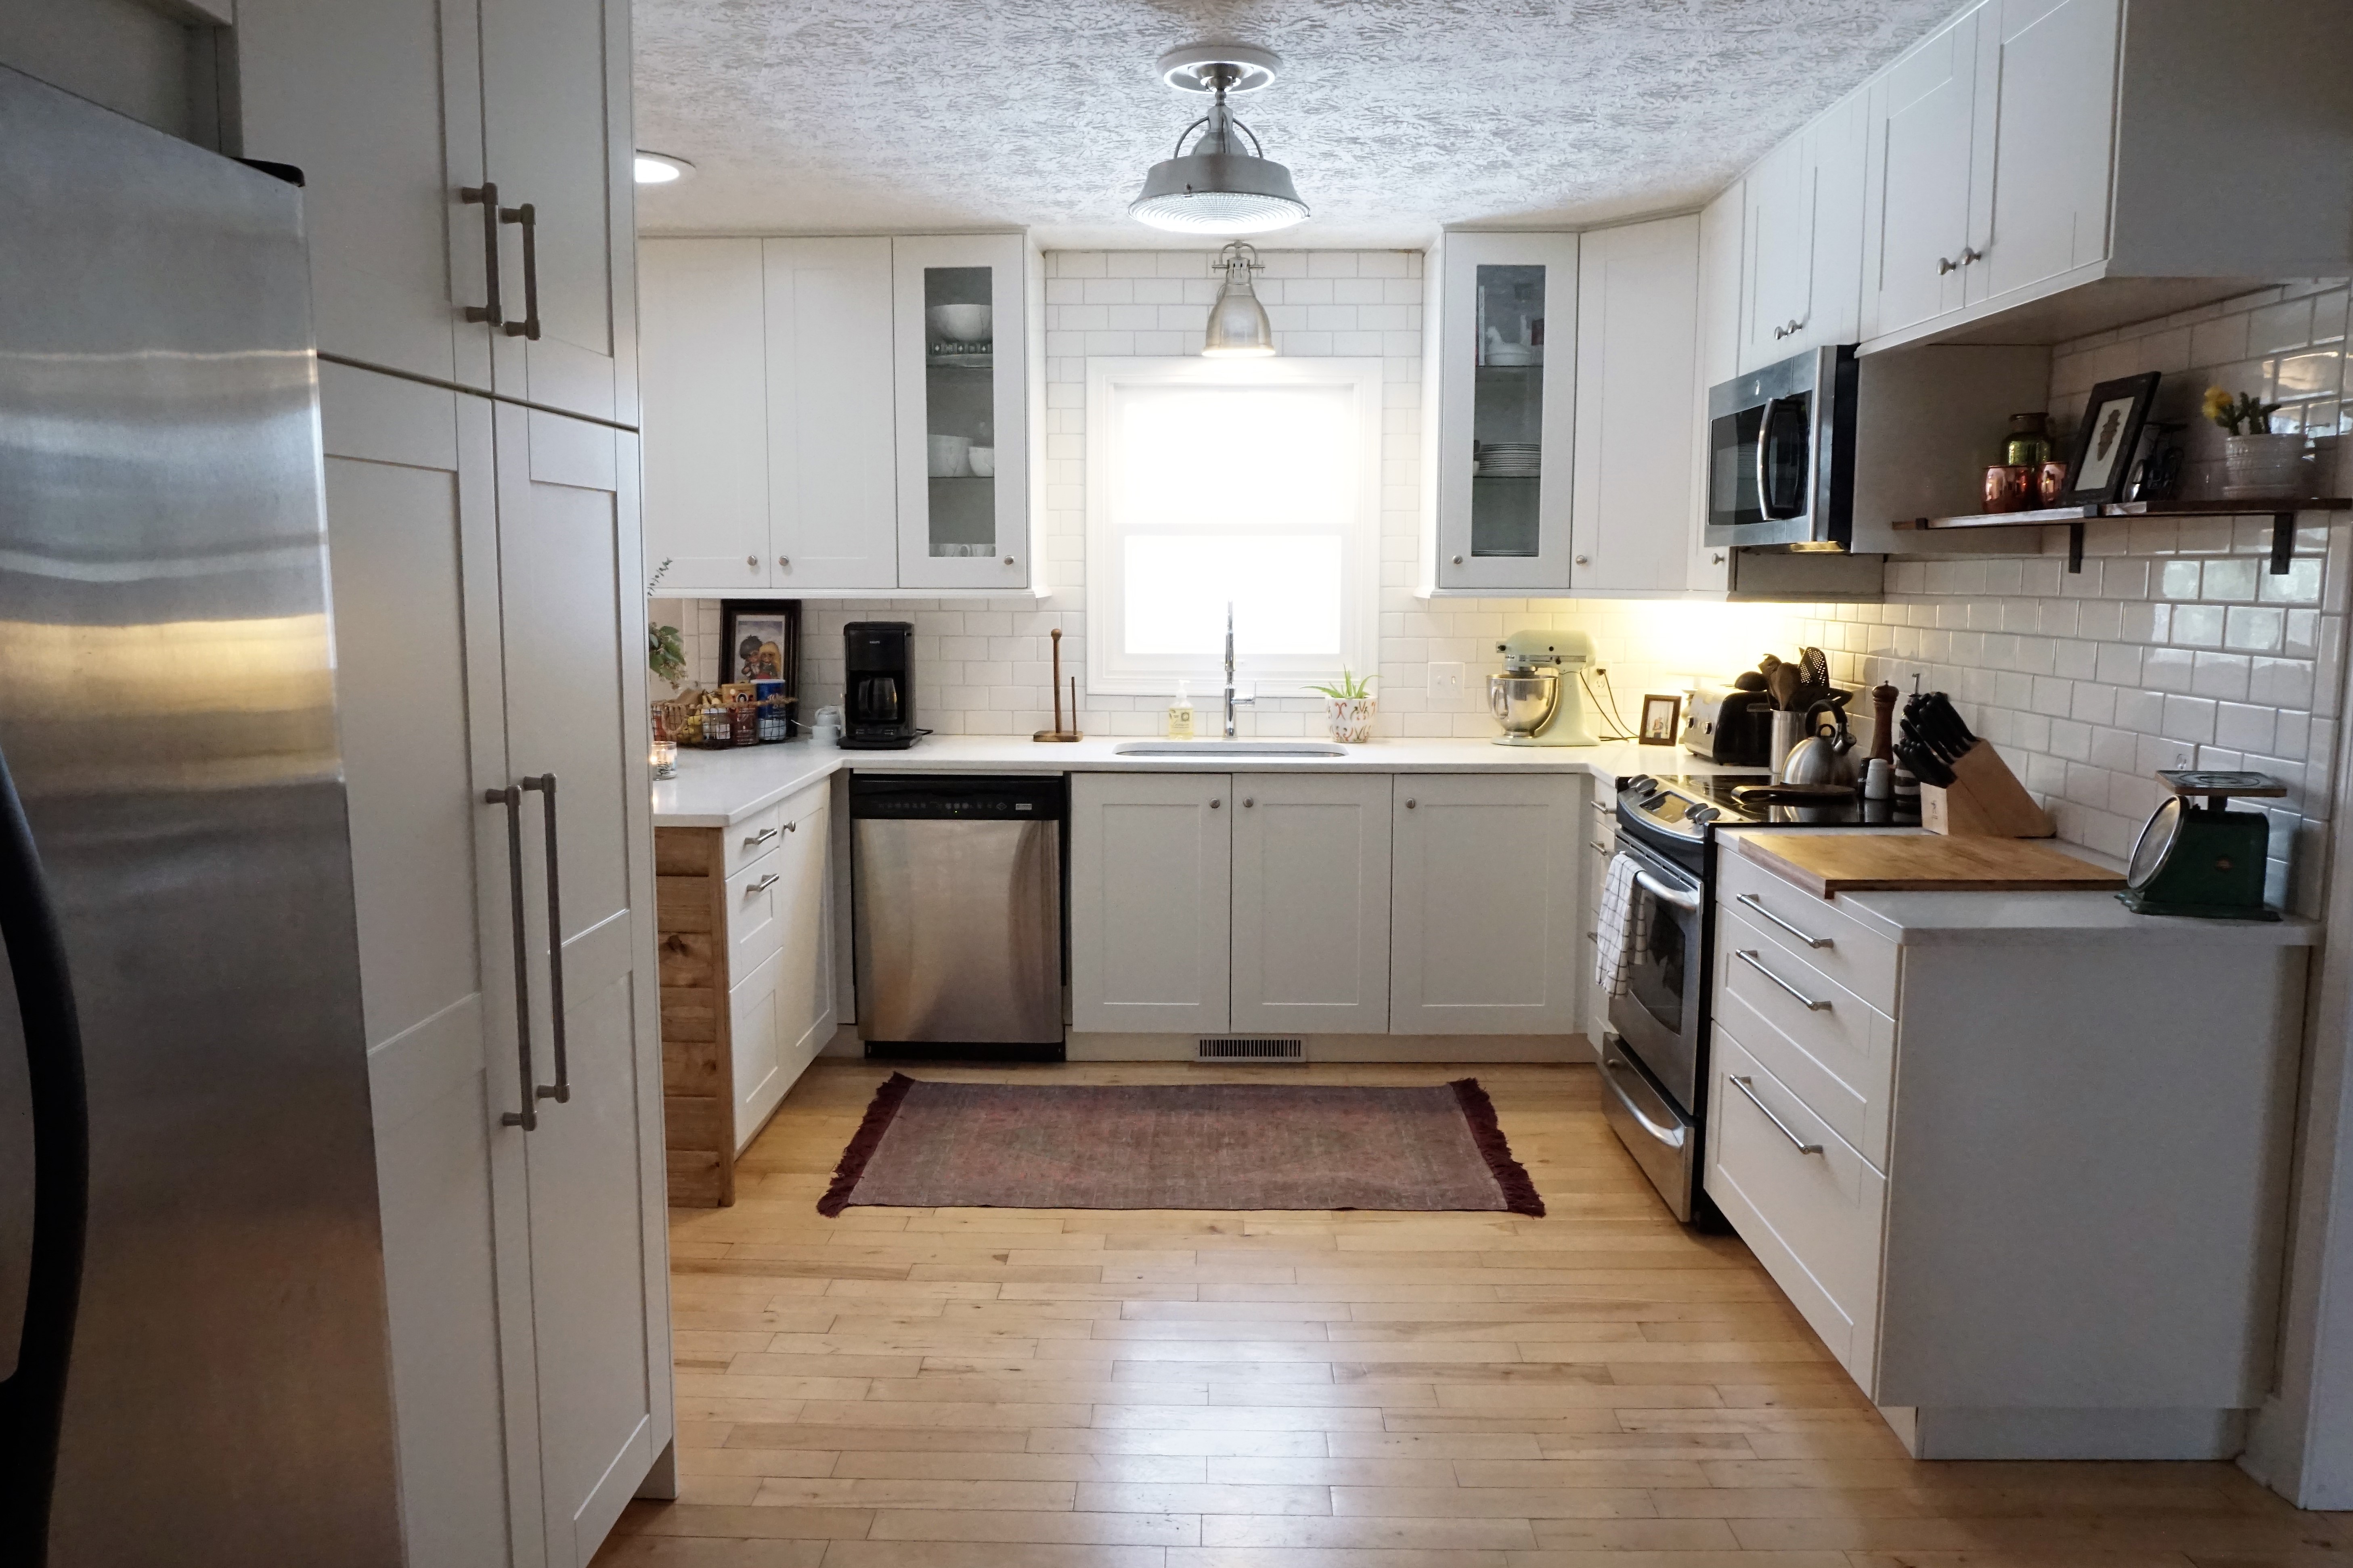
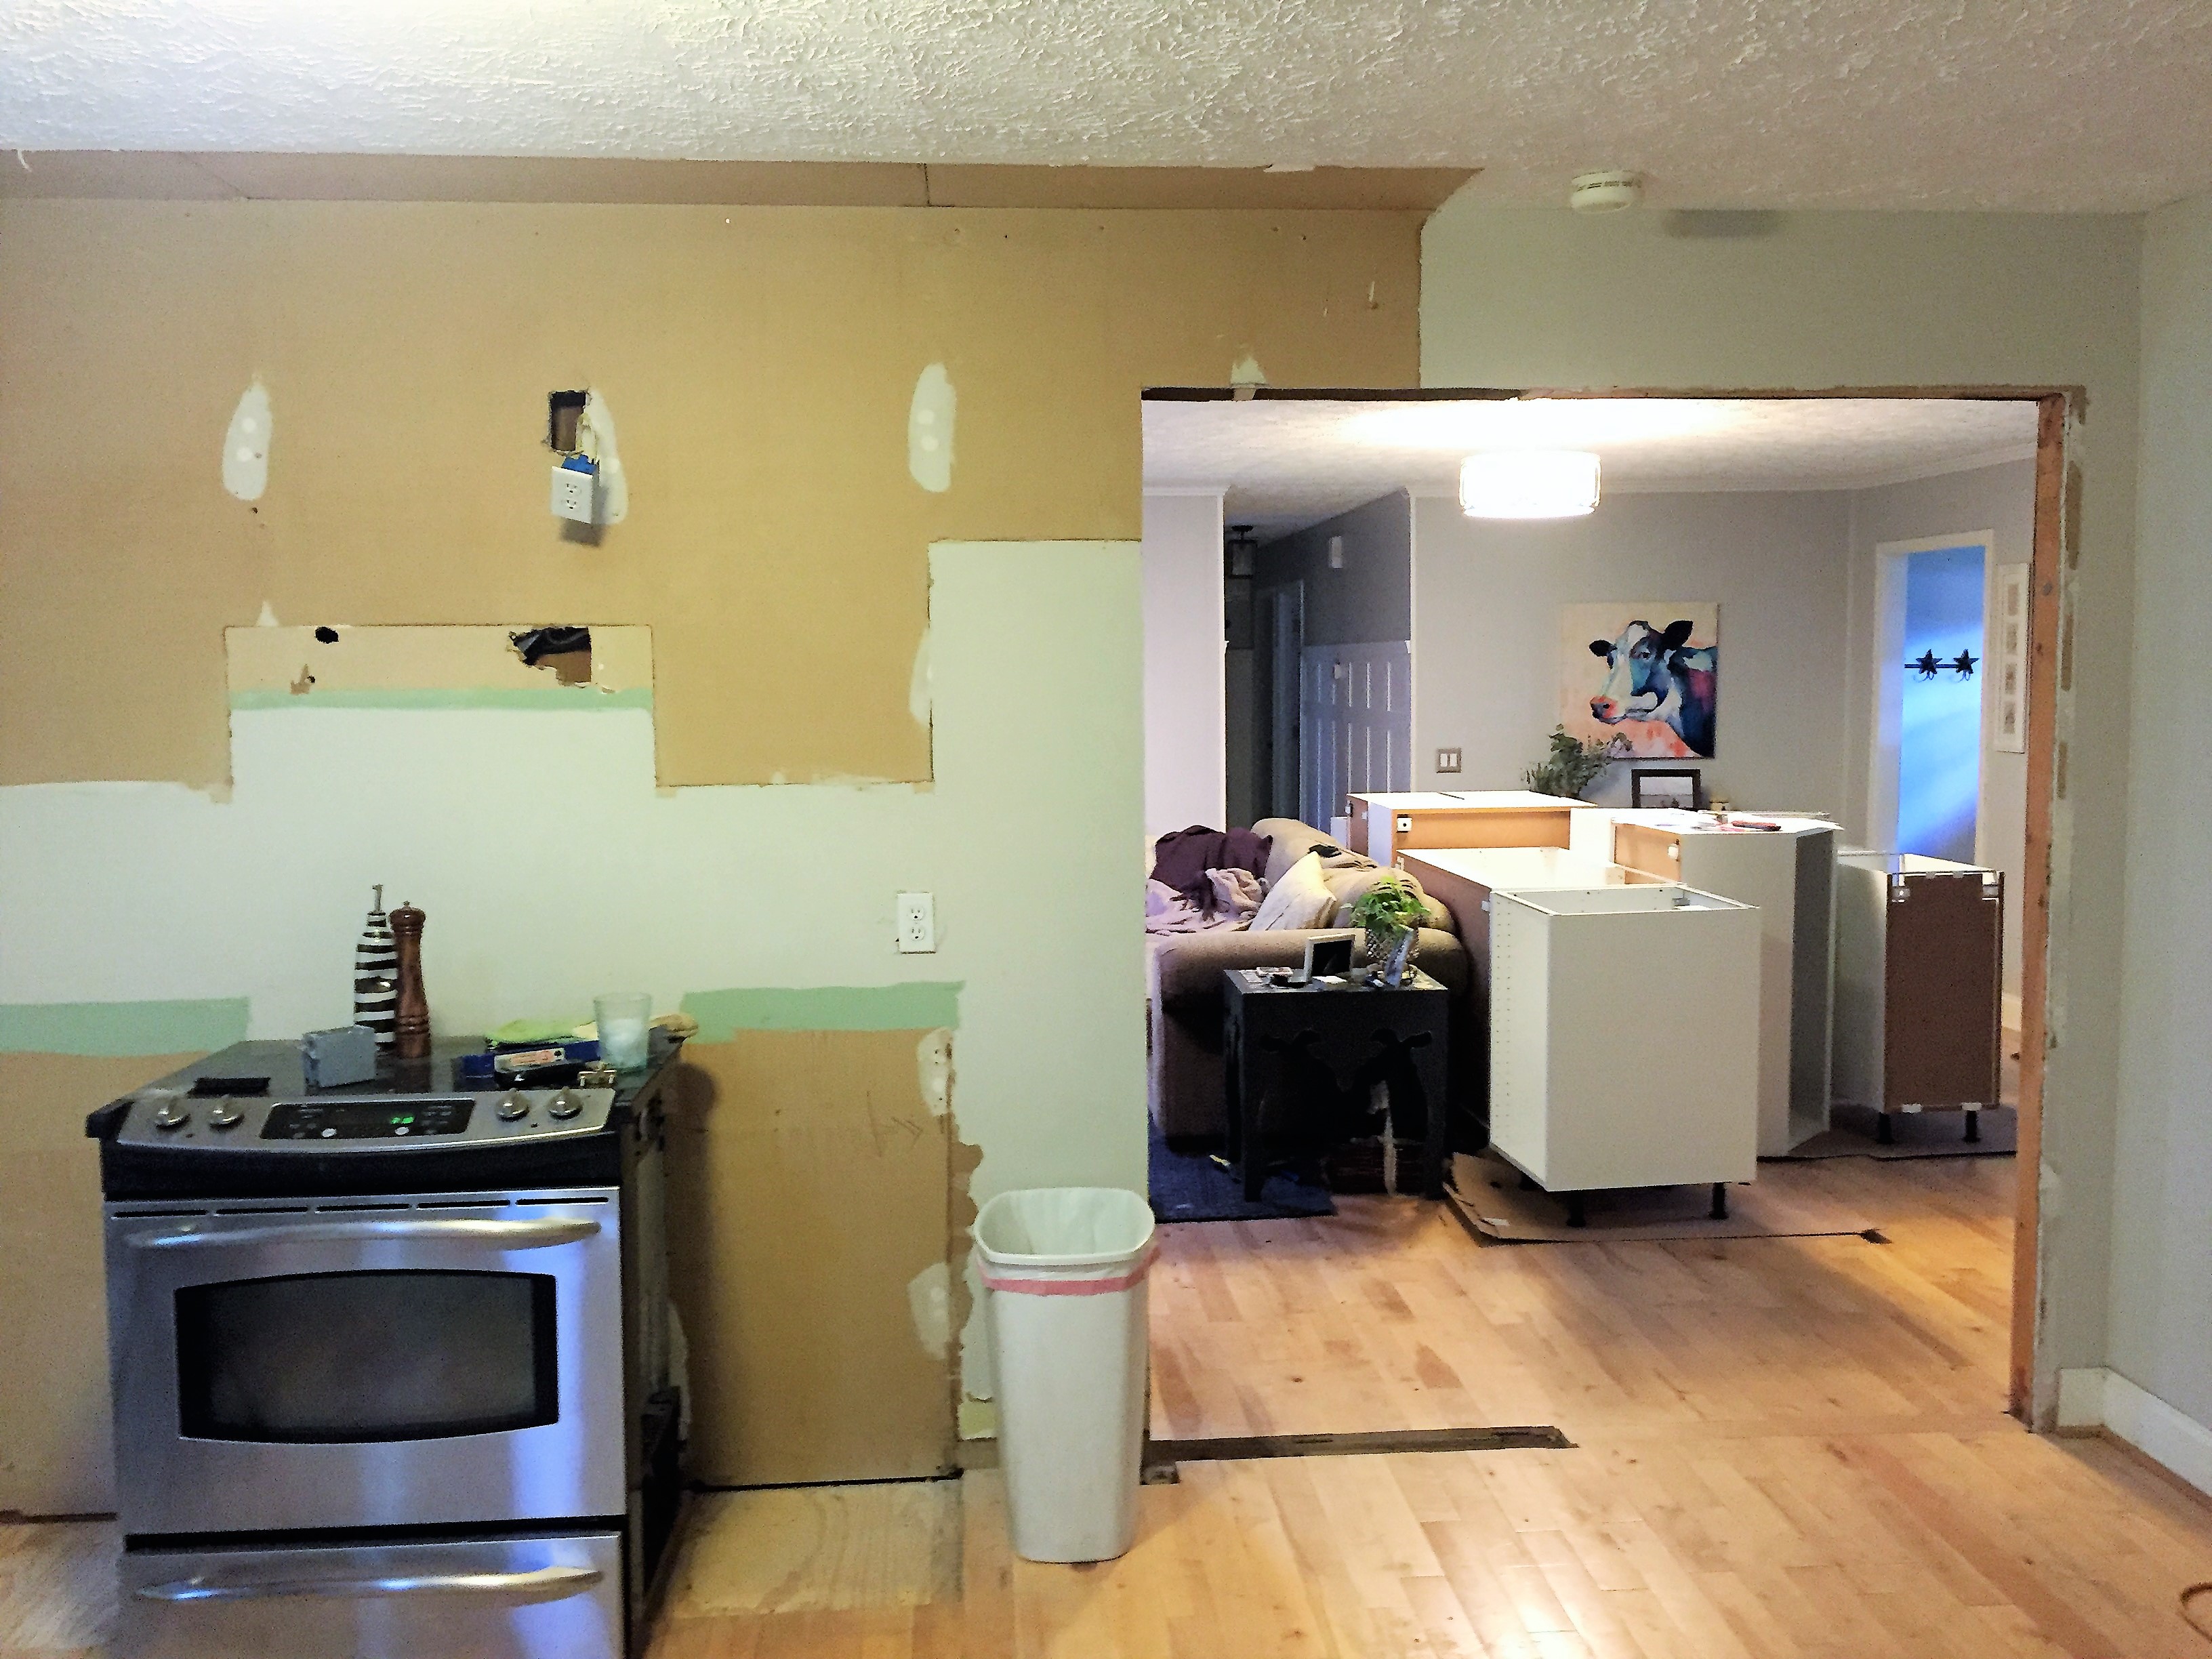
Make sure to check out our kitchen before and how our kitchen turned out after our huge savings. Also, make sure to subscribe and follow us on Instagram and Facebook for all the latest updates and so that you never miss a post!
-Dimes
