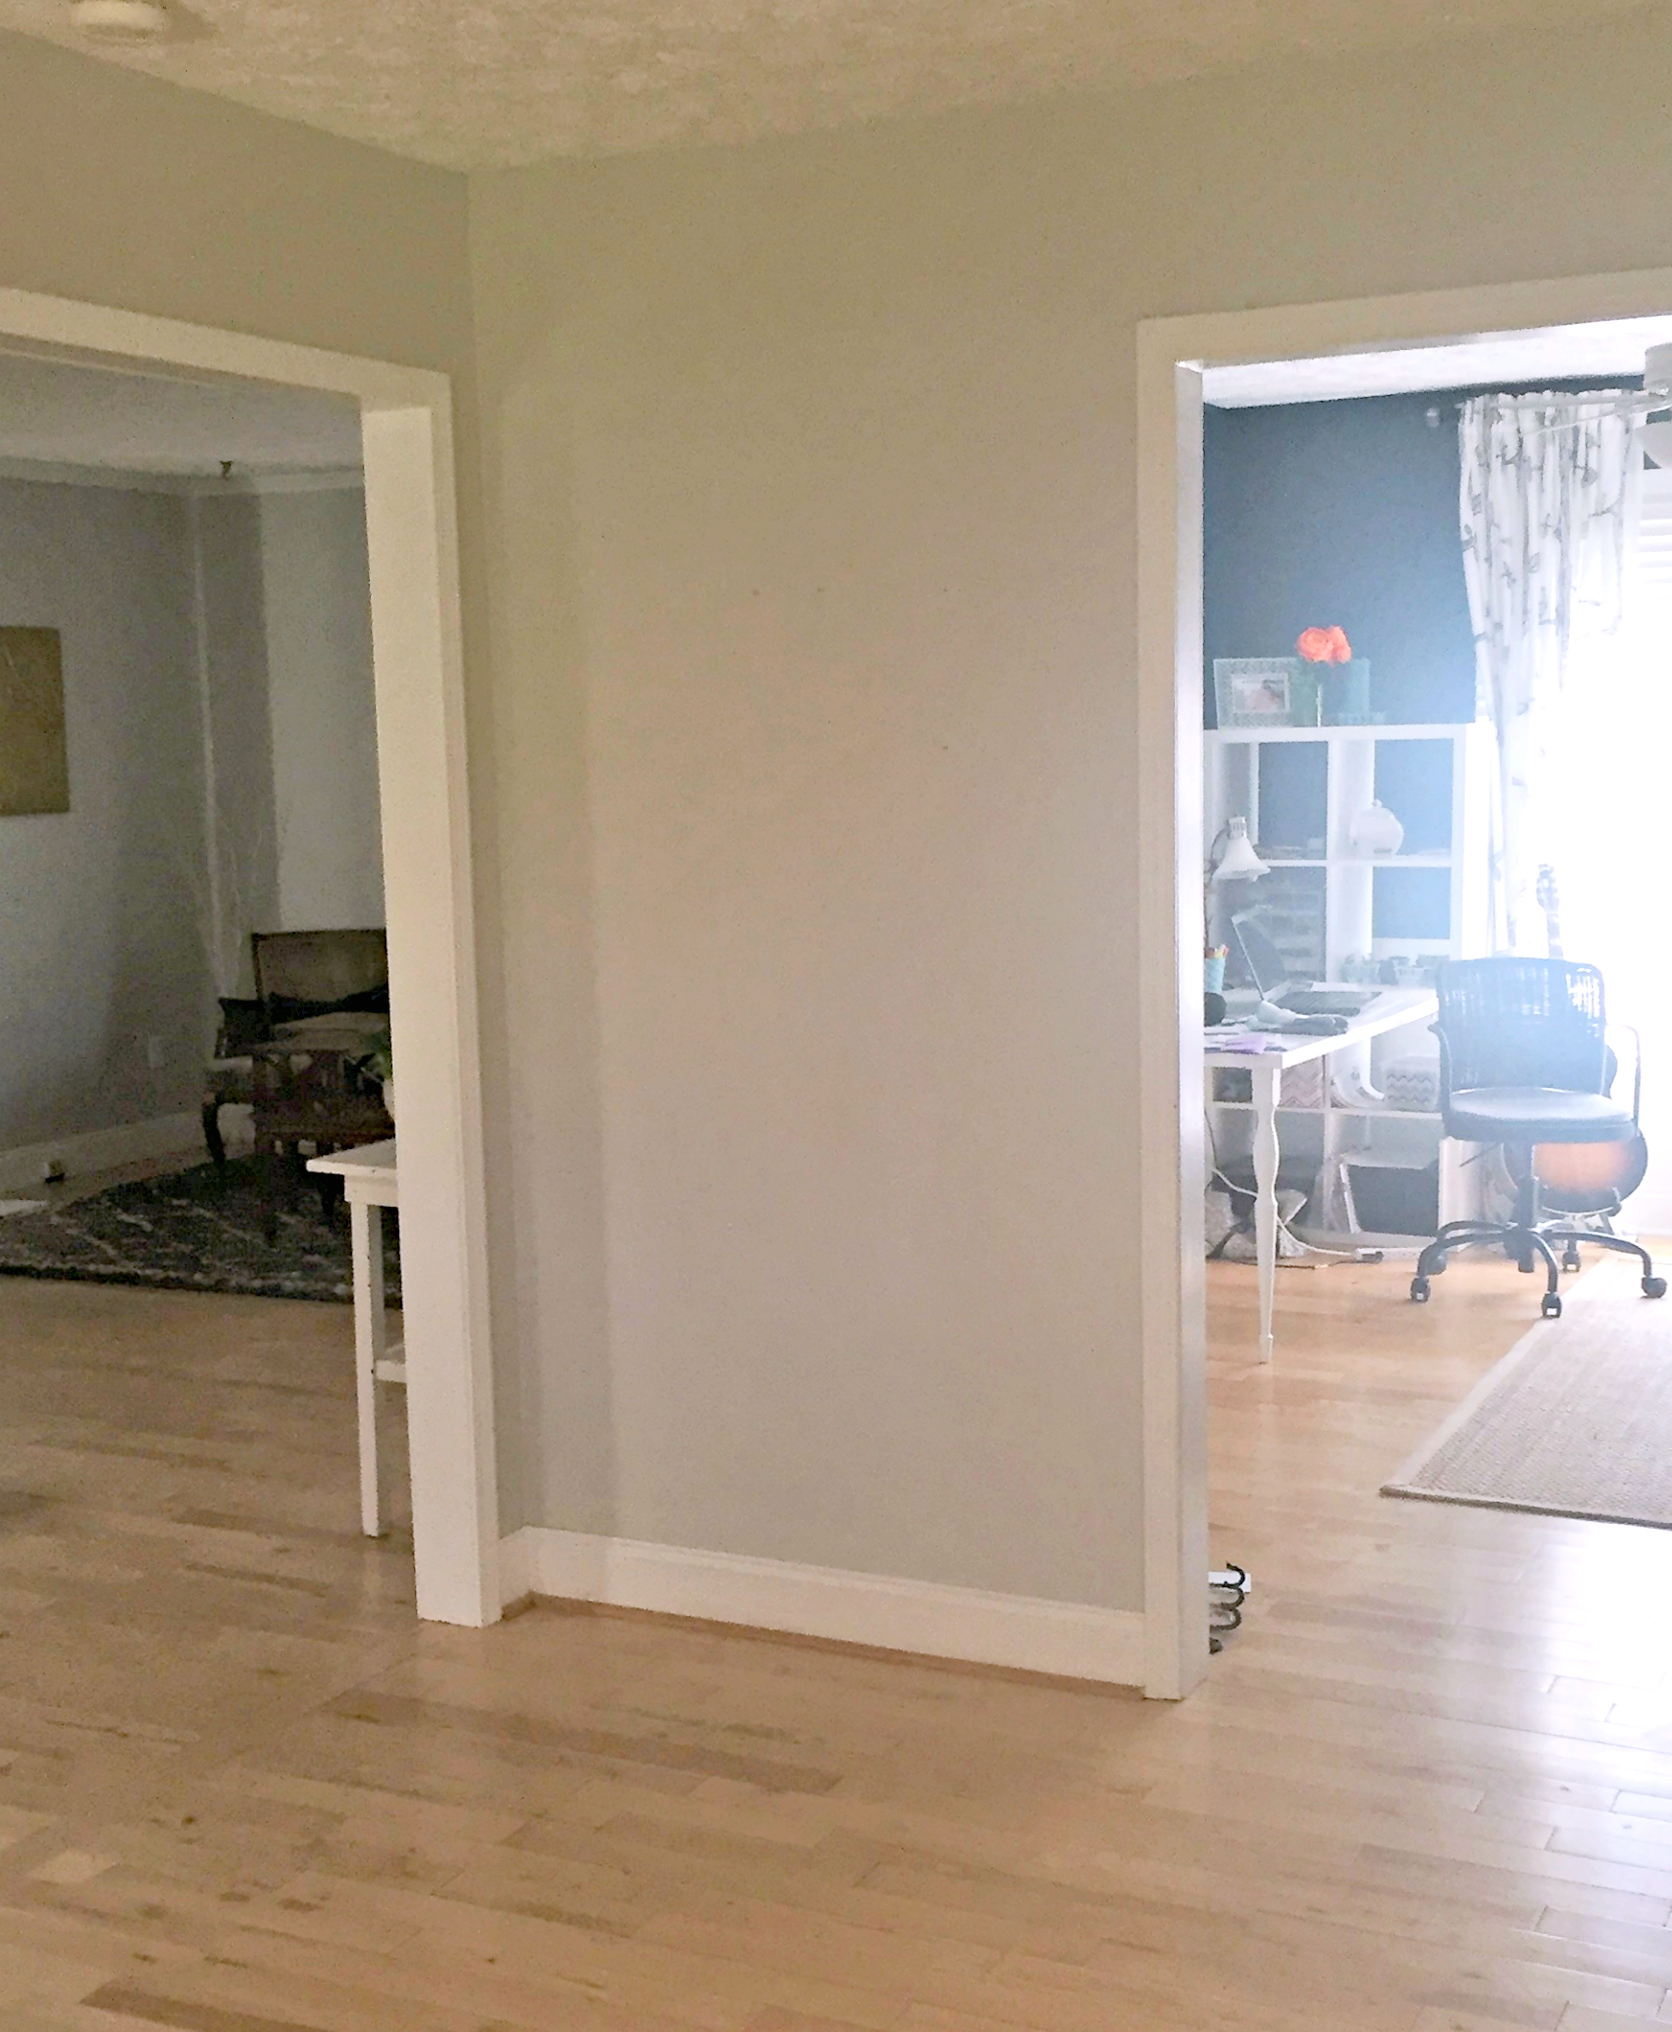
Having a blank wall in your kitchen leaves you with so many options. You can:
- Add additional shelves
- Create a family picture collage
- Hang a cork board, mail sorter, and key rack for a makeshift command center
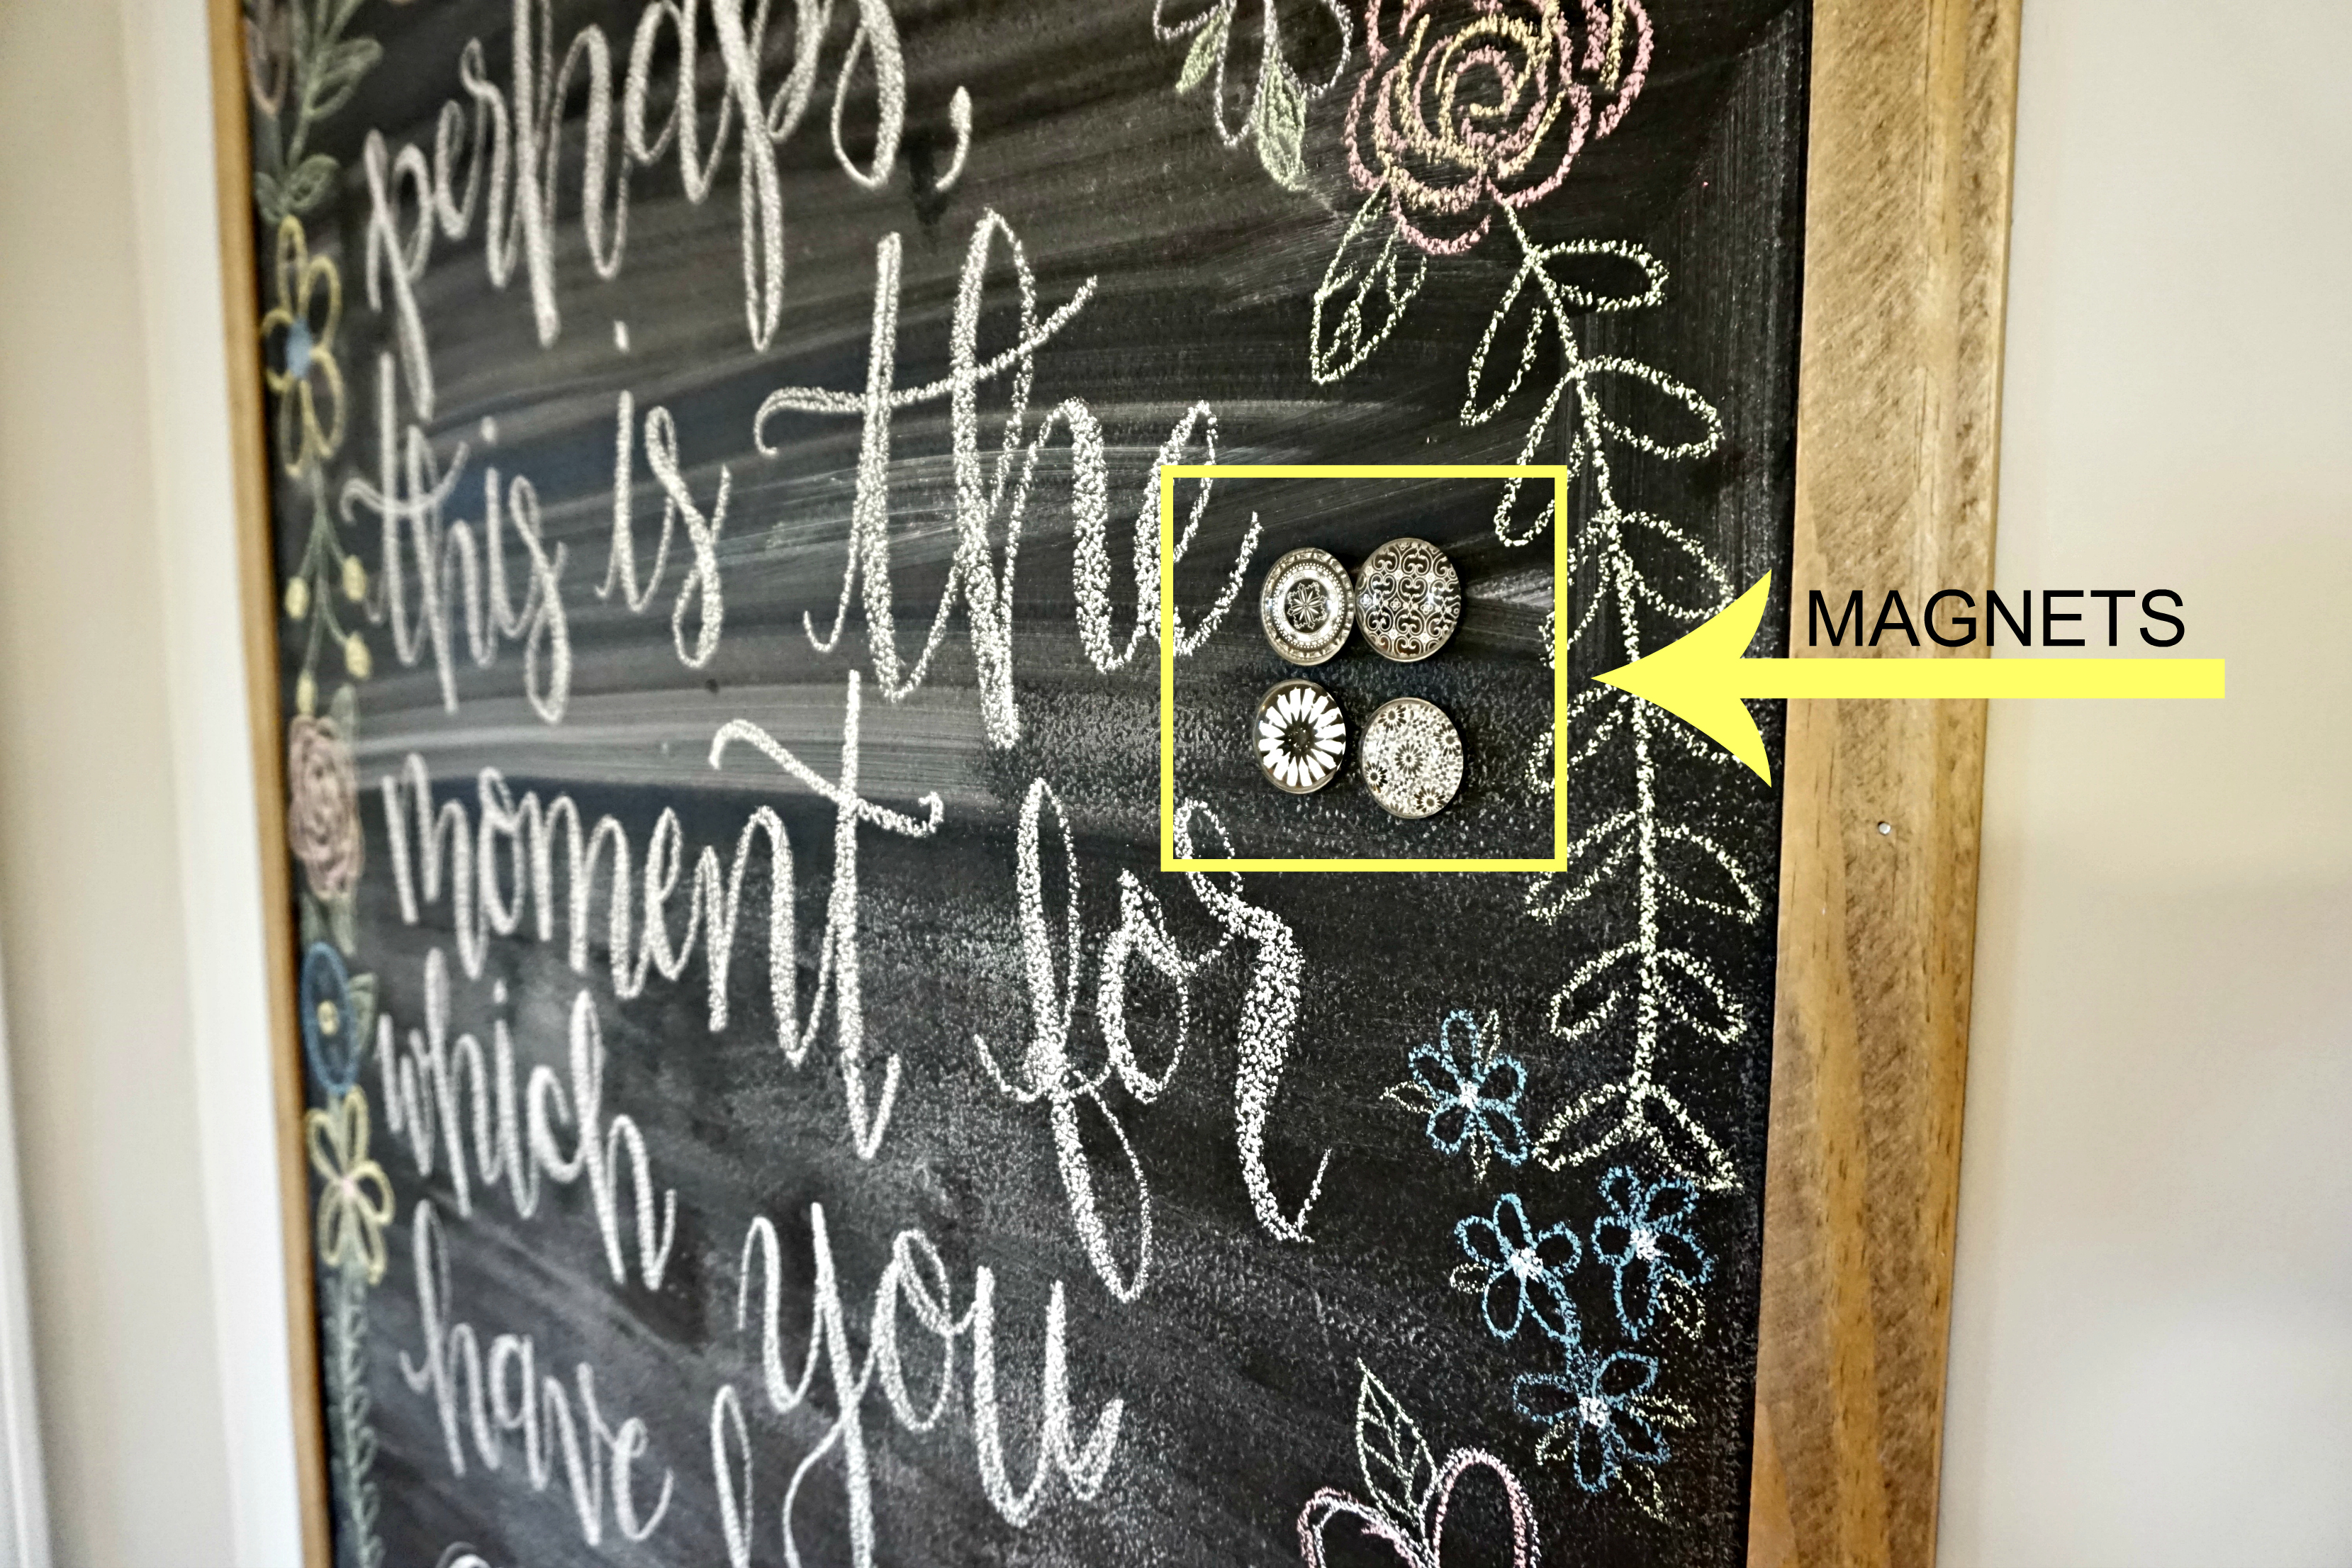
You’re options are endless. For me, I wanted something with that was practical, large enough to fill up the entire wall, and magnetic since I’m not a fan of cluttering up the front of my fridge.
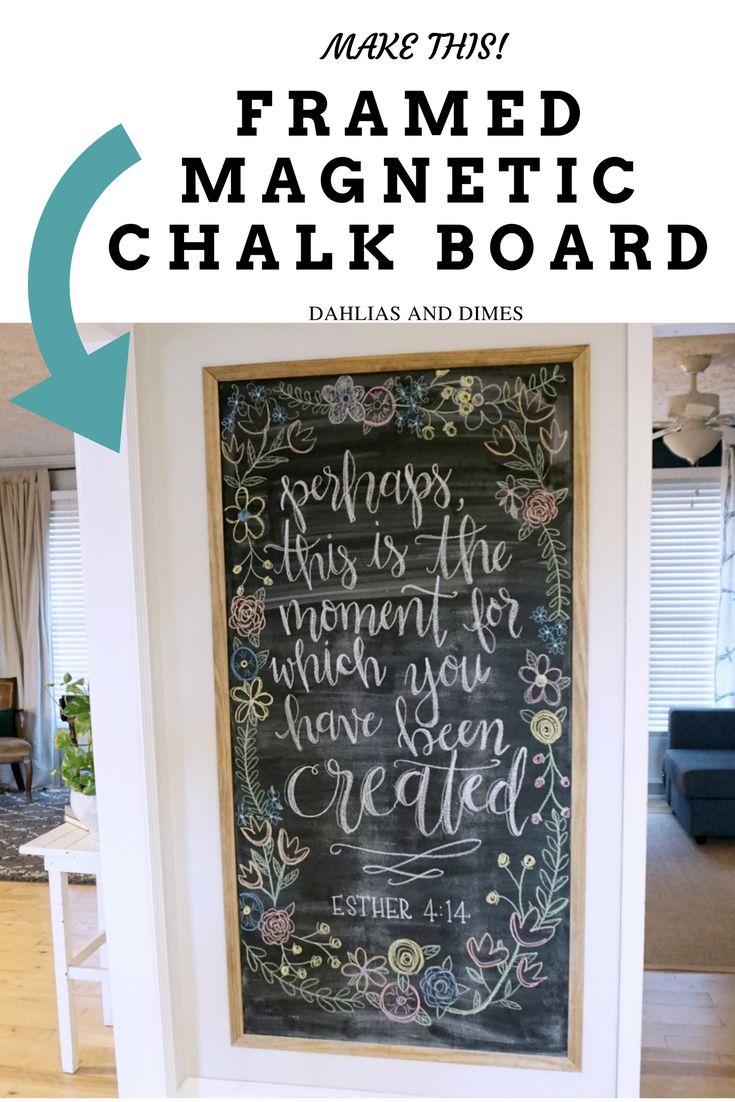
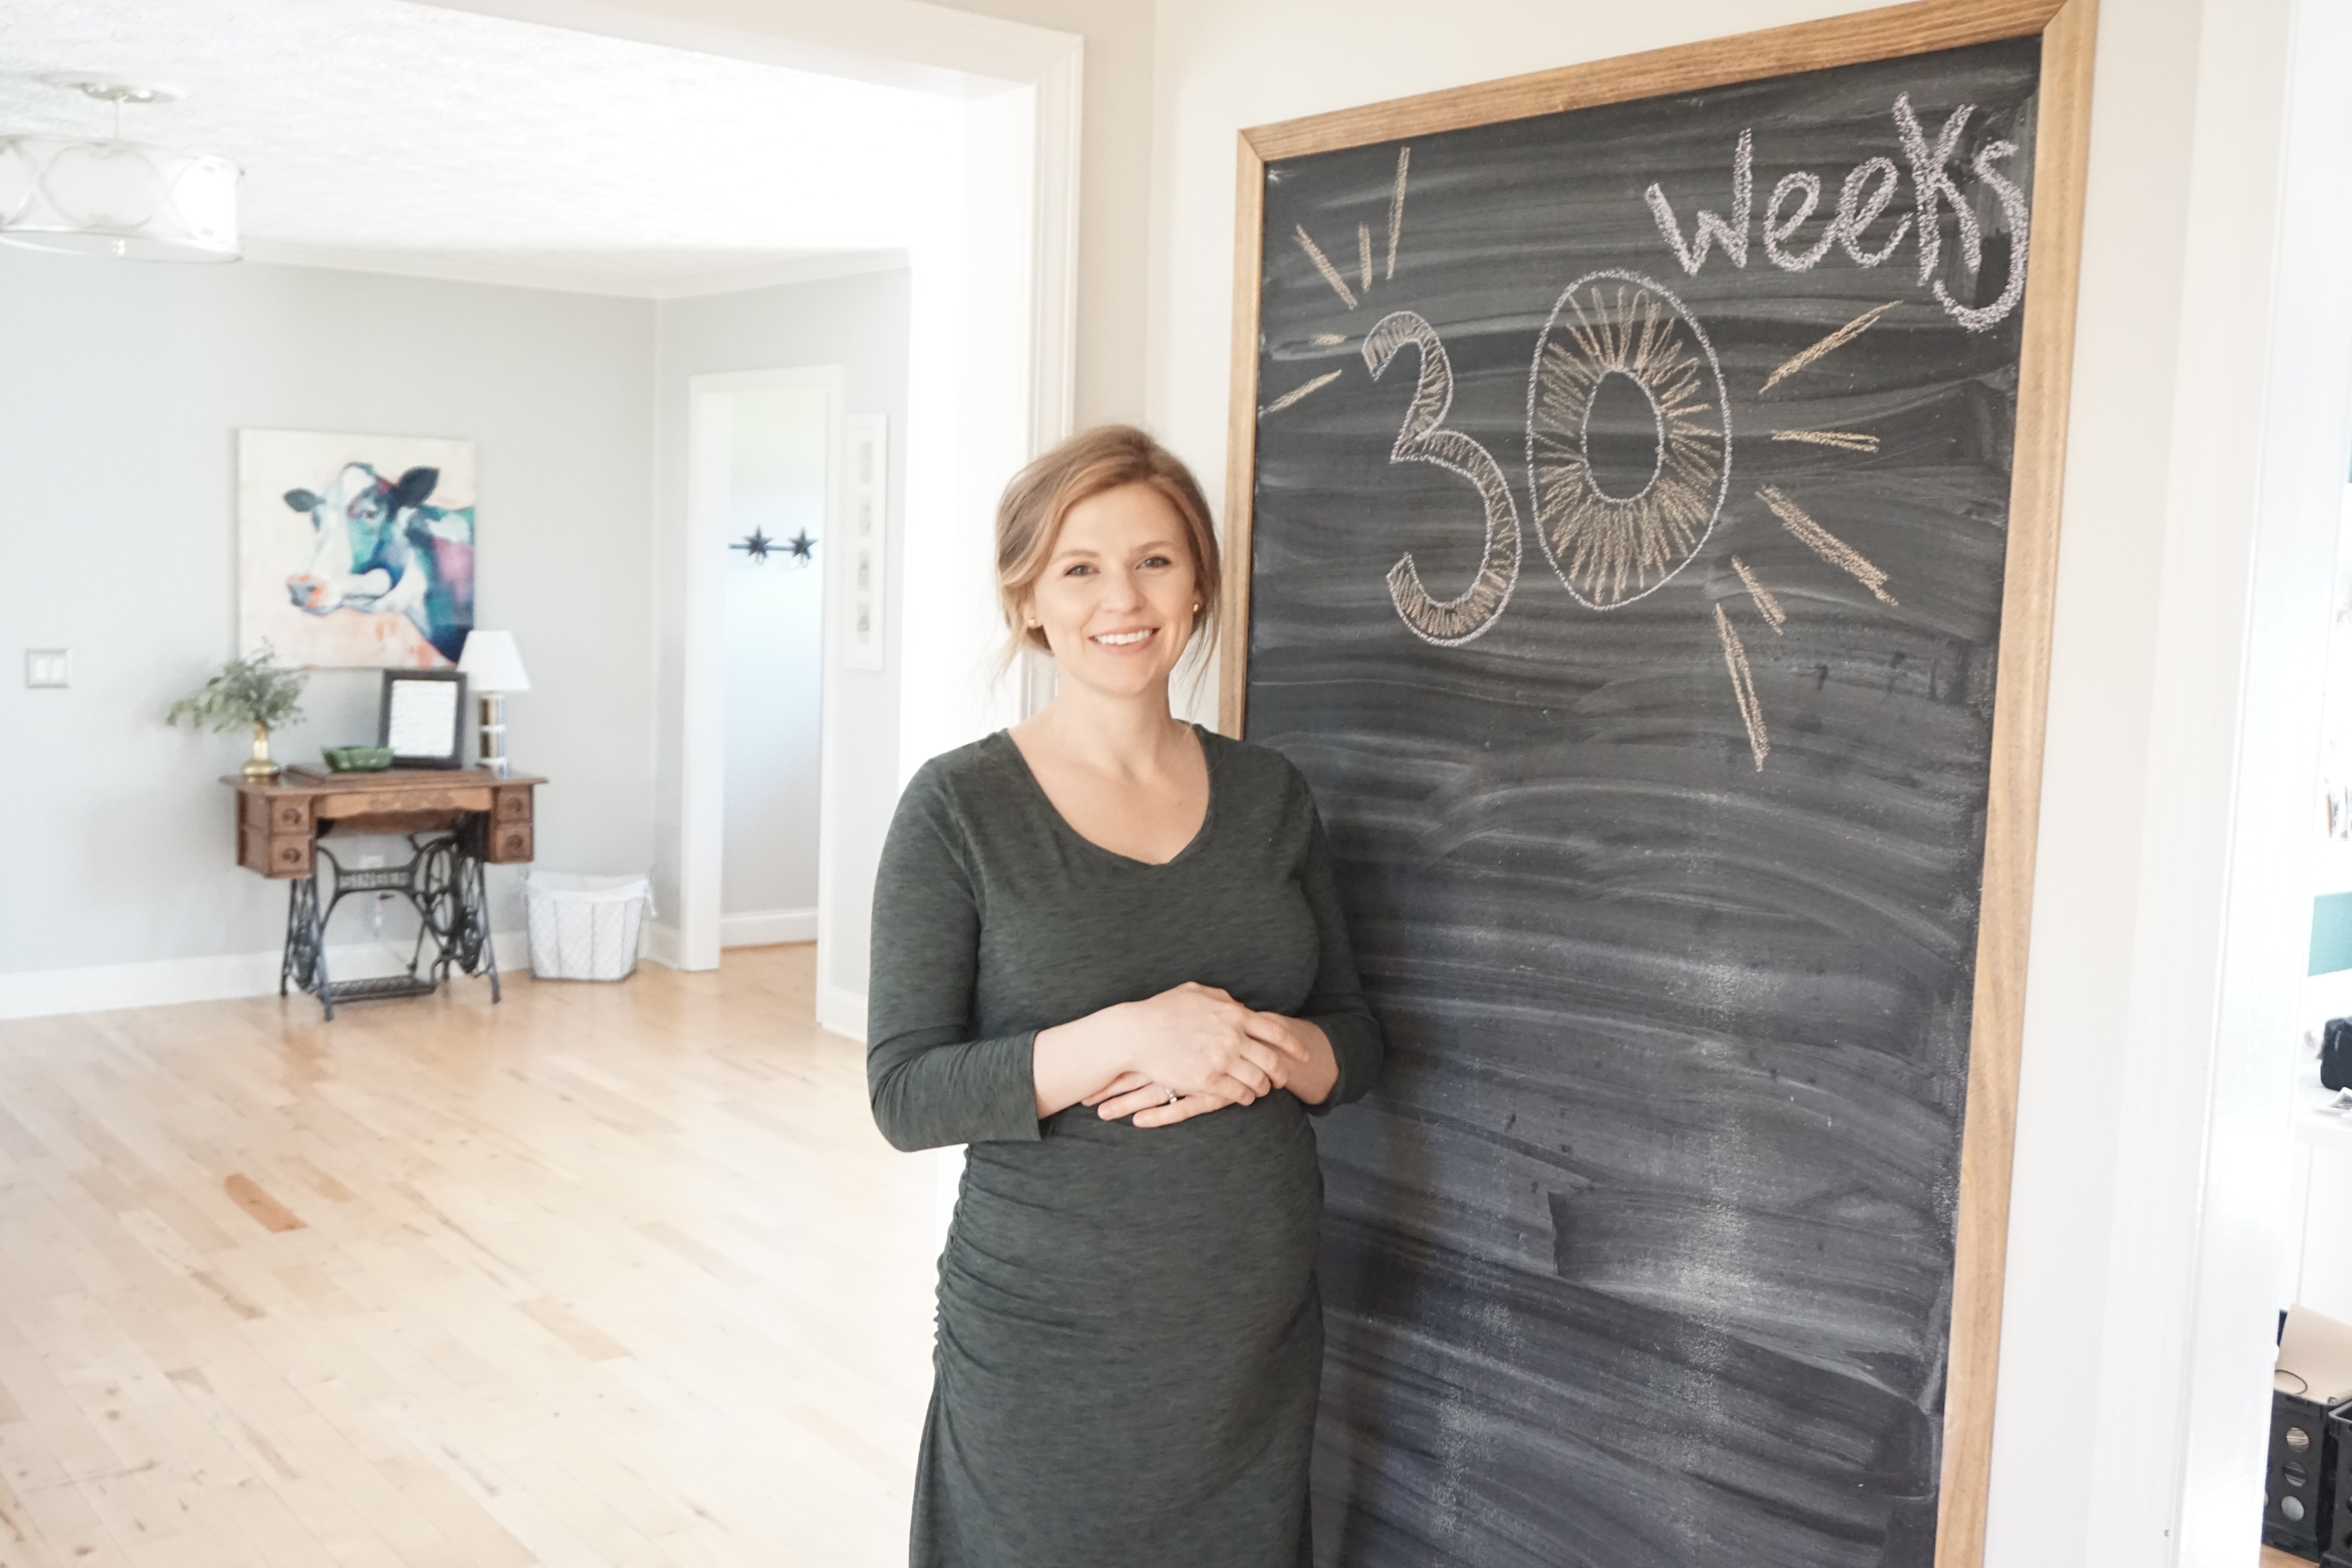
My solution was to create a large magnetic chalk board wall. I love the idea of my daughter being able to draw and color on the chalkboard and playing with magnetic letters one day while I’m working in the kitchen. In the meantime, it serves as a blank canvas for my incredibly talented friend/neighbor to practice and showcase her beautiful lettering. It’s a small sacrifice I make to offer up my space for her craft. ;)
Check out her work at Keaton Lettering Co. also here and here.
Links are affiliated for your shopping convenience.
Supplies:
Foam Roller (2)
4 pieces – 1.5″ x 1/4″ Lattice Strips
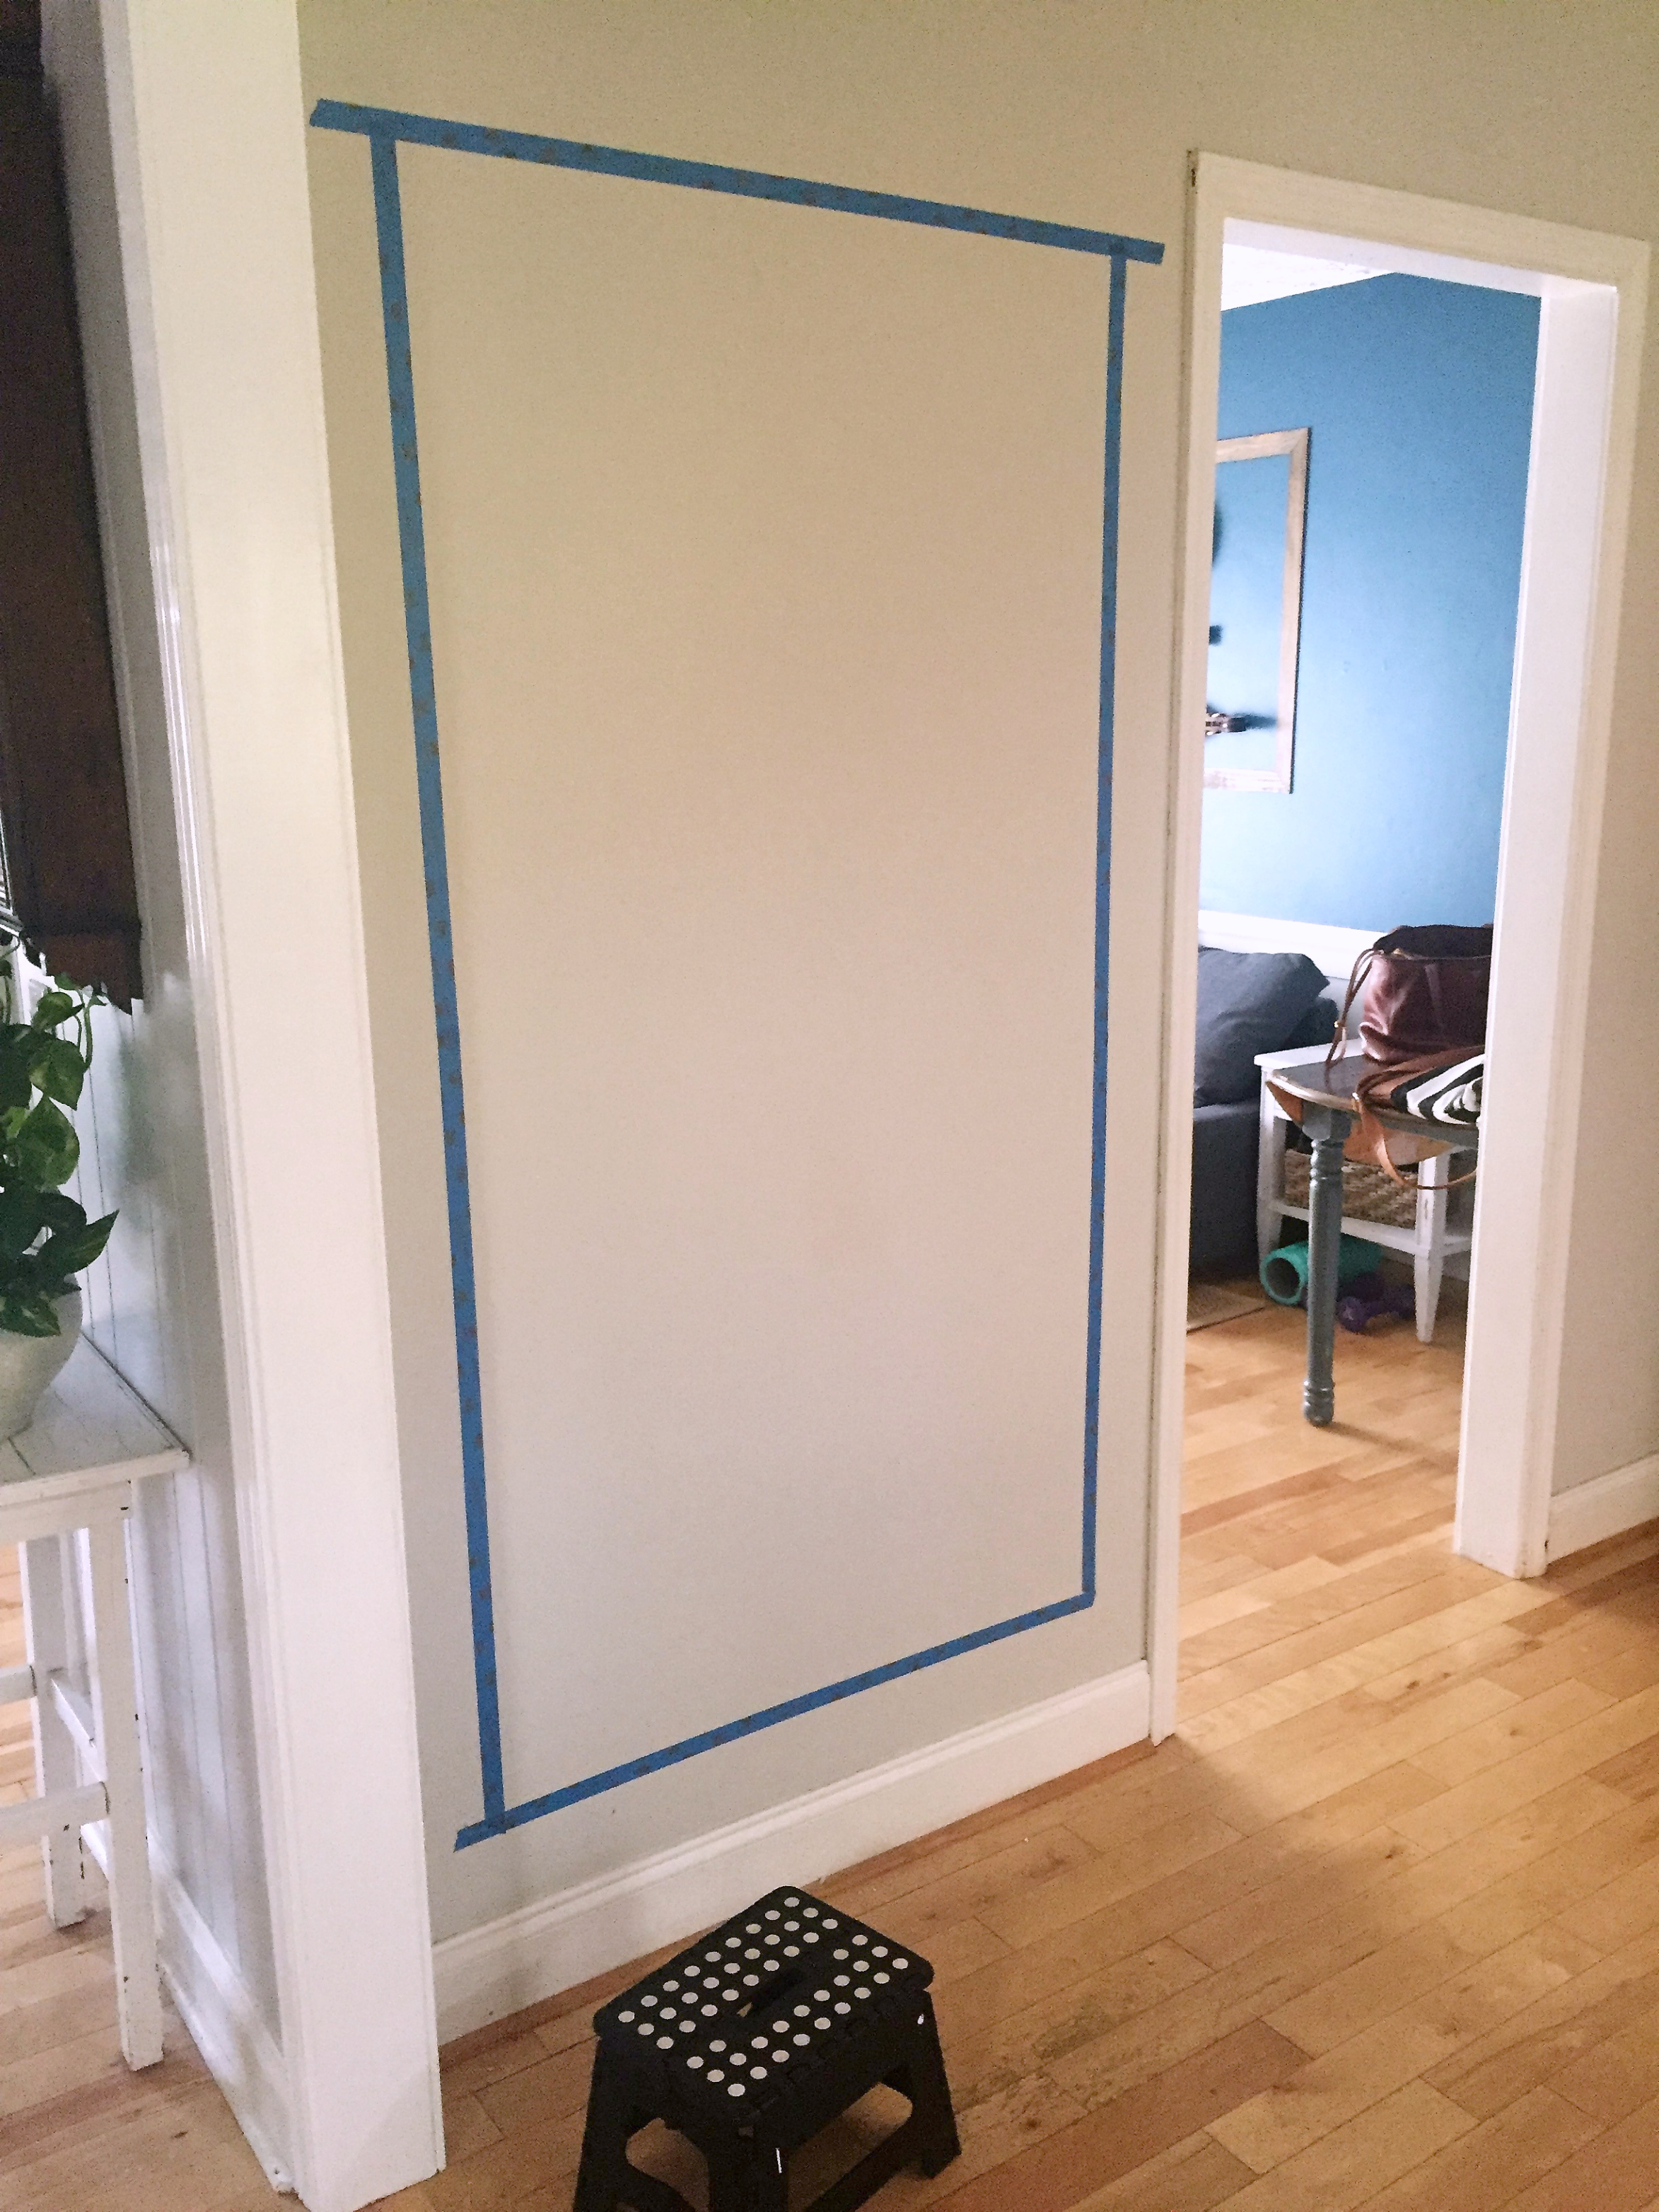
Prep Your Surface
First, you’ll want to prep your surface by filling in any holes with drywall putty, sand uneven surfaces, and wipe down your wall with a gentle cleaning agent.
Once your wall is clean and dry, tape off your chalkboard area. I wanted mine to cover the majority of the wall, so I made it 3′ x 5-3/4′.
Apply Primer
This is the step that never ends. Magnetic primer only works properly if you apply 5+ coats. Roll it on with a foam roller in thin, even coats. Make sure the primer is dry before applying a new coat. You’ll want to test it after each coat to make sure your magnets are sticking. I just ended up using the entire quart, which was 7 coats! This stuff is not cheap (per quart) either, so make sure you get your money’s worth and keep testing it before apply your chalk paint.
Chalk Board Finish
Once your magnetic primer is dry and in working order, apply a couple coats of chalkboard paint with a new, clean foam roller. Allow paint to dry between coats.

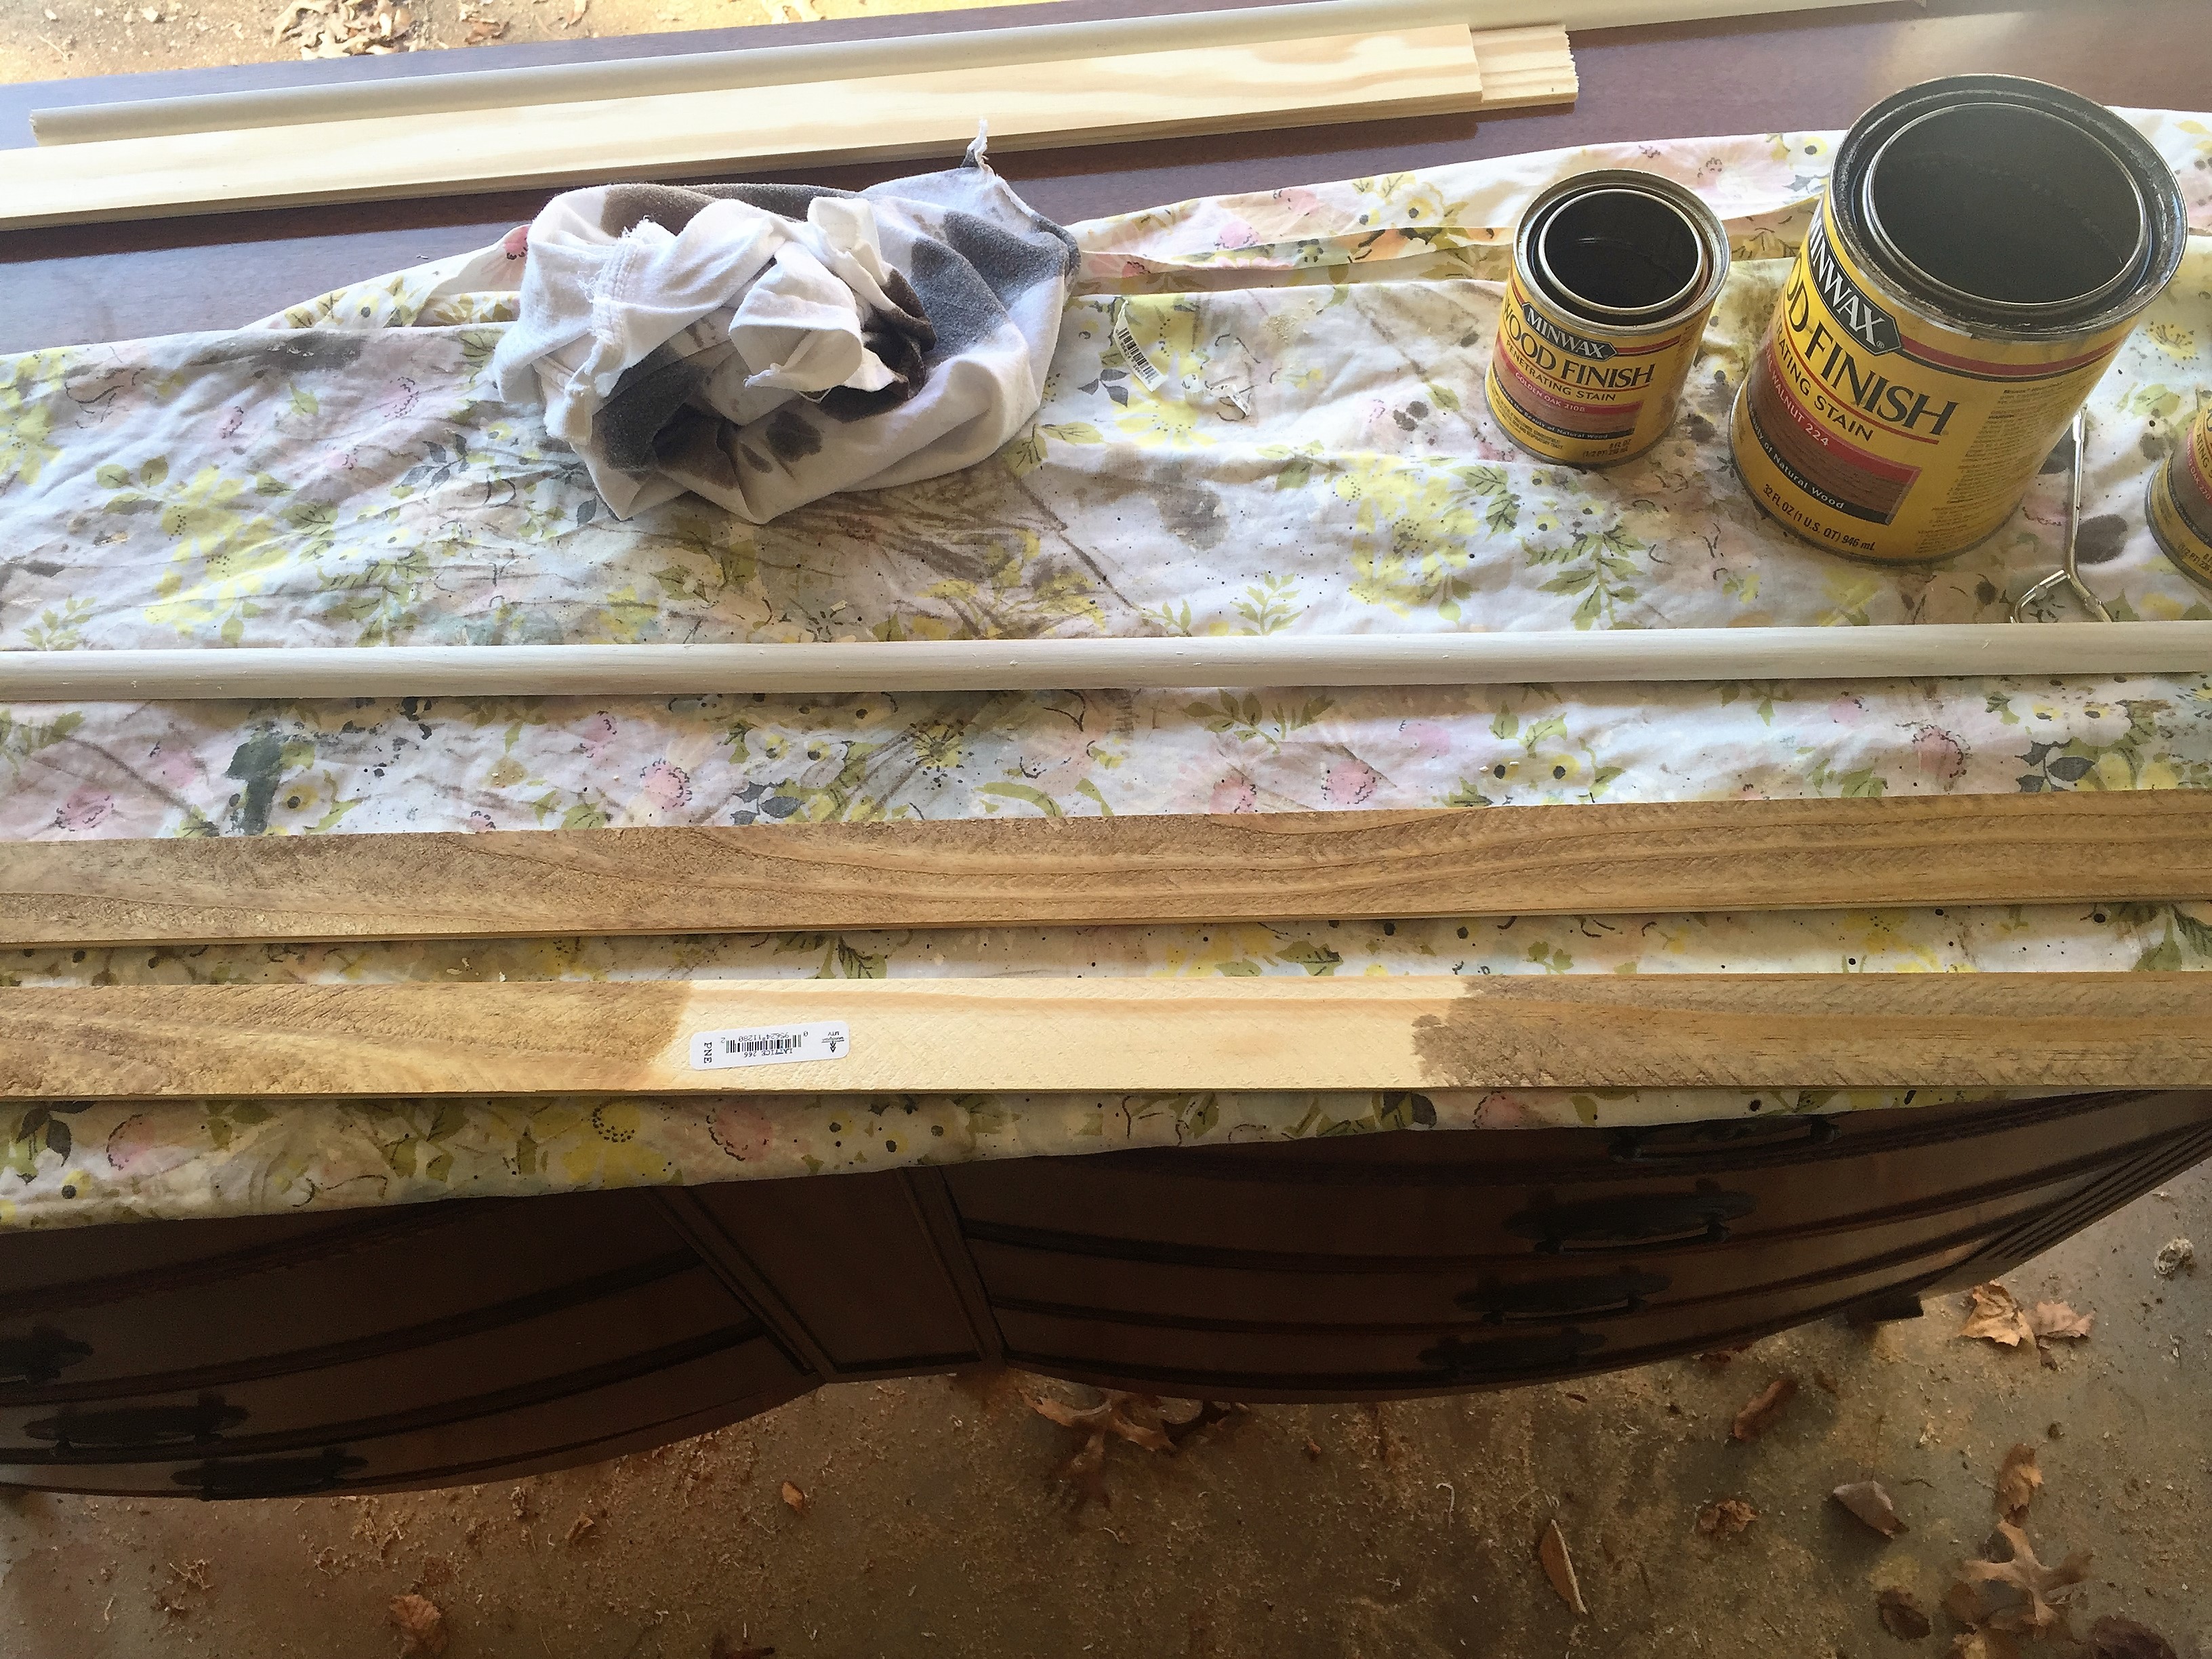
Creating the Frame
I used 1.5″ x 1/4″ lattice strips because I just wanted a simple frame that didn’t take away from the doorway trim or the chalkboard. Feel free to use your favorite trim piece and customize it in a way that suites you. I measured and cut each piece at a 45 degree angle using our miter saw. You can also use straight cuts as well, but if you’re using a 45 degree cut, measure each piece at the longest point.
Stain or paint each piece before attaching it to the wall. You can always touch it up once it’s attached, but it’s much easier to prepare the wood first.
Using a level, tack each piece of lattice on the wall with 1-1/4″ finishing nails.
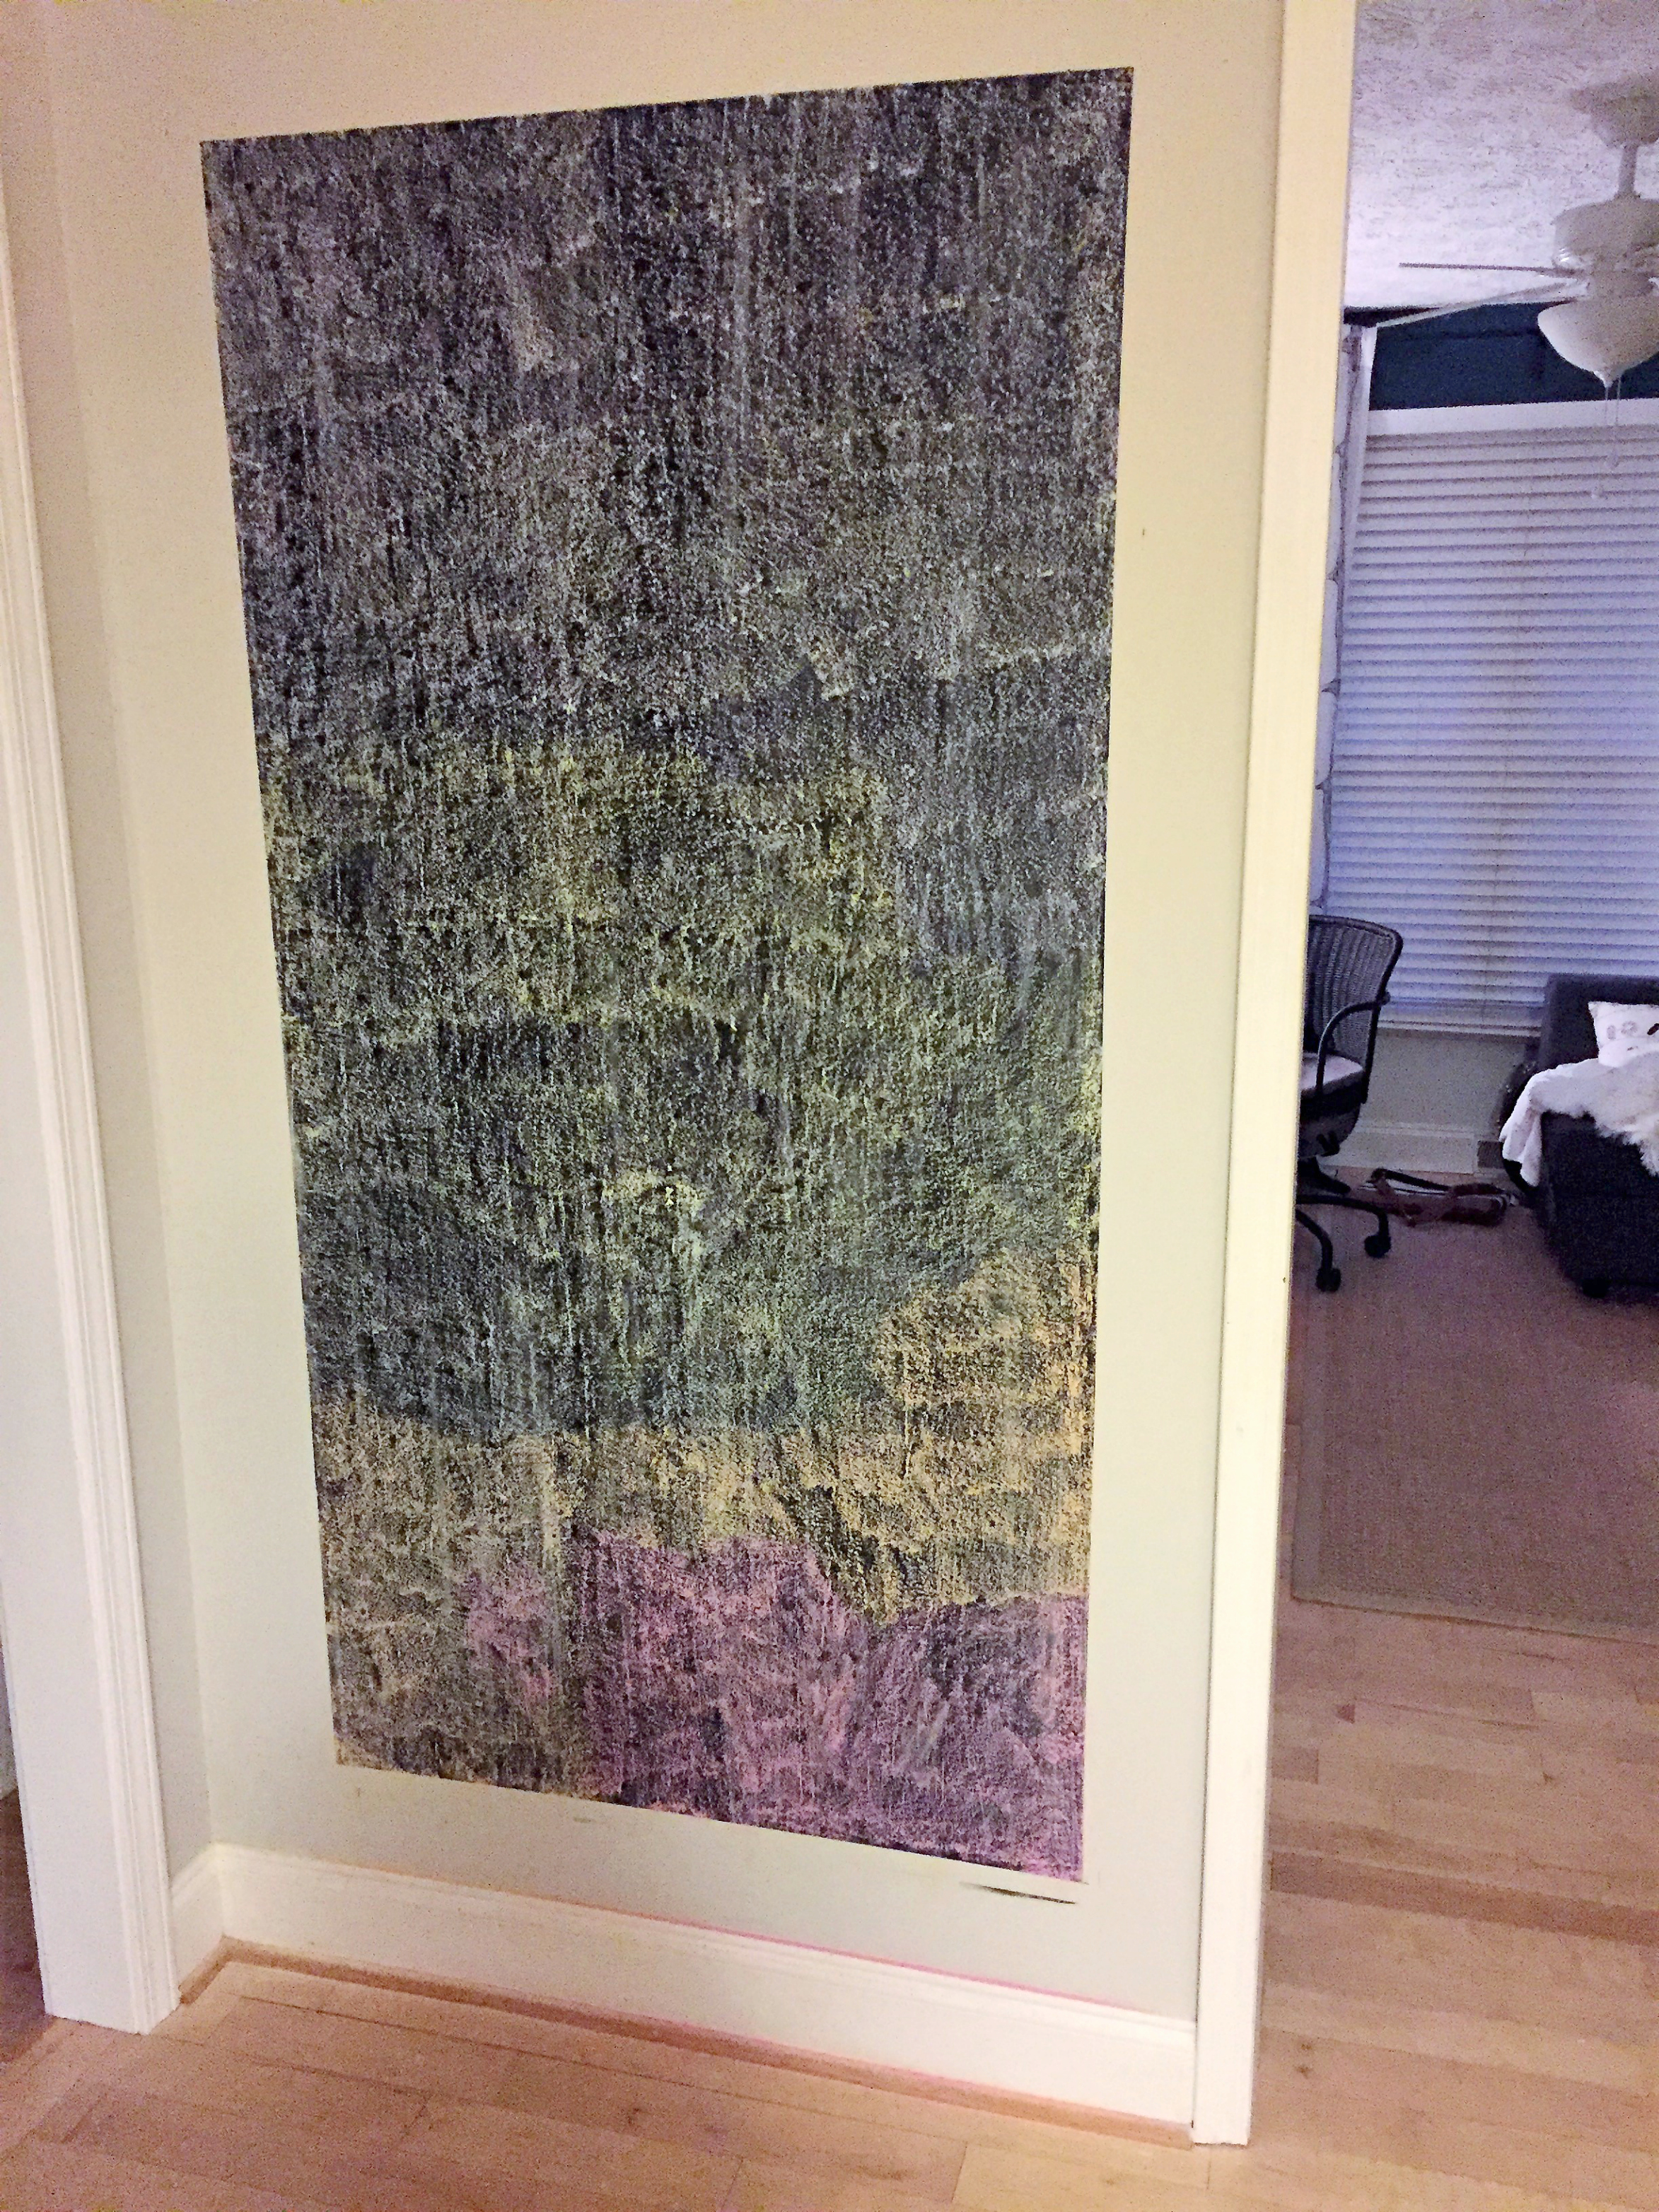
Prepping Your Chalkboard
Before you get too excited about a finished chalkboard, you ABSOLUTELY need to prep it first. Use the side of a piece of chalk and rub it on the chalkboard. Once you’ve covered the entire surface, clean it off with a damp sponge. If you skip this step, the first thing written on the board will be there permanently, so take the time to prep it first.
It doesn’t matter what color chalk you use. I went through several pieces to cover this large surface.
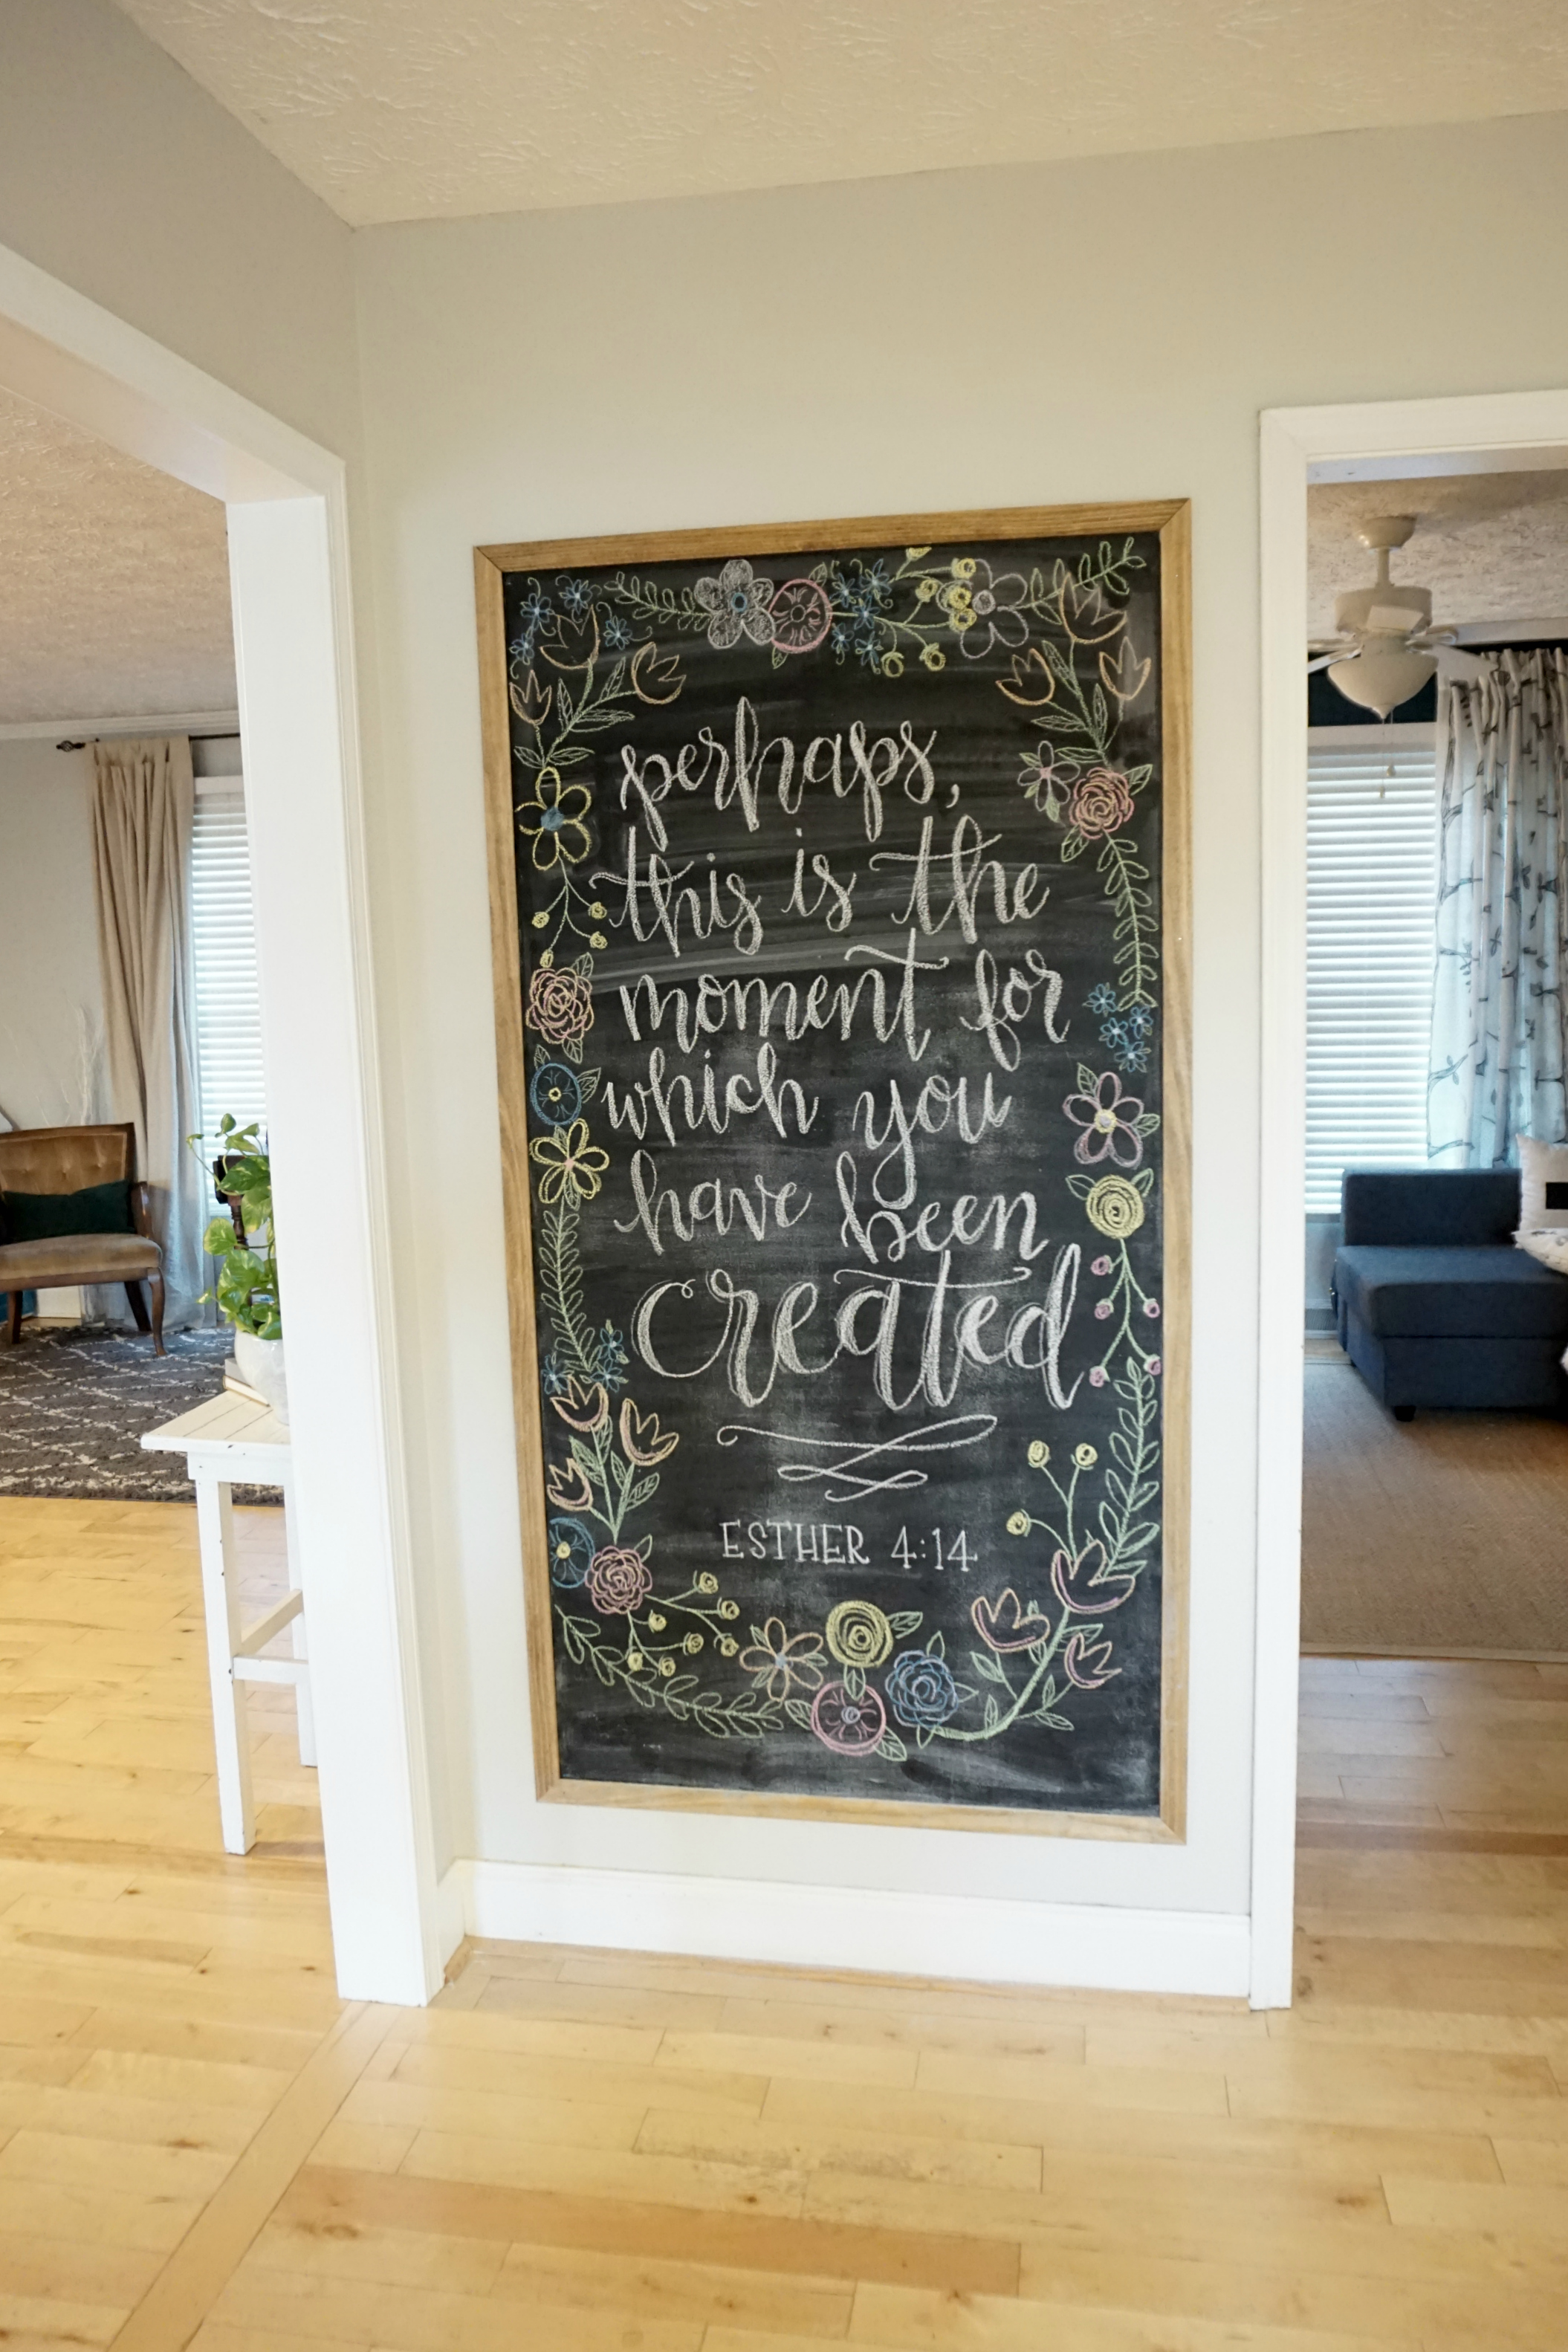
Now you can enjoy it!
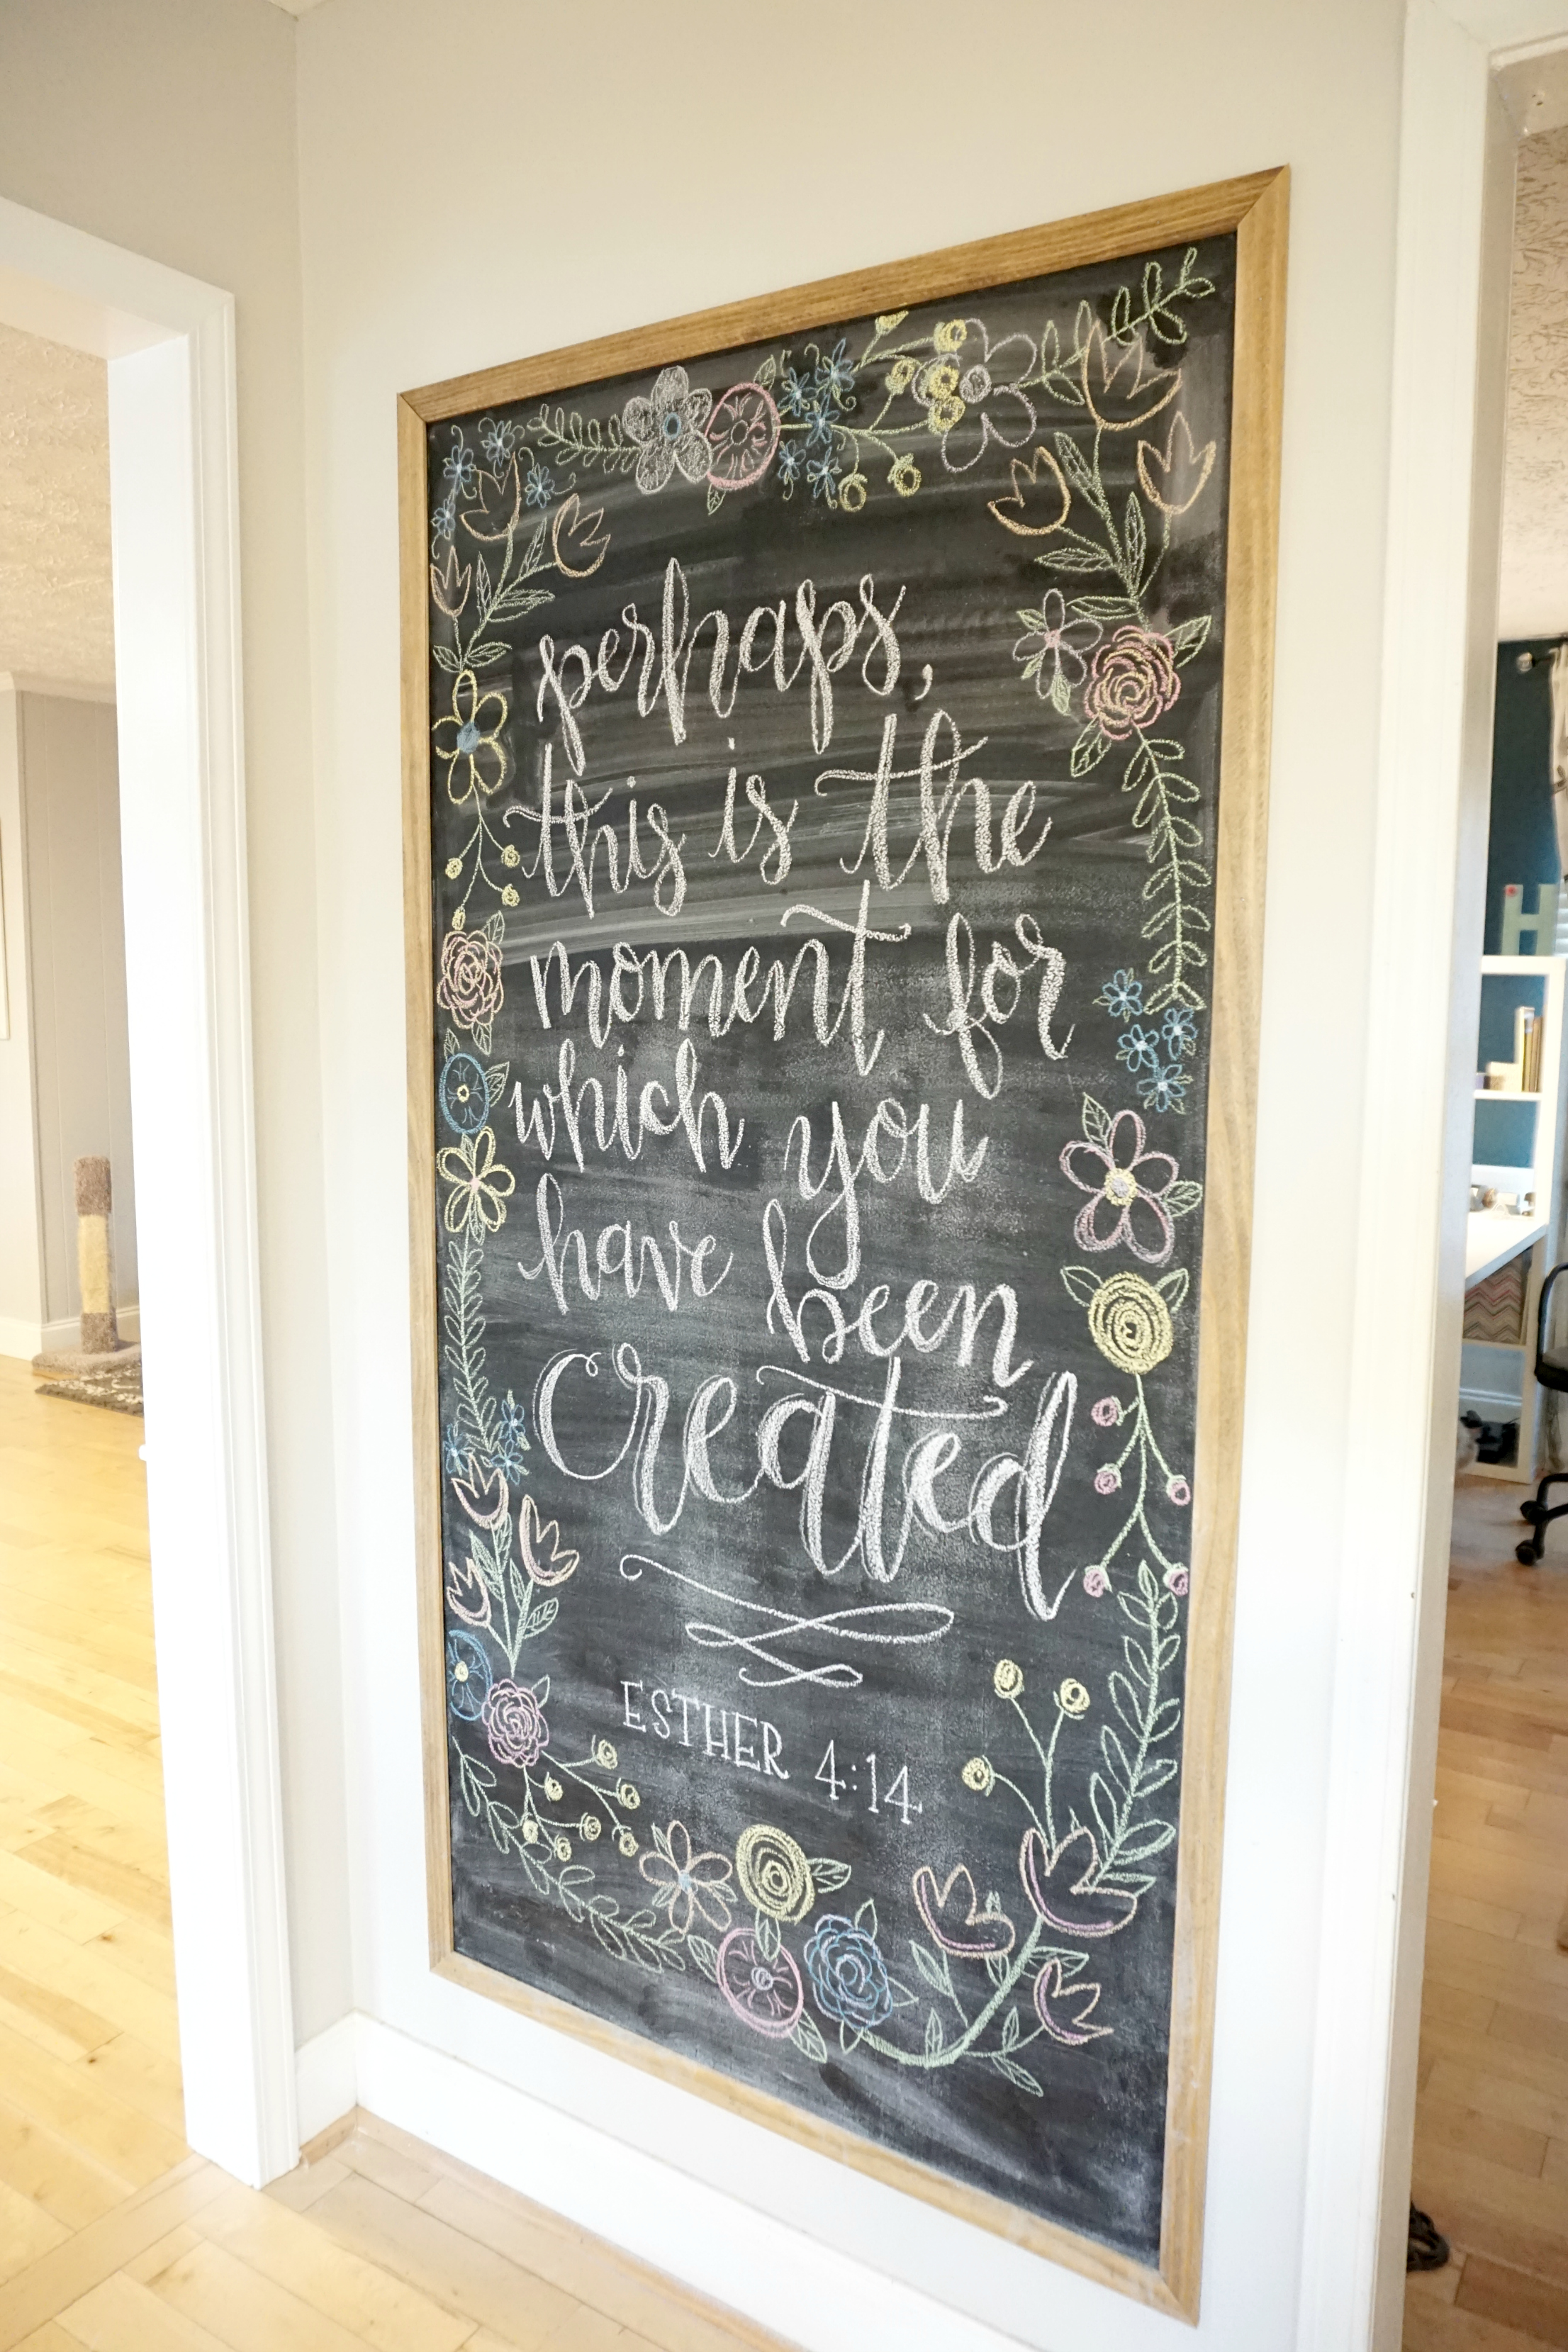
I love changing my board for each season, and I’ve also used it for random pregnancy updates as well. I’ve definitely not been good about documenting this whole process even though I had great intentions on taking weekly bump shots. I’ve been good to get one a month, but solo shots are awkward (or is it just me?).
As I mentioned above, I’m most looking forward to our daughter and future children using it as a creative space. I’d also like to utilize the upper space for grocery and to-do lists or jotting down coming family events. There are so many ways you can use your chalkboard including using it as a piece of art. I’m a sucker for practical design!
Do you have a chalkboard wall in your home? I’d love to see how your project turned out! Make sure to tag me @dahliasanddimes on Facebook and Instagram.
