There’s nothing more welcoming than a beautiful wreath adorning a front door, especially in the crisp fall air. Don’t you agree?
So with this thought in mind, I head over to a cute little Etsy shop and see the not so cute prices for one of these beautiful wreaths that I just “HAVE TO HAVE”!
Instead of digging deep into my pocky book, I decided to forage some succulents and other leafy things and started gluing away for my fall succulent wreath.

Step One | Foraging the Goods
In order to make your own wreath look high-end, you just need to the right materials.
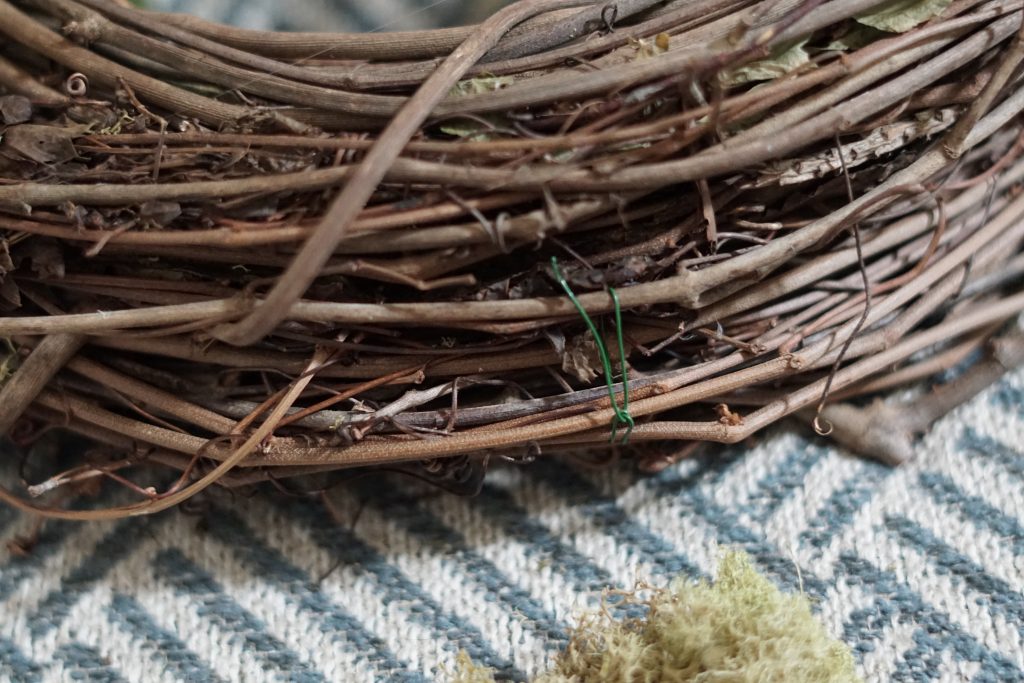
Grapevine Wreaths
Fern Stems
Greenery
Billy Button Stems
Succulent Mat
Moss
Burlap Ribbon
Floral Wire
Hot Glue Gun & Glue

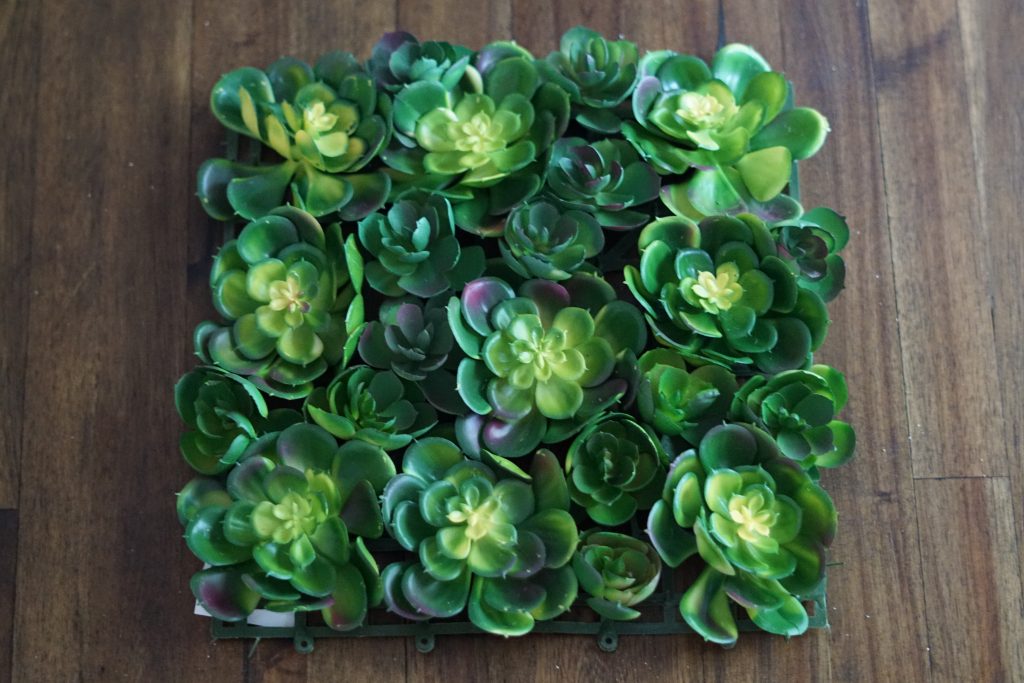
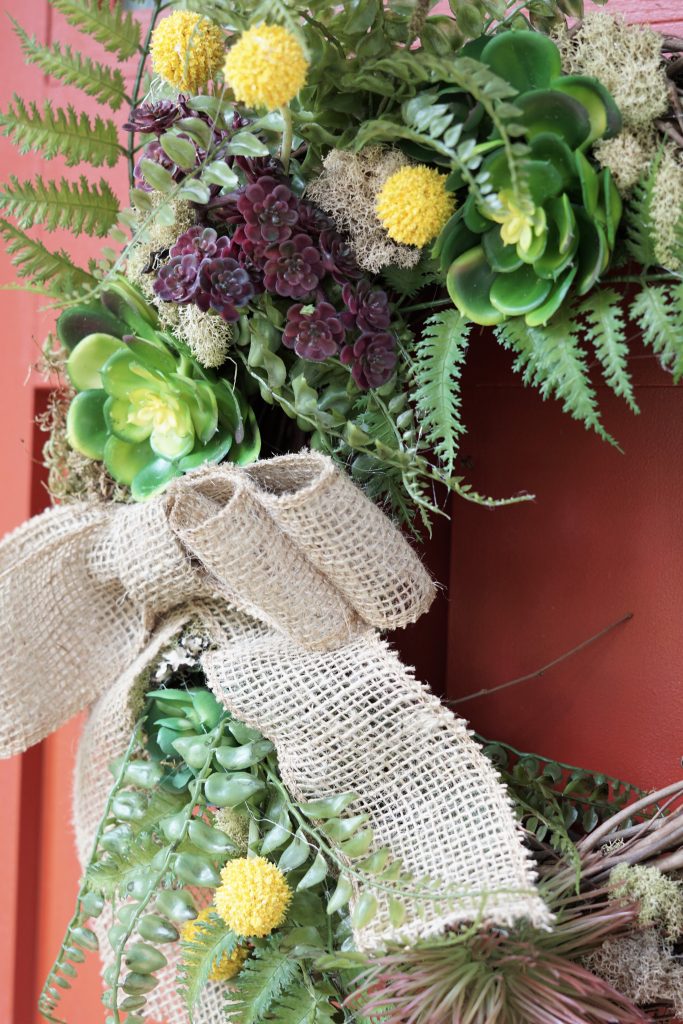
For this fall wreath, I initially gained inspiration when I found this sheet of succulents for 70% off at Michael’s (this succulent mat is the closest thing I can find to it since it’s sold out now). Then I gathered fern-like stems at Hobby Lobby. When shopping for these stems, I wanted a darker, more woodsy green for the wreath appear more autumnal. My color theme was also pulled from the succulents: deep purple, yellow, and green. So when shopping for accent pieces, I kept those colors in mind.
Lastly, I pulled out some moss from my fairy garden days and a roll of burlap to add the finishing touches for the rustic fall wreath.
Step Two | Base Layer
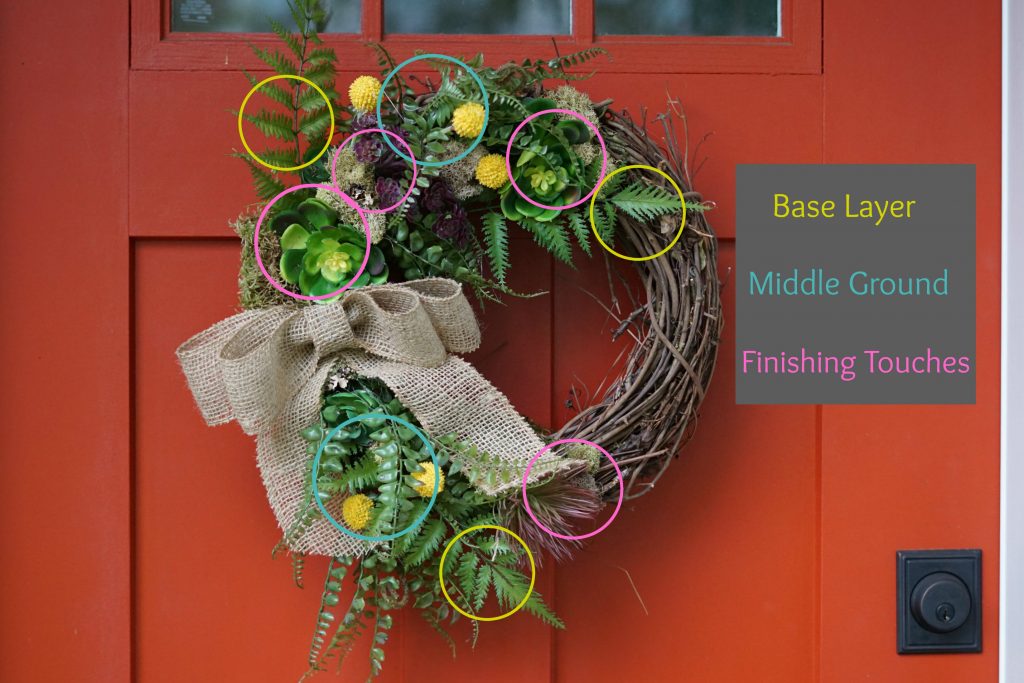
I typically start a wreath by combining two grapevine wreaths with floral wire. This trick makes the wreath appear fuller and more expensive than it really is, but this step is optional.
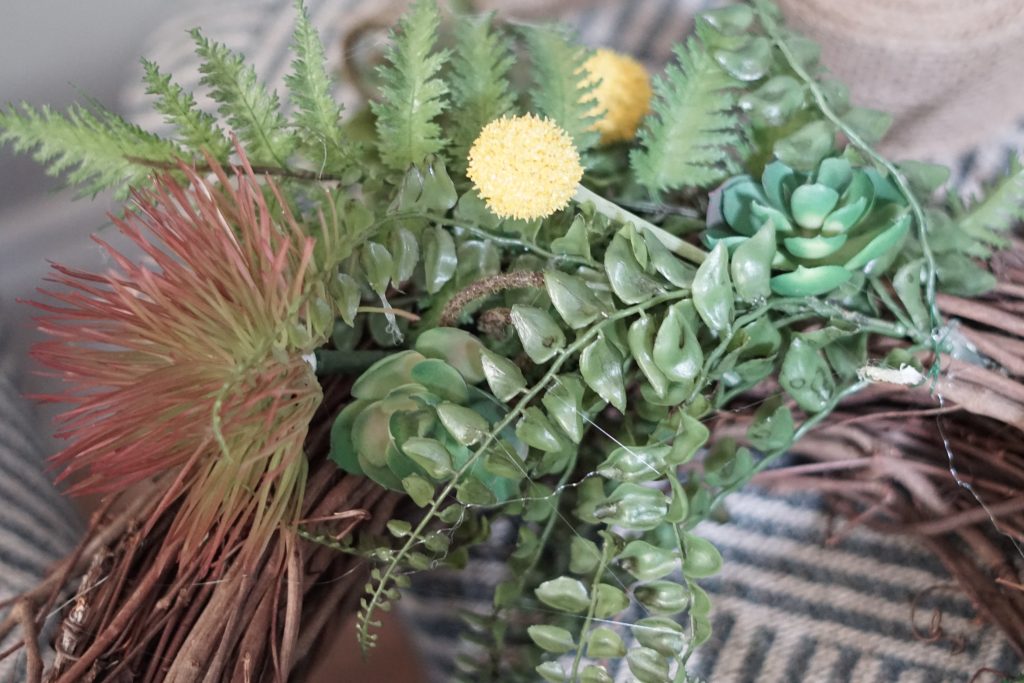
For this specific wreath, the stems only cover about half of the wreath with a bow as a focal point in the center. With that in mind, start by adding the longest stems as your base layer. You’ll want these stems to create the overall shape of the wreath. Like with all of the stems and flowers, stick them in the wreath where you want them, attach them with floral wire, and add hot glue for added security.
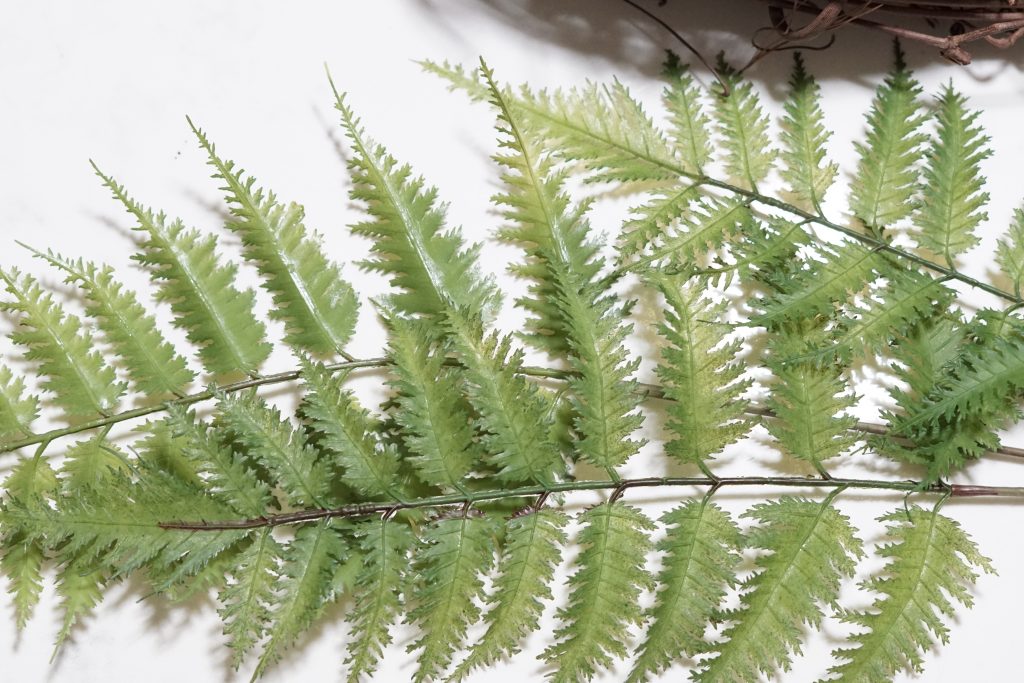
I just used three fern stems as the base layer for this wreath.
Step Three | Middle Ground
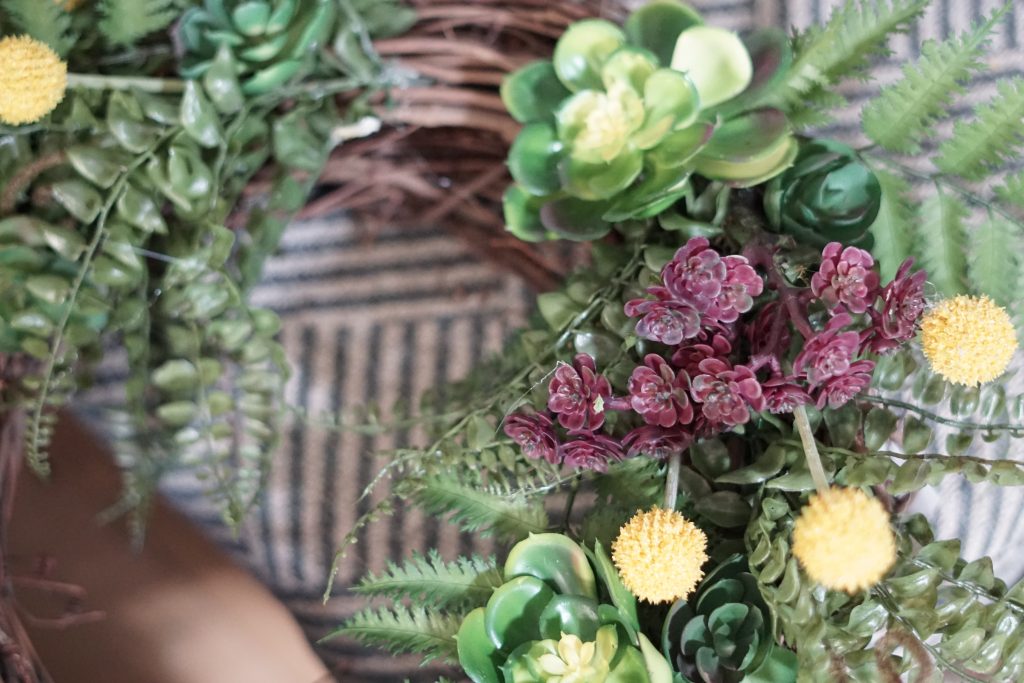
Once you’ve created the shape of the wreath with your base layer, start adding the shorter stems to fill the wreath. Keep the shape and end goal in mind when adding this layer.
The middle layer includes the shorter greenery stems and Billy Button stems. These additions should fill the bulk of the empty space and add depth to your wreath.
Again, attach these with your floral wire and hot glue when you have them where you want them in your wreath.
Step Four | Finishing Touches
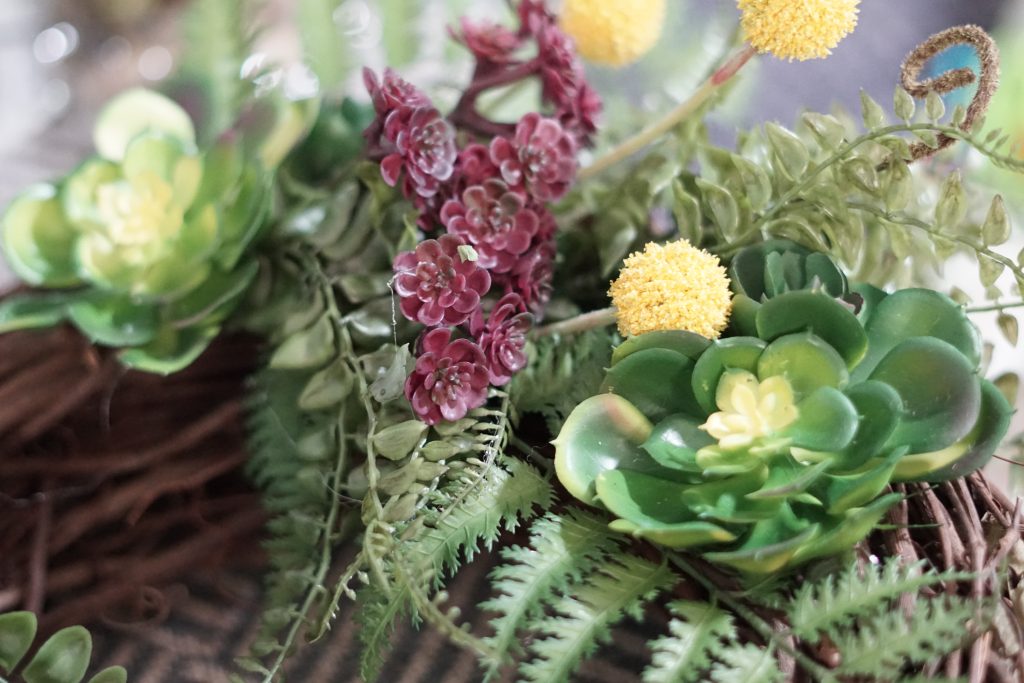
Now that you’ve gotten the bulk of the wreath in place, you’ll want to spruce it up with the finishing pieces. For this wreath, that includes the succulents and moss.
The succulents didn’t really have a stem of the back to stick in the wreath, so I just added a healthy dose of hot glue to make sure they wouldn’t budge. The succulents were just tucked in some sparse places and throughout the wreath. This step is all about using your own visual judgement. Play around with the rest of your materials and see what works and what doesn’t.
Step Five | Put A Bow On It
For the bow, I quickly threw one together using this super simple tutorial from Mommy Suite. I’ve used this tutorial for several different projects, including my Christmas tree bow topper.
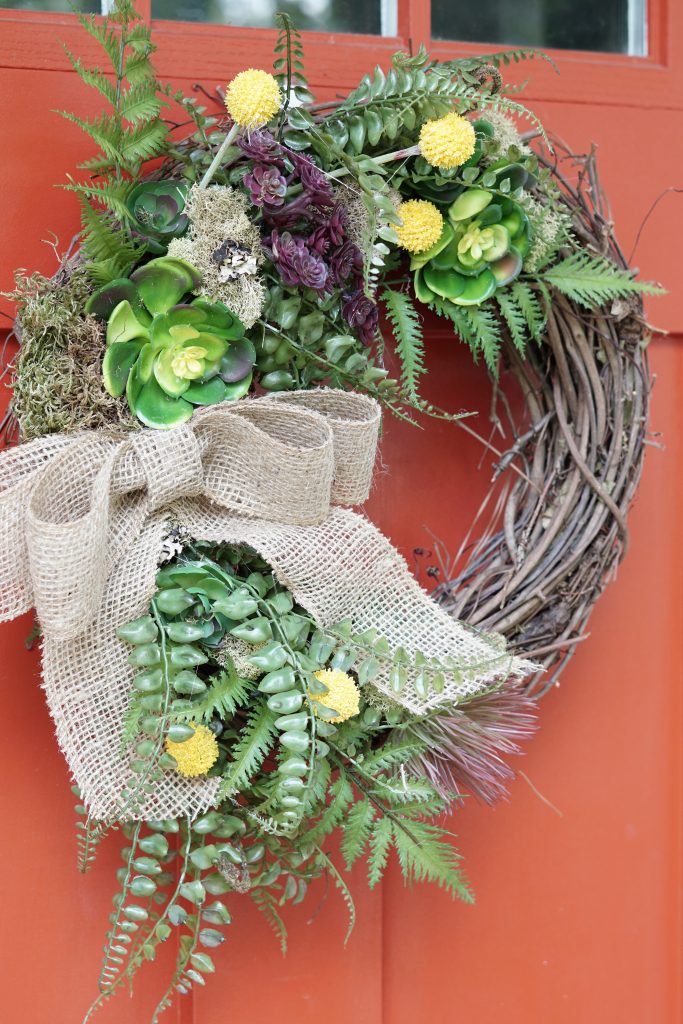
You can secure the bow with floral wire, but I just used hot glue since the glue gun was already nice and toasty.
Everything looks better with a bow, right?

I videoed the entire process on my Insta Stories, so follow me on Instagram if you’re not doing so already so that you never miss another detailed, live tutorial!
If you want more wreath ideas, check out my Modern Spring Wreath tutorial.
It can also be customized for fall as well!