Since living in our new home, I’ve made every project much more difficult than it needs to be. It’s like a curse. If it should take 2 hours, it takes me 2 days. If it should only cost $20, it ends up costing $40. This new theme of mindless mistakes all started with this stairway railing.

We moved in December, I had unpacked all of our boxes, and it was cold outside. It was the perfect timing to knock-out my vision of a clean, classic look for our stairway railing real quick.
“It’ll only take a couple days to stain the banister and paint the spindles,” I encouragingly told myself. “This will be easy-peasy.”

| The mistake occurred when I chose my supplies.
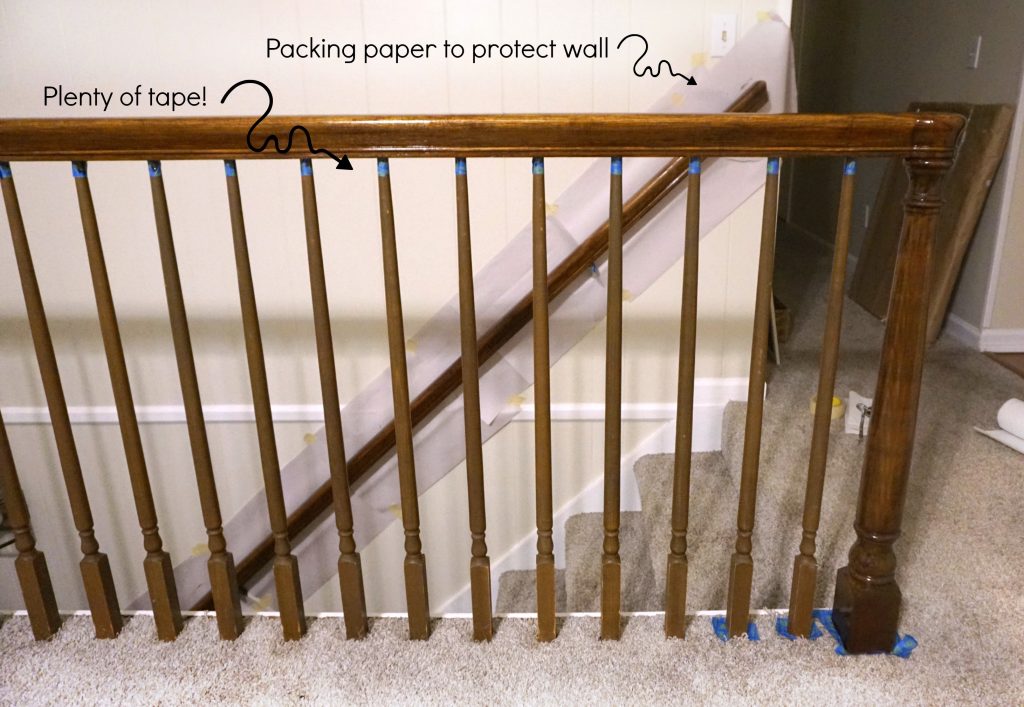
Though I love Young House Love’s blog, they steered me wrong when I chose my stain. They re-stained and polyurethaned their kitchen island all in one step without even sanding it, and it looked great. Sign me up! They used Polyshades by Miniwax. Do not be fooled by this stuff, friends. I deep cleaned the rail, taped the wall with painters tape, and thoughtfully brushed on the stain-and-poly-in-one like a champ.
“Whoa, this is shiny and a bit cherry,” I said to myself. “Maybe it just needs a day to dry and darken up a bit.”
(I stay at home with my baby. I talk to myself out loud a lot!)
I went ahead and started priming the spindles with Kilz Original Primer, and came to the realization that I was going to have to completely redo all of the banisters. They were just as glossy as when I first stained them, and they looked more like a cherry wood, which I was going for a darker look. After feeling sorry for myself for an about an hour or so, I headed BACK to Lowes for cans of stain AND poly. Even the paint associate at Lowes told me to steer clear from the Polyshades. Lesson learned, man. Lesson learned.

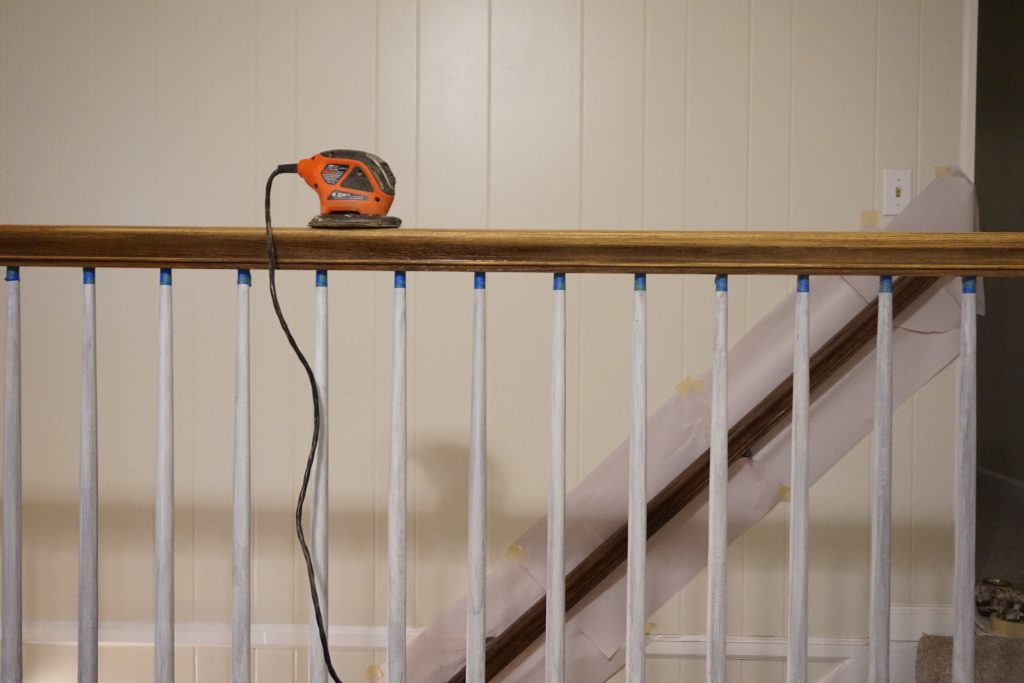
Having a new spunk in my step with a new plan, I unraveled my handy electric Mouse sander with all intentions of spending some quality time removing the stain. To my surprise, the Polyshades came off very easy, which made me think that it would not have been very durable for a highly trafficked area. Strike three, Polyshades.
| Things began to look up.
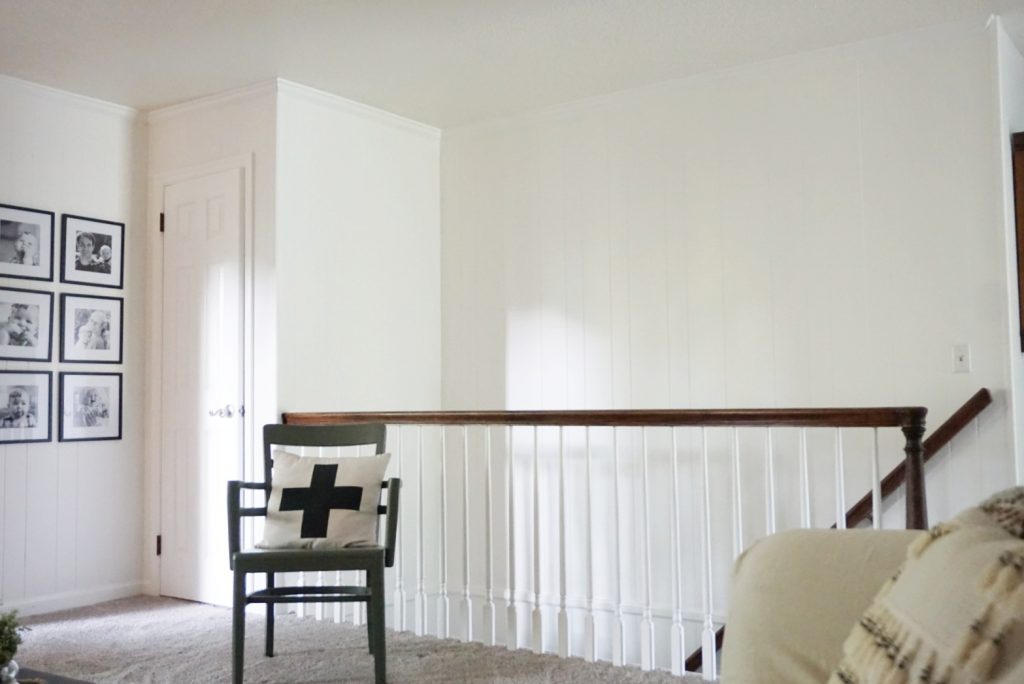
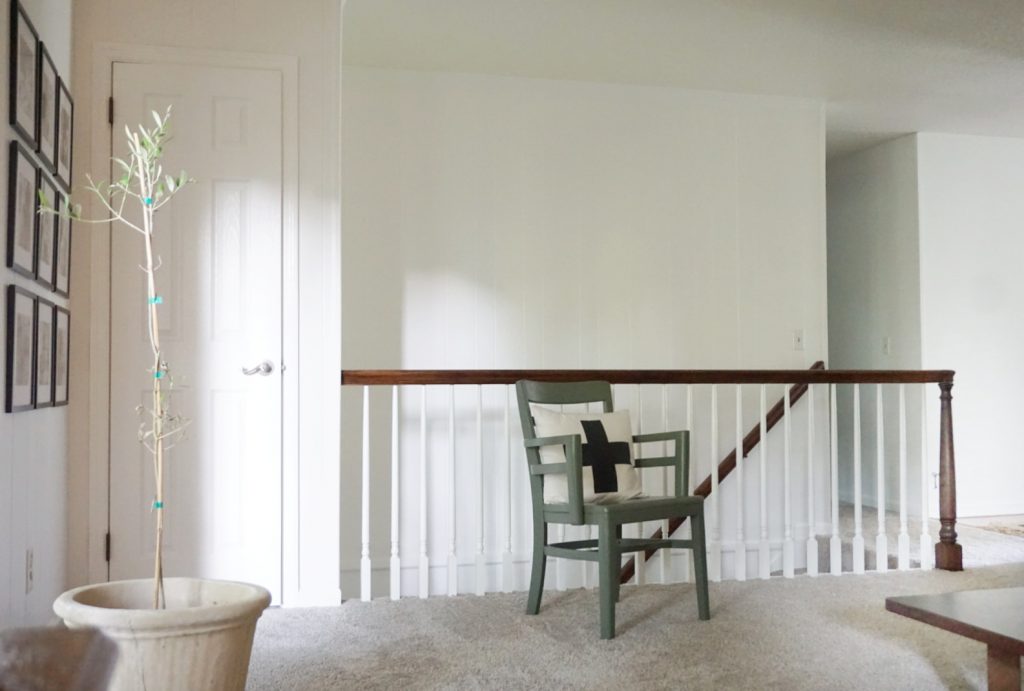
Once the glossy, cherry disaster was removed and the remaining mess was cleaned, I went in with a beautiful satin Miniwax stain in Jacobean. When staining wood, I just use an old but clean rag to rub on the stain. This gives me the most natural look with excellent coverage. After a couple hours of drying time, I went back in with a satin, clear polyurethane from Miniwax. I applied two coats with a clean rag. A medium-dark, natural looking finish with very little sheen. Just what I was looking for!
Shew! This should not have been this difficult or time consuming…and I had 20 spindles to paint!
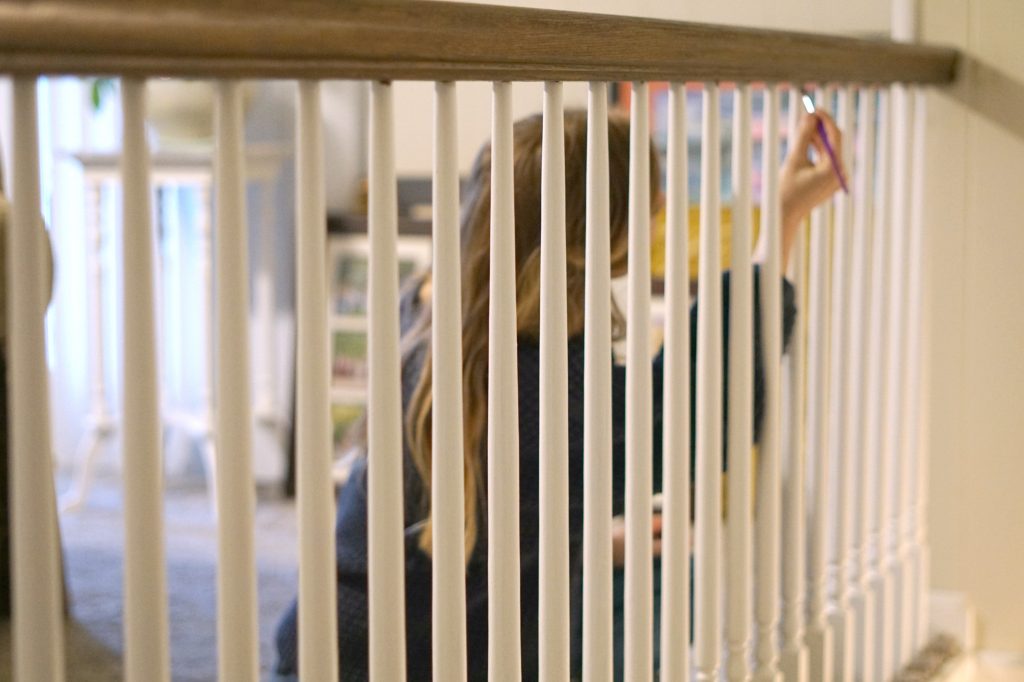
Painting the spindles was a tedious task to say the least. As I mentioned, I first primed them then painted them with the same paint as our trim. I used a 2″ angled brush and a smaller craft brush for the detail work. To avoid the carpet, I took a plastic putty knife and pushed down the carpet as I painted around the bottom of the spindles.
This frustrating, but well-worth-it, project kicked off a series of similar themed projects in our new home. Projects that should’ve been inexpensive and easy that cost more than they should’ve and have been more of a headache than needed. Oh, the life of a DIYer!
Have you ran into similar situations on your home projects? I’d love to hear your stories in the comments below!
