It all started with having a baby girl. Since then, I’ve been reminiscing on my own childhood and thinking about all the things that I would’ve loved as a little girl.
I remember playing pretend house in my neighbor’s playhouse, and it was magical. It gave us our own little space outside of our parent’s home to create and pretend. For my daughter’s first birthday, one thing I wanted her to have was a playhouse that she can grow with.
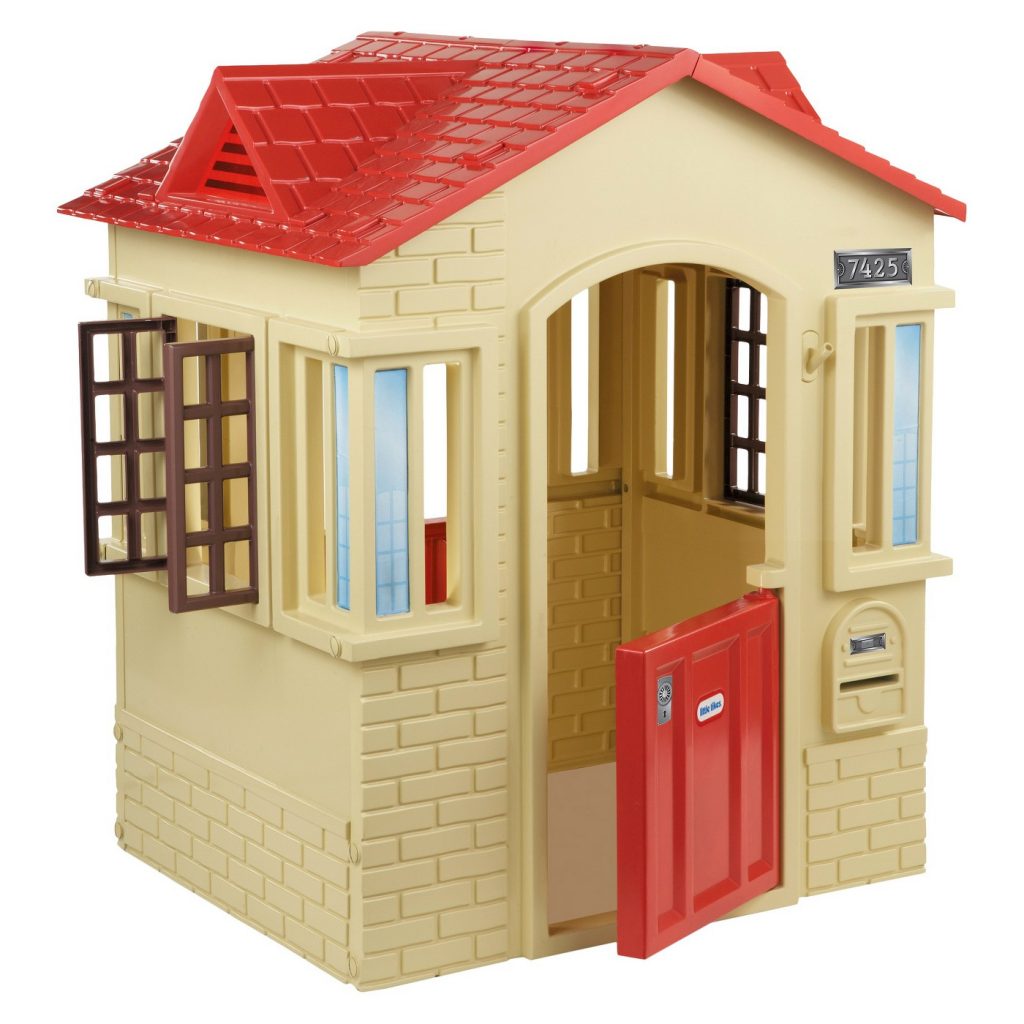
I found the most basic playhouse with the design features I liked most and started planning how I would put my personal touches on it to make it special for my daughter. My inspiration came from many playhouse makeovers I saw on Pinterest. Just type in “Playhouse Makeover”, and you’ll find some amazing creations.
Materials
Rust-Oleum 2X Ultra Cover Paint + Primer – 5-6 cans
(Satin and/or Flat ONLY. Gloss will peel off easier)
+ I used Heirloom White, Fossil, Nutmeg, and Flat Black on the house, shutters, and doors.
Rust-Oleum Forged Hammered in Burnished Amber for Roof – 1 can
Faux Brick Walls
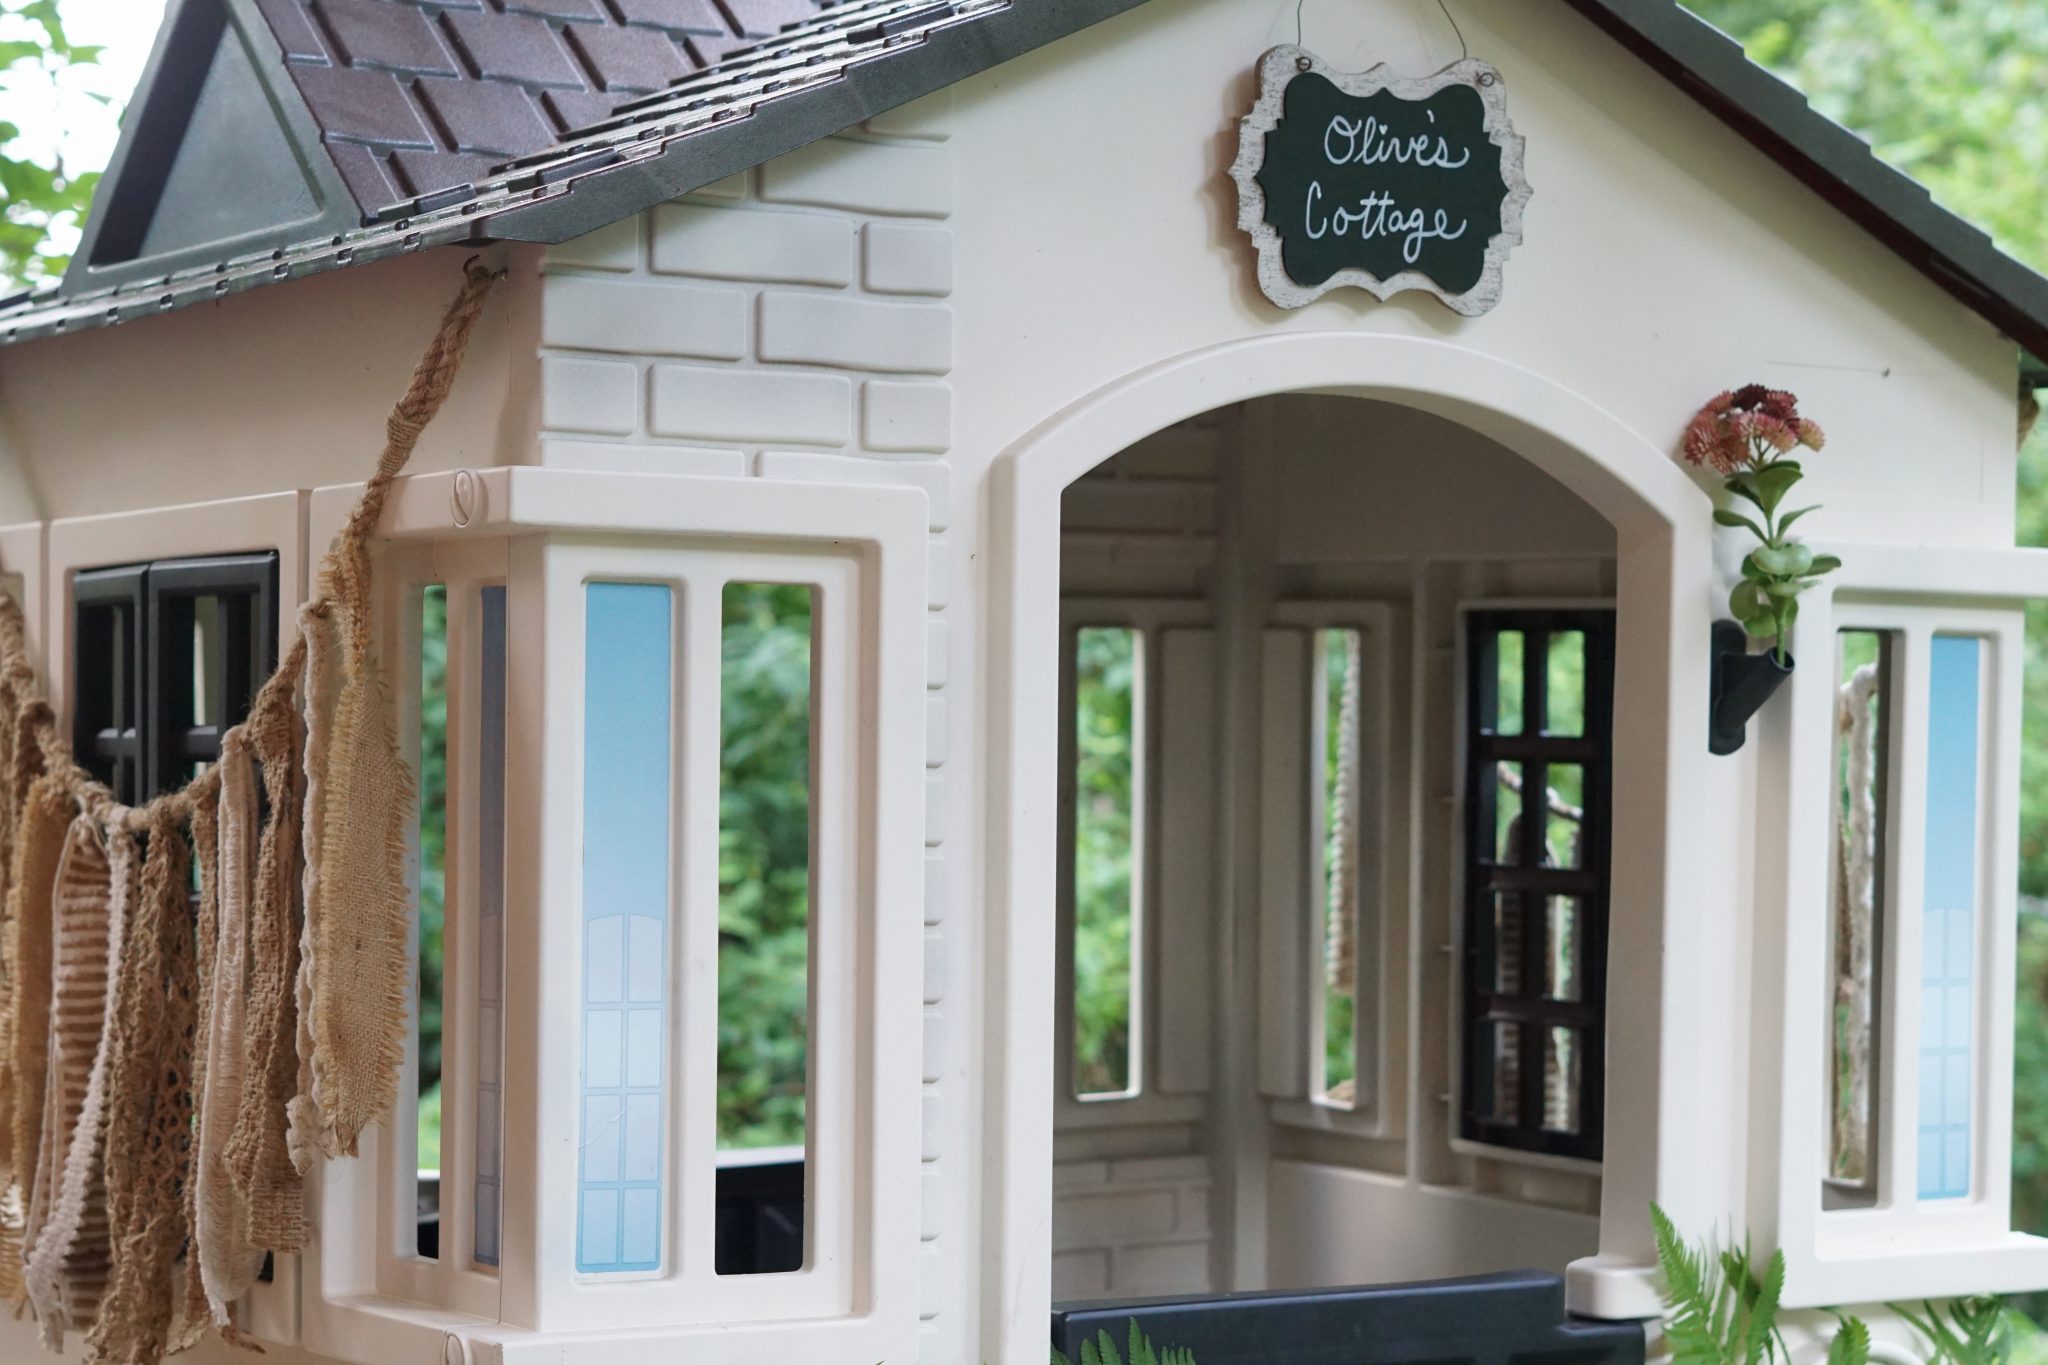
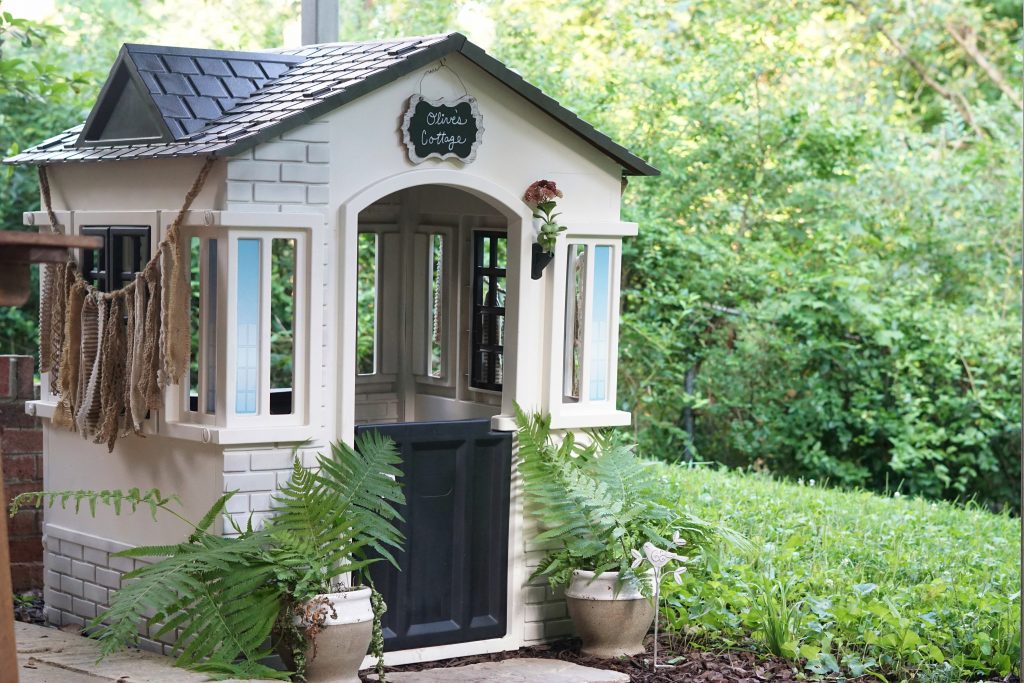
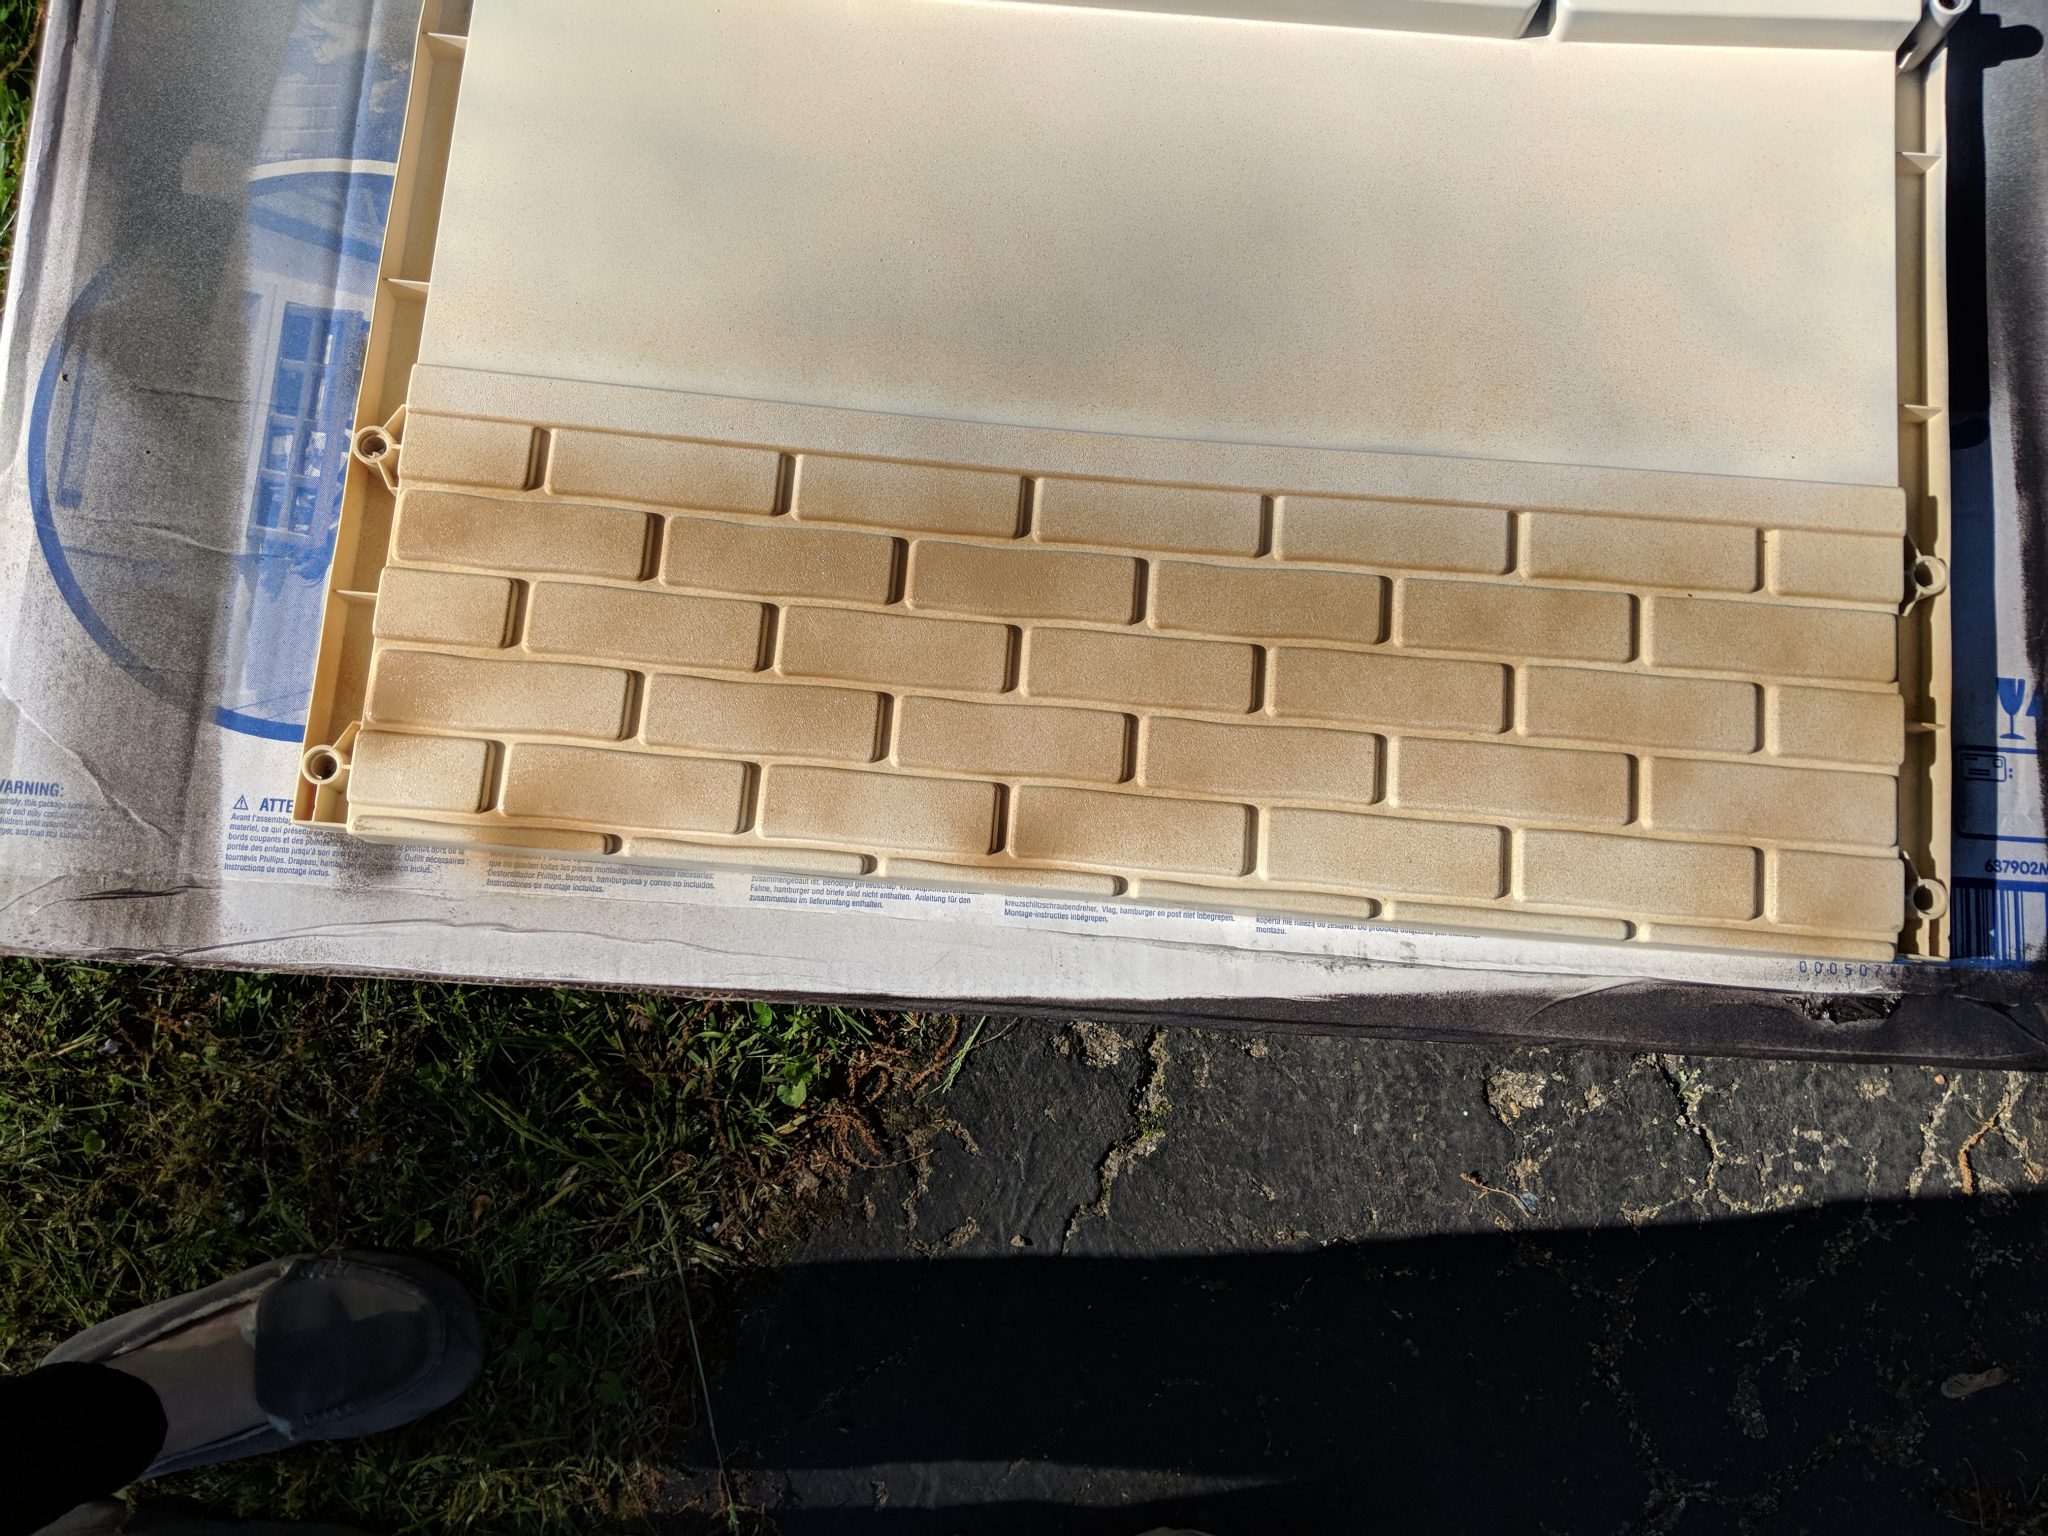
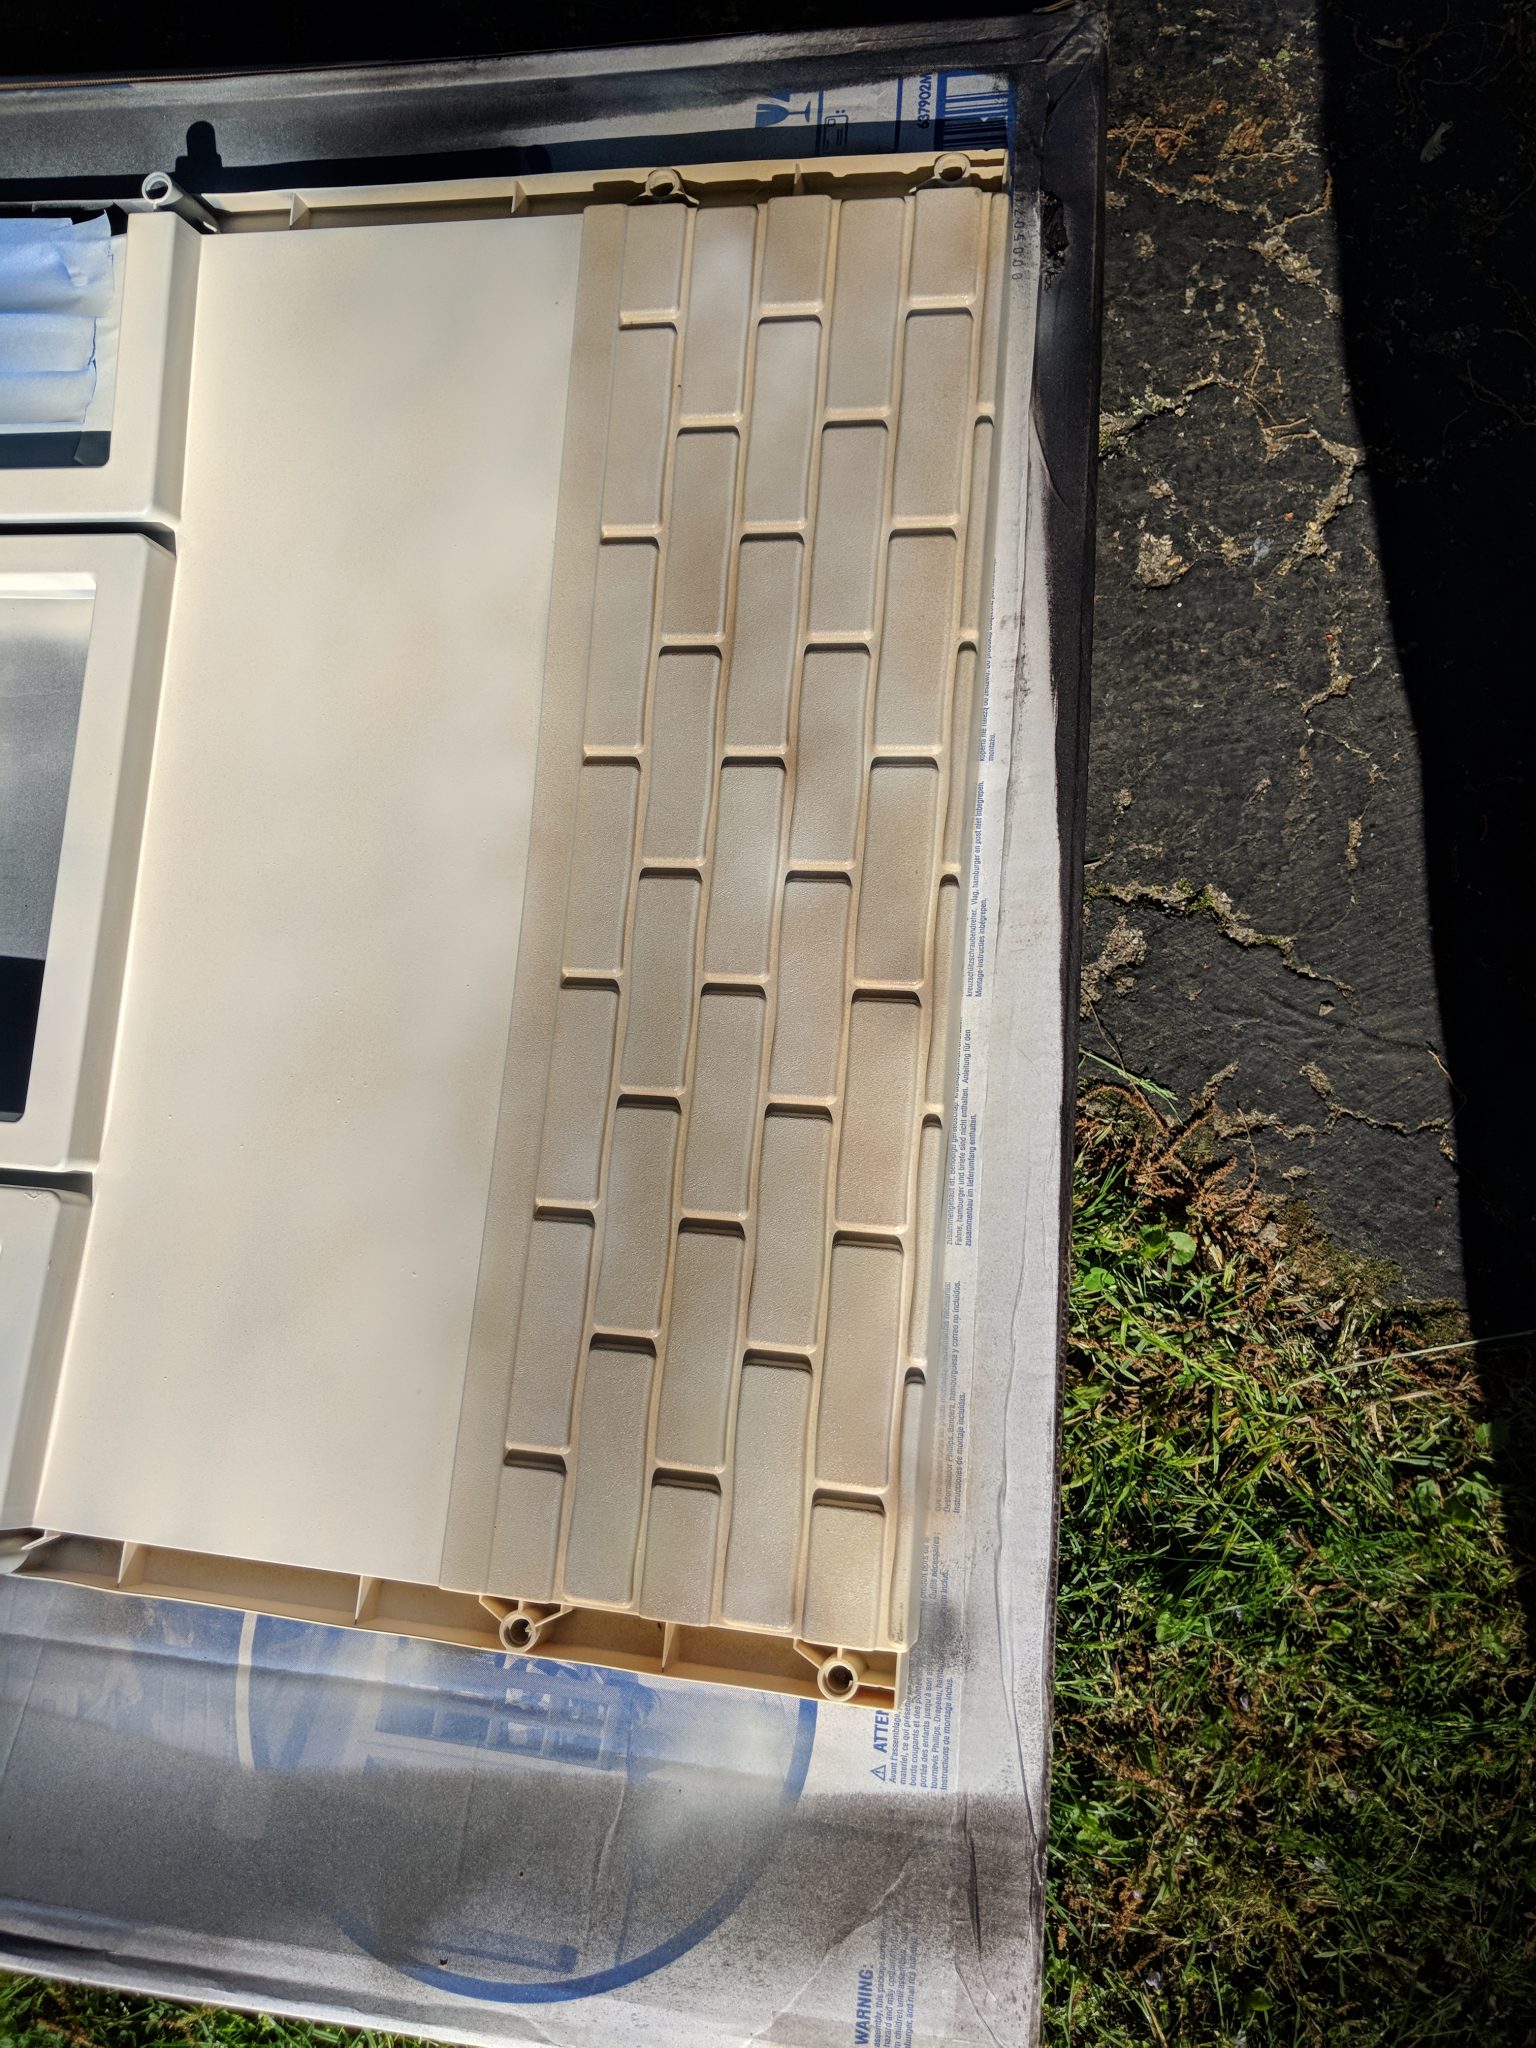
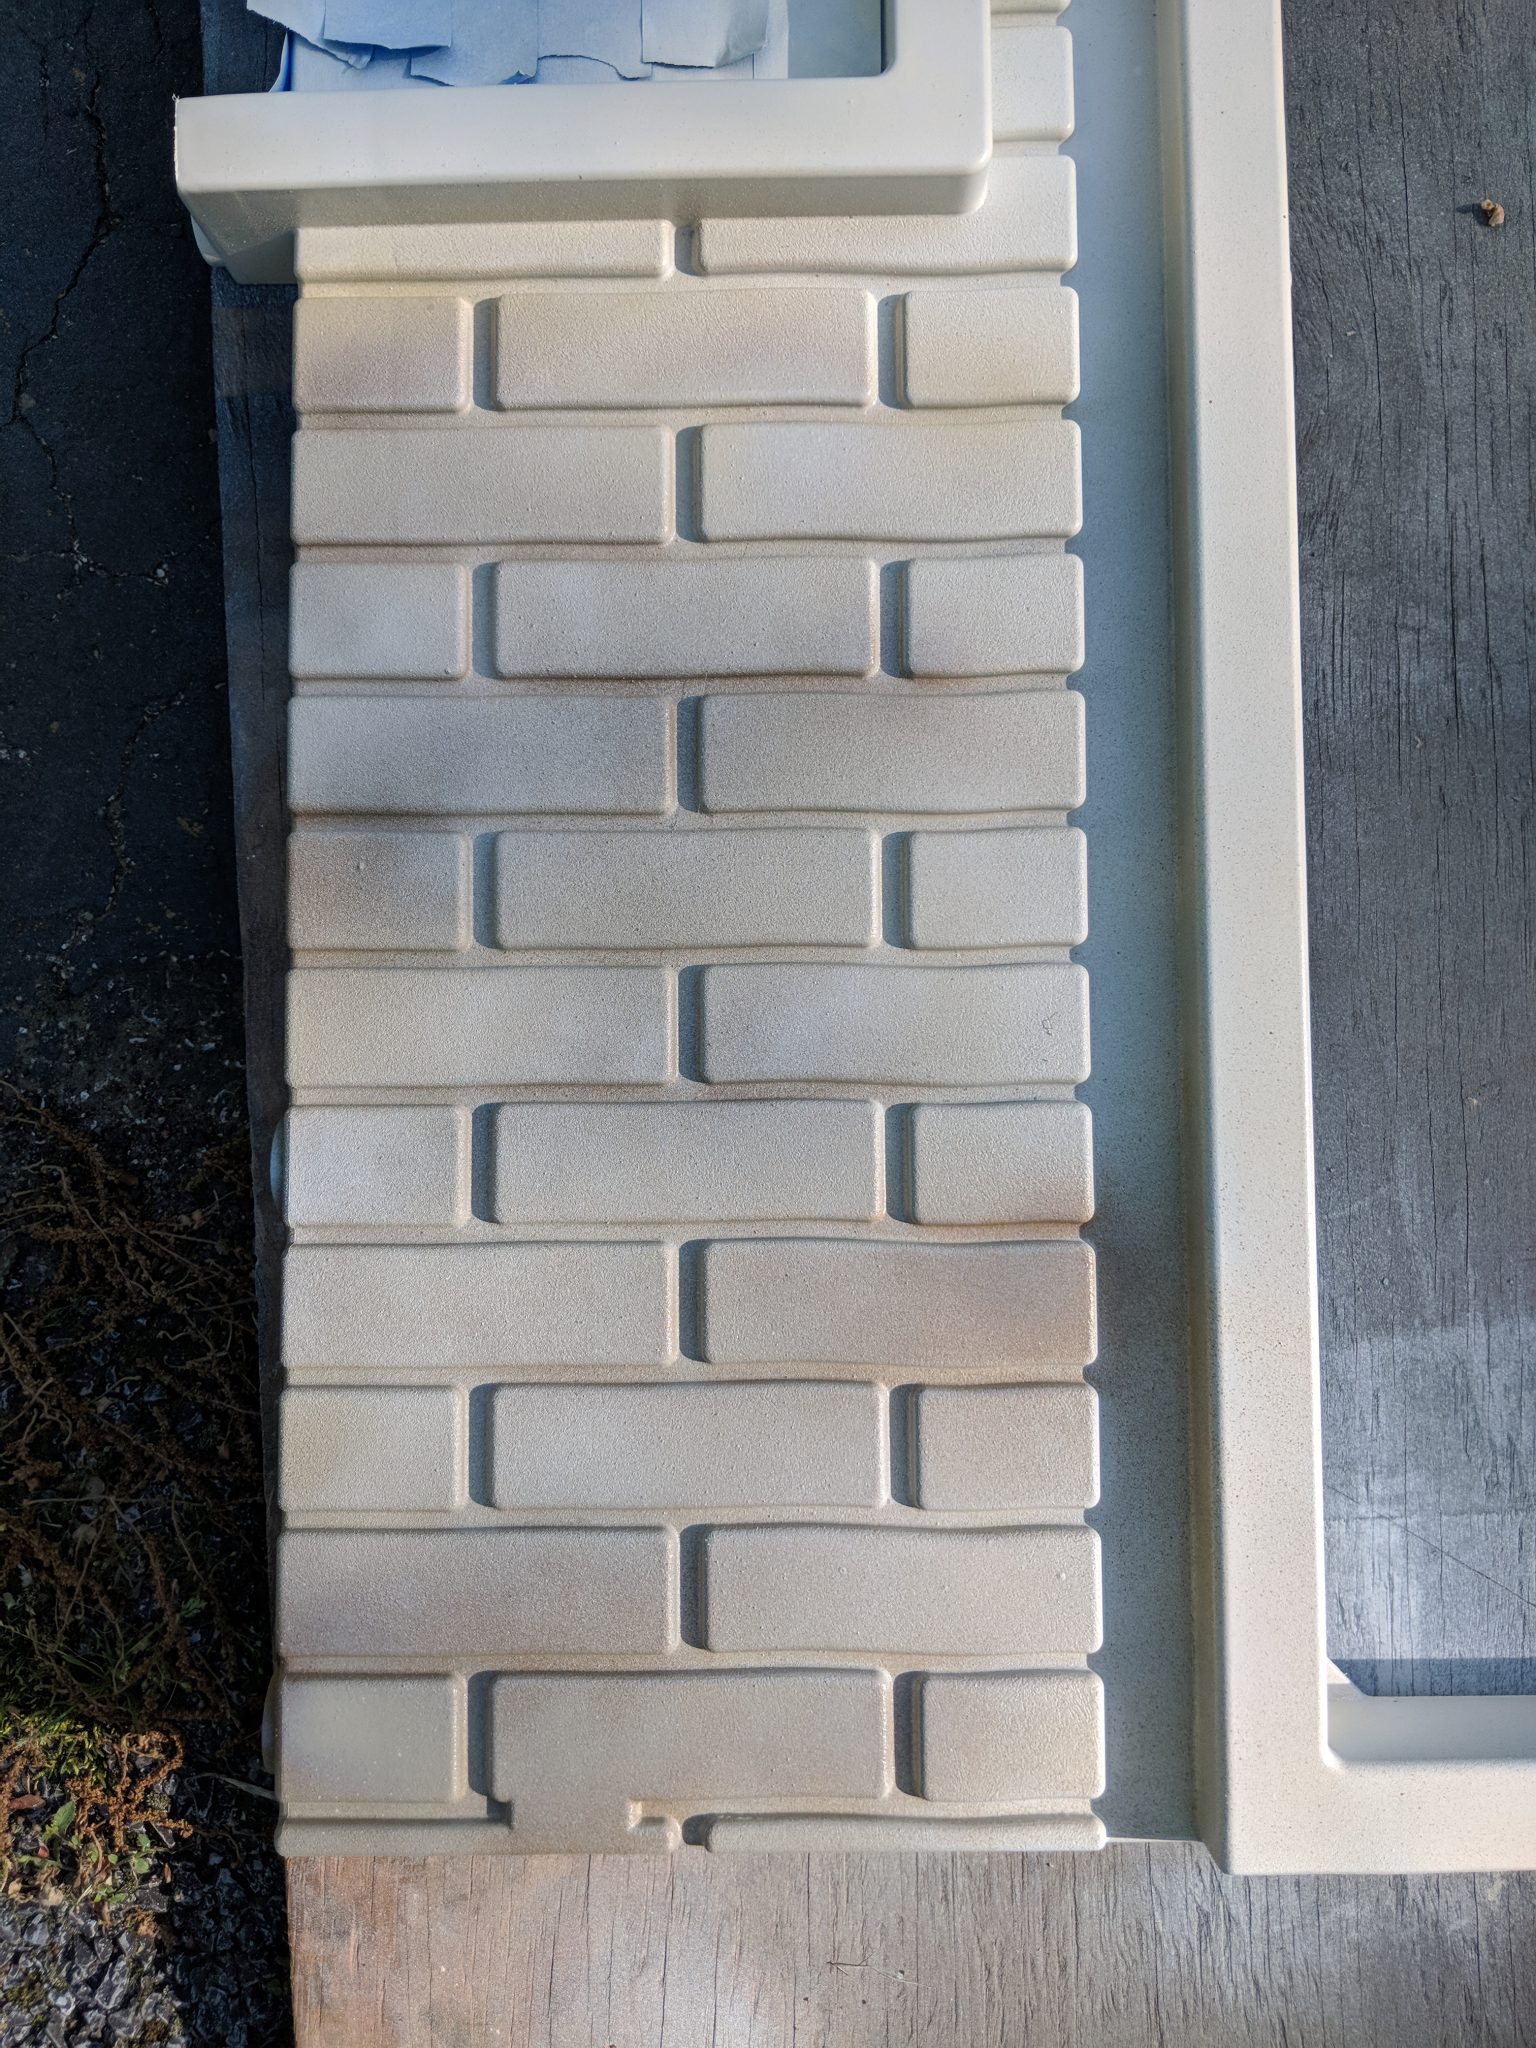
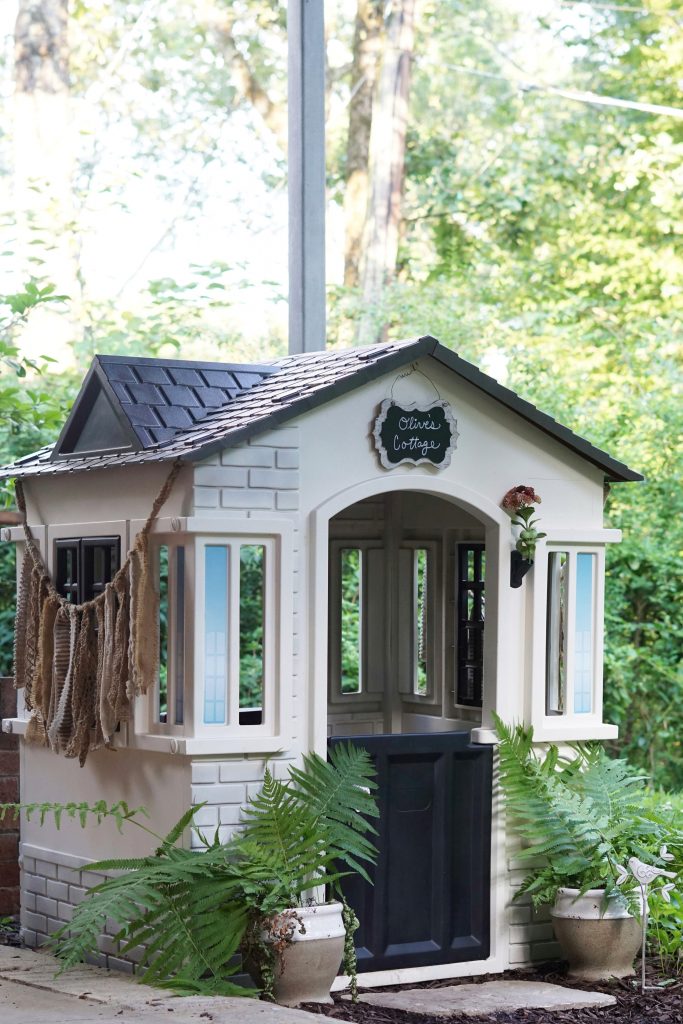
For the walls of the house, I first LIGHTLY sprayed the brick areas with Nutmeg and LIGHTLY filled in the gaps with Fossil. I then went over the flat areas of the wall with Heirloom White and used this color to lighten up the brick areas as well. This adds dimension to the house and makes it look a bit more realistic. I just used my eye and went back and forth with those three colors until I was pleased with the finished look.
3 Tips for Painting a Playhouse
1. Painter’s tape is NOT your friend.
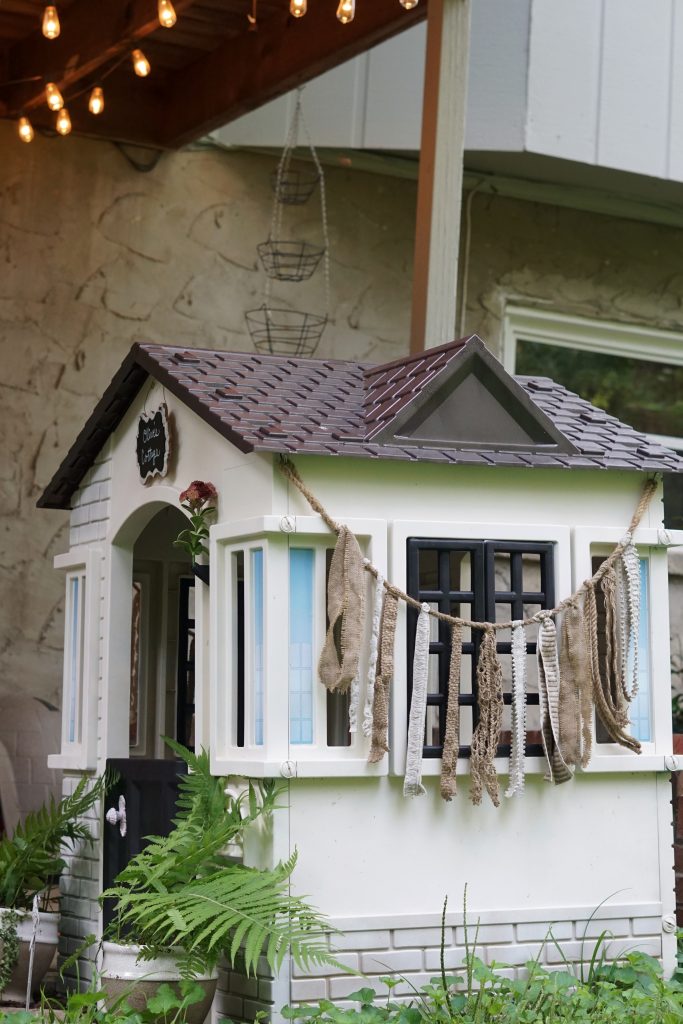
I initially painted all of the window trim black and meticulously taped it off once it was completely dry to paint the walls. When I went to remove the paint, it was just peeling off. I went back and forth taping the walls to touch of the trim, and then taping the trim to touch up the walls. It ended up being a HUGE waste of time, and I ended up painting it all white in the end.
2. A house out of the box makes things much easier.
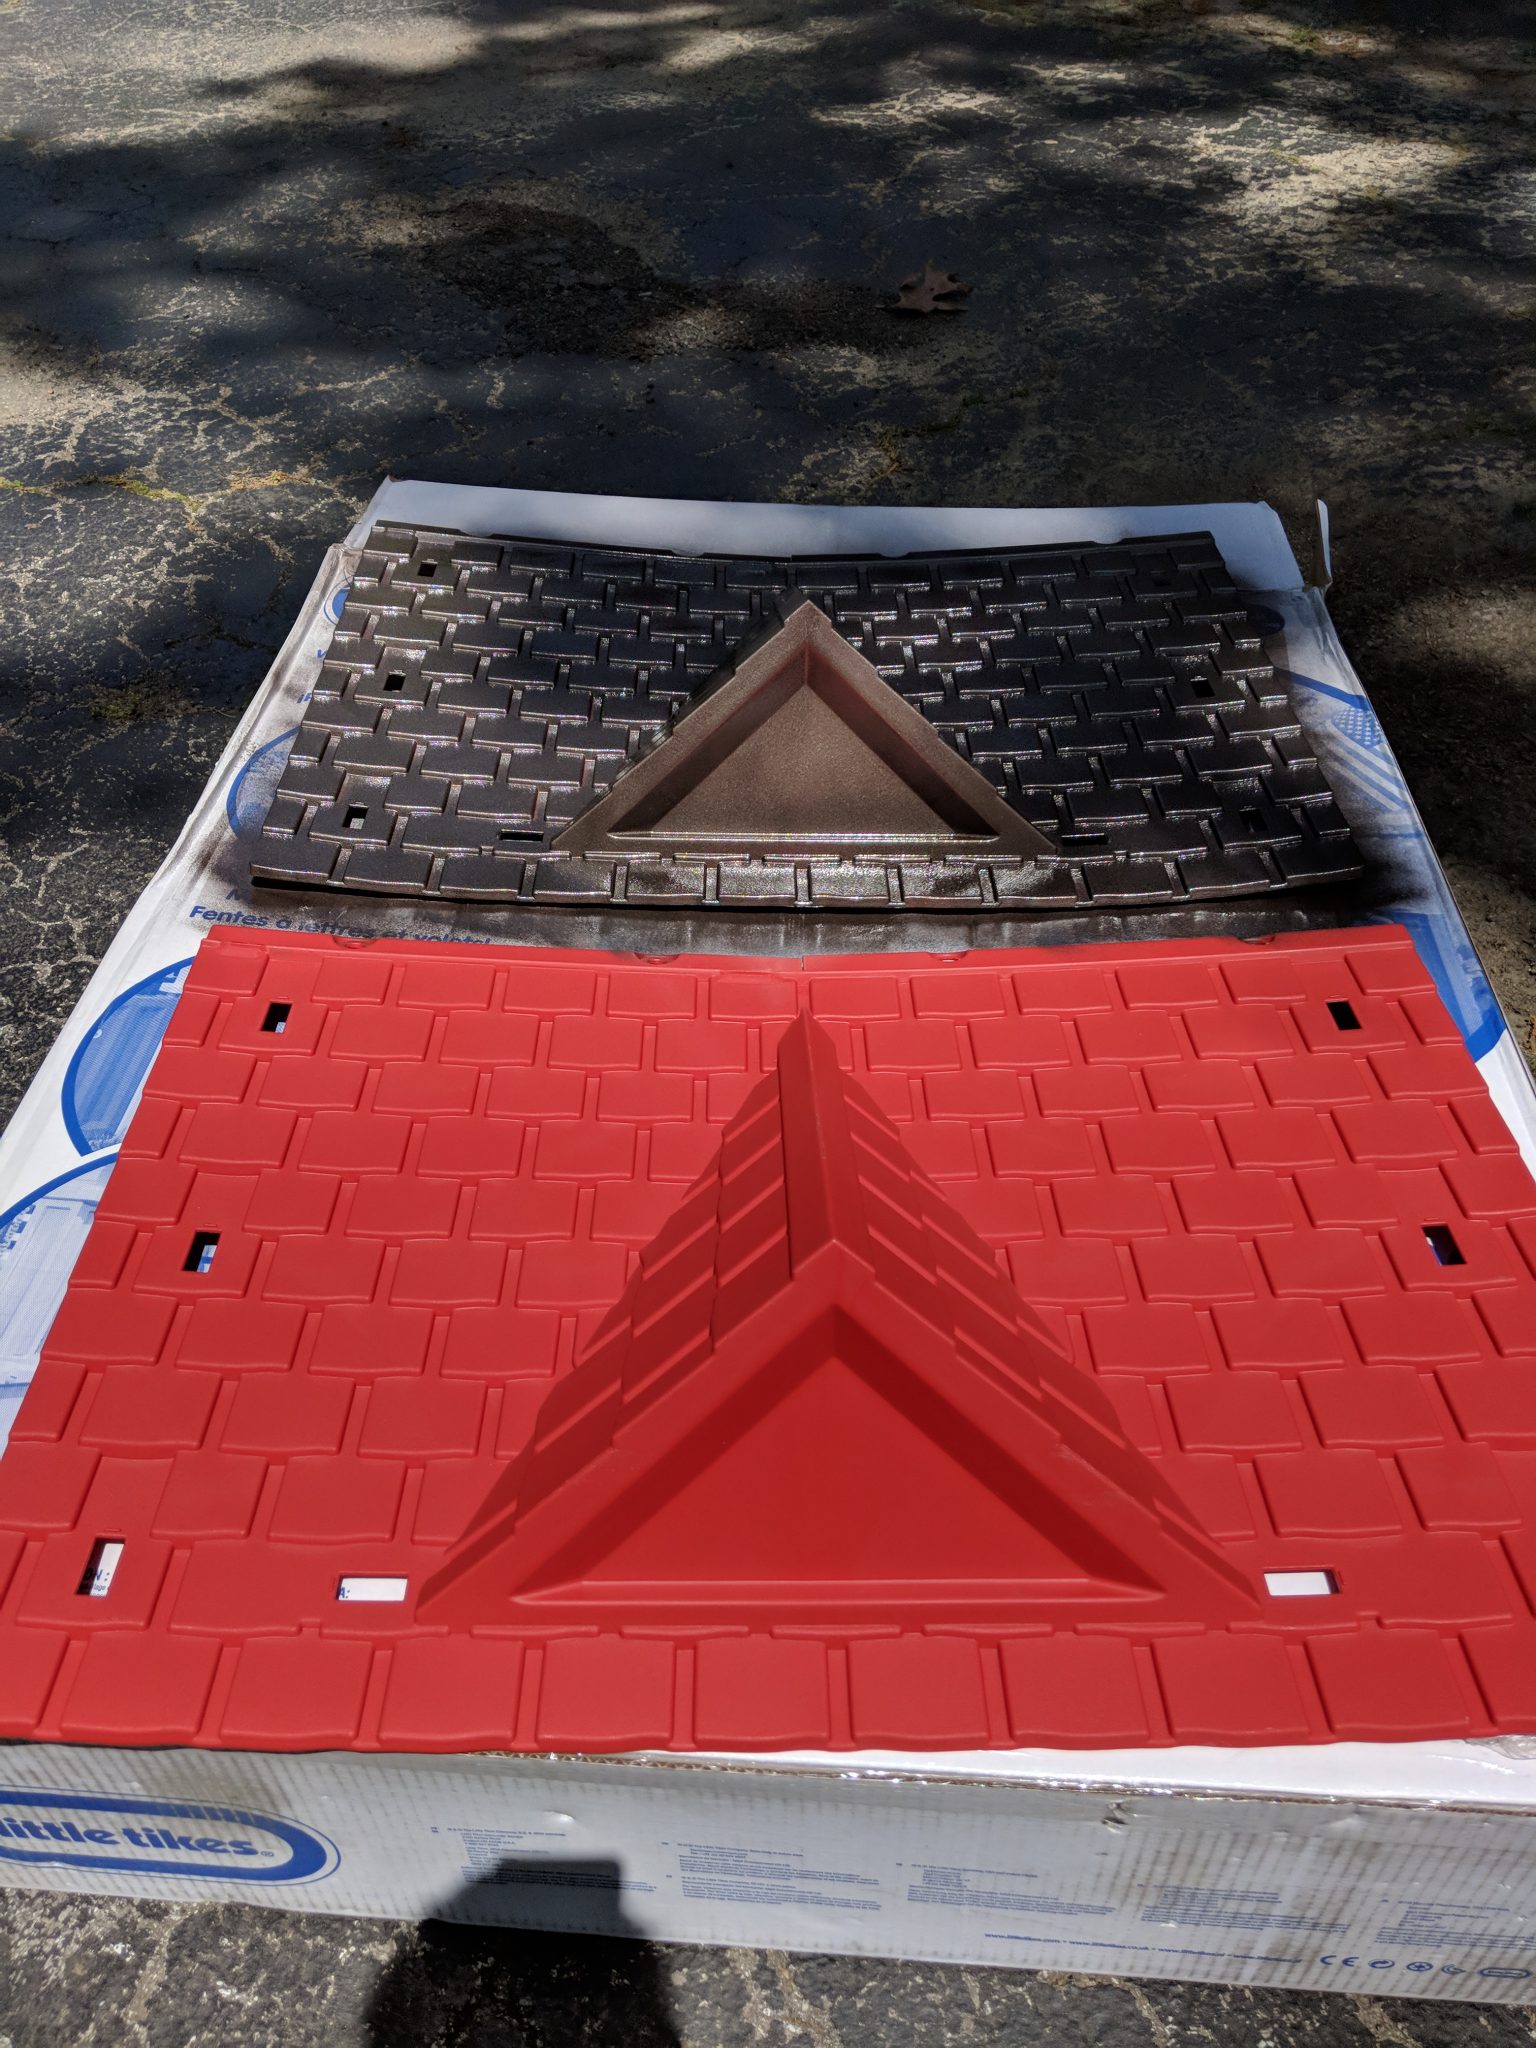
Though you can remodel an existing playhouse, it was much easier to spray paint each piece right out of the box before it was assembled. I didn’t have to do any heavy duty cleaning or sanding, though I did lightly wipe off each piece before painting to remove any dust from the box. I do think lightly sanding would be a good idea so that the paint would adhere and last longer. I would definitely do this next time.
3. Personal touches make any house a home.
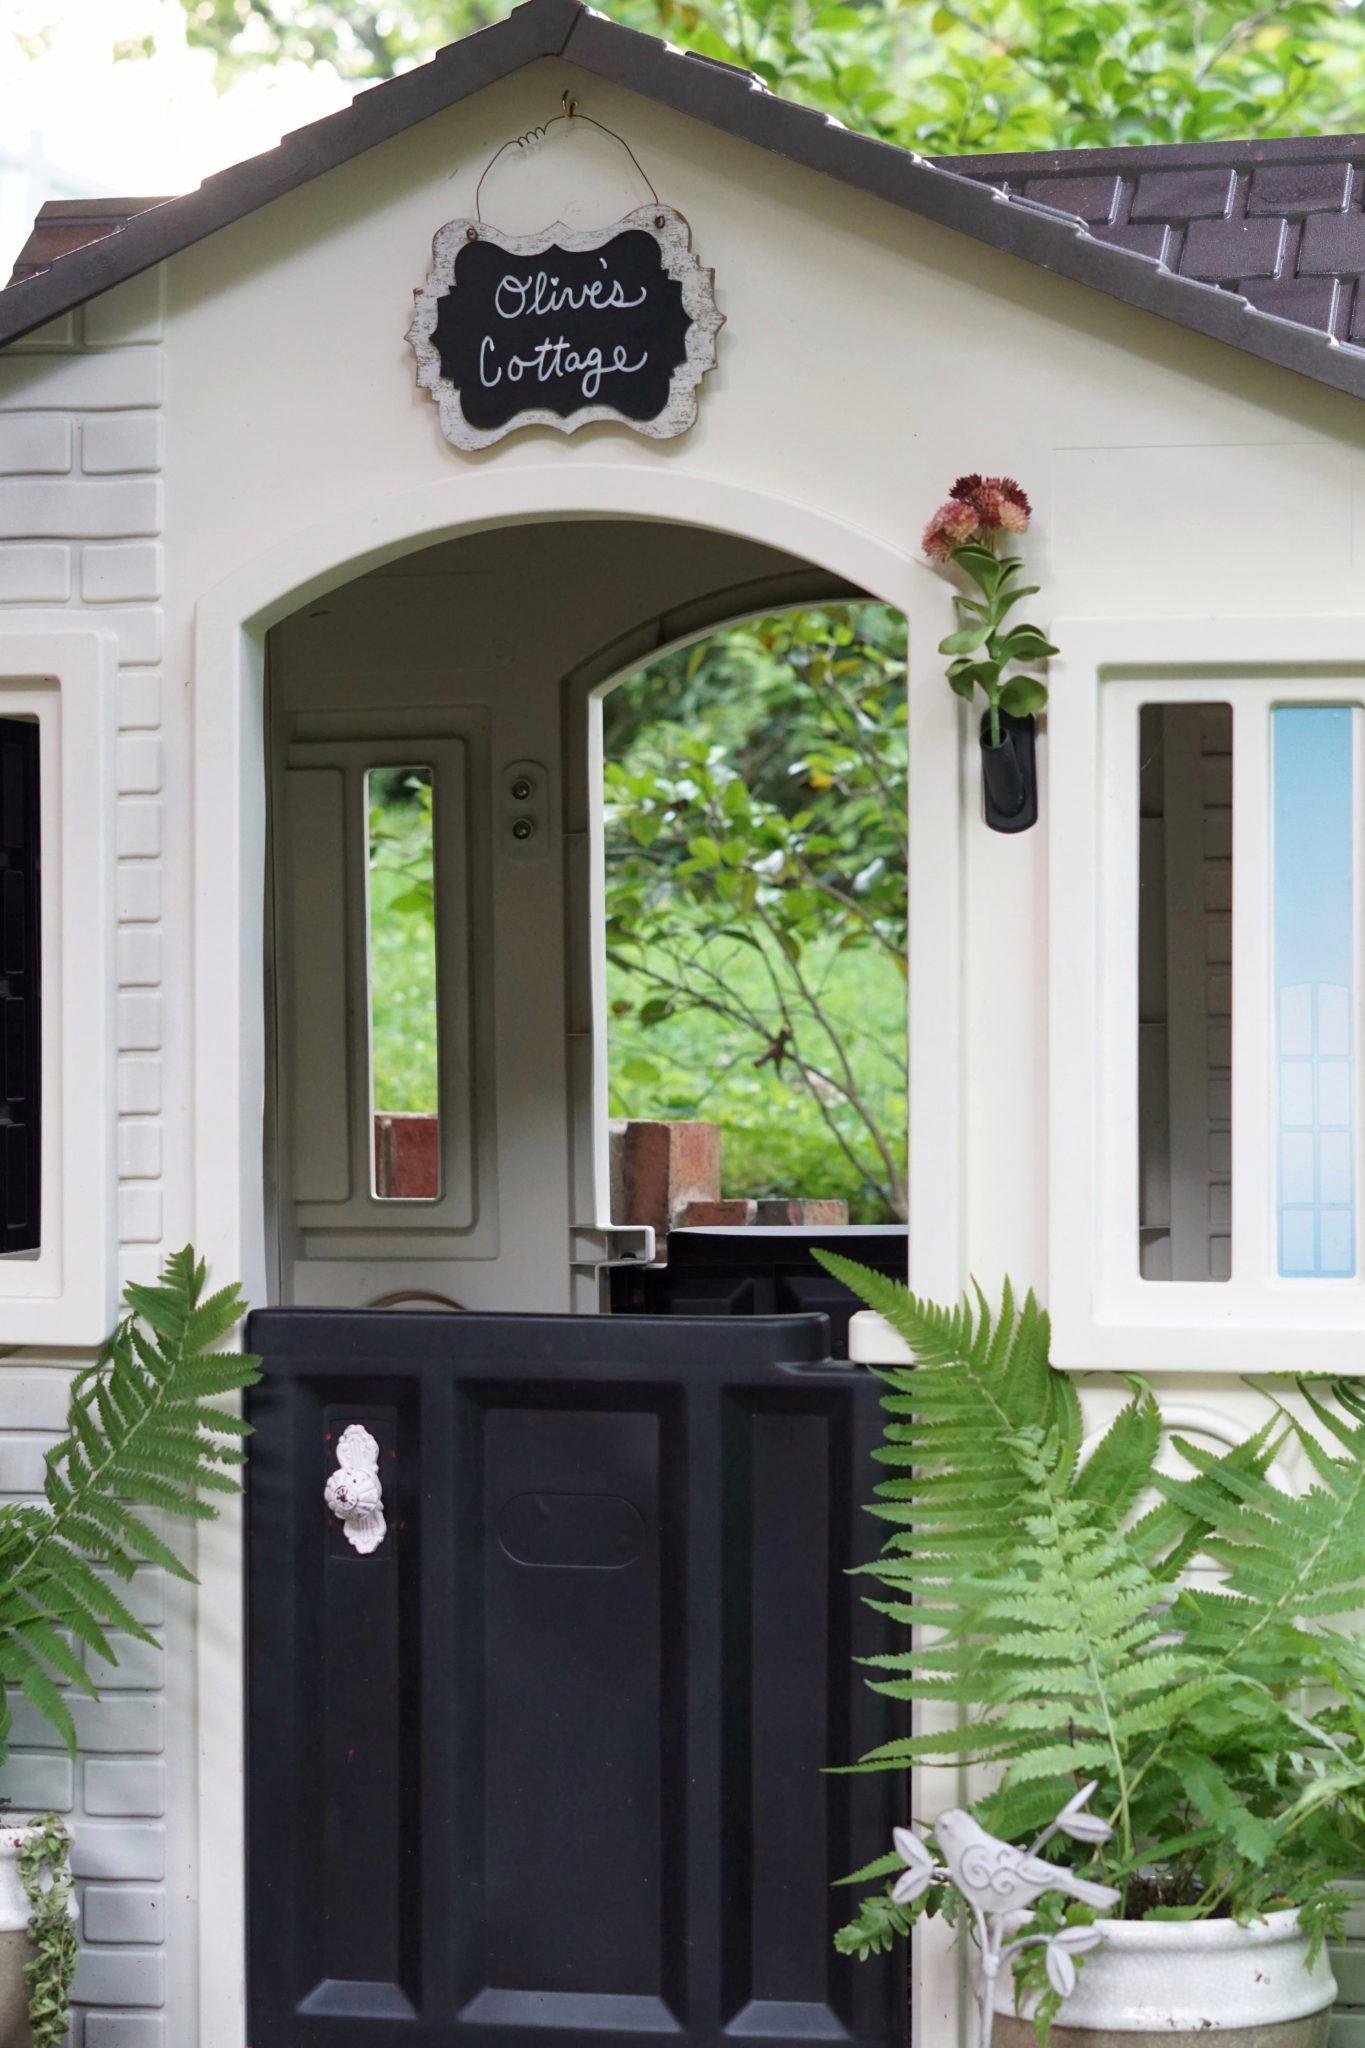
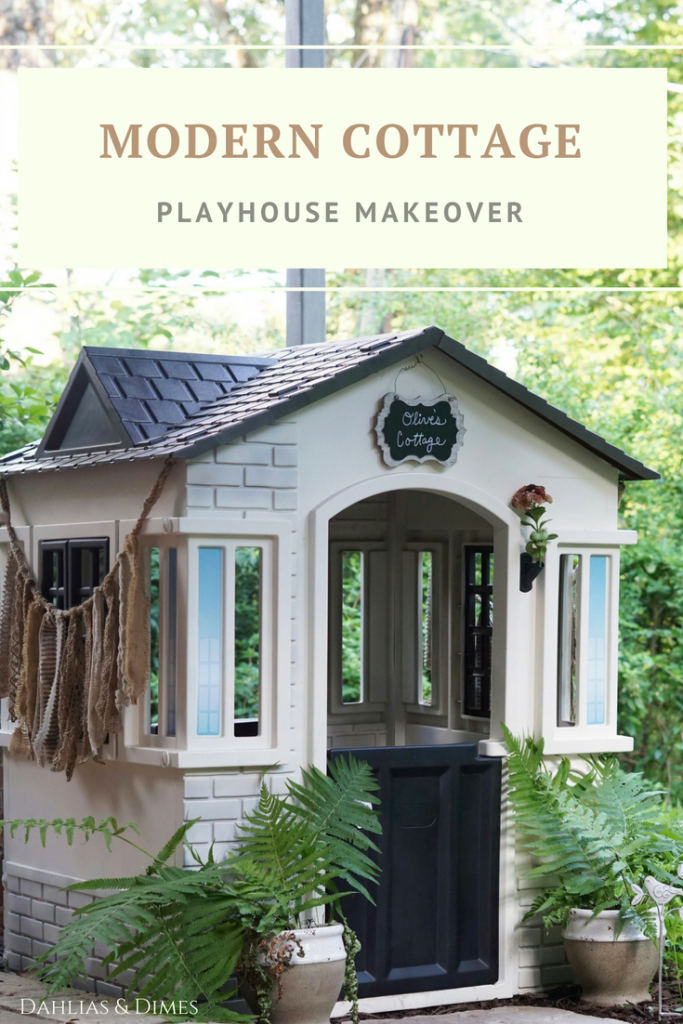
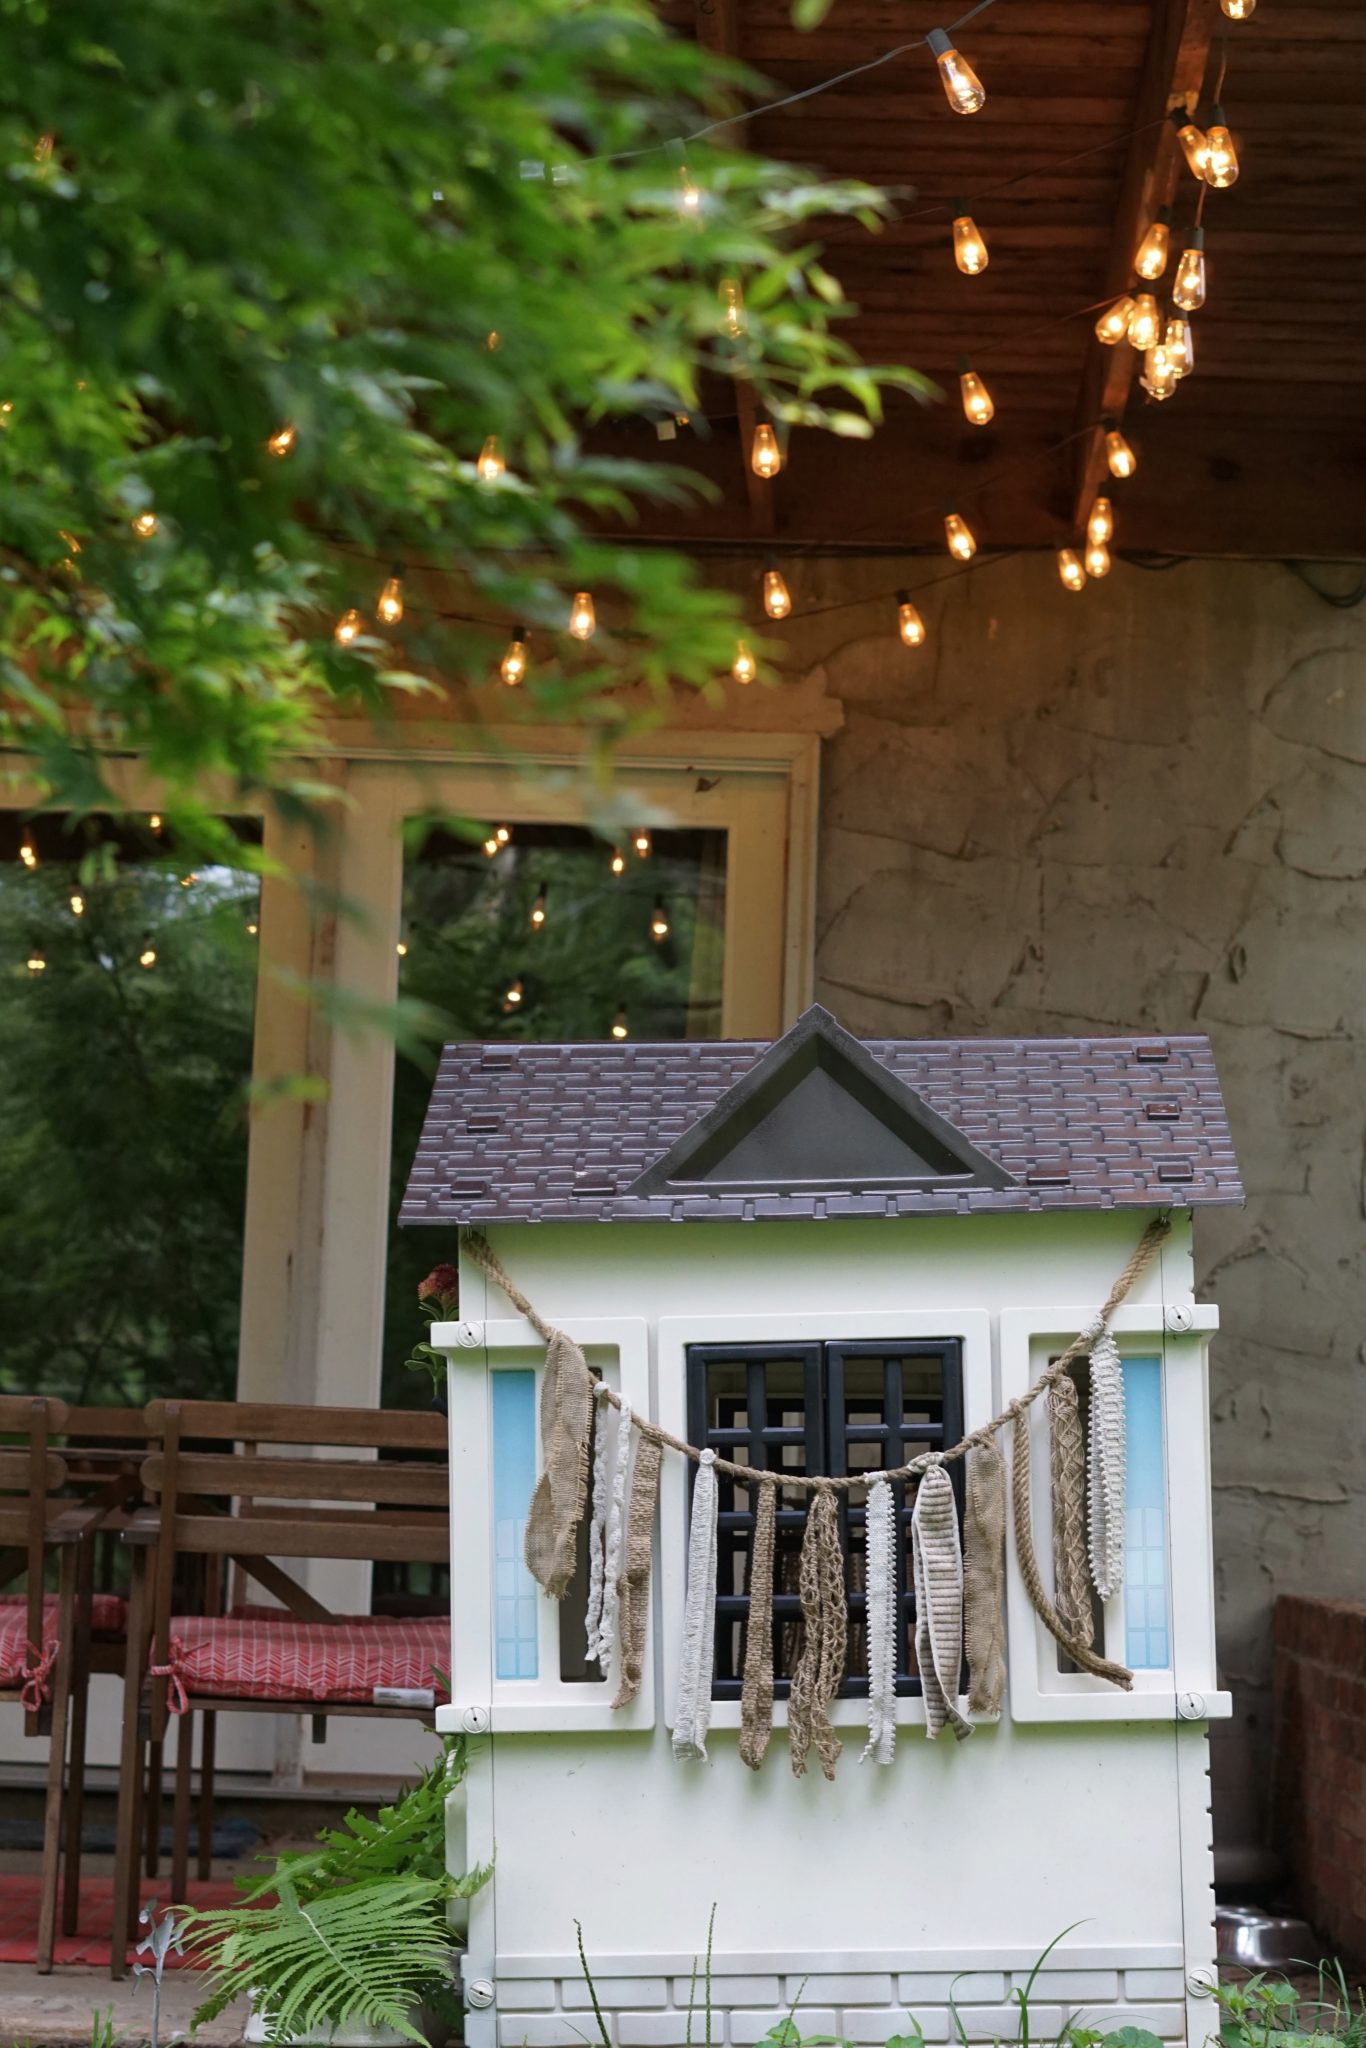
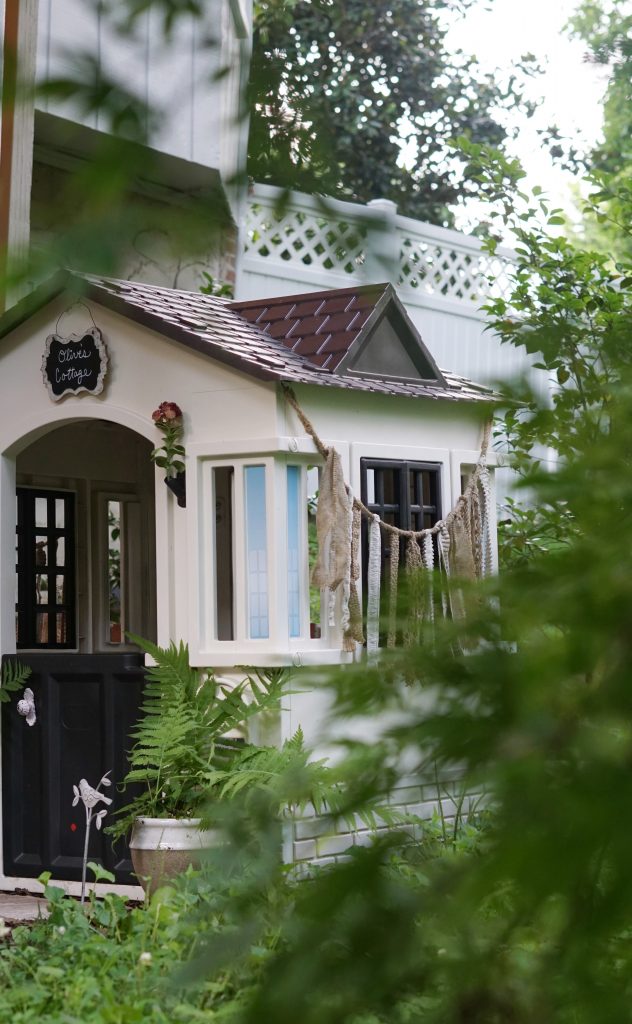
It wasn’t until I added the door knob, garland, flowers, and sign that I was pleased with this house. I found everything at Hobby Lobby and attached them by drilling a tiny hole in the wall and screwing in little gold hooks. These little touches are what make this simple little cottage truly special for my little girl.
I will eventually add a plywood floor and a little used kitchen when I come across one at a thrift store or yard sale. (If you have one, I will gladly take it off your hands!) She’s still a little young to play pretend house, but I can foresee her spending lots of time in there with her baby dolls and books!
Pin this for later!