And so it begins, the 2018 Fall One Room Challenge! My last time participating was when I shared my daughter’s nursery in Spring 2017. You can check out the full reveal HERE. This time around, I’ll be sharing the remodeling journey of our Modern Eclectic Kitchen. I already have a full post about my initial mood board with ideas and inspiration from a while back, HERE, but today I want to revisit our design plan and catch you up to speed on where we’re at in the project and the changes to the design that has been changed.
THE BEFORE
I love the practicality of a galley kitchen. I also love solid wood cabinets, functioning appliances, and quartz counter tops. On paper, our kitchen had it all. In person, it was a flashback to 1998. Light oak cabinets, white appliances, and brown counter tops.
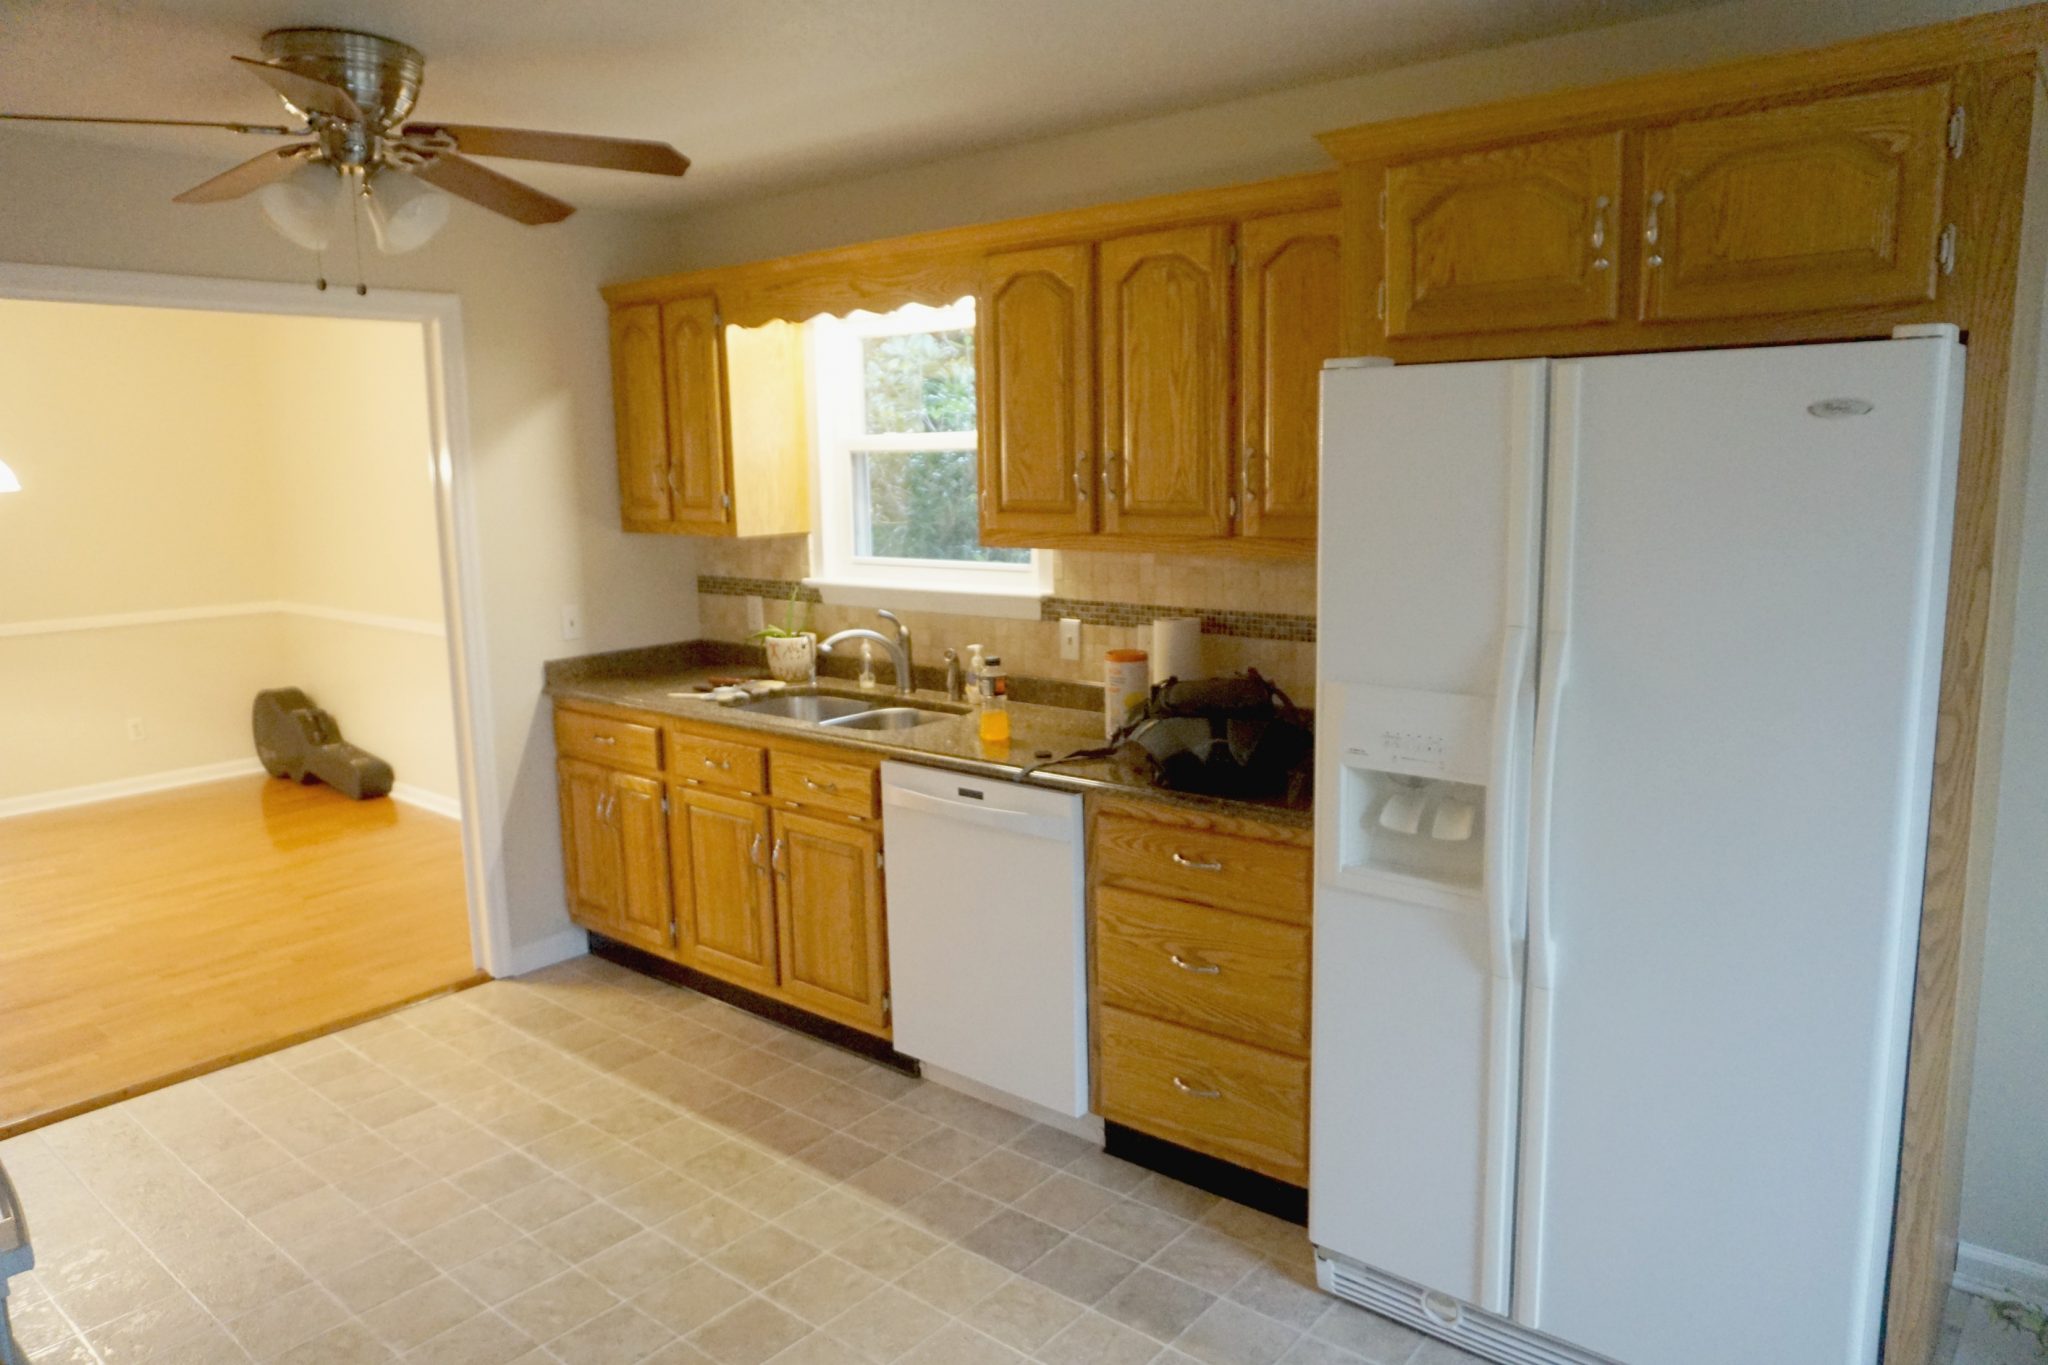
Though I wouldn’t choose white appliances, a beige linoleum floor, and brown counter tops, they are all nice and functioning, so I just can’t justify replacing those items yet. With that being said, it has brought our project cost way down. Our South Carolina kitchen cost us $10,000. We broke it down HERE. This kitchen project has been a fraction of the cost!
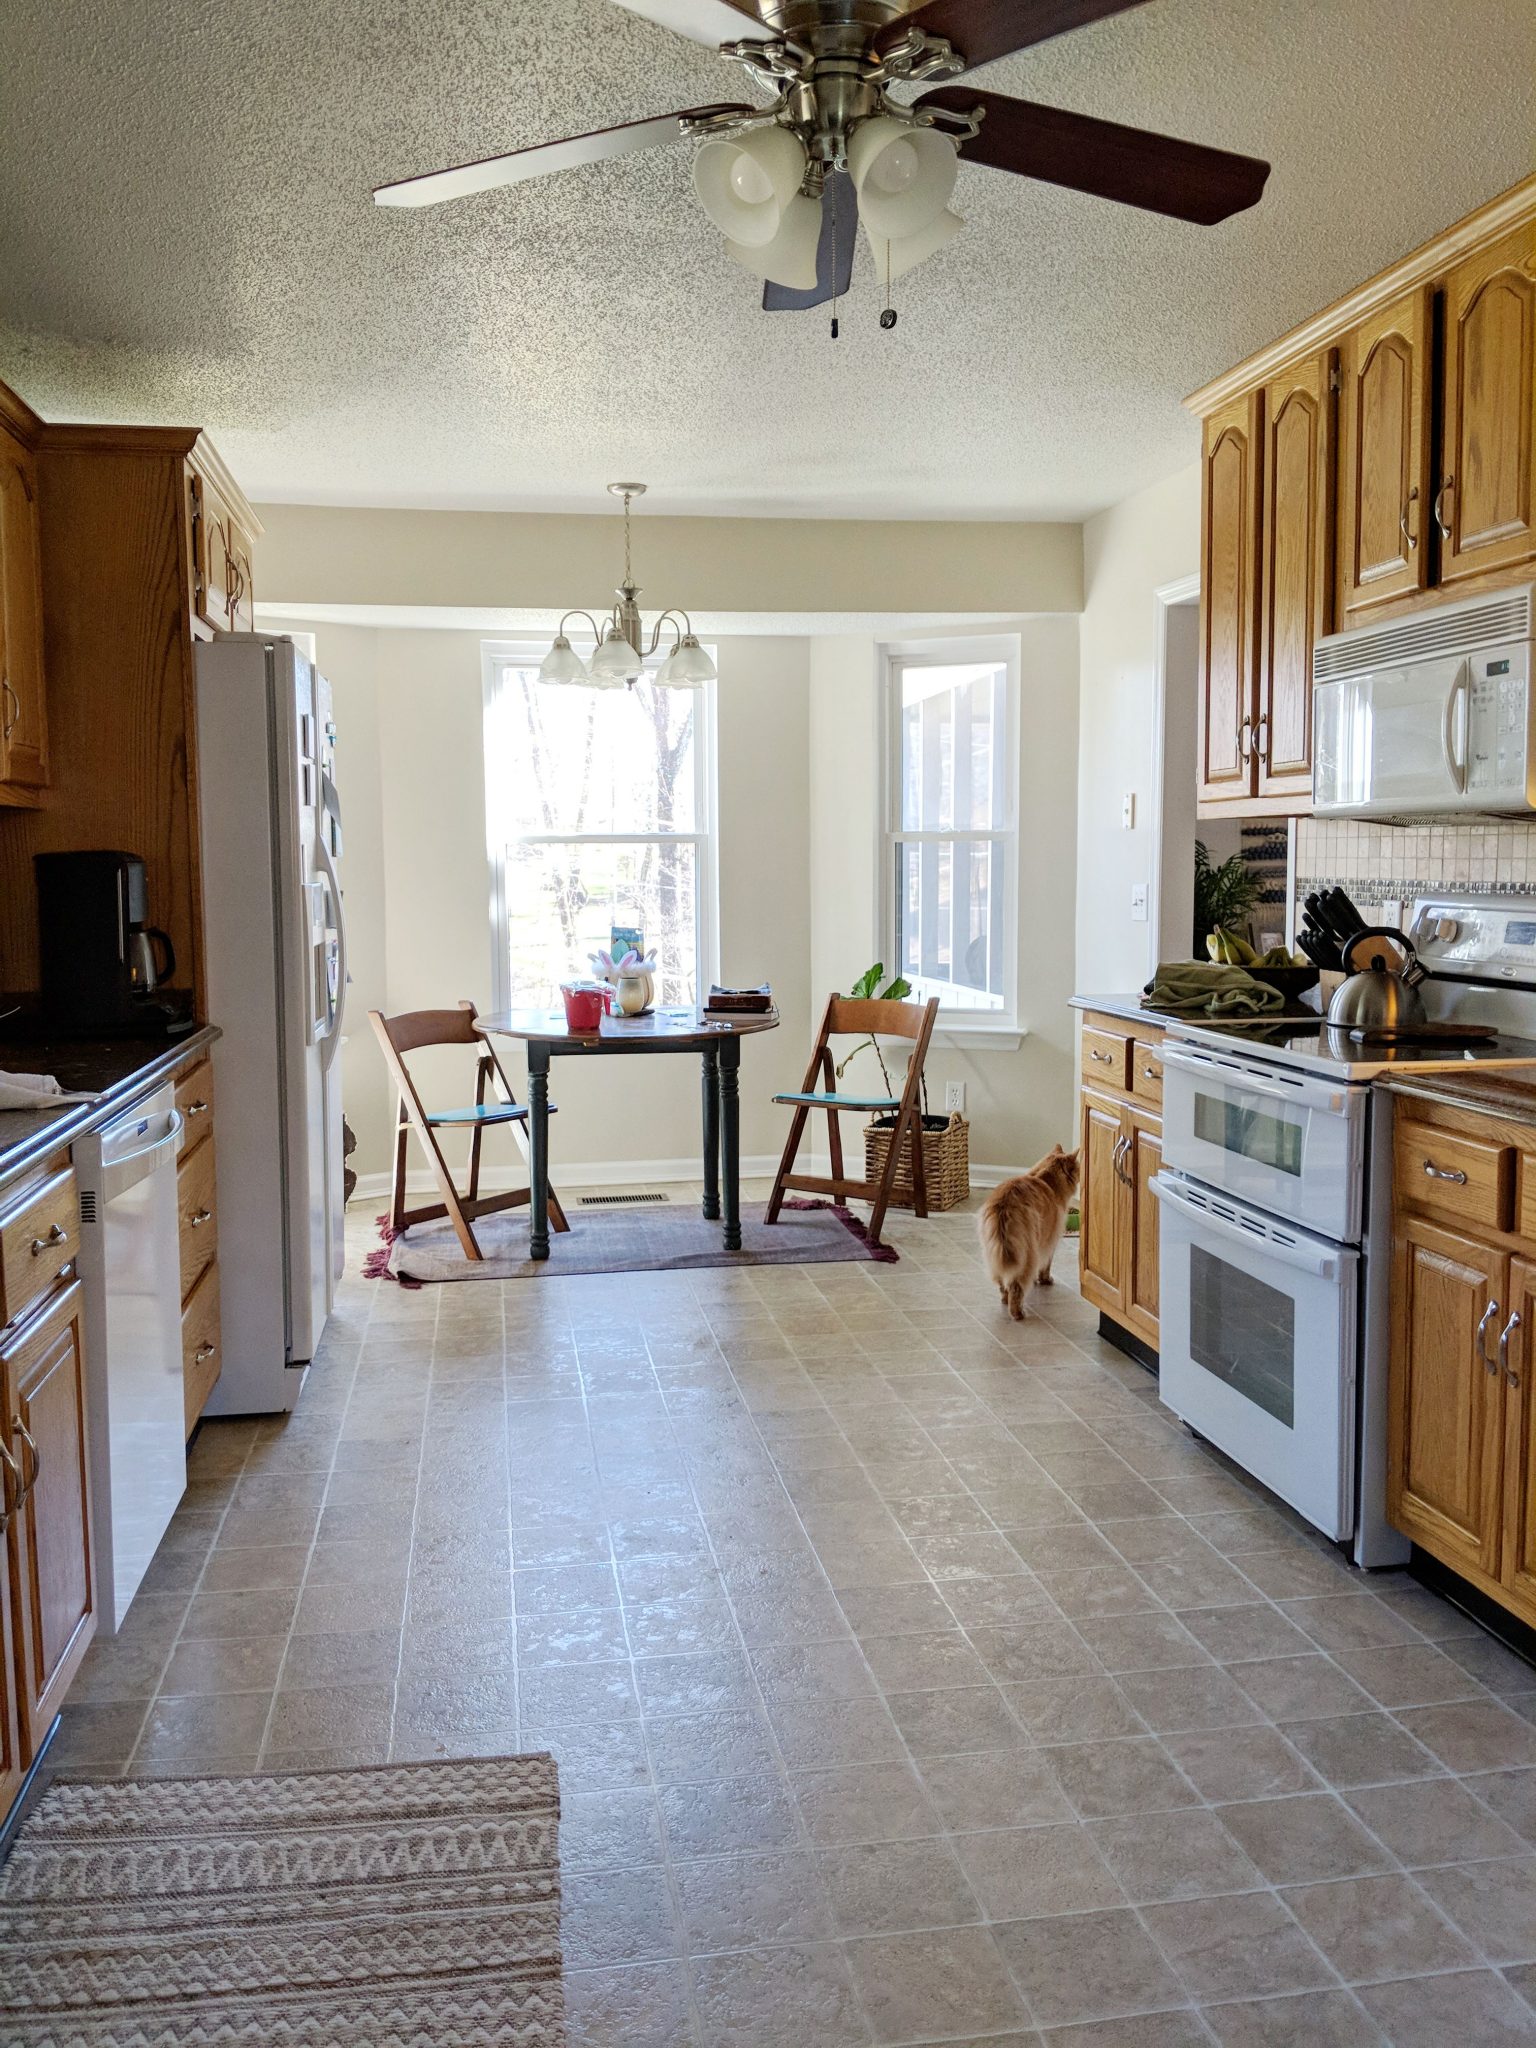
I could immediately see this potential in this light-filled spaced when we first moved in last December. Though blowing out a wall and getting new appliances and flooring was where my design, creative mind was initially going, deep down I knew that this kitchen had good bones just the way it was. It just needed a modern touch.

DESIGN UPDATES
My eclectic modern kitchen with a vintage vibe is still holding strong, but a few elements have been changed since the original inspiration post (HERE). I’ve added a sconce choice, changed the rug, and went with a 3 x 6 subway tile with white grout.
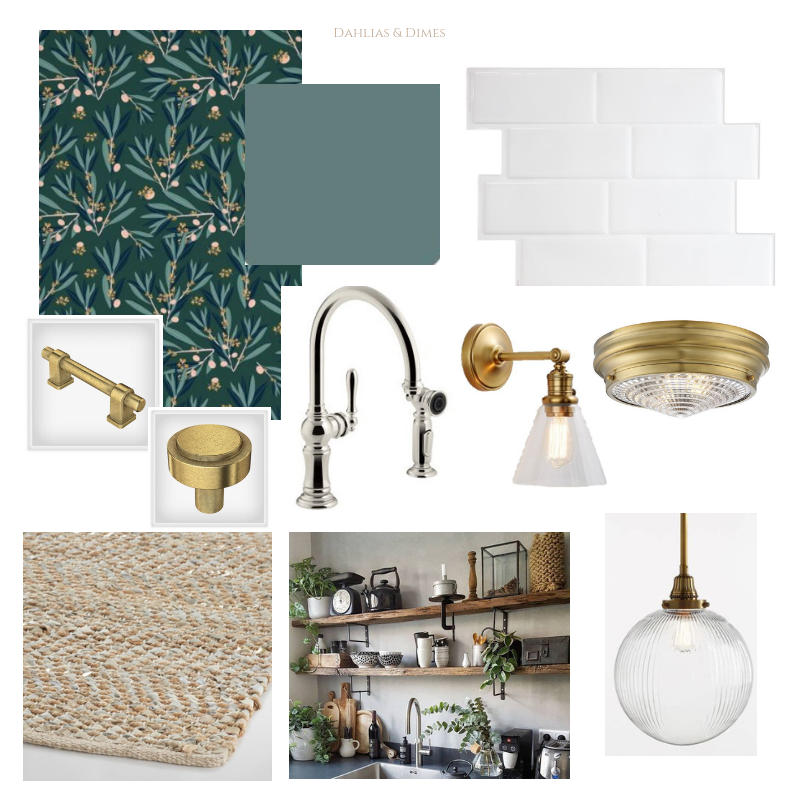
The pendant and wallpaper (upper left) is found in our breakfast nook, which was basically like phase 1 of our kitchen remodel. The full reveal of that space is HERE. It was the jumping point to the bold cabinet color, Wanderess by Country Chic Paint, and brass accents.
Here was my original plan. You’ll see that little has changed, but final decisions have been made since then.
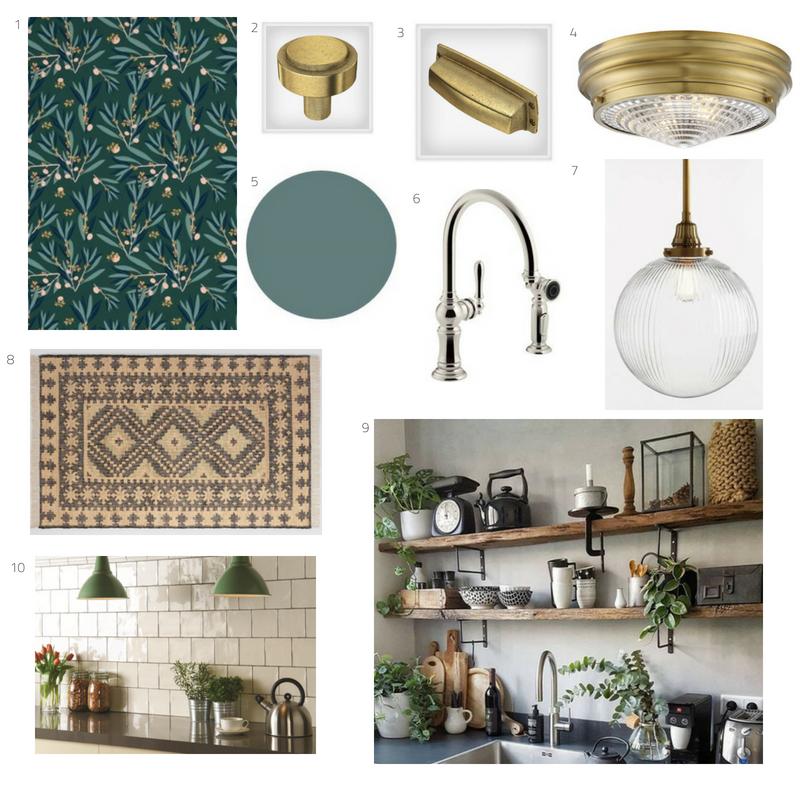
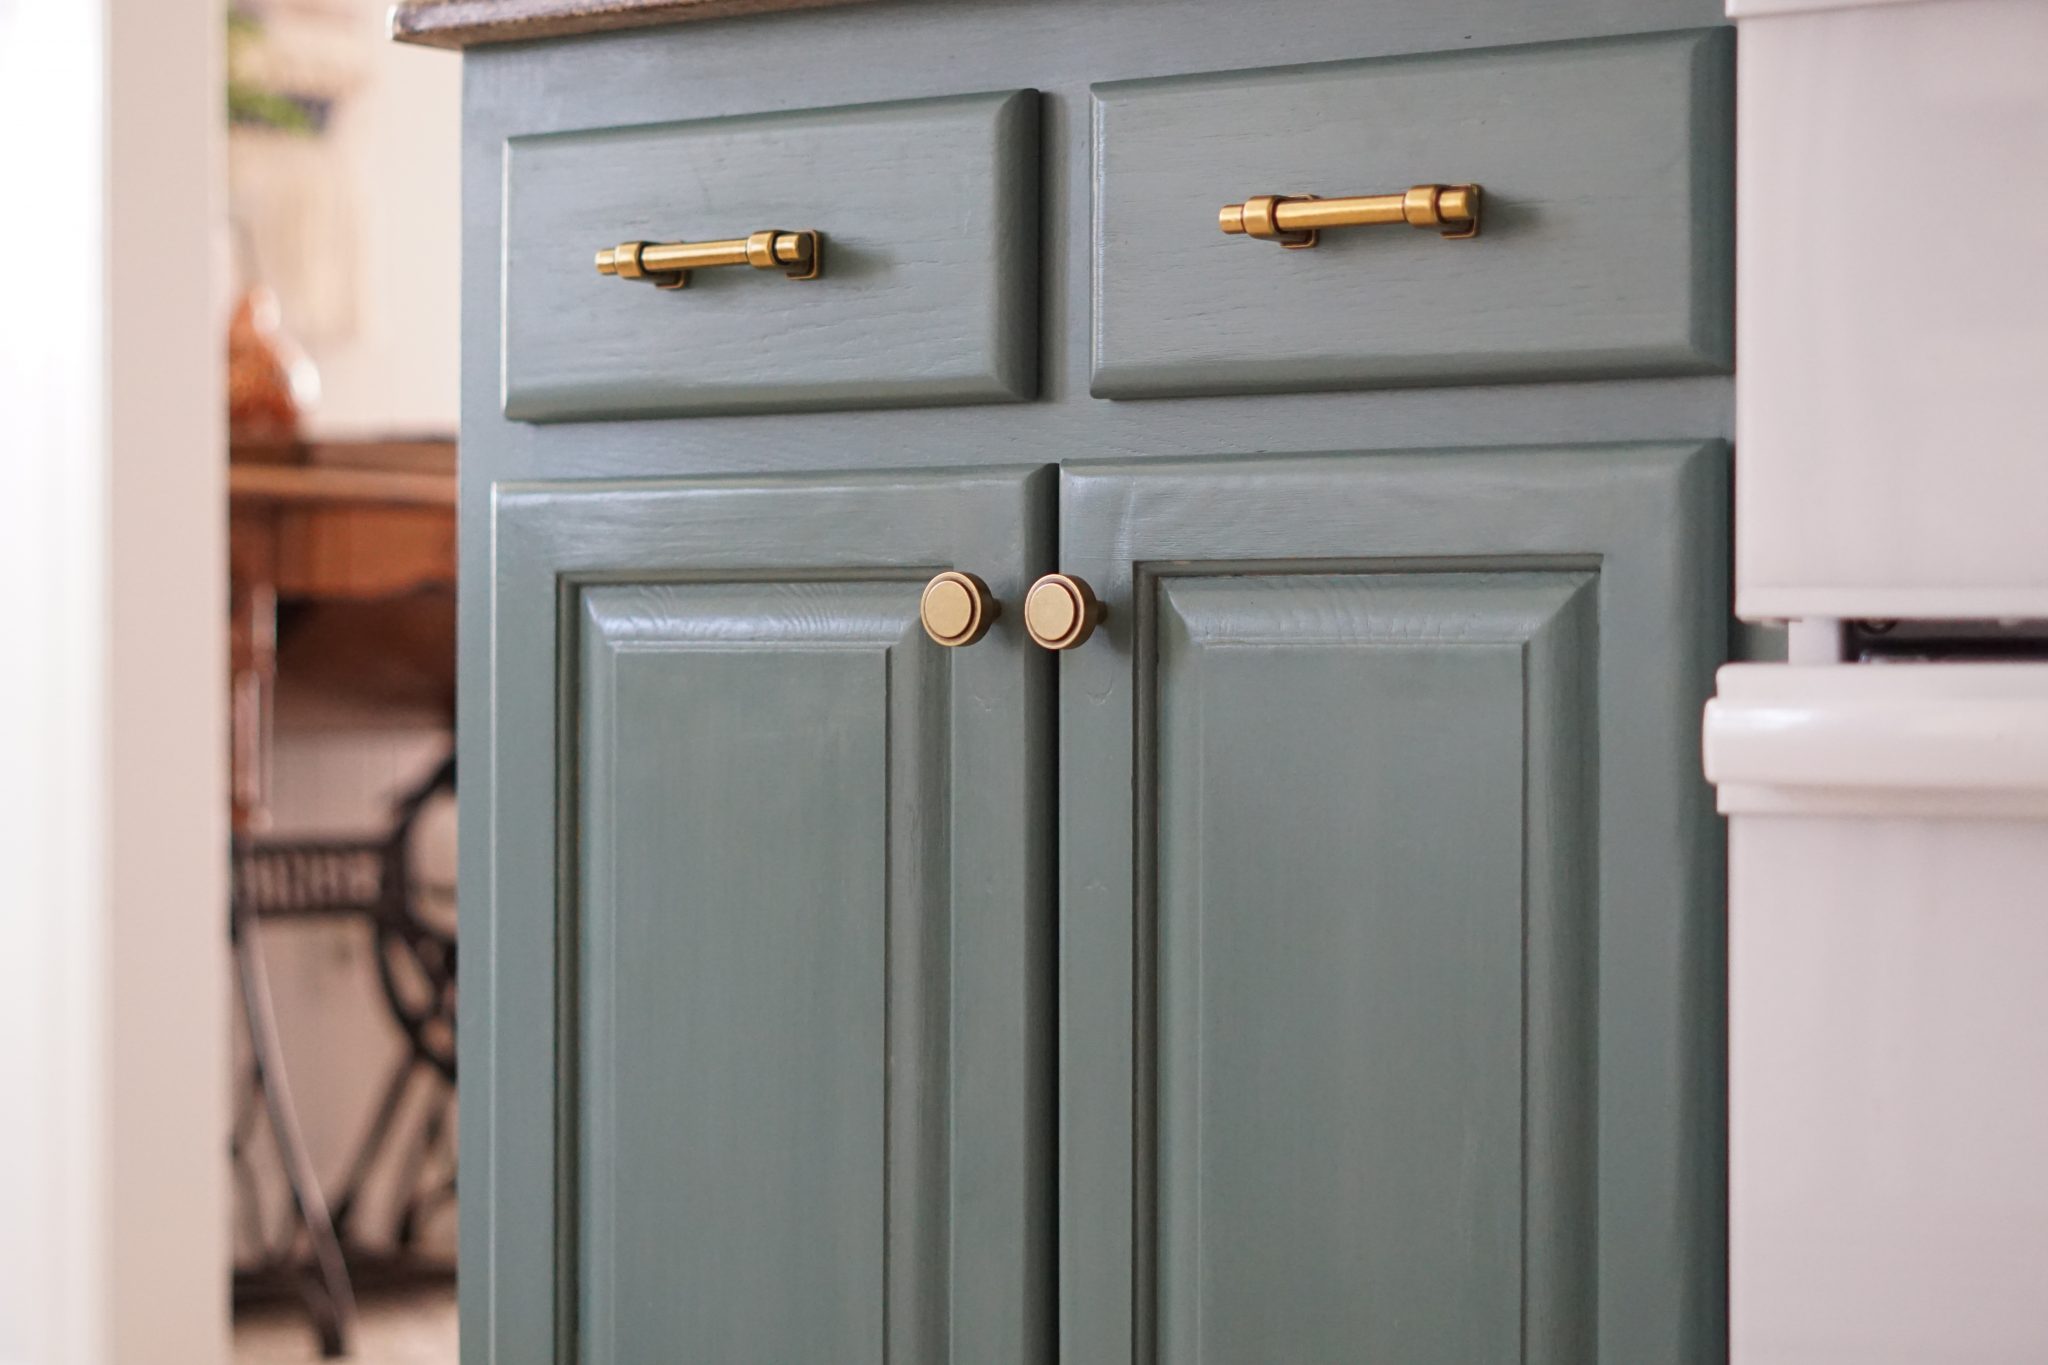
So what made me change my mind? There is a lot of color and pattern going on with the wallpaper and cabinet color, so I’ve simplified the backsplash option to a timeless 3×6 tile with white grout. This also held true with my rug choice. Though I love mixing patterns, our kitchen wasn’t the best place for it. Lastly, after installing the cup pulls on our drawers, they looked so goofy. They were too large for our space, so Liberty Hardware graciously sent me a much better option.
WHERE WE ARE
This is not a live 6 week remodel. We’ve been planning and working for a couple months now. Remodeling a kitchen in 6 weeks with a rowdy toddler just isn’t fathomable for us, but I’ve gathered a ton of “Learn from My Mistakes” and “Best Practices” posts coming your way in the next several weeks.
Currently, the cabinets have been painted, backsplash has been tiled, and light fixtures installed. As I’m writing this post, all we have left is touch up paint and hanging the open shelves, which is the one piece I’m most excited/most nervous about. We’re a bit nervous about hanging 1 1/2″ solid white oak shelves from our subway tile. Wish us luck as that is the next project we’ll be tackling!
What To Expect
For the next five weeks, I’ll be sharing a detailed cabinet painting post, an updated subway tile installation post, open shelving options, and the big reveal on November 6! Make sure to follow along and also check out the other bloggers and designers participating in this fall’s One Room Challenge.