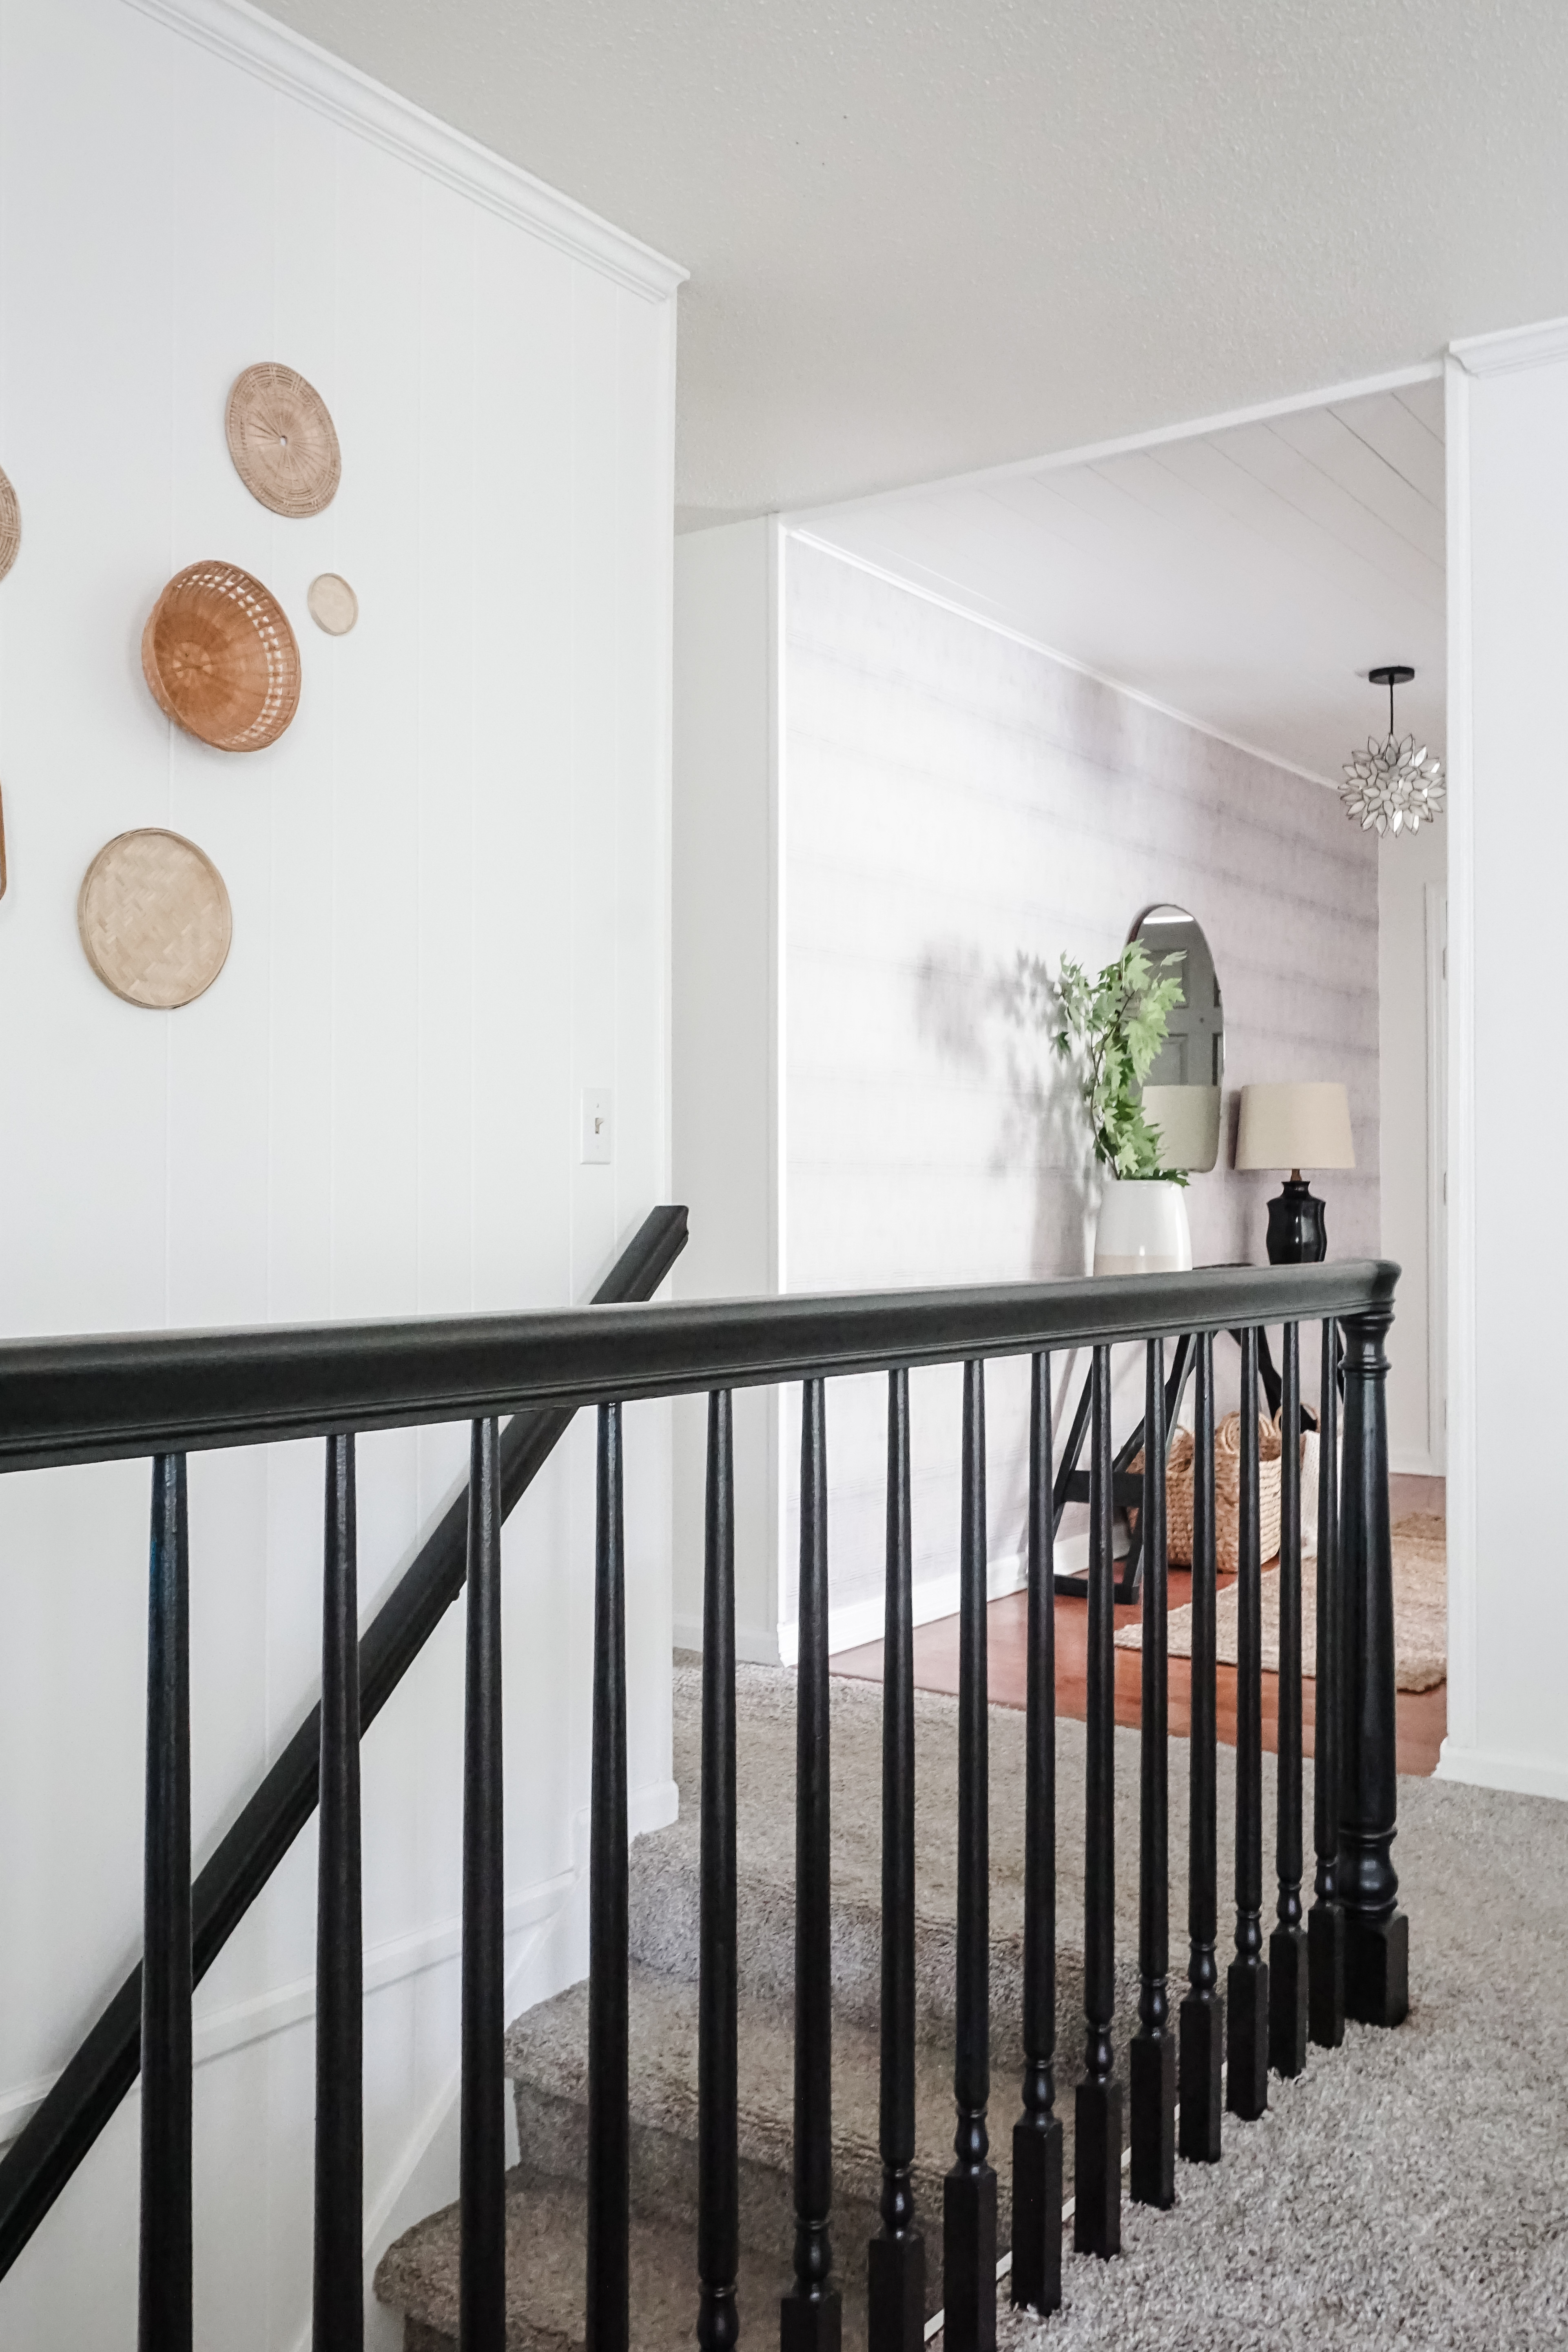
It’s so easy to just decorate the walls, throw down a rug, and call it done with decorating a room, but don’t forget to look up! Adding a feature to the ceiling can completely change the style of a room. It can make the room appear larger, add another layer of texture, and add an unexpected design element that will pull the entire space together.
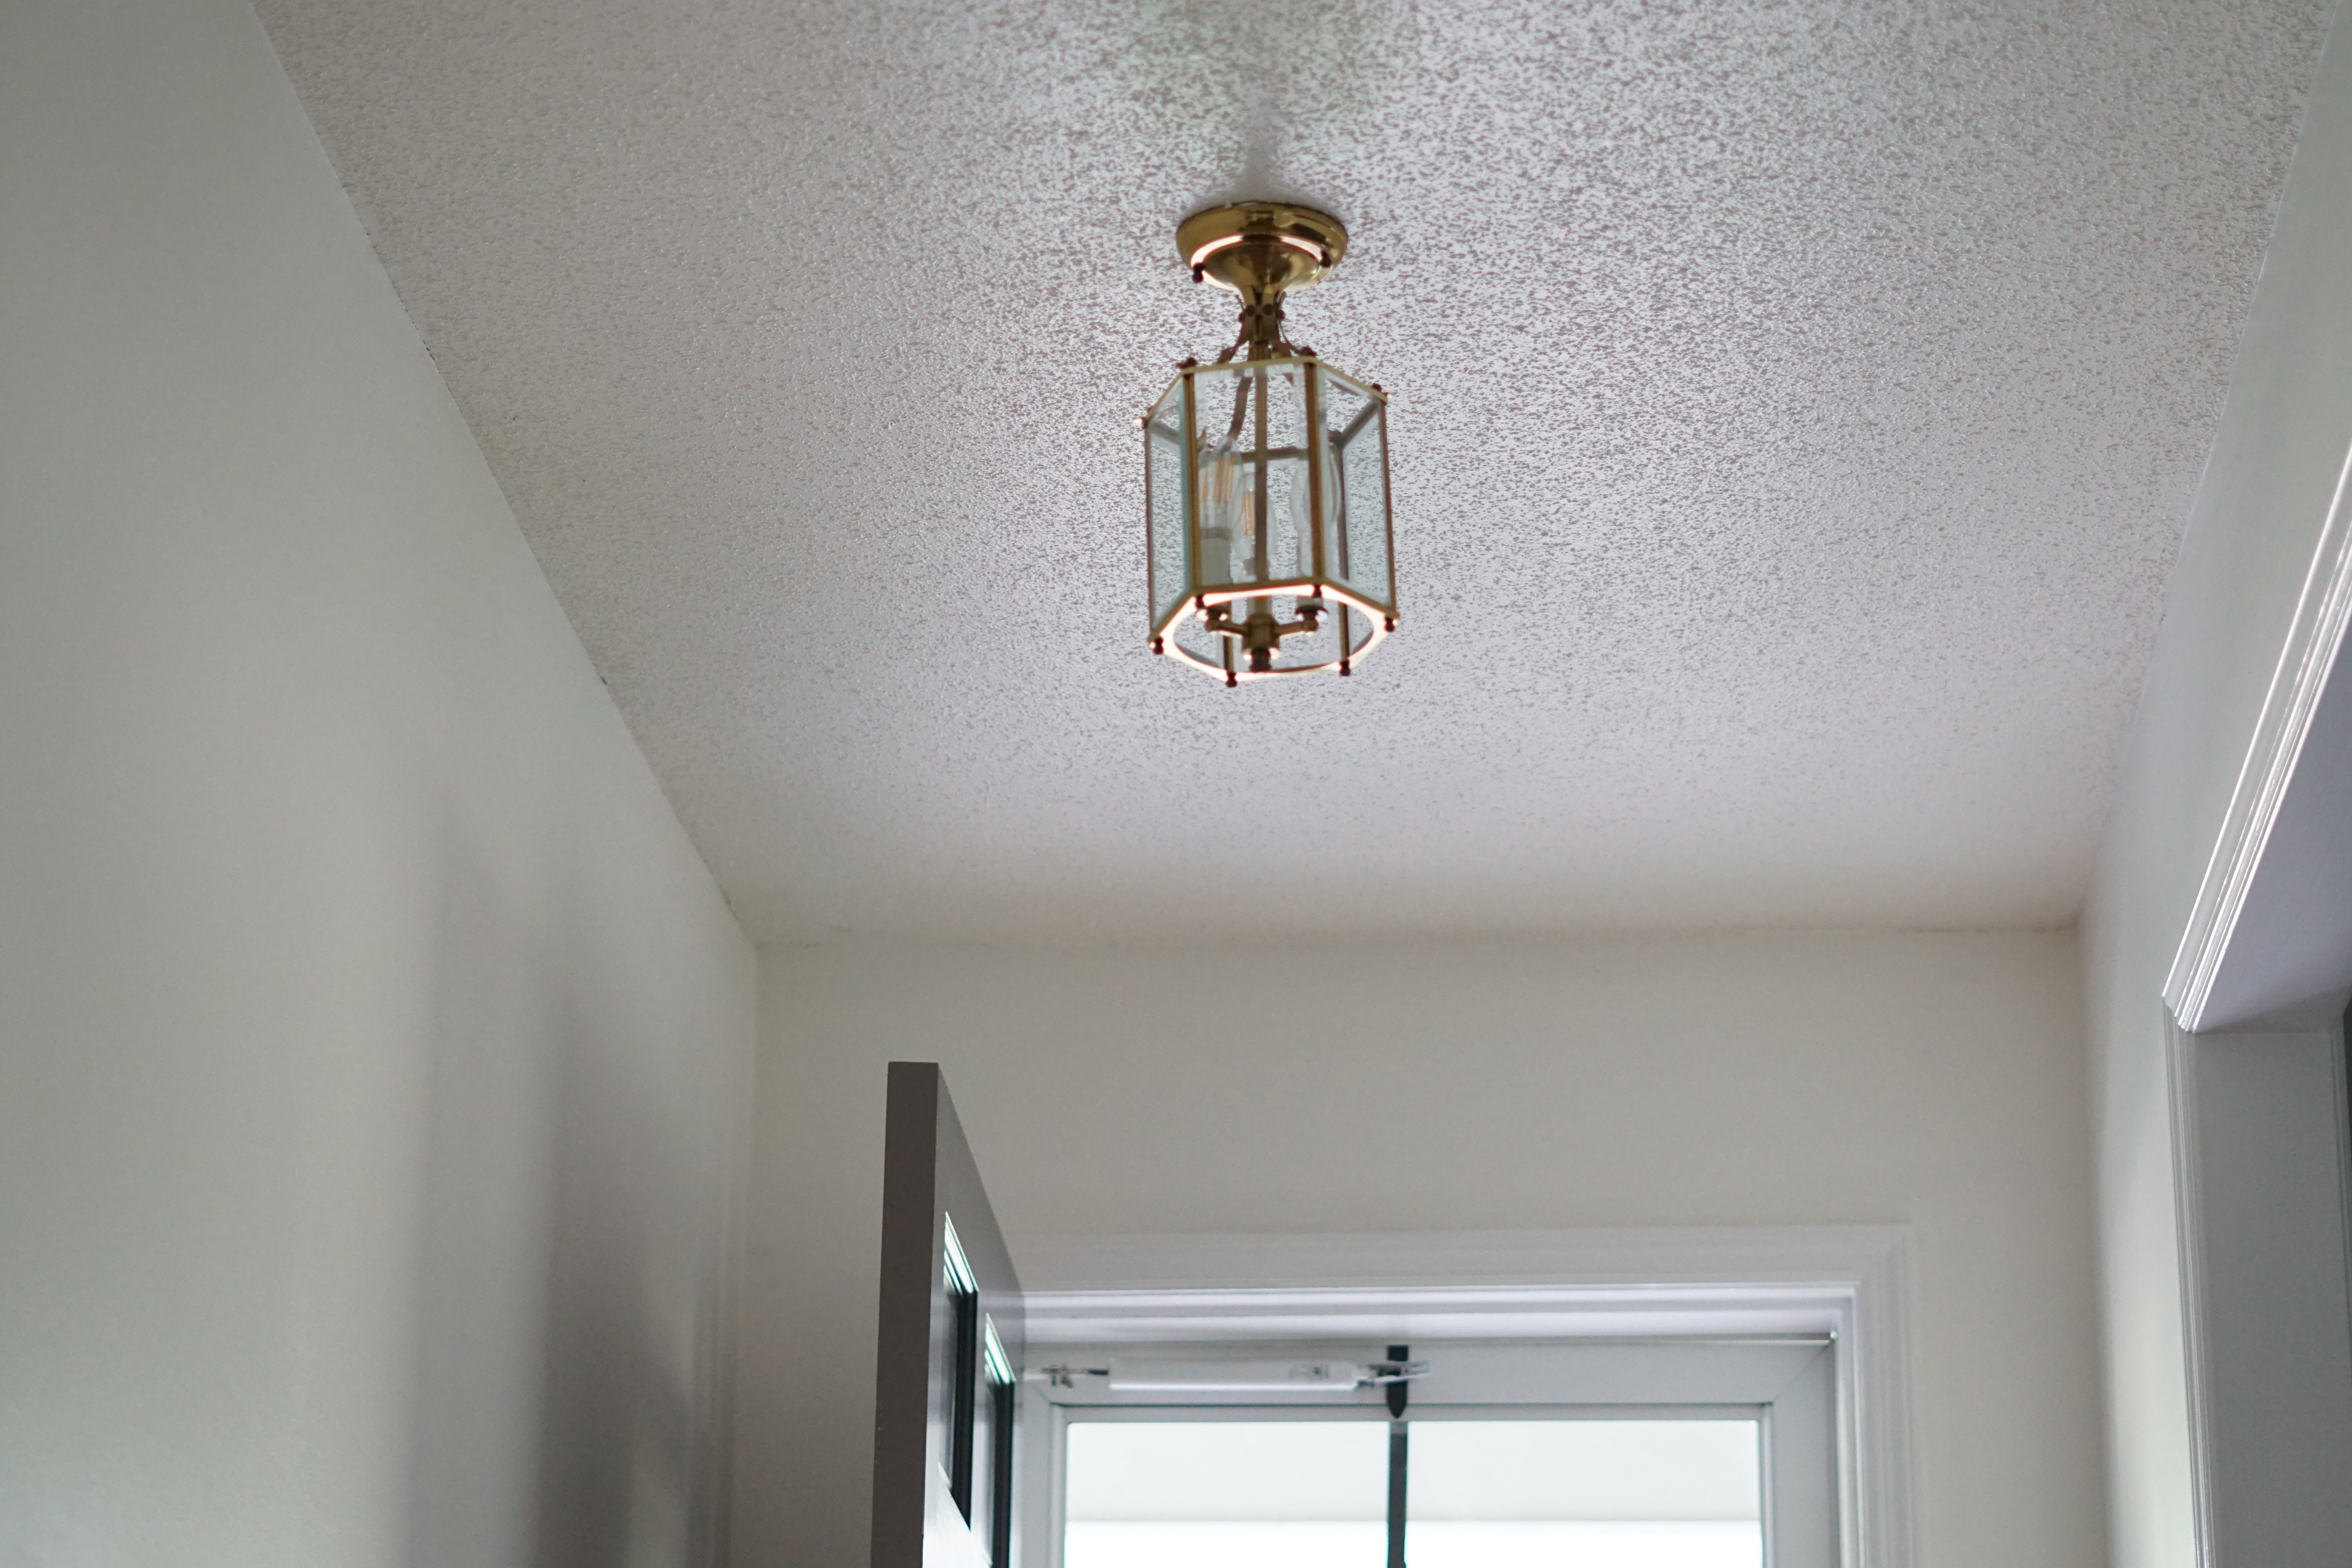
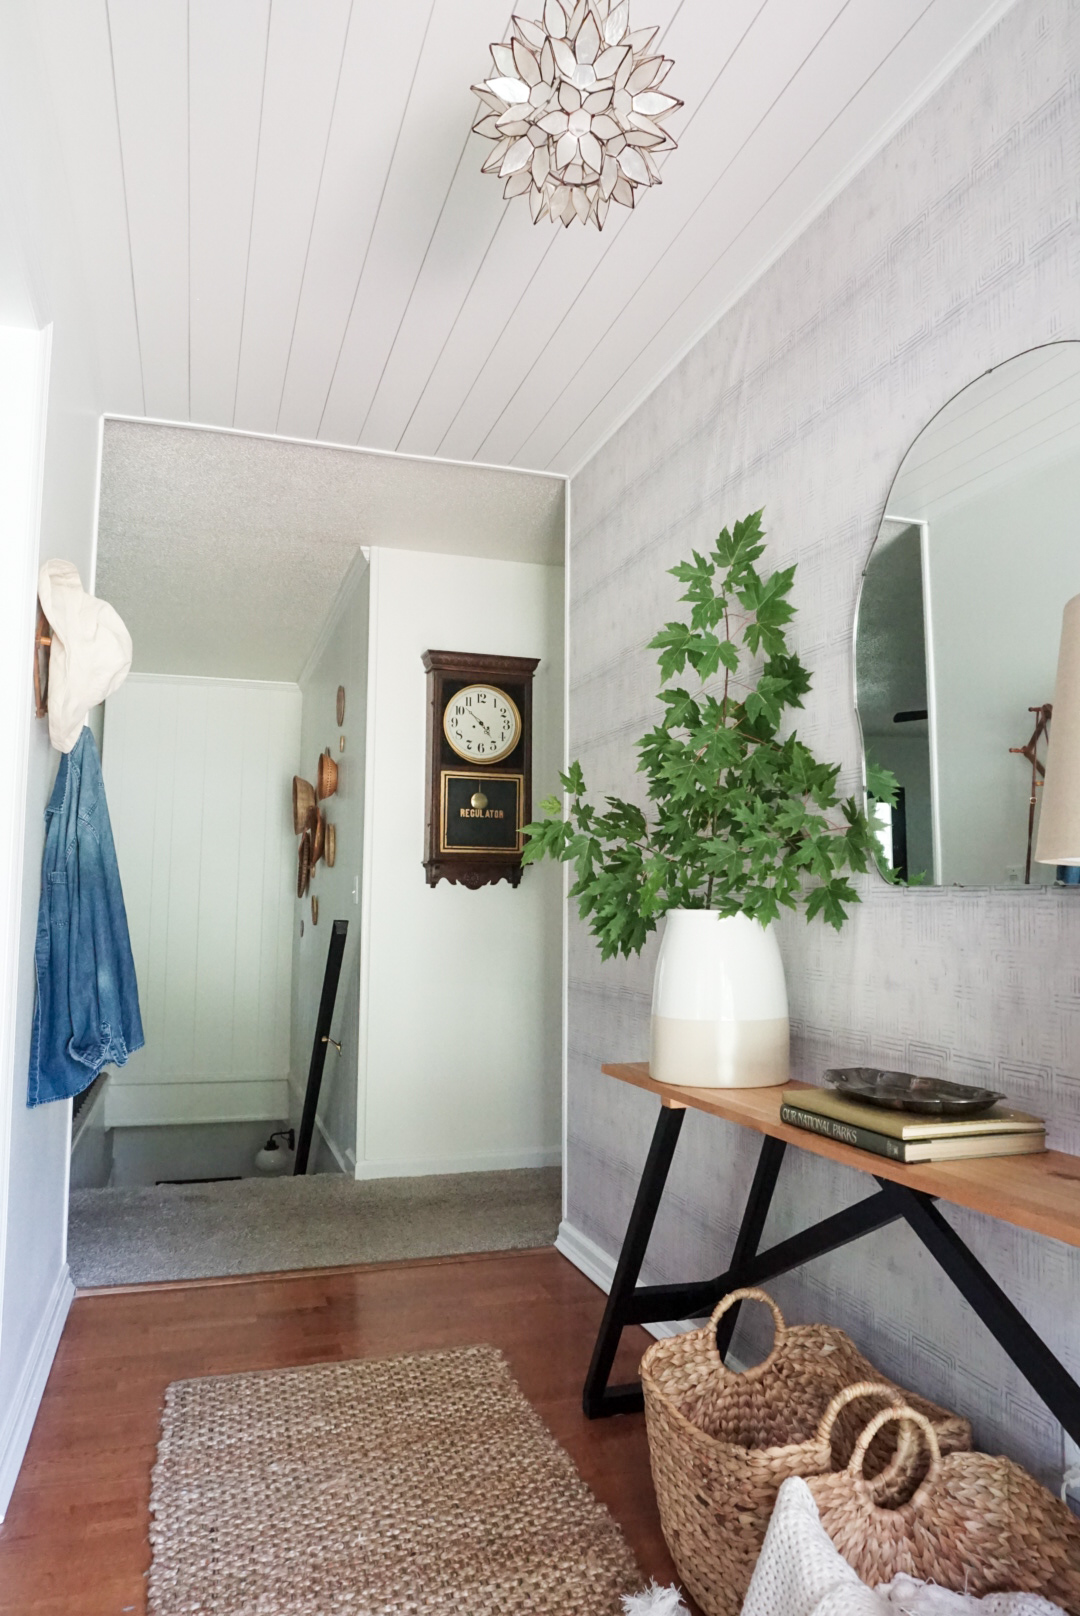
For our long entryway (4.5′ x 12′) I wanted the space to feel like it’s own room yet flow with the rest of our home. By planking the ceiling, it not only separated the area into an eclectic space of its own, it hid the dated popcorn ceiling as you enter our home.
Materials Needed
\\ Pre-primed Shiplap Boards
\\ Lattice Strips (only if installing boards same direction as joists)
\\ Quarter Round and Corner Trim
\\ Nail Brader w/ 2″ nails or…
\\ Hammer and 2″ finishing nails
\\ Liquid Nails
\\ Miter Saw
\\ Dremel Tool or Sawzall
\\ Caulk
\\ Spackle
\\ Sanding Block
\\ Paint
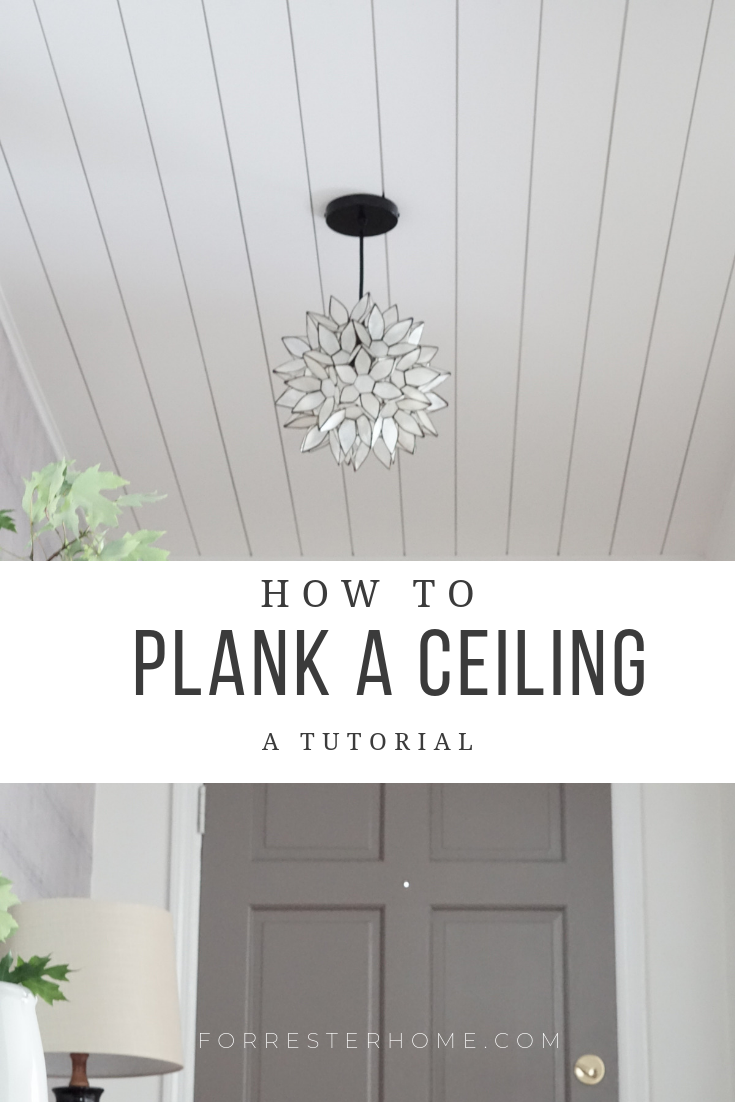
Planking 101
Step 1 – Prep Your Boards
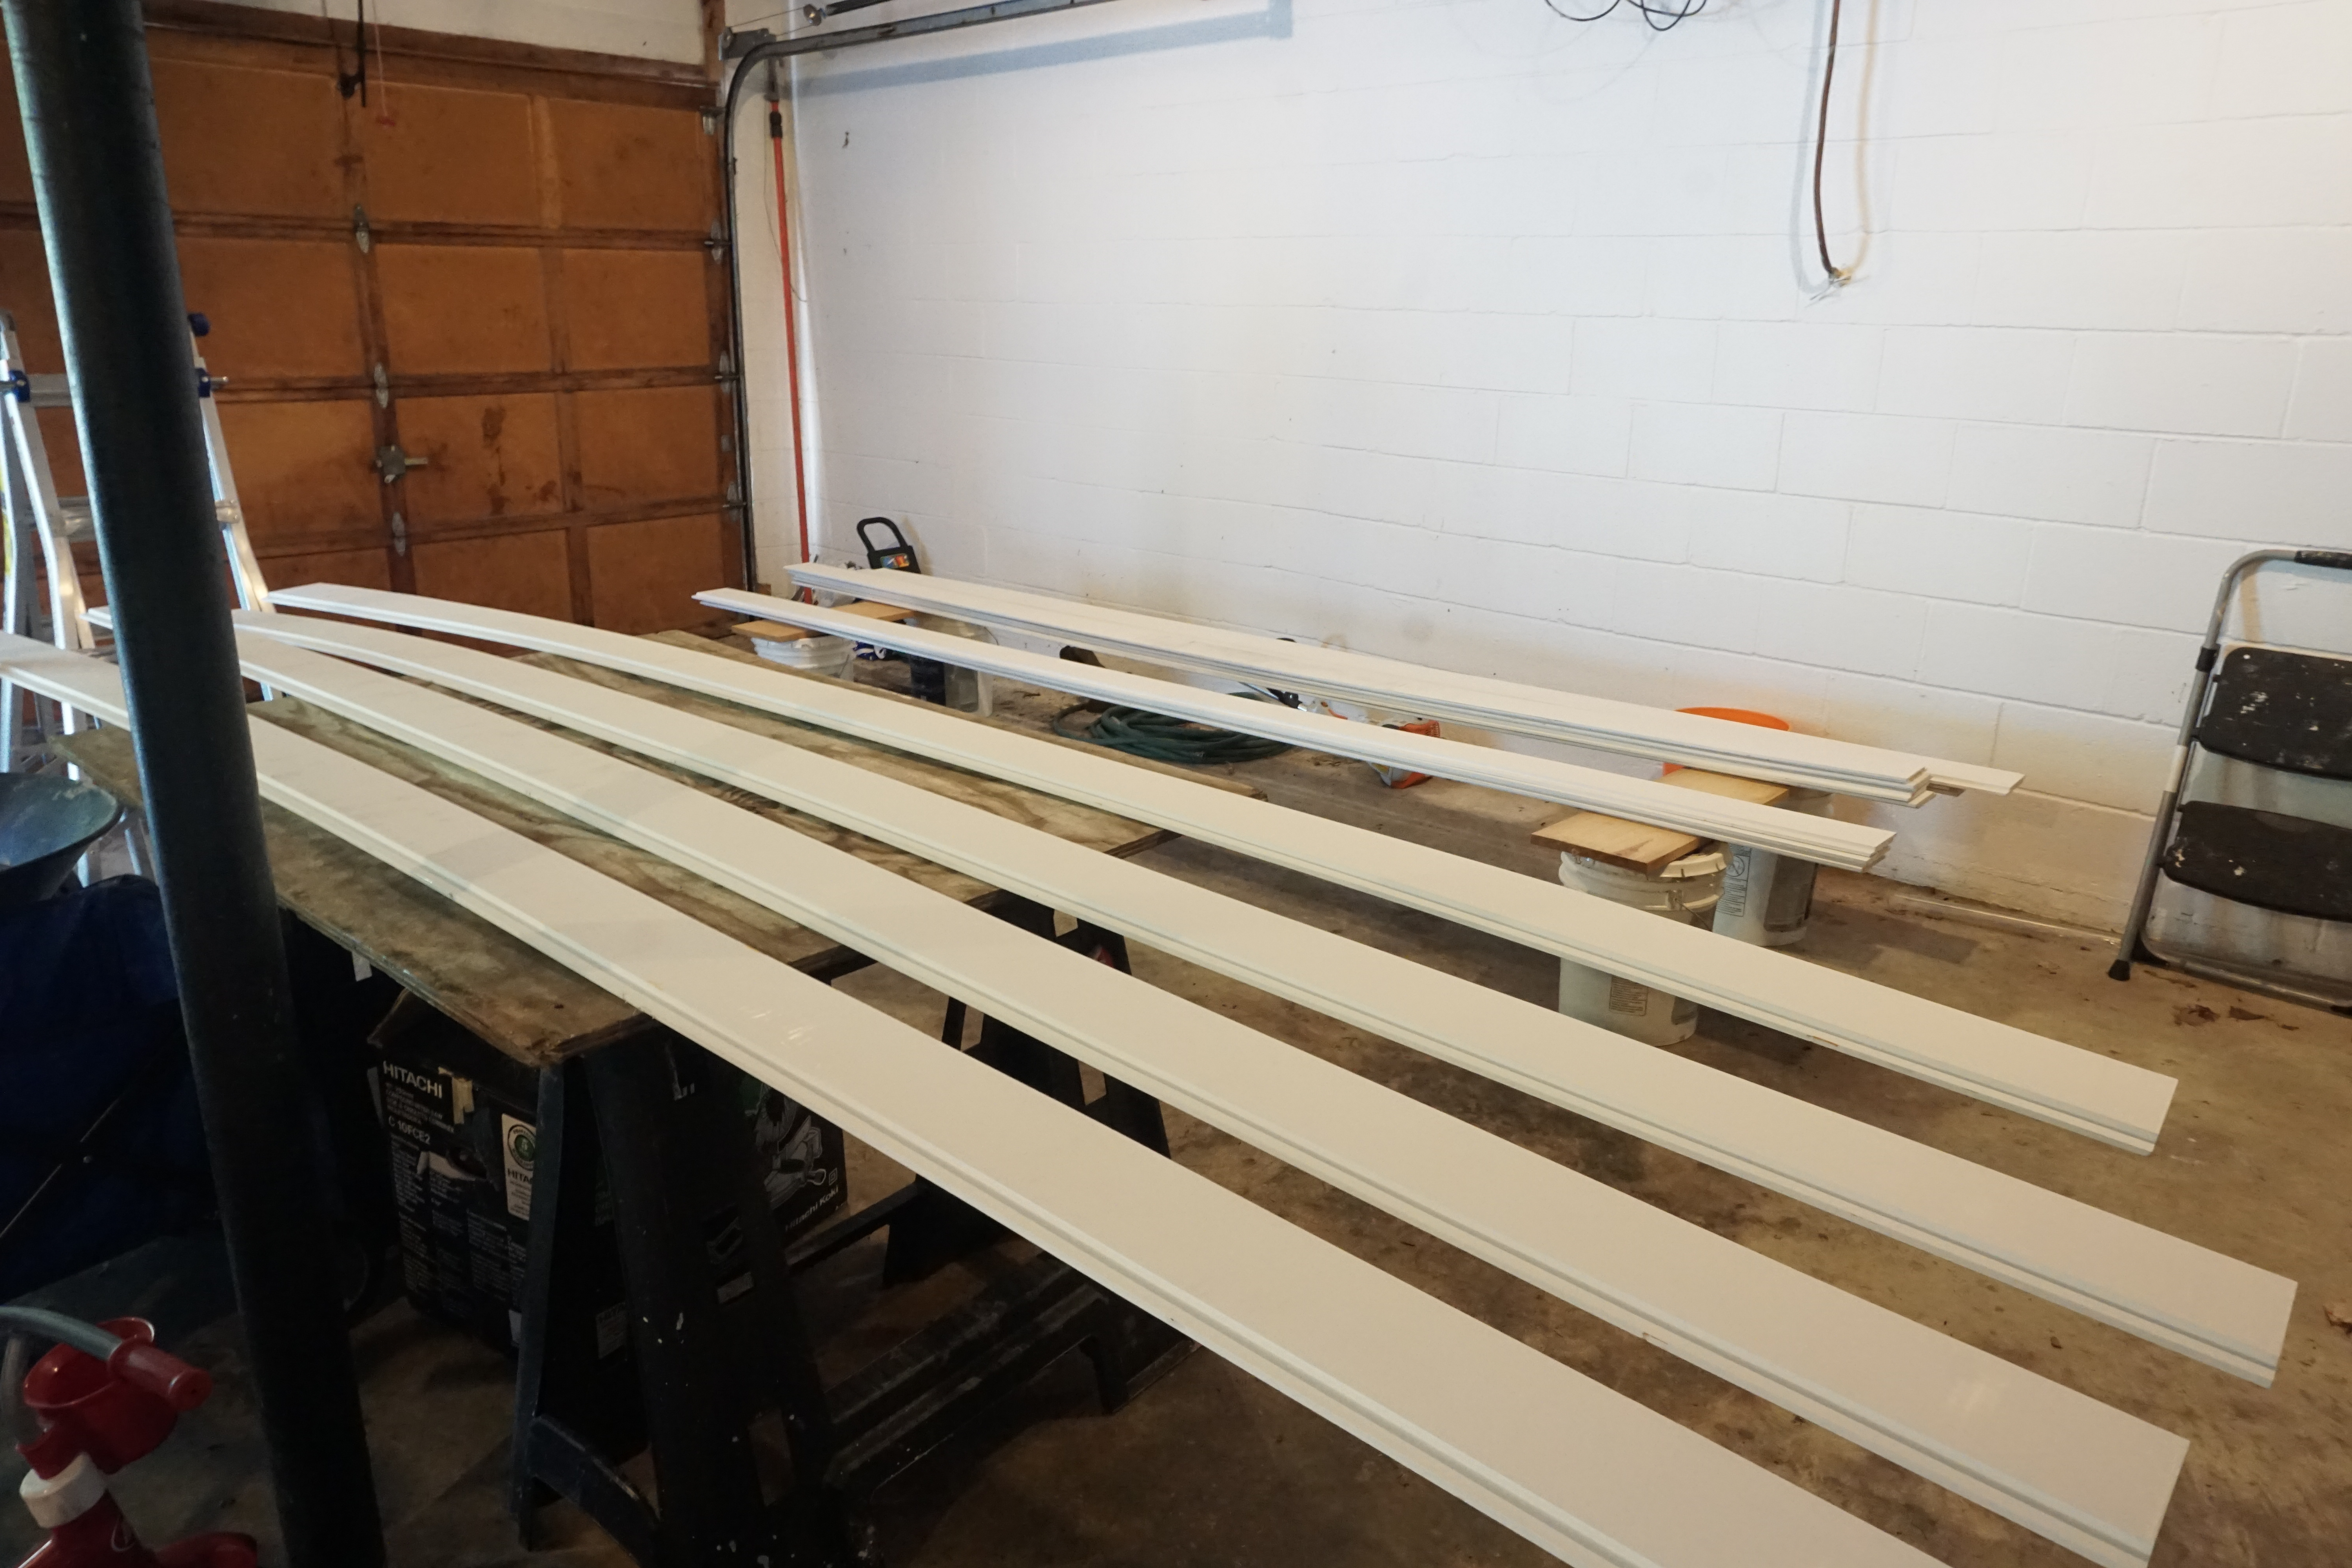
Choosing pre-primed boards is not that much more expensive, and it saved a lot of painting time.
I first laid out my boards, lightly sanded them, and put on two coats of paint. Once they were dry, I laid them inside for at least 48 hours so that they would acclimate to the inside elements so that they wouldn’t shift as much once they were installed.
Step 2- Find Your Ceiling Joists and Plan Accordingly
Your boards will need to be attached to the joists in one way or another so that they don’t fall off the ceiling. It’s basically a stud in your ceiling instead of your wall.
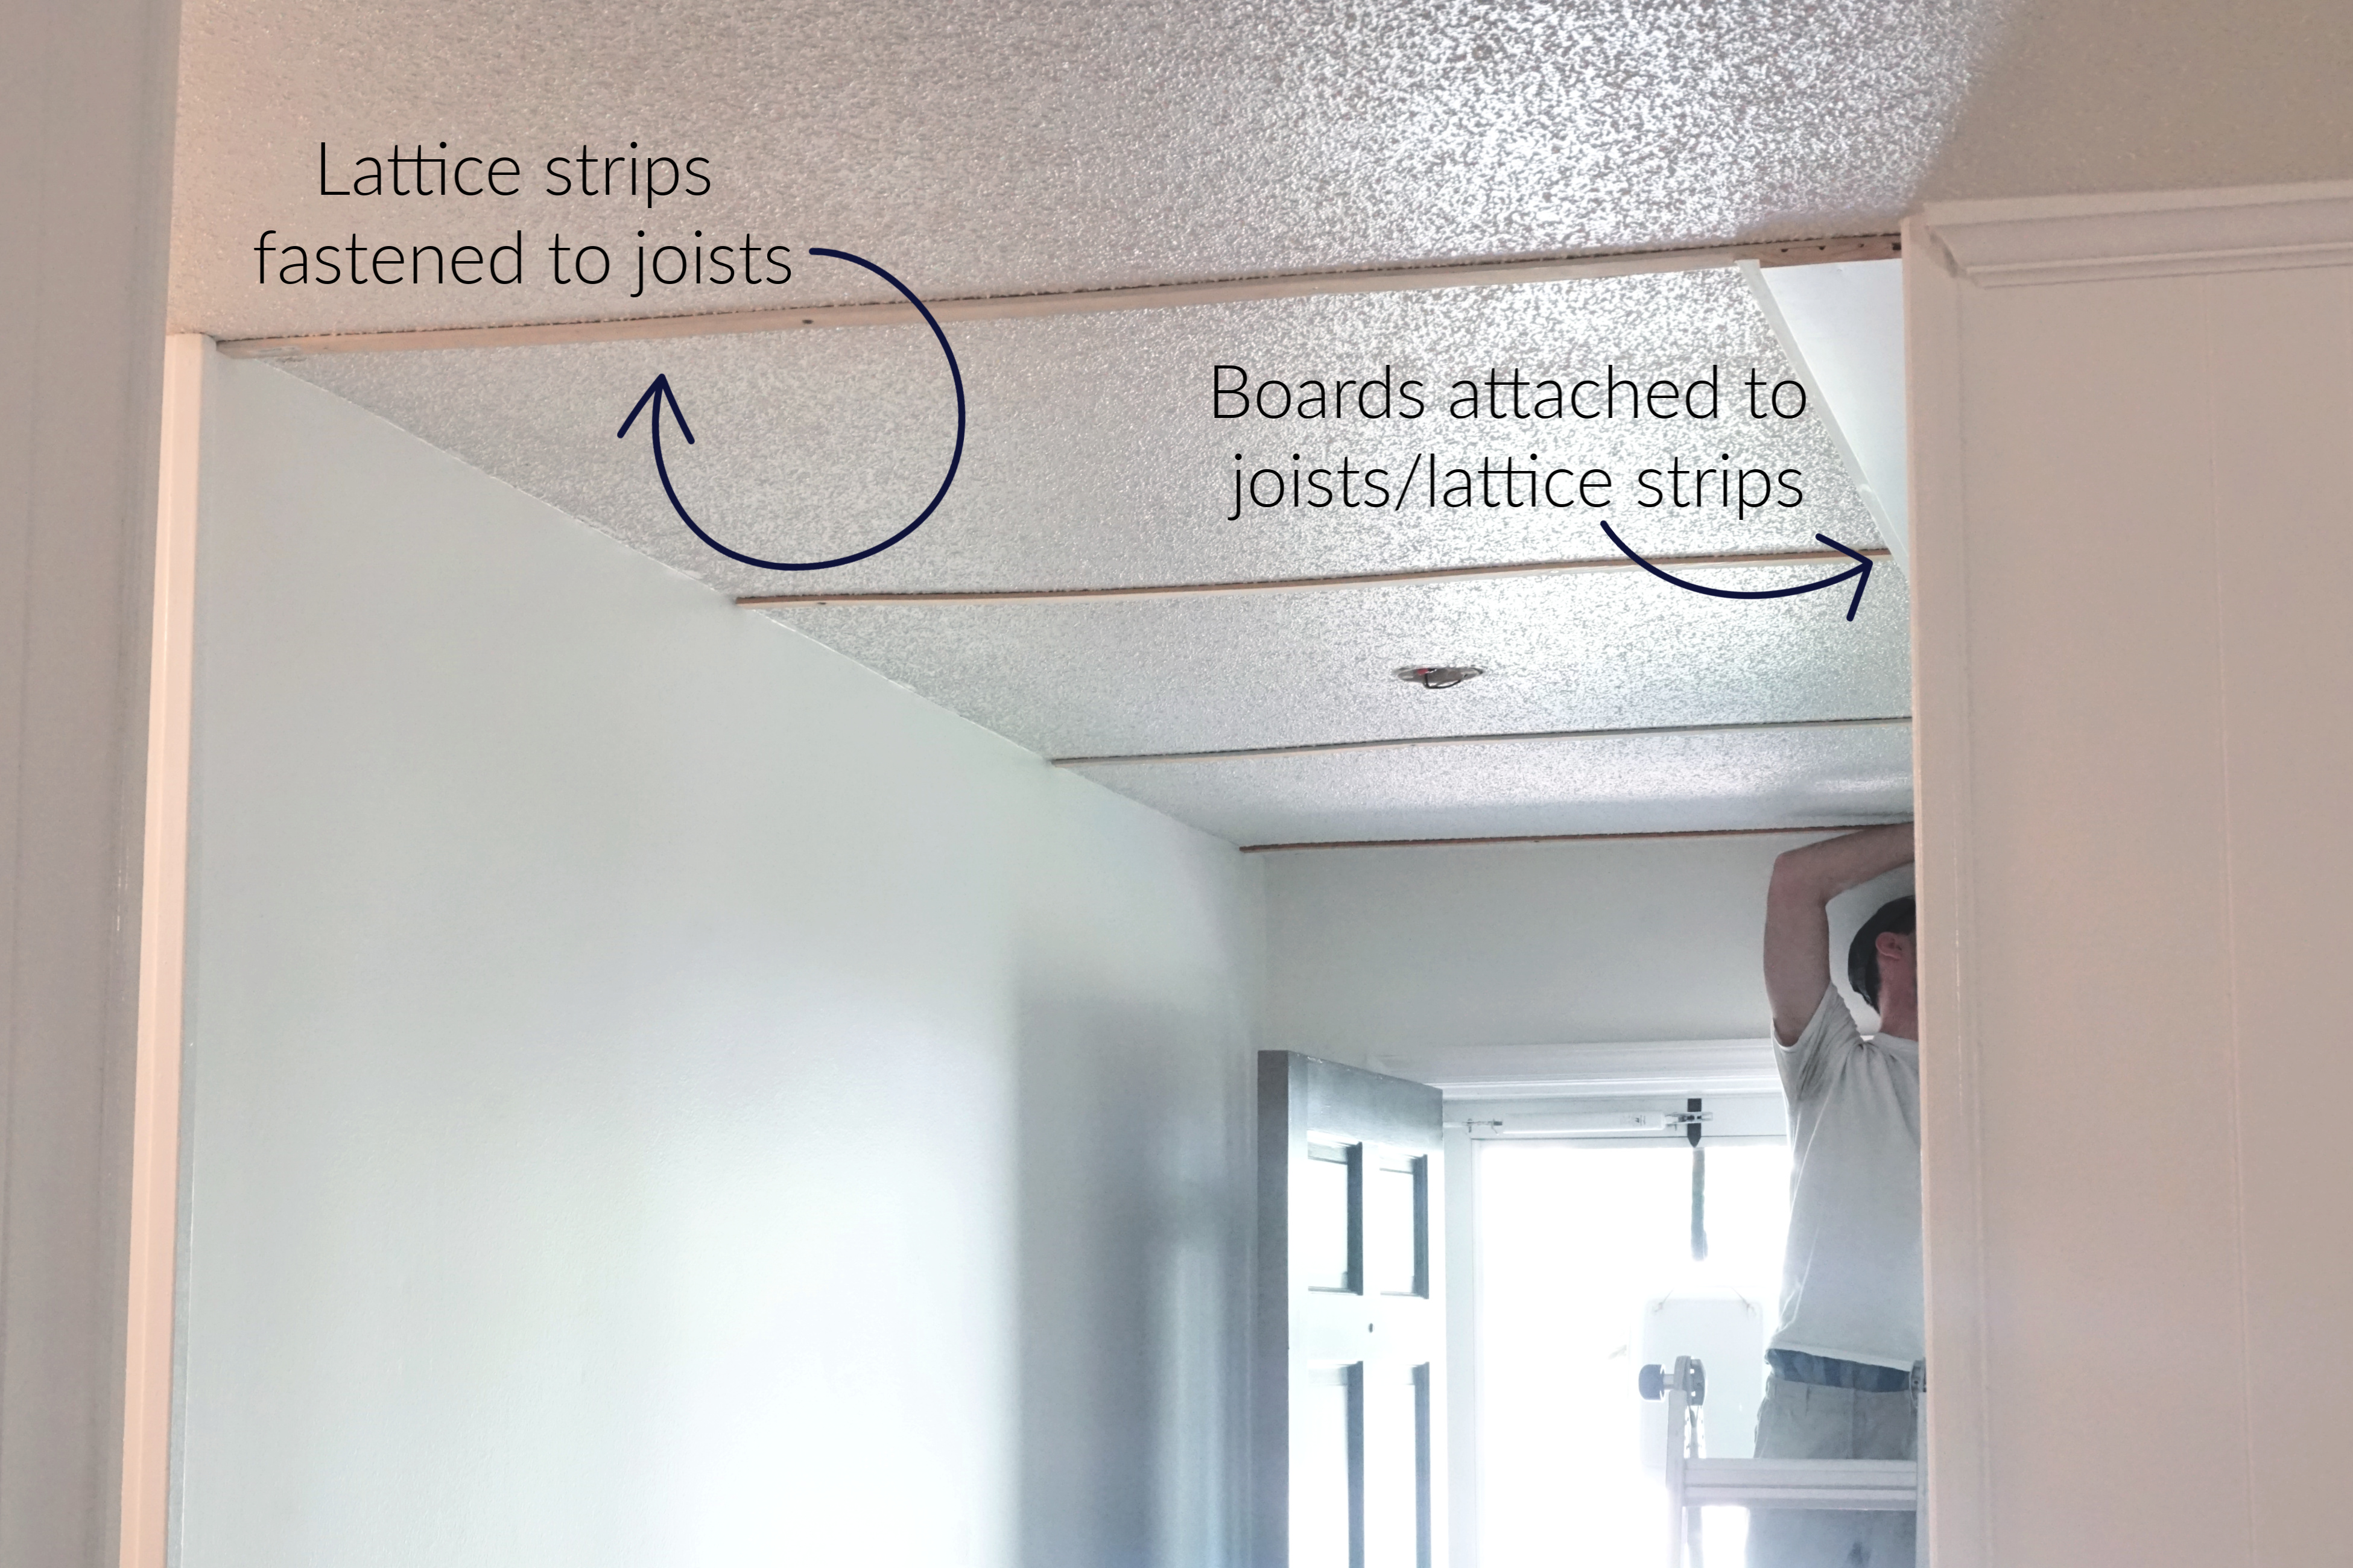
Since our joists ran horizontally, and we wanted to run the boards vertically, the length of the entryway, we needed to attach lattice strips to the joists horizontally. We screwed these in using wood screws. Some tutorials suggests using 1×2 strips for a sturdier structure, but since we were using a lighter shiplap board instead of heavy tongue-and-groove, we decided that lattice strips would be plenty of support. Plus, I didn’t want our 8′ ceilings any shorter than what they already are!
* If you’re attaching your boards in the opposite direction of your joists, you can skip the step above and just attach them straight into your joists.
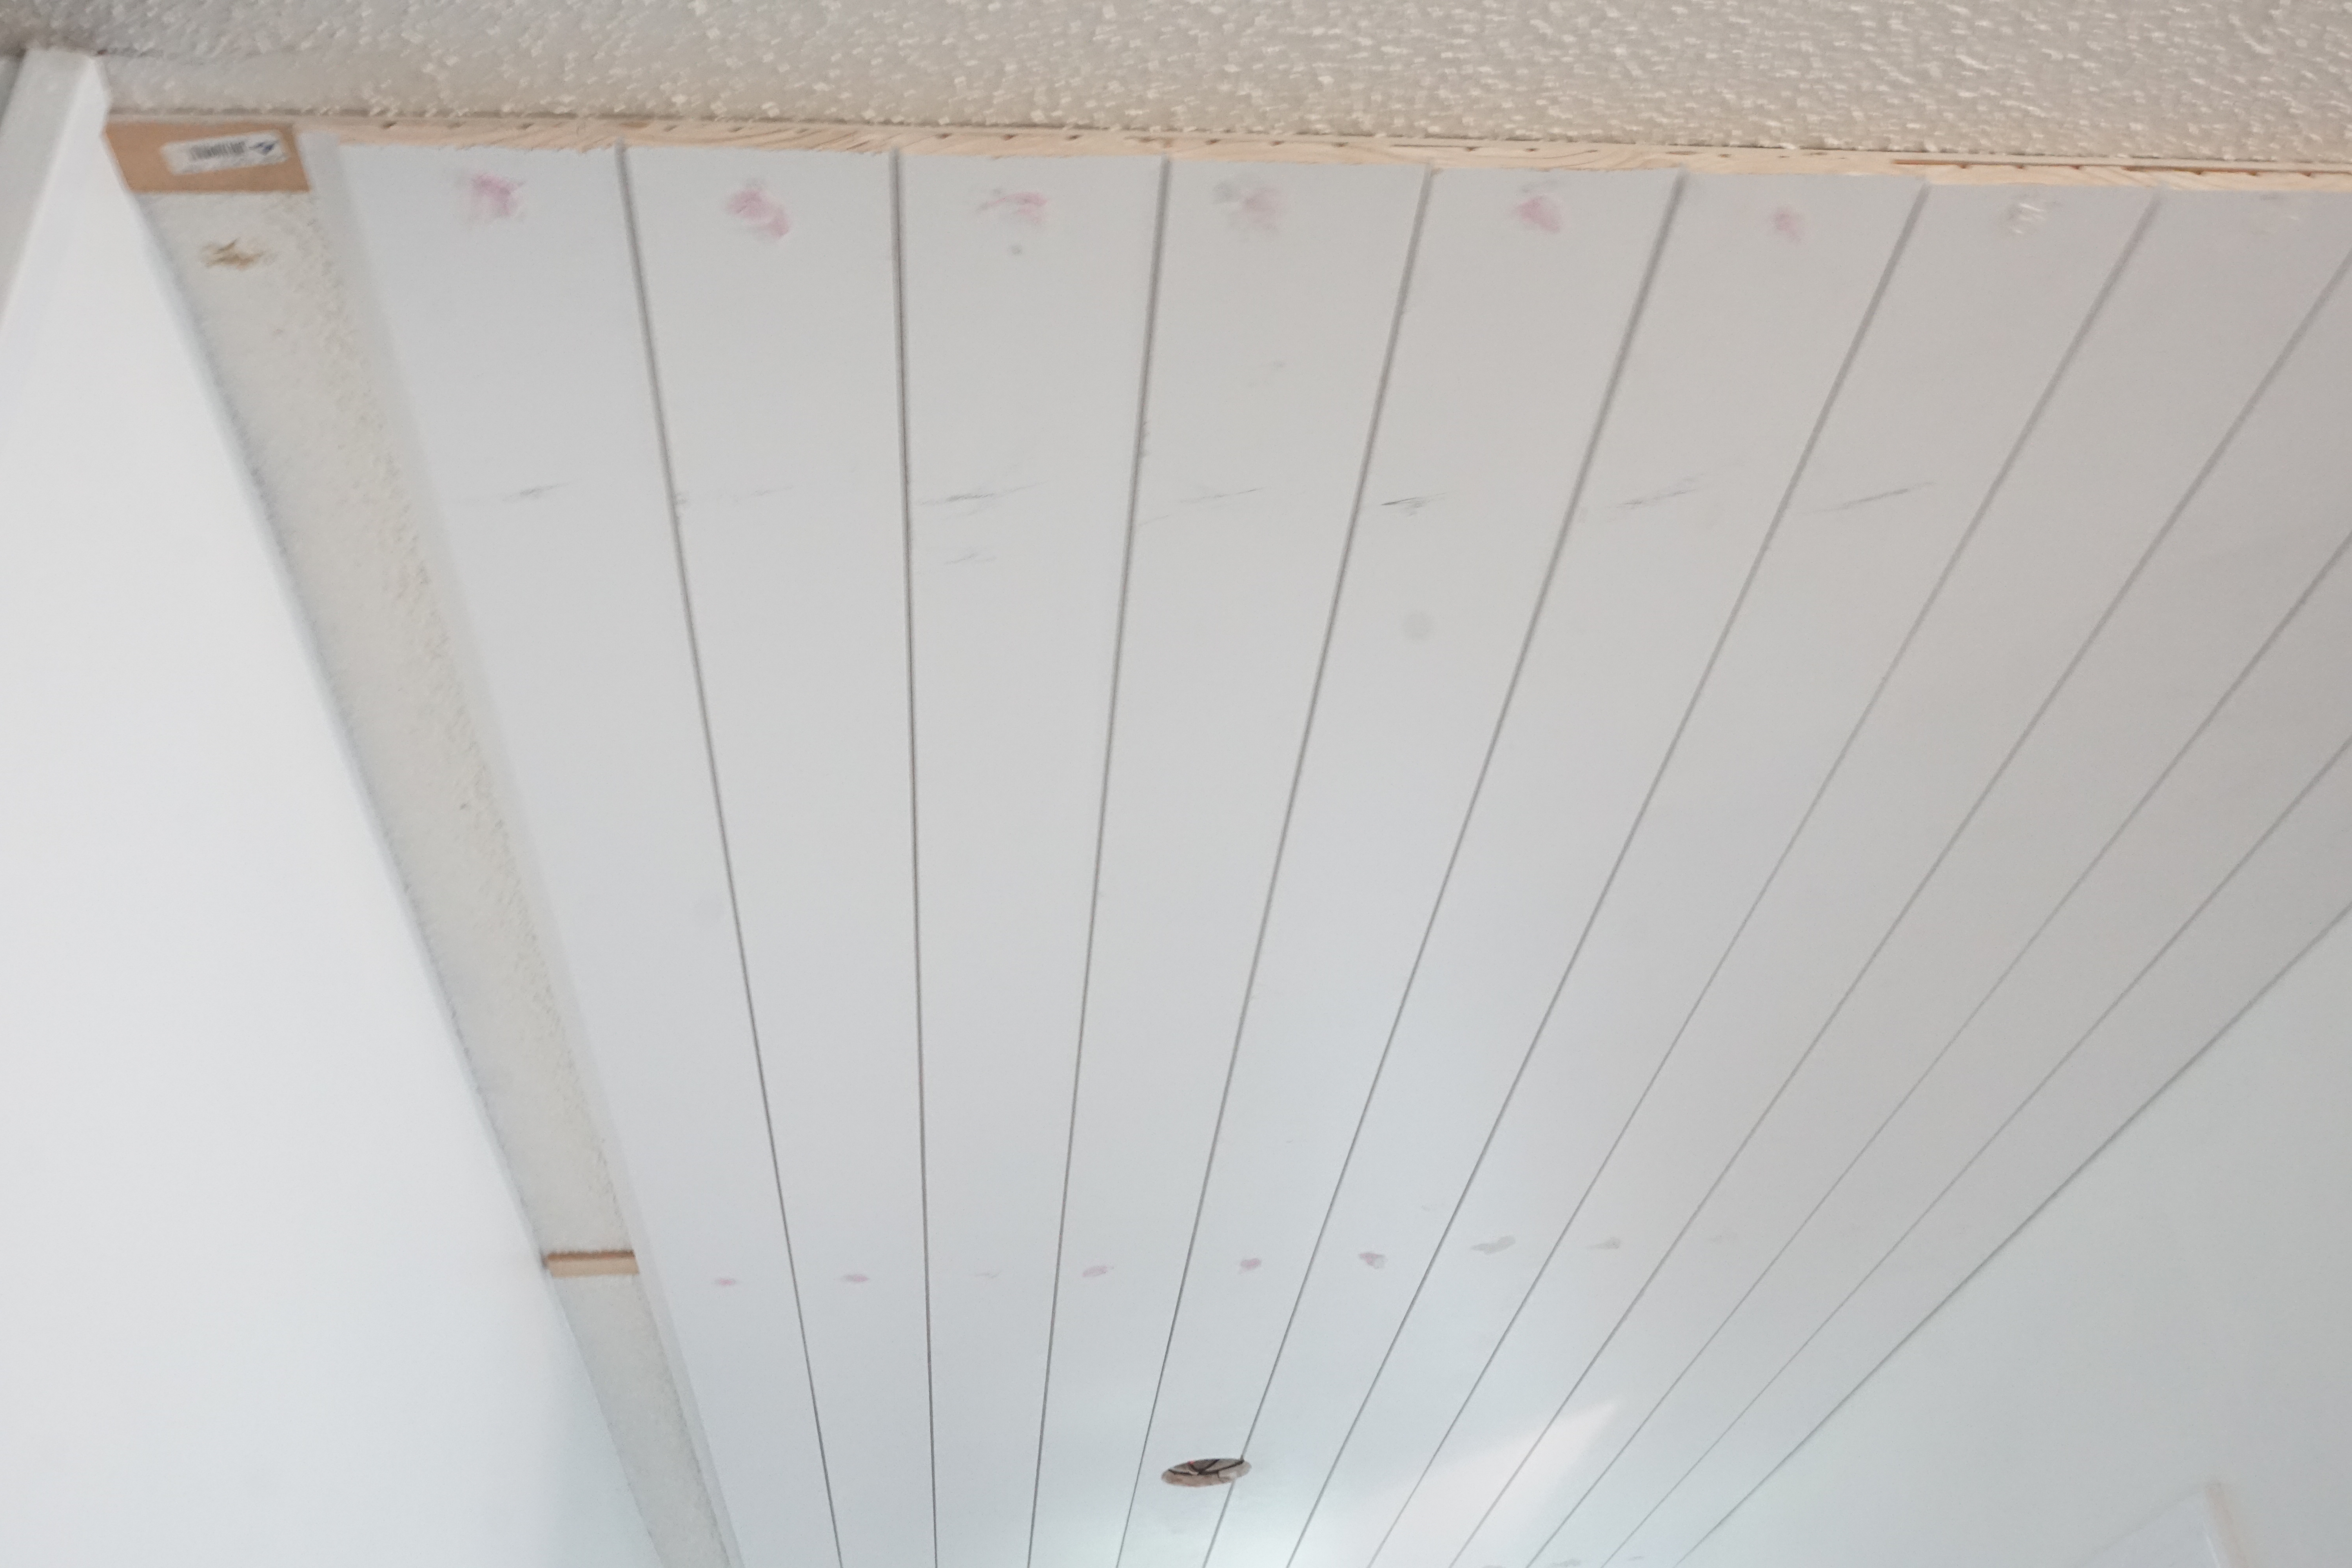
Step 3 – Measure, Cut, Attach
Measure accordingly, leaving 1/8″-1/4″ space for board expansion. Your trim will cover any gaps.
Using a miter saw, cut each board accordingly as you go.
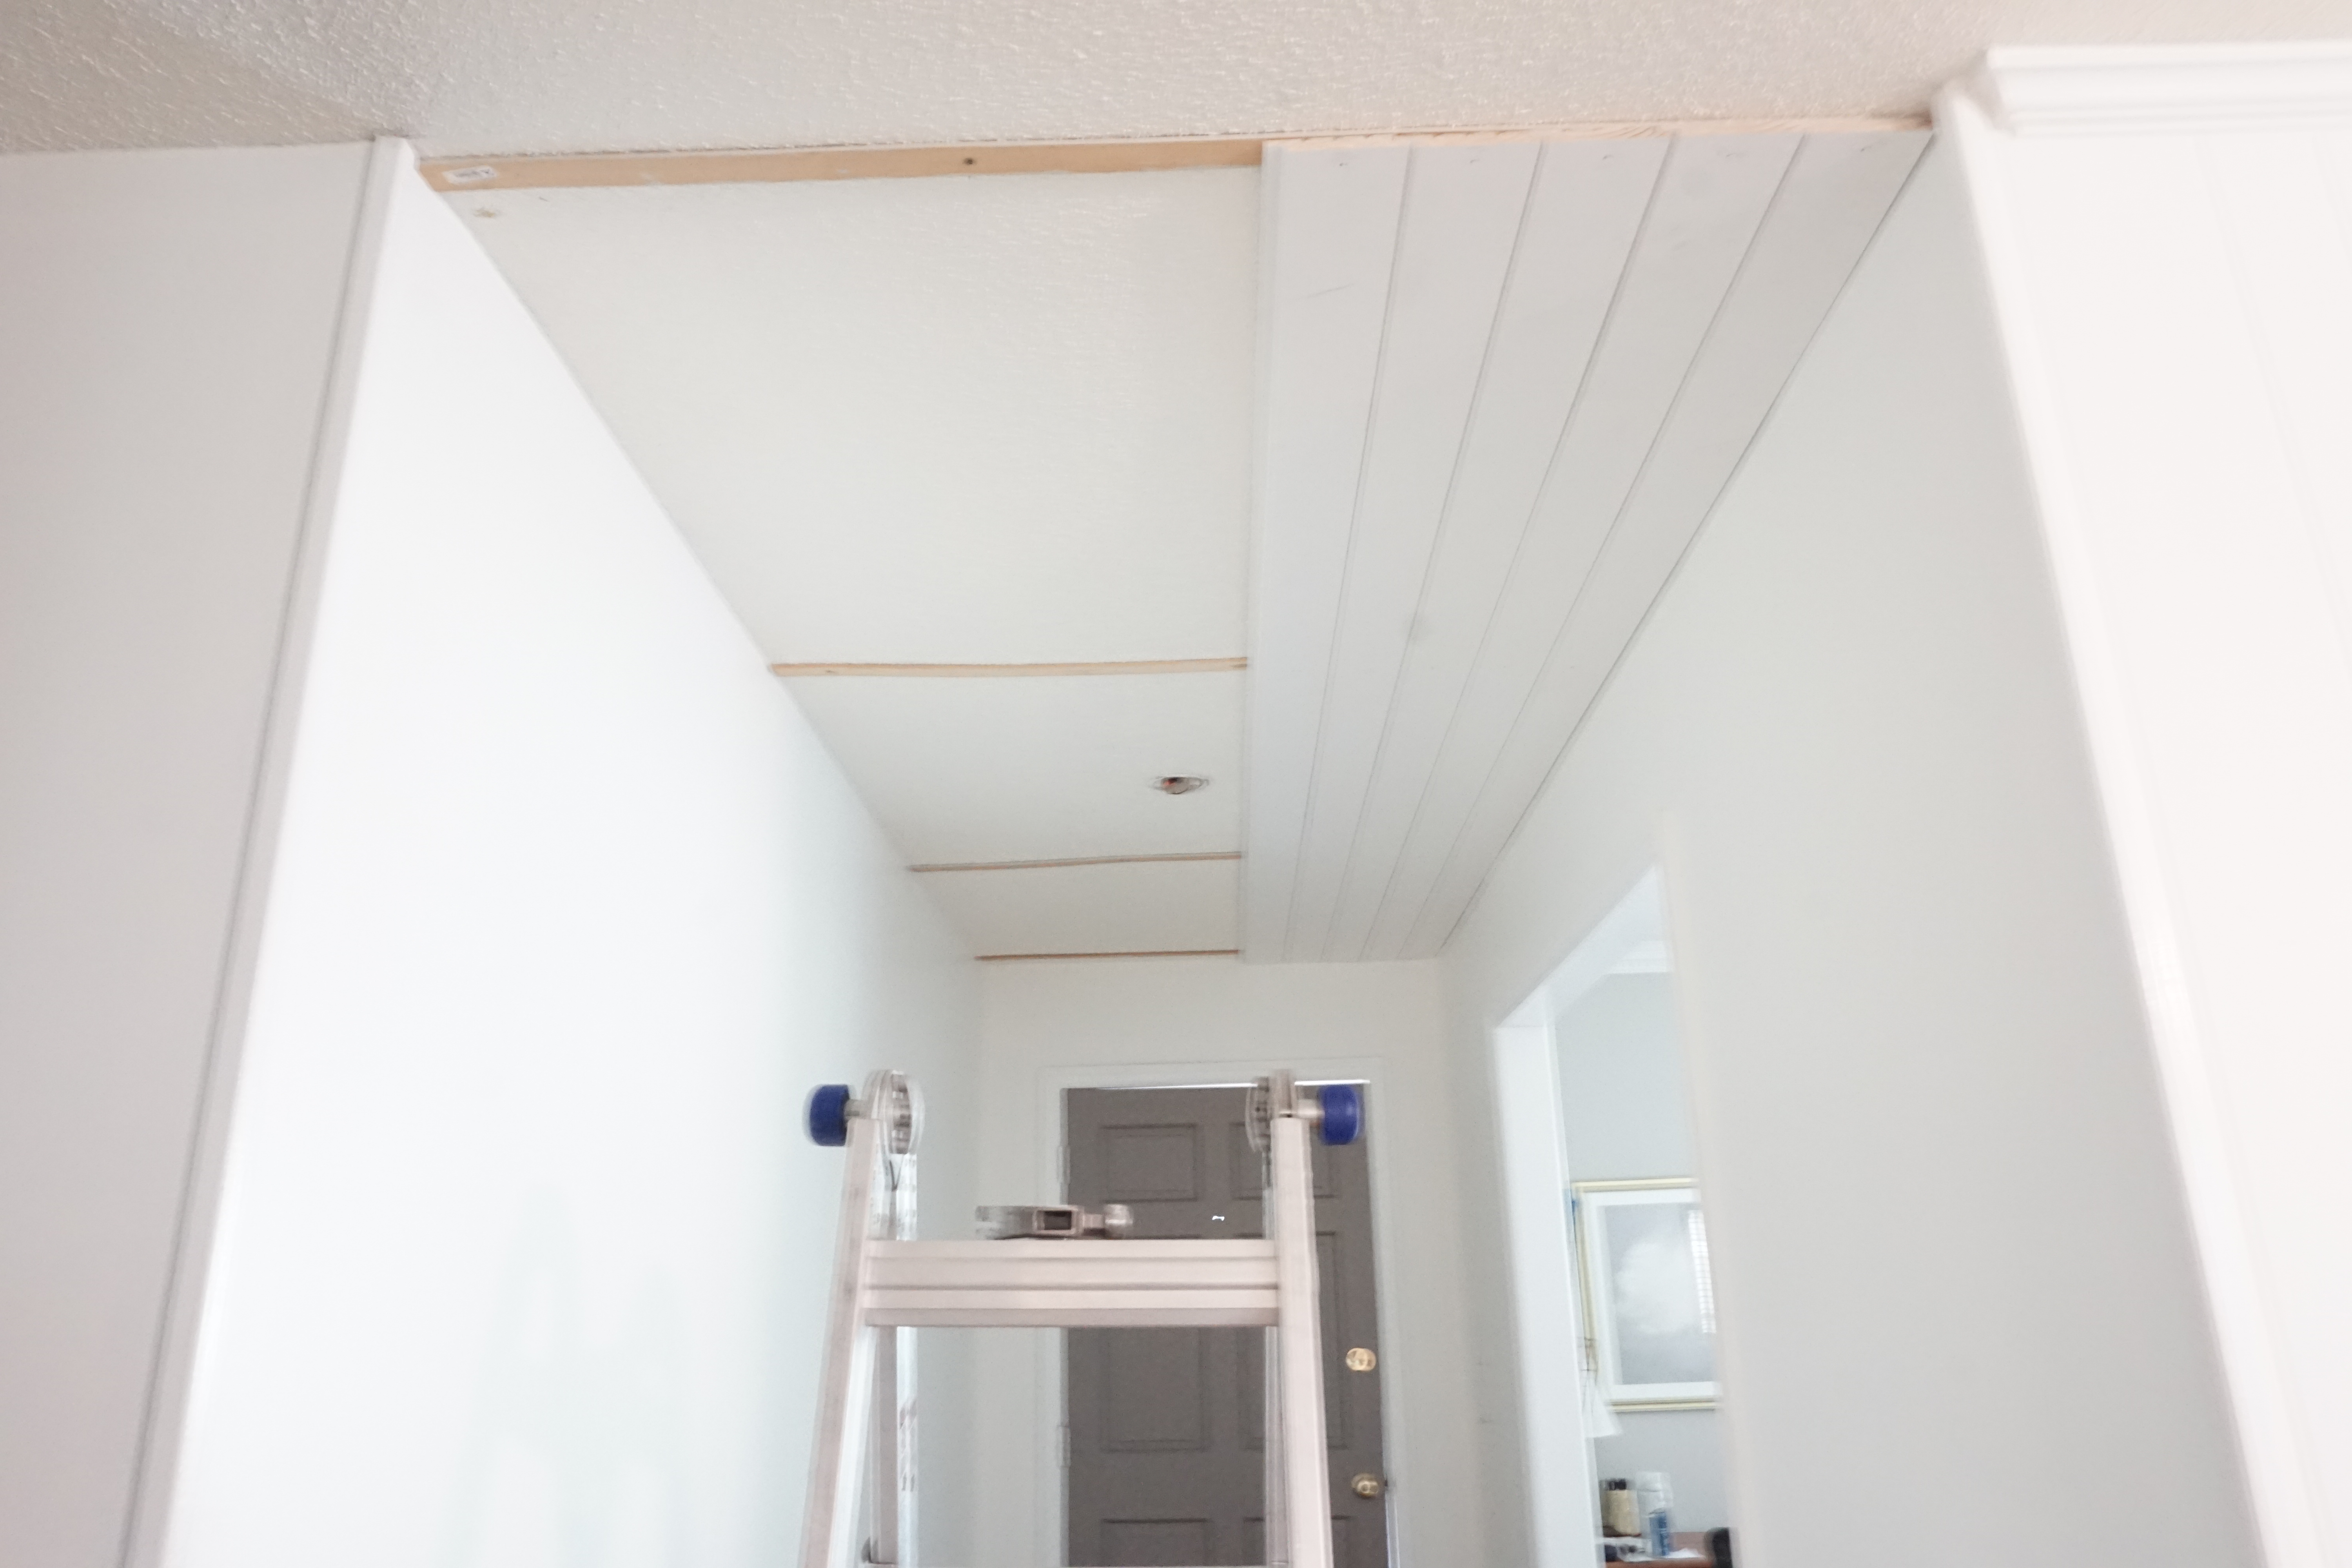
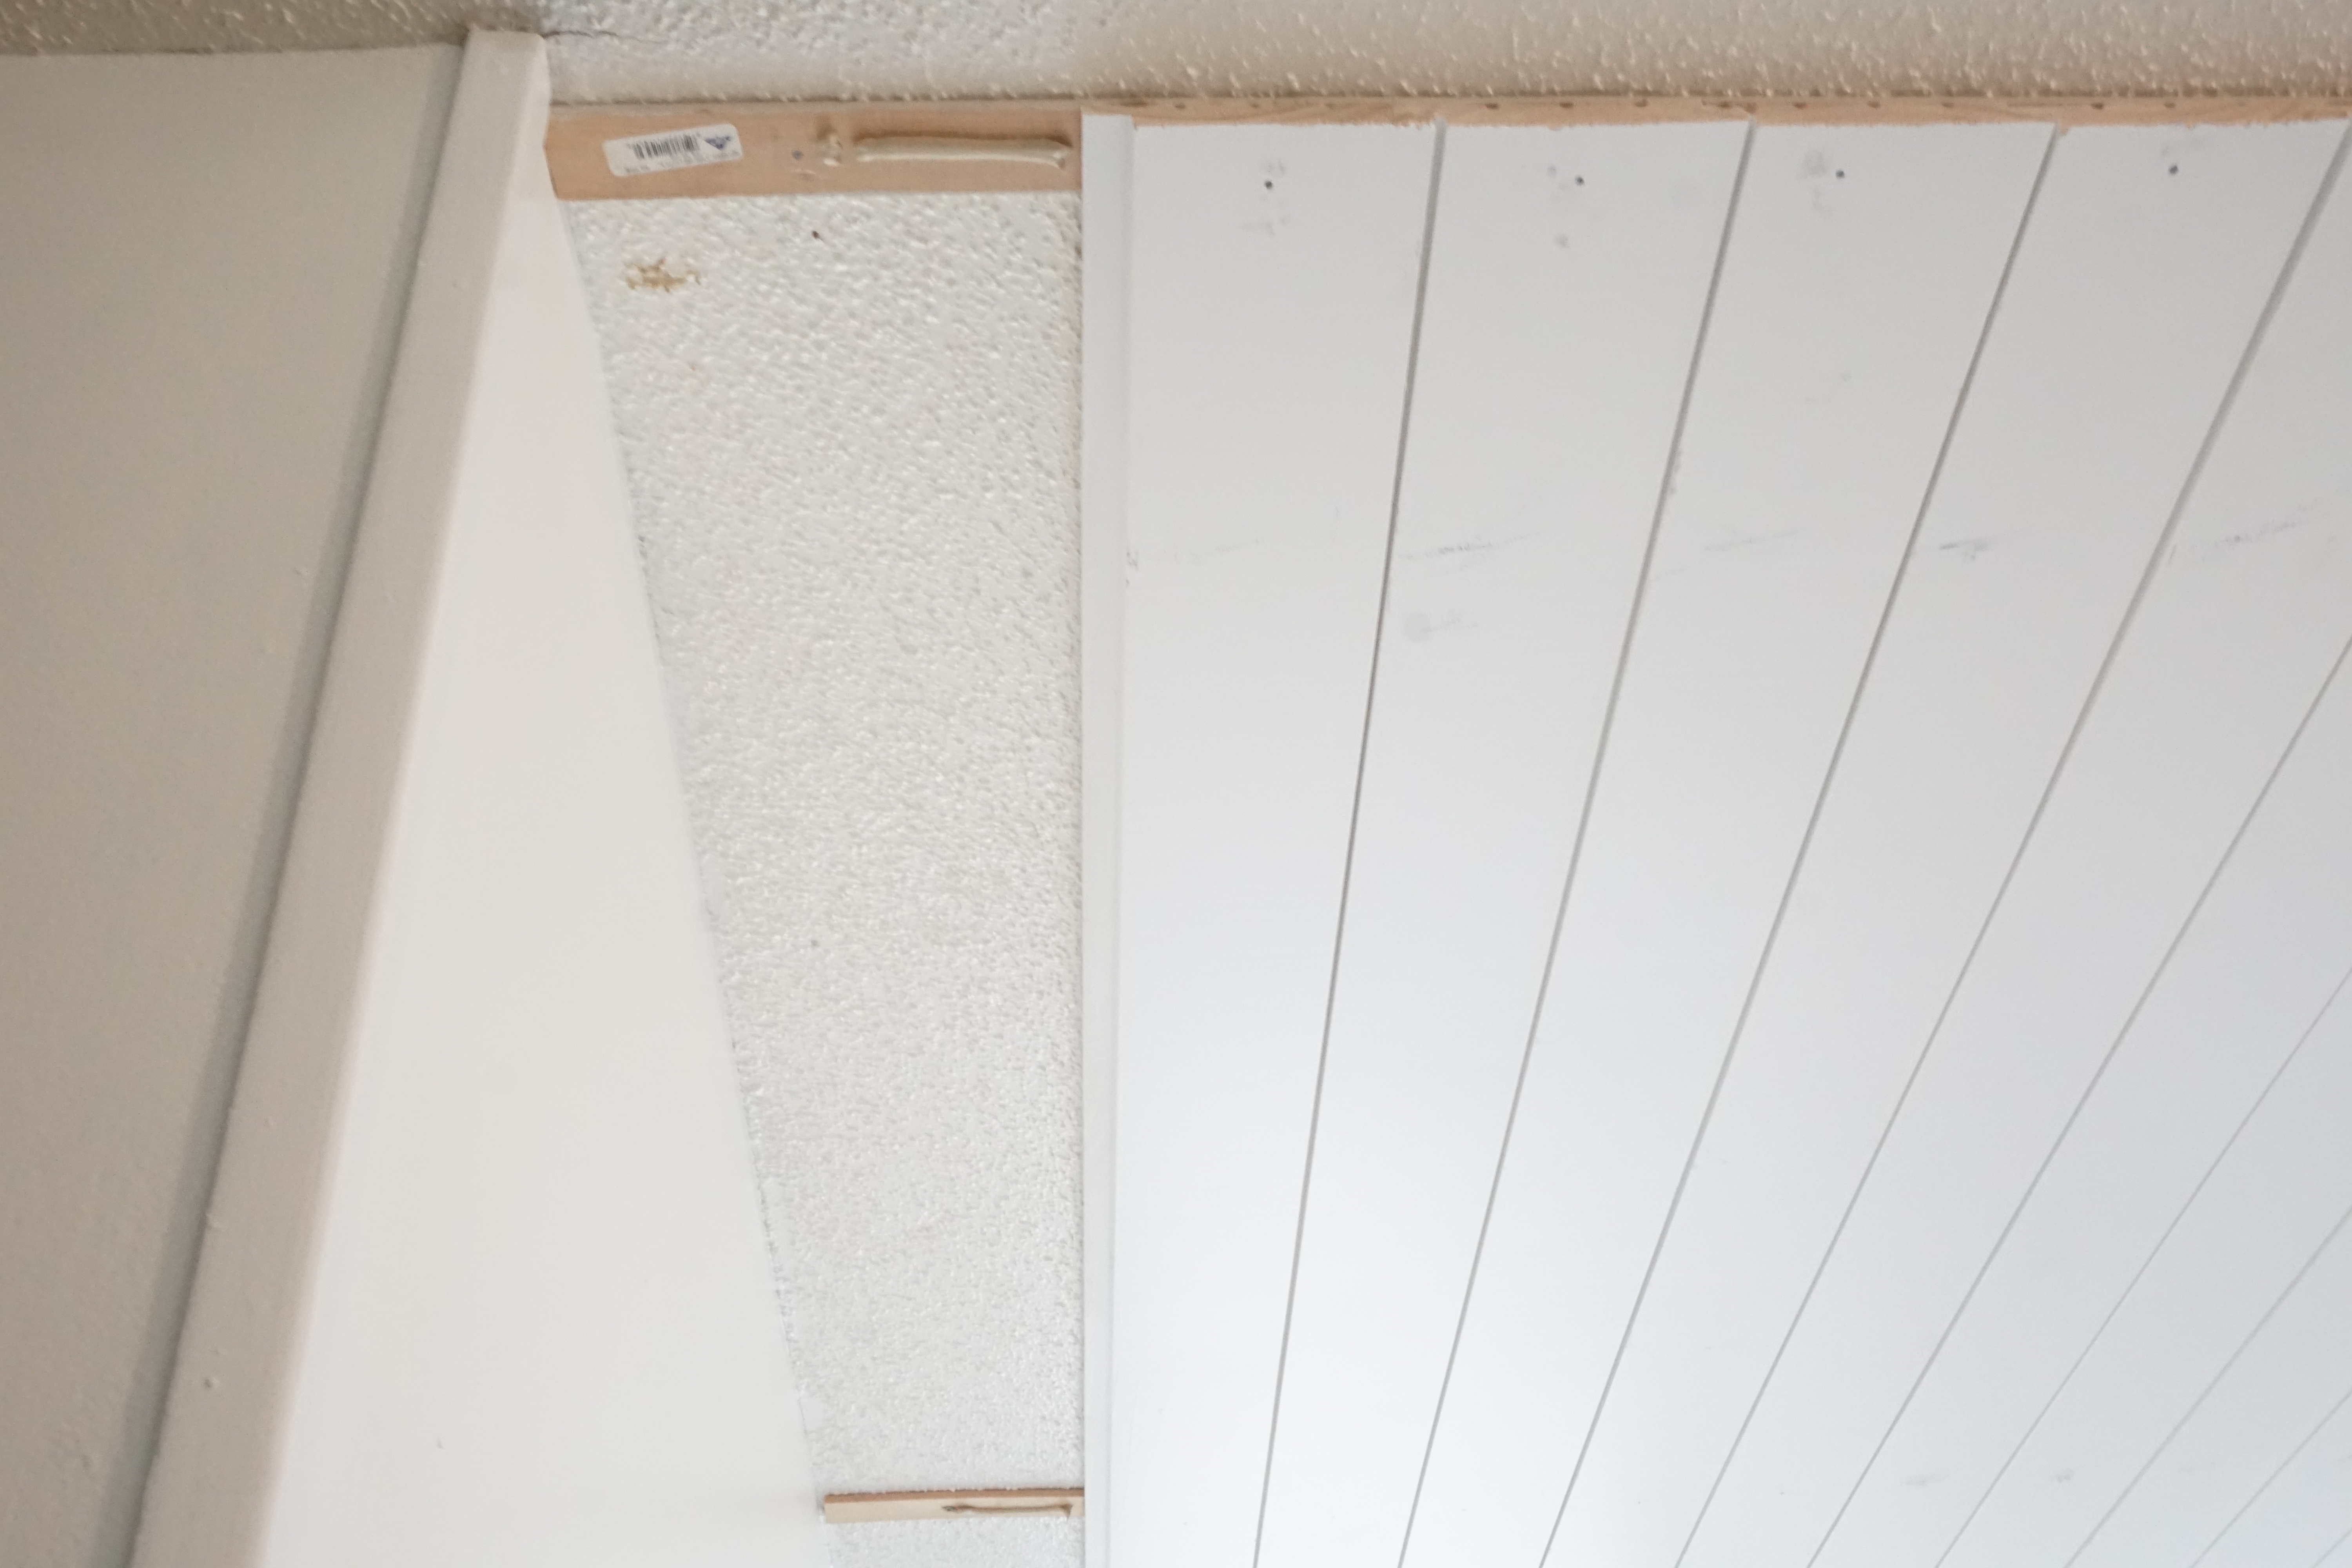
If using lattice strips, apply a strip of liquid nails along the strip before attaching the board. Then you will nail the boards into each lattice strip using your 2″ finishing nails or brad nails.
Side story – we don’t have a nail gun yet, so this job took double the amount of time as it would’ve if we didn’t have to hammer each nail in above our heads!
Step 4 – Cut Around Barriers
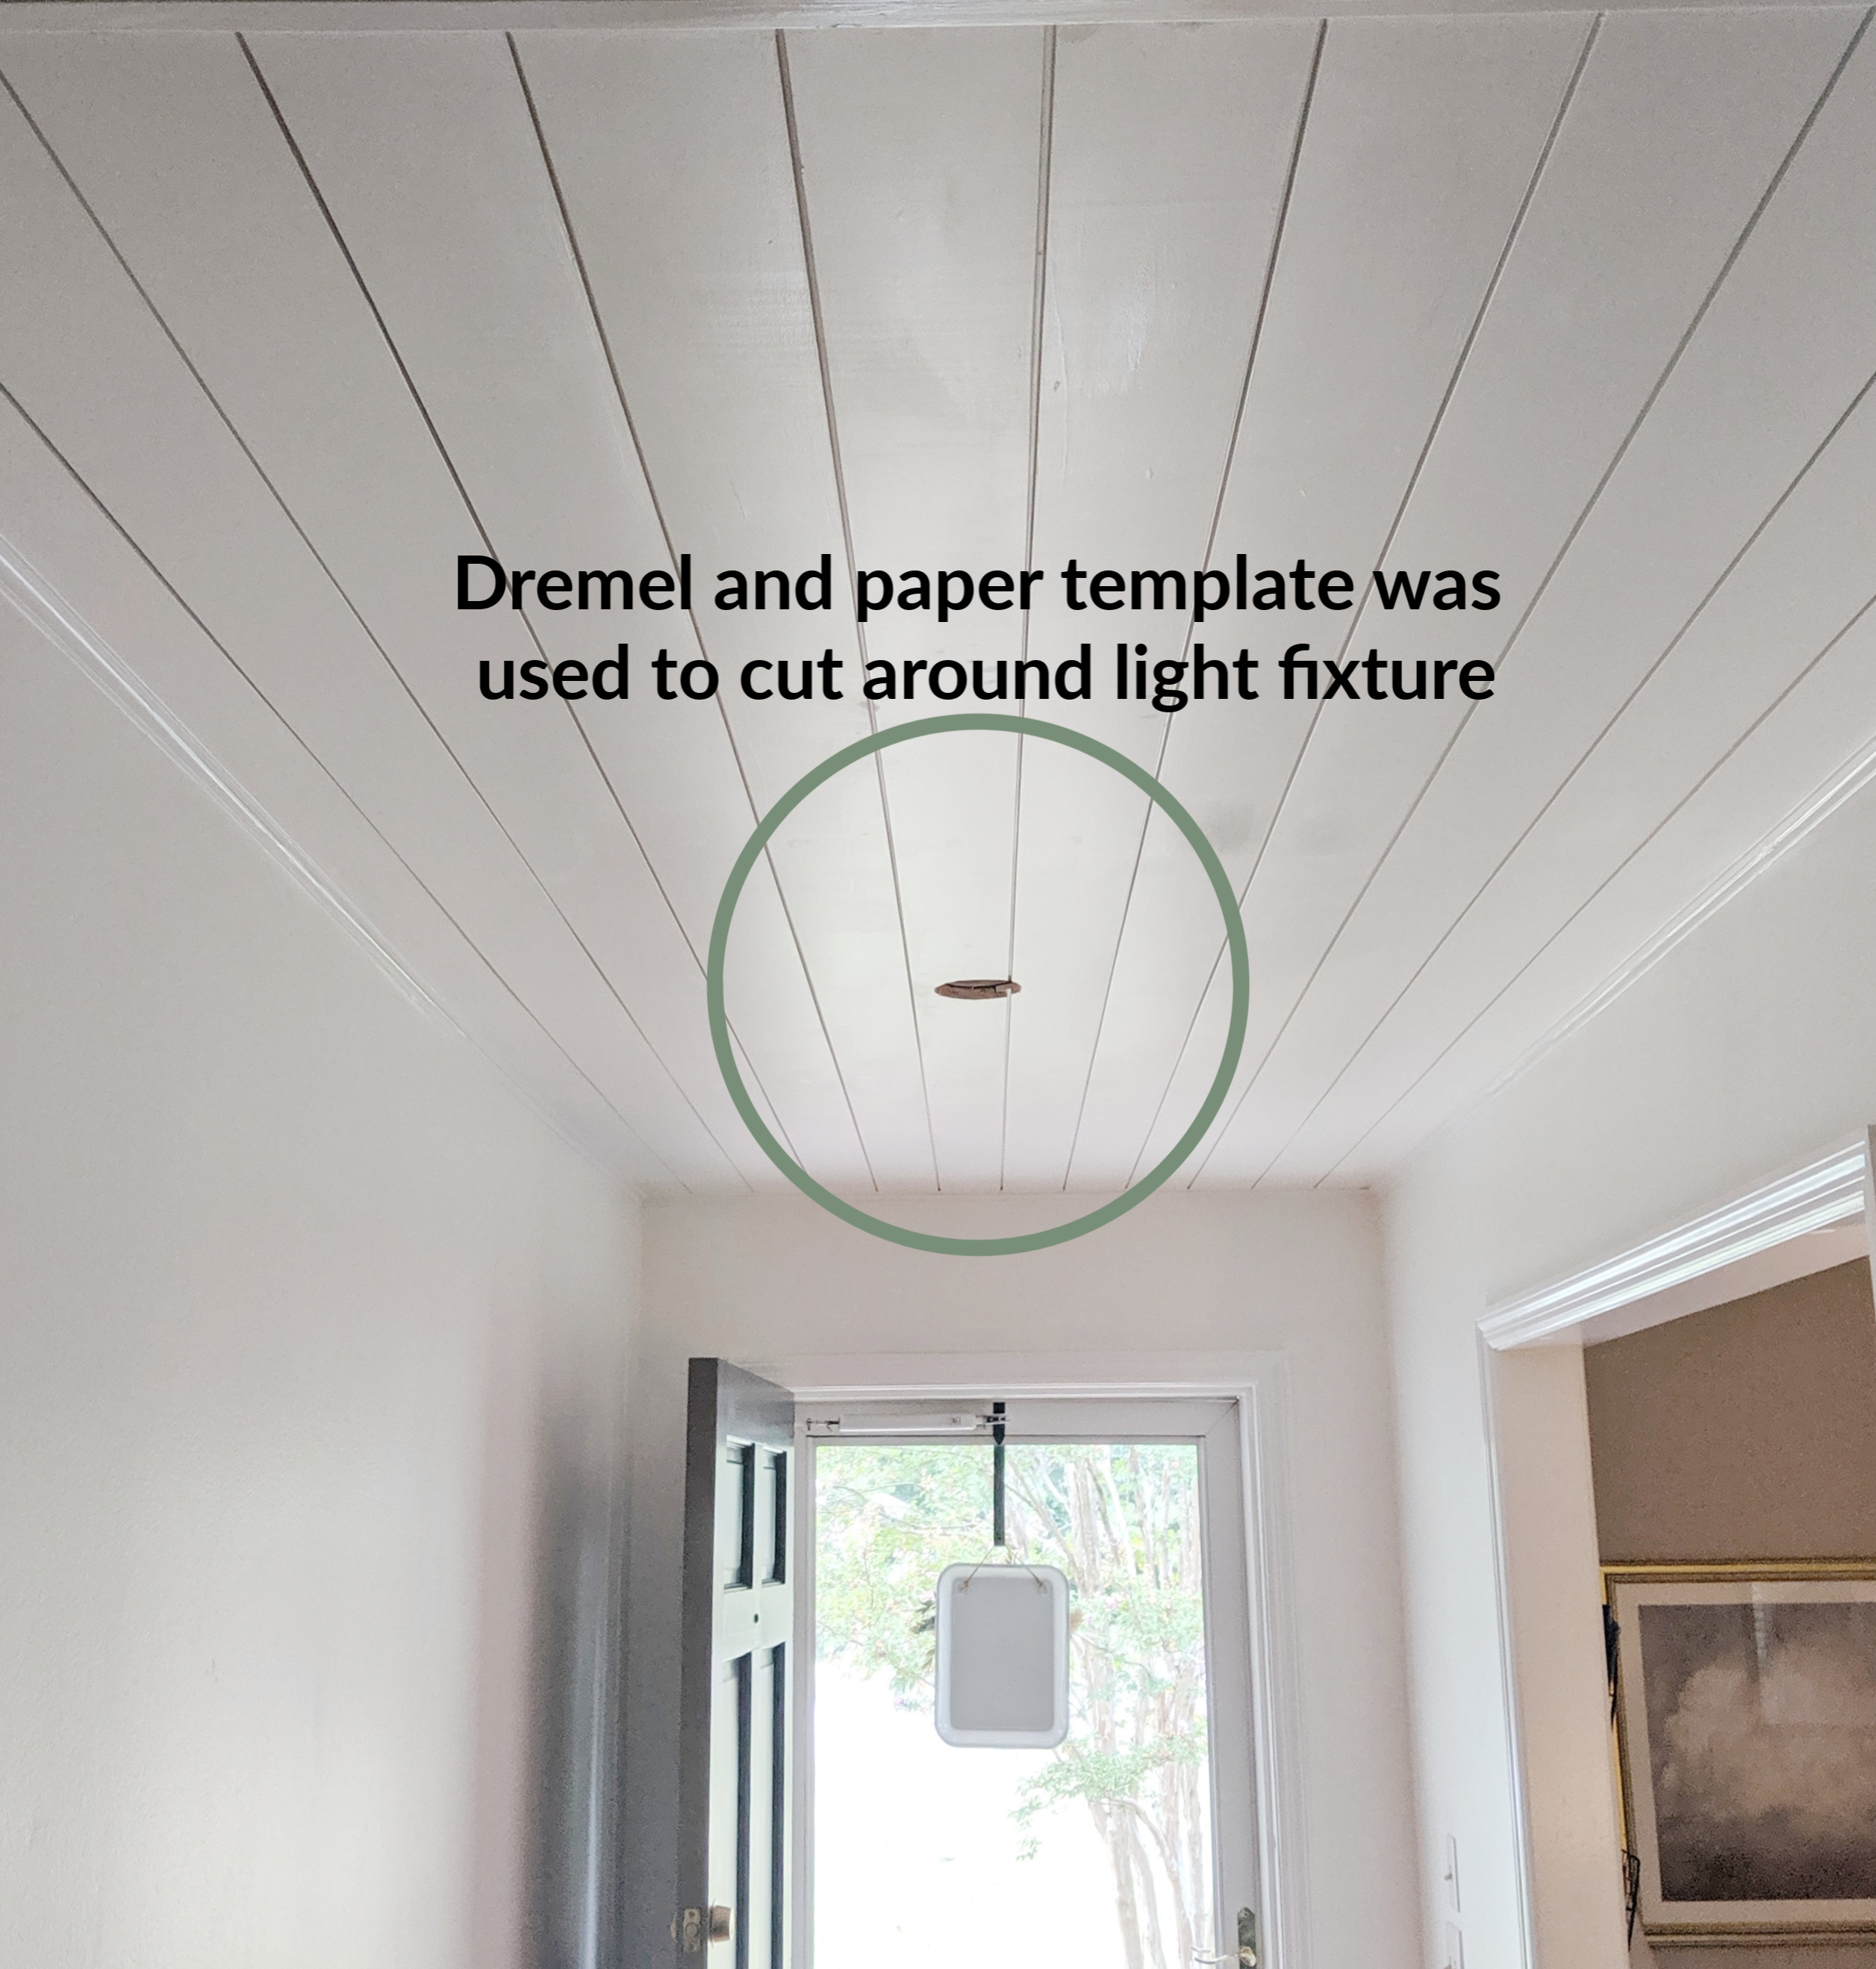
Once you get to a lighting mount or other ceiling barrier, hold the board up to the area and mark accordingly. My husband, the genius, found a bowl that was the exact circumference of our ceiling mount and used it as a template for the boards. He then went in with his Drimmel tool and chisel to cut out the hole. You can also use a sawzall if you have one instead.
Step 5 – Attach Trim or Molding
Trim finishes off any space. I wanted something minimal to more or less “box in” our planked ceiling from the rest of the house. We went with quarter round trim and a corner trim piece to cap it off at the end of the entry.

You will simple measure and cut 45 degree angles to your trim accordingly, and attach them to your walls like you did your boards.
Step 6 – Patch, Caulk, and Paint
Spackle each nail hole and let dry before sanding smooth. Make sure to sand all the spackle of your boards so that it doesn’t show up through your paint. (Lesson learned!)
Caulk hides a multitude of sins! It’s my best friend as a DIYer. Caulk all around the trim and end piece.
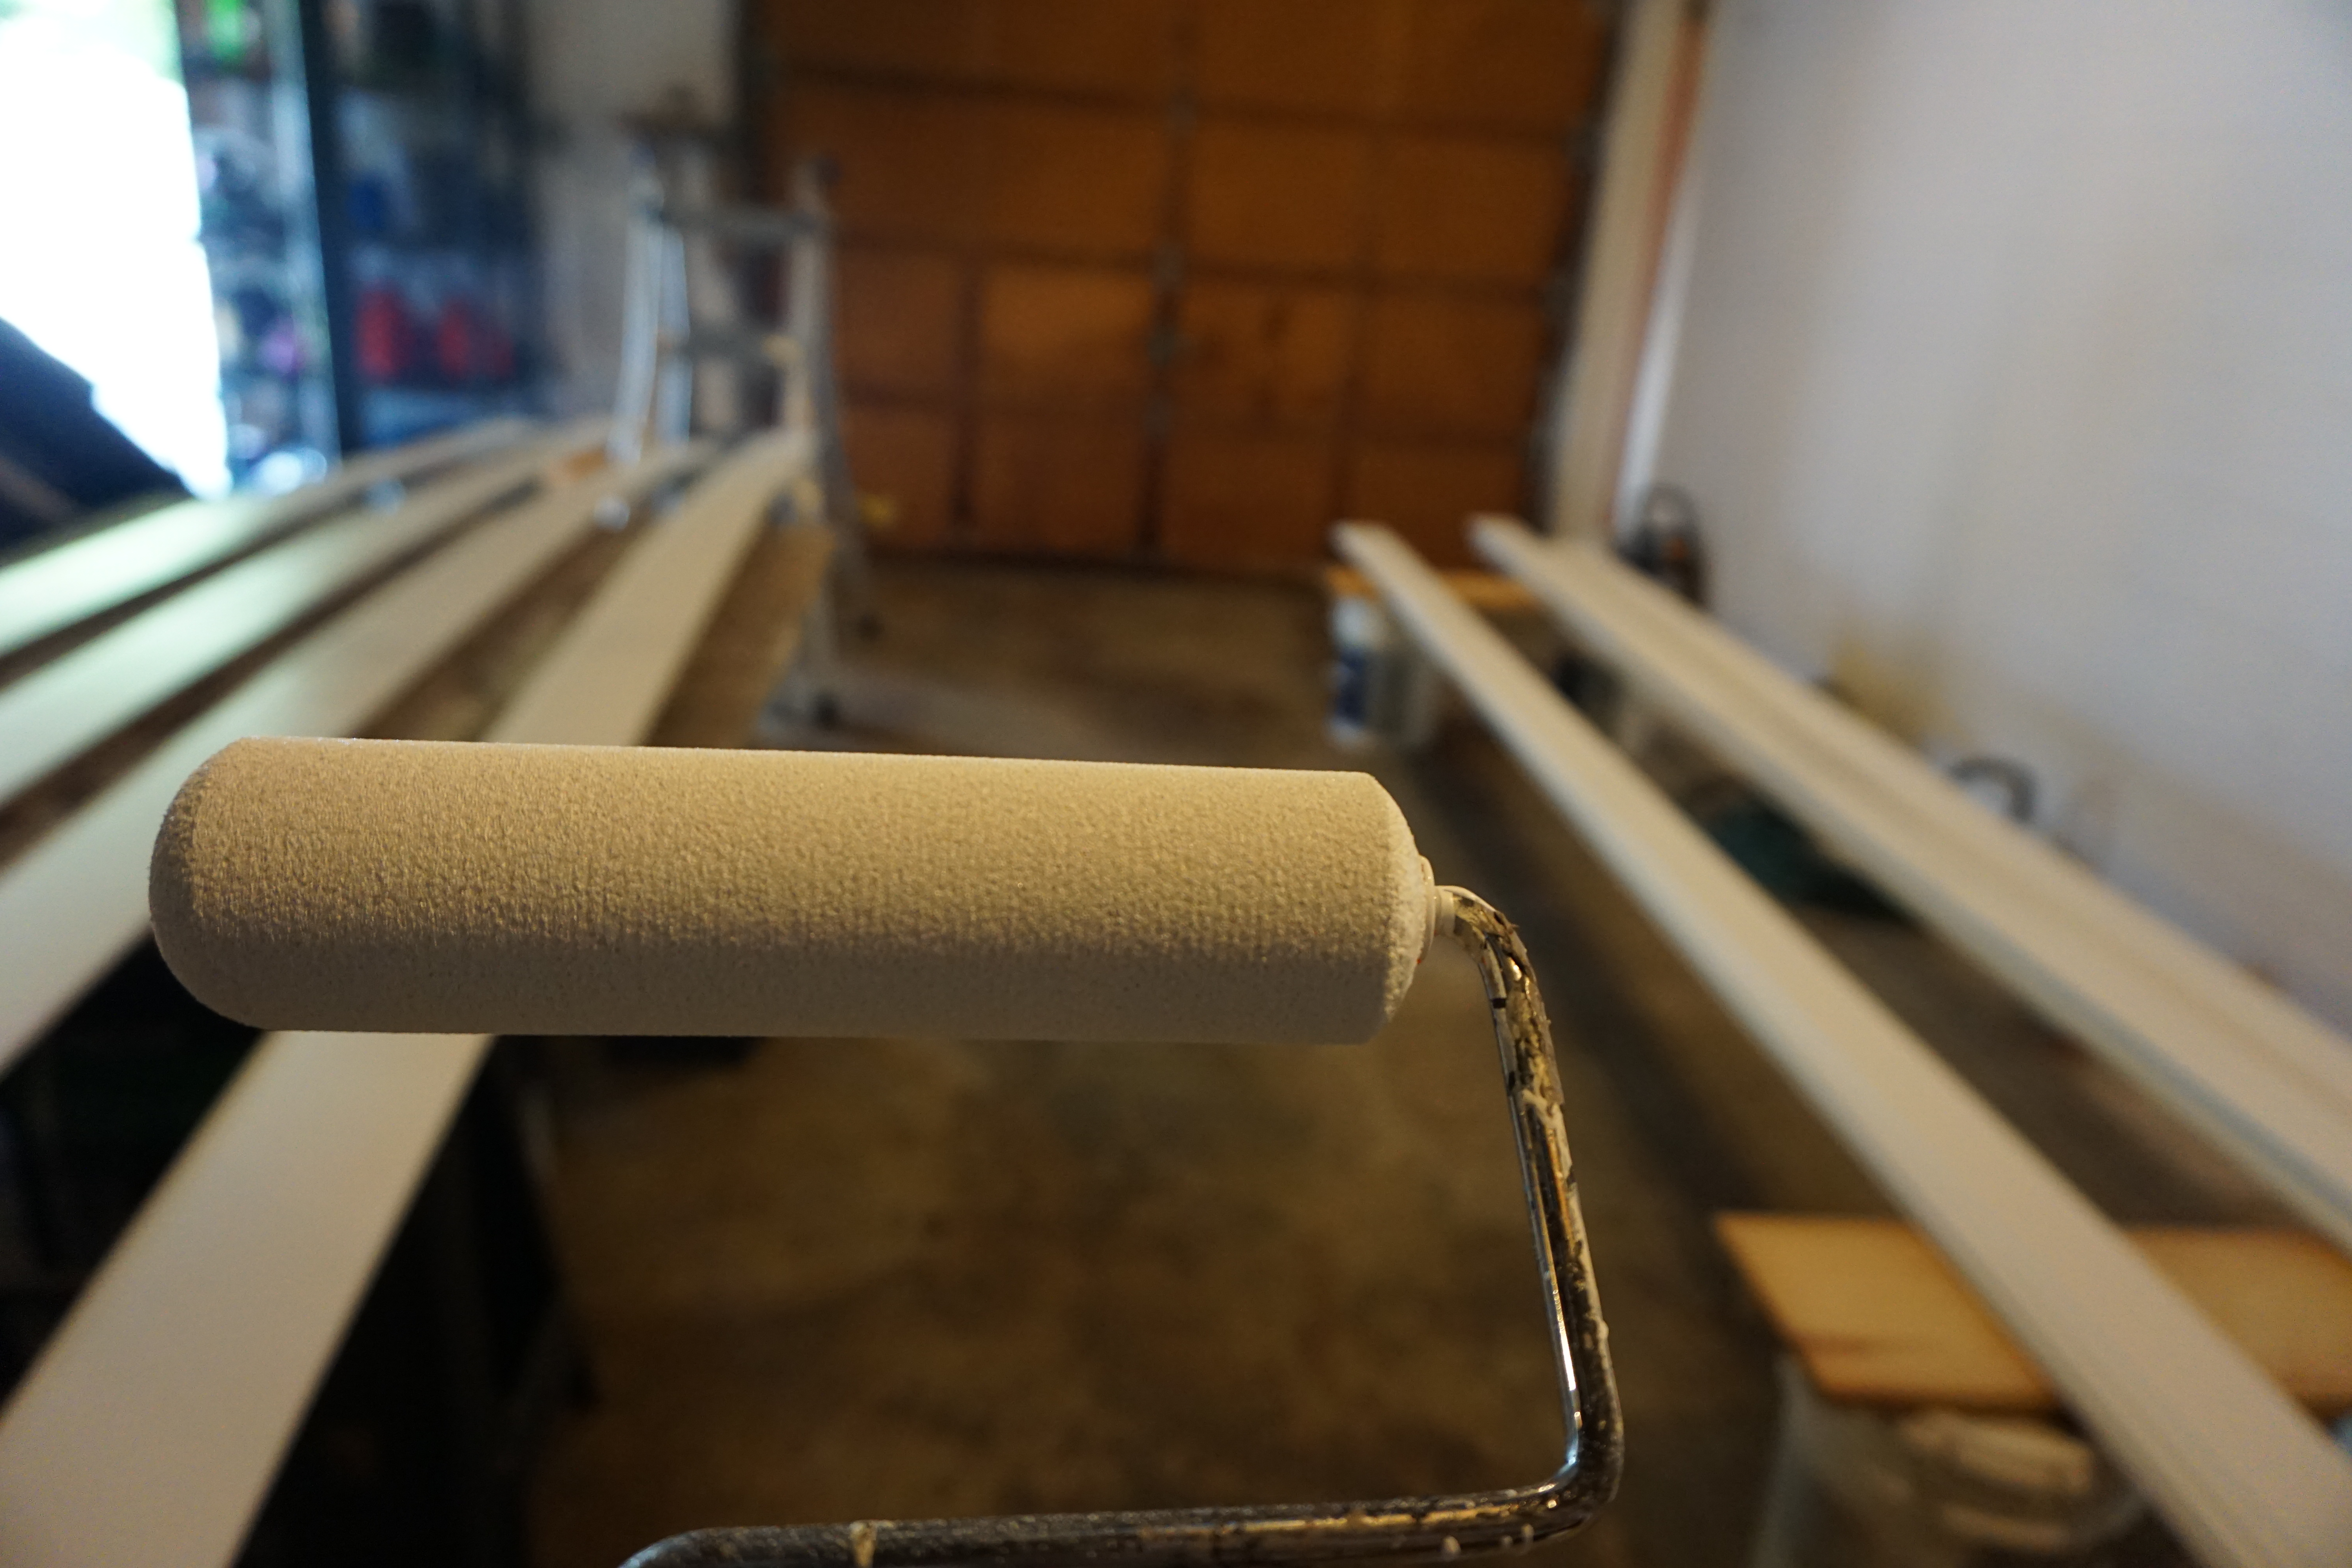
Once your caulk is completely dry, go back in with your paint, roller, and paint brush to put on a final finishing coat!
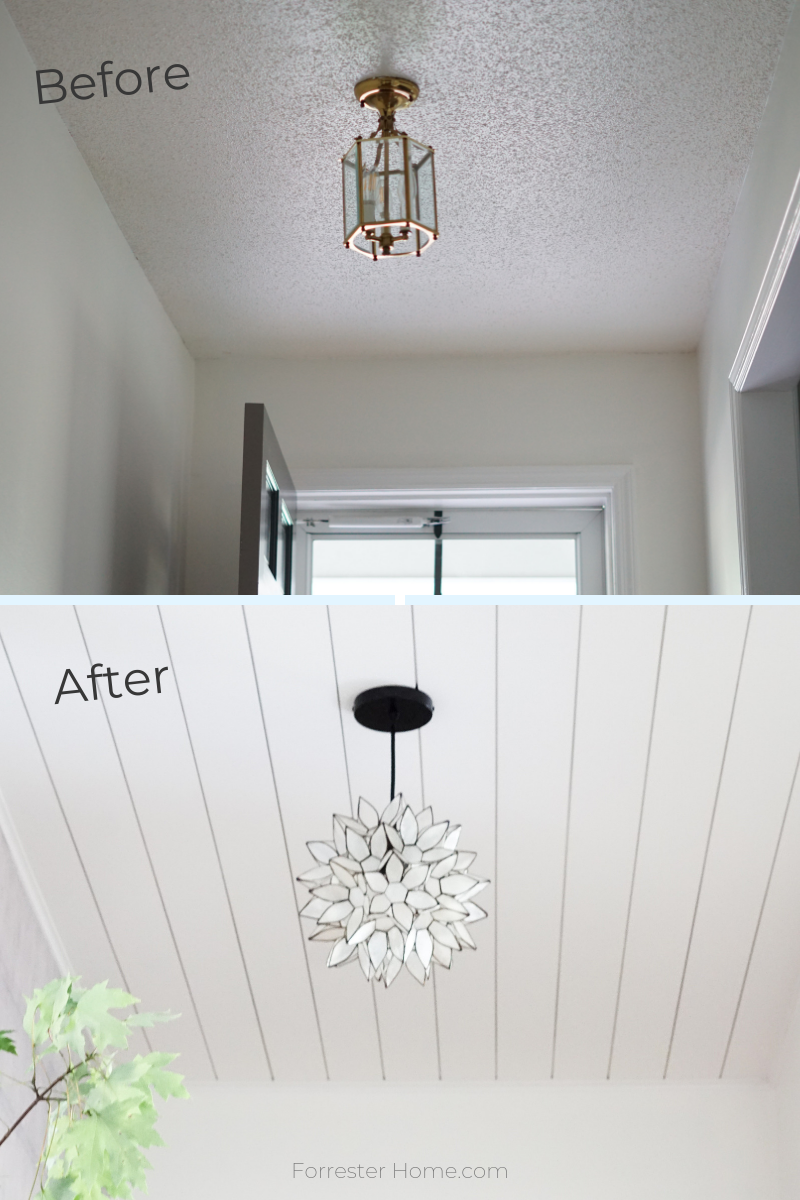
Before
After
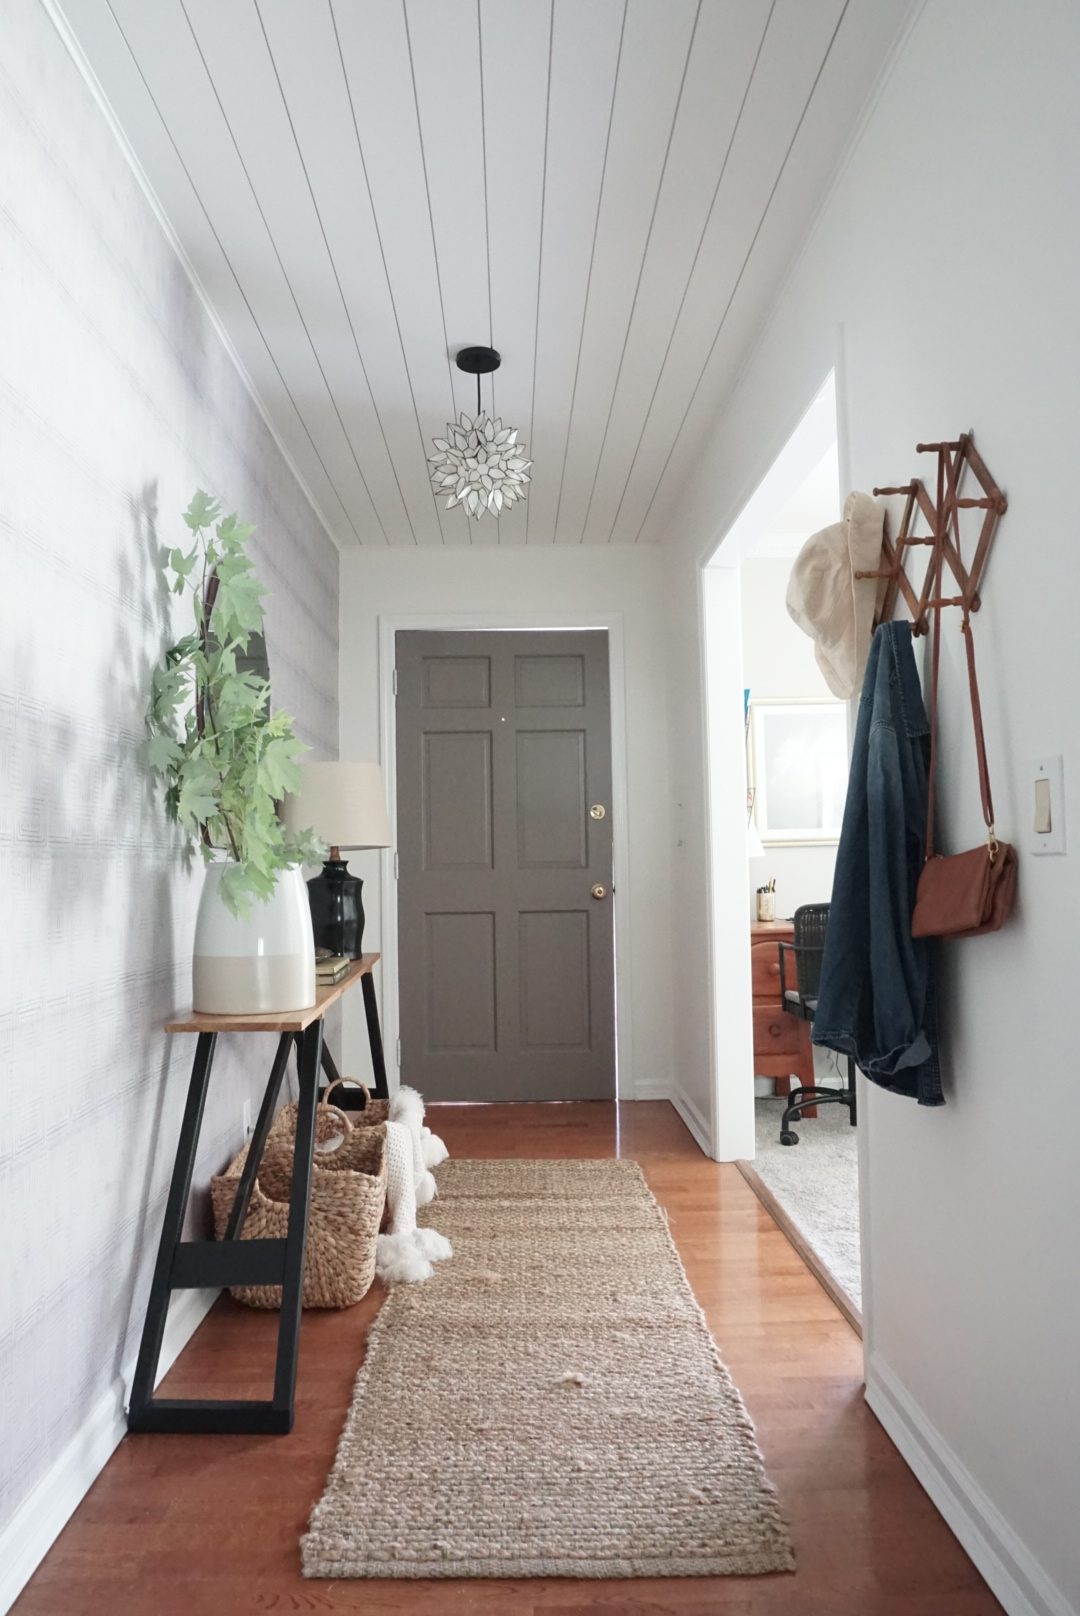
To see the complete Entryway Before and After, click HERE.