Do you have one of those rooms that is just OK? The function is fine, the walls are neutral, but you just don’t love it. Things don’t completely go together, and something about it just feels undone.
That’s how I felt about our office/flex room. I knew it could be a showstopper. With it being a small room of it’s own, it could handle bold choices. After agonizing over paint colors, DIYing a large focal wall, and piecing the room back together, I am so in love with the finished result.
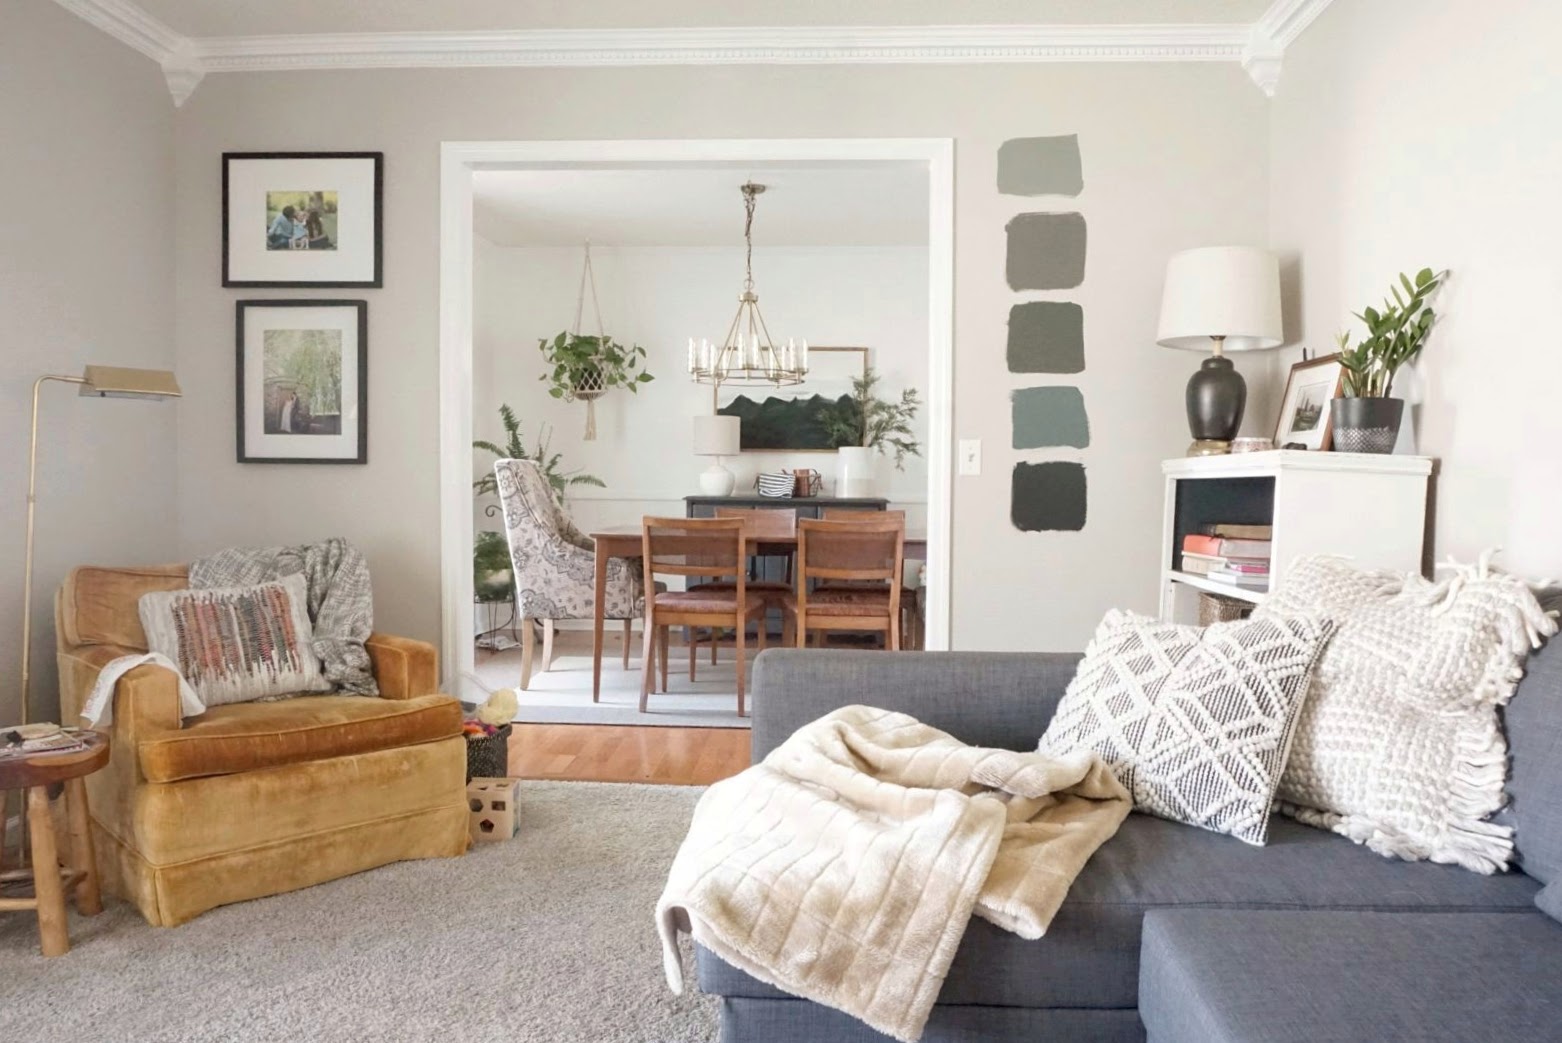
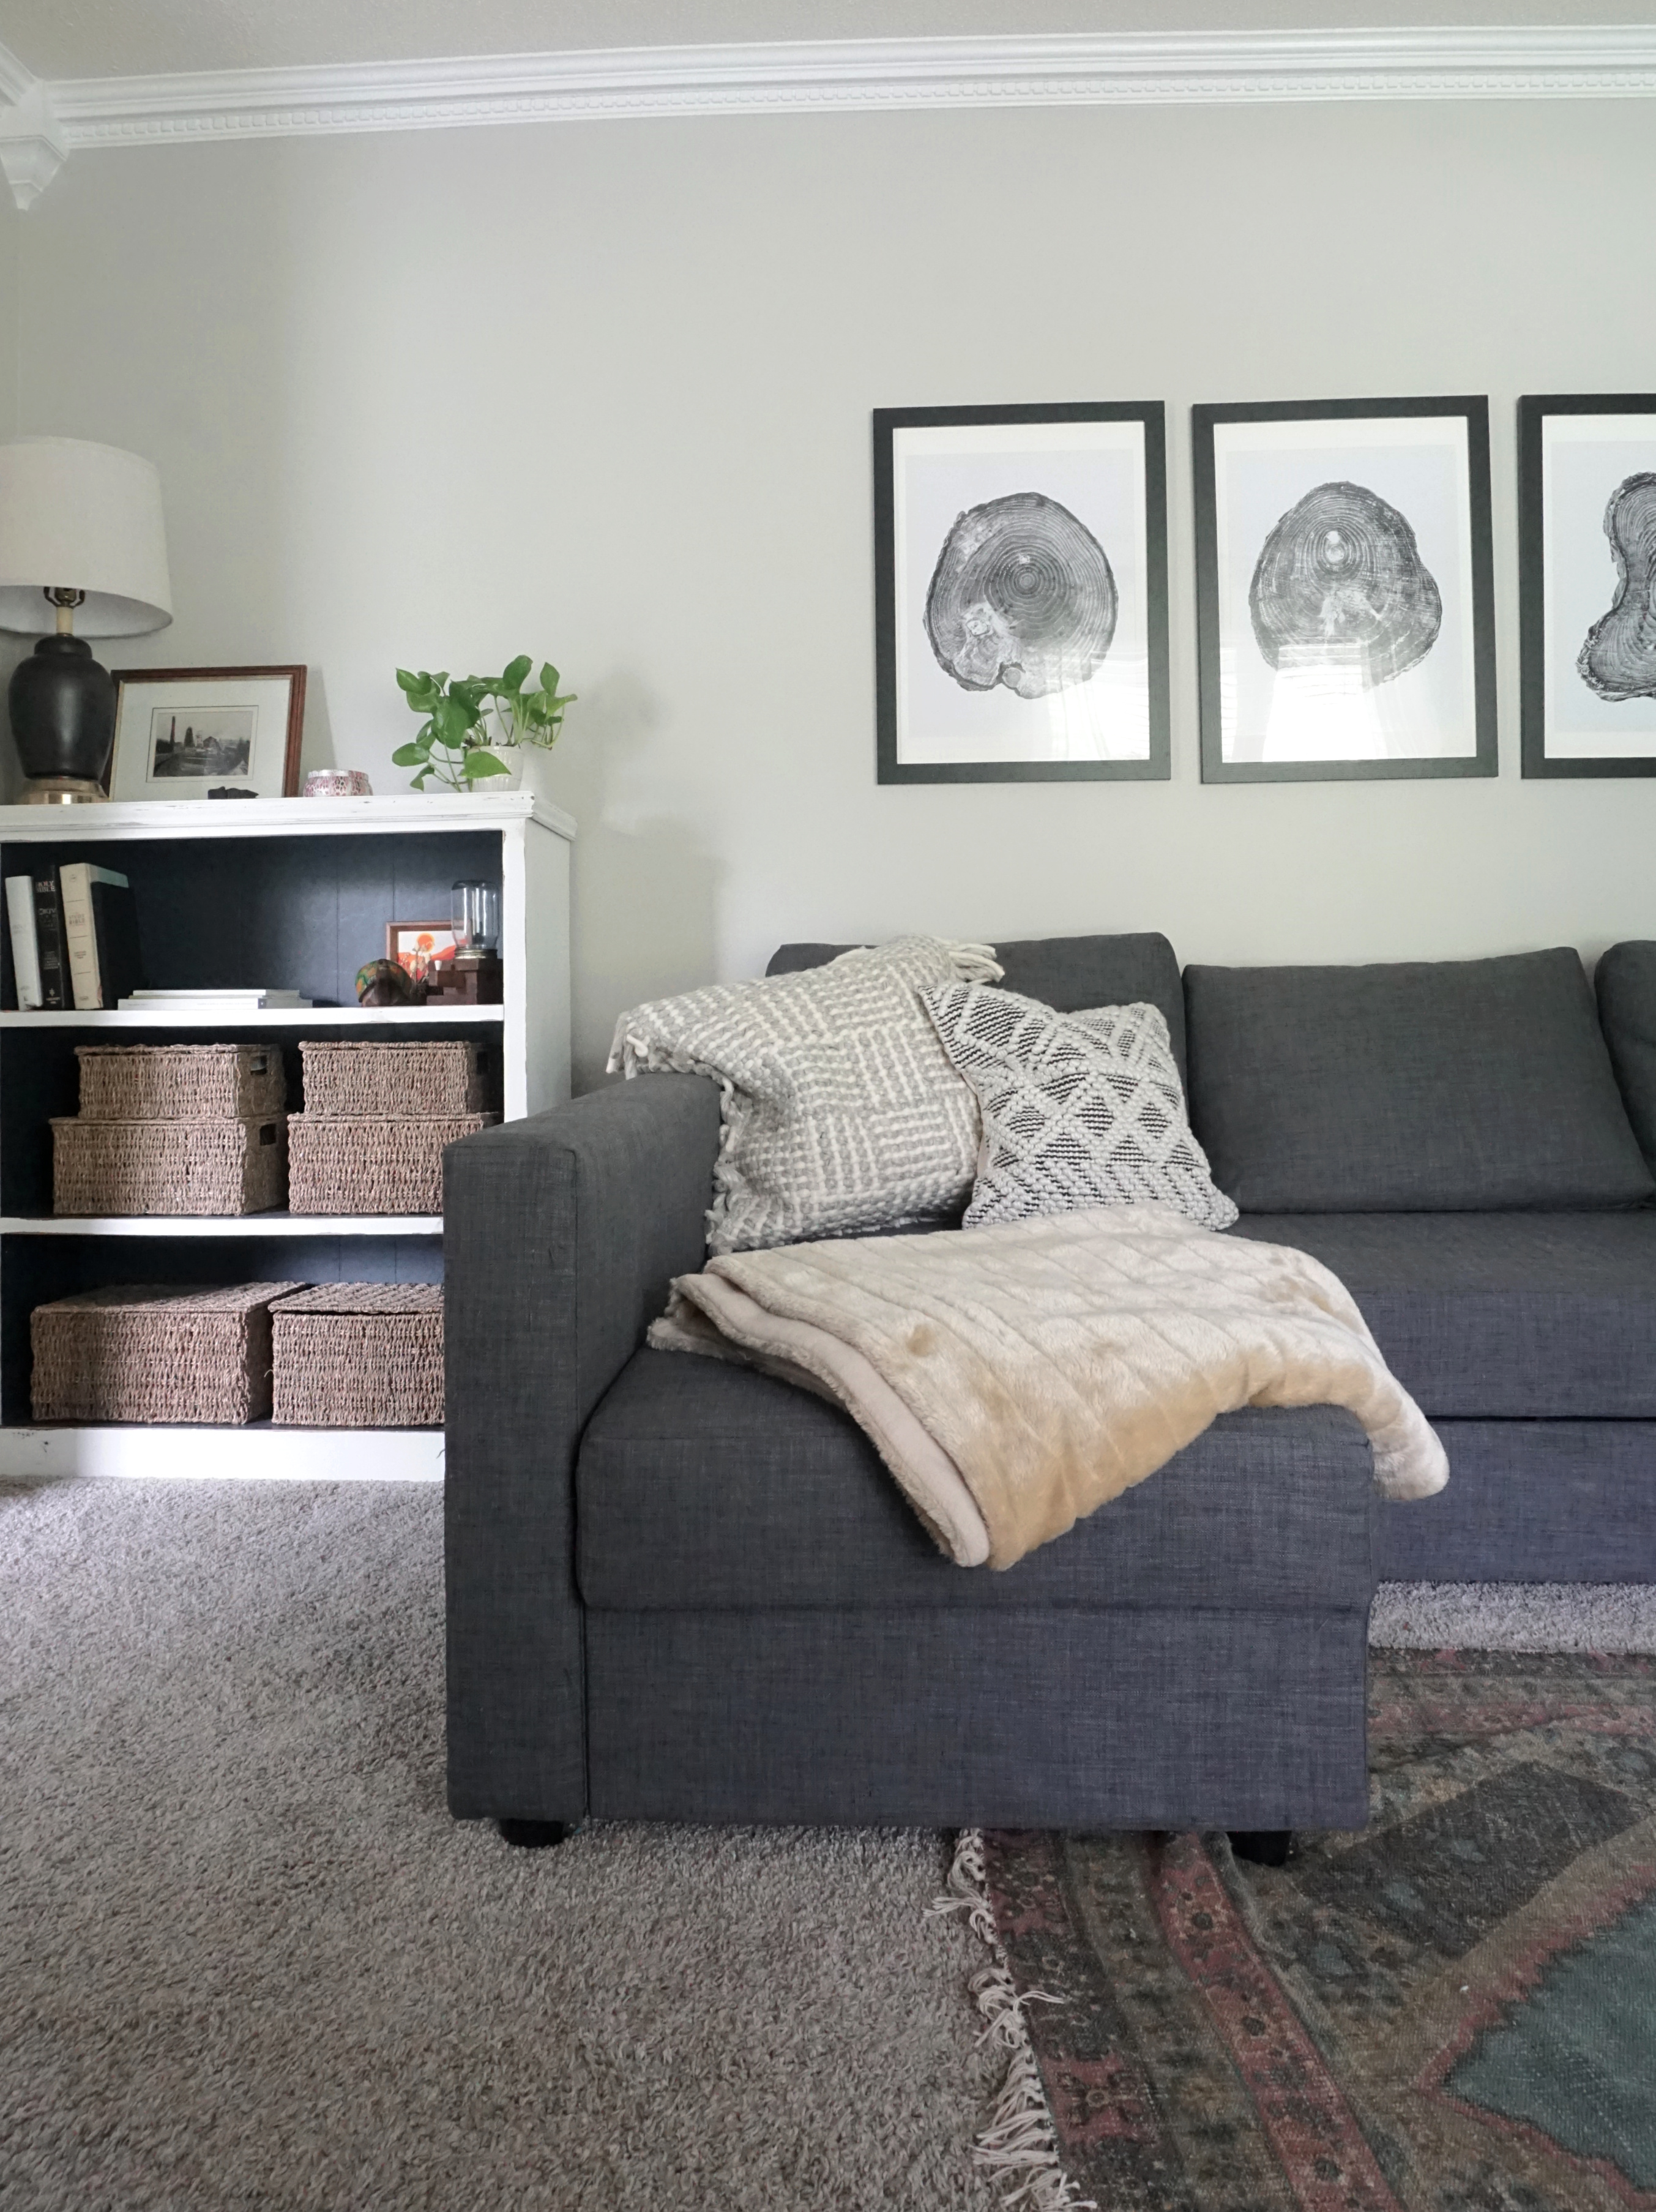
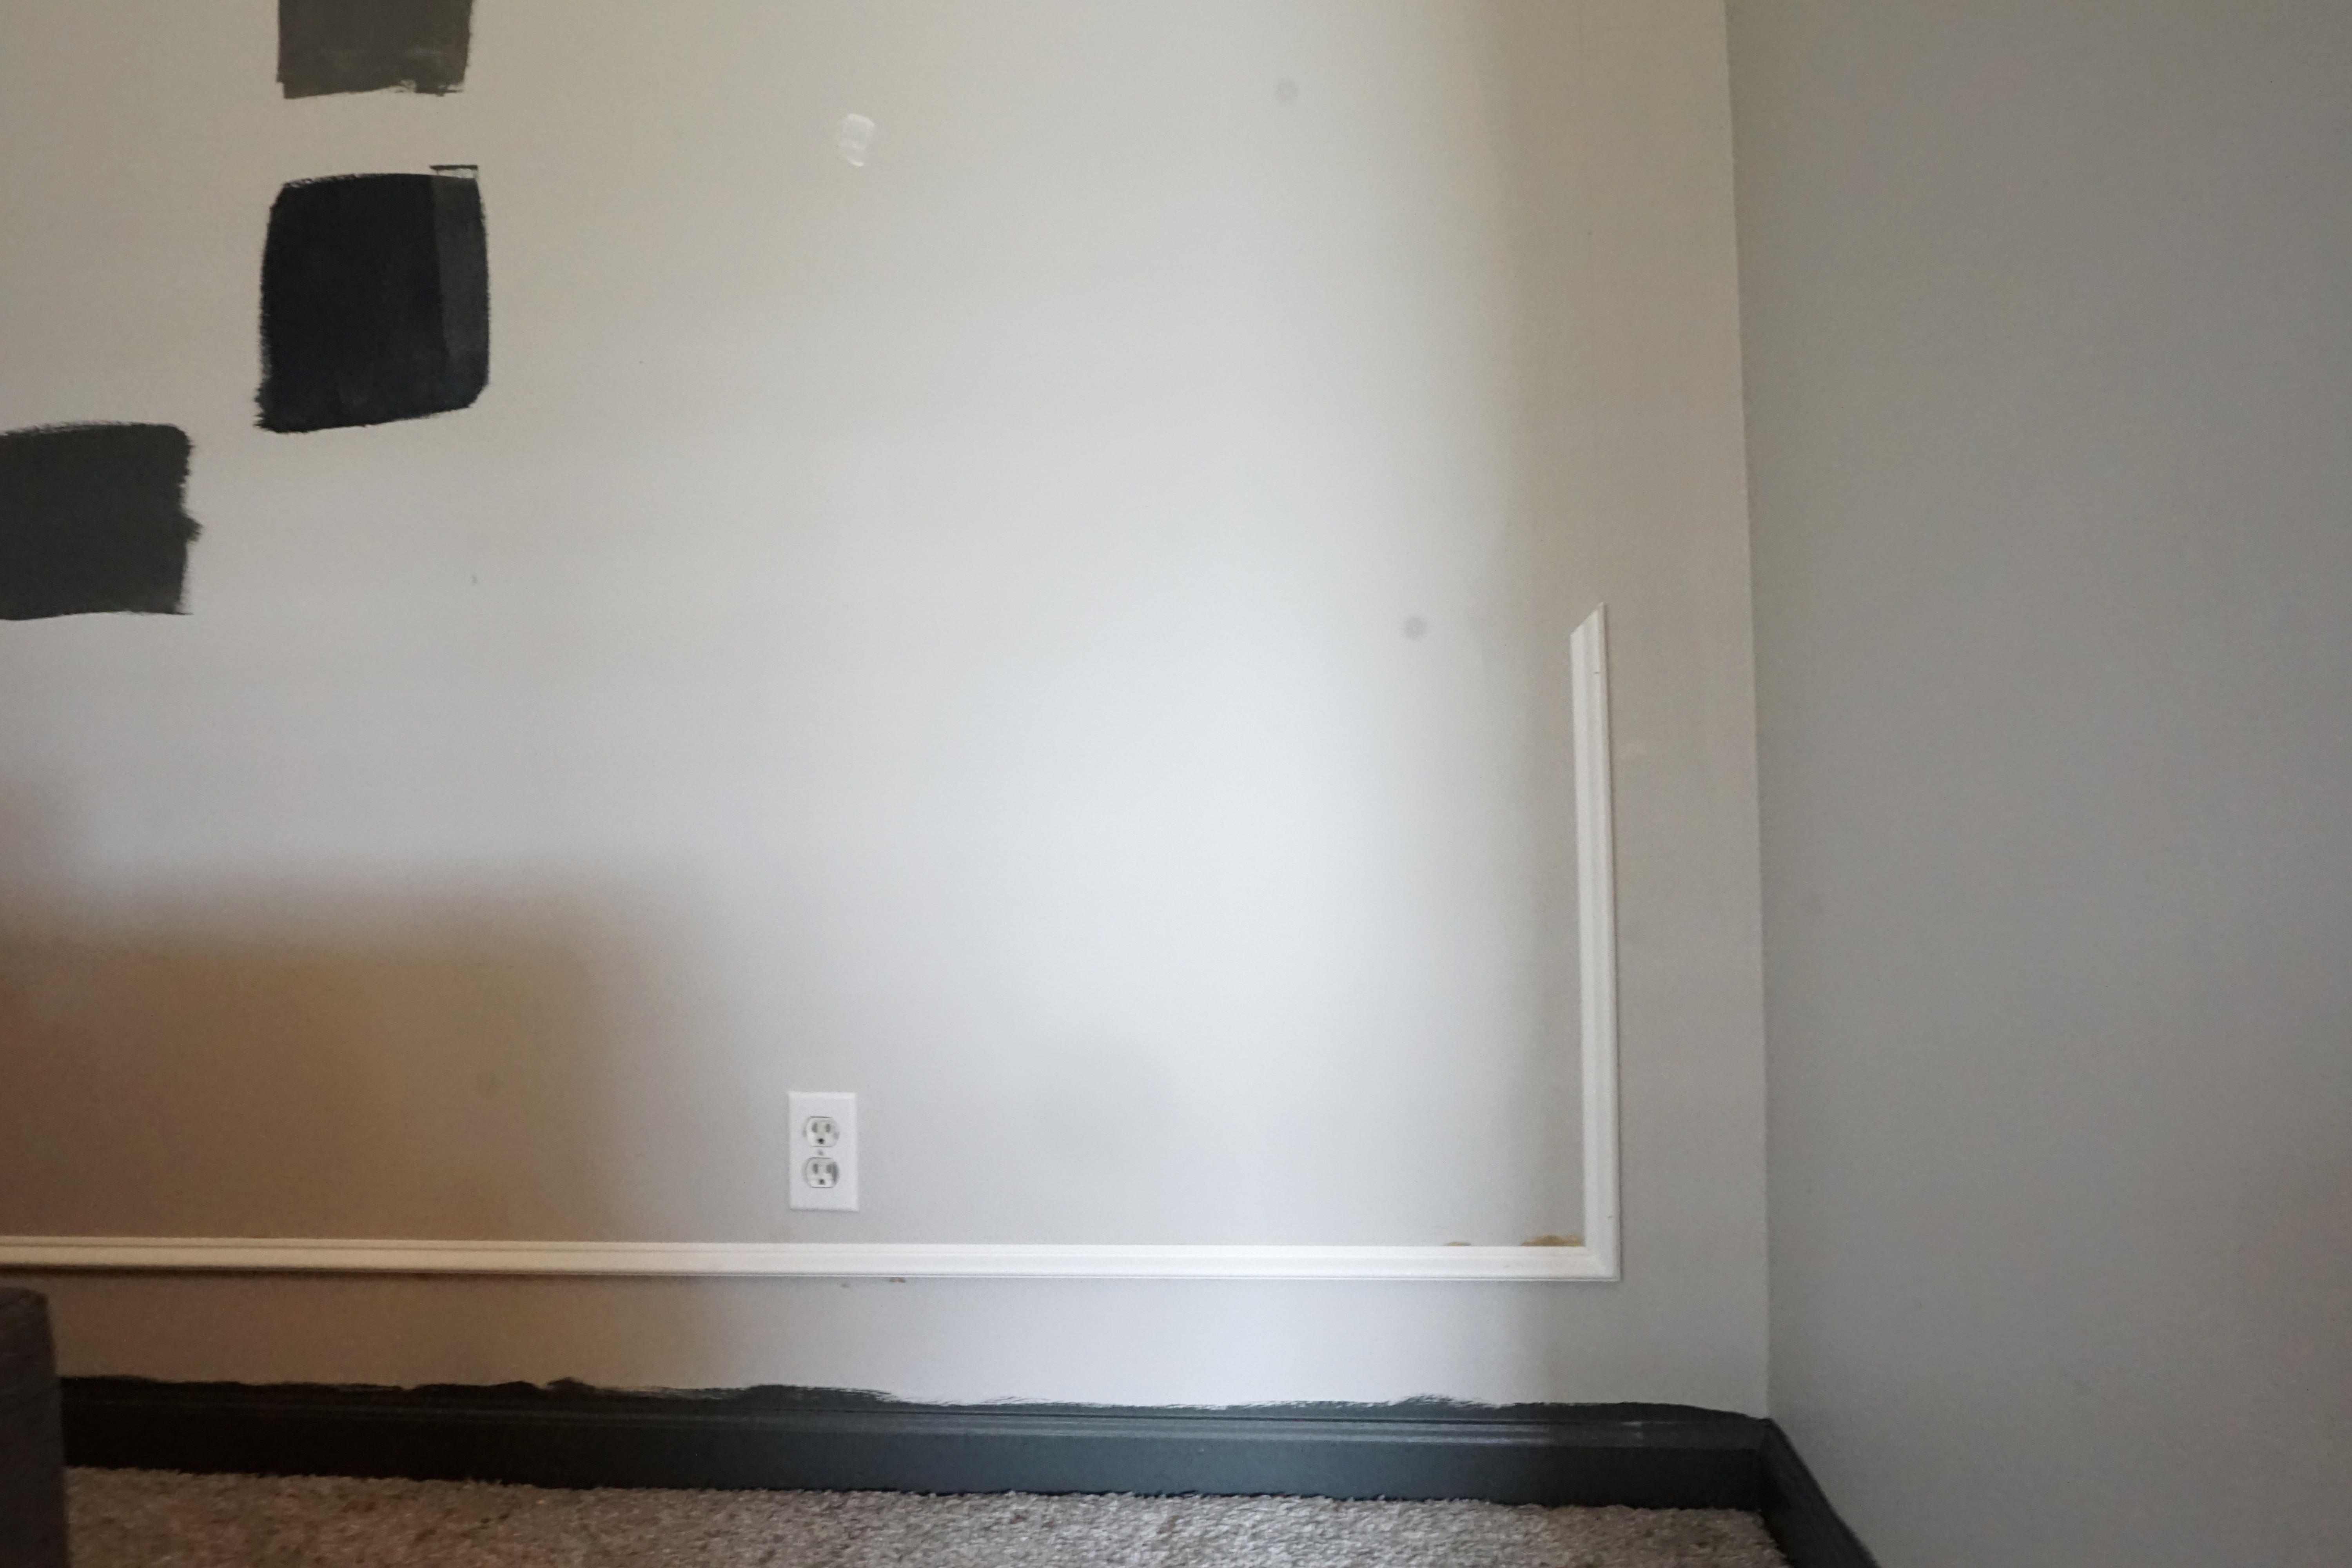
The Before
Here’s the before to give you a little idea of what I started with. It was fine, right? But just wait until you see it now!
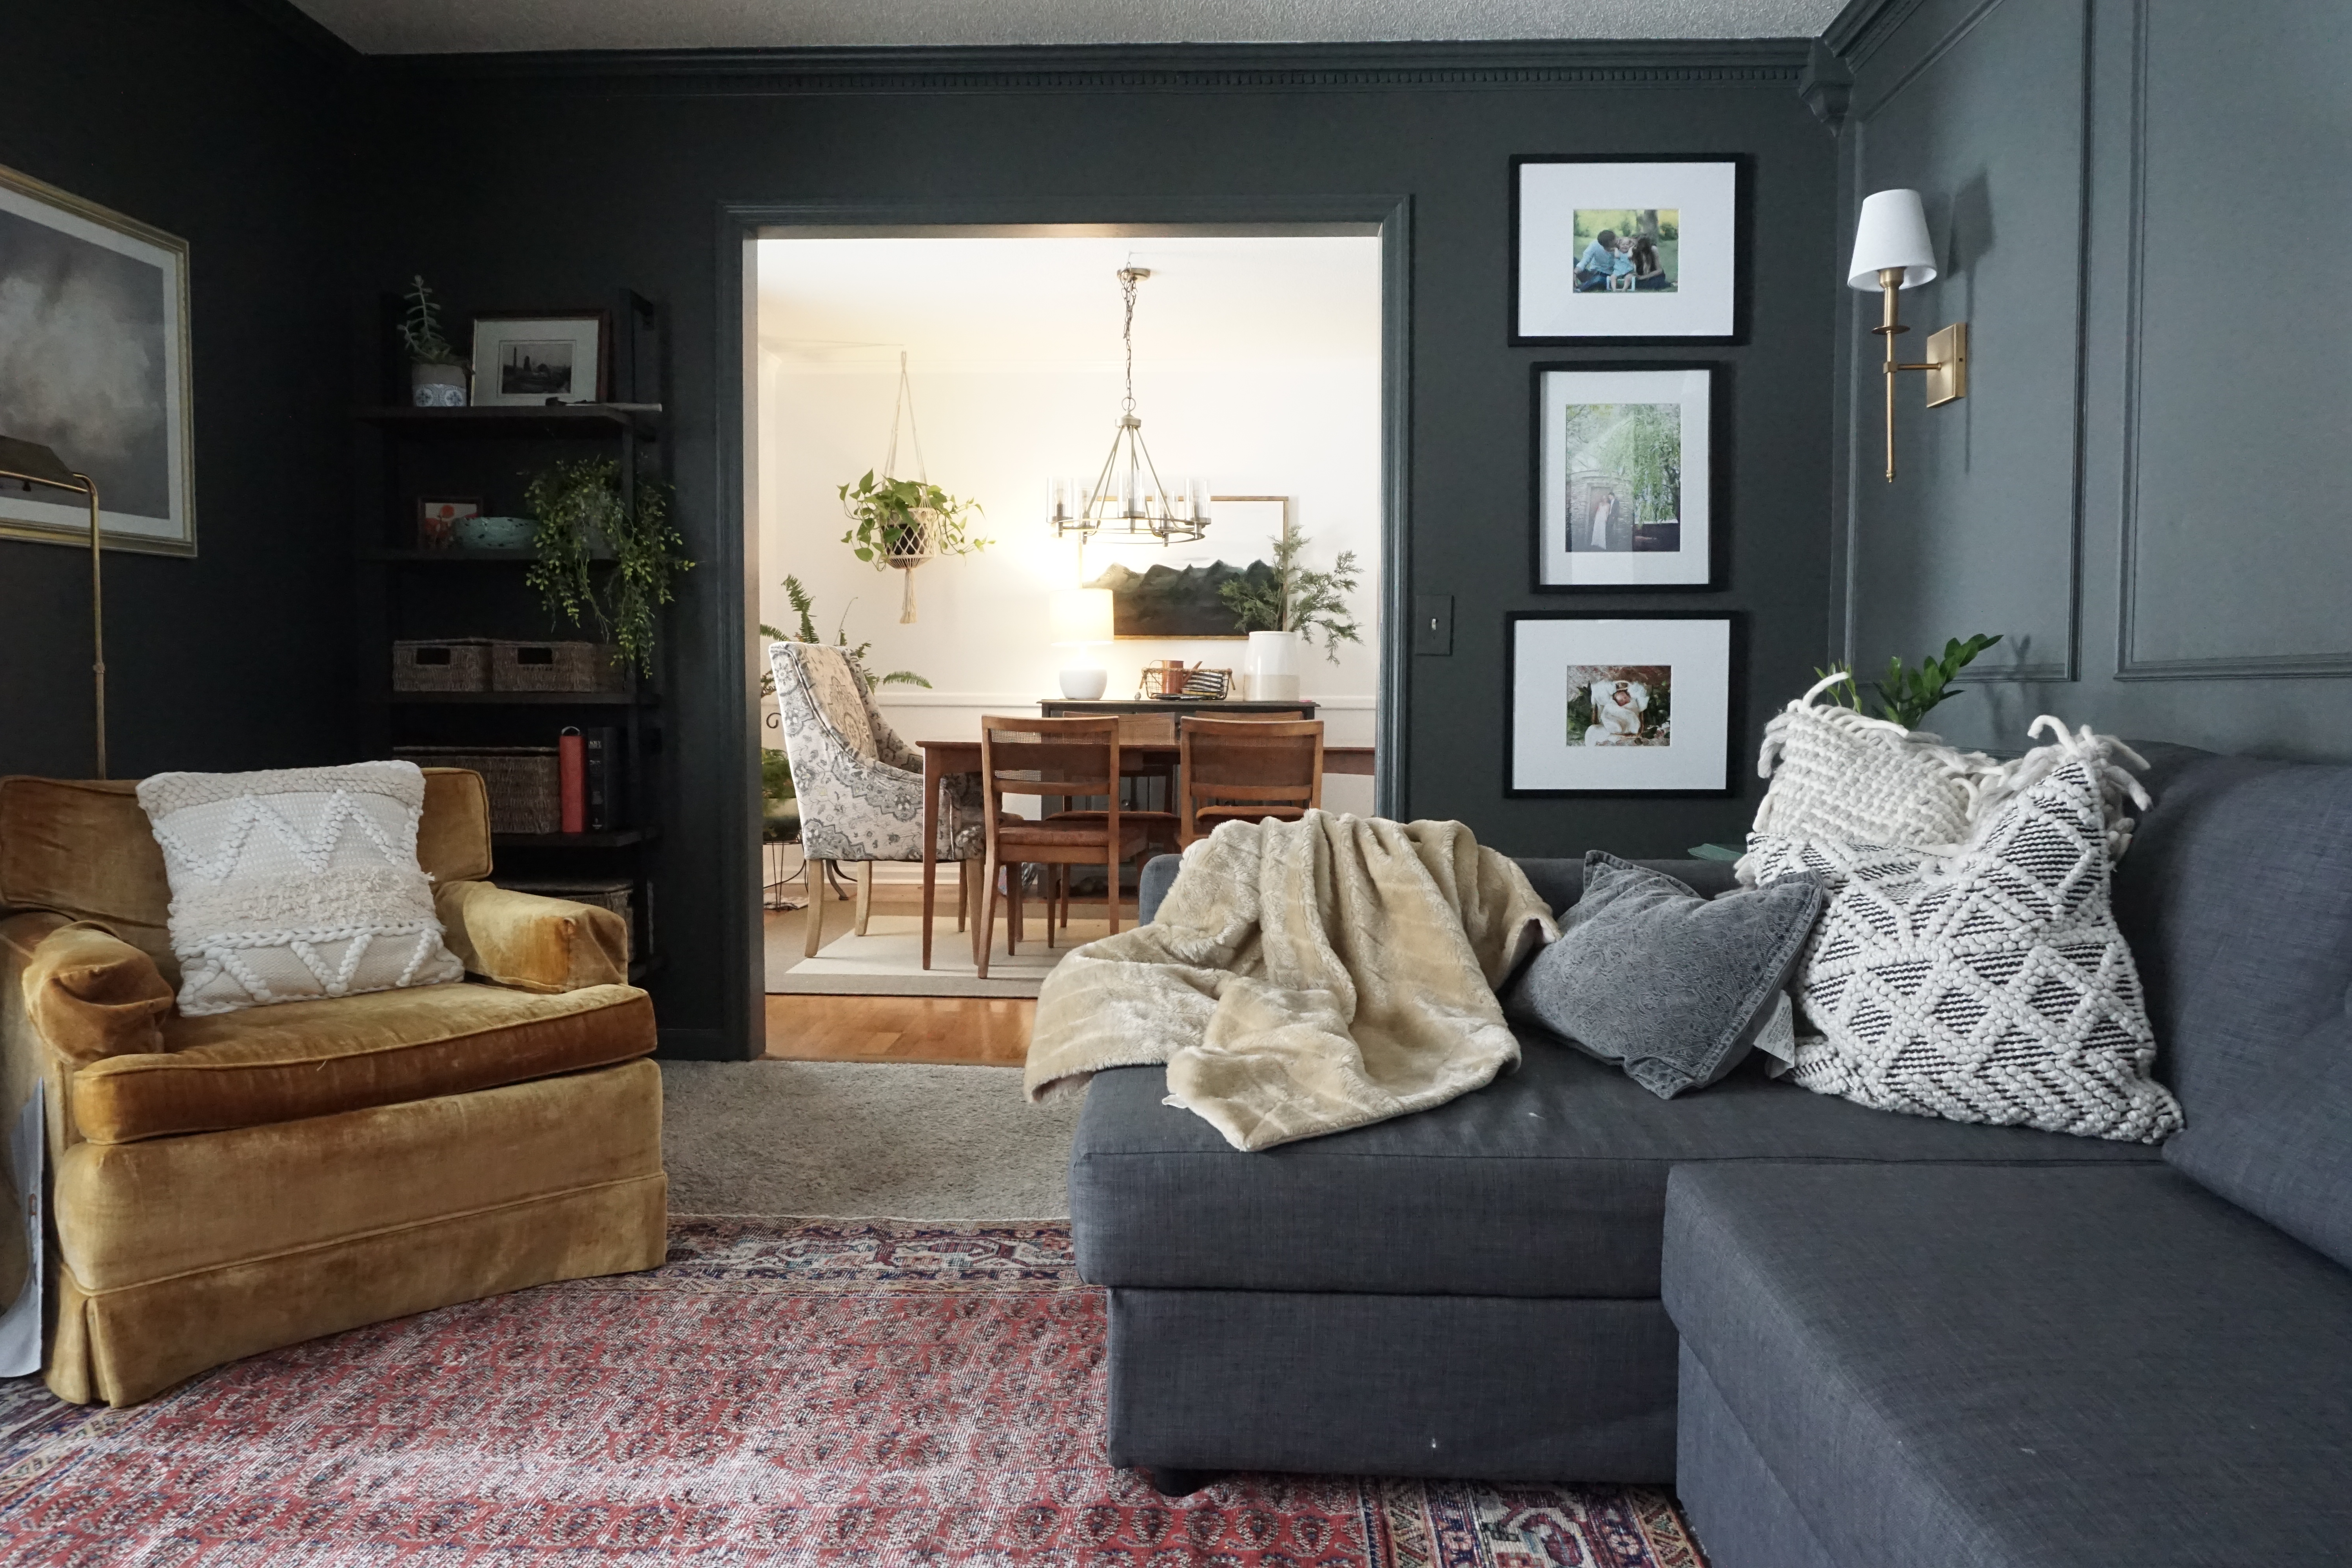
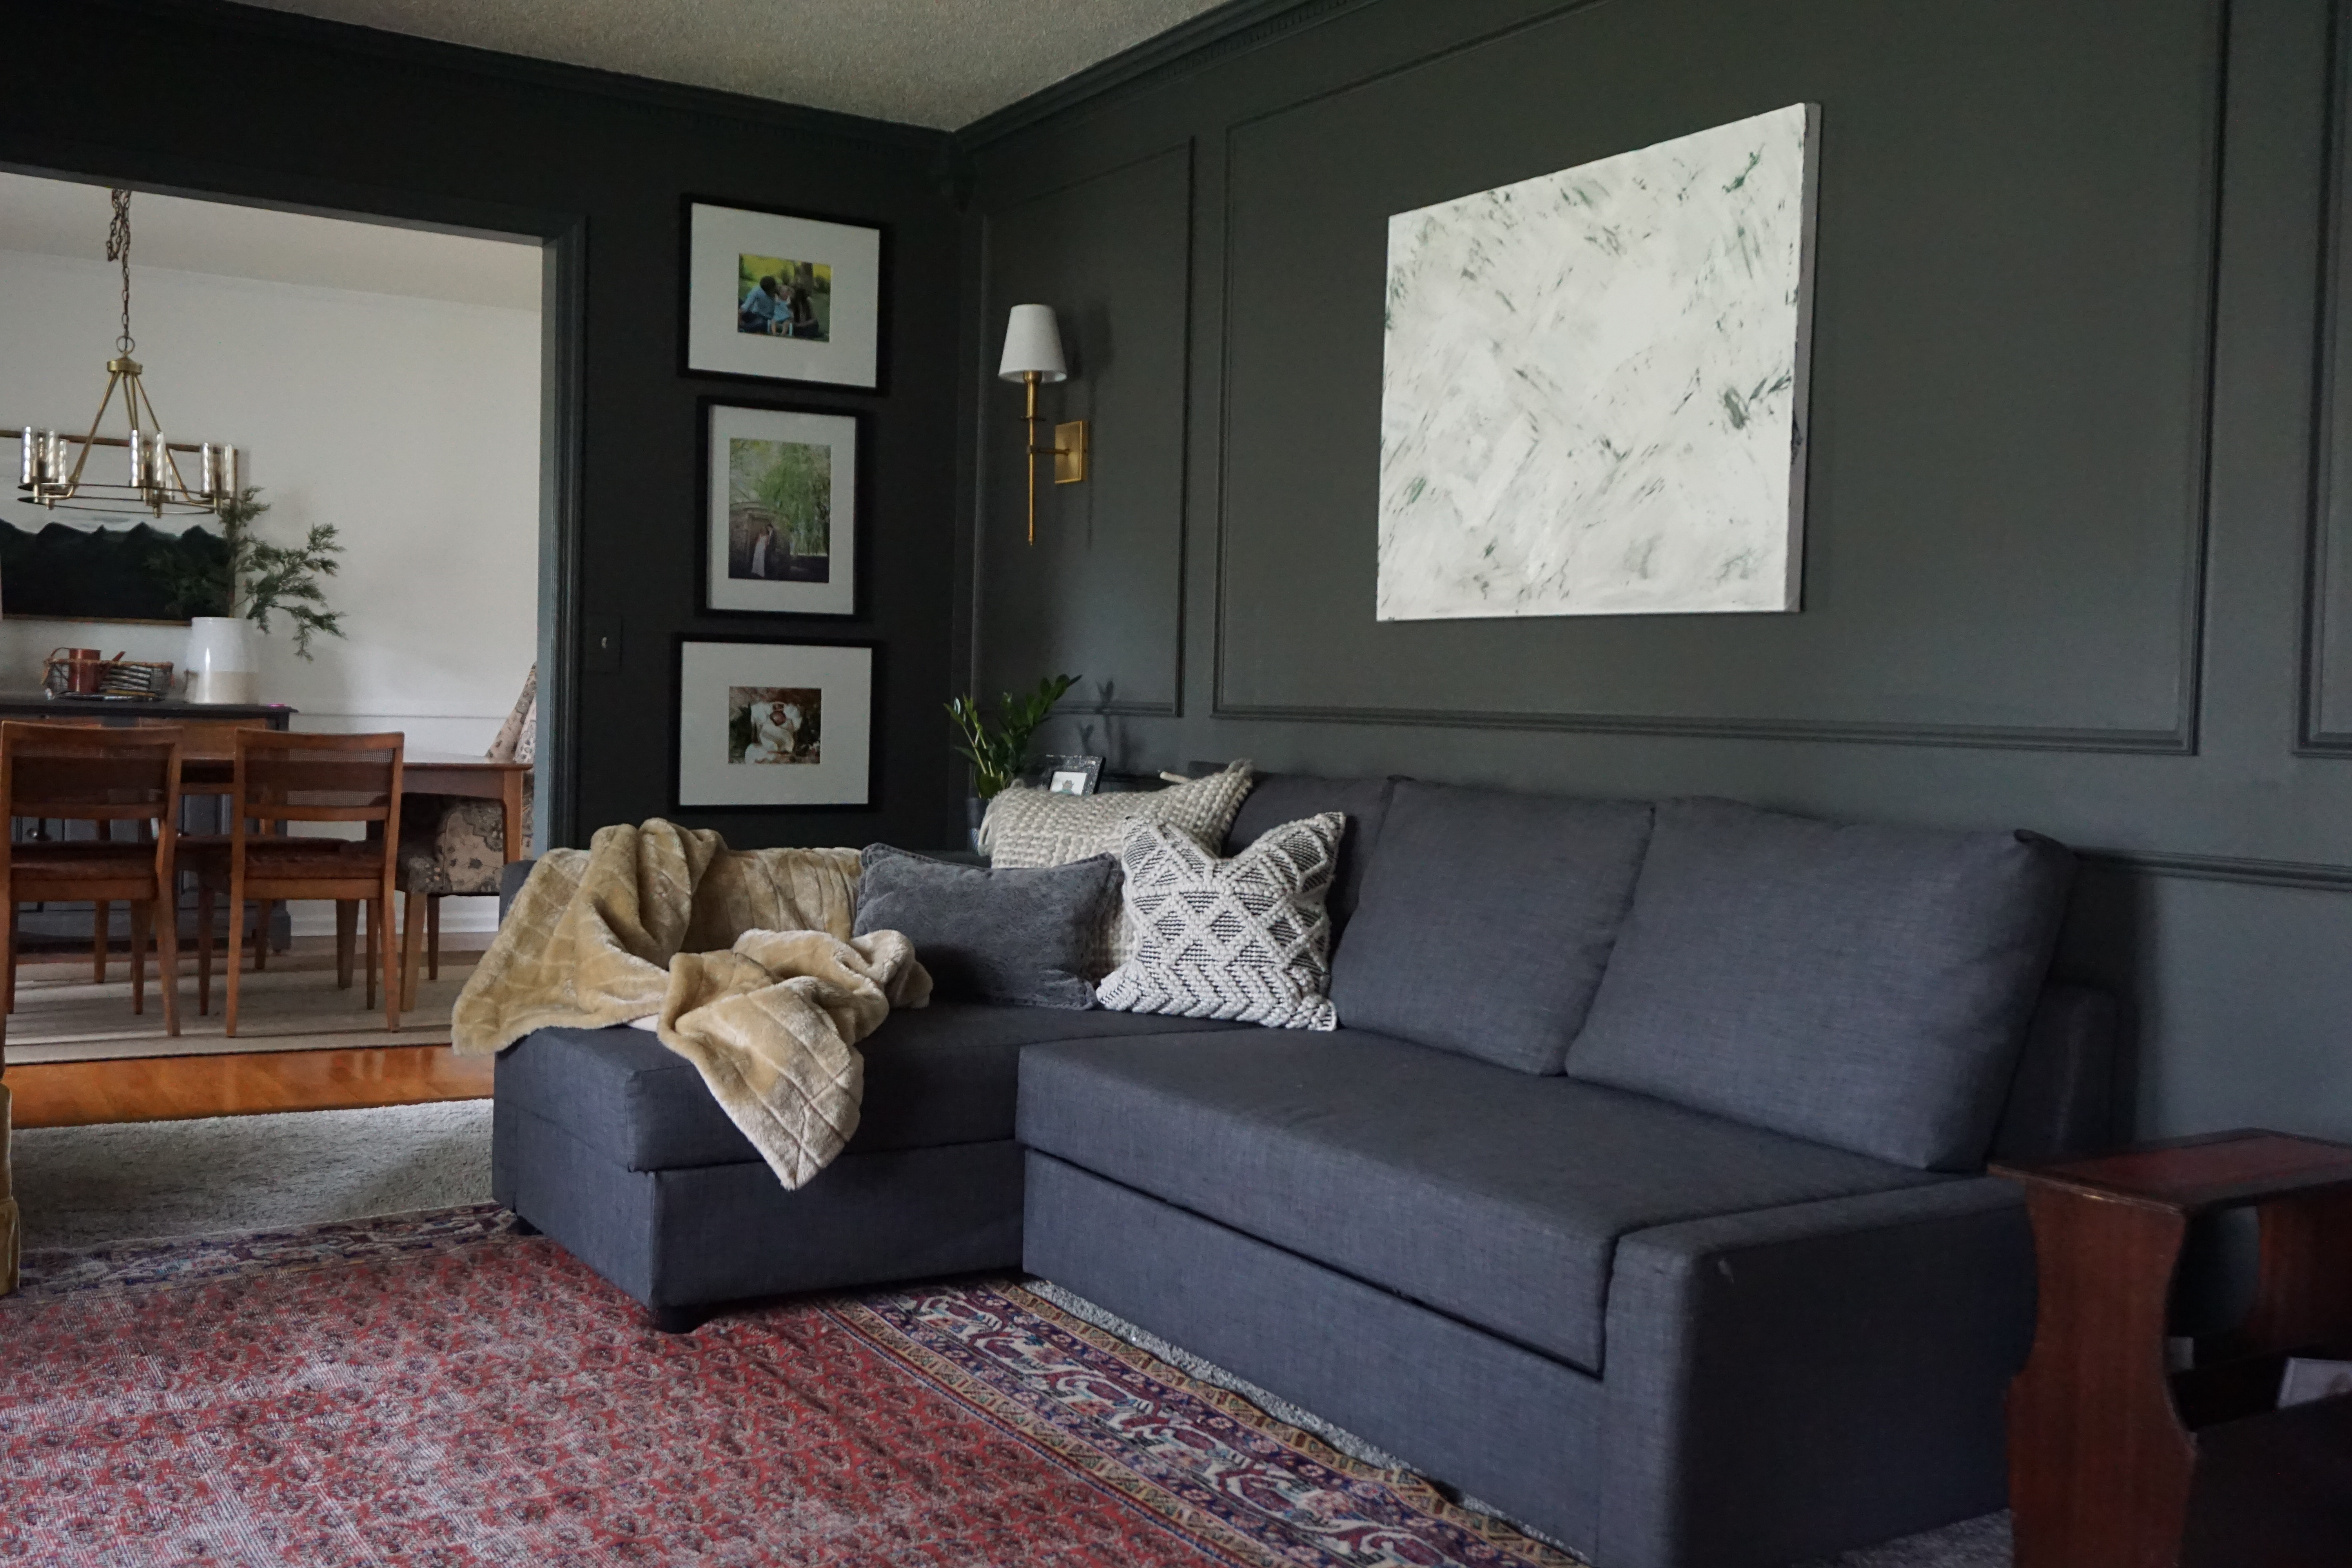
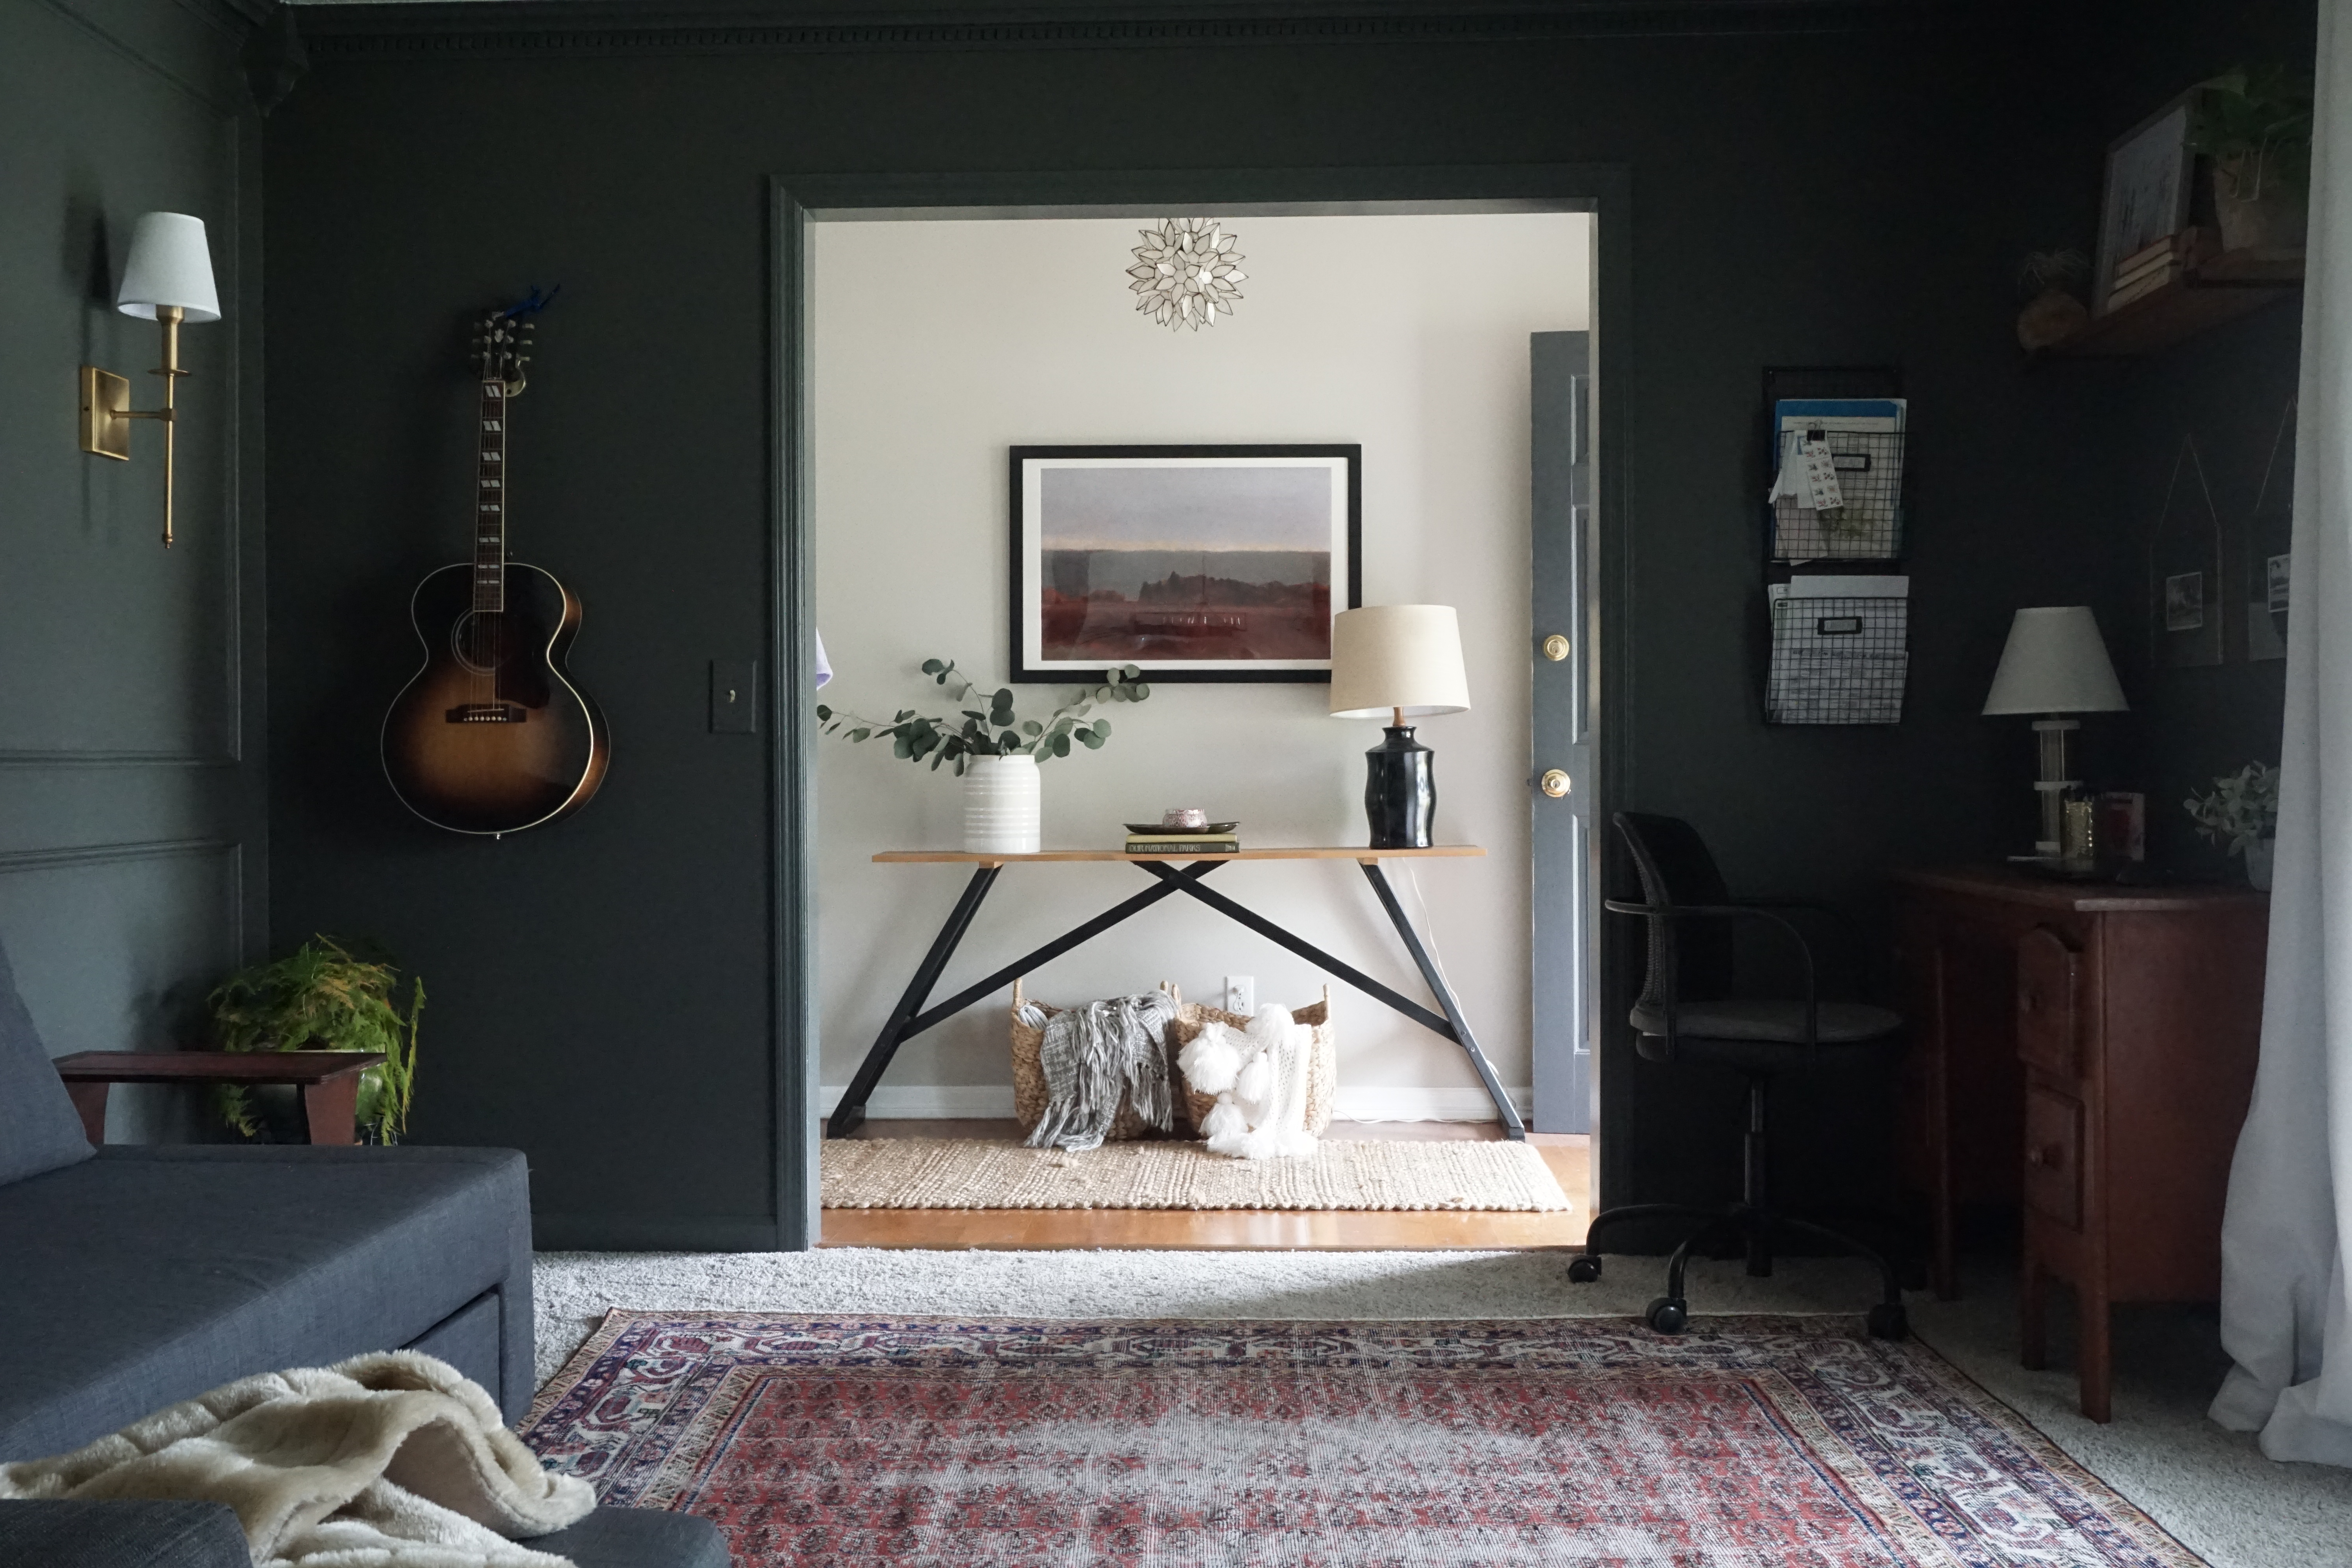
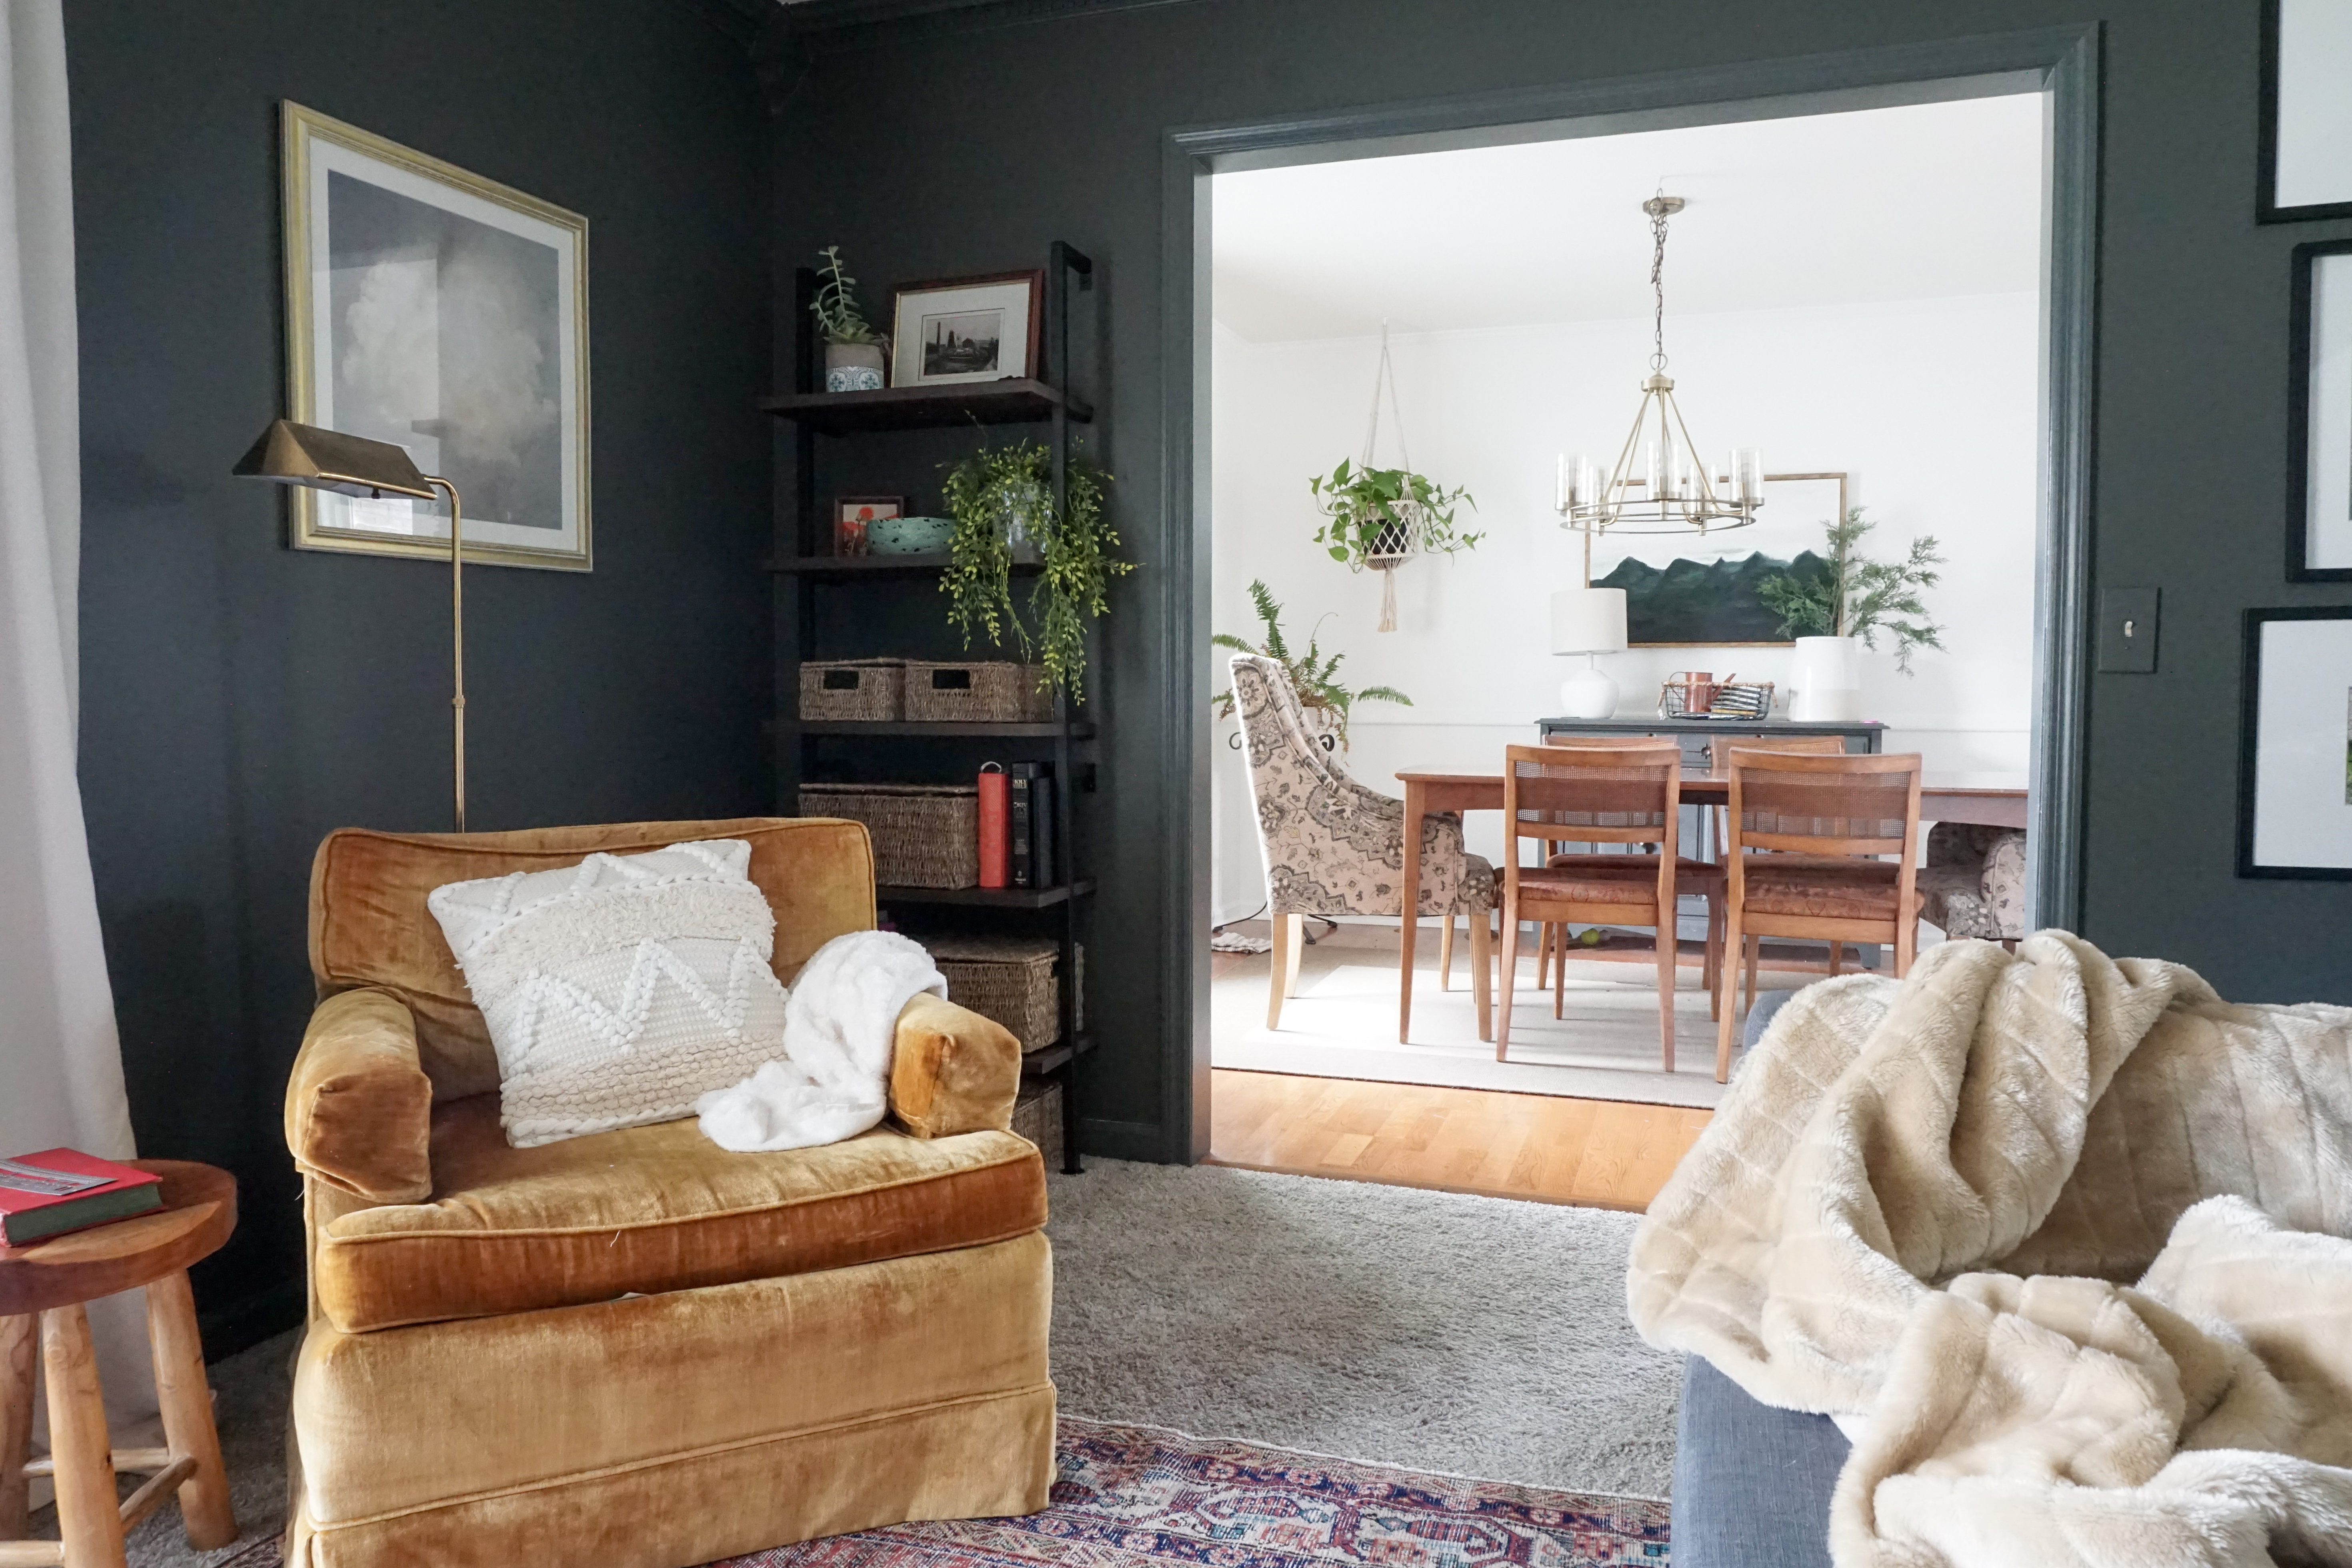
The After
The Details
The Paint
There’s no doubt about it that the paint is the one thing that transformed this space. It’s amazing what $40 and a little time will do!
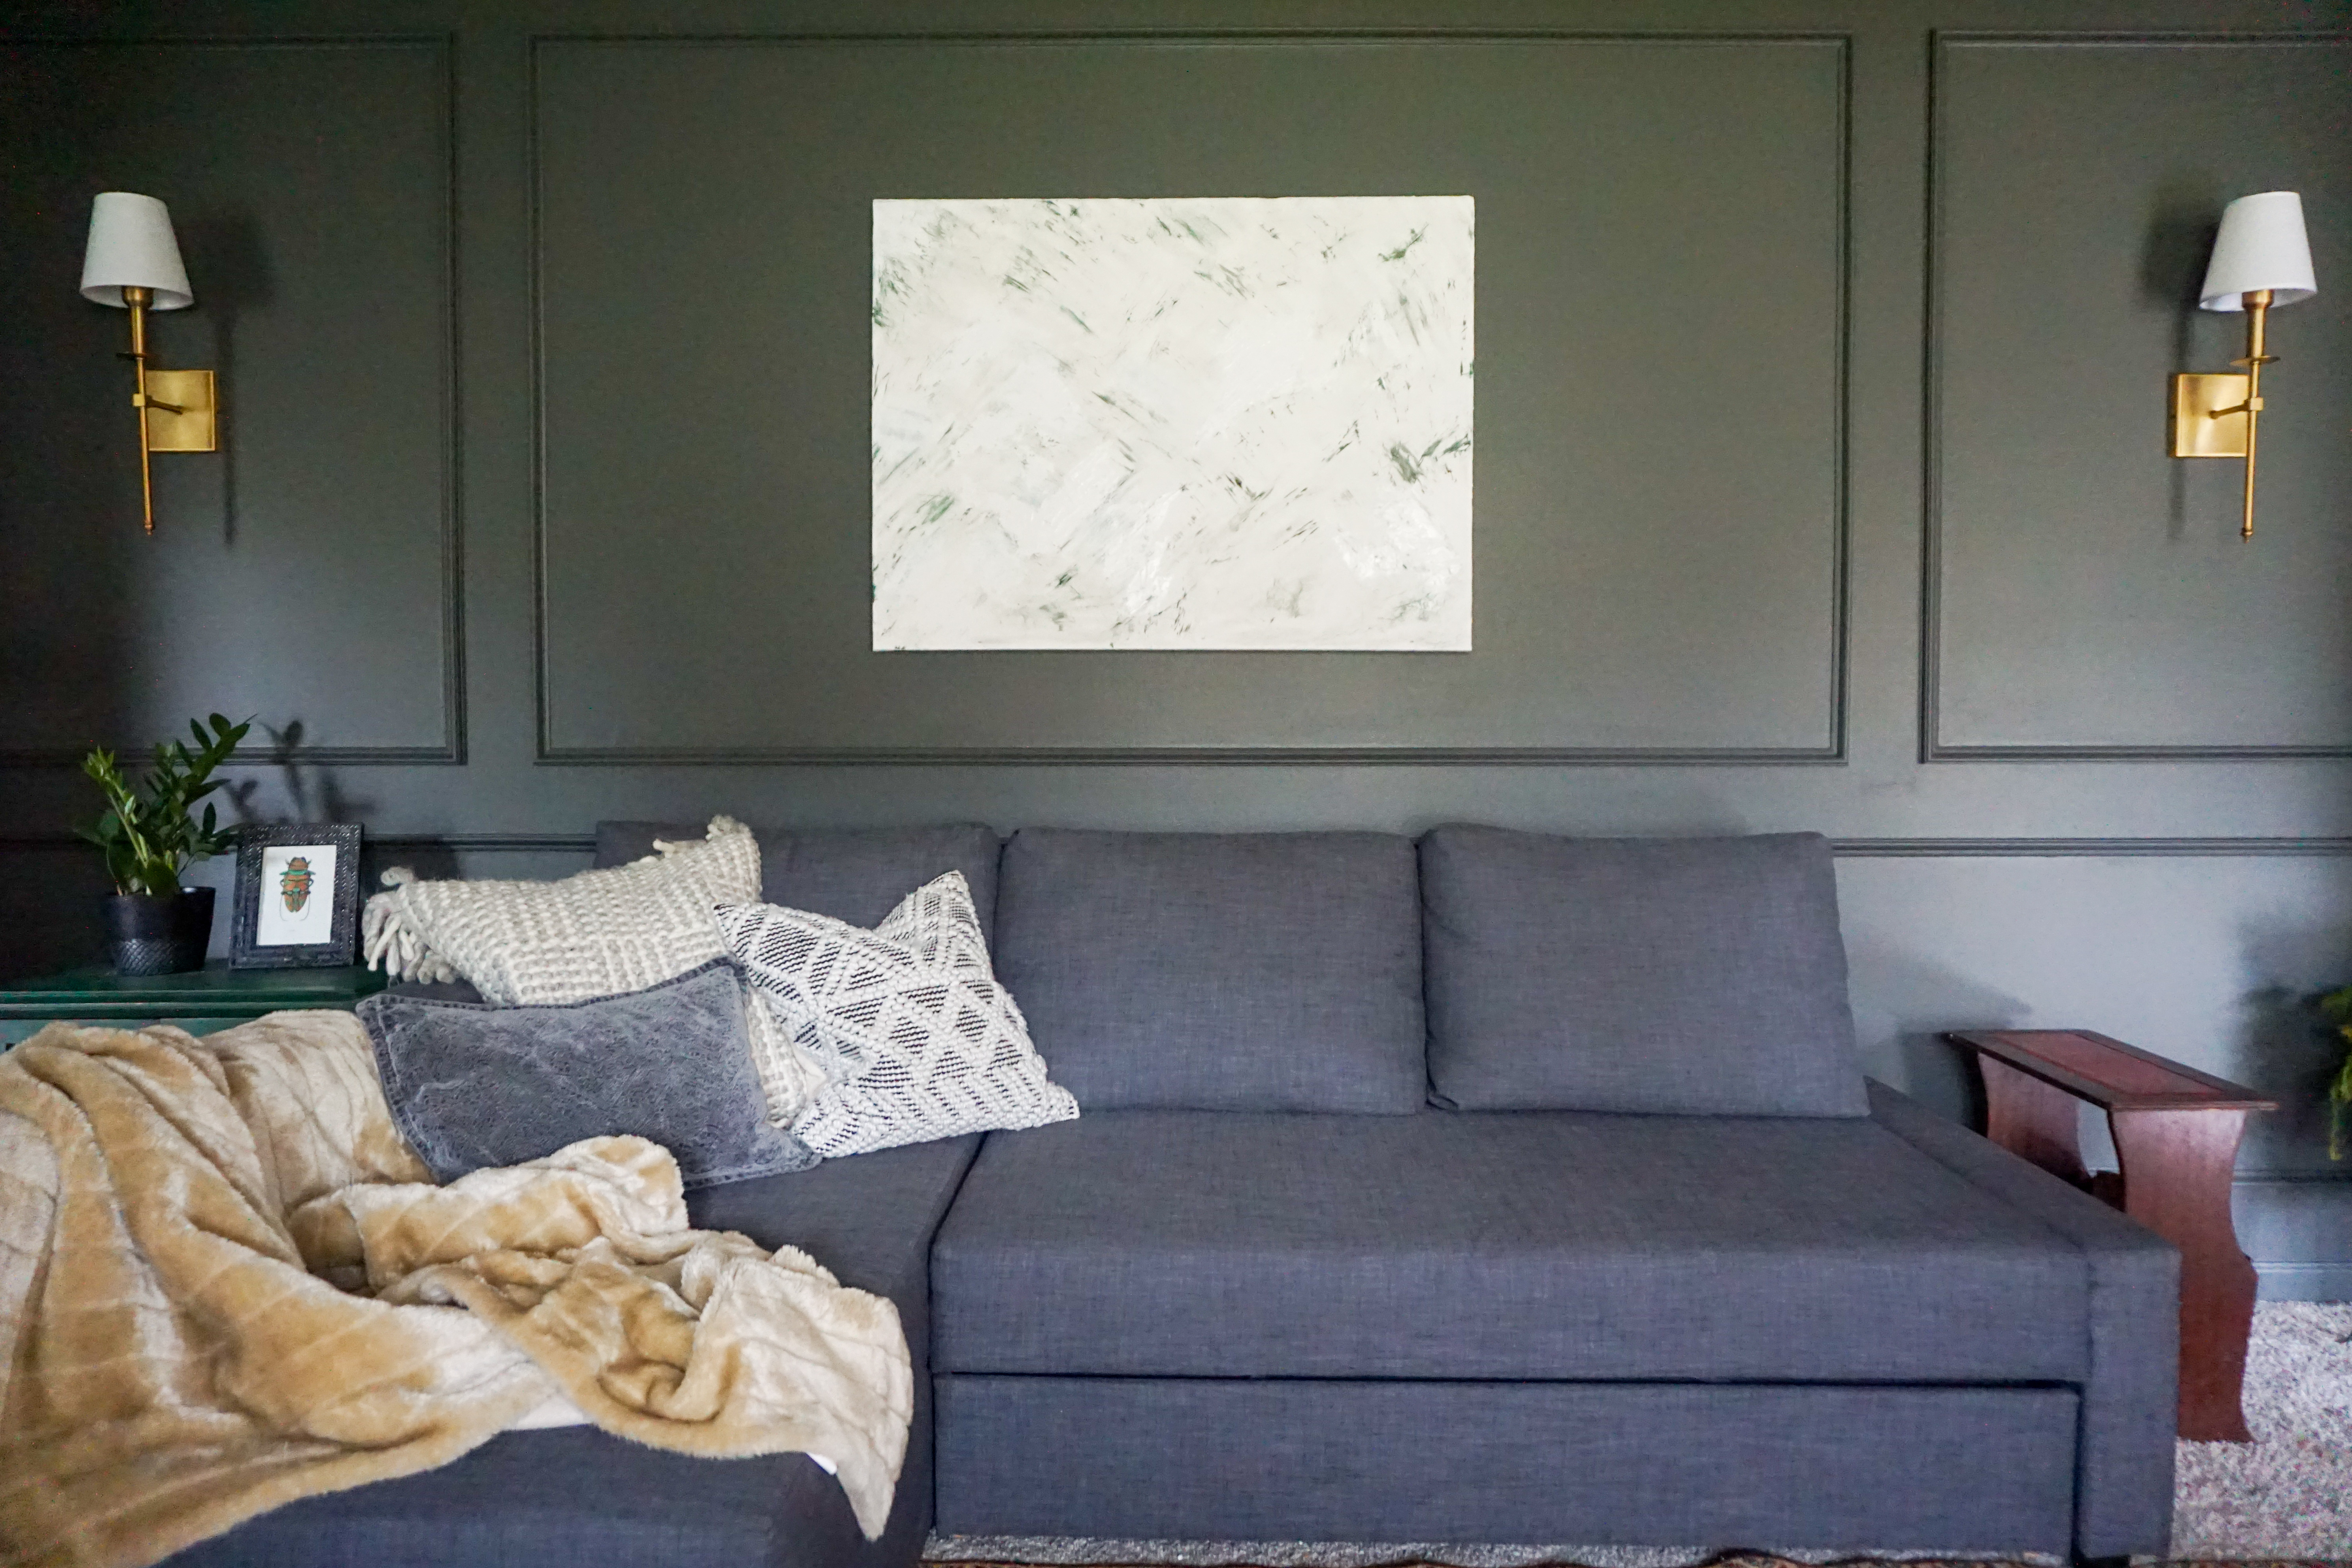
The walls and trim are painting Ashwood Moss by Benjamin Moore. The walls are an eggshell finish and the trim is satin to give it a little interest and dimension. I used my new favorite paint line – HGTV Home by Sherwin Williams Infinity from Lowes. They can color match any color by any brand!
I first started by painting the baseboards by using a piece of cardboard to push down the carpet as I went along. It worked like a charm!
Next, I moved onto the dental crown molding. There was no choice but to spray it in order to get into all the grooves, so I borrowed an inexpensive sprayer from a friend, taped the ceiling, then tacked a plastic sheet on the ceiling to protect it as I sprayed. I dreaded this part the most, but it actually went quicker than rest.
TIP! If painting a room a dark color, consider painting the crown molding as well to fool the eye into making the room appear larger. It totally worked in this space!
Once the trim was painting and the focal wall trim was installed, I rolled on two coats of paint, the box trim being the most tedious.
Verdict about some common concerns –
Does it make the room feel smaller? Absolutely not. It feels so much more grand!
Does it make the room feel darker? Of course. The walls are dark. It provides such a cozy, moody vibe though, which is just what I was going for!
The Rug
Ok, now to the showstopper – our new to us vintage rug from Revival Rugs!
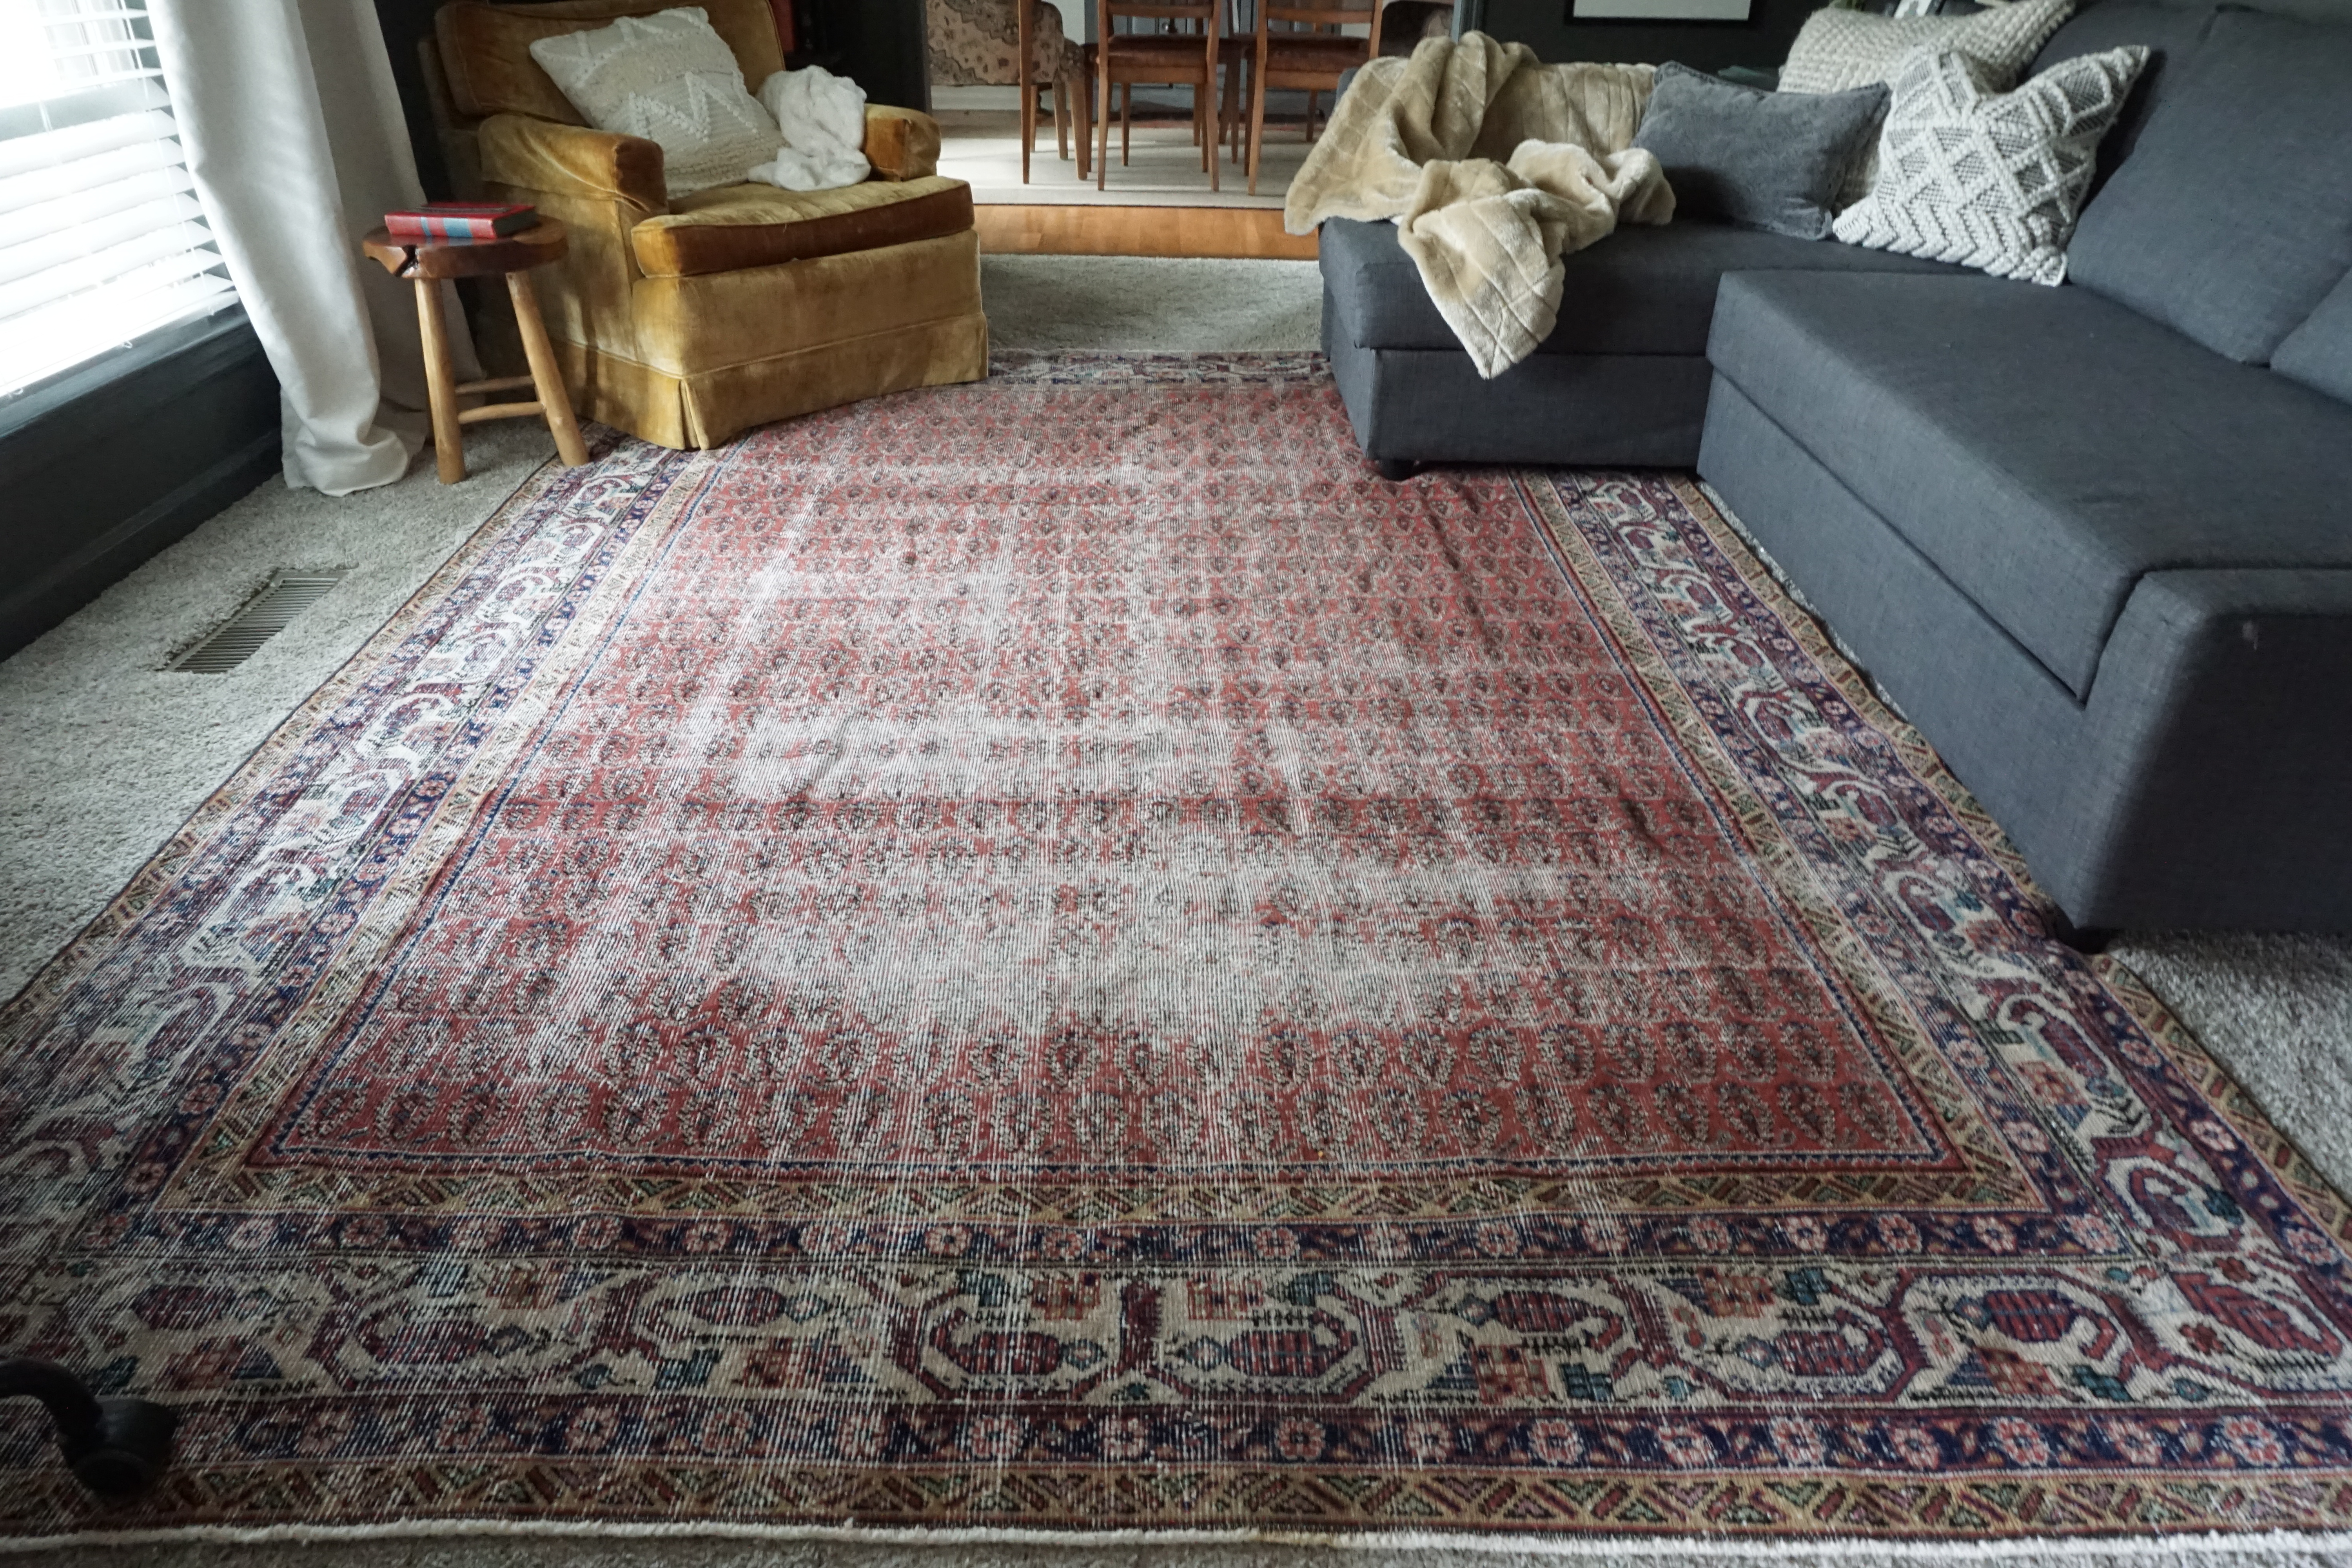
I spent way too much of my free time deciding on a rug for this space. I ultimately went with the Malita rug (sold out since they’re all one of a kind).I knew it would be the one piece that tied the whole room together, so here’s how I chose the perfect rug. These pictures are screenshots of my desktop as I was choosing a rug.
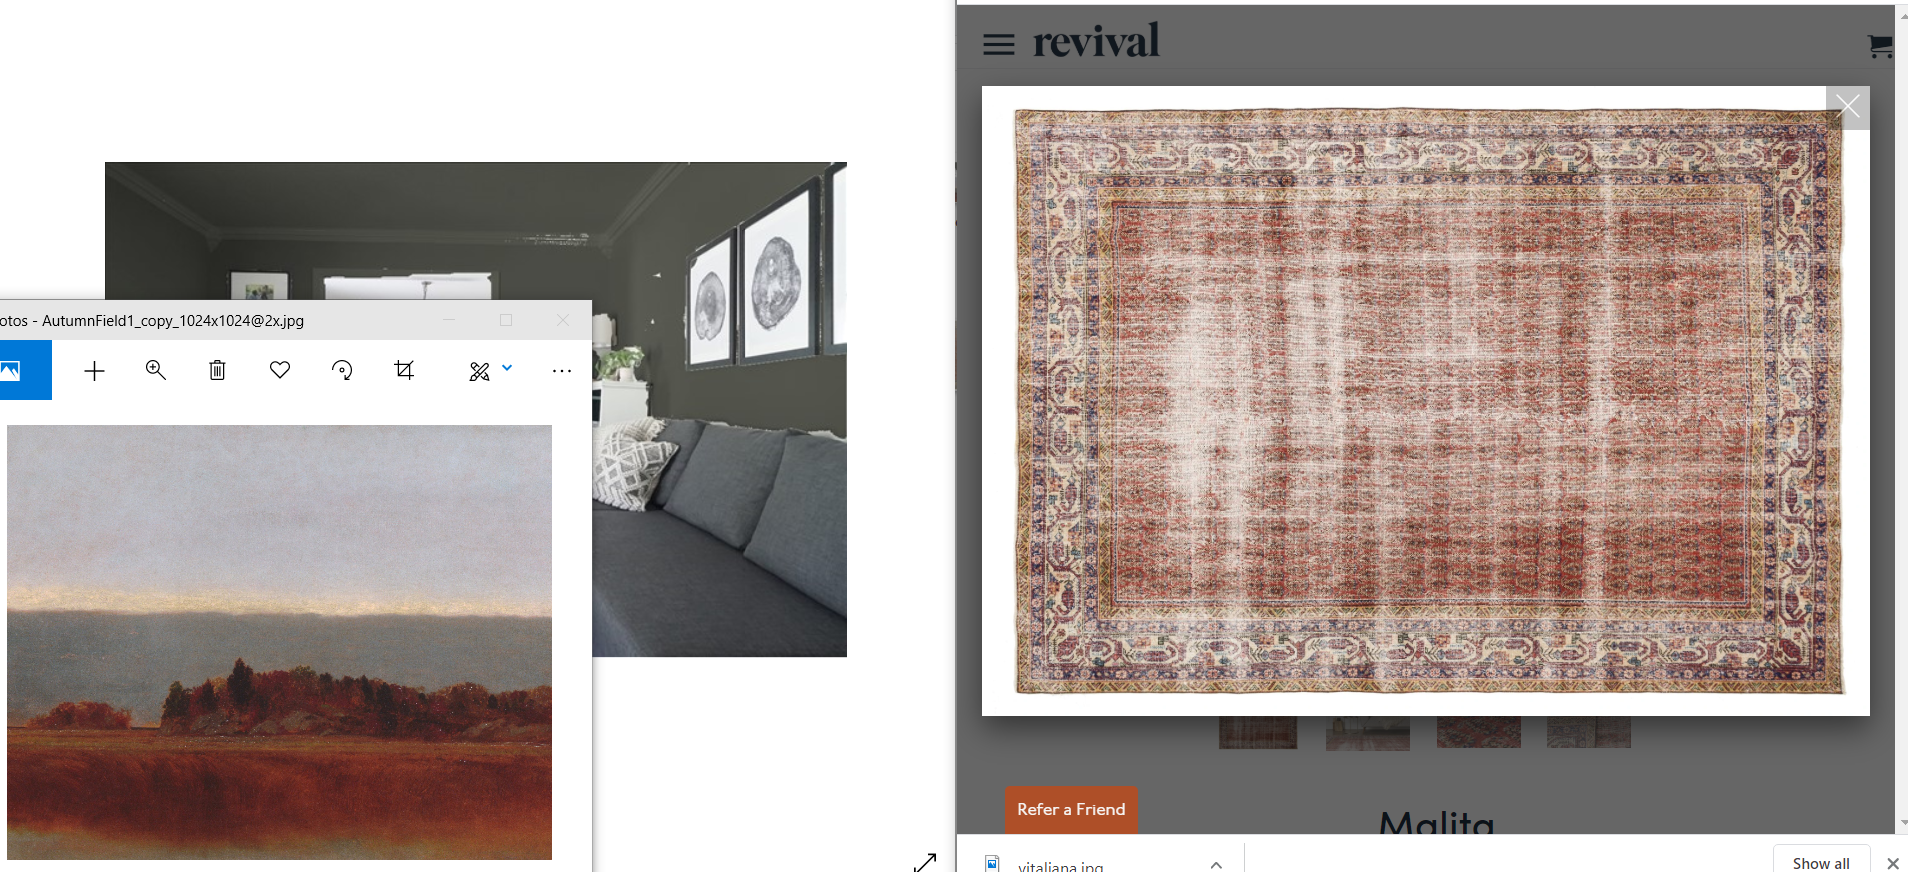
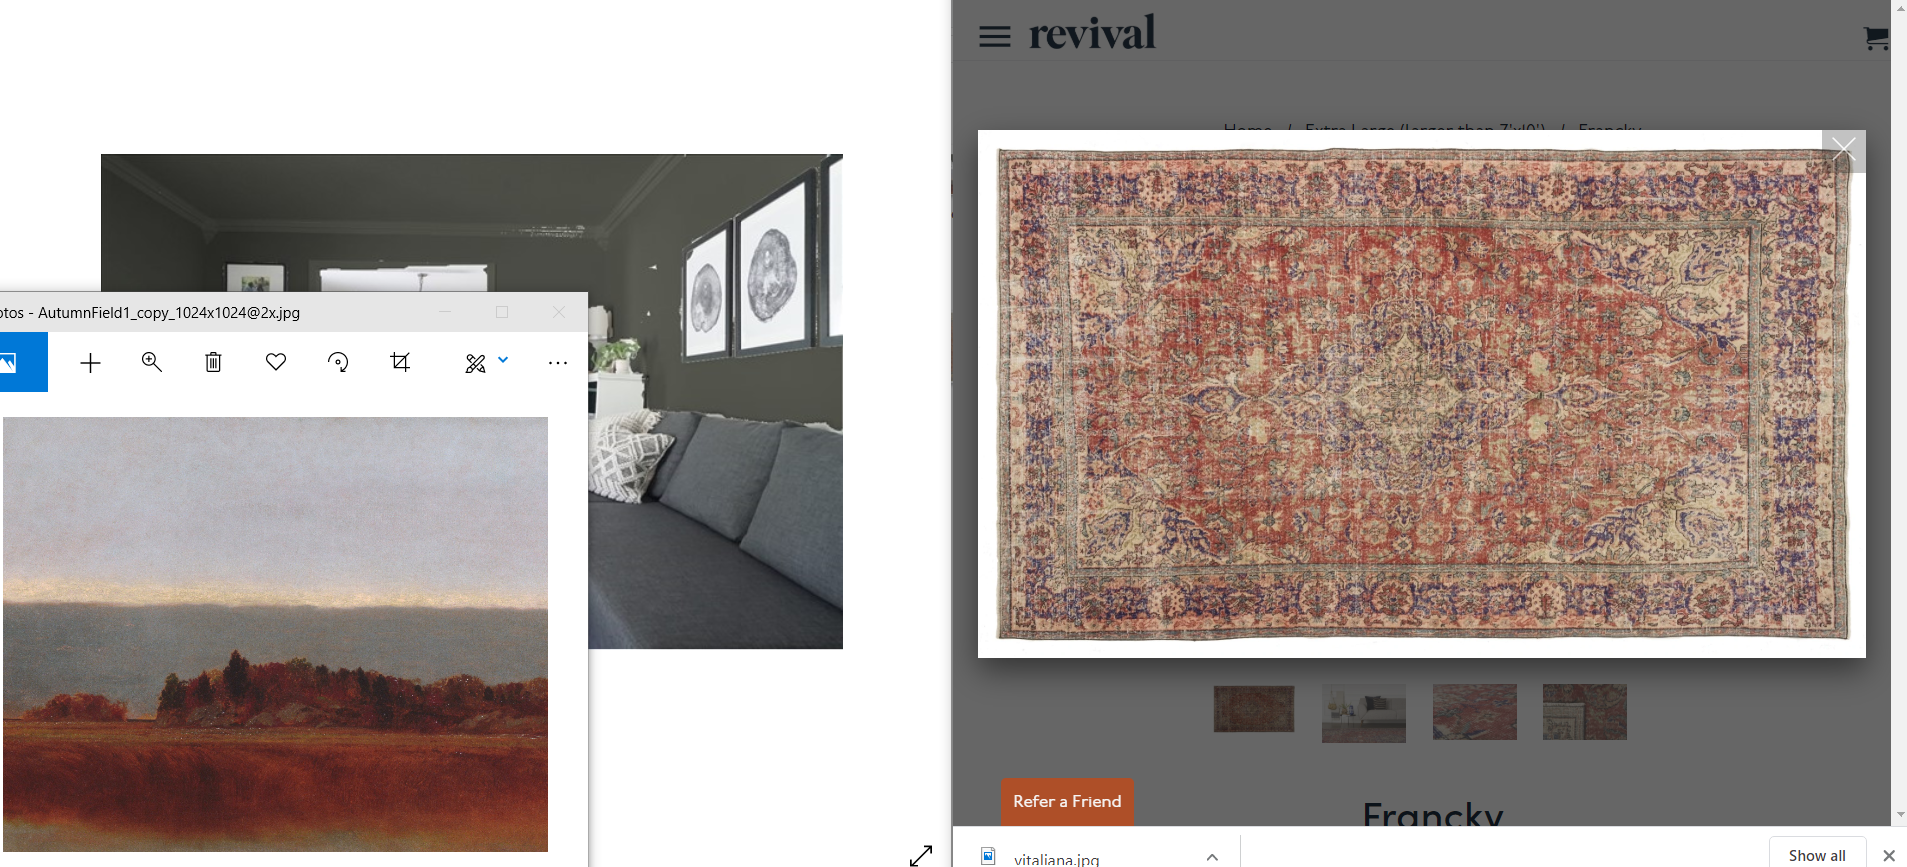
I simply just took a screenshot of the rug, wall color, and art to find the rug that 1) had the colors I was looking for, and 2) went with the vibe of the space.
Revival Rugs not only makes the process of buying a one-of-a-kind rug smooth and affordable, they also simplify the process by being transparent and providing exact color descriptions since they can often be skewed by a screen. They also have a “View in Your Room” tool. You just need to upload a picture of your space and then you’ll be able to see how the rug fits and looks with your decor. This tool helped a ton!
The color palette description on the Malita rug was spot on and helped so much in choosing my rug.
spiced pumpkin orange, navy, golden olive, bone beige, rust red, teal
I’ve never seen another rug site be so vivid in their color description, and it was vital in choosing a rug that will be an heirloom.
Also, the worn look of the Malita gives my space more of a modern look instead of a traditional look that the second option would’ve given.
I’m honored to be a #revivalpartner for this project. You can use code FORRESTERHOME10 for 10% off your purchase at Revival Rugs!
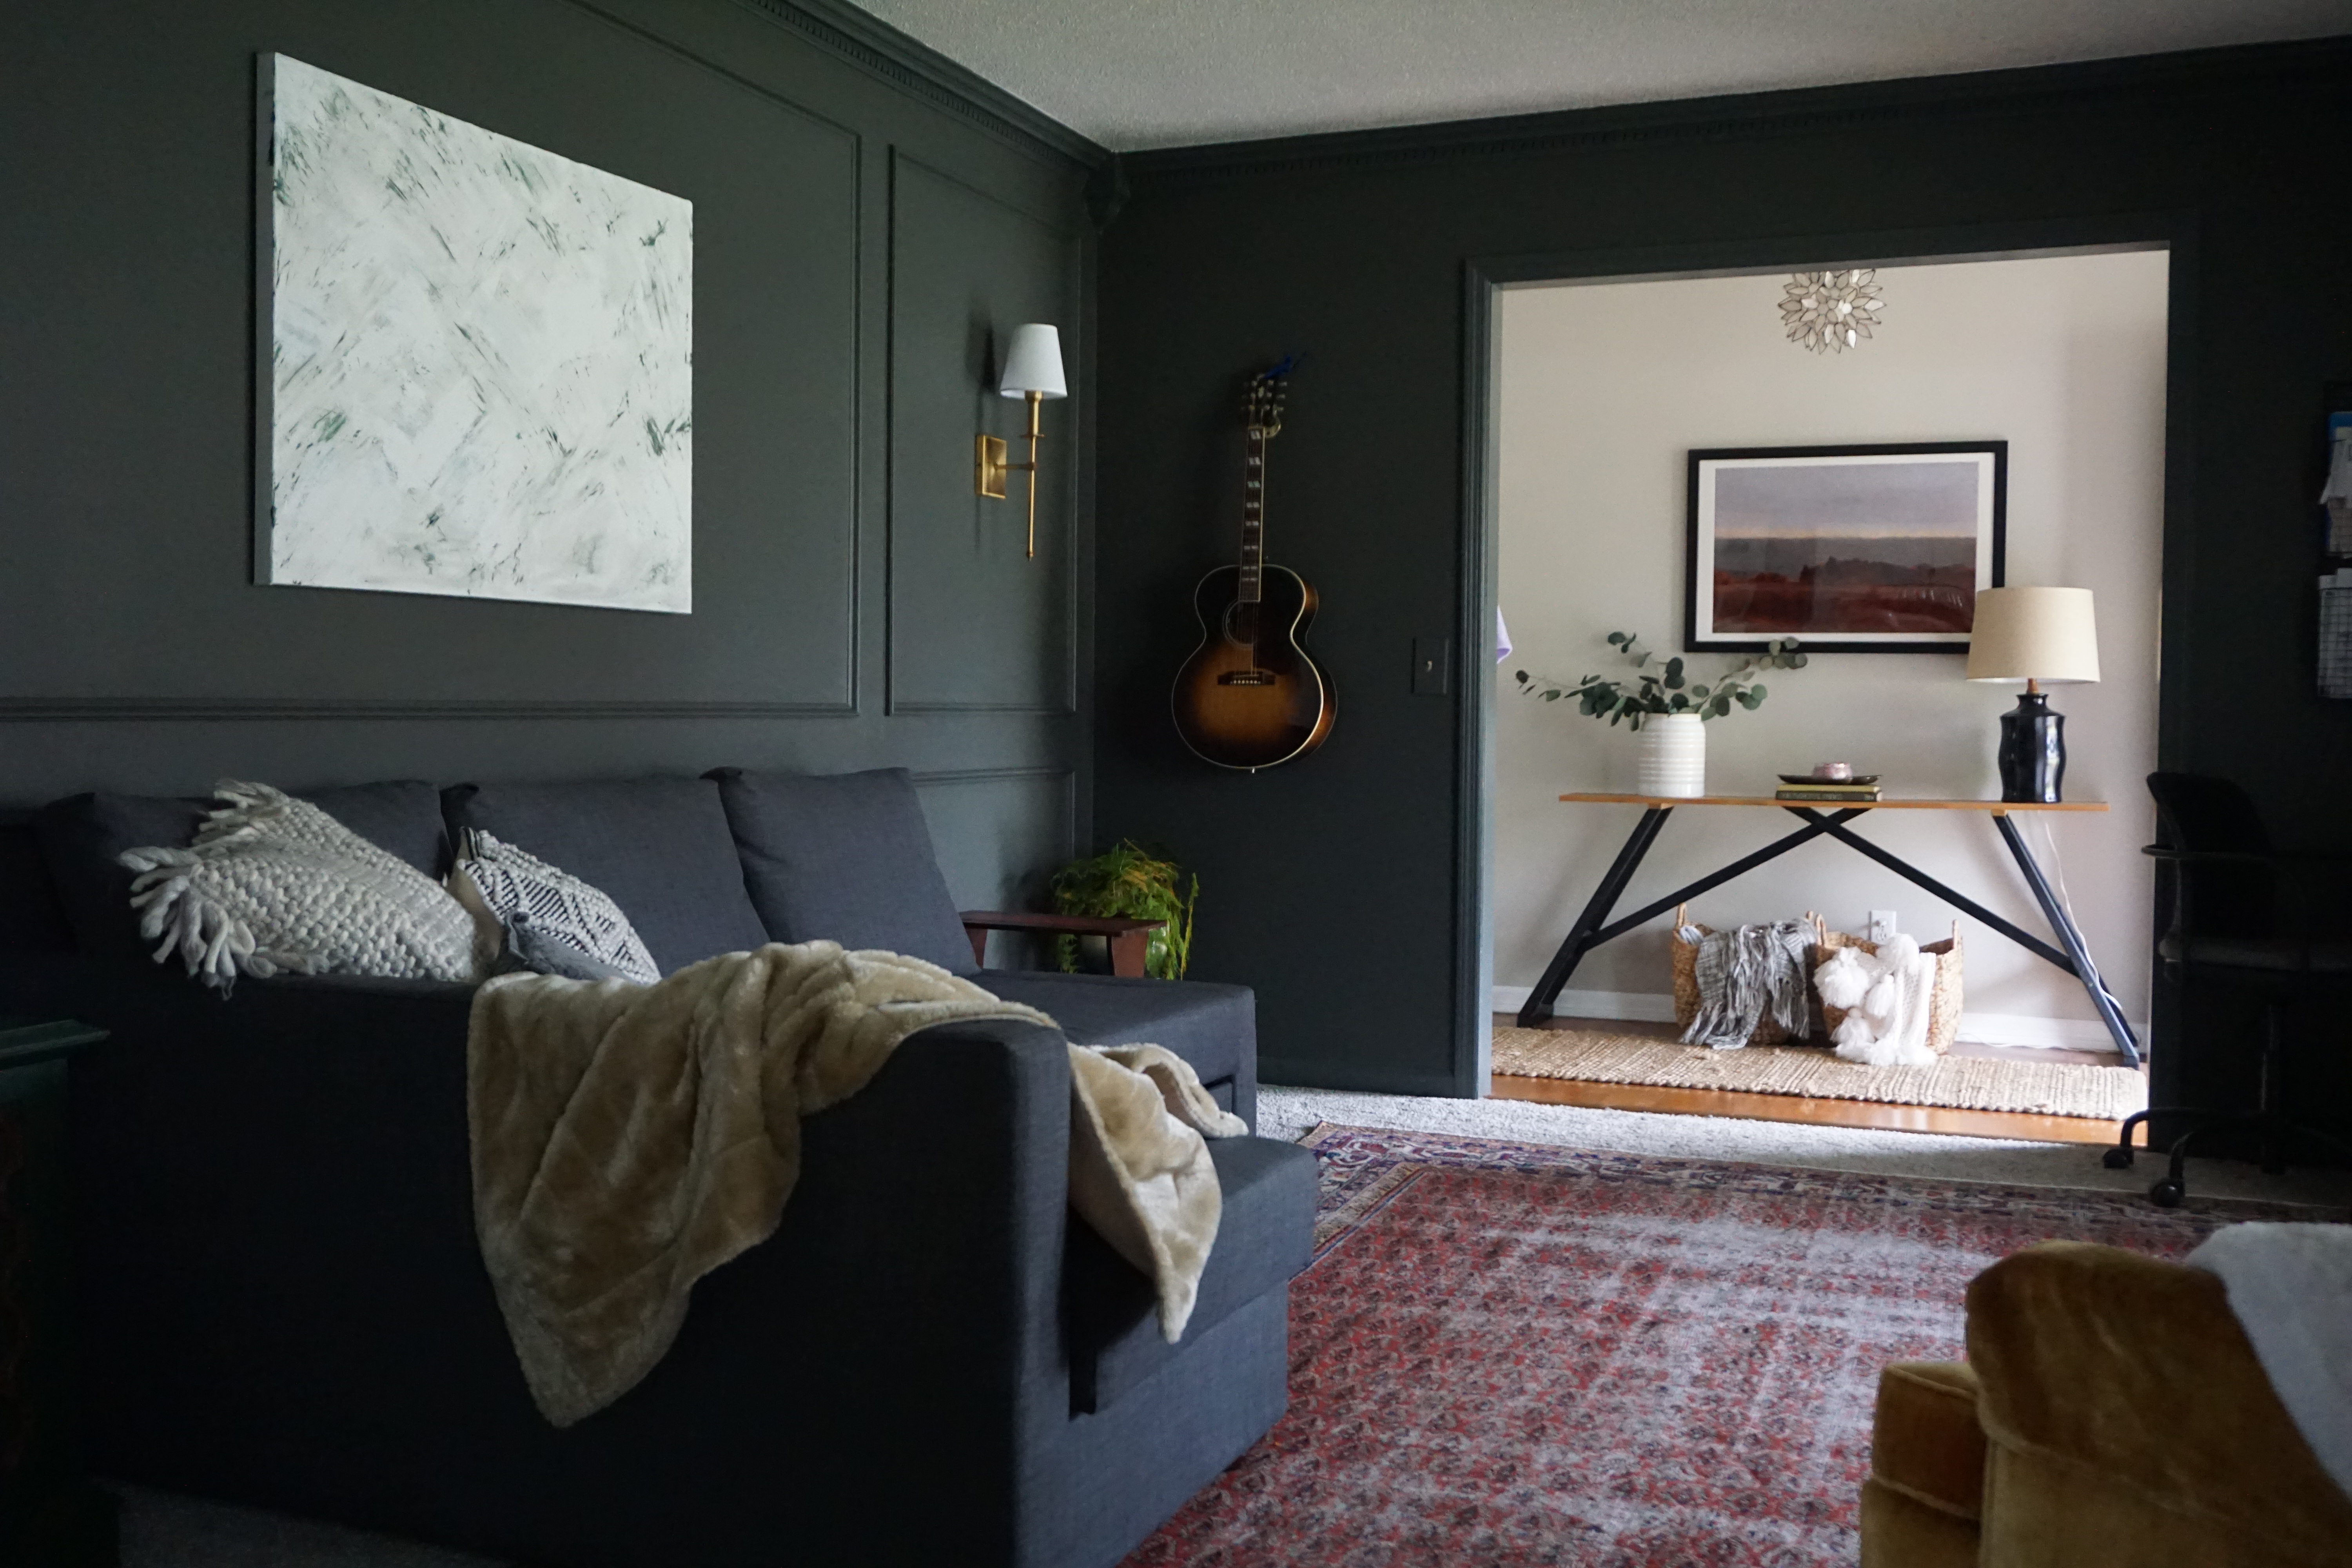
The Shadow Box Trim
Whenever you do a trim project, it immediately elevates the room. If you ever see a space you love on Pinterest, look closely, it probably has some sort of trim work.
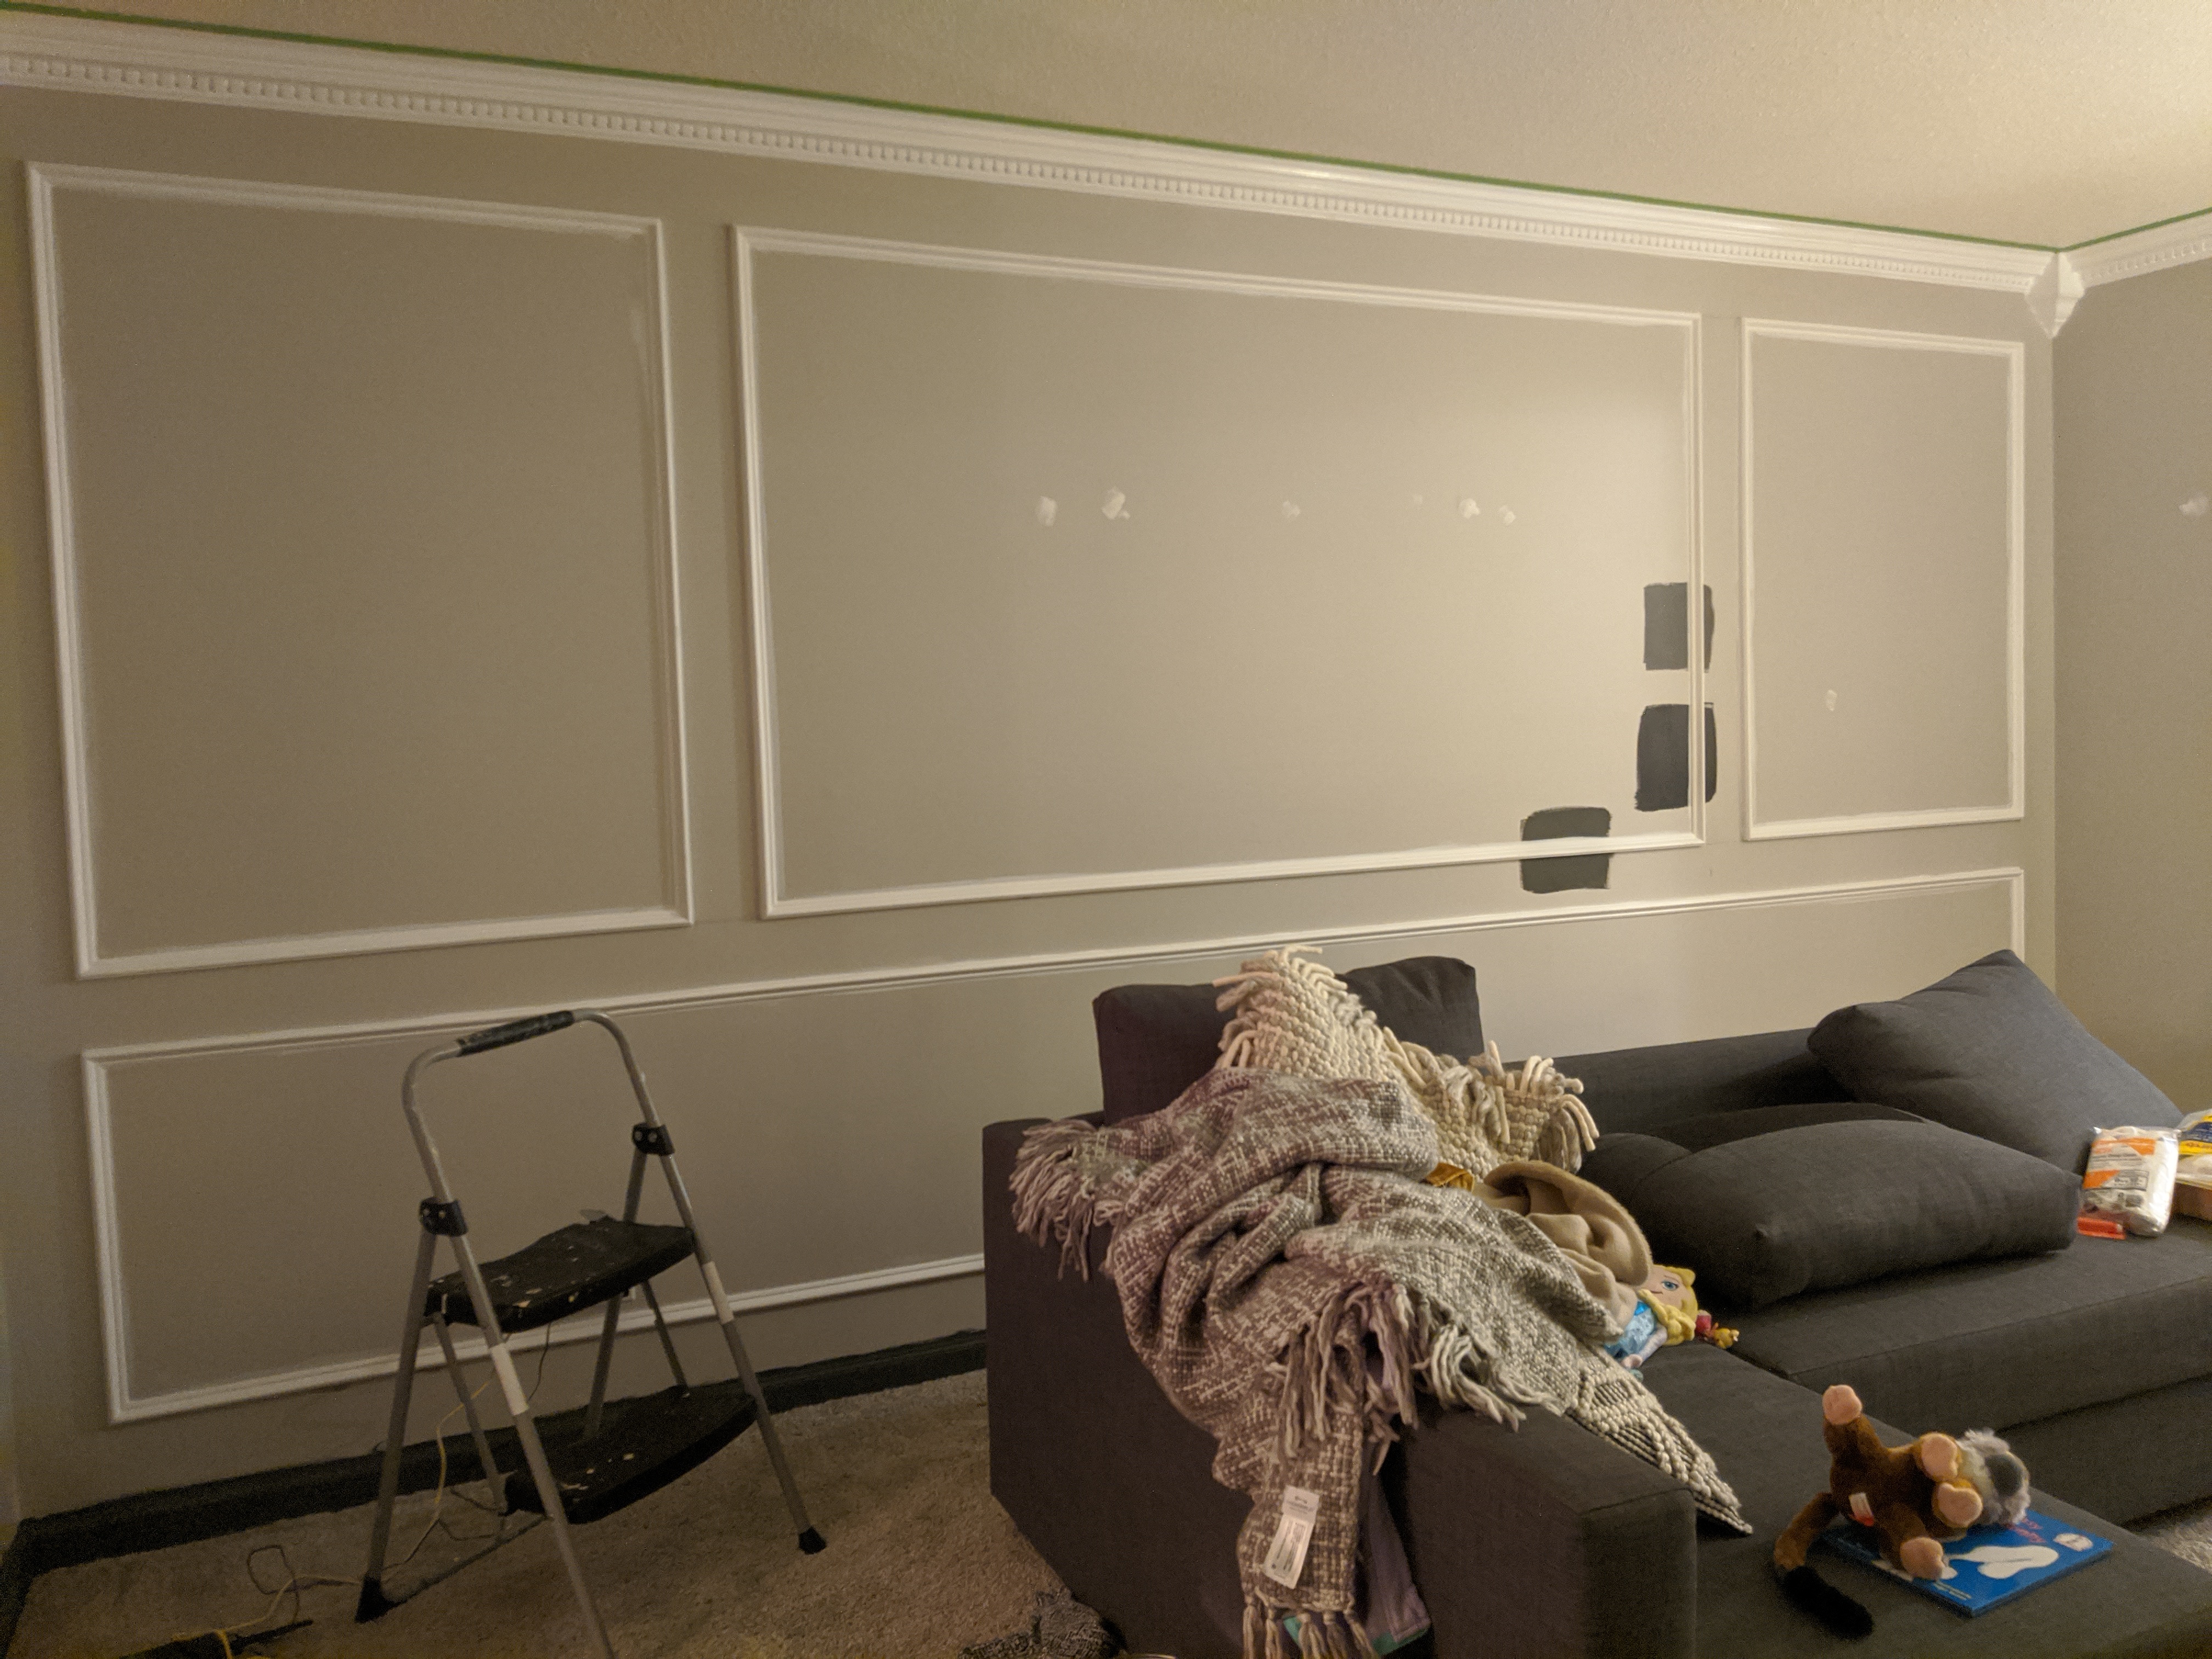
This simple project cost around $100 and took a few hours of measuring, cutting, and nailing. I’ll probably do a post specifically on this project, so I won’t go too deep into now. I love how it has given this room interest and the large boring wall some much needed depth and texture!
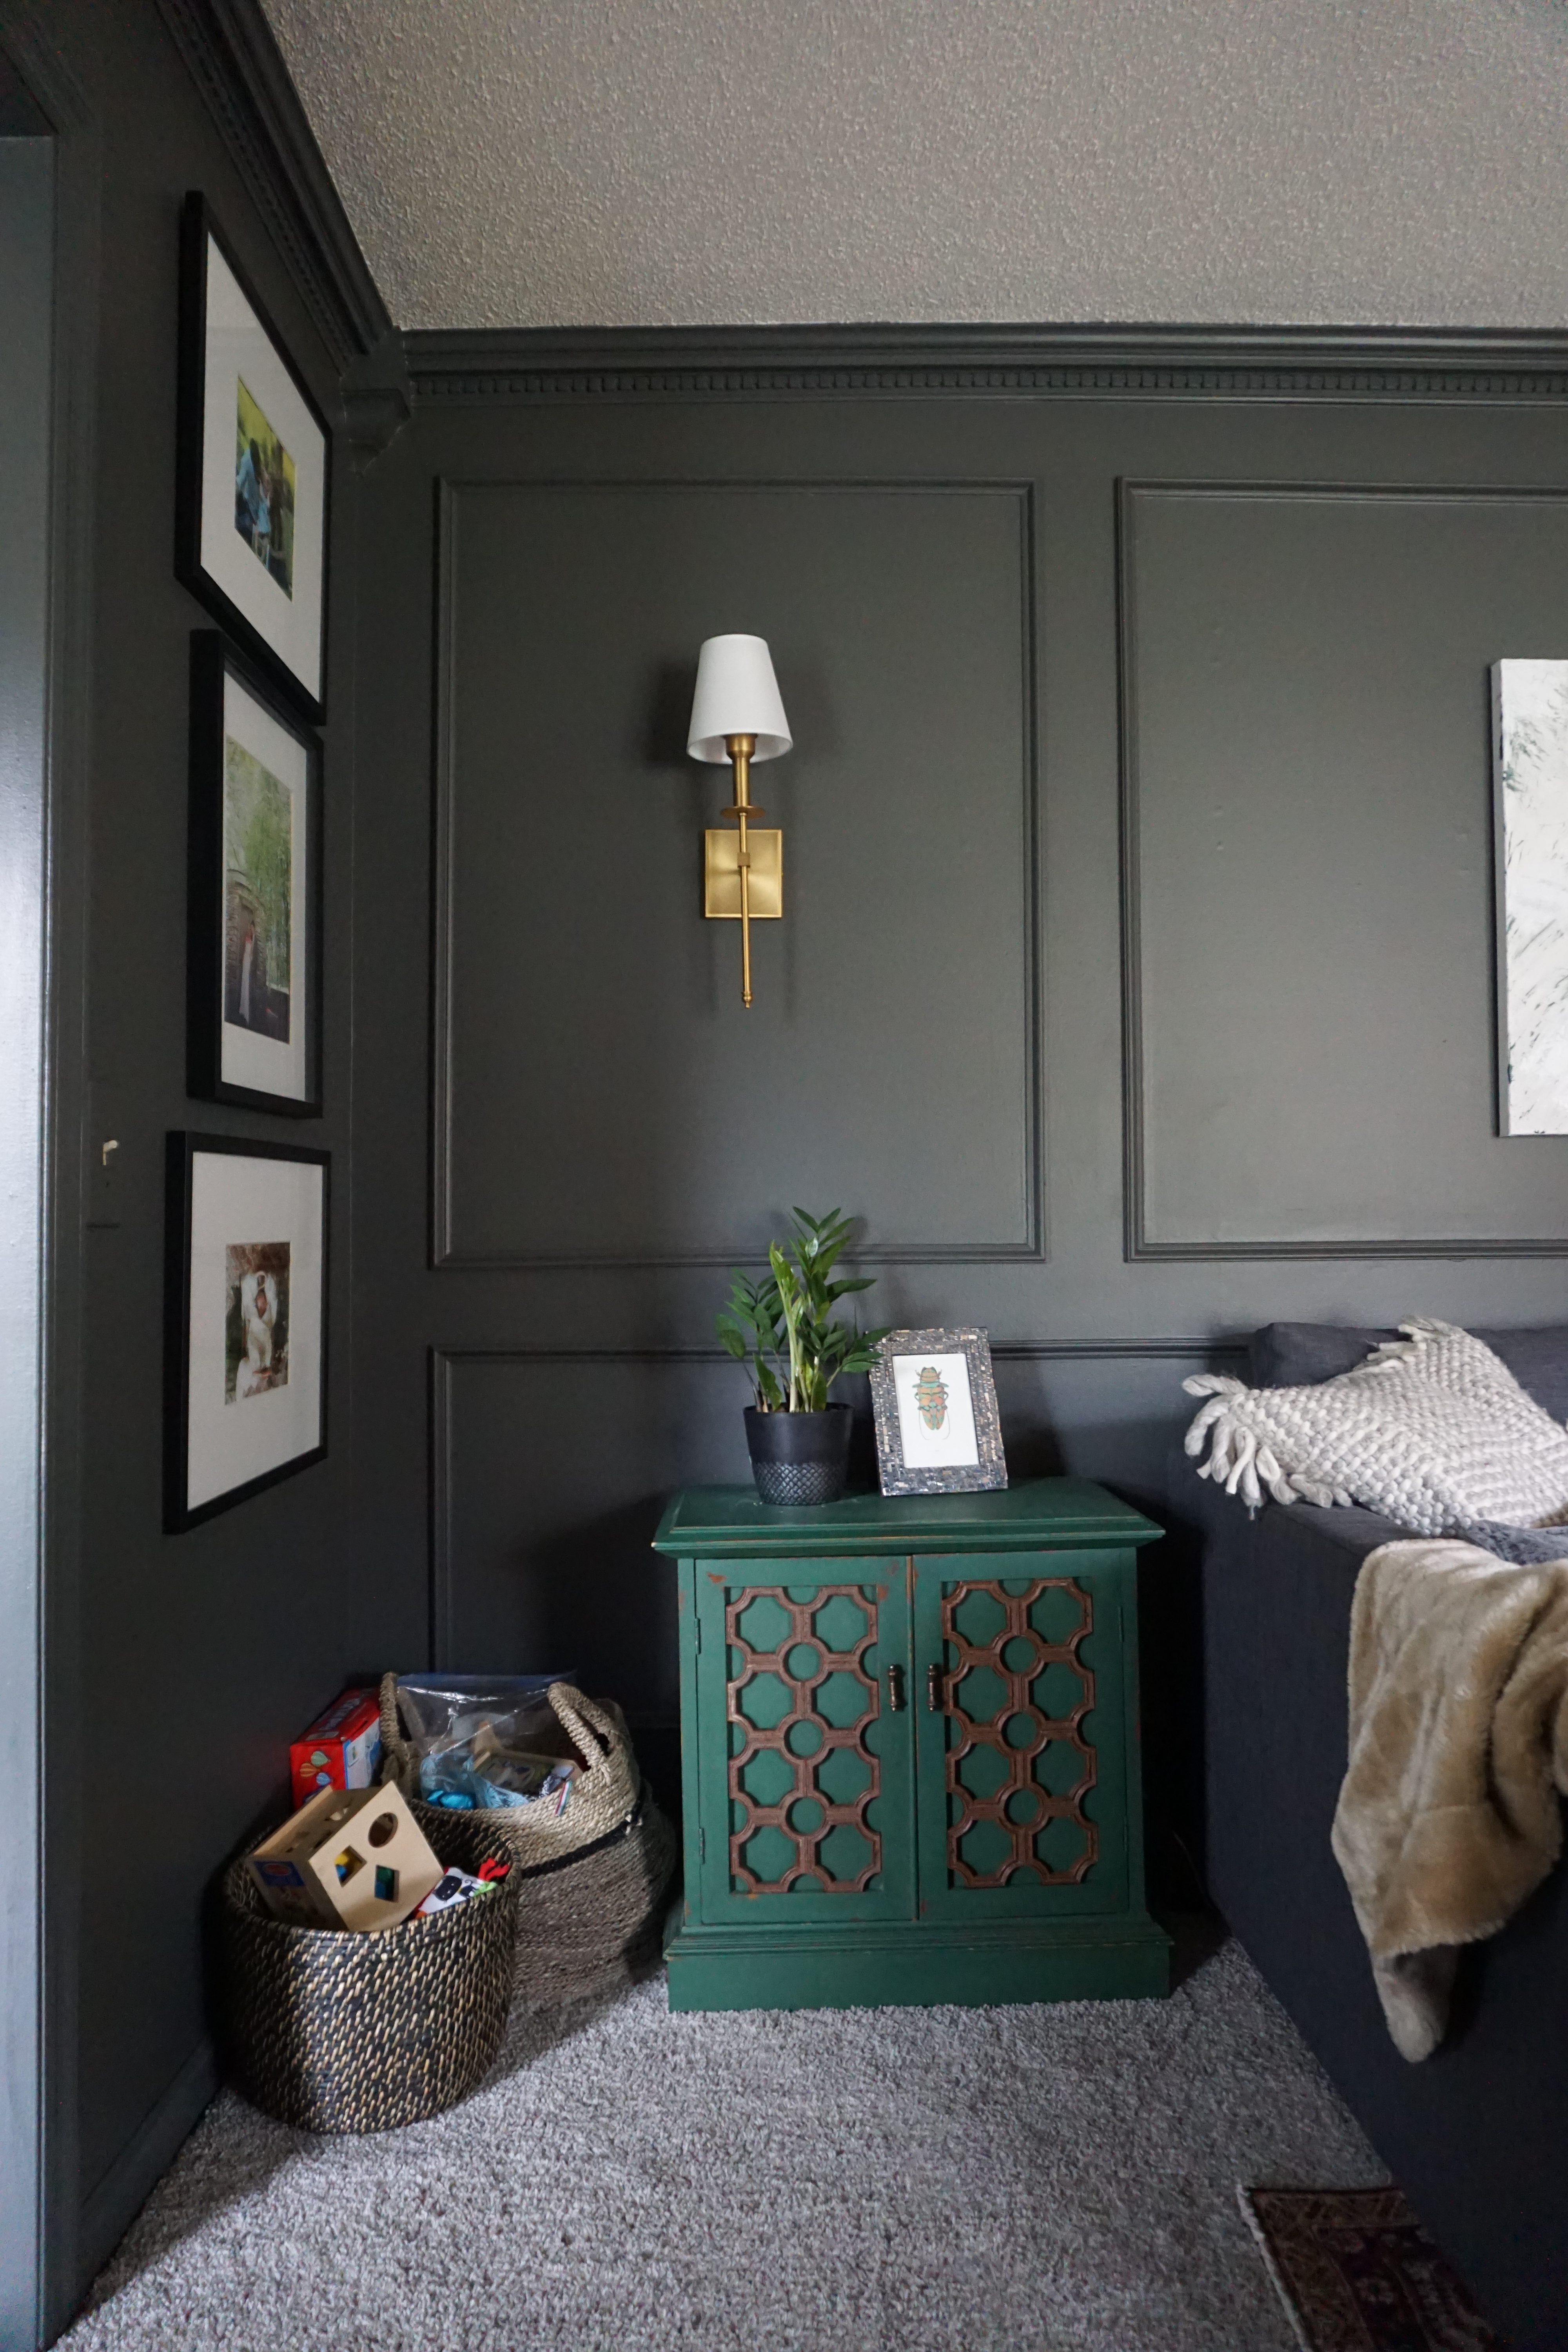
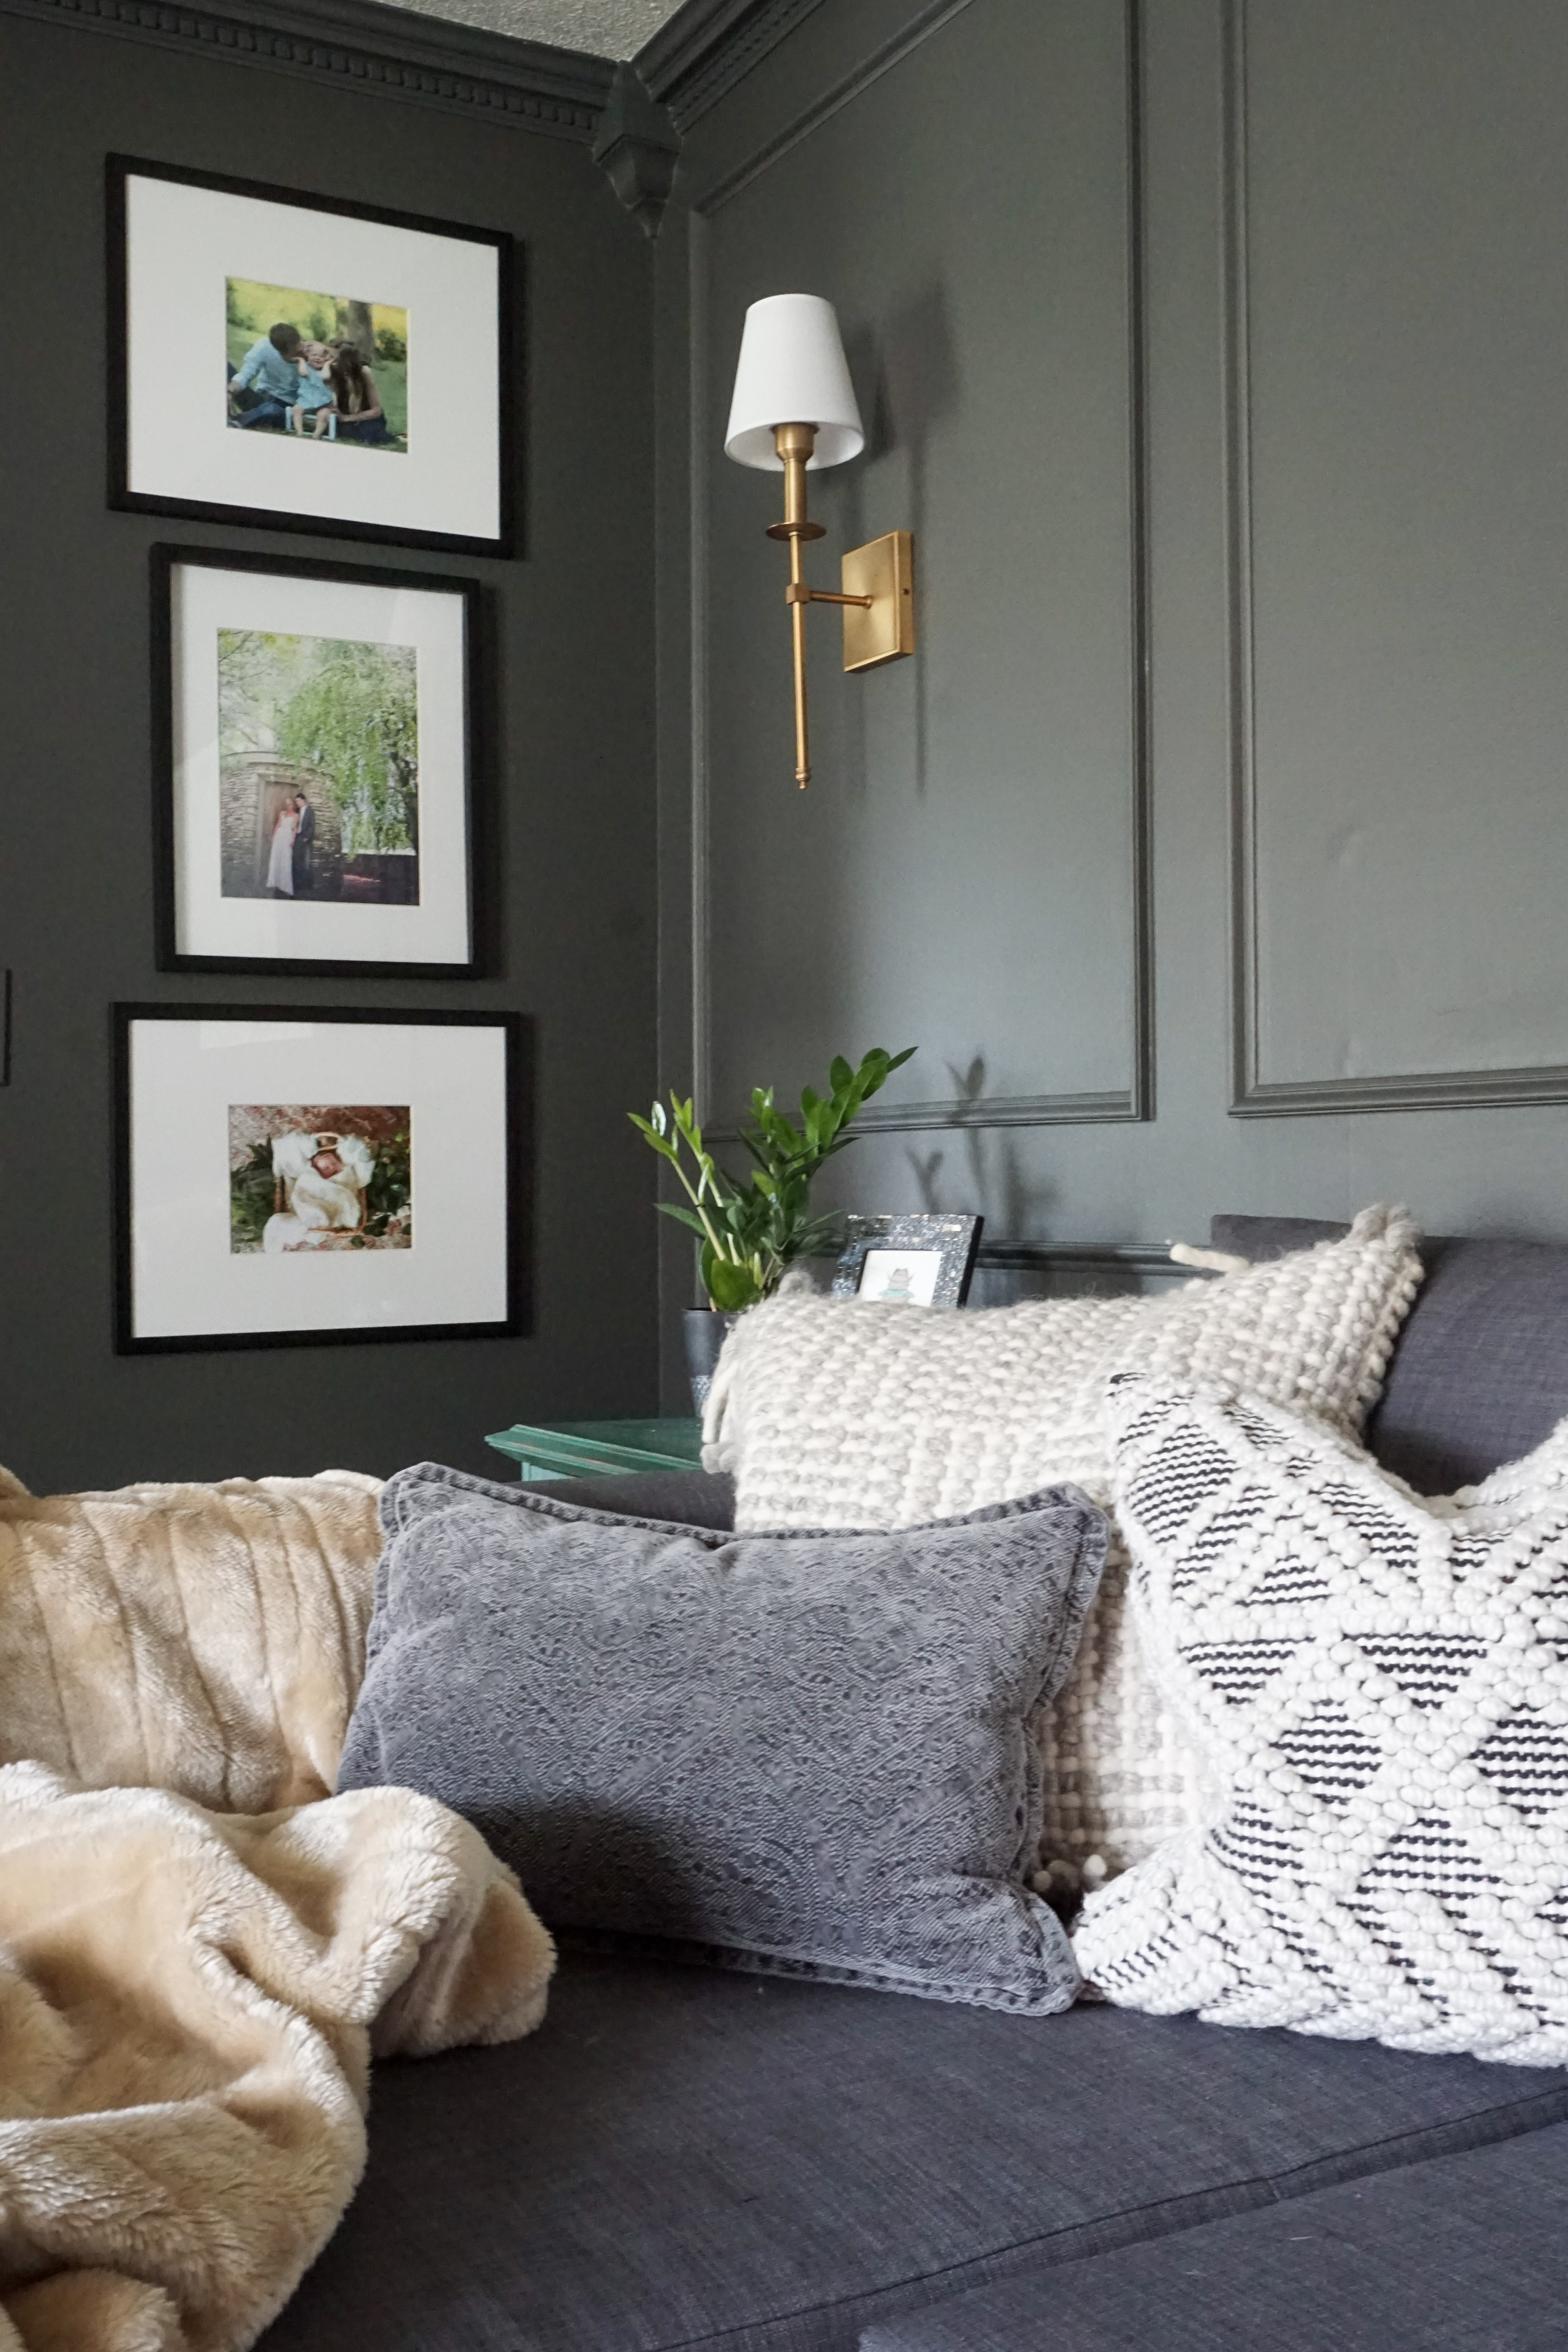
The Sconces
When you think about not only buying two sconces but having an electrician run a wire and install them, you’re probably thinking $$$. With a little trick I used, I was able to install two function lights by myself for less than $125!
I found these sconces on Amazon in a set of two for $89. I’m totally impressed with the quality for such an incredible price.
Then I used the Magic Light Trick by Nesting With Grace. I basically just attached the sconce to the wall, no hard-wiring necessary, and dropped a remote controlled puck light in the shade.
Sconce – Amazon
Puck Lights – Amazon
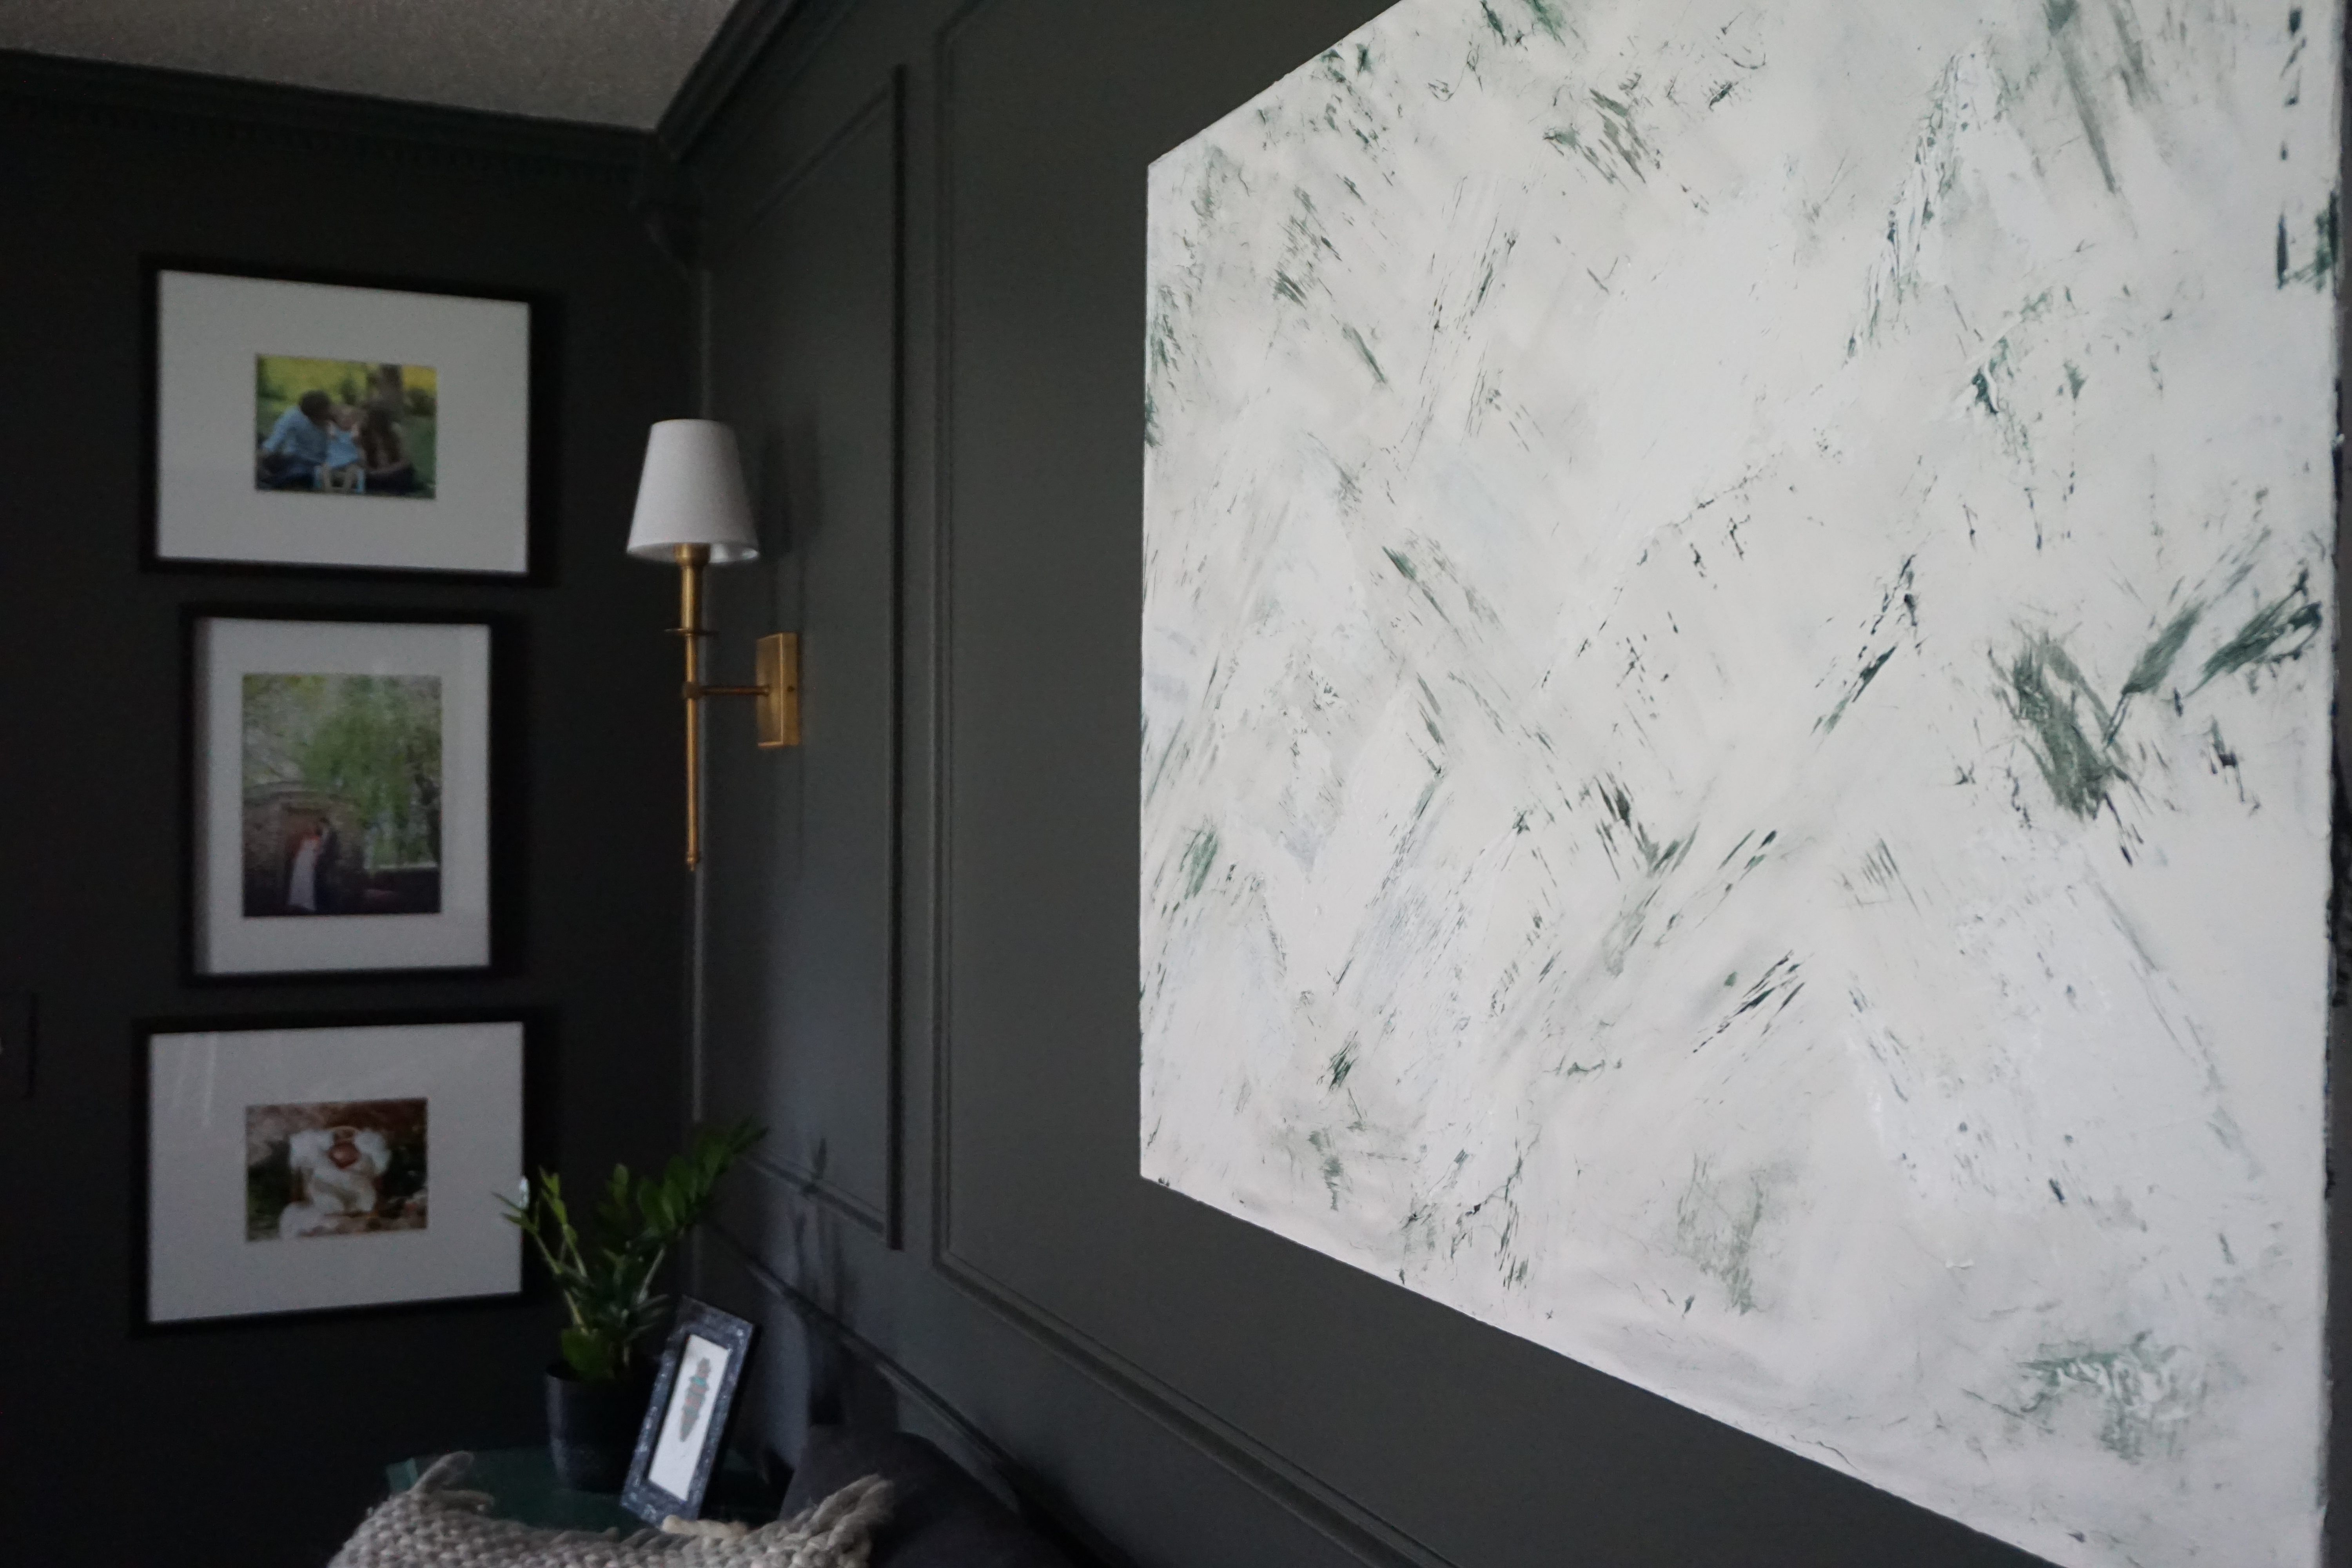
The DIY Art
I originally was going to use a vintage print in here from BFF Print Shop, but once I framed it it was wrong for many reasons: 1) too dark 2) black frame didn’t stand out 3) too small for the wall. So I had to go back to the drawing board. (The vintage print is now in the entry. You can see it in pictures above.)
I decided to paint my own large, neutral, highly textured piece. Granted, I took art nearly every semester throughout high school, and I’ve painted many pieces in our home, I’m far from a professional.
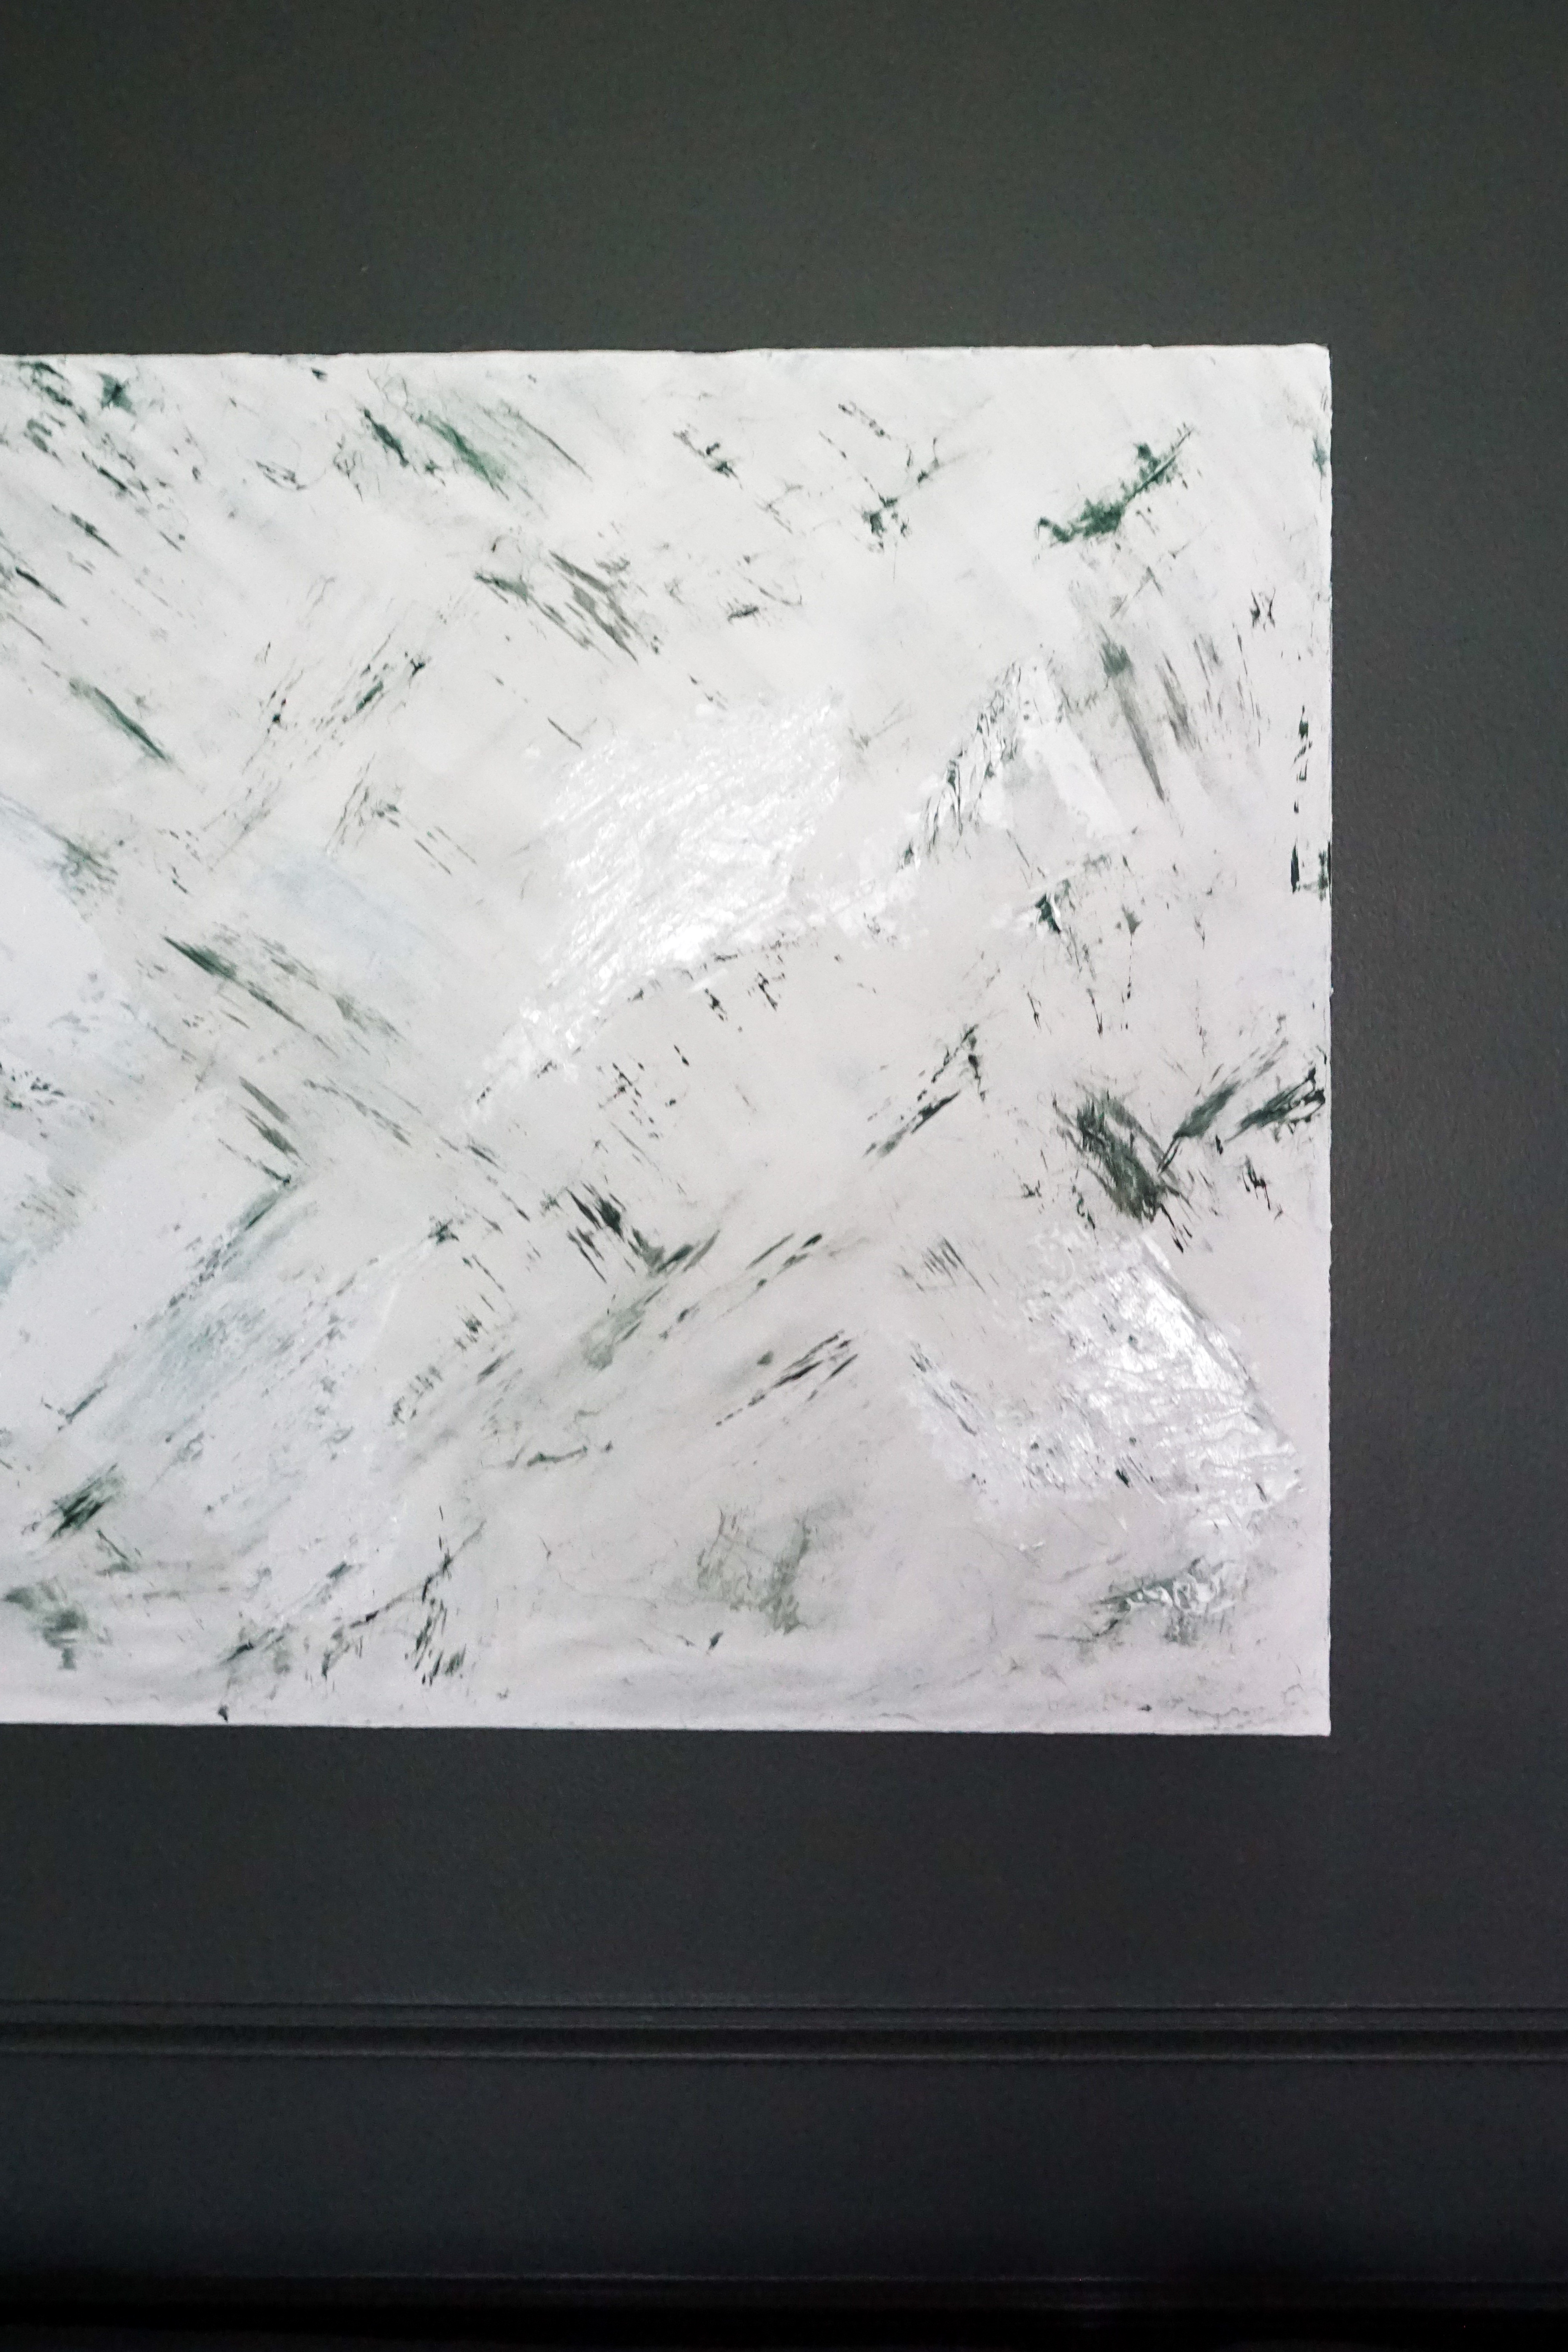
When Hobby Lobby was having a sale, I purchased a 30×40 canvas, some extra thick gesso, and a cheap wire brush. I first applied the gesso to leave lots of divits and texture. Once it dried, I dipped my wire brush in acrylic paint and simply brushed it all over the canvas leaving some areas heavier than others. I went back over some areas with white oil paint just to lighten it up and called it done…for now. I’m not 100% happy with it and I still want to add a wood floating frame around it, but my motivation has left me.
The Shelving and Storage
Functional design. Where function meets beauty. That’s where I like to be in our home. I wanted this space to work for our family, which meant storage solutions for office supplies, toys, and books.
I found this bookcase for $89 on Walmart.com! It attached to the wall (yay for safety!) and holds everything we need all while looking cute. It’s currently out of stock on Walmart, but this is the exact same one for $121 on Amazon.
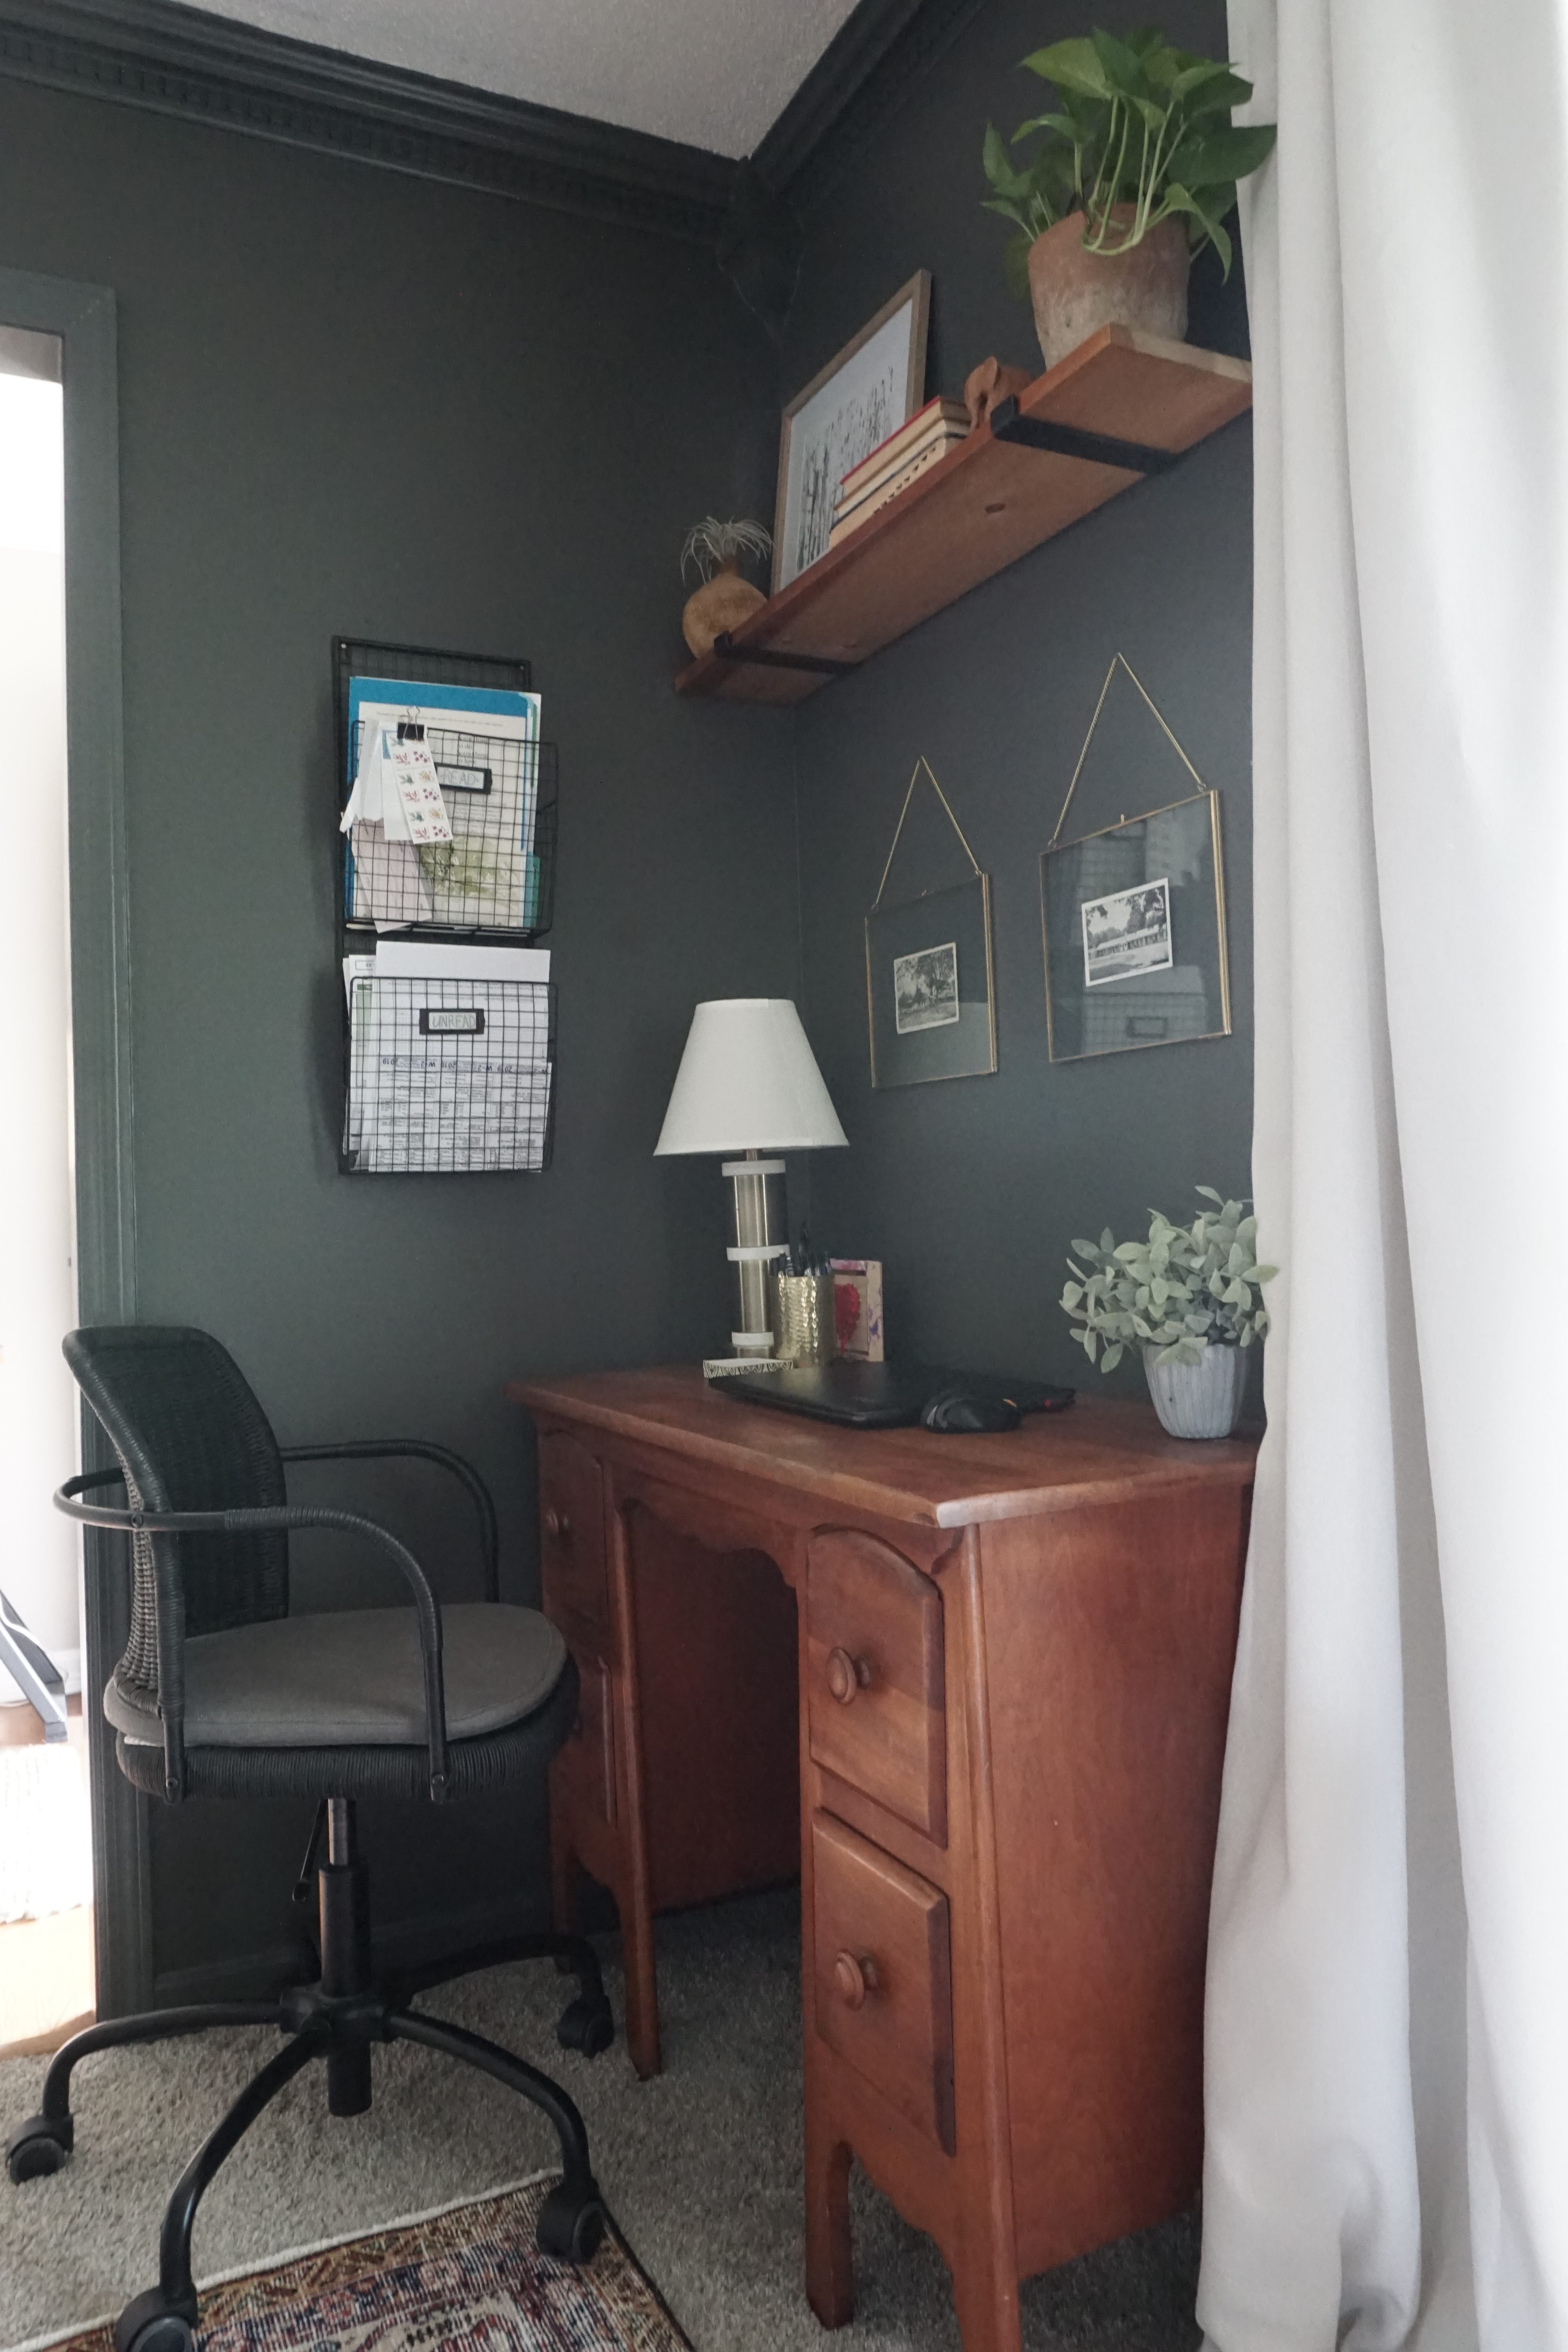
Lastly, I added a simple pine shelf high above our desk and attached them with these brackets. I hung a couple vintage post cards below the shelf and it has made this little corner so charming!
So if you have that room that is just OK, think about its possibilities. Aside from the rug, this redesign cost less than $500! That’s with new lighting, a new large art piece, a bookcase, curtains, side table, and completely painted. A beautiful room that is also highly functional doesn’t have to cost thousands of dollars. Just be creative a take your time piecing it together.
xo
Diana
