I wanted a distressed, lived-in table with lots of texture without it being sanded to the bare bones and lots of natural wood showing (Is that too much to ask for?), so I came up with the “Dry Brush Distressed Method”. Achieving this eclectic, lived-in look is done with only a few products and one extra step than your traditional sanded piece.

First, the Table Top
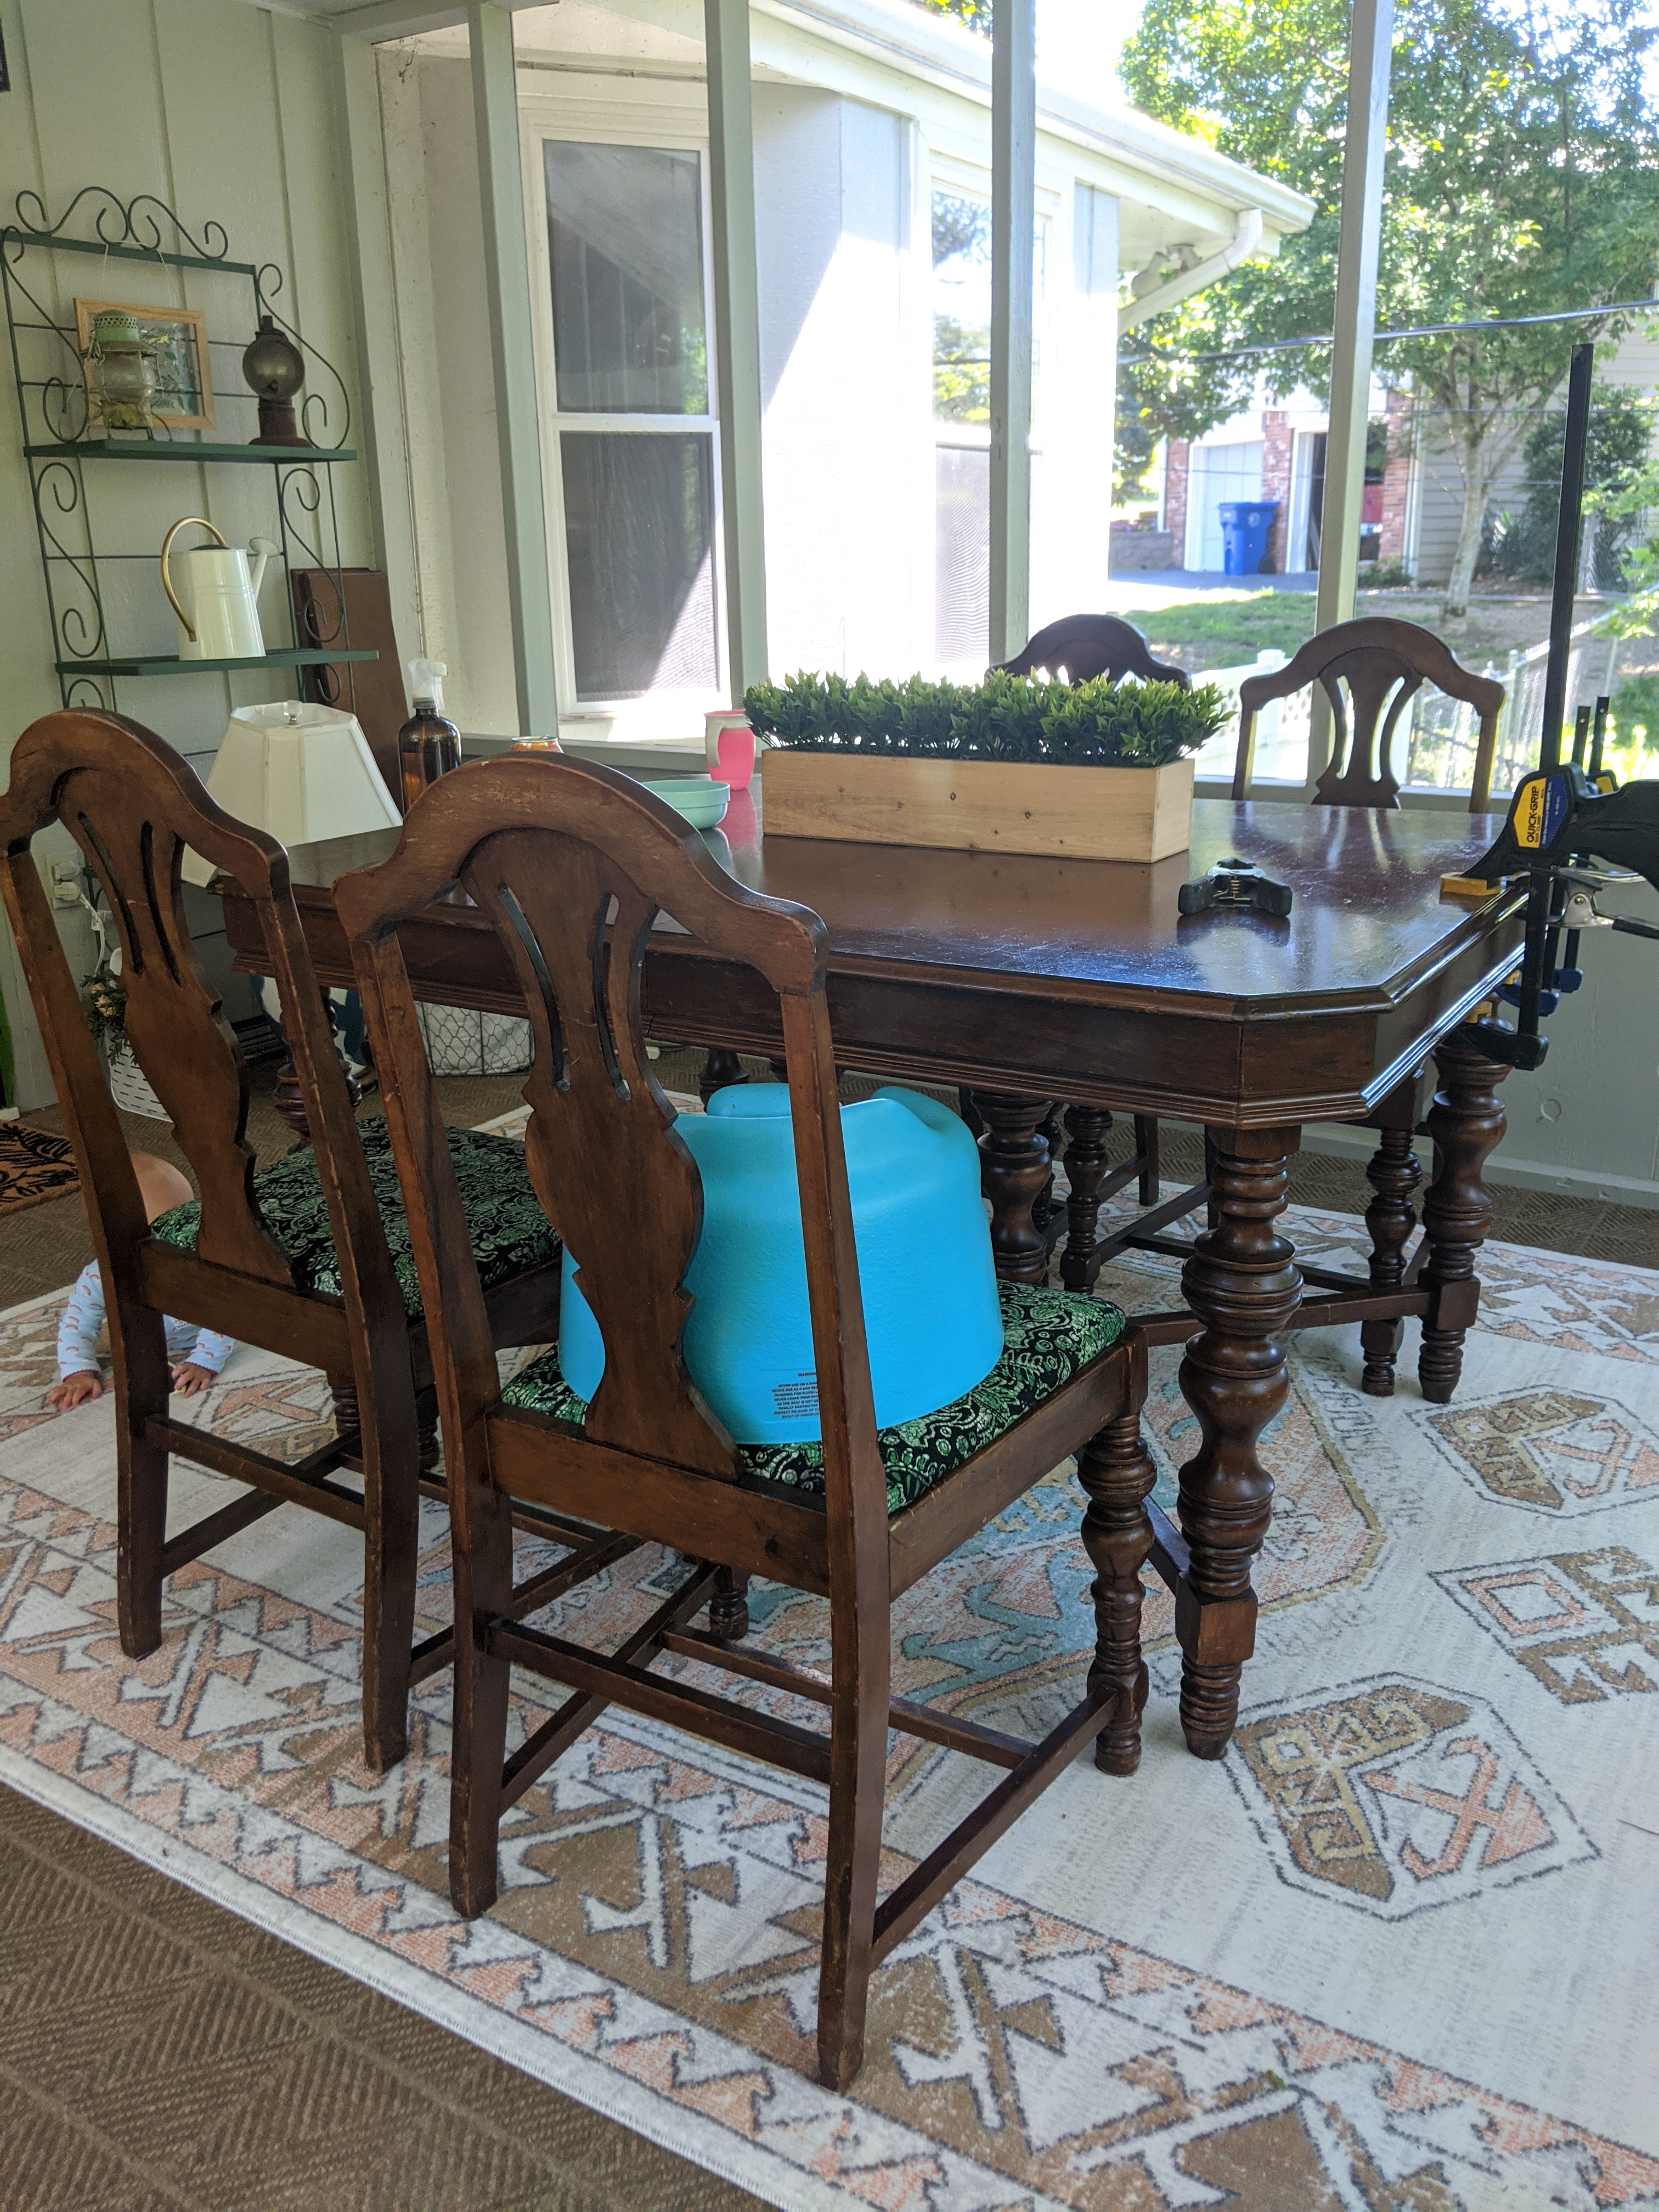
It all started with the table. I found this antique beauty with gorgeous curves, two extra leafs, a sturdy base, … hideous fabric chairs, and lots of dings scratches for $80 on FB Marketplace.
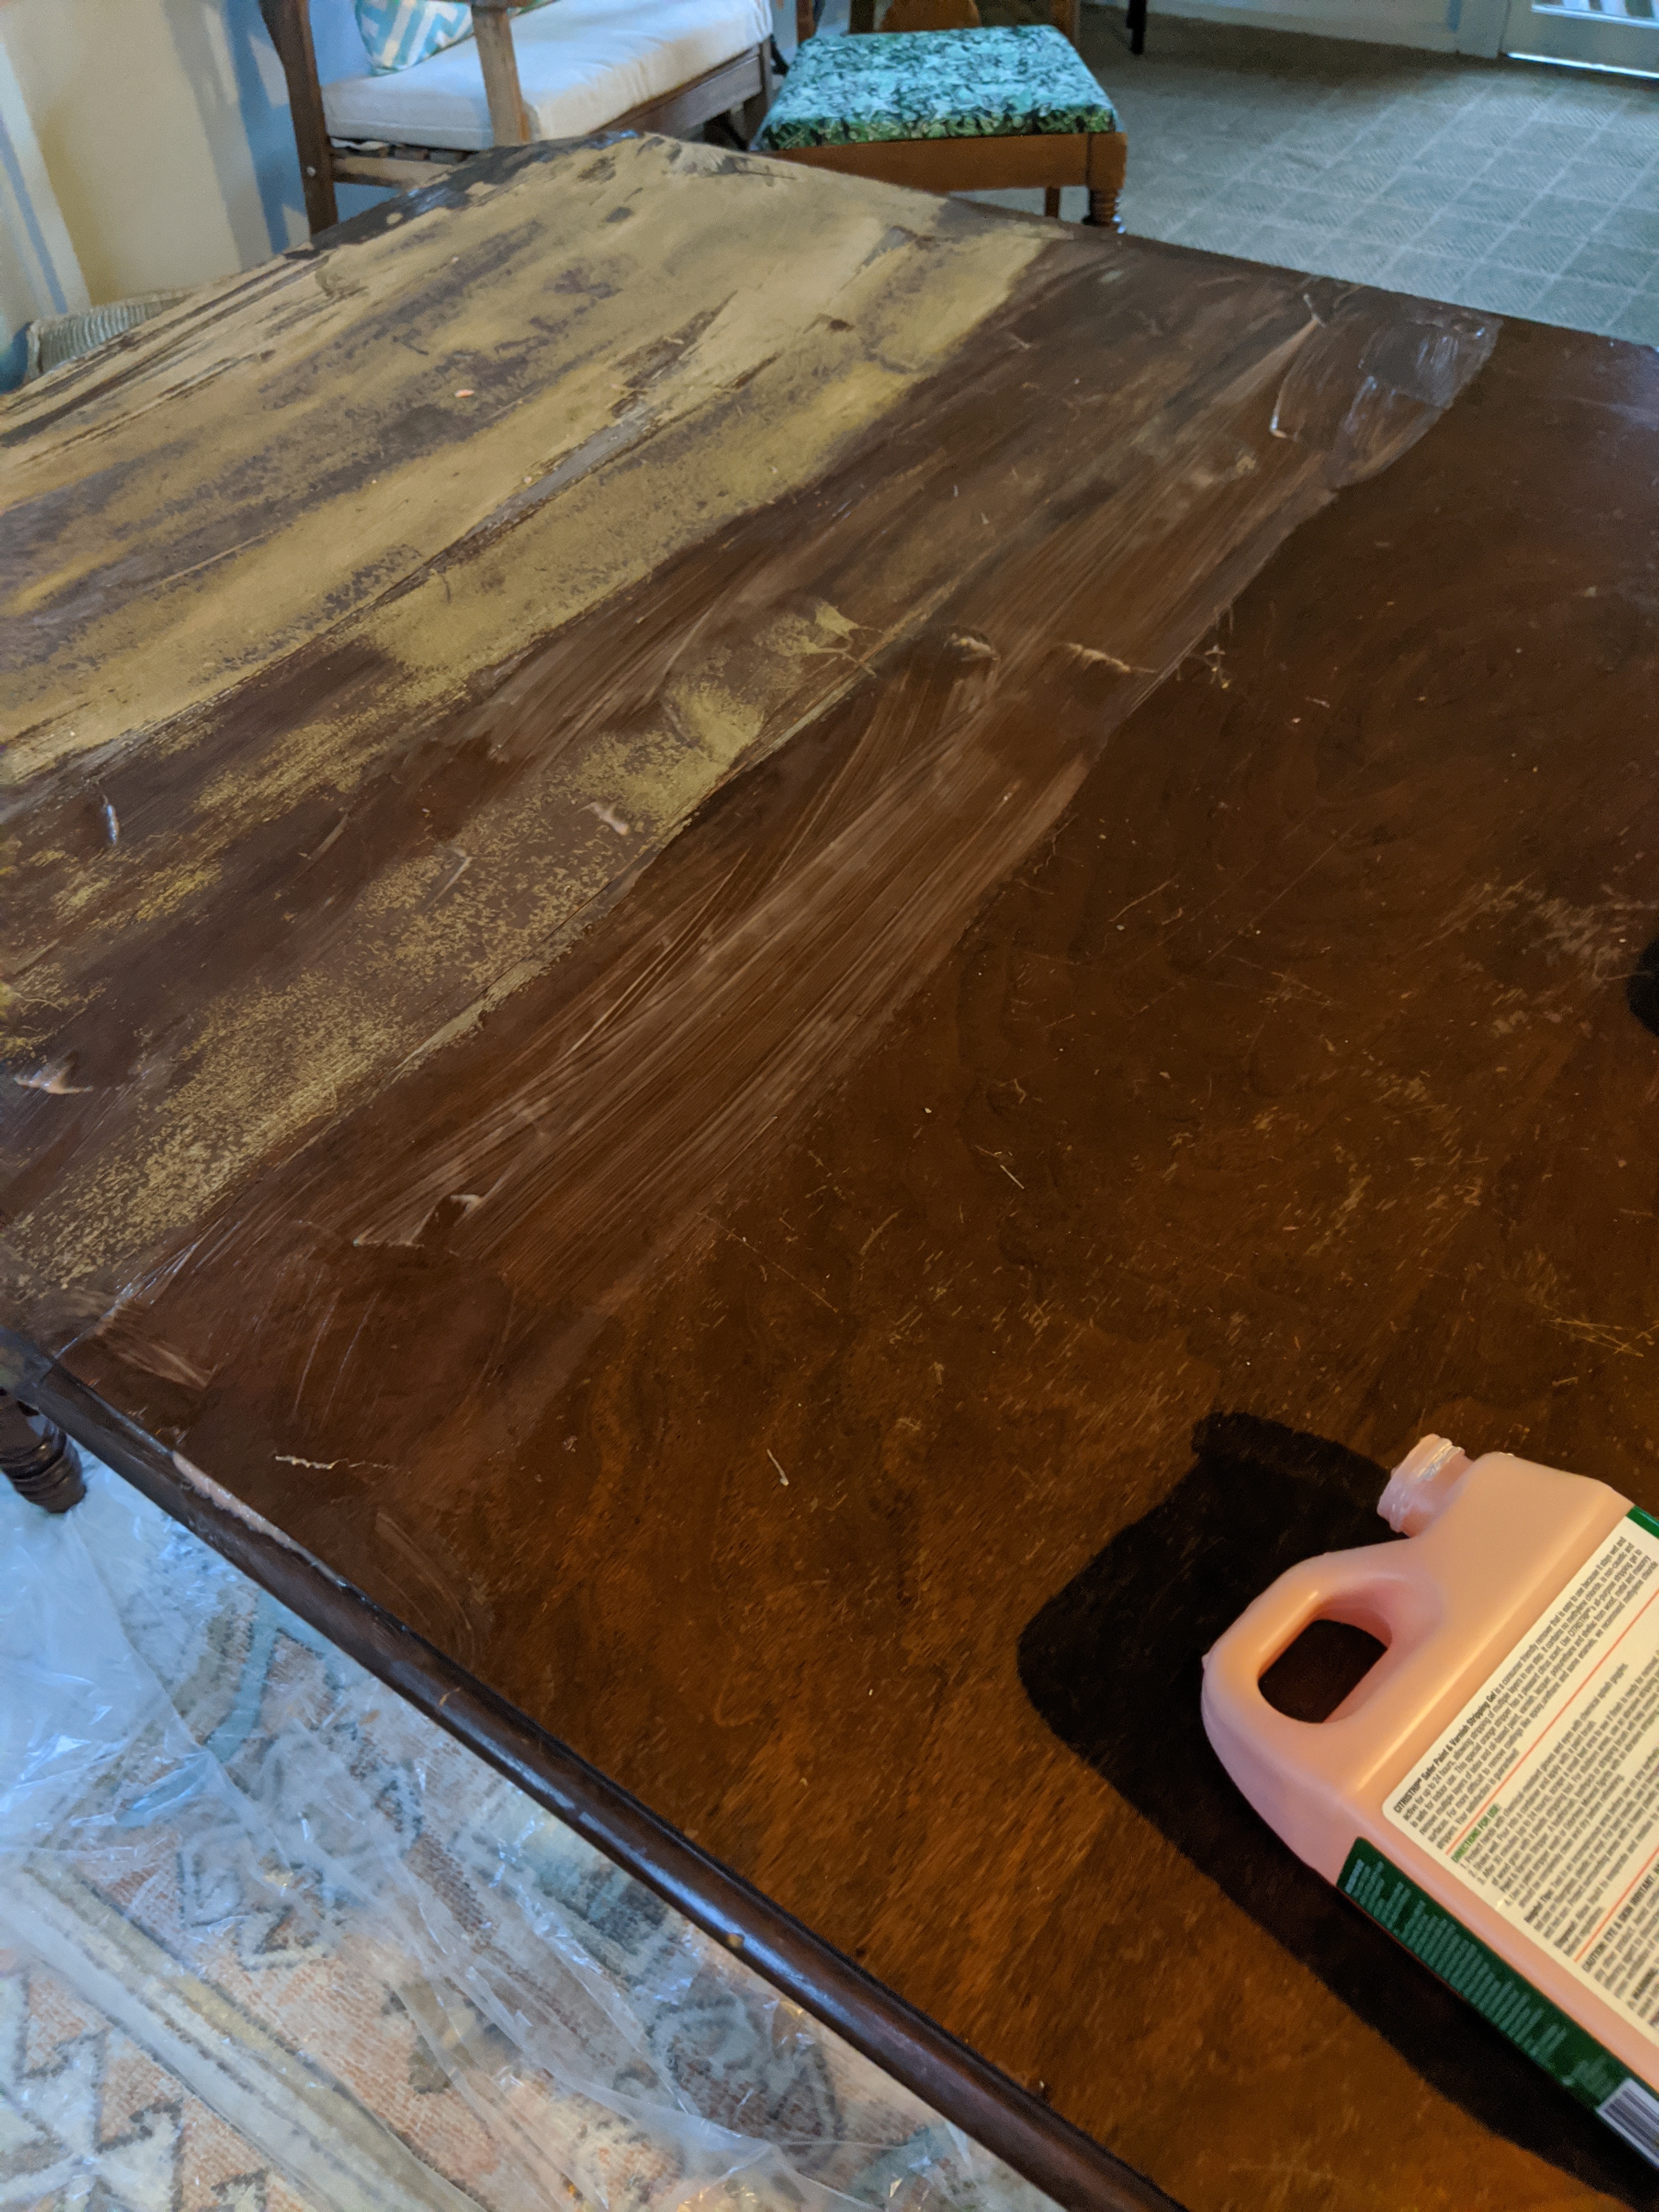
I started with stripping and sanding the table top. I then applied a coat of Minwax Special Walnut. Once it was set, I spray four coats of Helmsman Spar Urethane Spray in satin since the table is on our screened-in porch. The Helmsman spray is an excellent sealer for outdoor furniture!
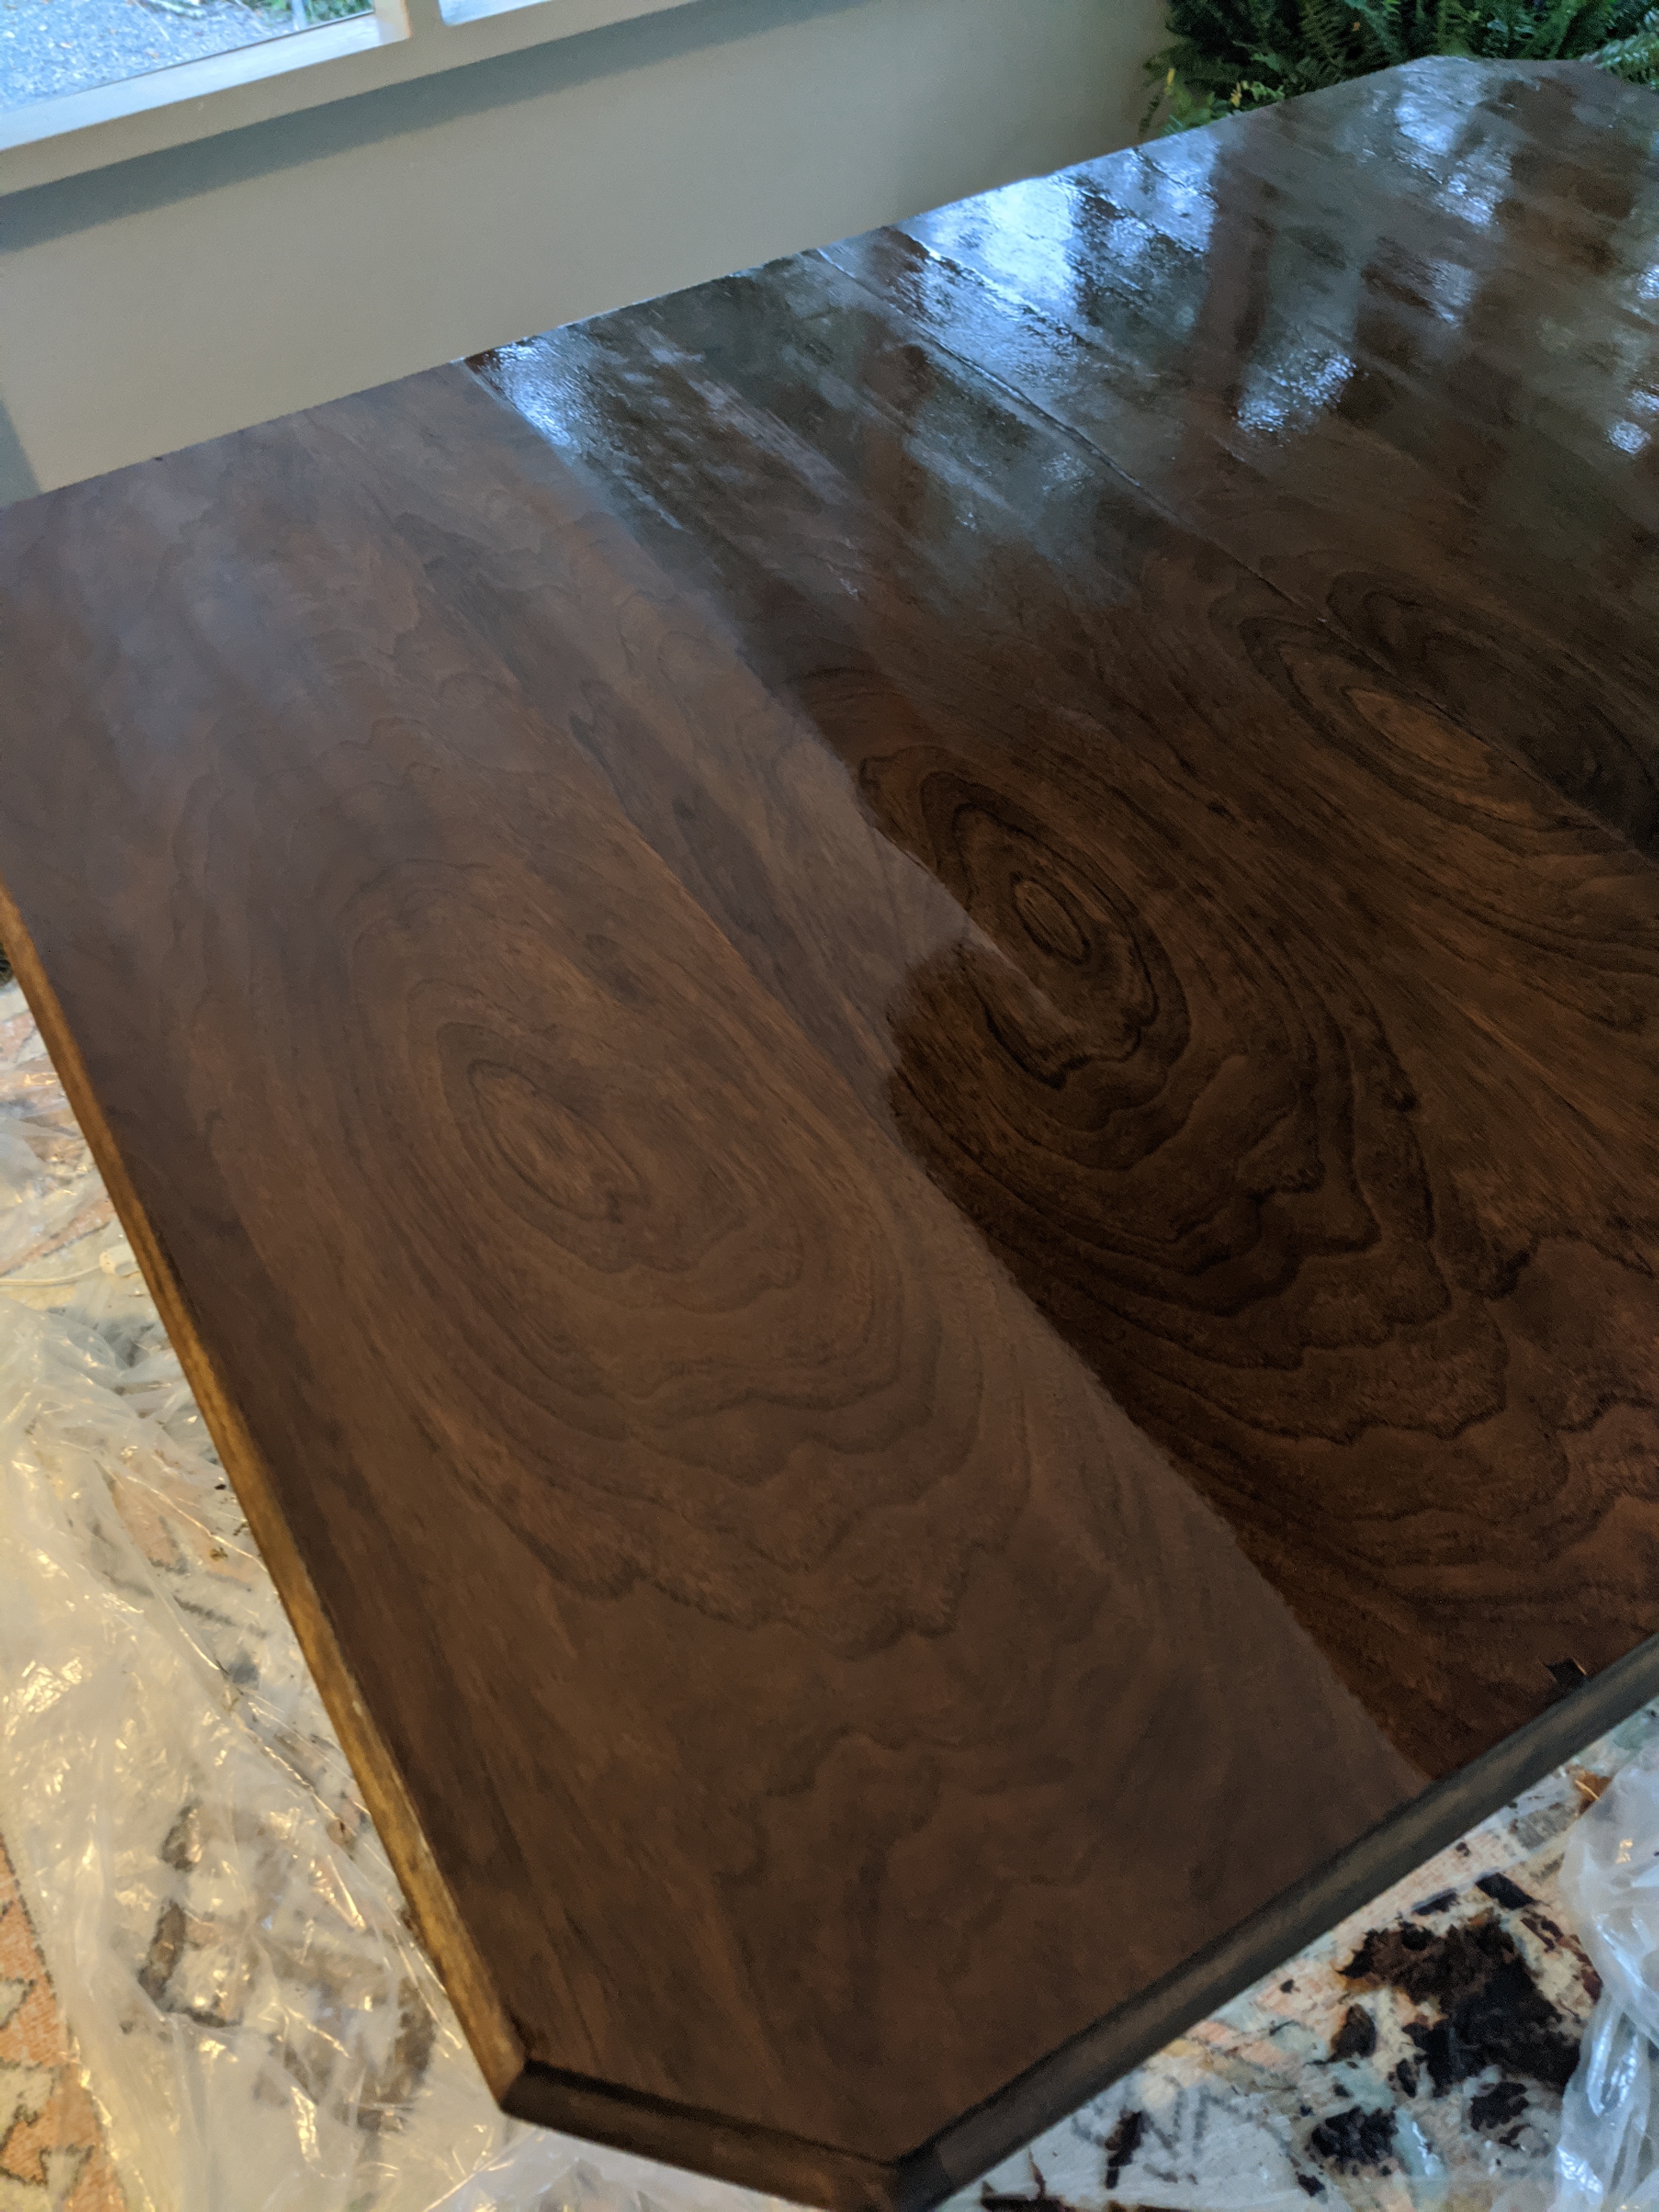
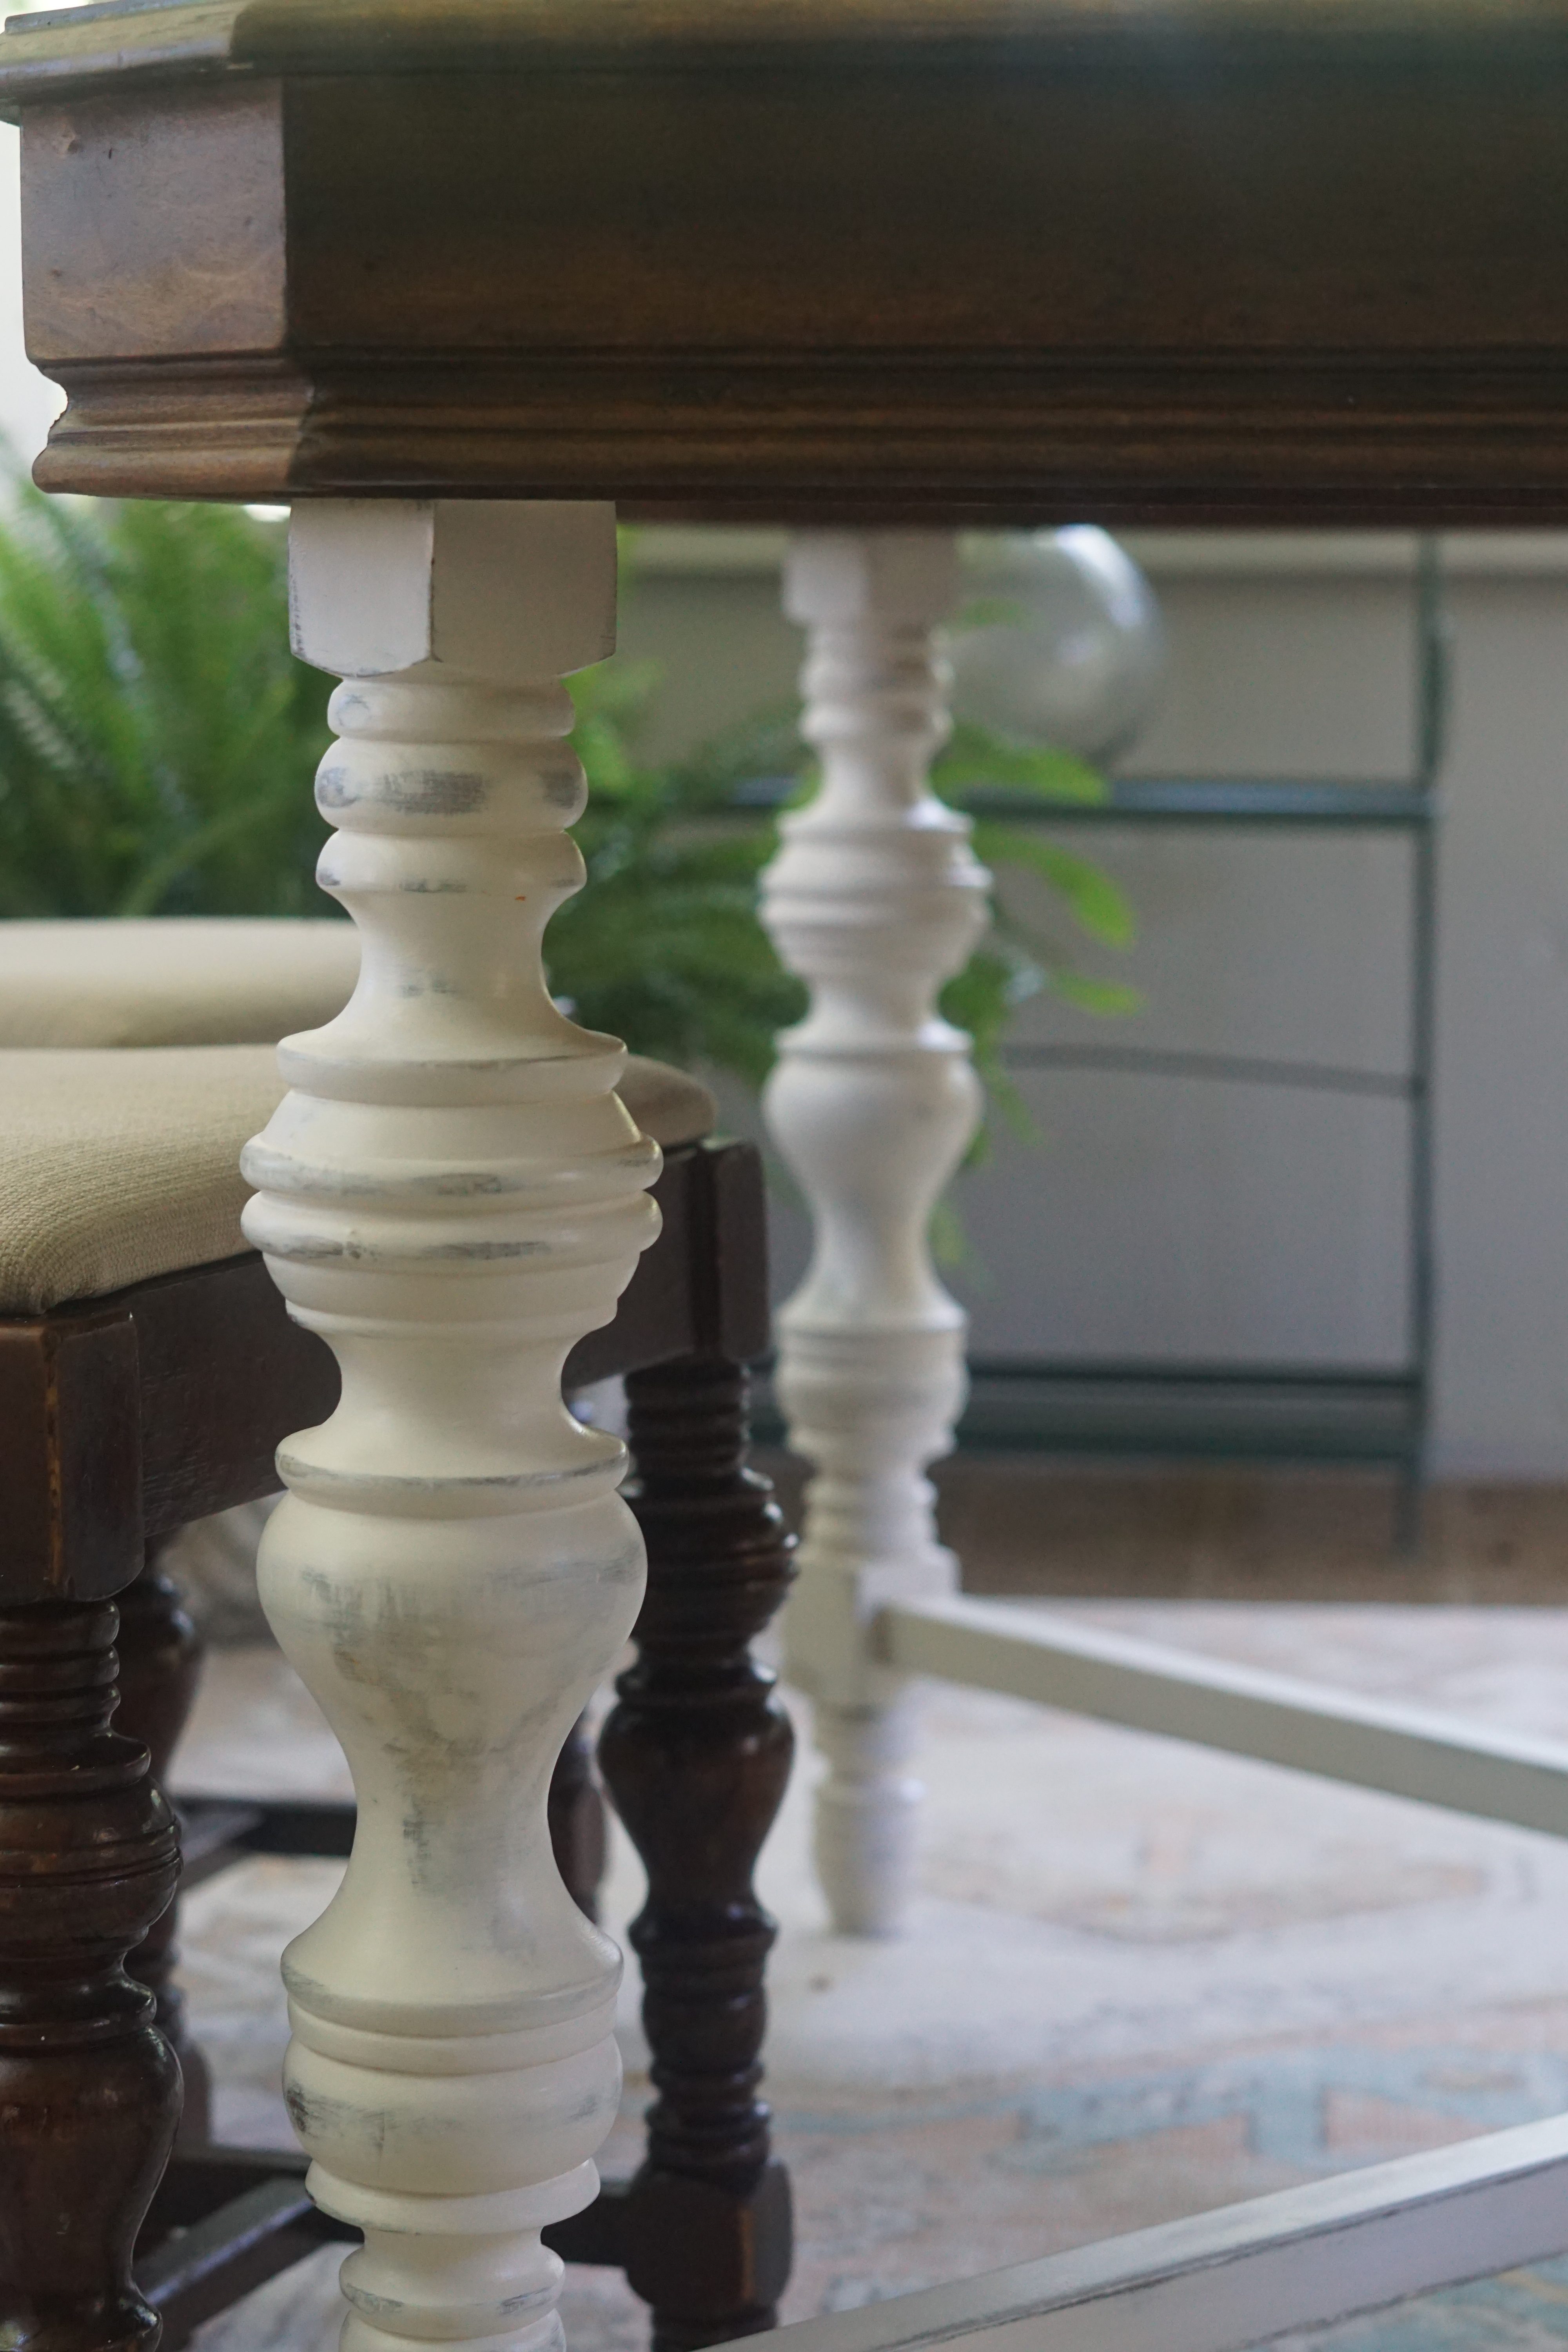
Here it is with the table top finished, chairs recovered in a neutral outdoor fabric, and the legs screaming for something special!

Dry Brush Distressed Legs Tutorial
(Disclaimer: This is a sponsored post with Country Chic Paint. All thoughts and opinions are my own and to best meet the needs of my readers.)
Material Needed
Country Chic Paint in Crinoline
Sand Paper – 100-120 grit
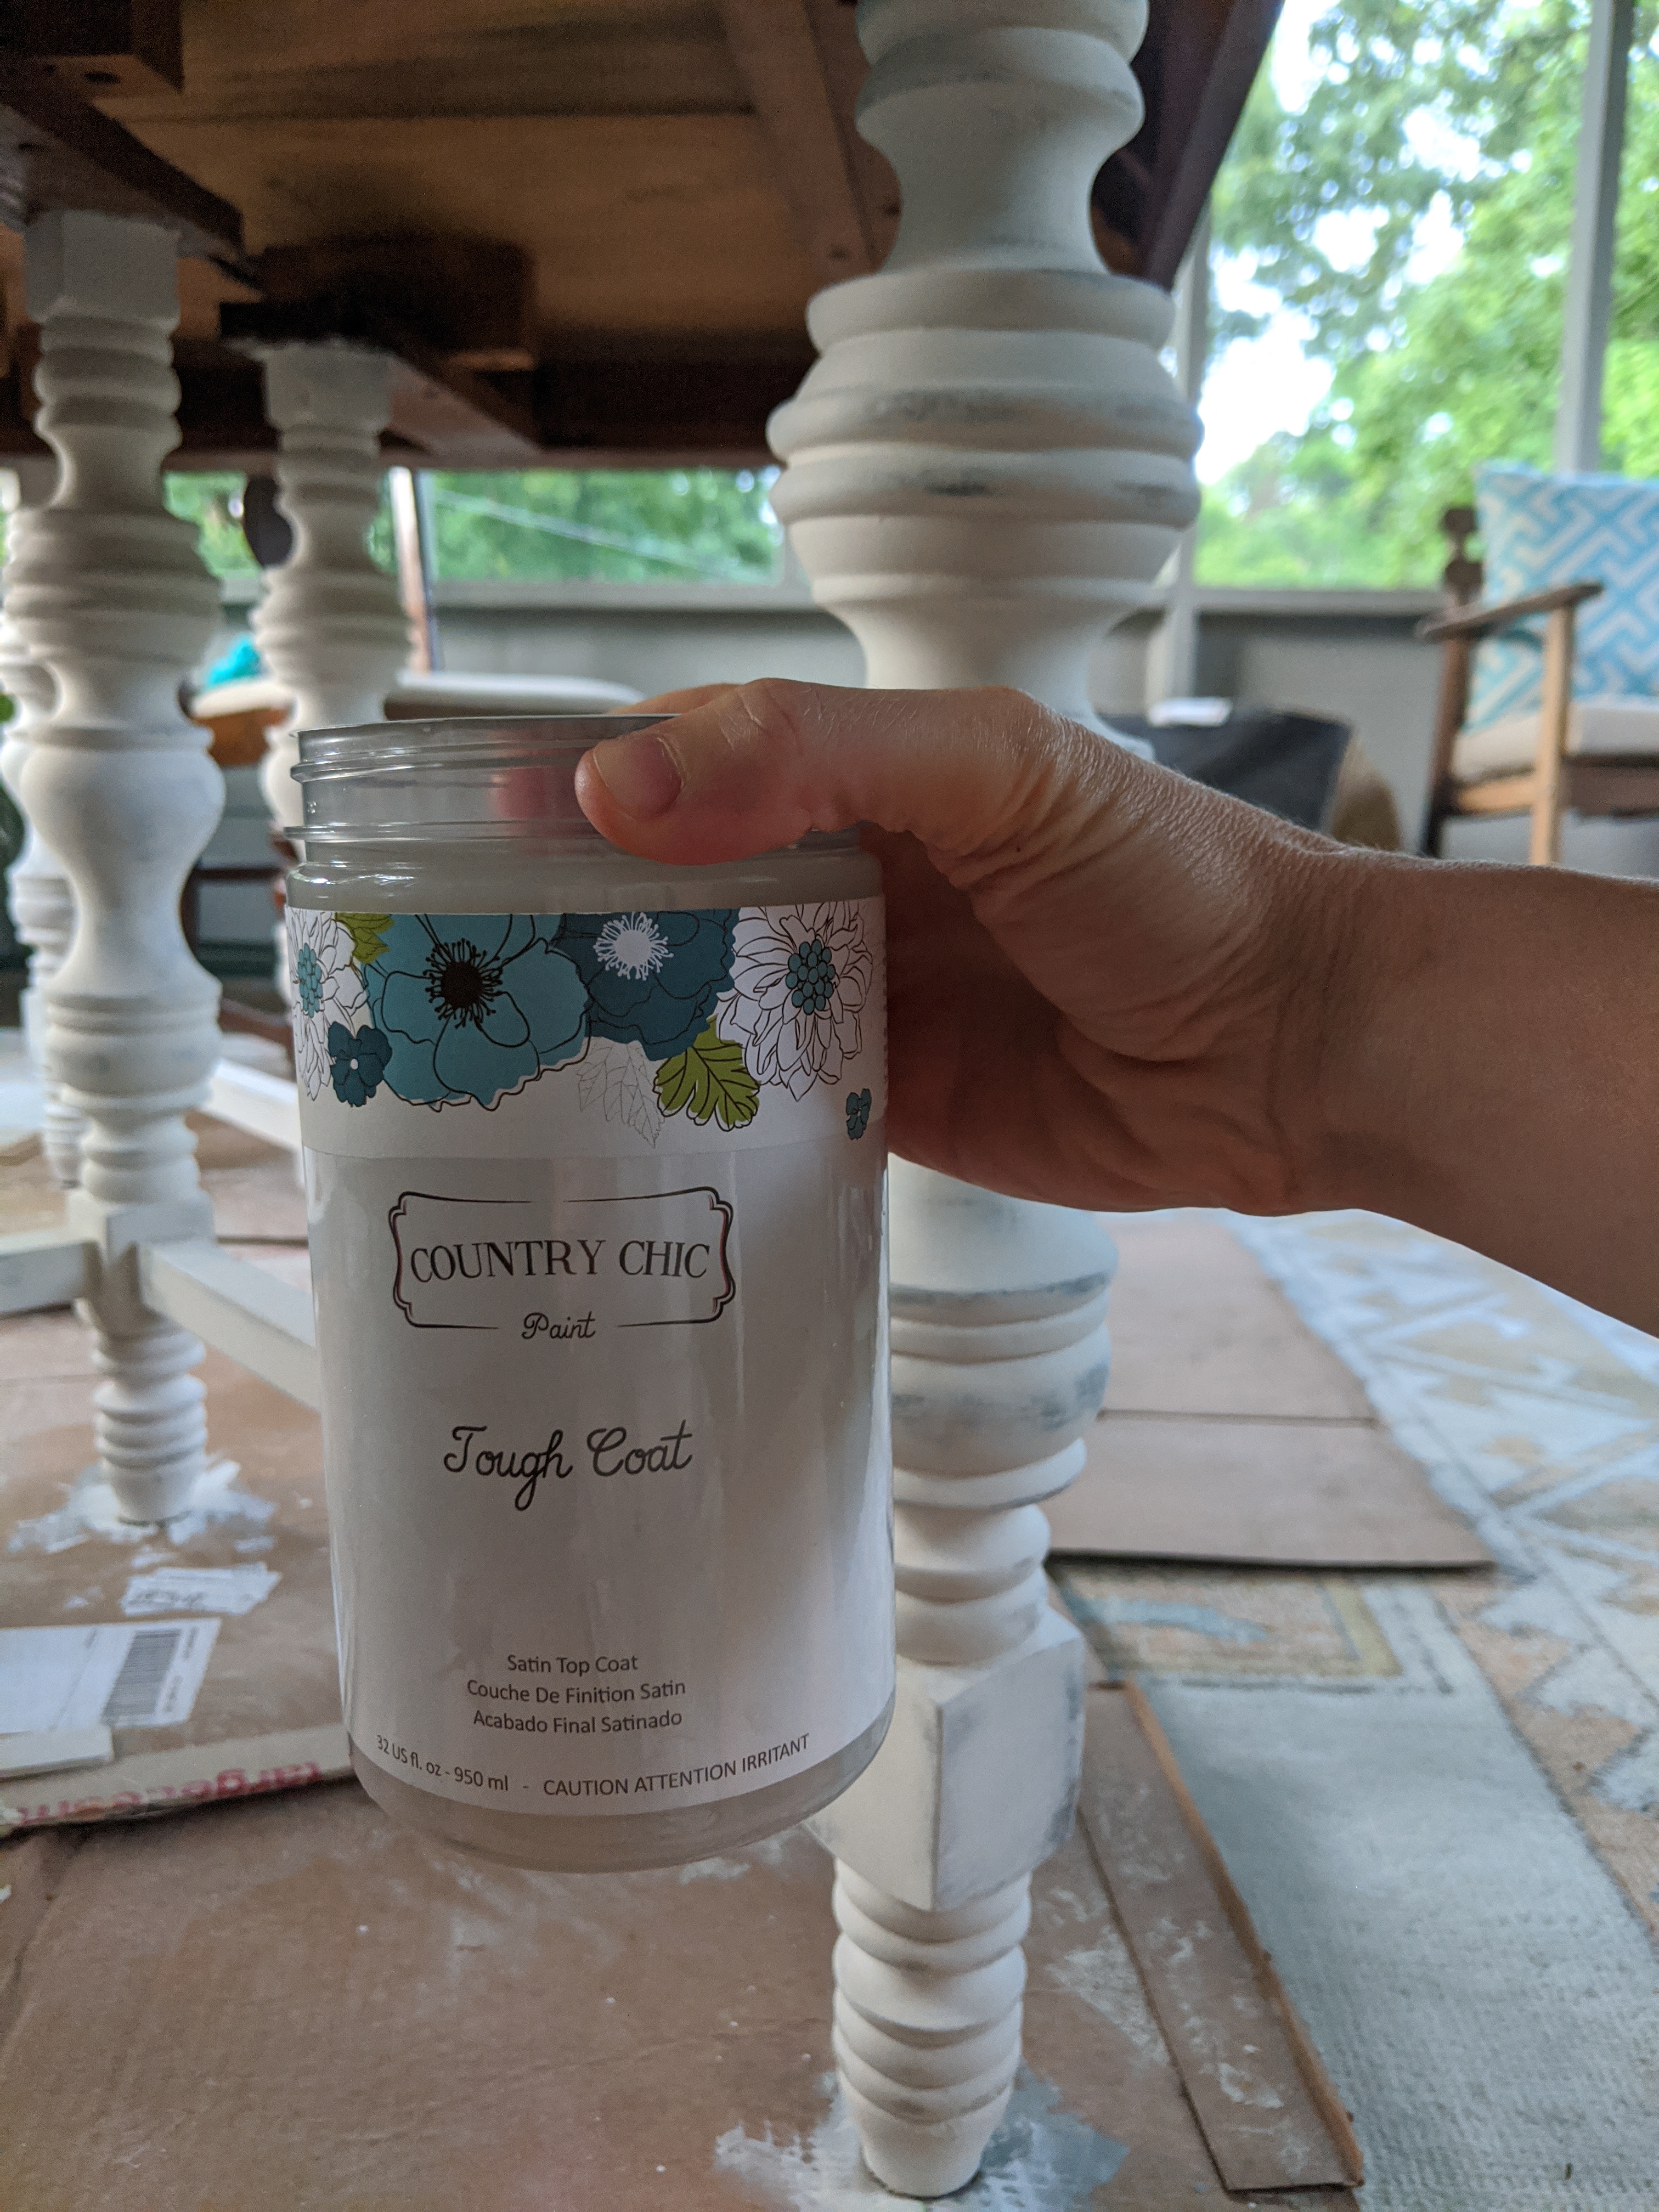
Country Chic Paint Tough Coat (or wax if piece will be indoors or with light traffic)
Step One | Clean & Paint
As with any painting project, you will want to clean your piece thoroughly wish TSP before painting.
When using Country Chic Paint’s clay-based paint (or any sort of chalk paint), you’ll want to apply thin coats. Since I used white over a dark stain, it took 3-4 thin coats. Luckily, it dries fairly quickly, so you’re not waiting too long in between coats.
Step Two | Sand
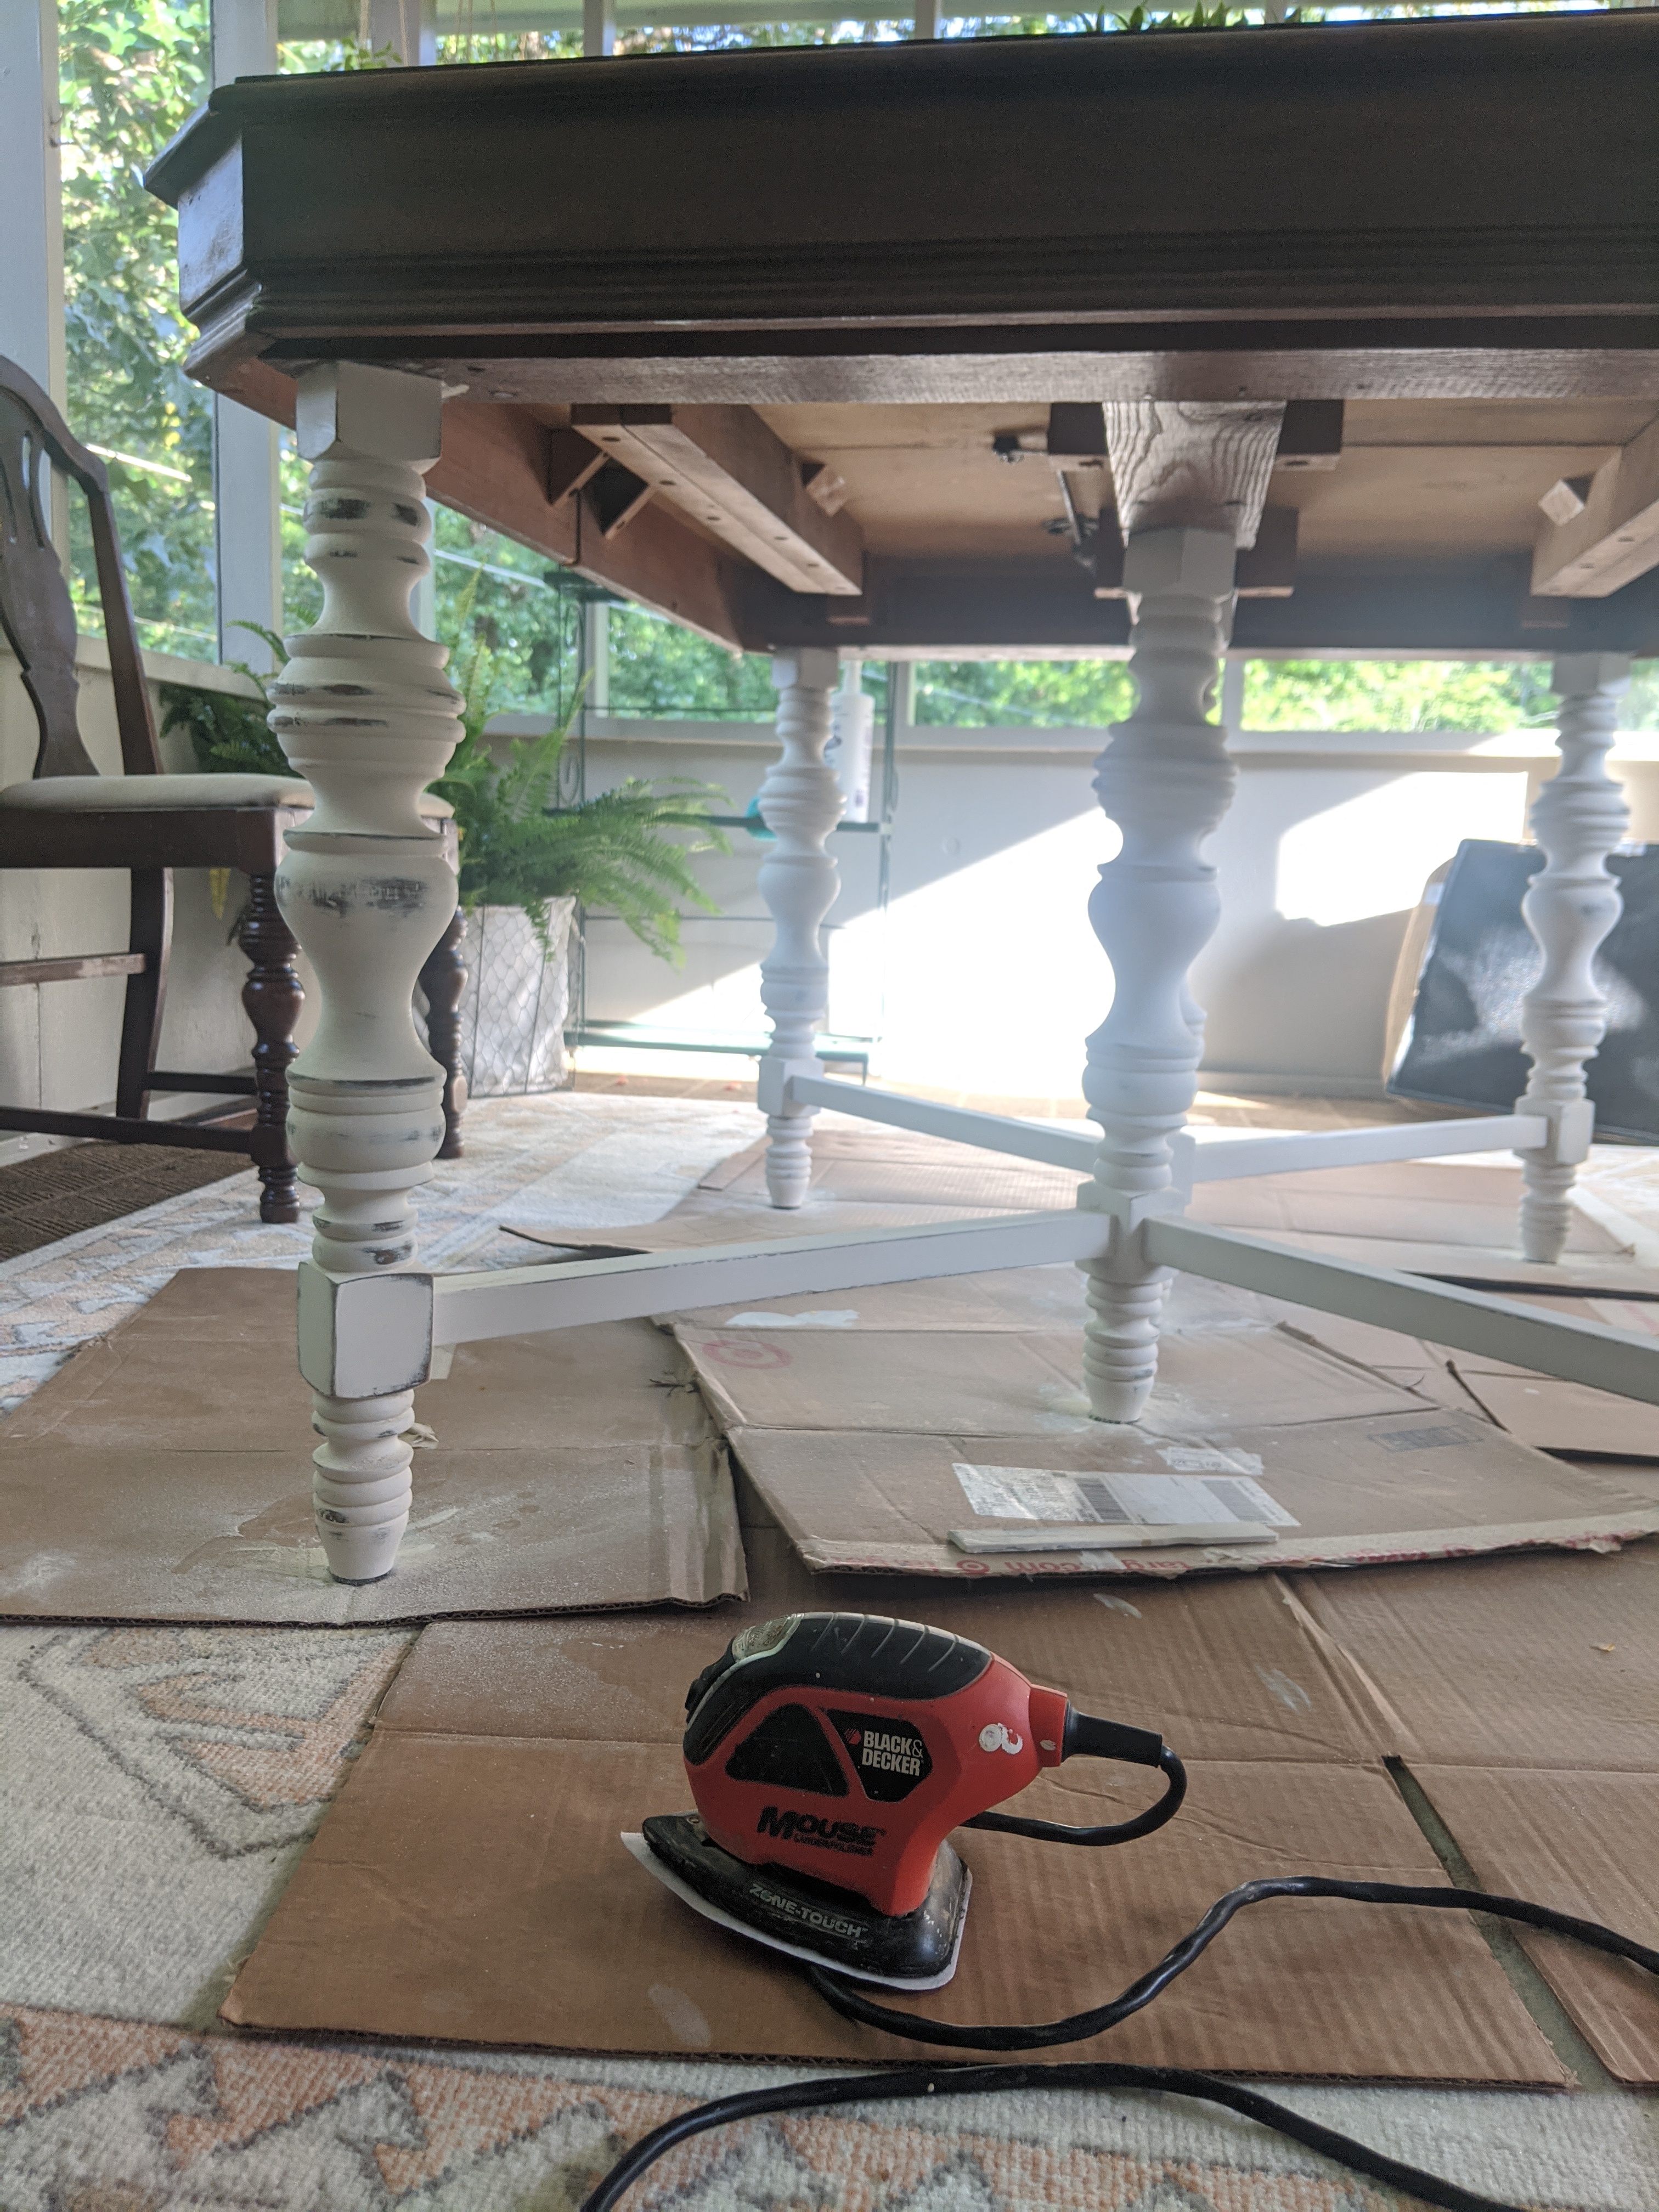
Let the paint dry for about 24 hours before sanding. I used both regular sand paper and an electric hand sander to thoroughly distress the high points of the legs.
The bare wood was too harsh of a look than what I was going for. I wanted something with texture without the bare wood look, so that’s where the dry brushing comes in.
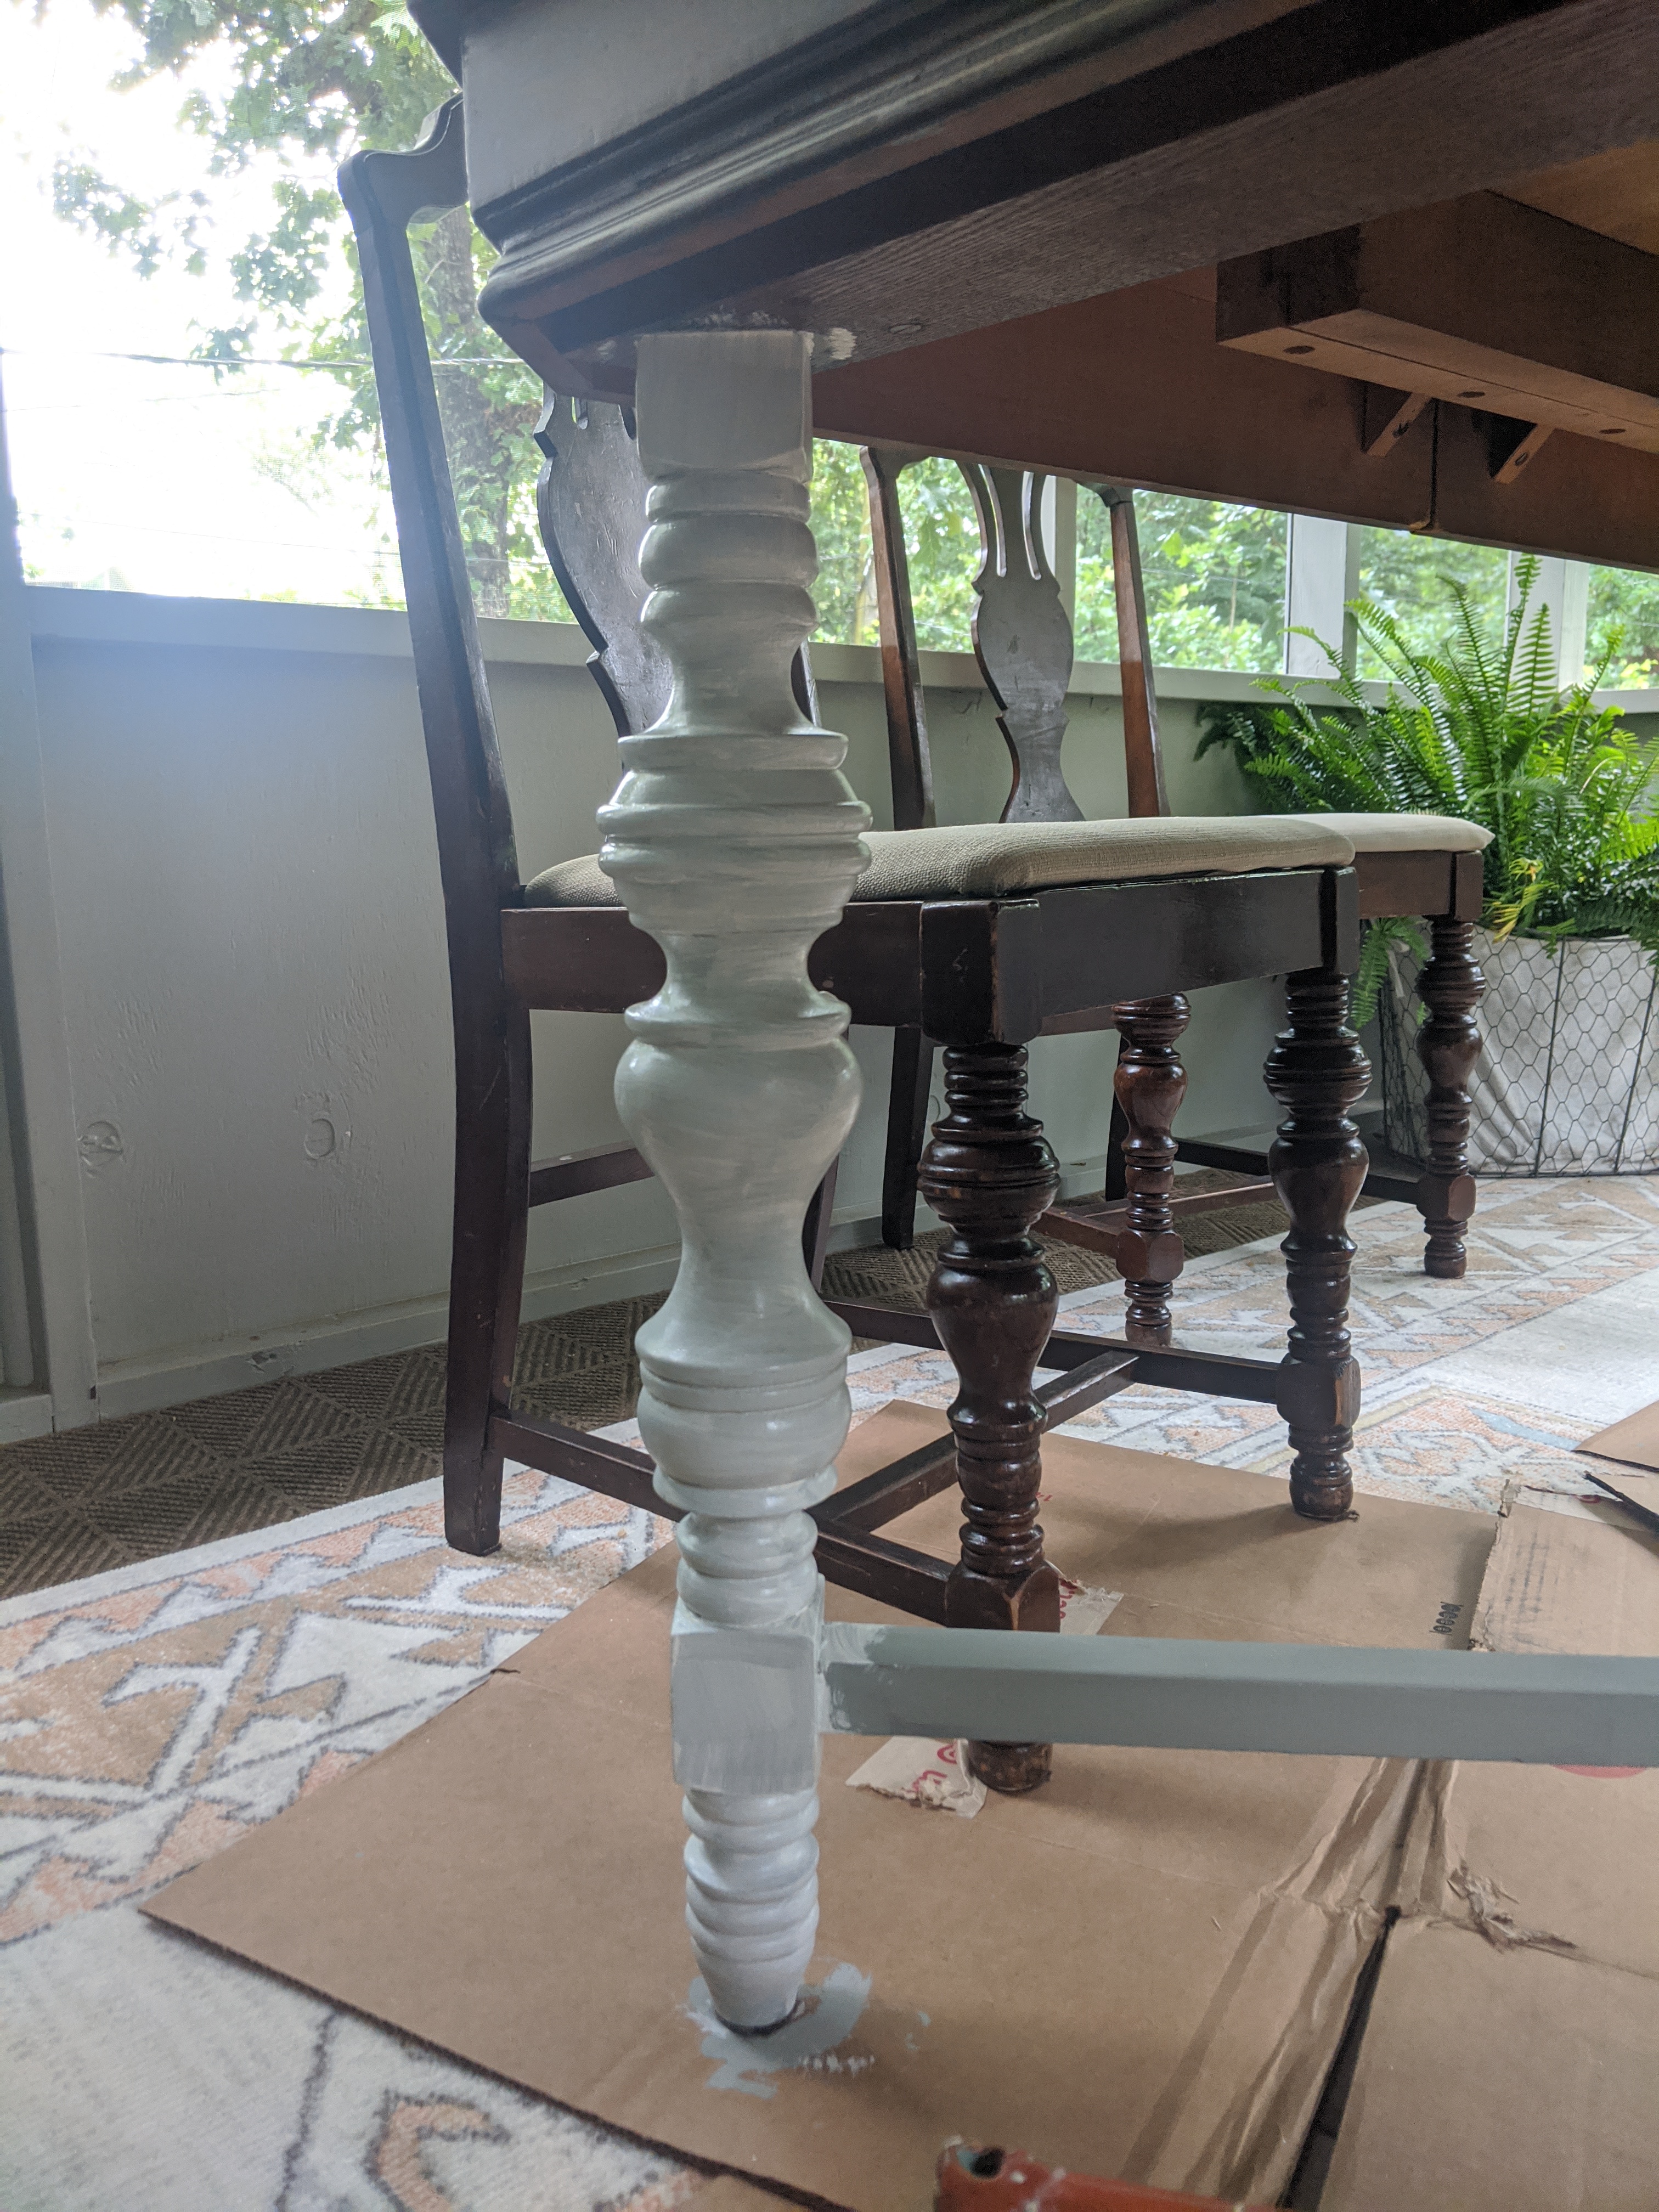
Step Three | Dry Brush Paint
Ok, this is almost too simple to even explain.
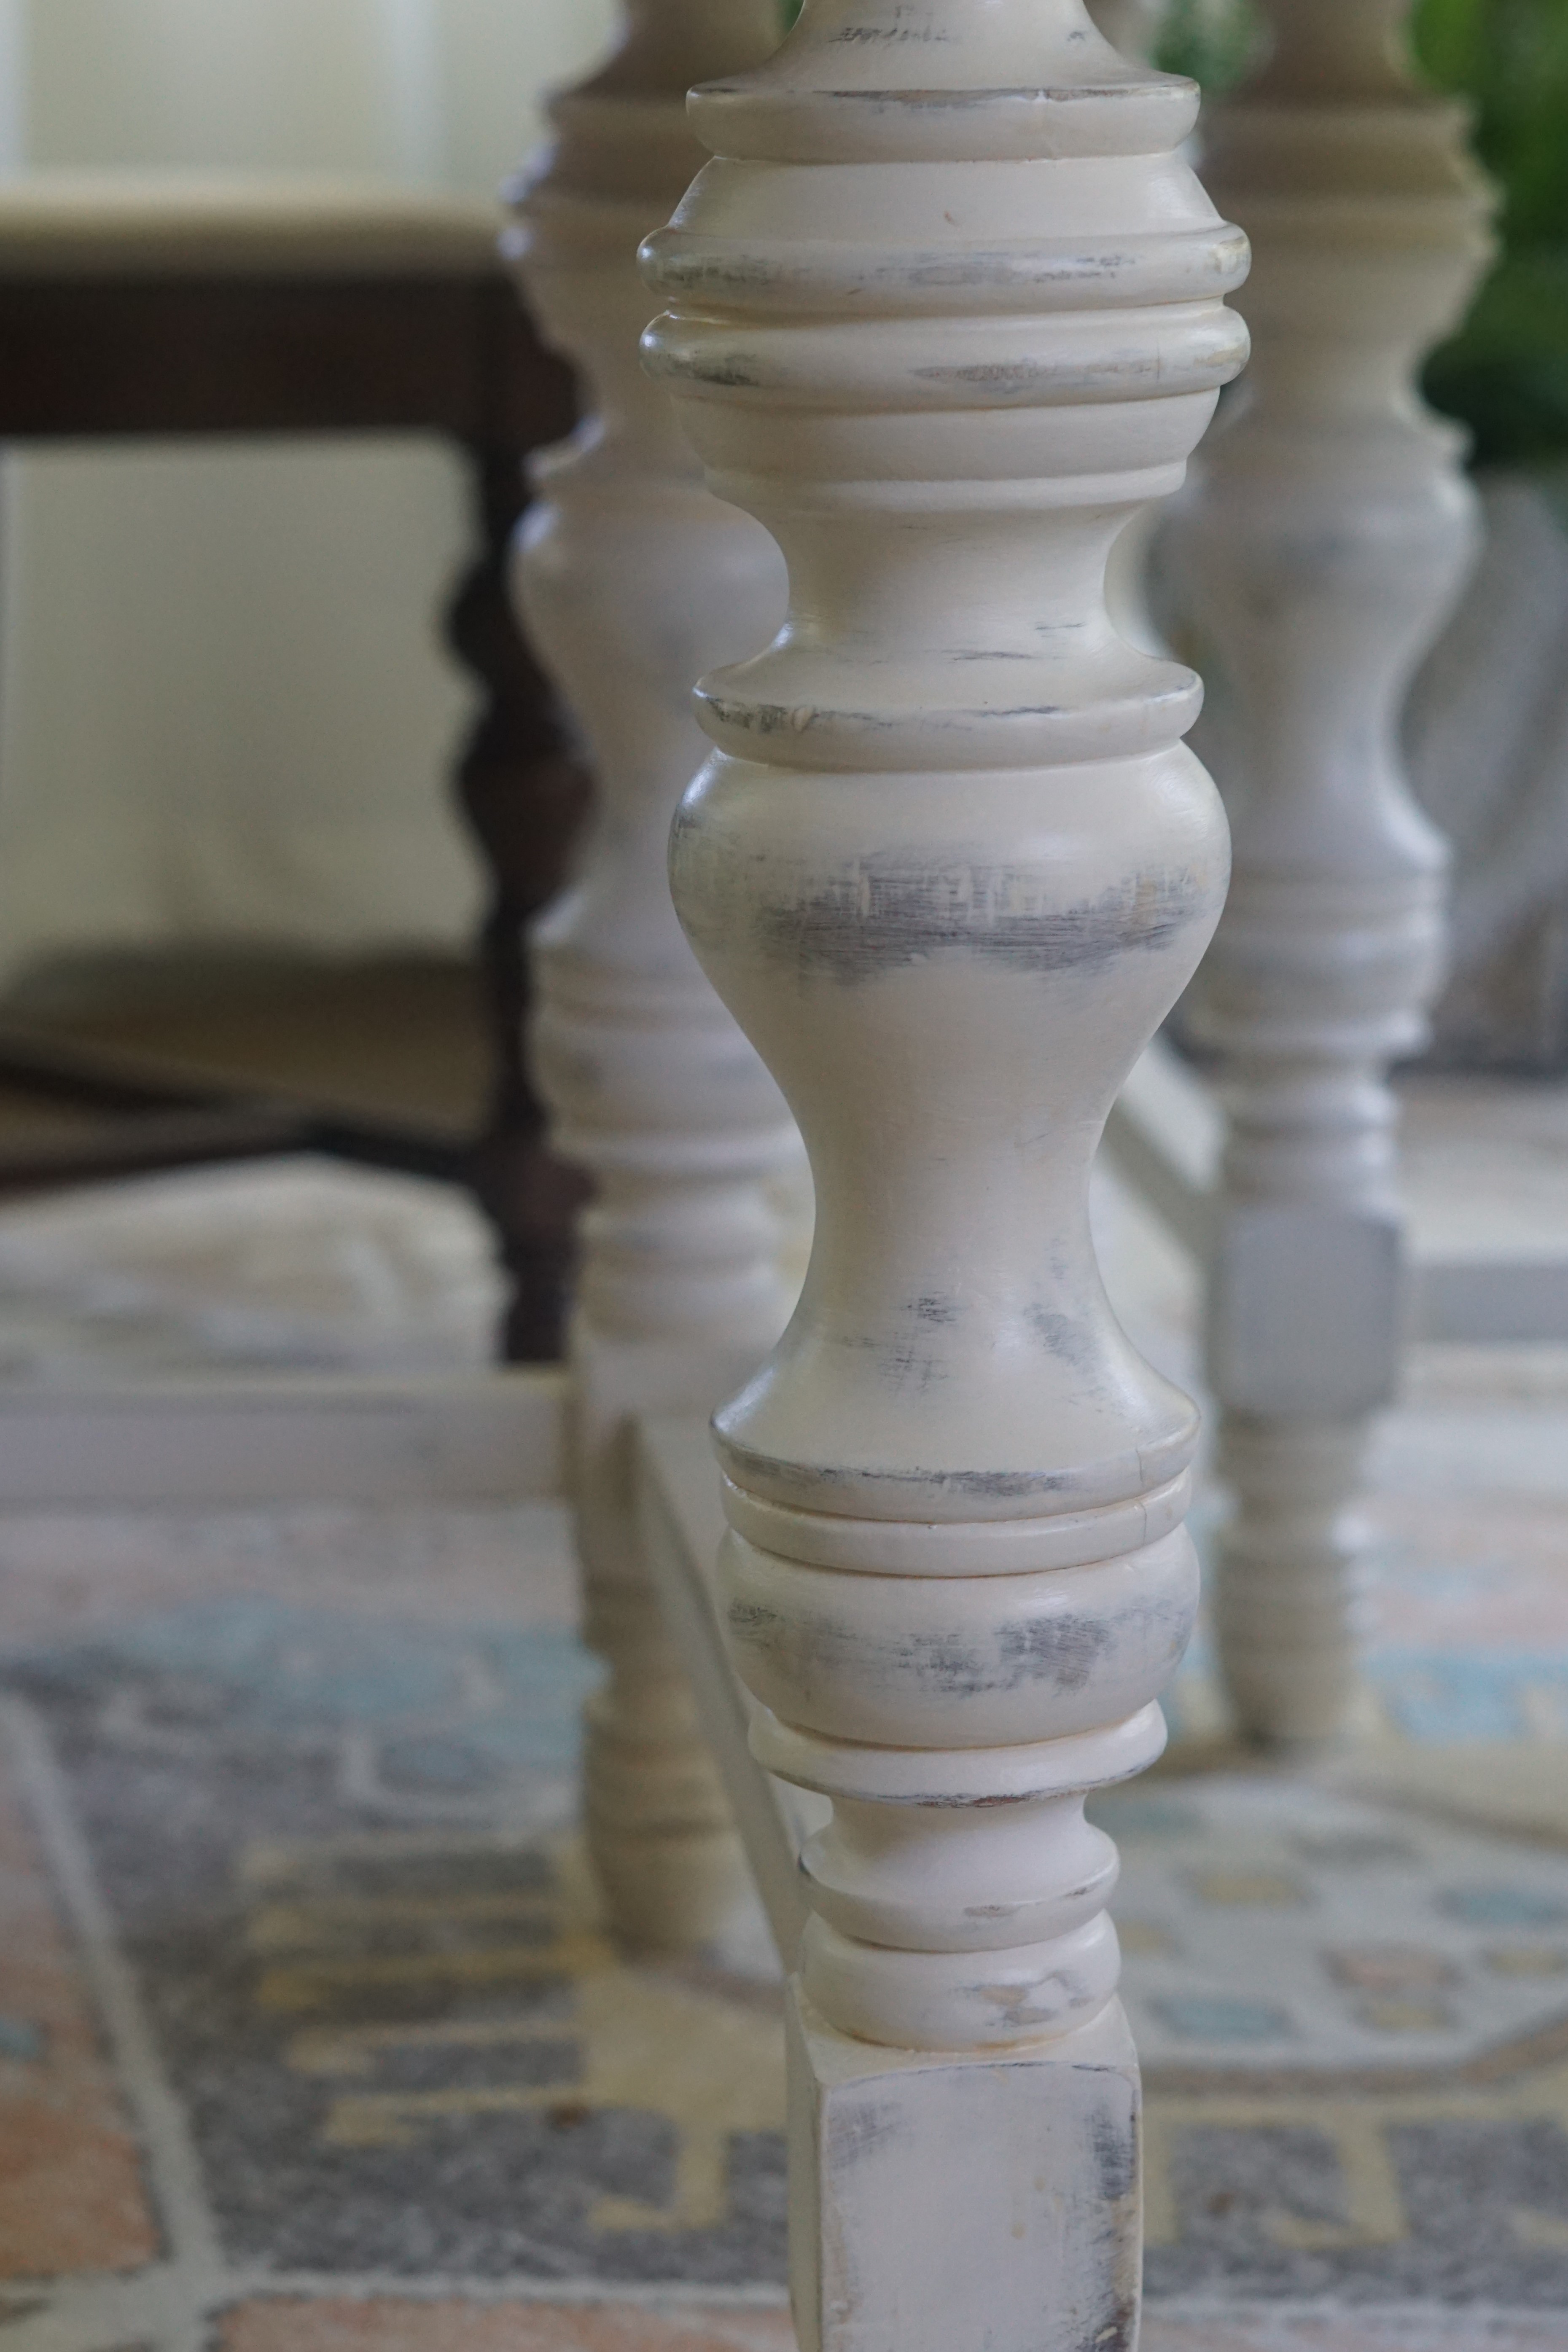
Once I cleaned all of the dust, I brushed on one light coat of Crinoline on all of the sanded areas.
A couple tips though: make sure your brush is dry before painting, and dab off some of the paint so that you barely have paint on the tip of the brush.
This allows the dark wood color to still show through without being as much of a stark contrast otherwise.
Step Four | Seal
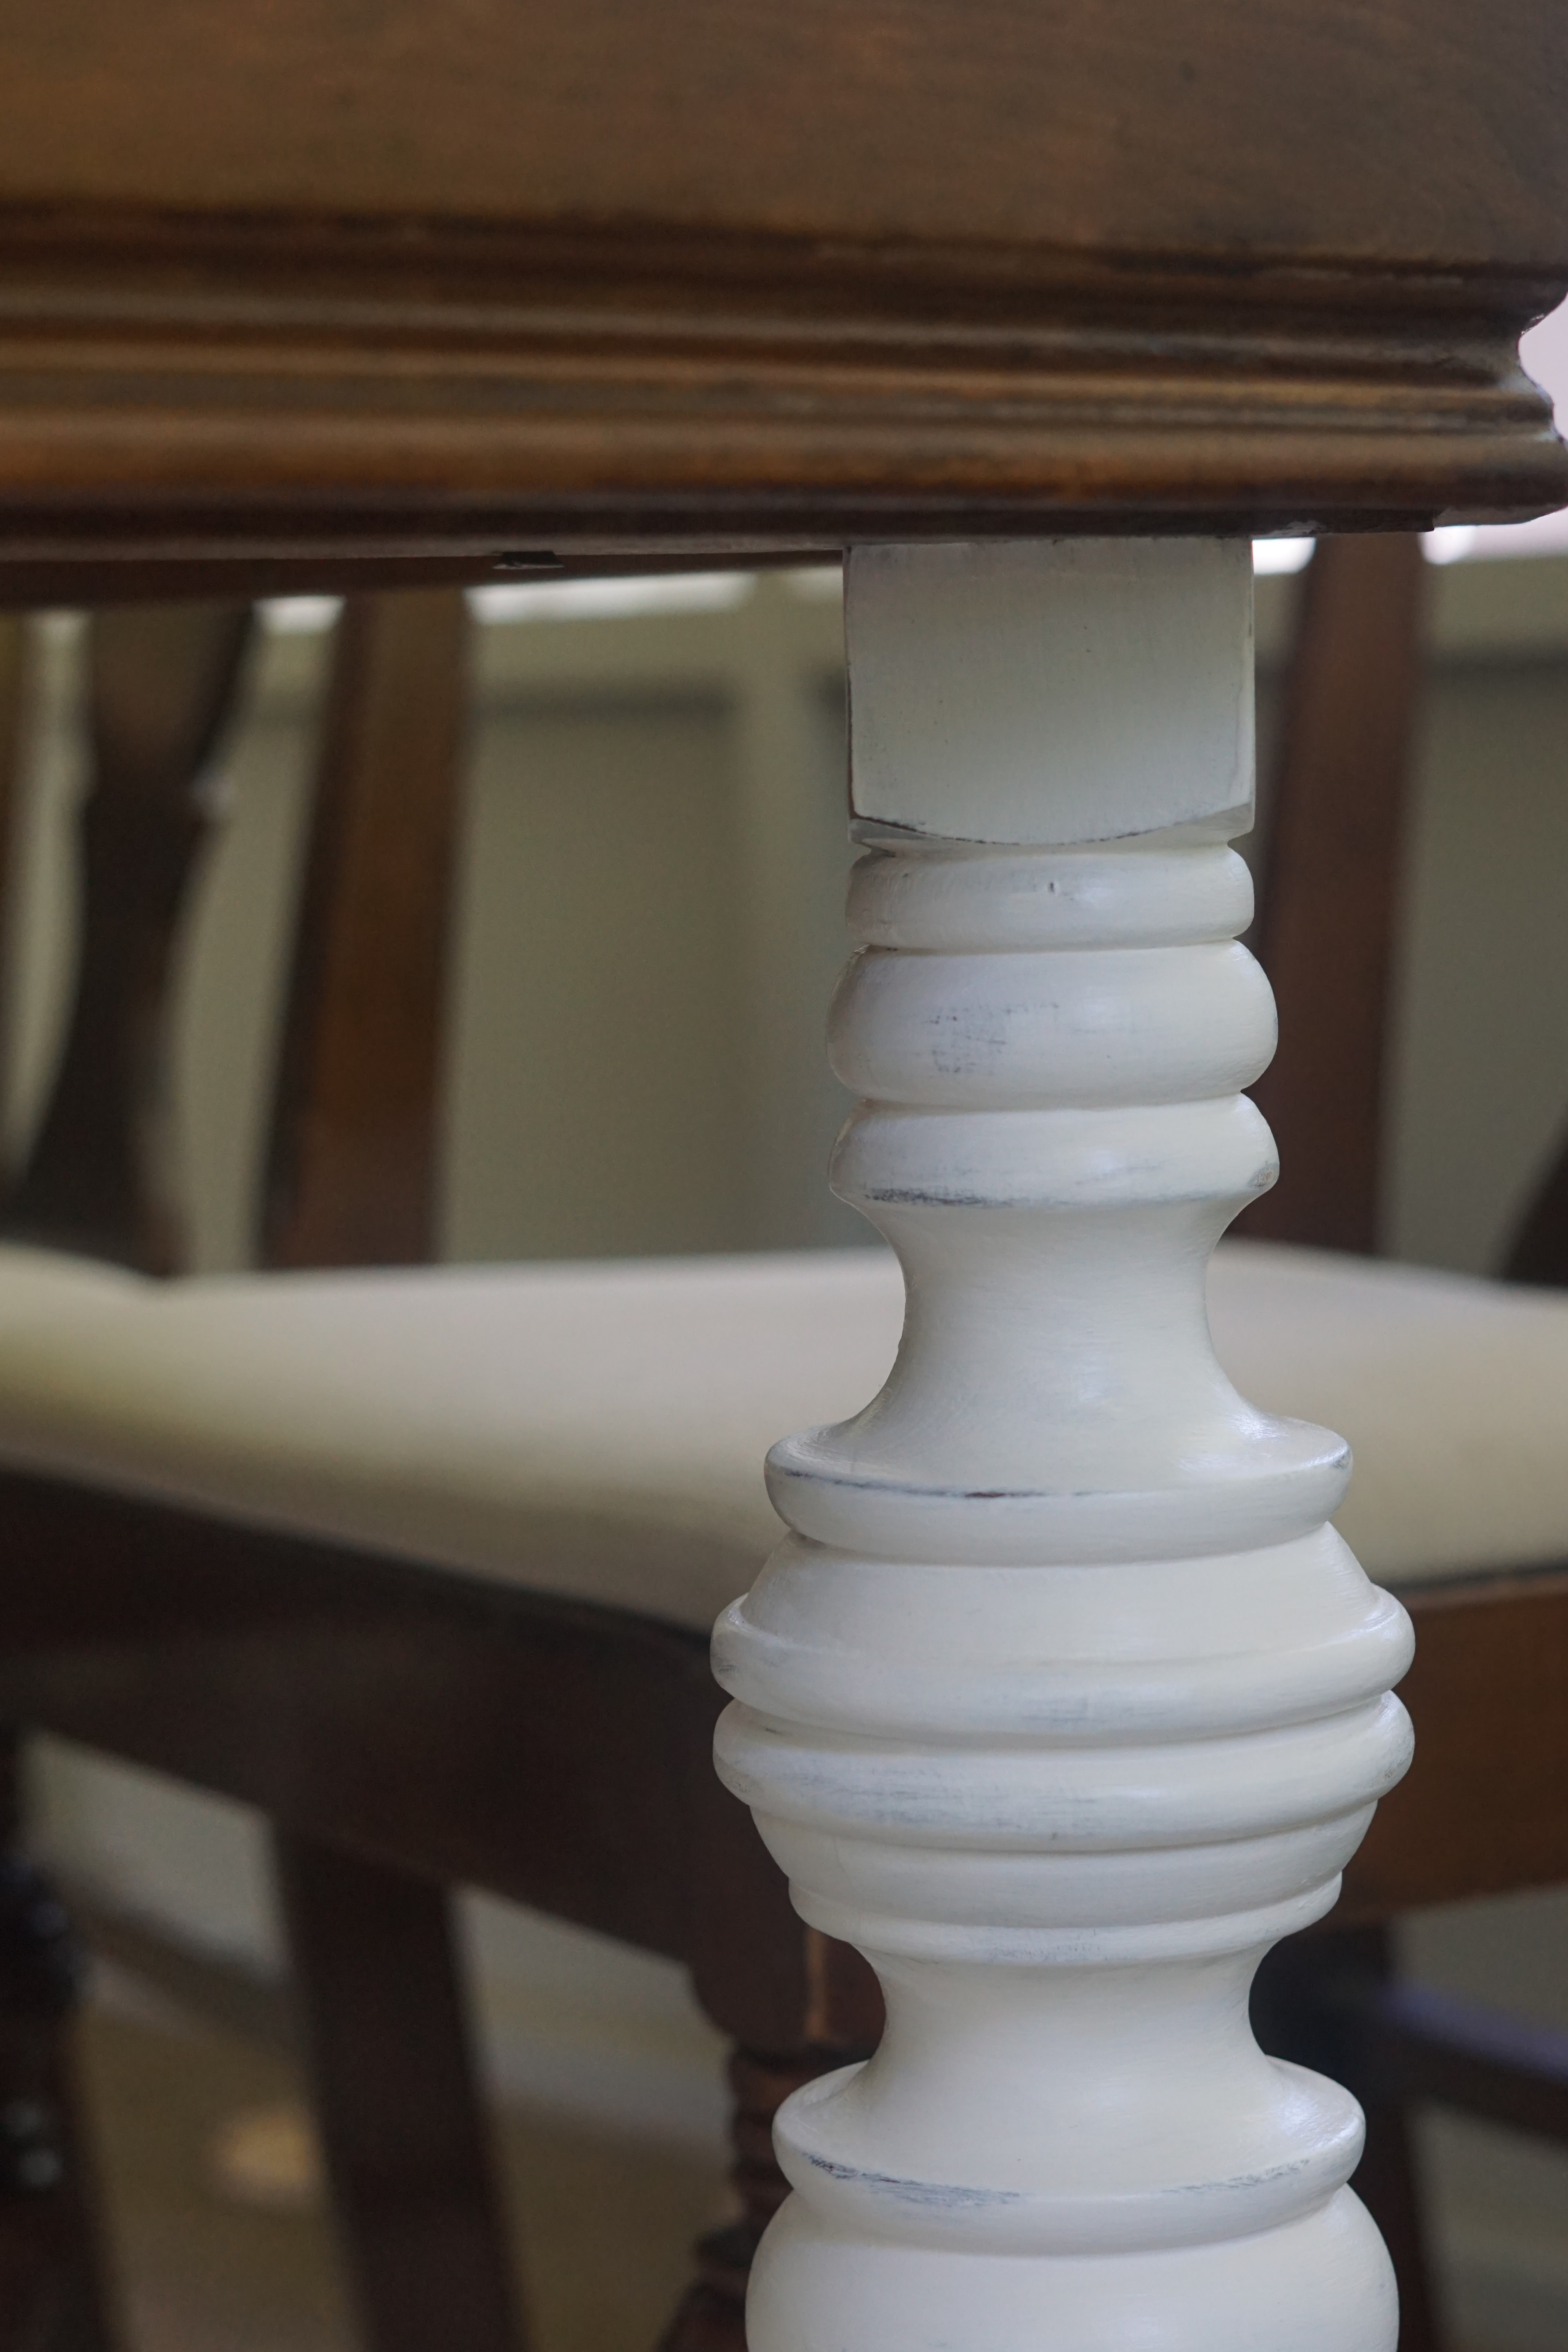
Since this table is on our screened-in back porch, I went with Country Chic Paint’s Tough Coat to seal it. It’s the same product I used on our kitchen cabinets, and they are still like new with no scratches two years later! I have two HUGE TIPS for using this product though.
1. Allow your piece to completely dry and set for 2-3 days before sealing it, especially if you live in a humid climate like I do.
I didn’t do this for two of the legs, and it left an orange residue in some of the creases. I didn’t have this issue on the other legs that I let cure for a few days.
2. Apply a thin layer.
This stuff dries fairly quickly and seals like cement. If you have any drips, you more than likely won’t be able to remove it without sanding the area. Just apply a thin layer and carefully watch for drips and runs as you go.
Did I just create a brand new painting technique? Unlikely. But it’s new to me, and maybe it will inspire you to create something different!
