(Disclaimer: This is a sponsored post with Country Chic Paint. All thoughts and opinions are my own and to best meet the needs of my readers.)
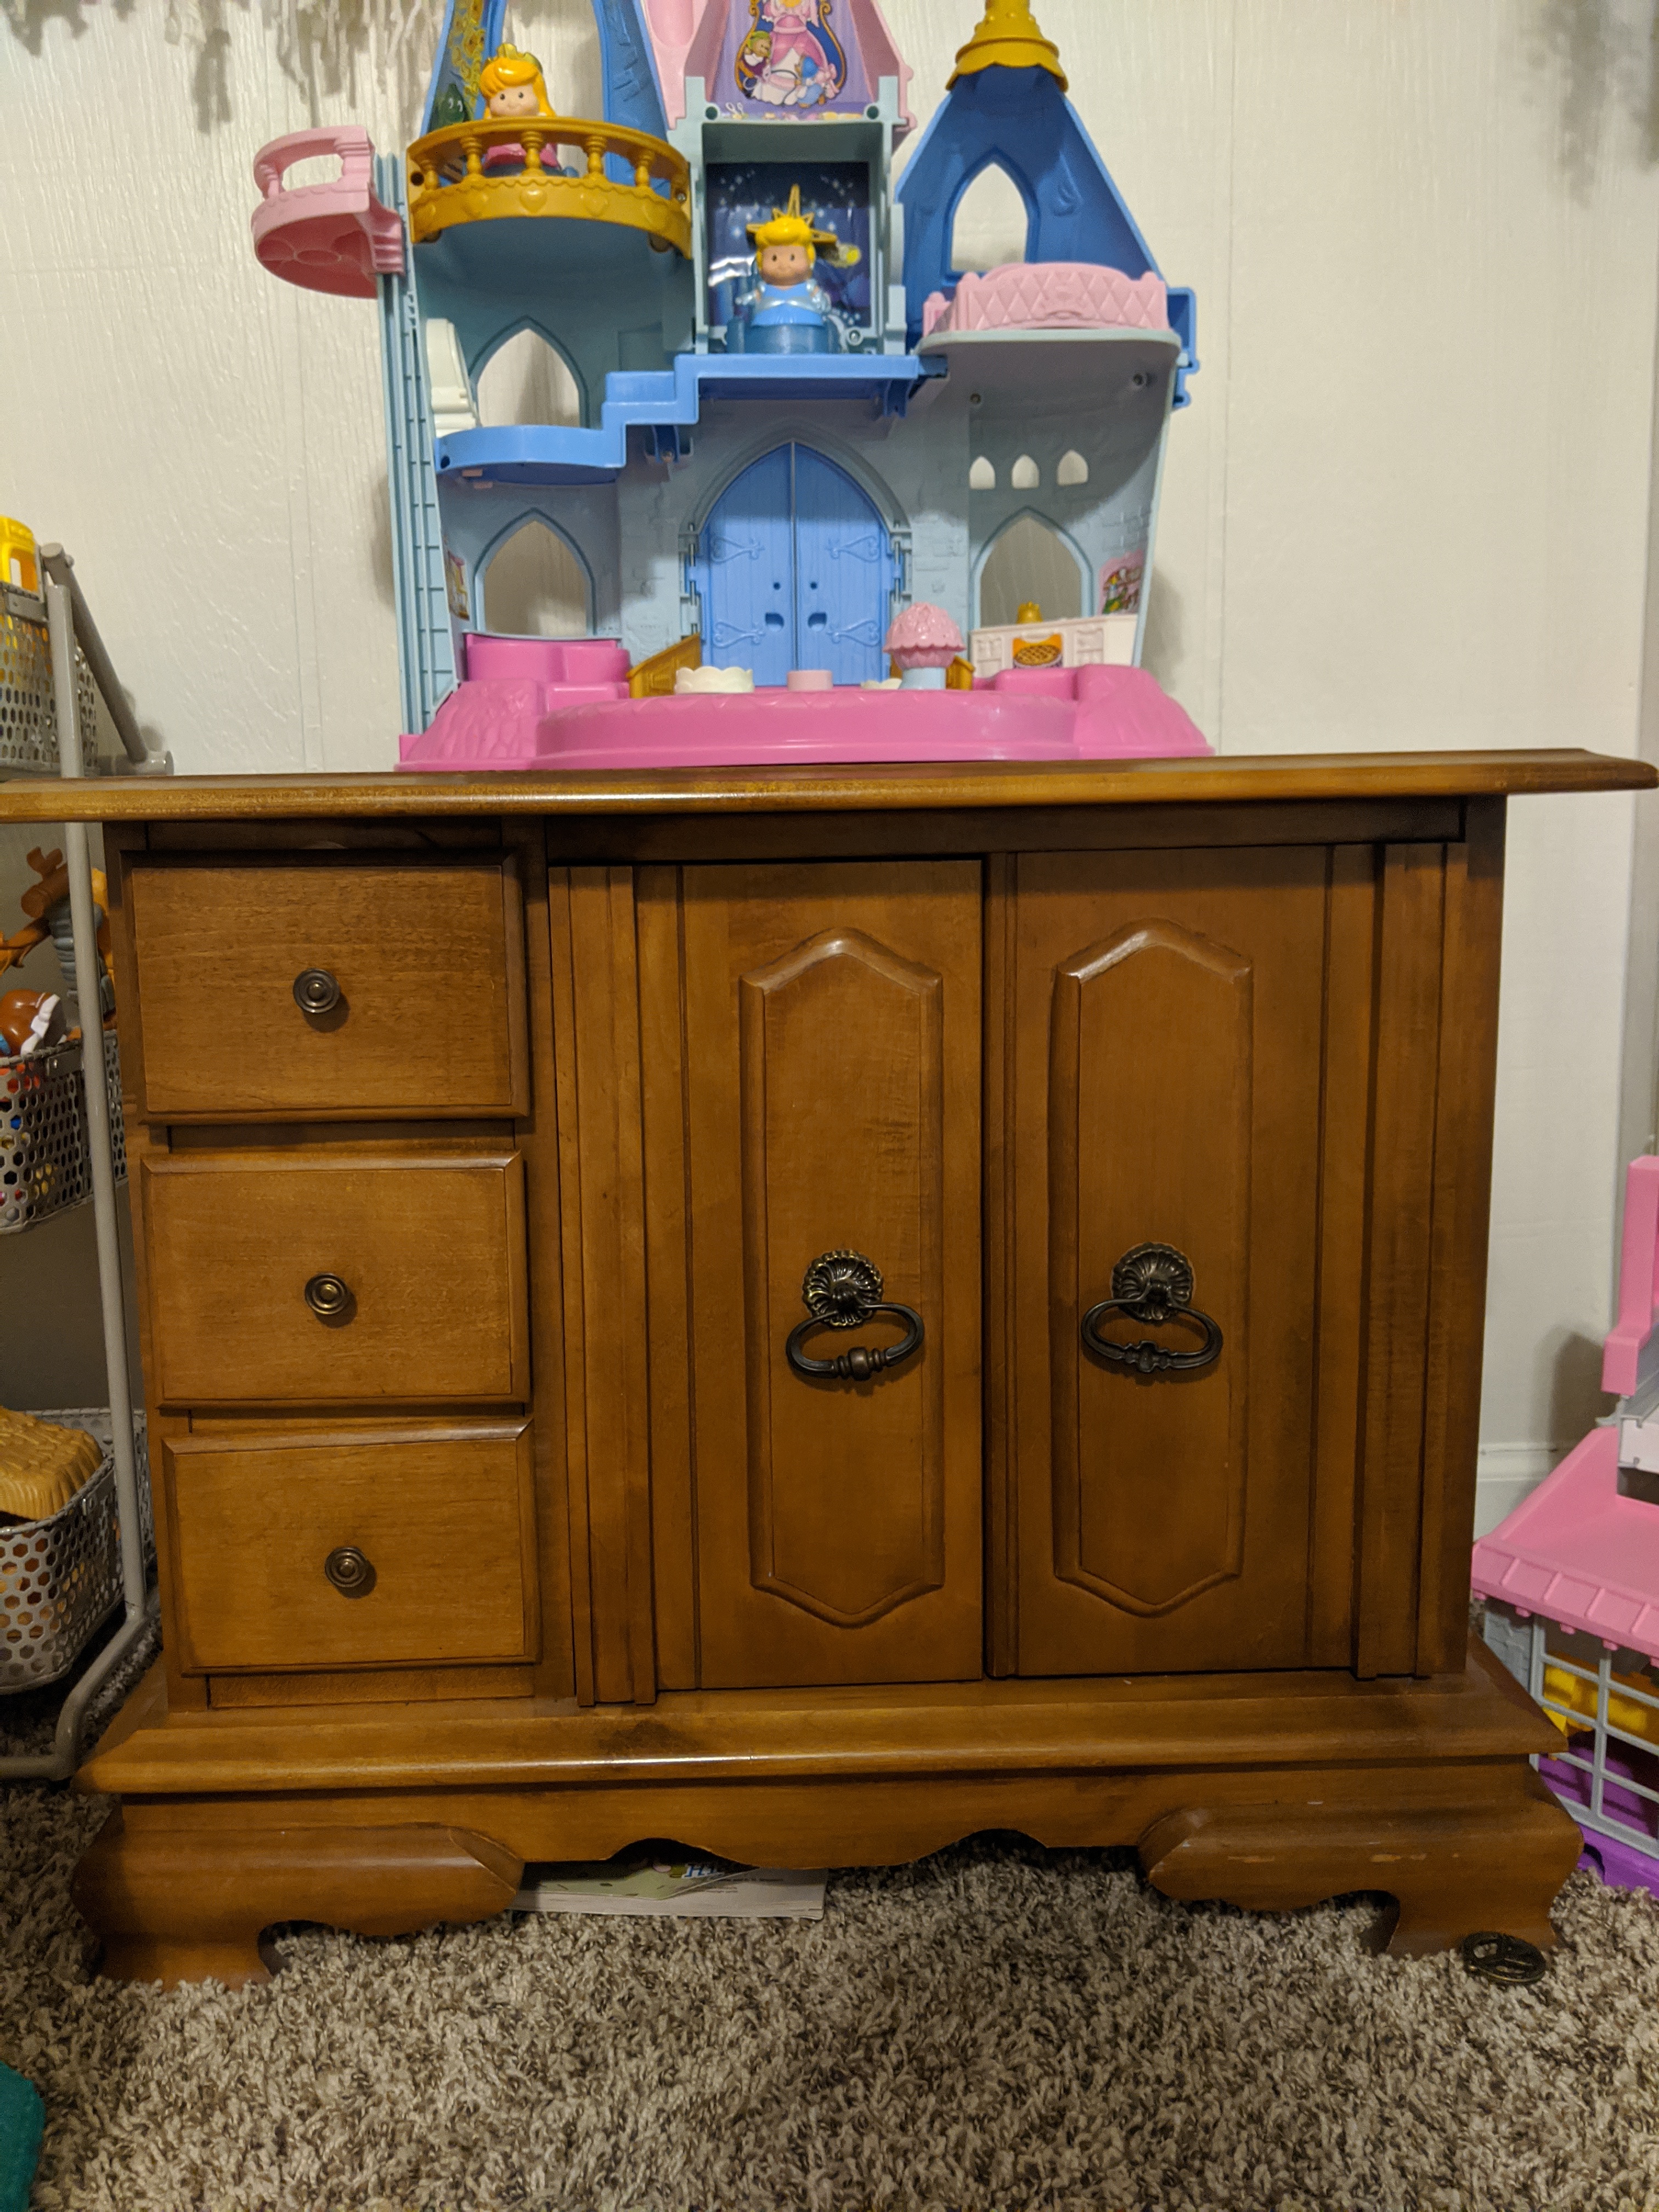
Just a little paint and fun, new knobs completely transformed this little playroom cabinet. Let me tell you all about it, but first, here’s a quick before for you!
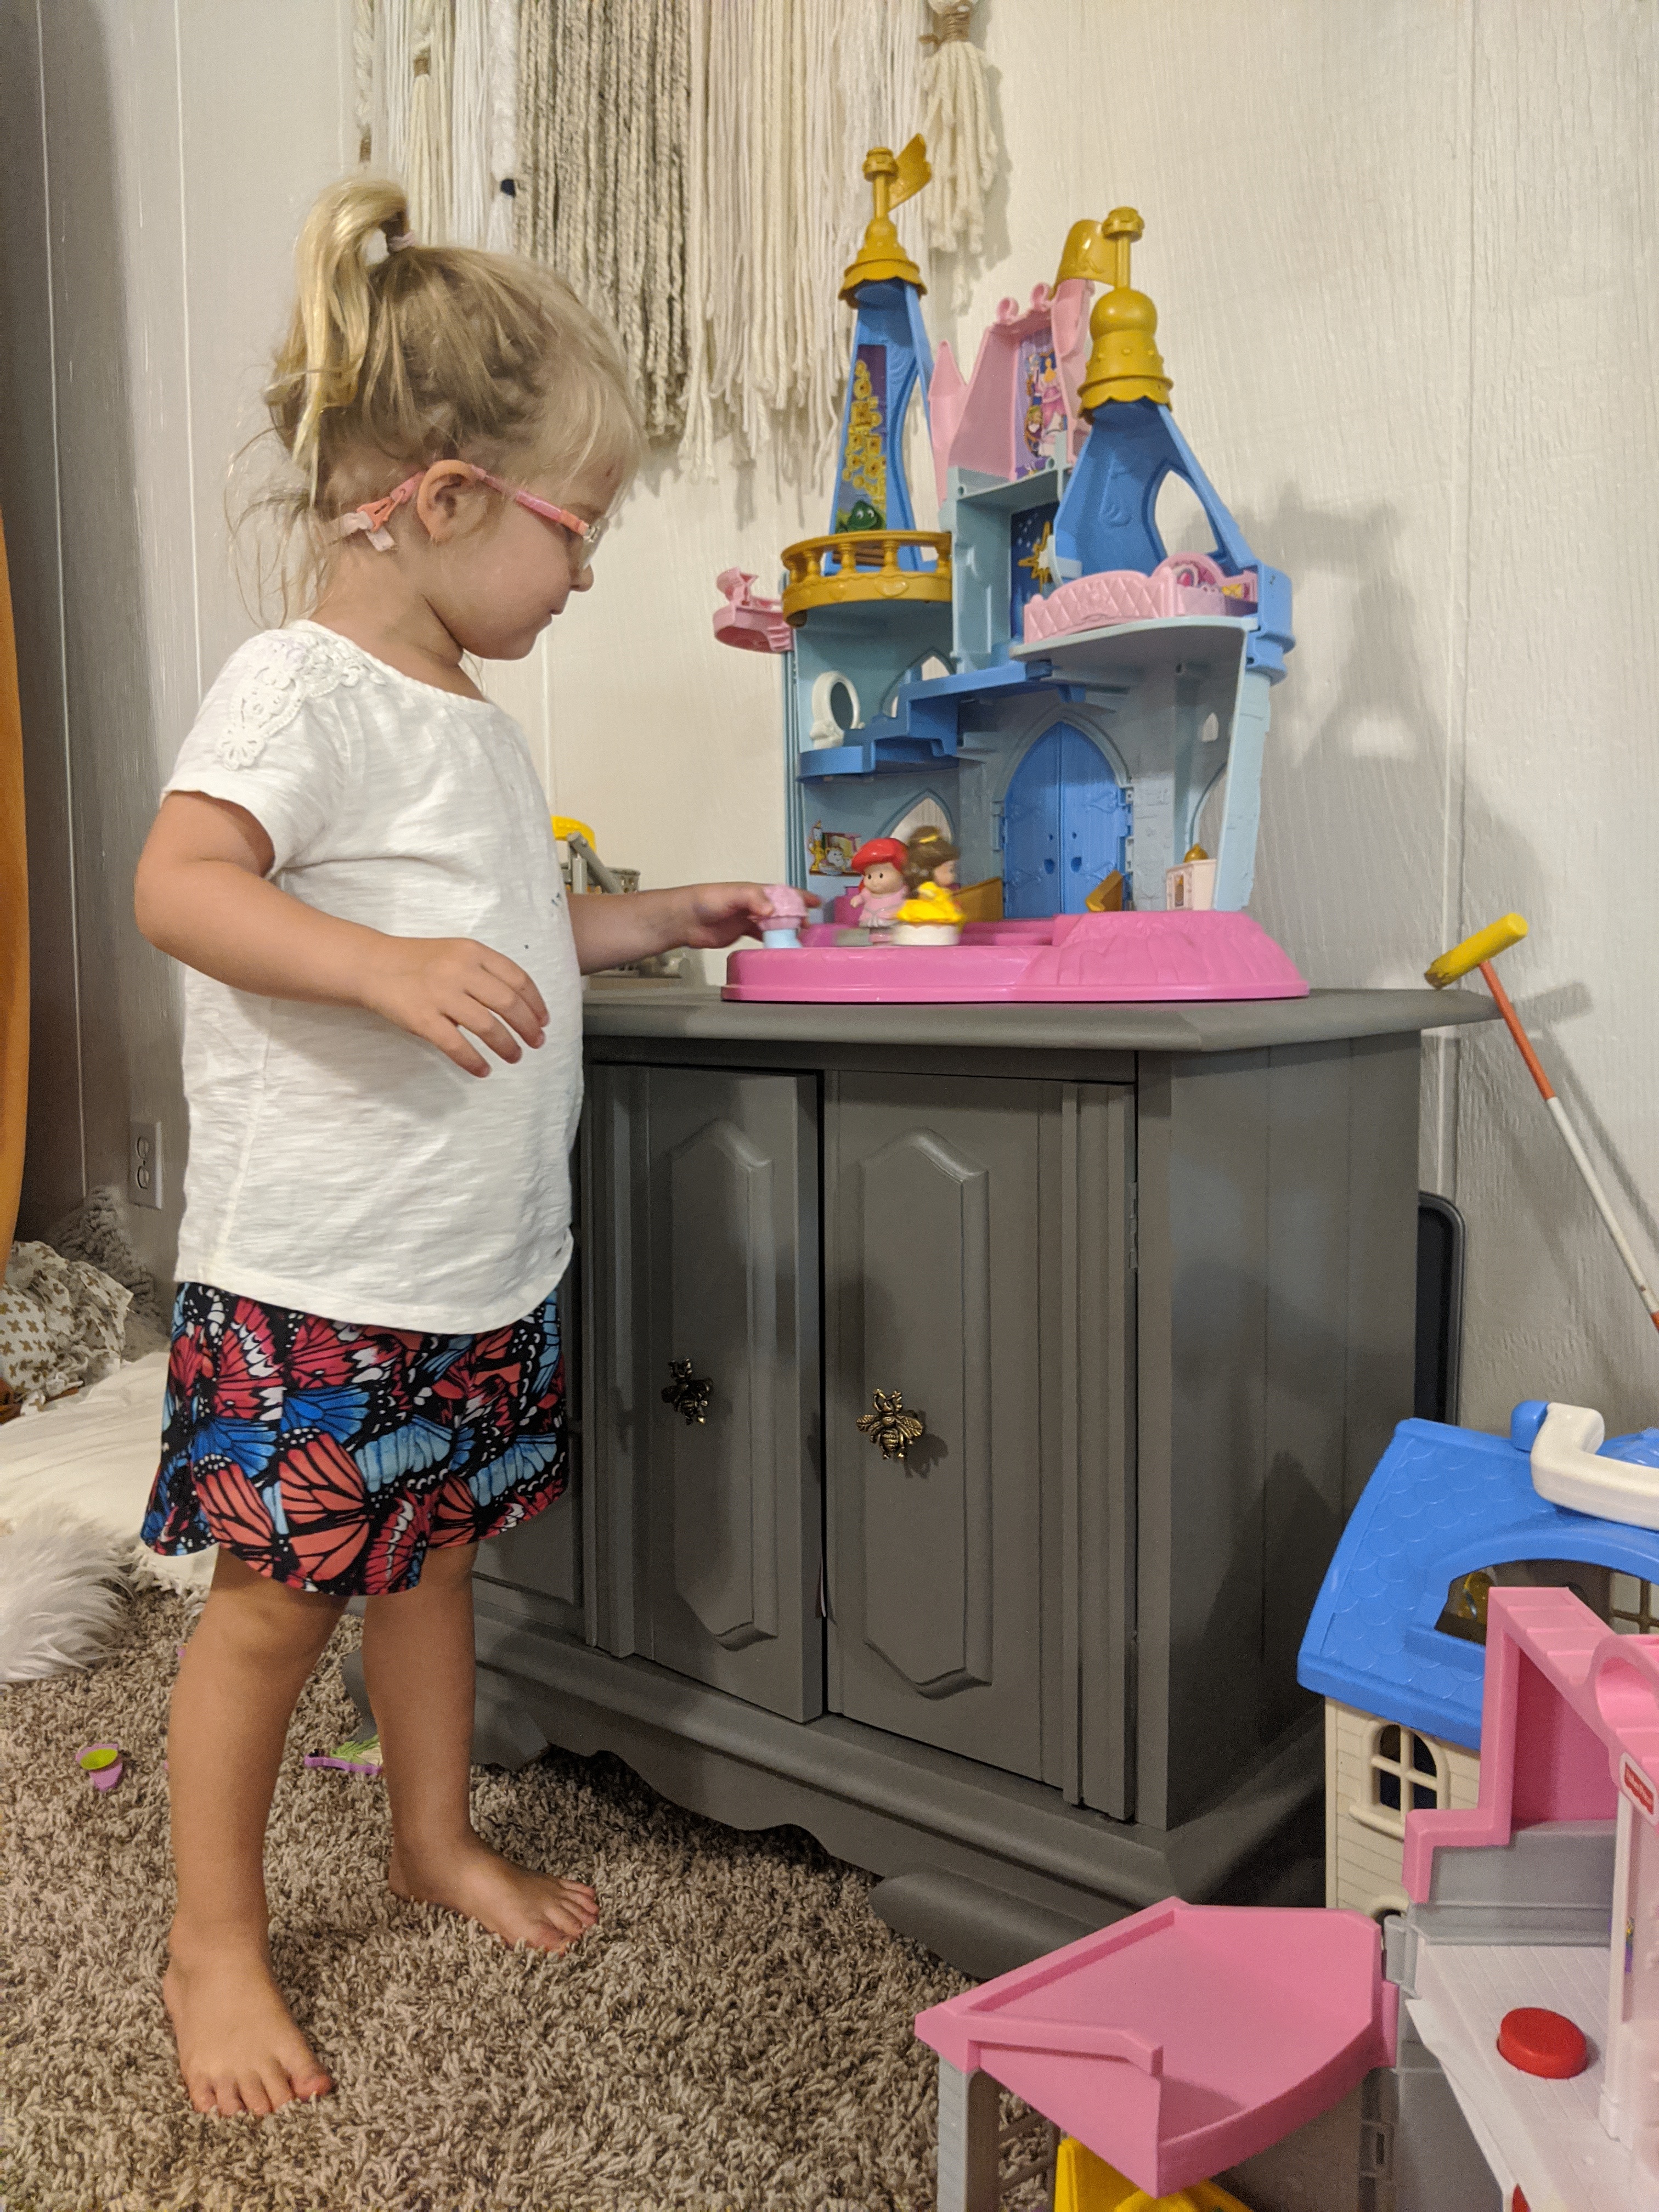
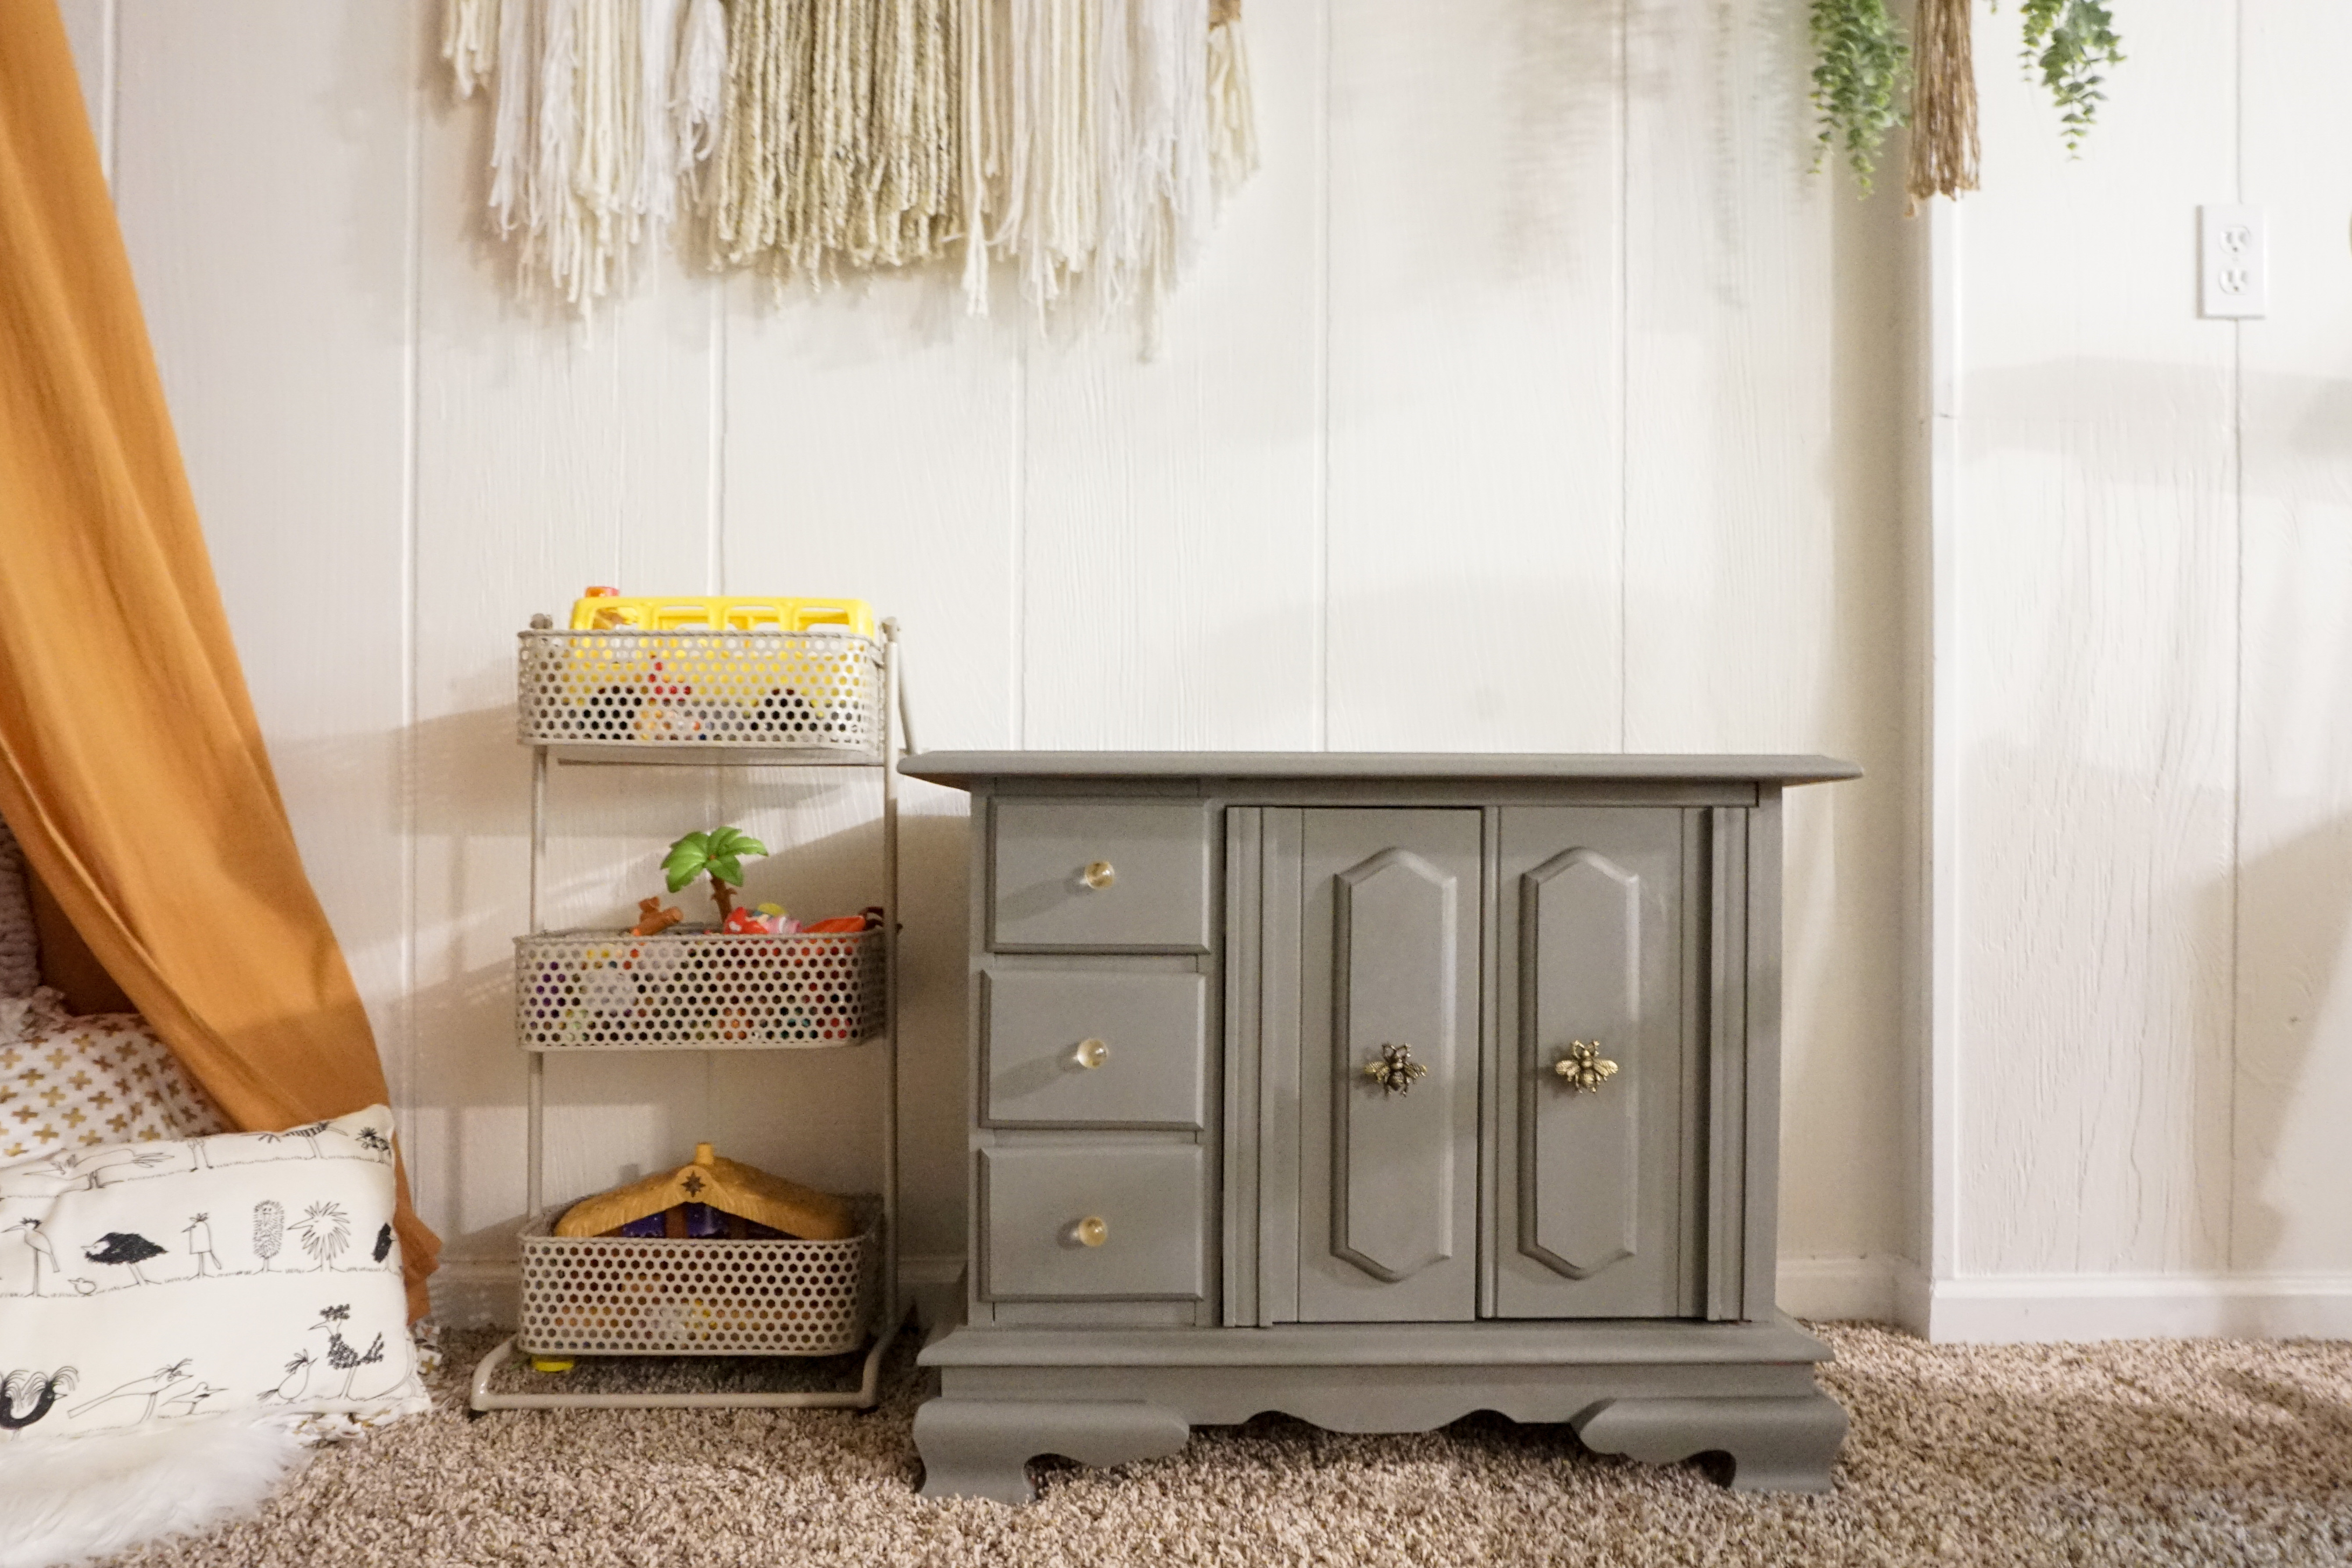
Playrooms need to be two things: FUN and FUNCTIONAL.
This little hand-me-down cabinet has been purely functional for the past couple years. It grandly holds all of our coloring books, craft books, and lots of other fun things. Oh, and most importantly, it is where our beloved Little People Princess Castle perches! I’ve looked at this cabinet with wishes of a makeover for far too long. I finally put it on my list of projects and got it done.
A Simple Process
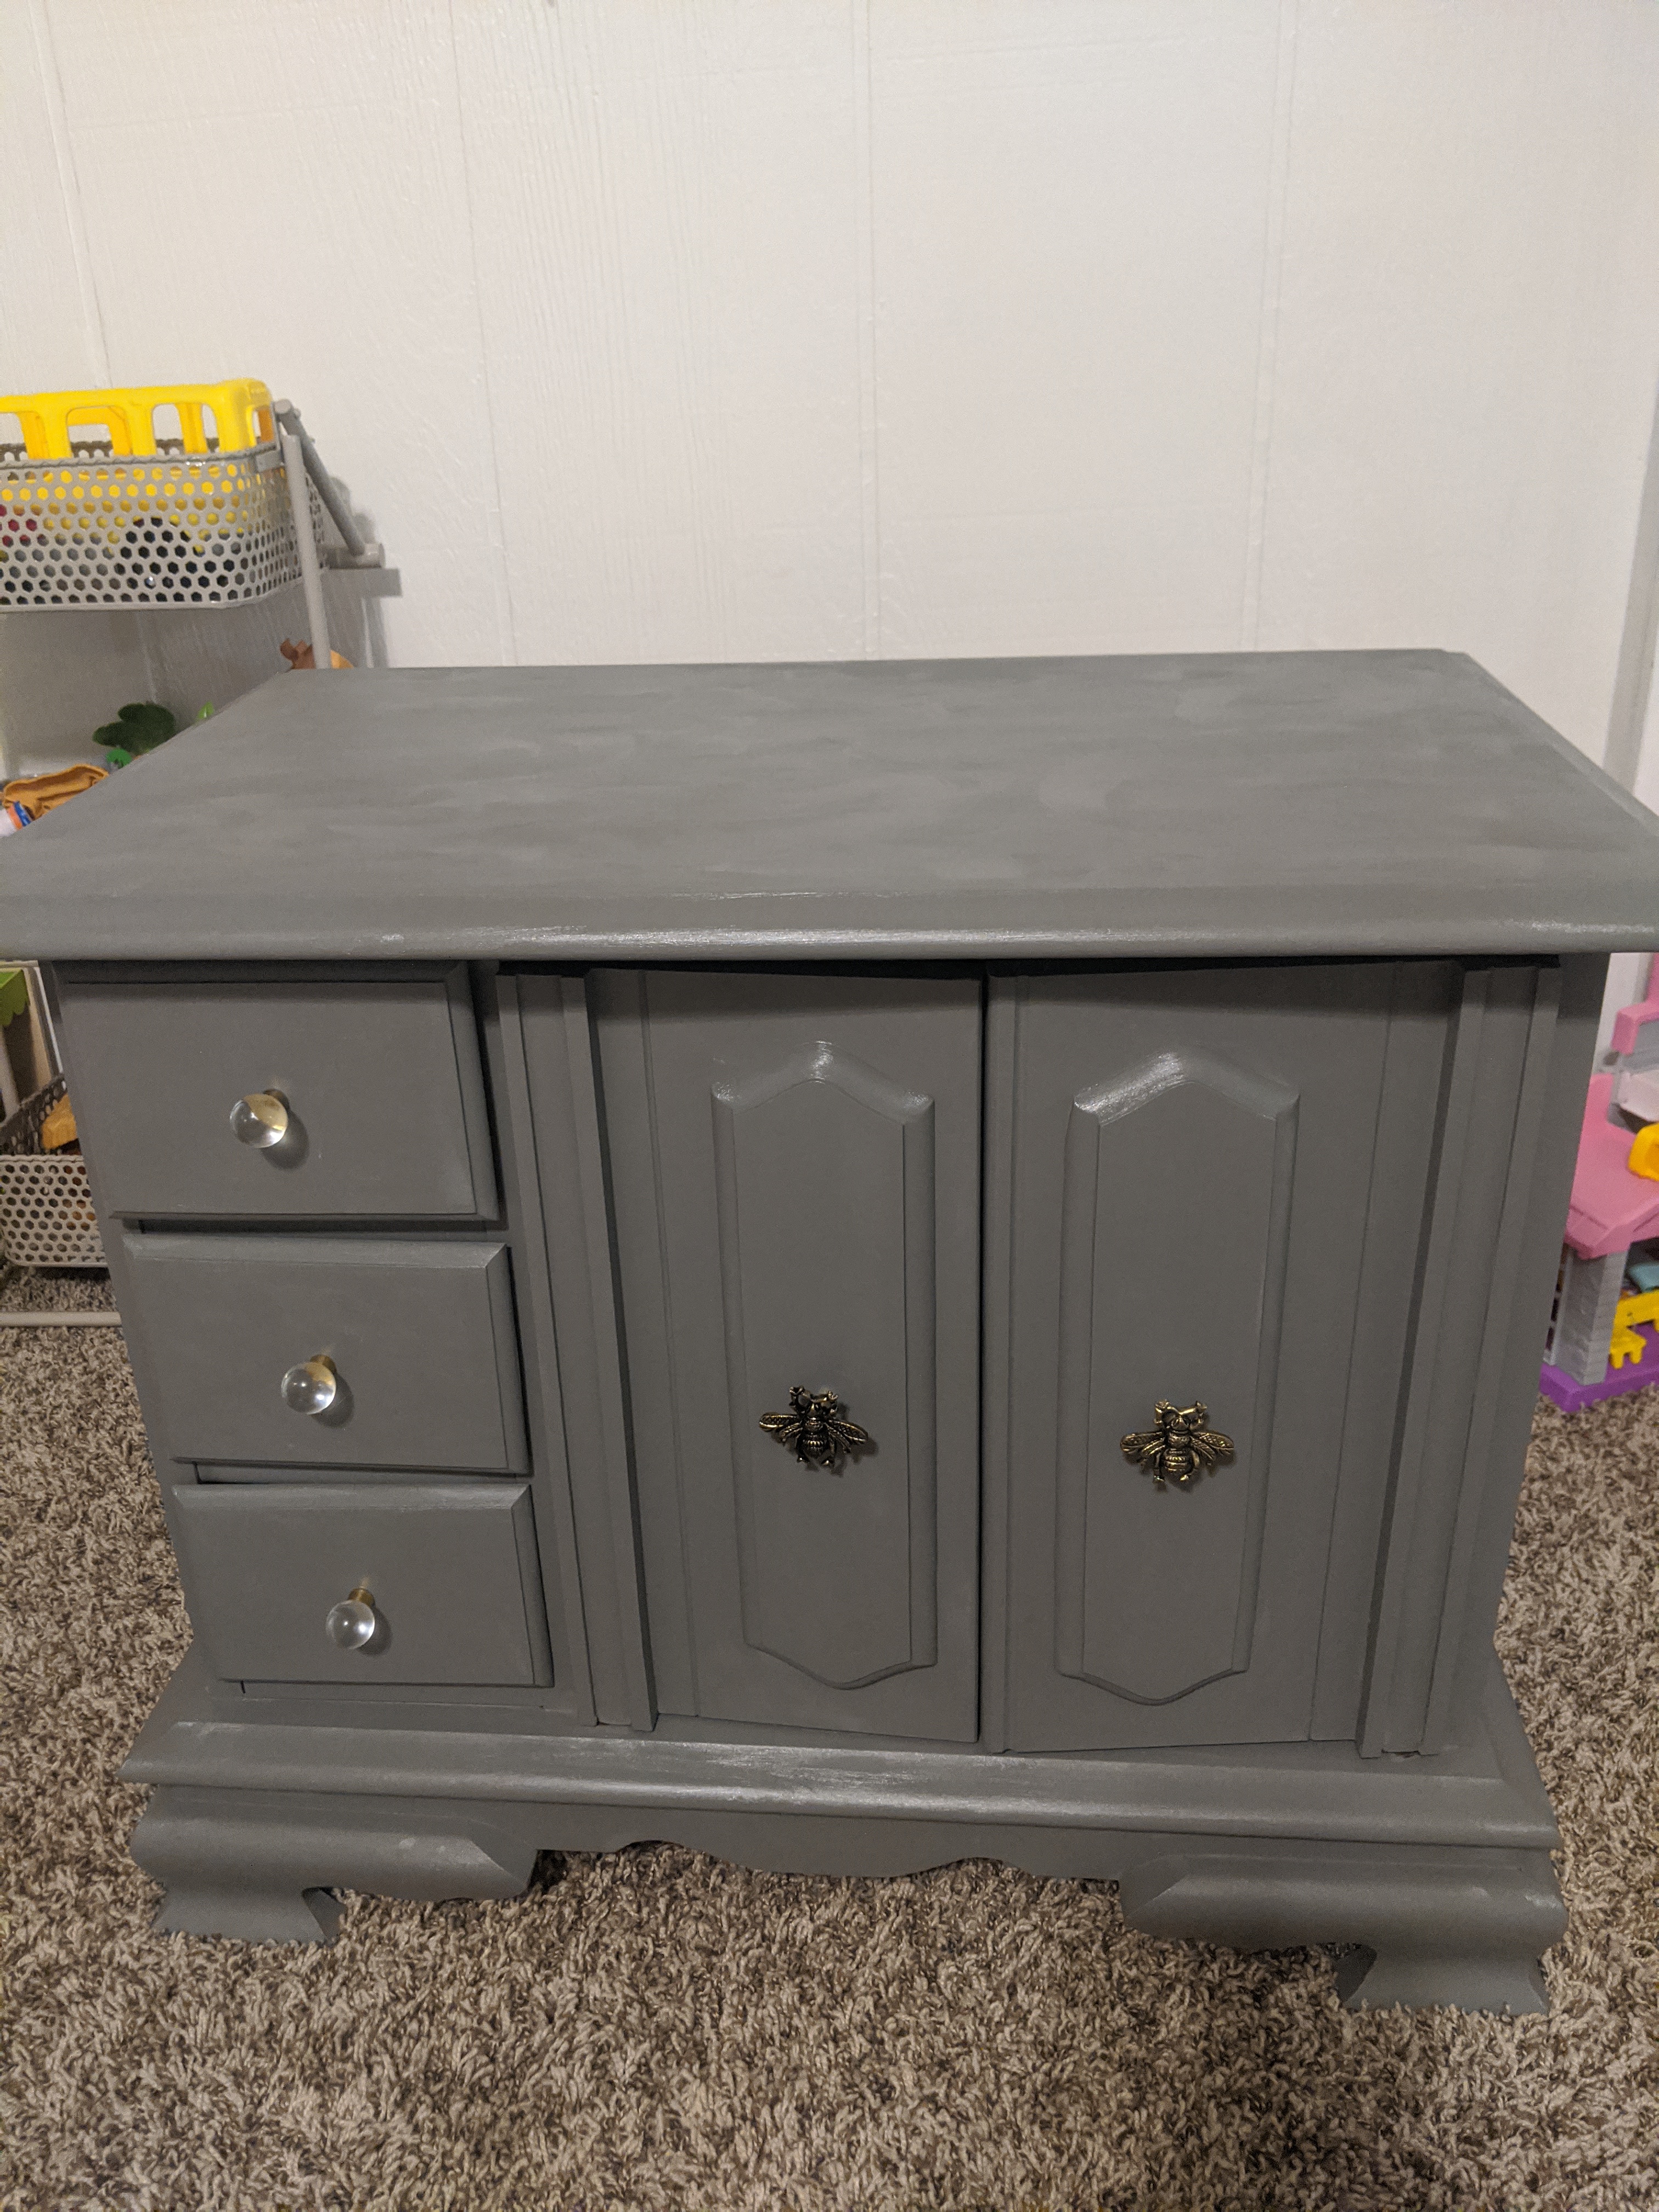
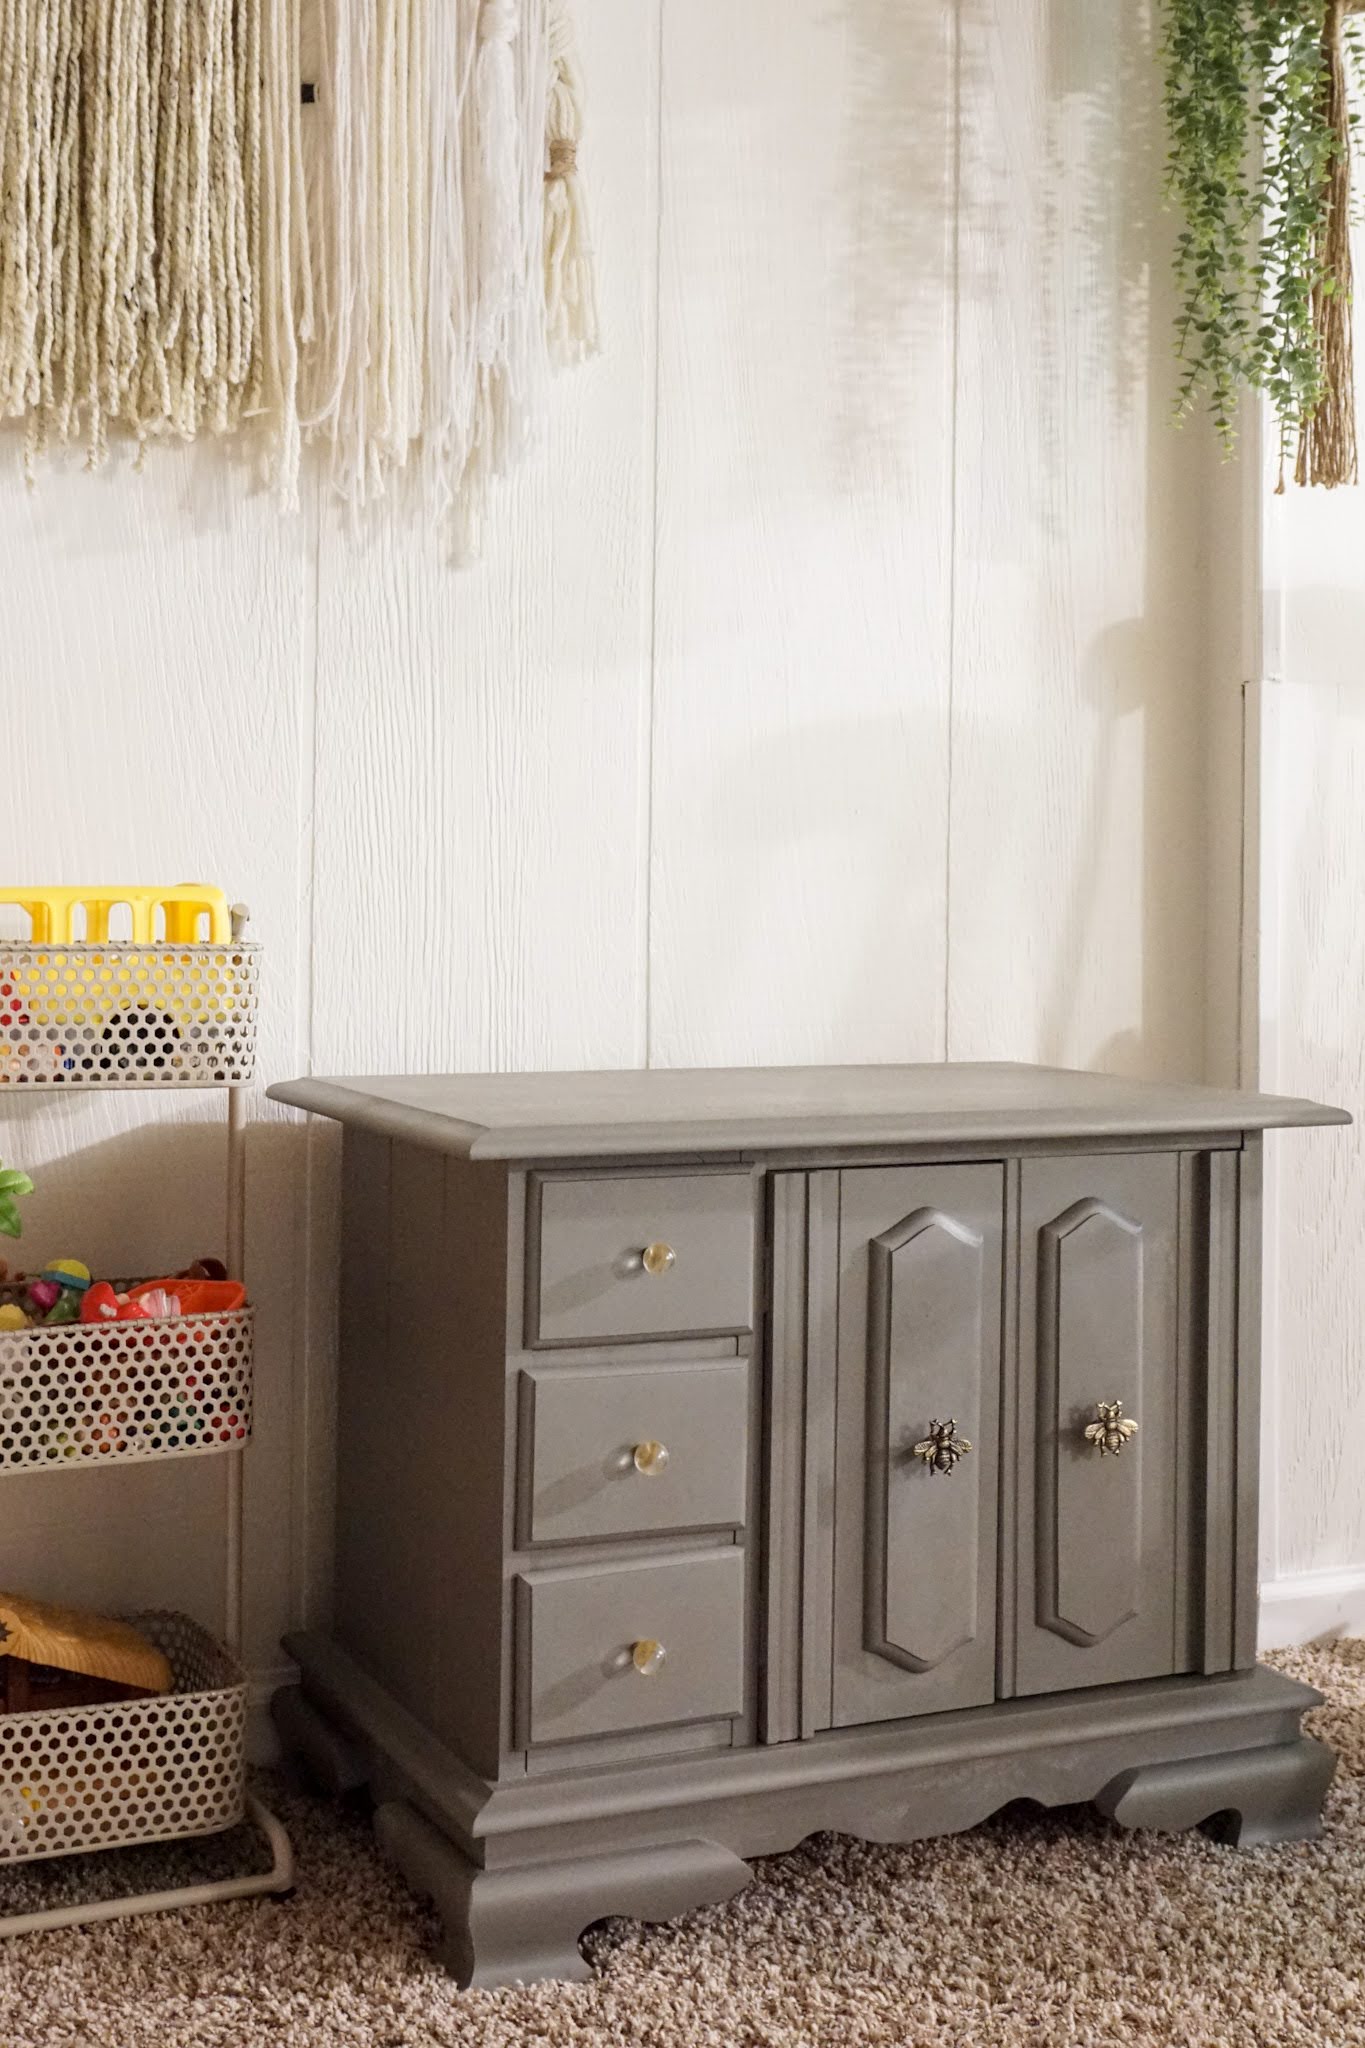
This project was my kind of project – quick and easy! I first cleaned the piece really well to remove any dust and residue. I then went in with two thin coats of Country Chic Paint in Cobblestone.
With no sanding required, I let the piece dry for a couple days before buffing on a coat of Country Chic Paint Natural Wax. This seals it so that the painted finish will be able to withstand many little hands all over it. Here’s a not so great video showing how I buff on the wax. ;)
The Crown Jewels
Sure, the paint transformed the cabinet, but let’s be honest, the hardware made it what it is! I wanted something quirky and fun since it’s in a play space, so I found the bees and clear glass knobs at Hobby Lobby for about $2 each. So affordable!
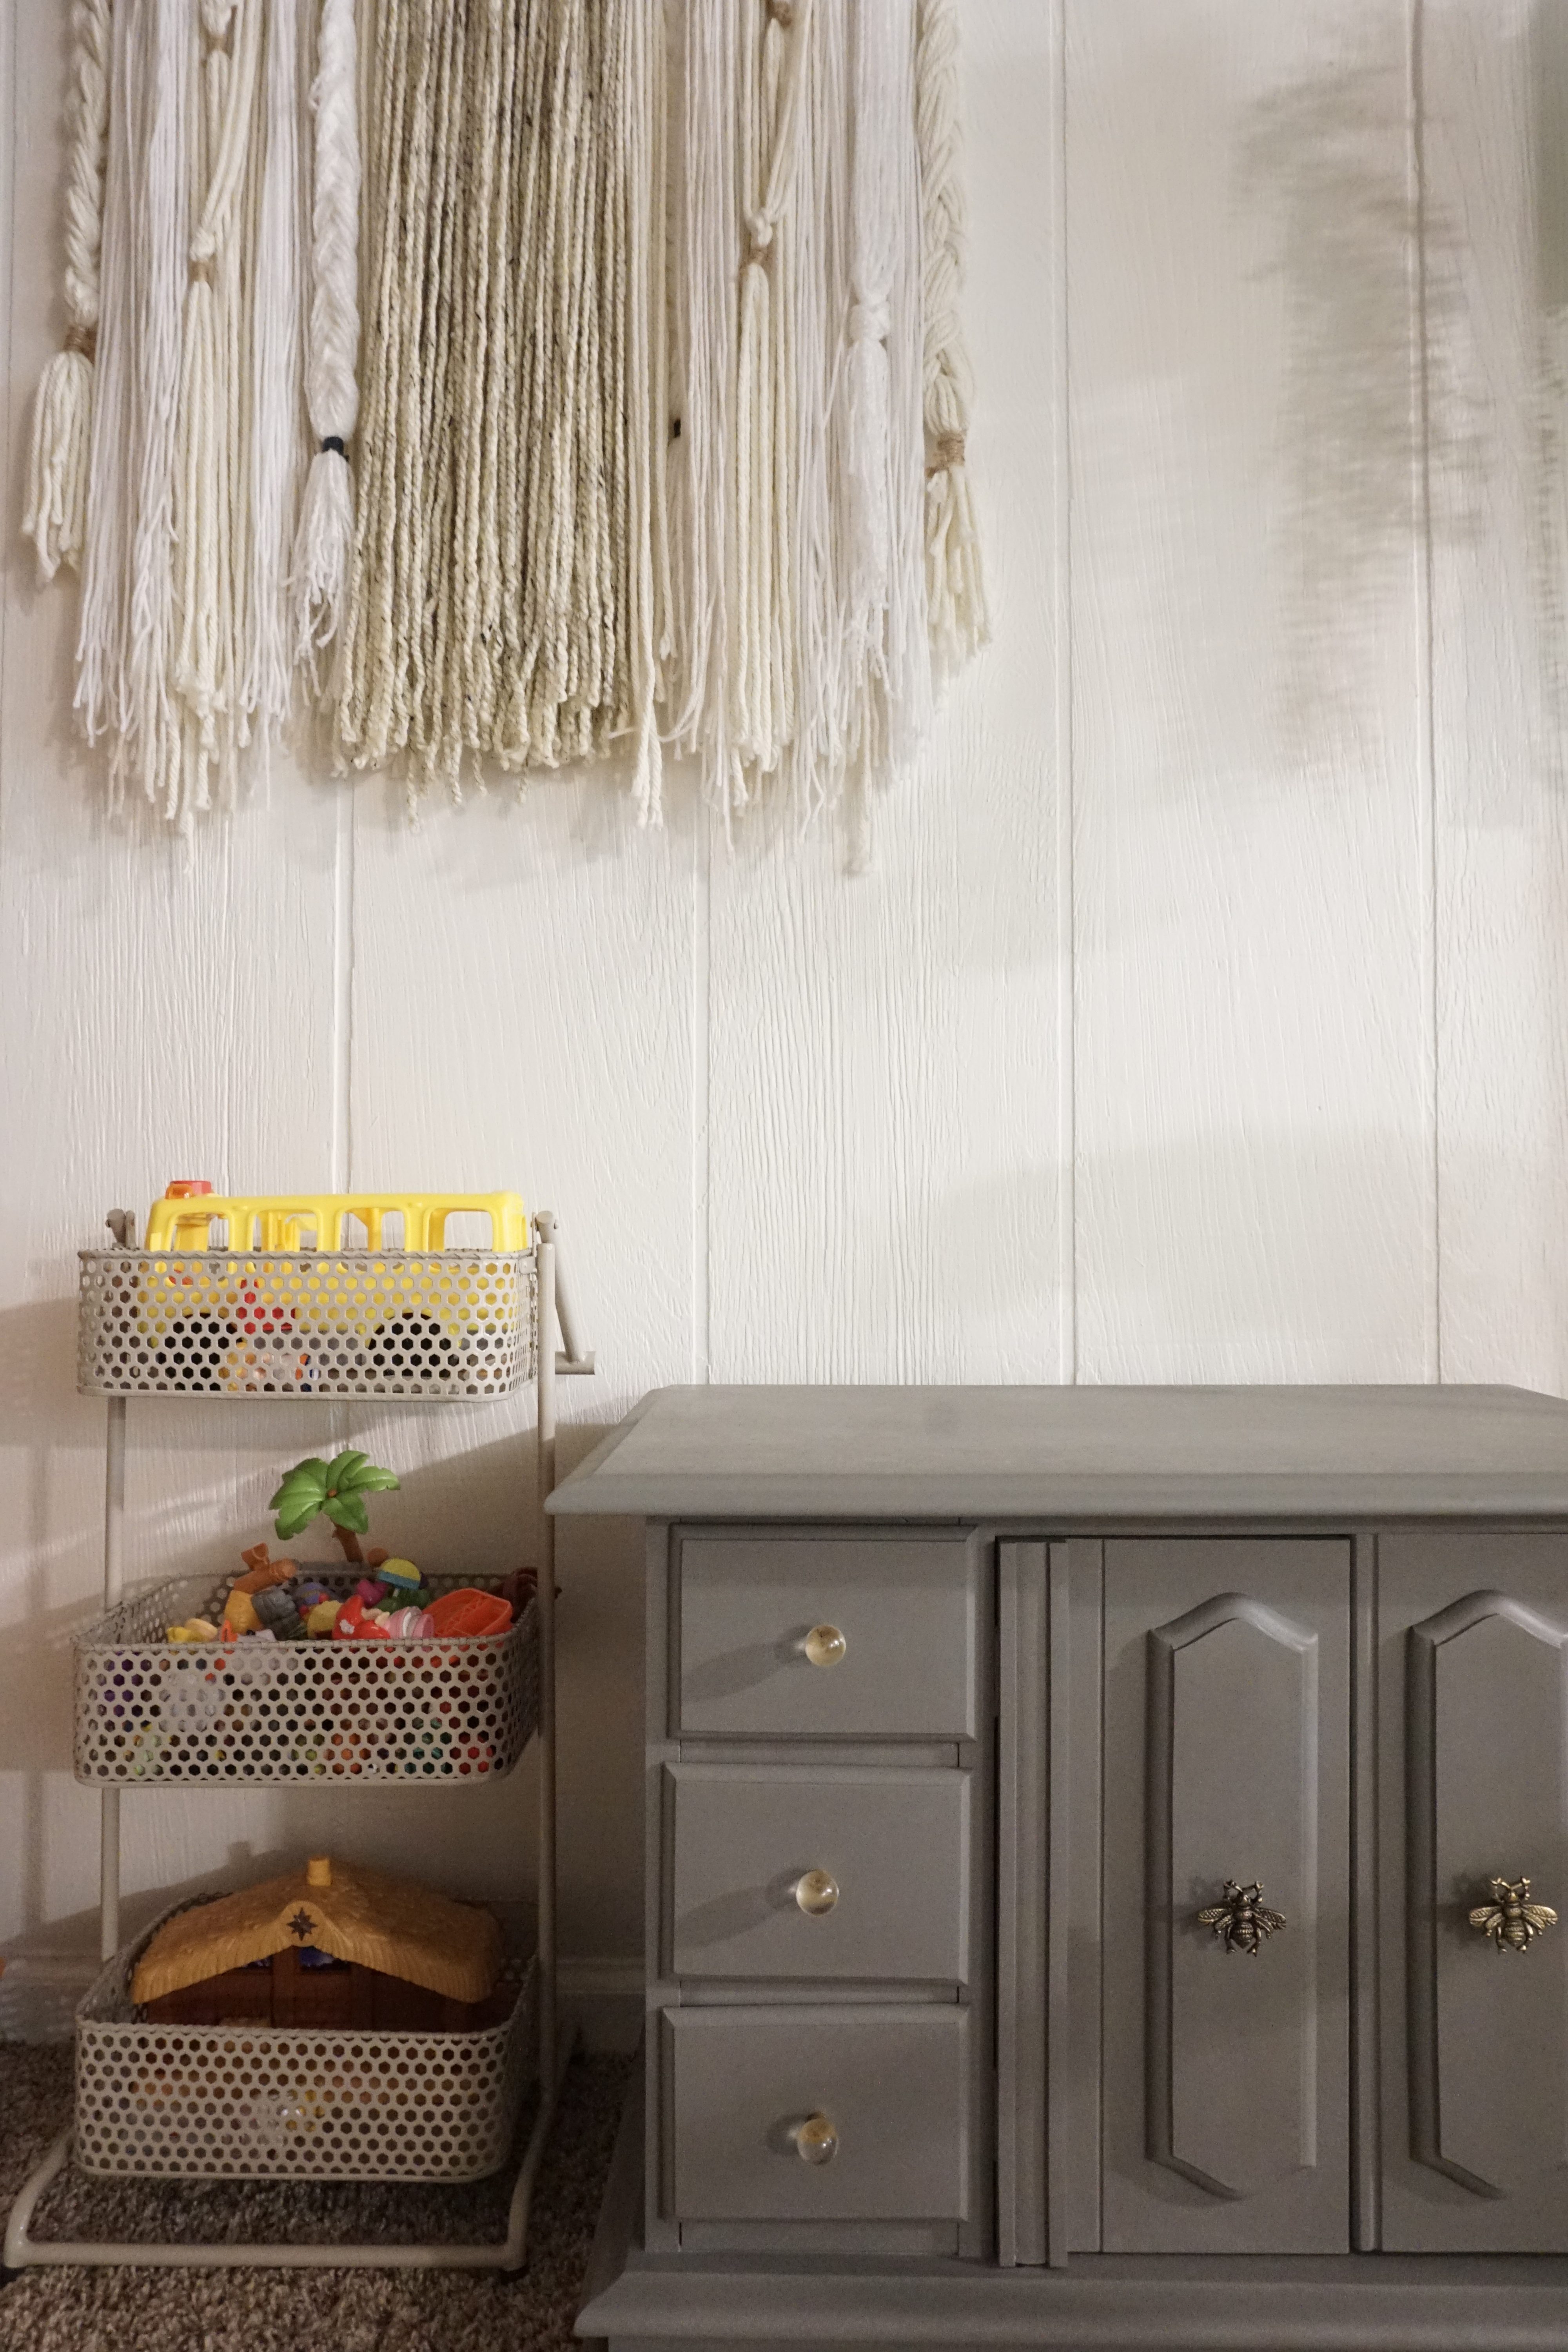
The Finished Result
This little cabinet still holds all its function that I loved but now it looks like it fits in with the space so much better!
My daughter loves it just the same.