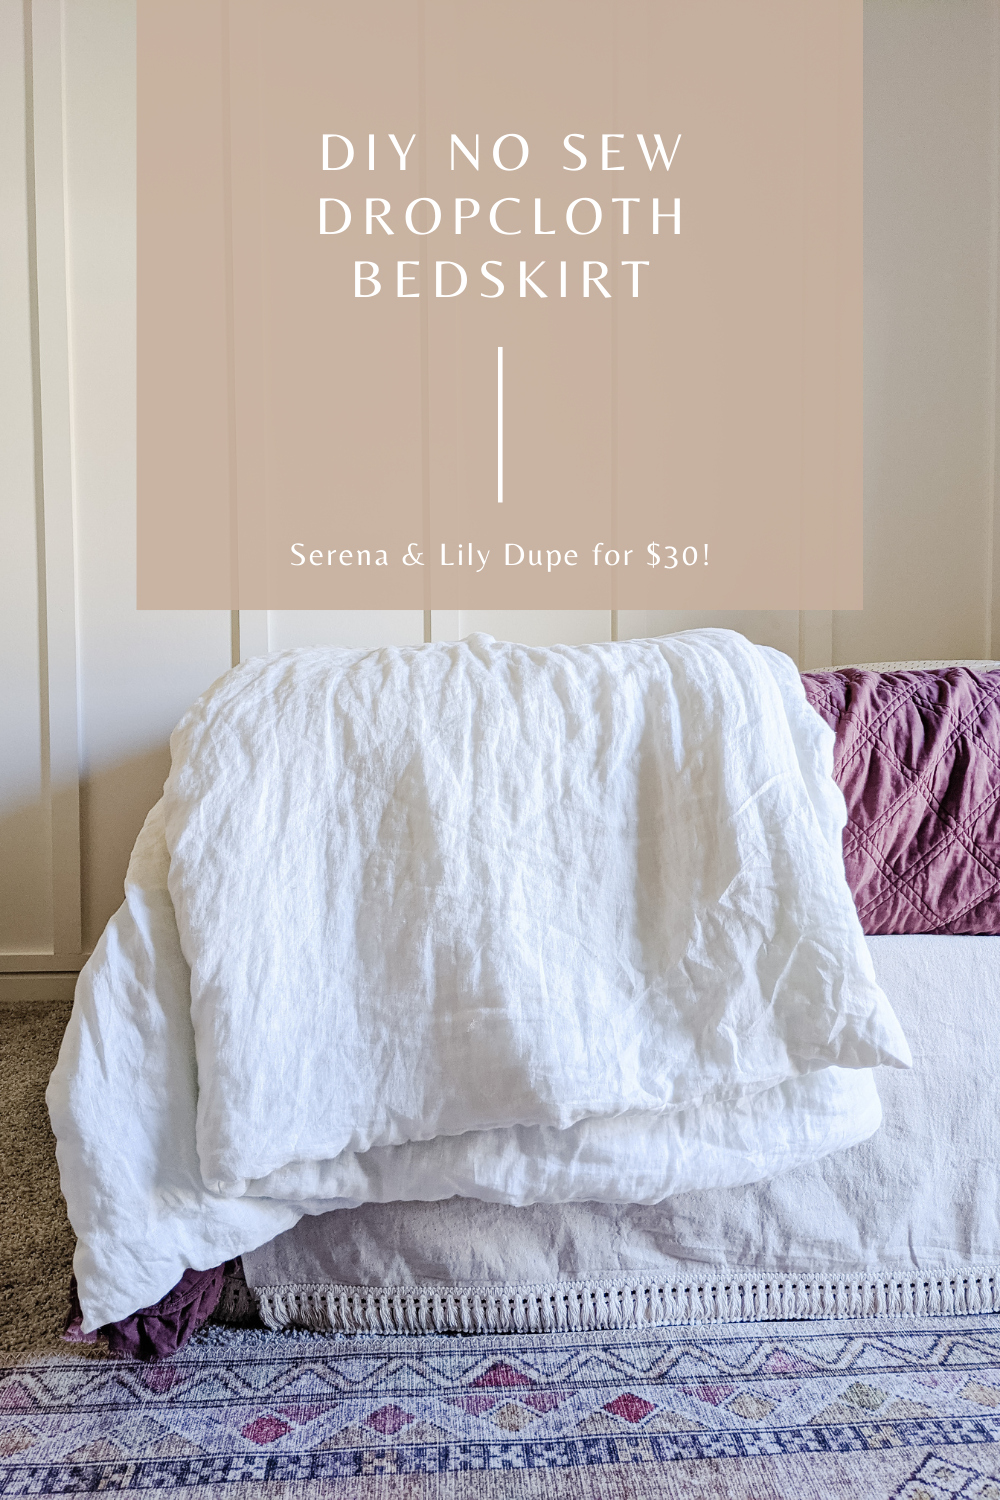
This $158 Serena & Lily bed skirt dupe for $30 is perfect for those of you who love a good “no sew” project and can wash, measure, and iron. I will break down the steps I took to make my own bed skirt out of an inexpensive drop cloth.
Inspiration
Let’s start with some inspiration. While looking for a 17″ bed skirt for my daughter’s room, which isn’t a standard length necessarily, I either found thin microfiber ones that I could afford but would be able to see through or ones that I loved but was far too expensive for my meager bed skirt budget.
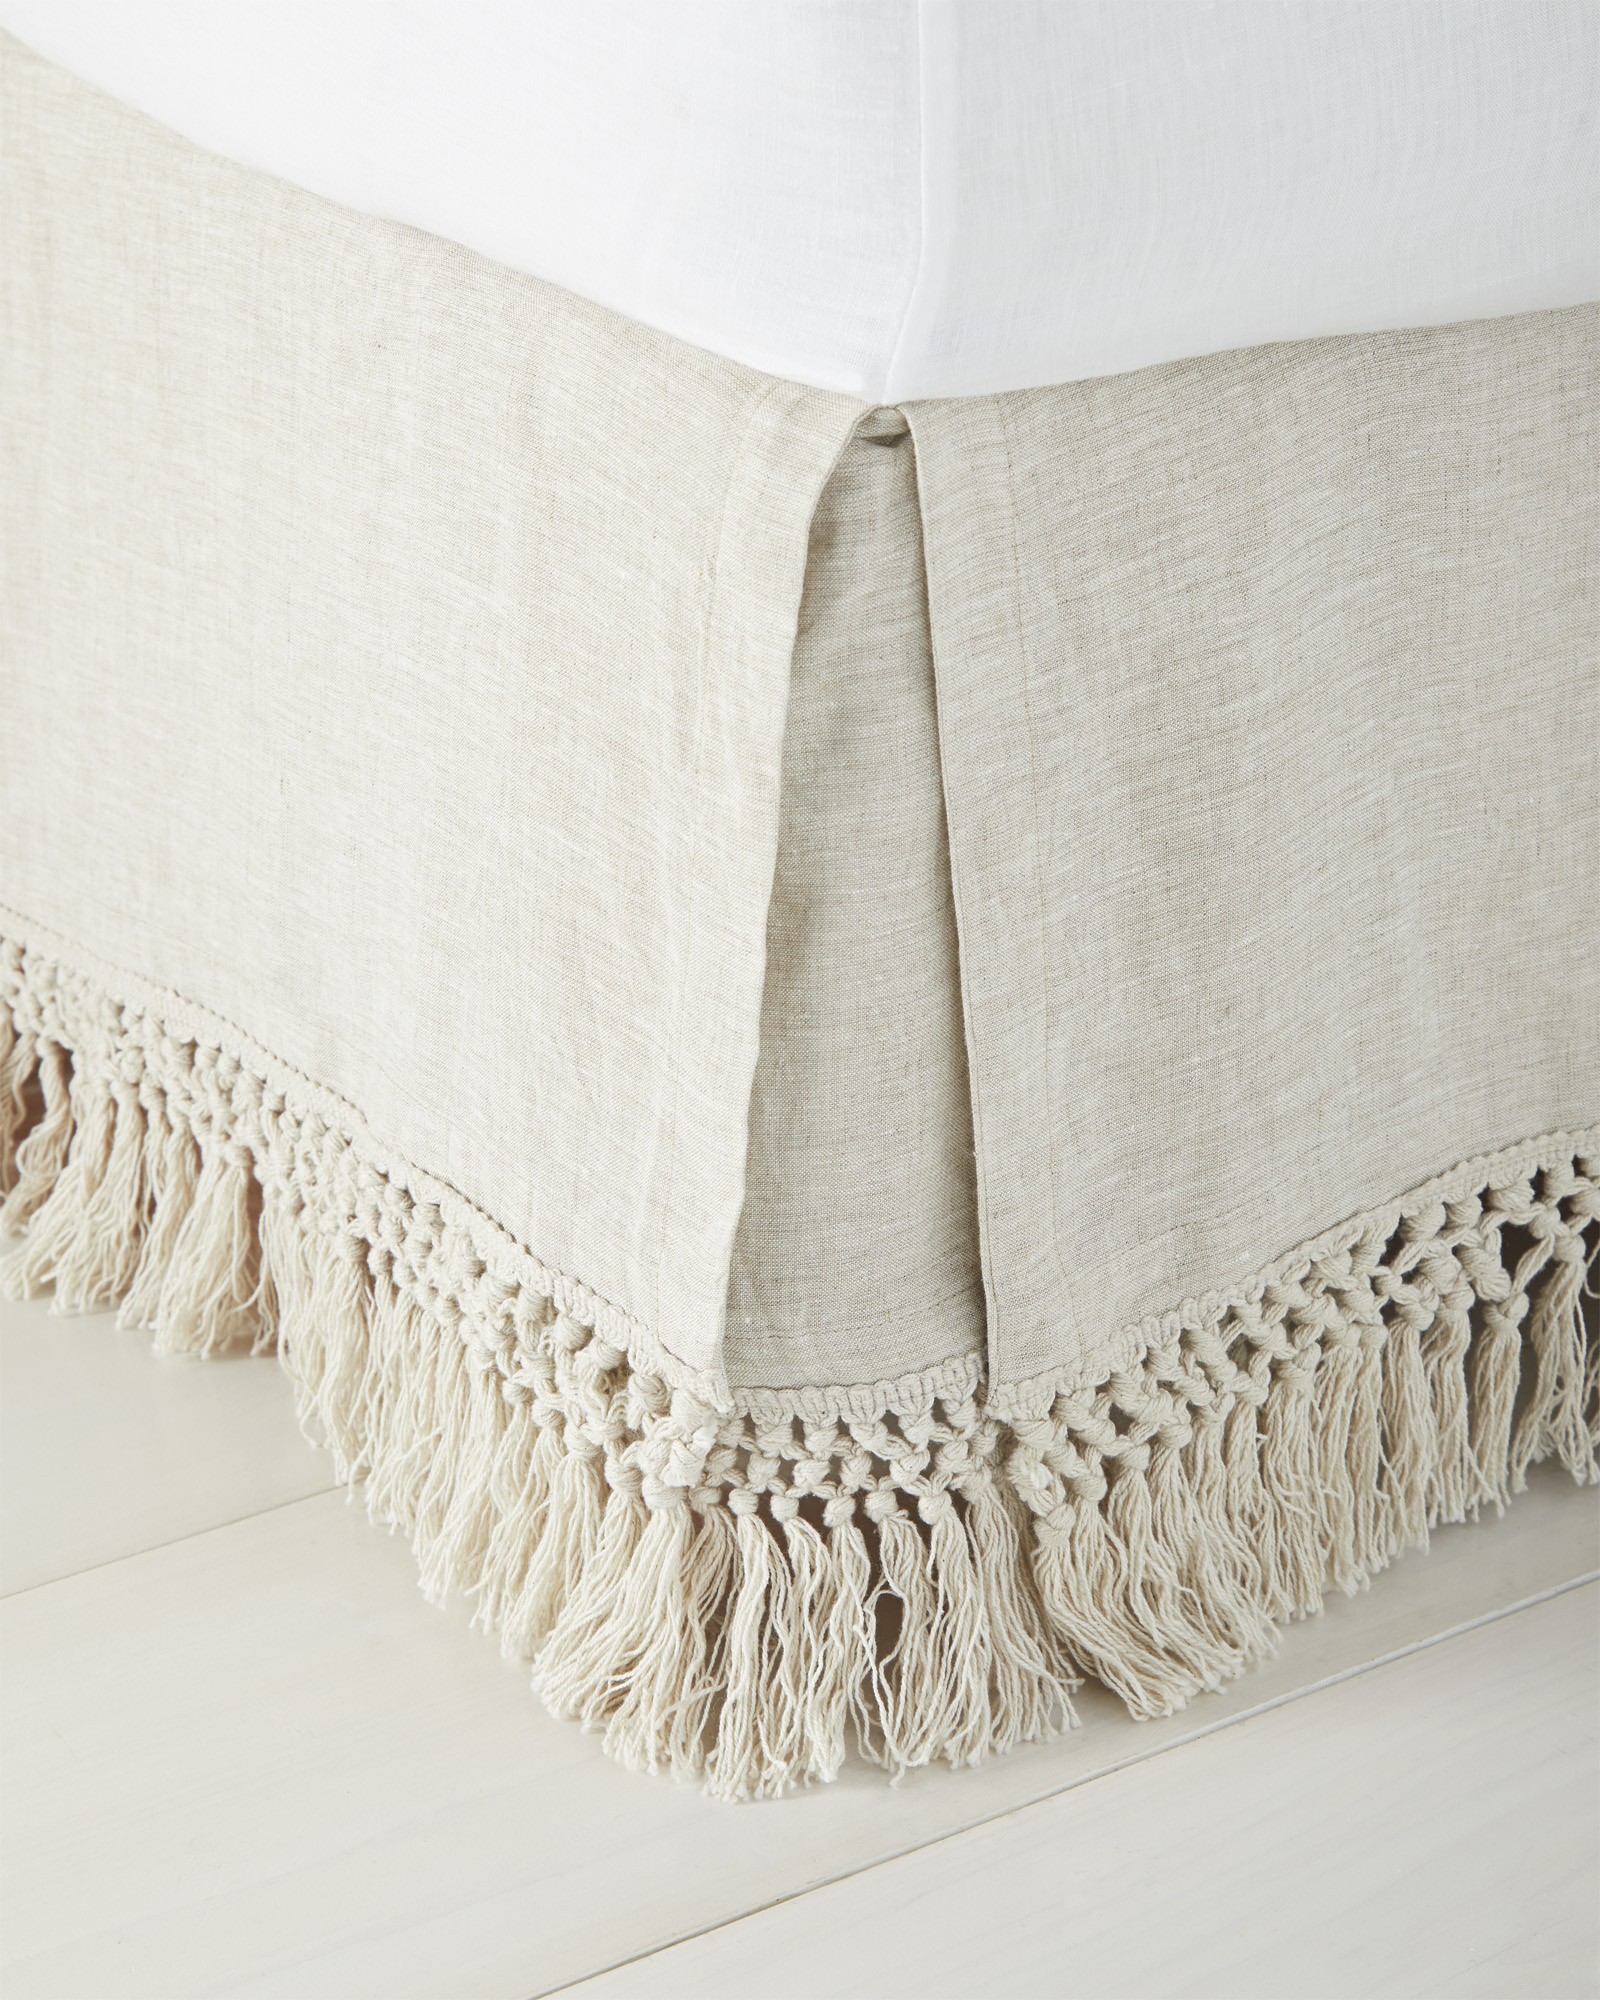 I stumbled up on this gorgeous Serena & Lily tassel bed skirt and immediately fell in love, but $158? Not happening. After a quick search for some tassel trim and a drop cloth, I knew I could replicate this look fairly easily.
Materials Needed
(Some links are affiliated.)
Drop Cloth (1-9×12)
Fringe Trim (3 – 2 yard rolls)
Instructions
Step One | The Prep | Cut + Wash + Steam
For my full size bed, a 9×12 drop cloth was more than large enough. I first cut it into four 27″ strips leaving the length 12′. I just followed along the natural fold right out of the package.
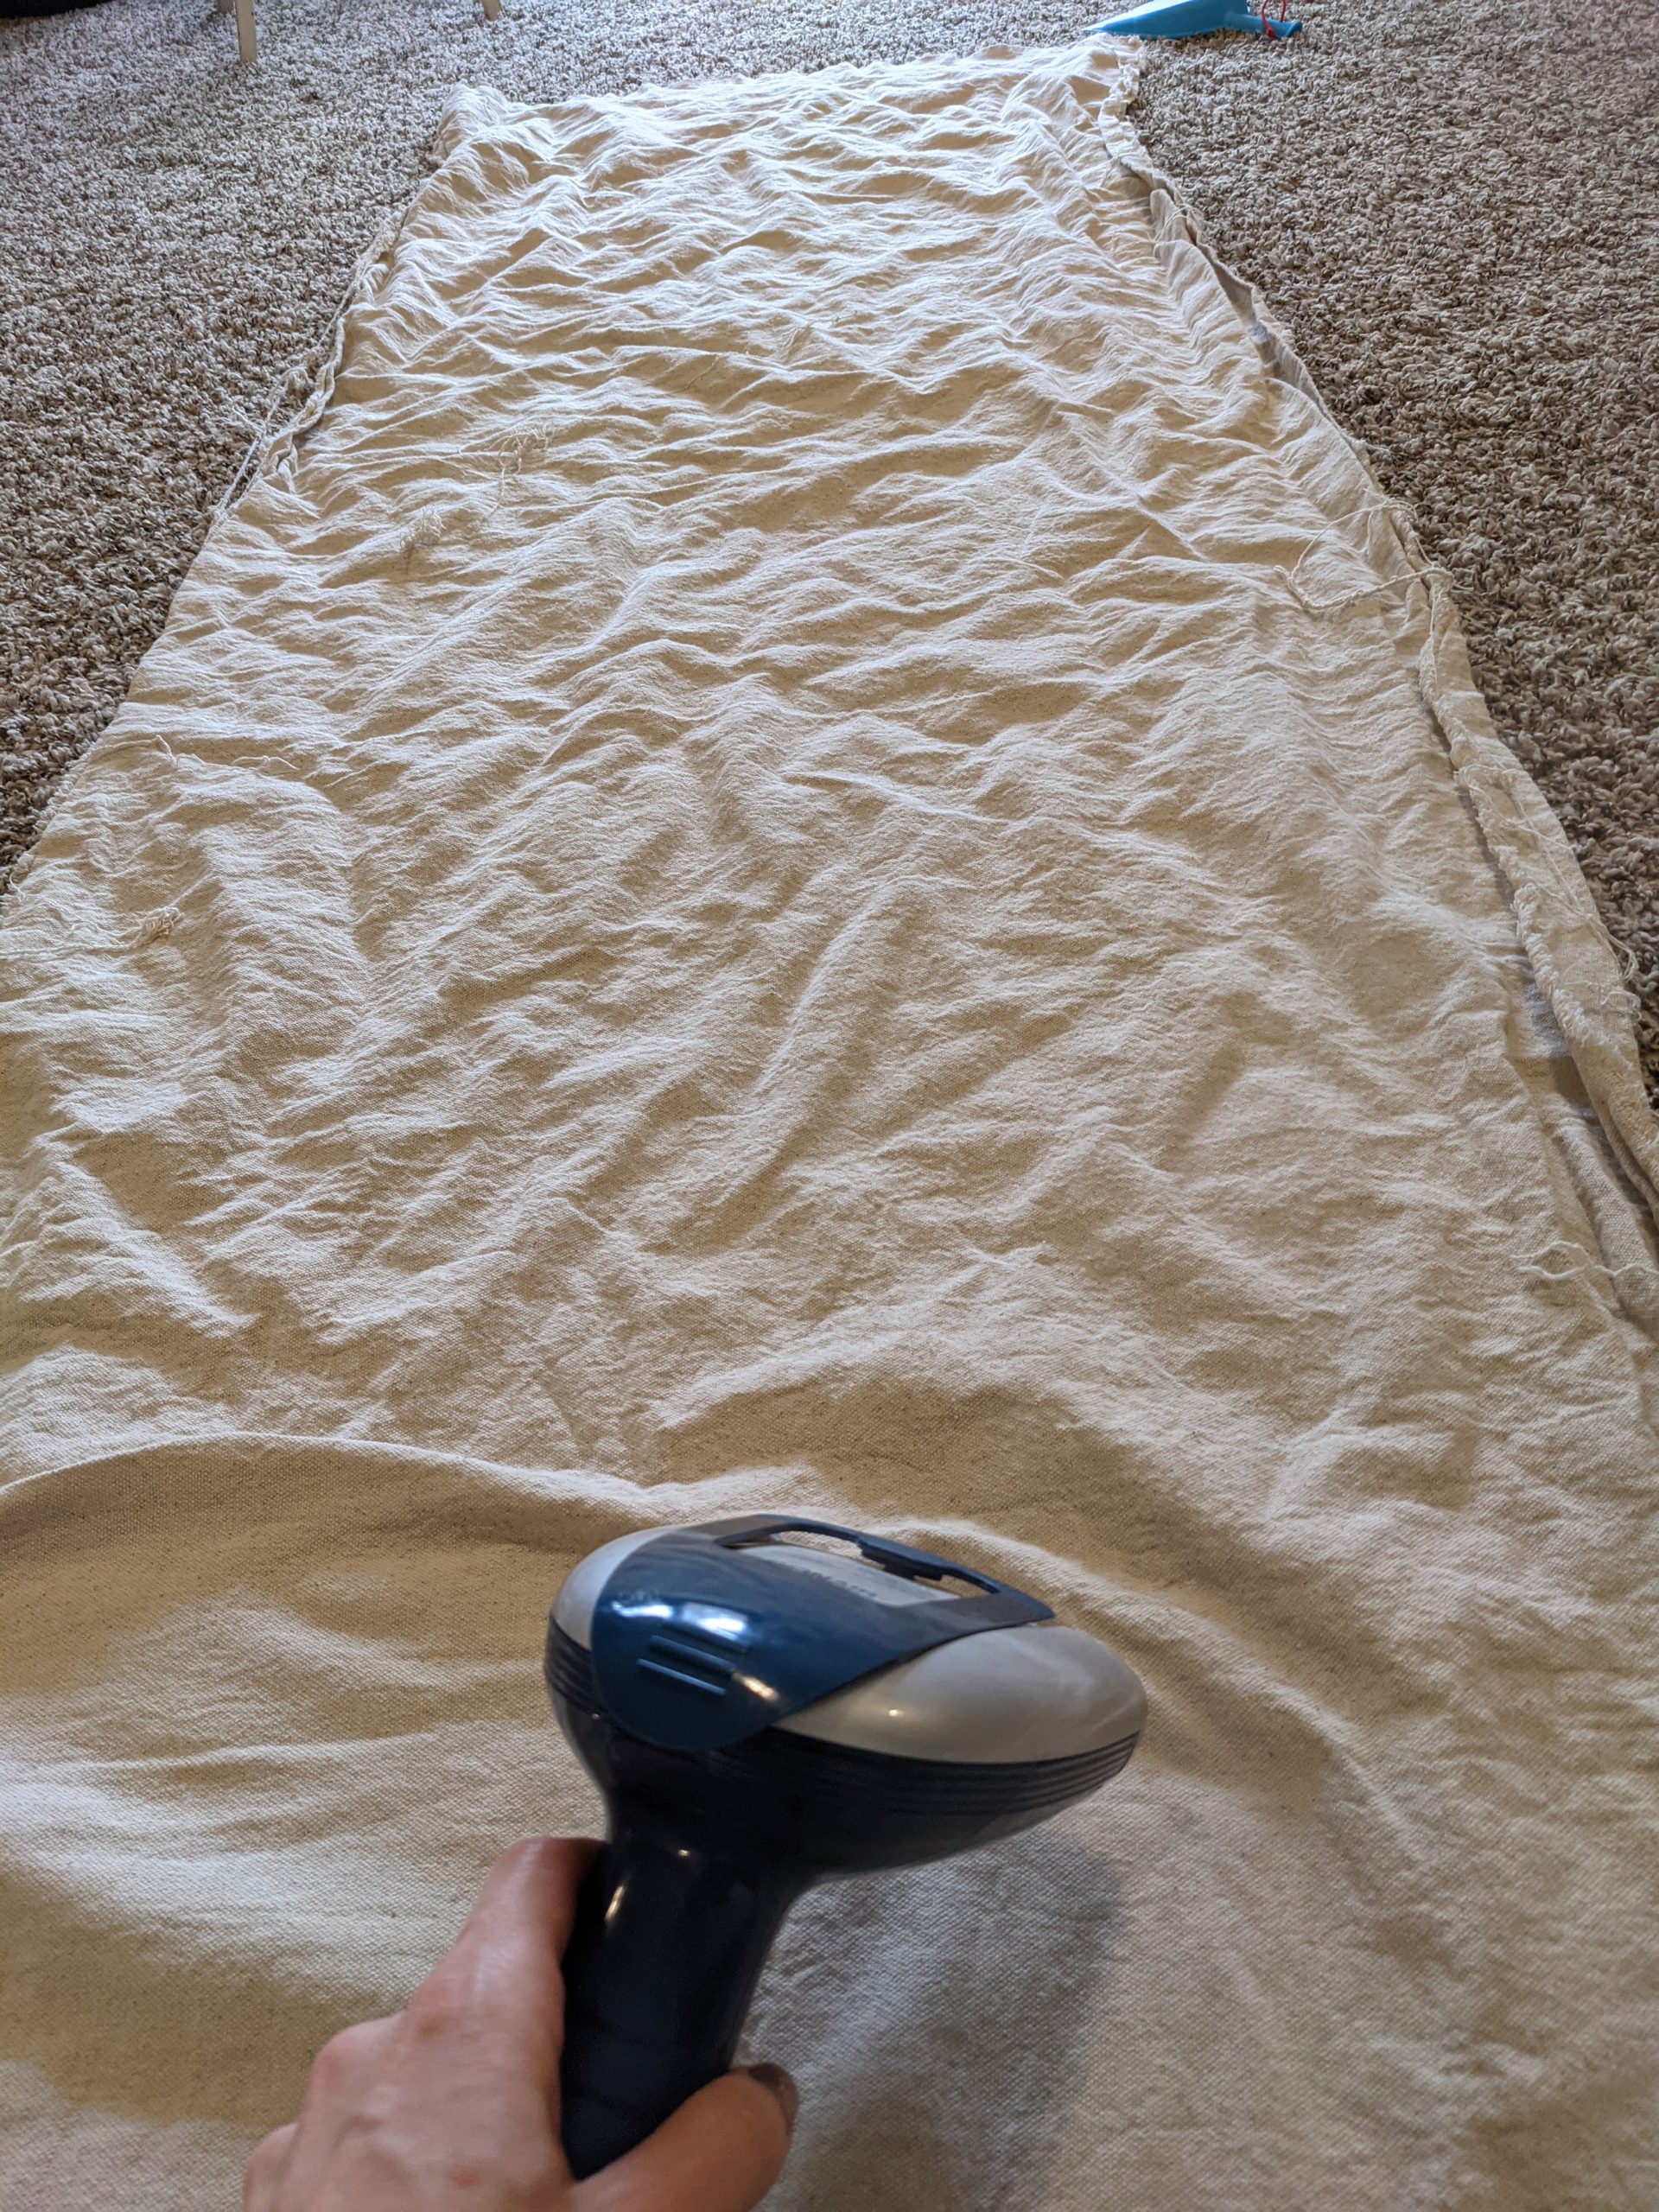
Then I threw them in the wash on a regular cycle and dried them on delicate. I got them out of the drier while they were still ever so slightly damp so that I could steam them easier. You can also use an iron for this step. Whichever method you choose, getting as many wrinkles out as you can will help tremendously for the rest of the project!
Step Two | Cut Your Pieces
You will need SEVEN separate pieces of fabric. Measure according to your boxspring.
Important! Add 1″ to the side pieces and bottom piece so that you can hem the ends.
2 for the length of the bed (mine were 70″ for a full size bed)
1 for the bottom width (mine was 52″)
4 corner pieces cut to around 20″-22″
Step Three | Glue on Trim
I found the perfect trim at Hobby Lobby for $2! I also really like this one too. Luckily, it matched the color of the drop cloth perfectly!
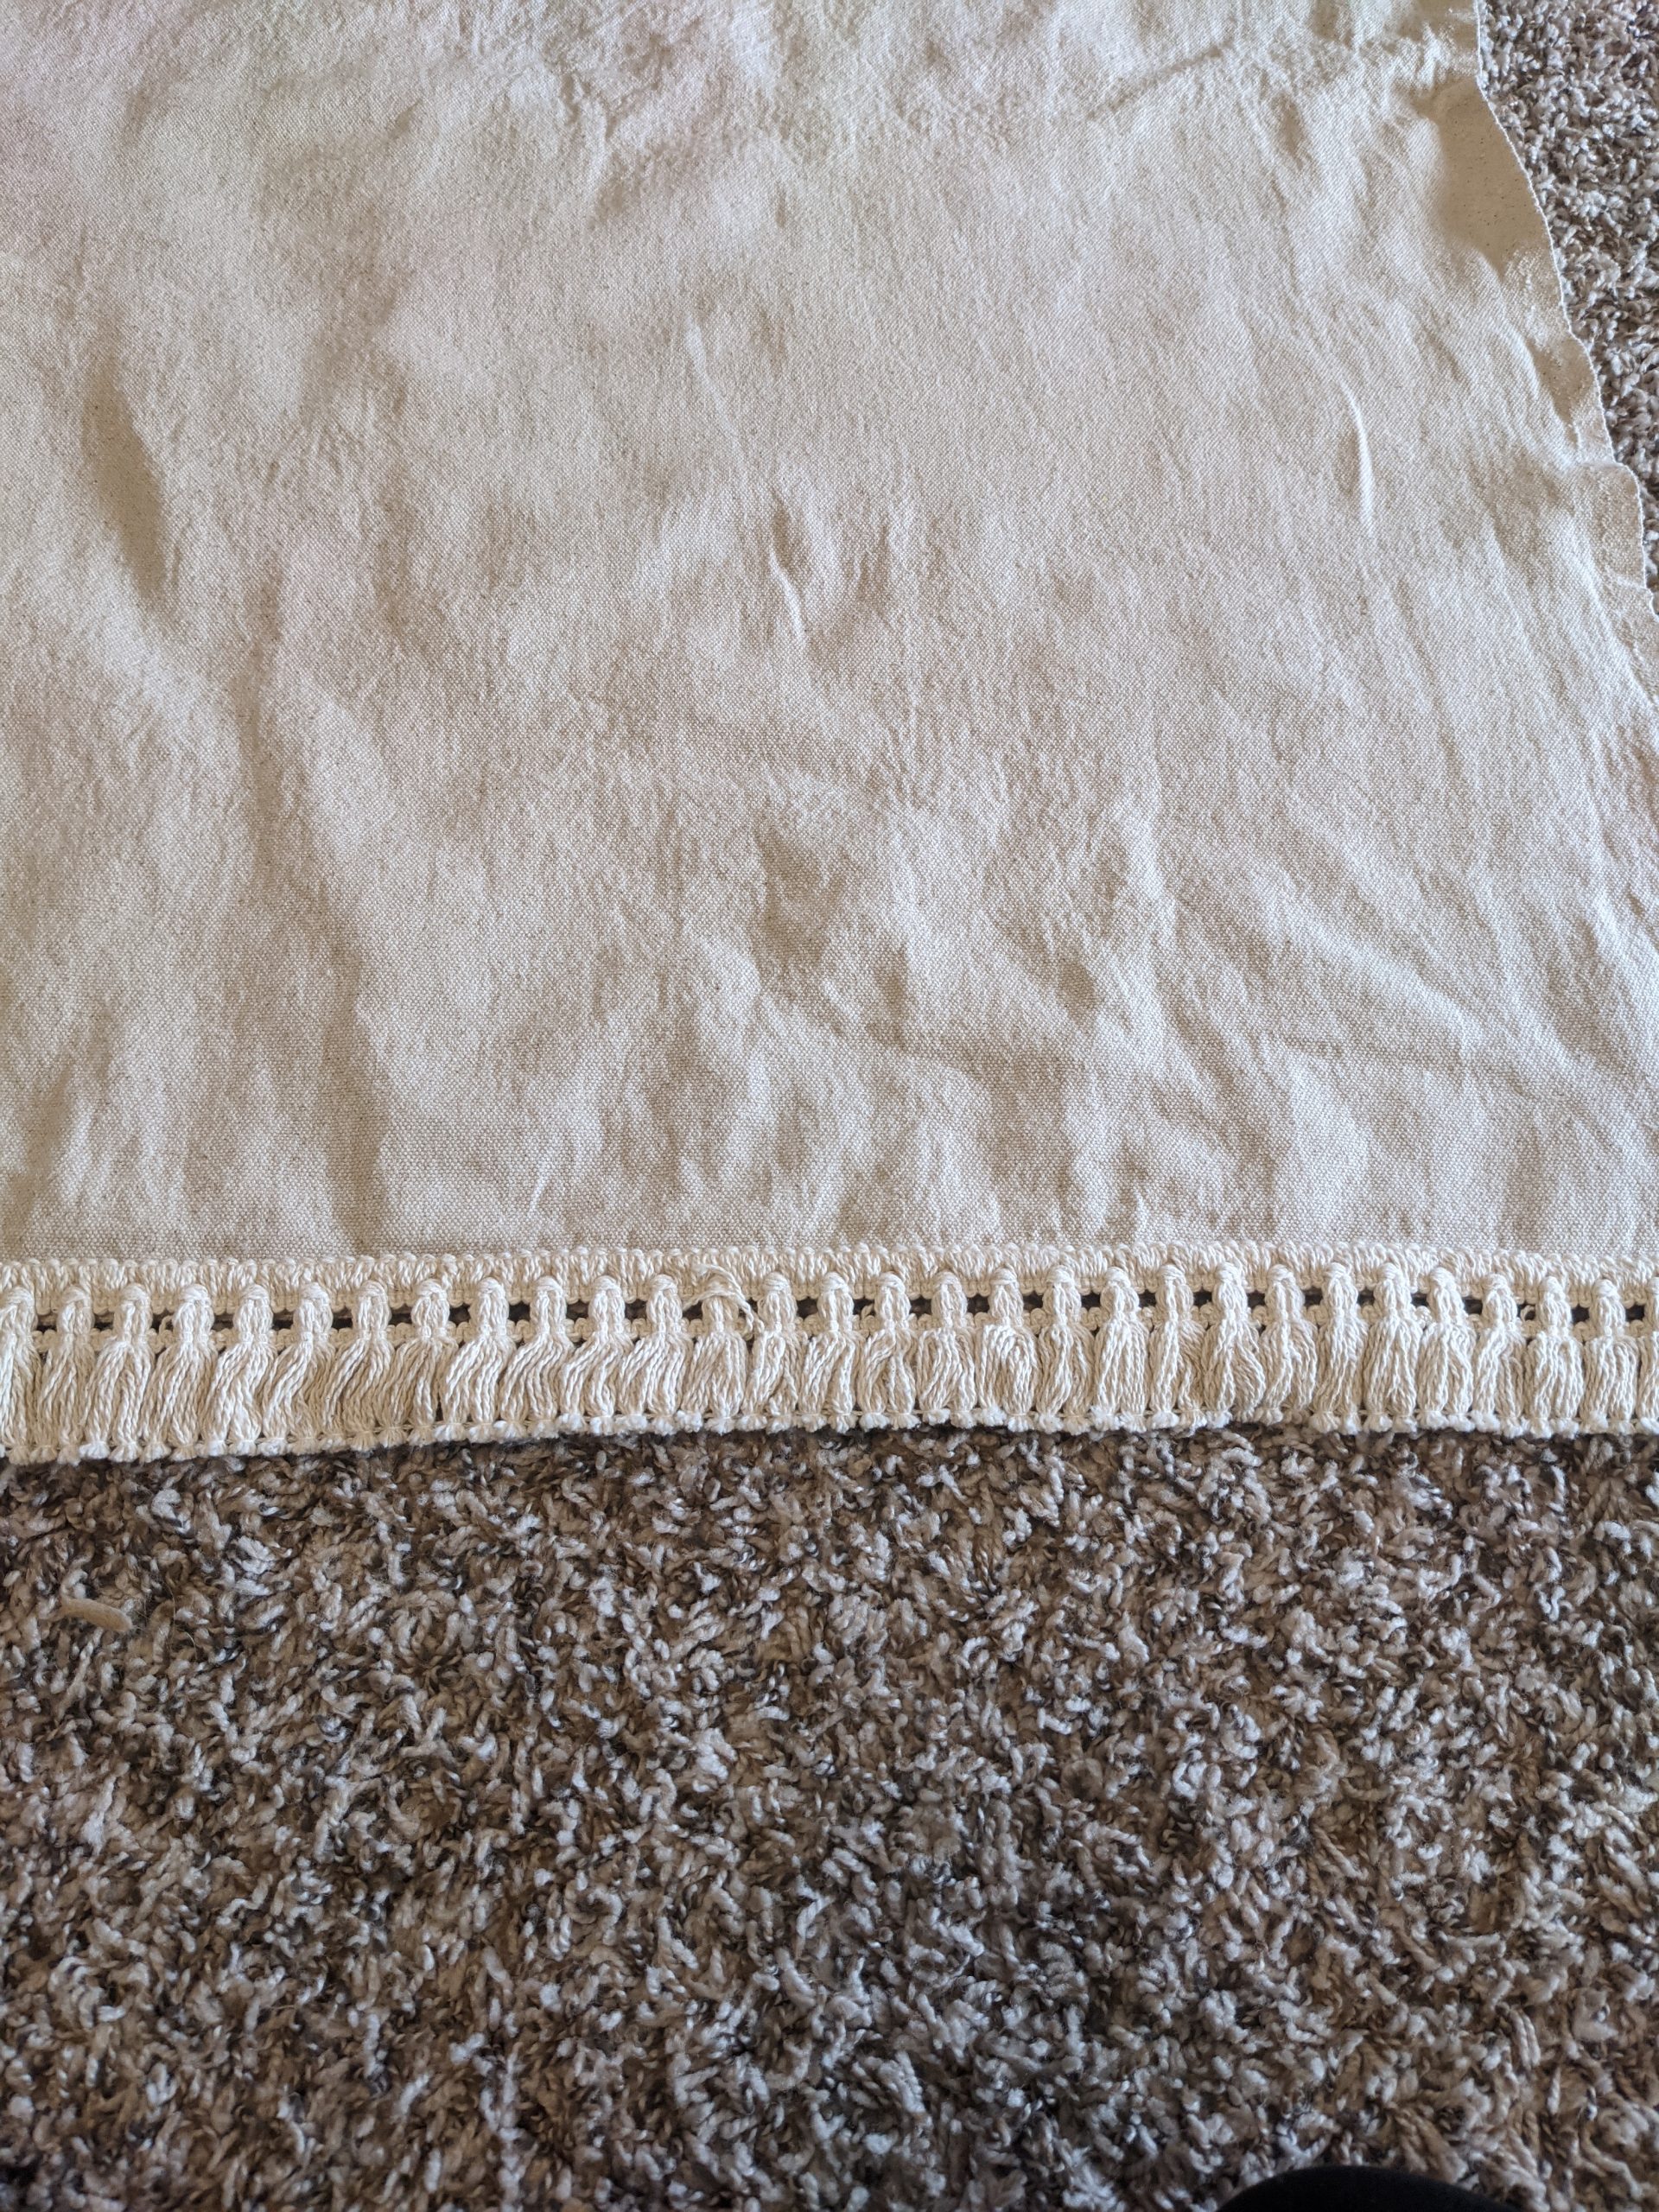
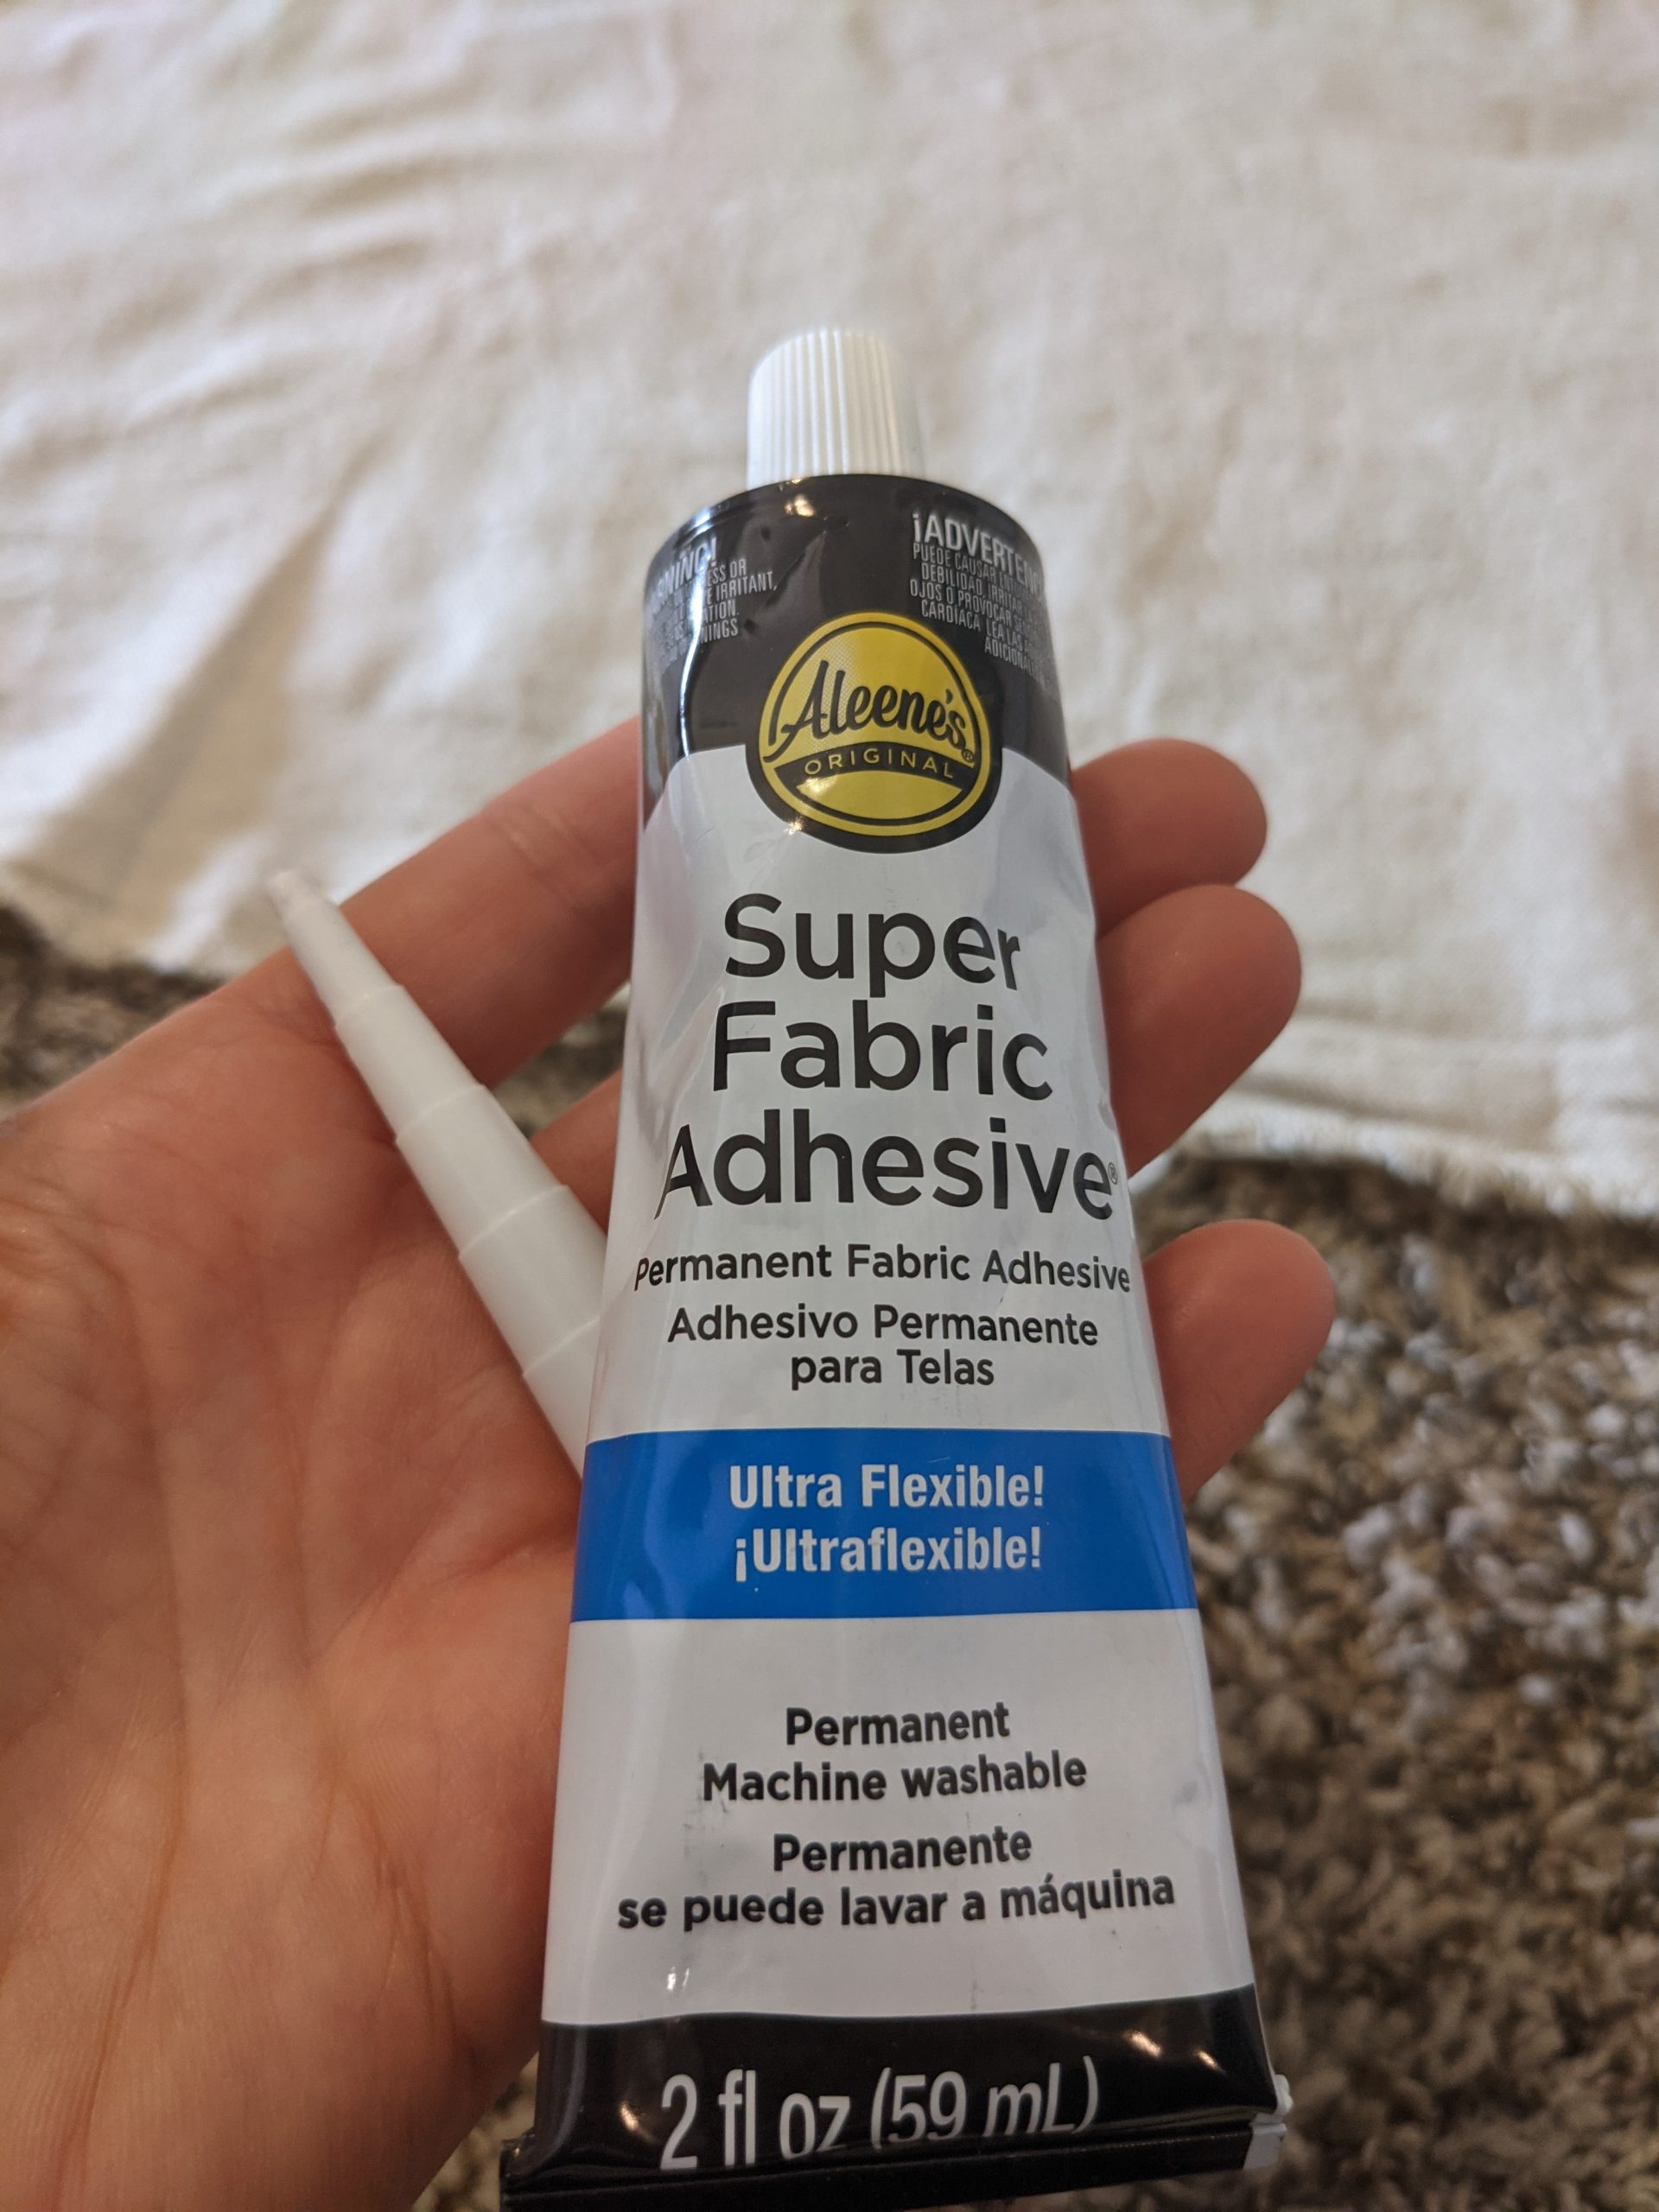
I used Super Fabric Adhesive to attach the trim along the bottom edges of each piece. Allow the glue to dry for a couple hours before moving on.
Step Four | Make Final Measurements + Cuts + Hems
Next you will need too measure the length from the top of your box spring to the floor. Then you will add a good 3″ to give you enough fabric to attach to the box spring.
Once your trim is set, go back and measure, mark, and cut each piece to the appropriate length.
The good thing about drop cloths is that it has a nicely hemmed edge all the way around it. There will be a few edges that need hemming after you make your cuts though. I didn’t bother hemming the corner pieces since they will not be seen. I only hemmed the sides or bottom pieces that needed it.
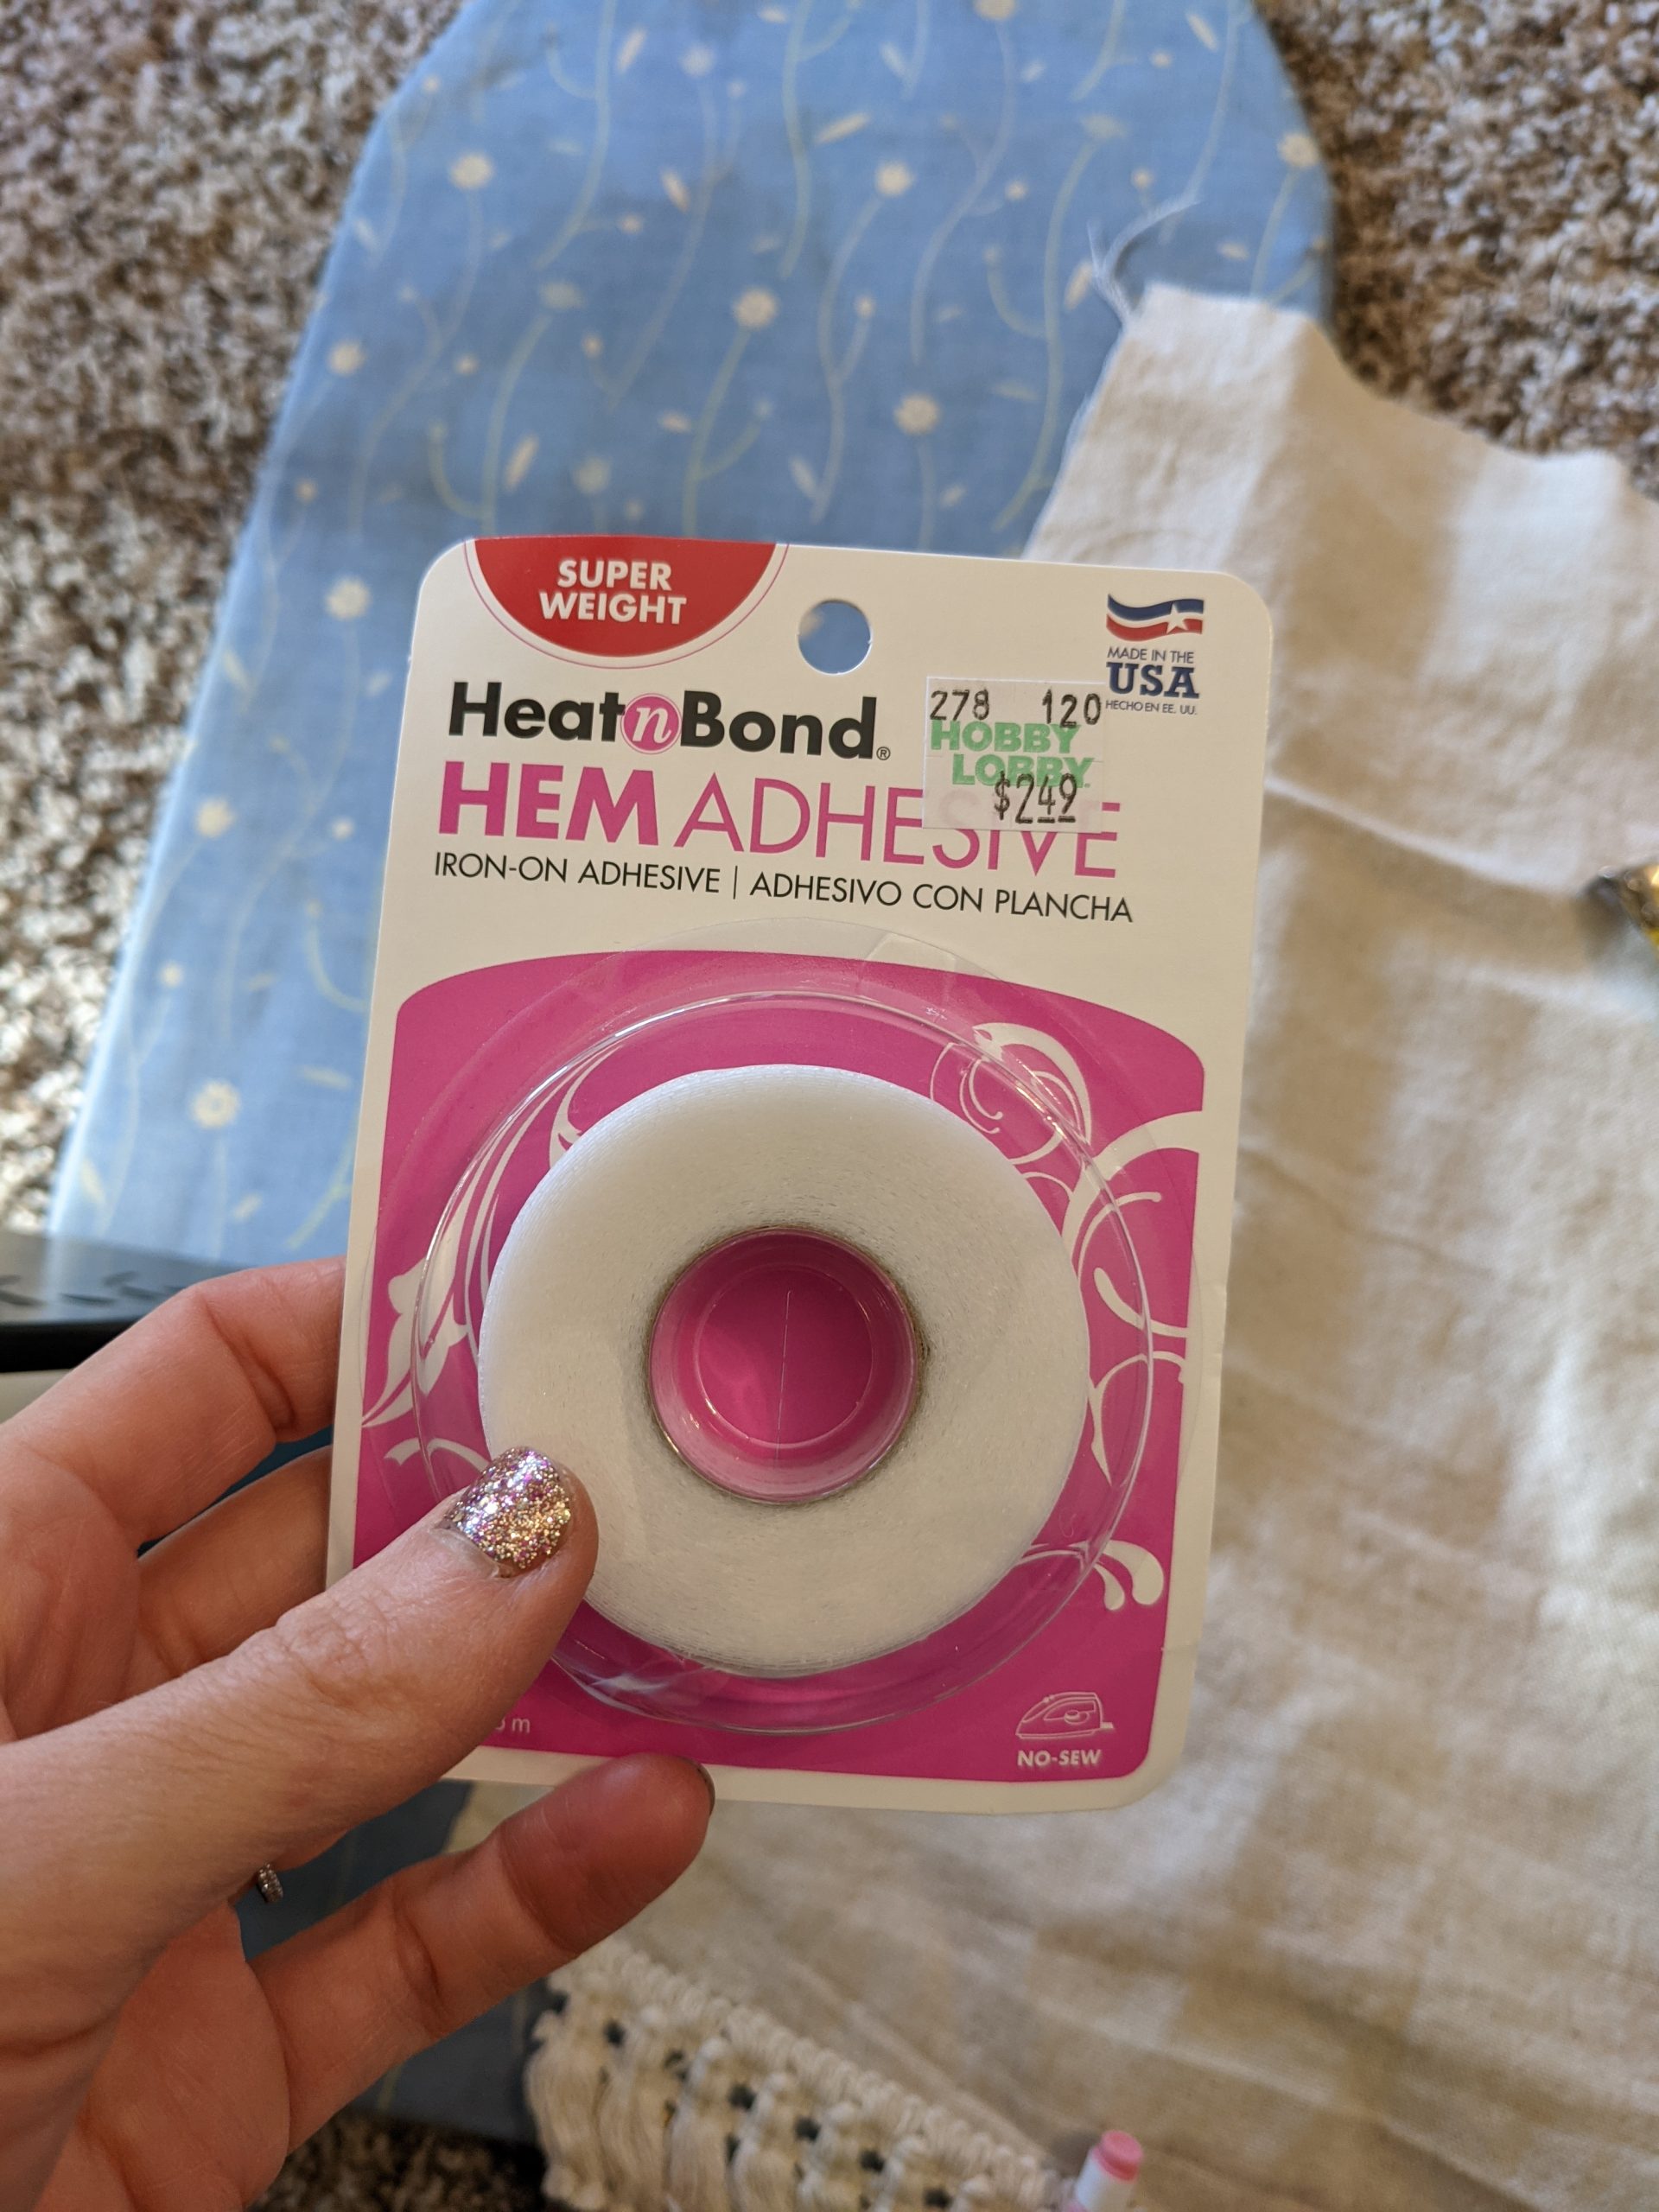
If you’ve never used hem tape, it’s one of the easiest things you can do. Simply fold under your fabric, make a crease with your iron, then place a piece of hem tape in the folded part and press the iron on it for a few seconds. Easy peasy.
Step Five | Attach Bed Skirt
First, attach all of your corner pieces. Lay the piece on your box spring so that the length is just right.
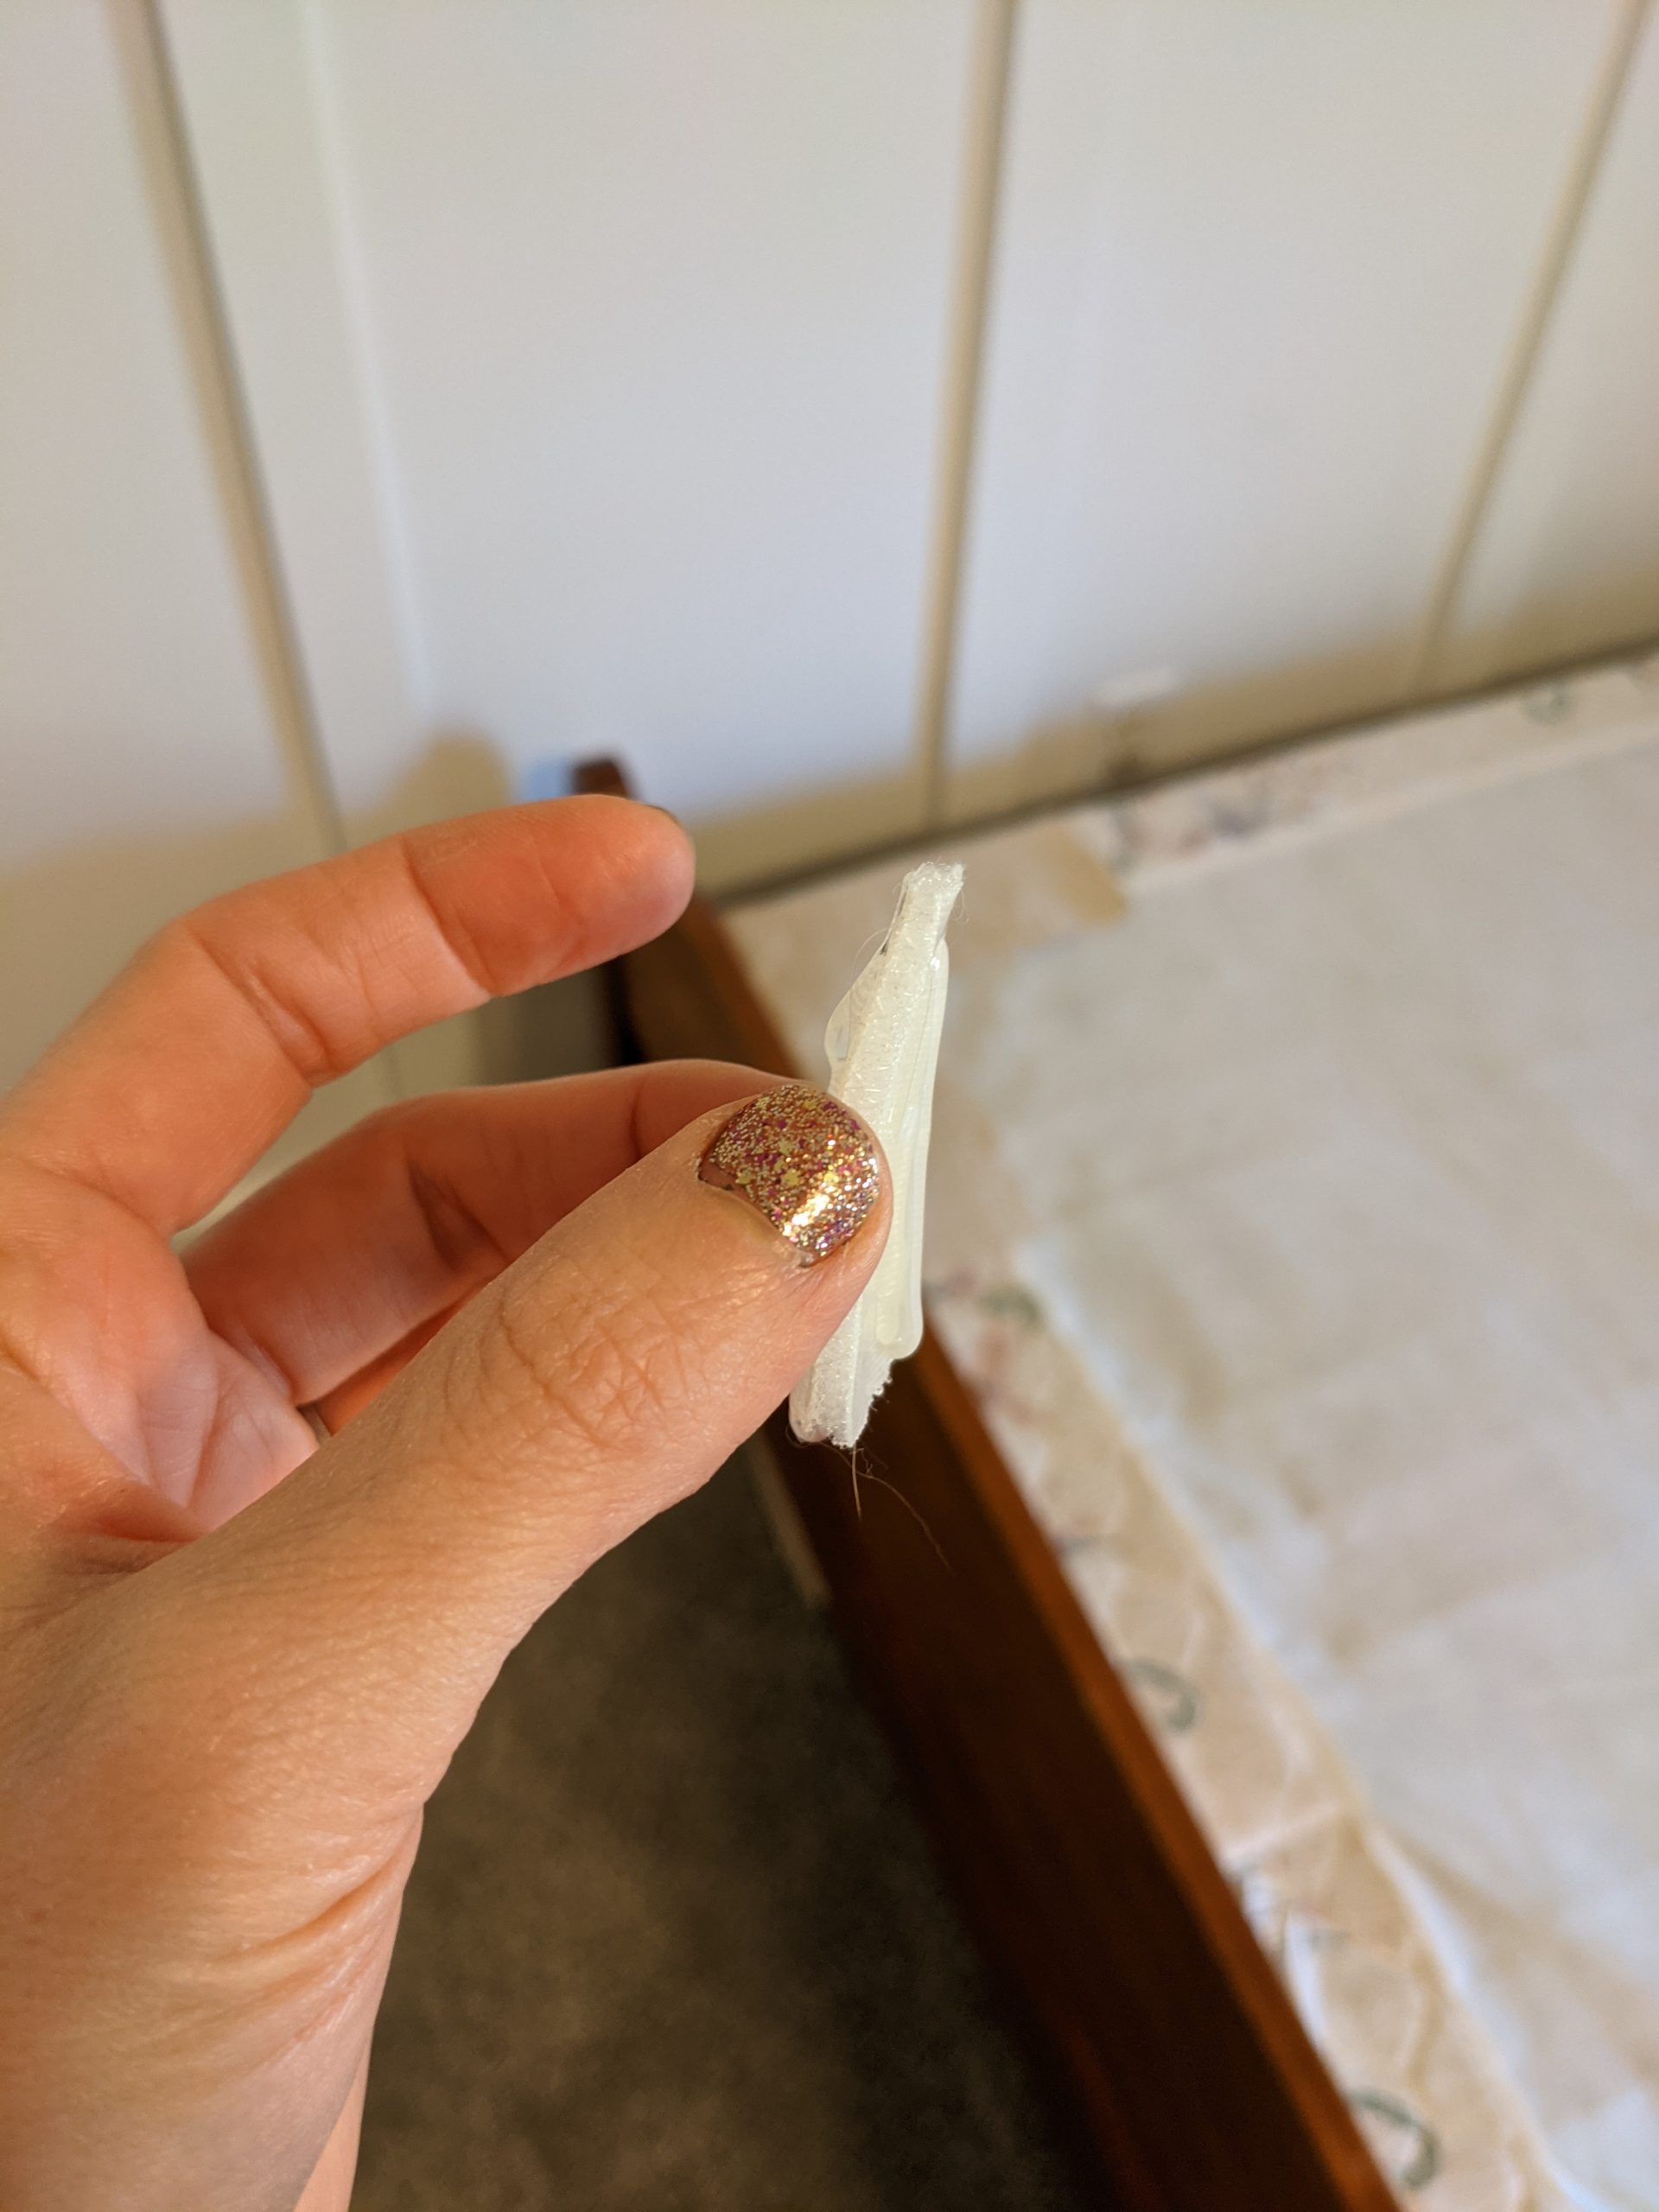
Then you will take a velcro strip, hot glue both sides and place it on your box spring under your fabric and press it down. You will need 2-3 strips of velcro for your corner pieces.
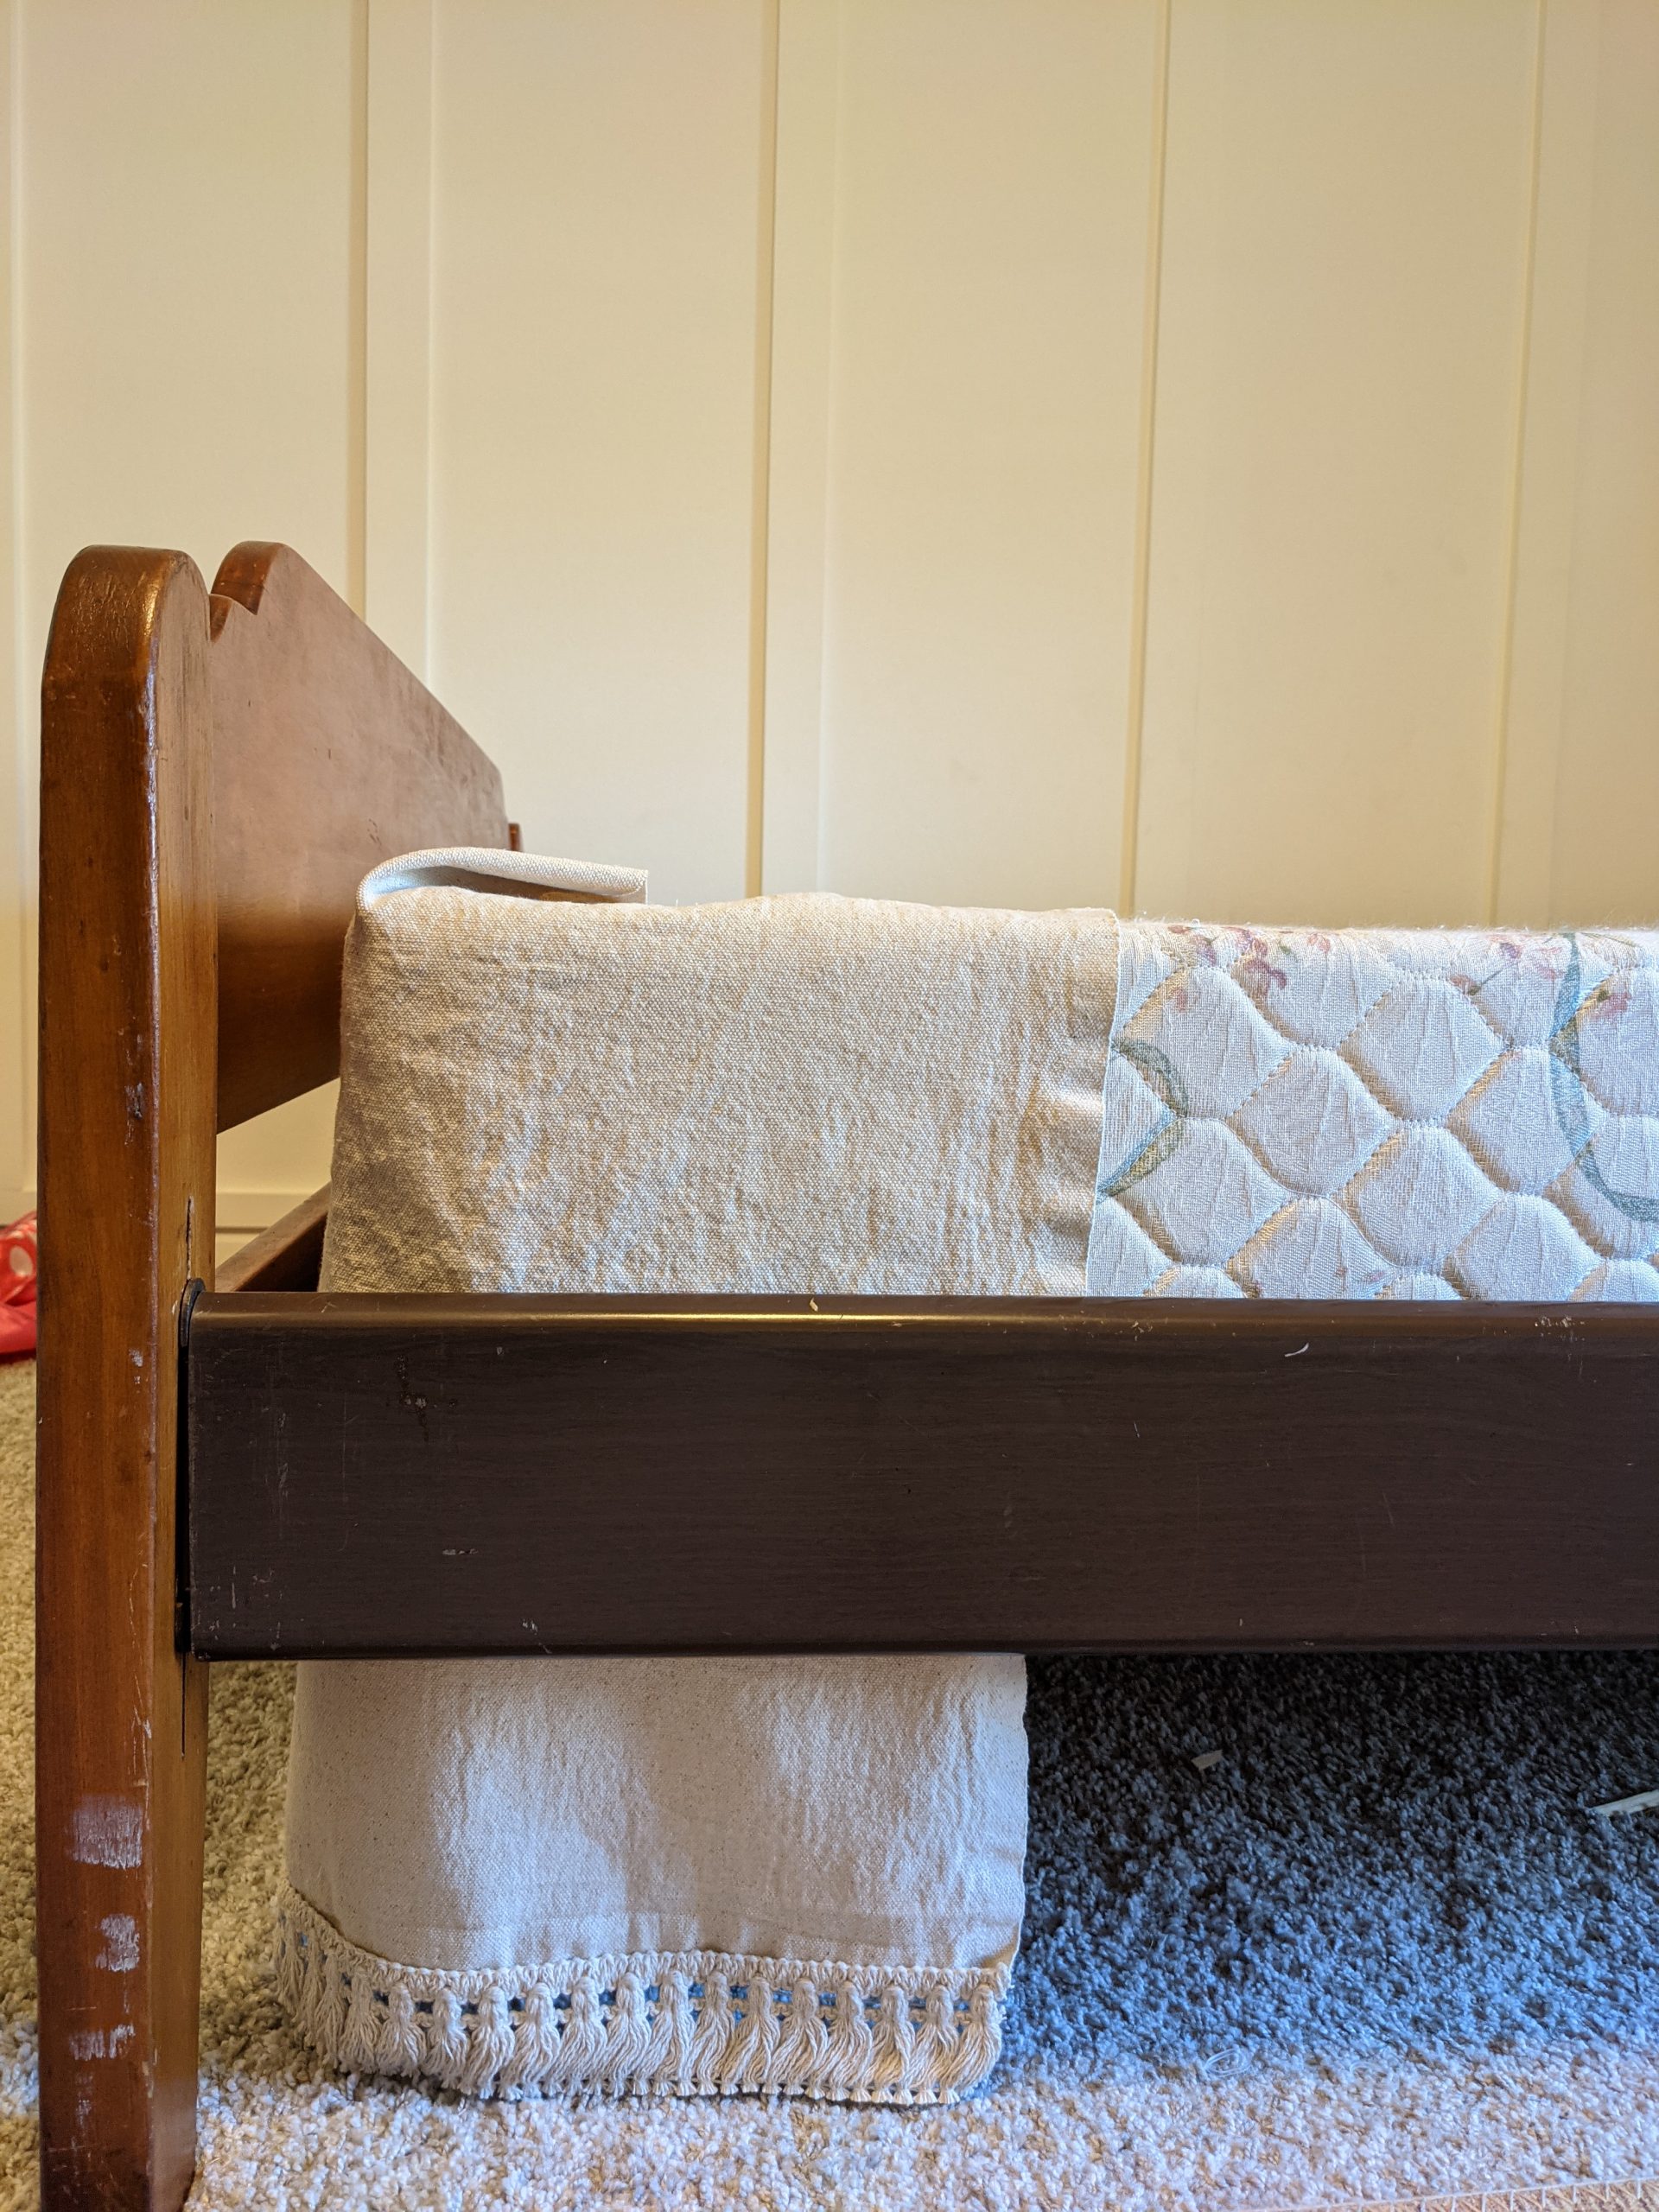
* Note: hot glue may ruin your box spring if you ever try to remove the velcro strips. I, personally, am just fine with if this ever happens. I have no plans on removing them.
Then you can attach your side and bottom pieces by laying the fabric on your box spring accordingly and attaching your velcro strips like you did above.
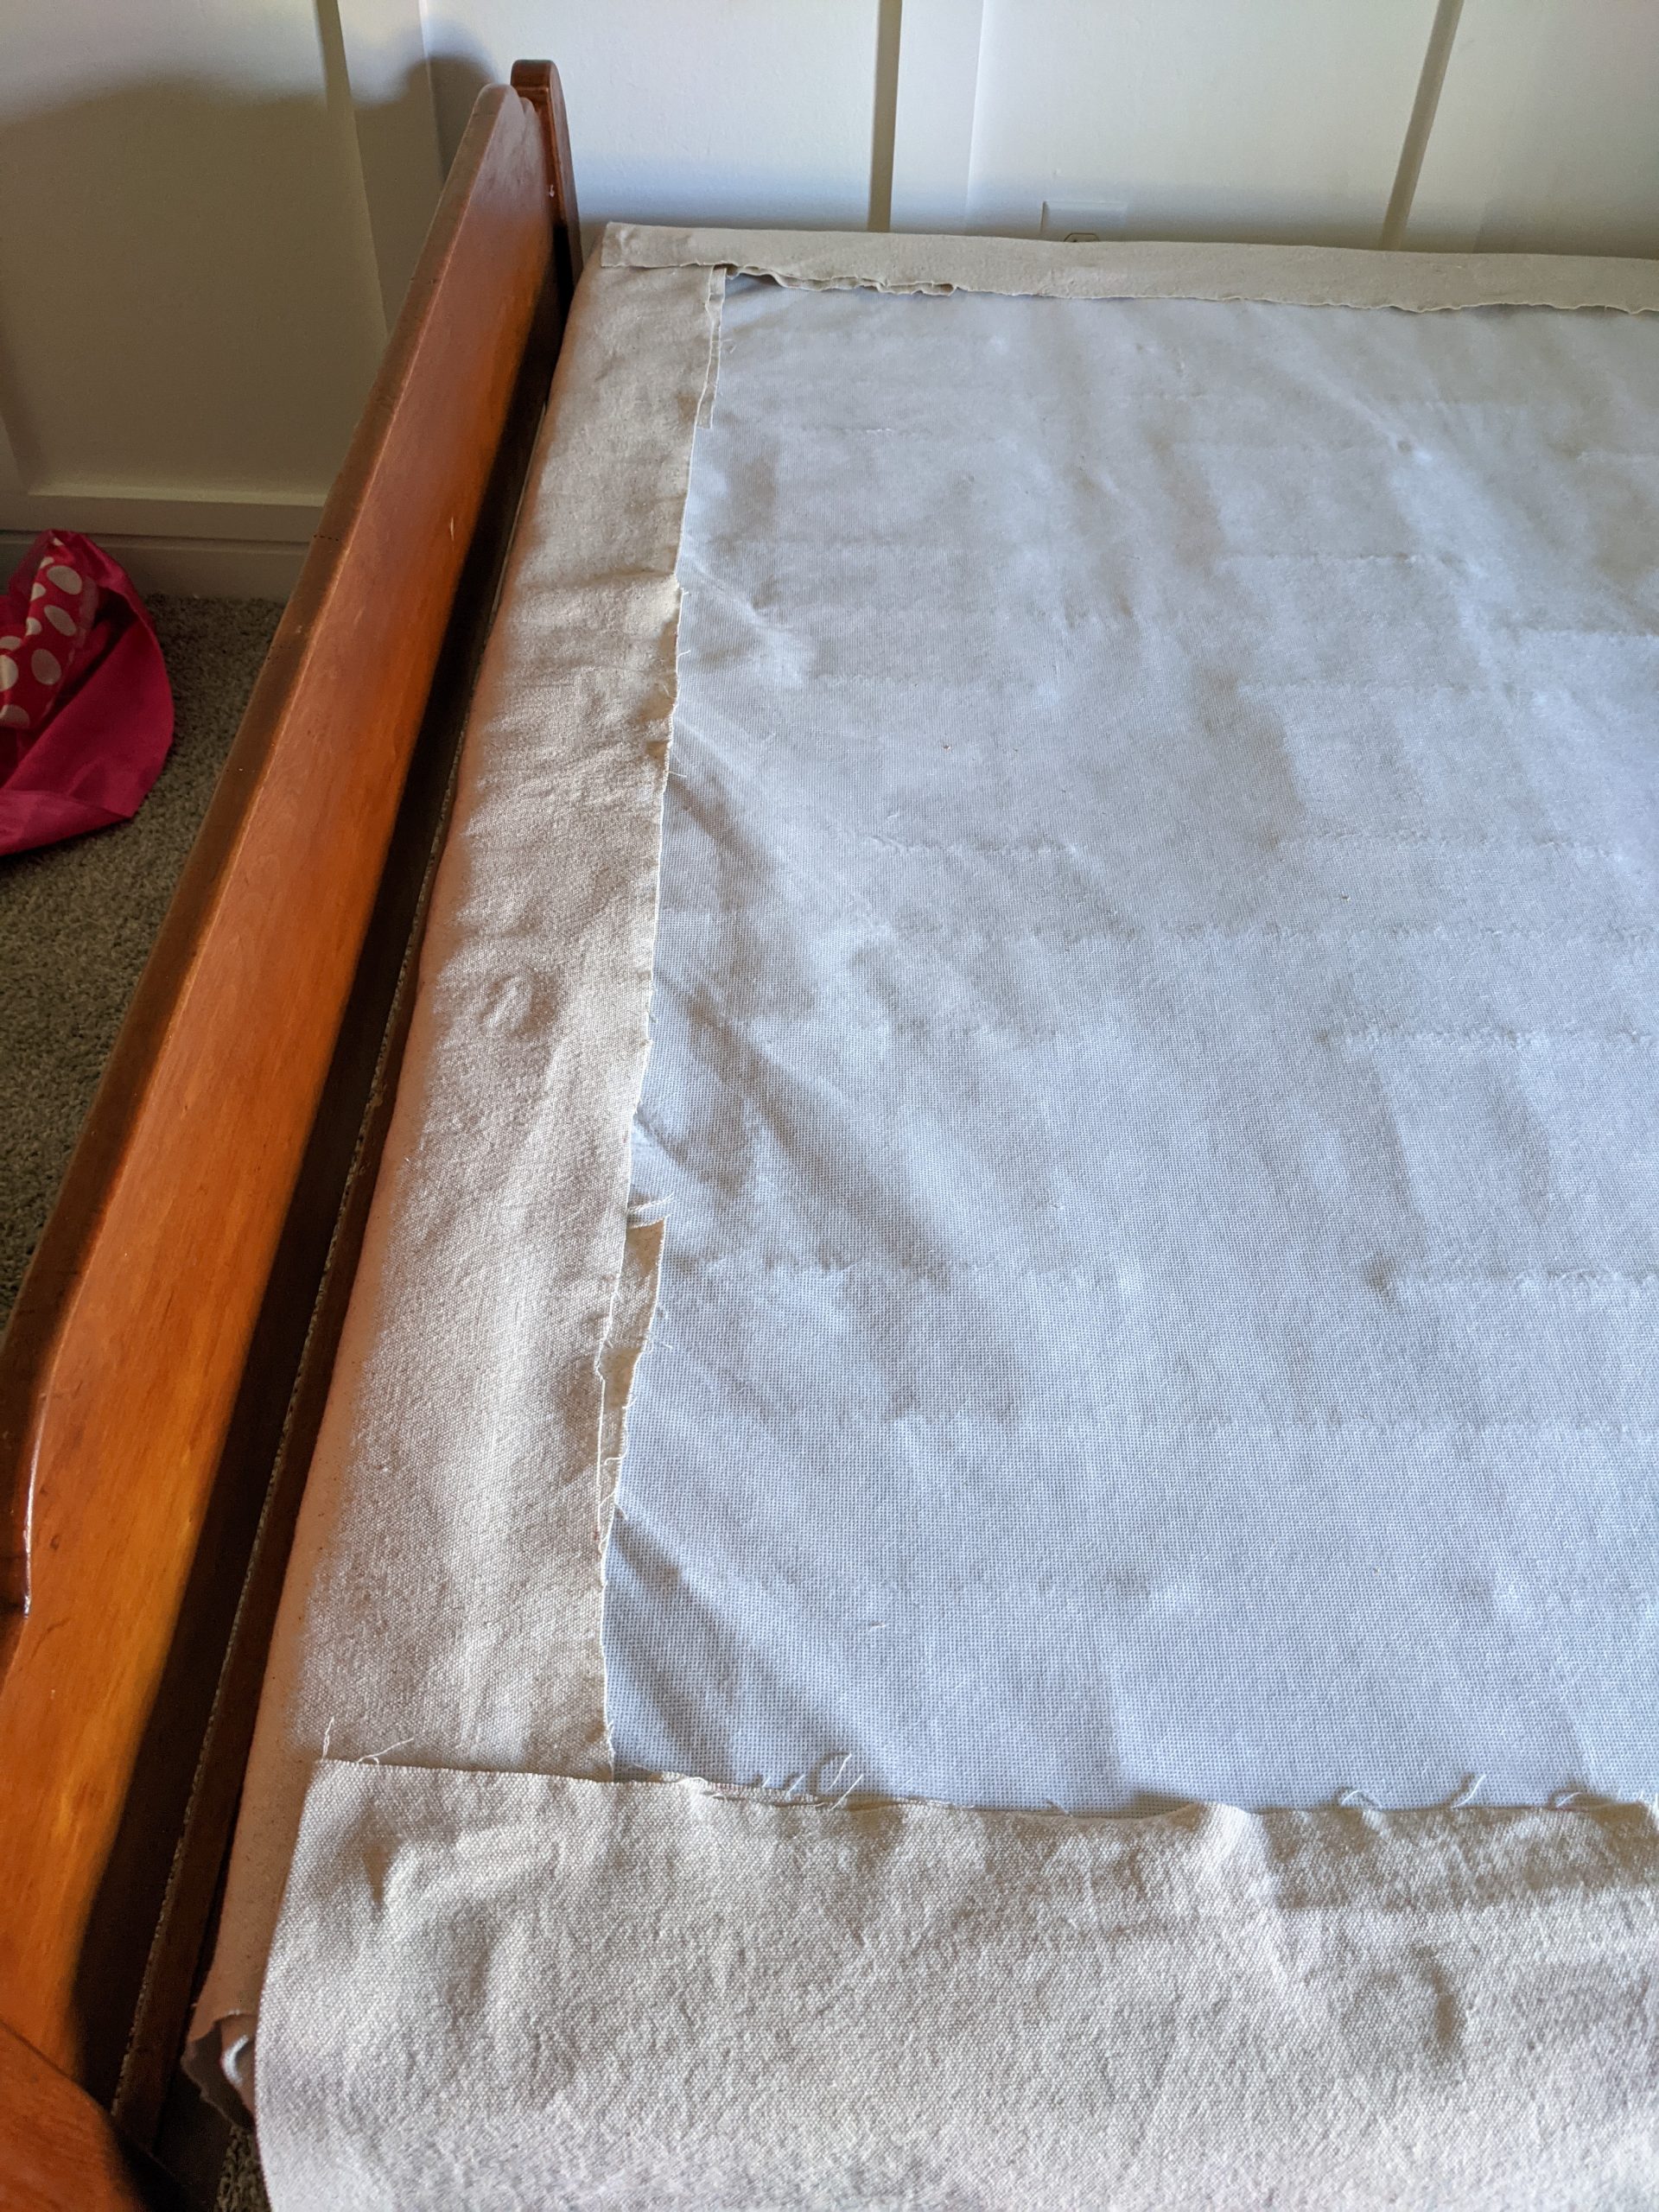
On the parts were the fabric overlapped with the corner pieces, I hot glued that fabric together. I’ve never washed a bed skirt in my life, so I don’t see this being an issue. This step could be skipped though.
The velcro keeps the fabric firm into place. It didn’t budge when I place the mattress back on!
The Reveal
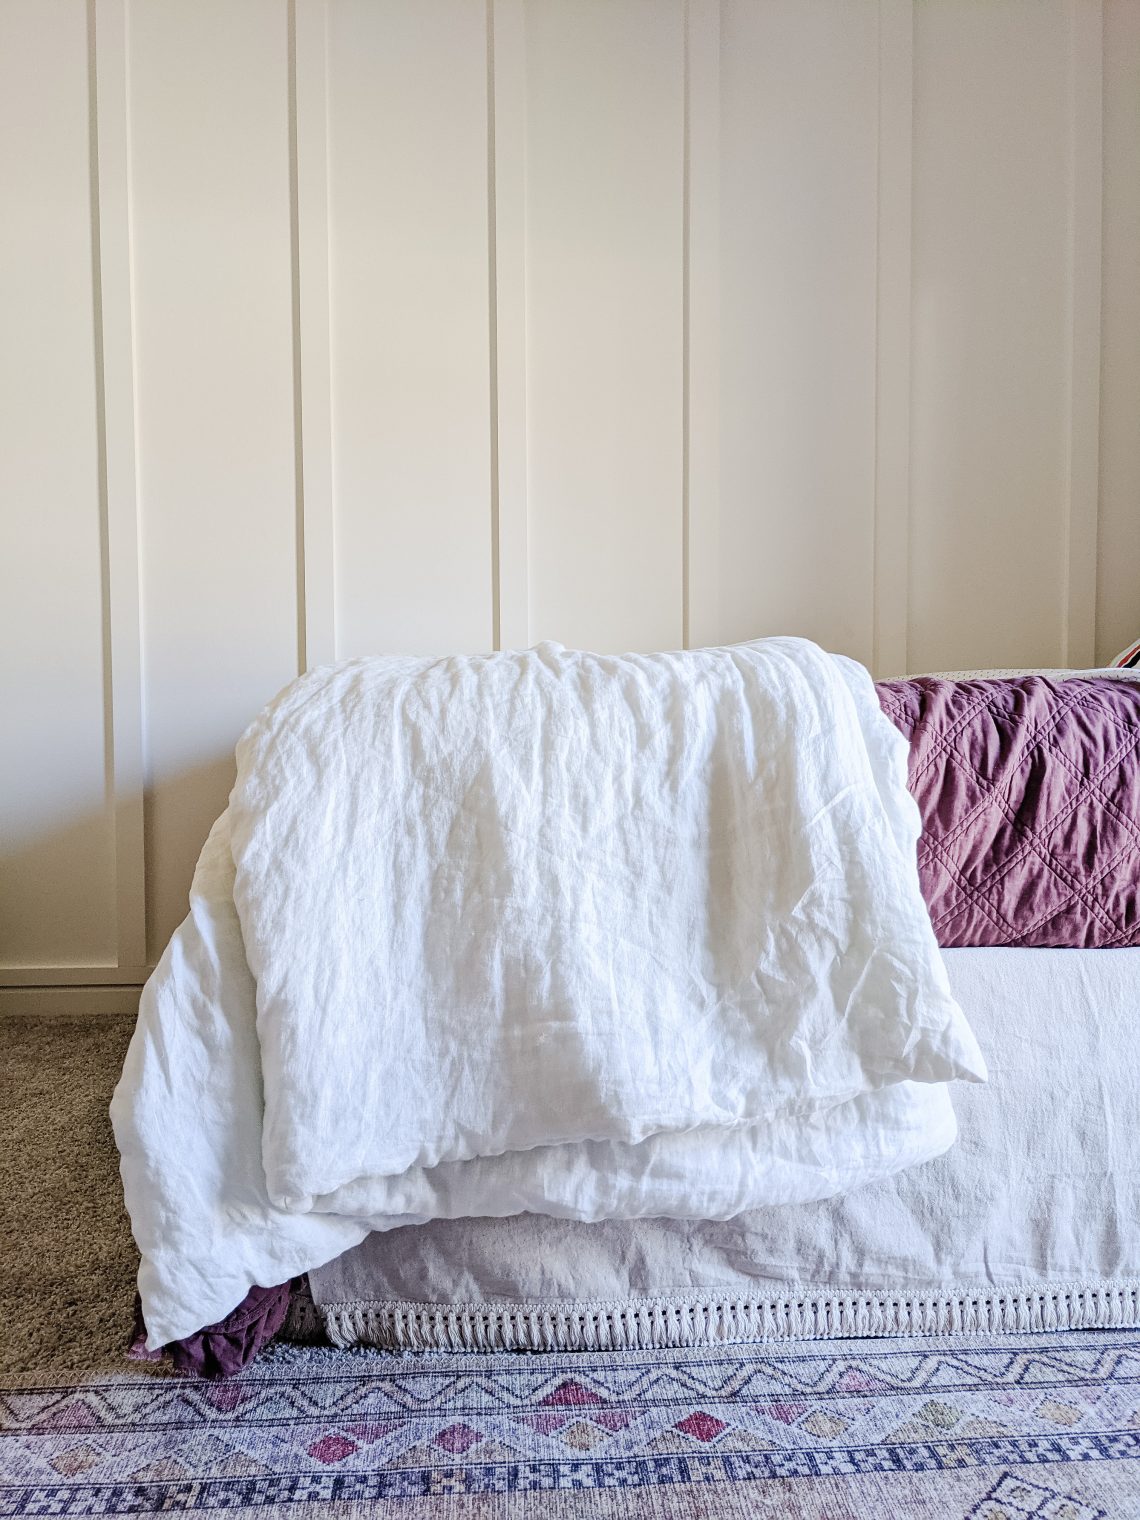
For around $30 and a few hours of work, this bed skirt is a near duplicate of the $158 Serena & Lily one I loved so much.
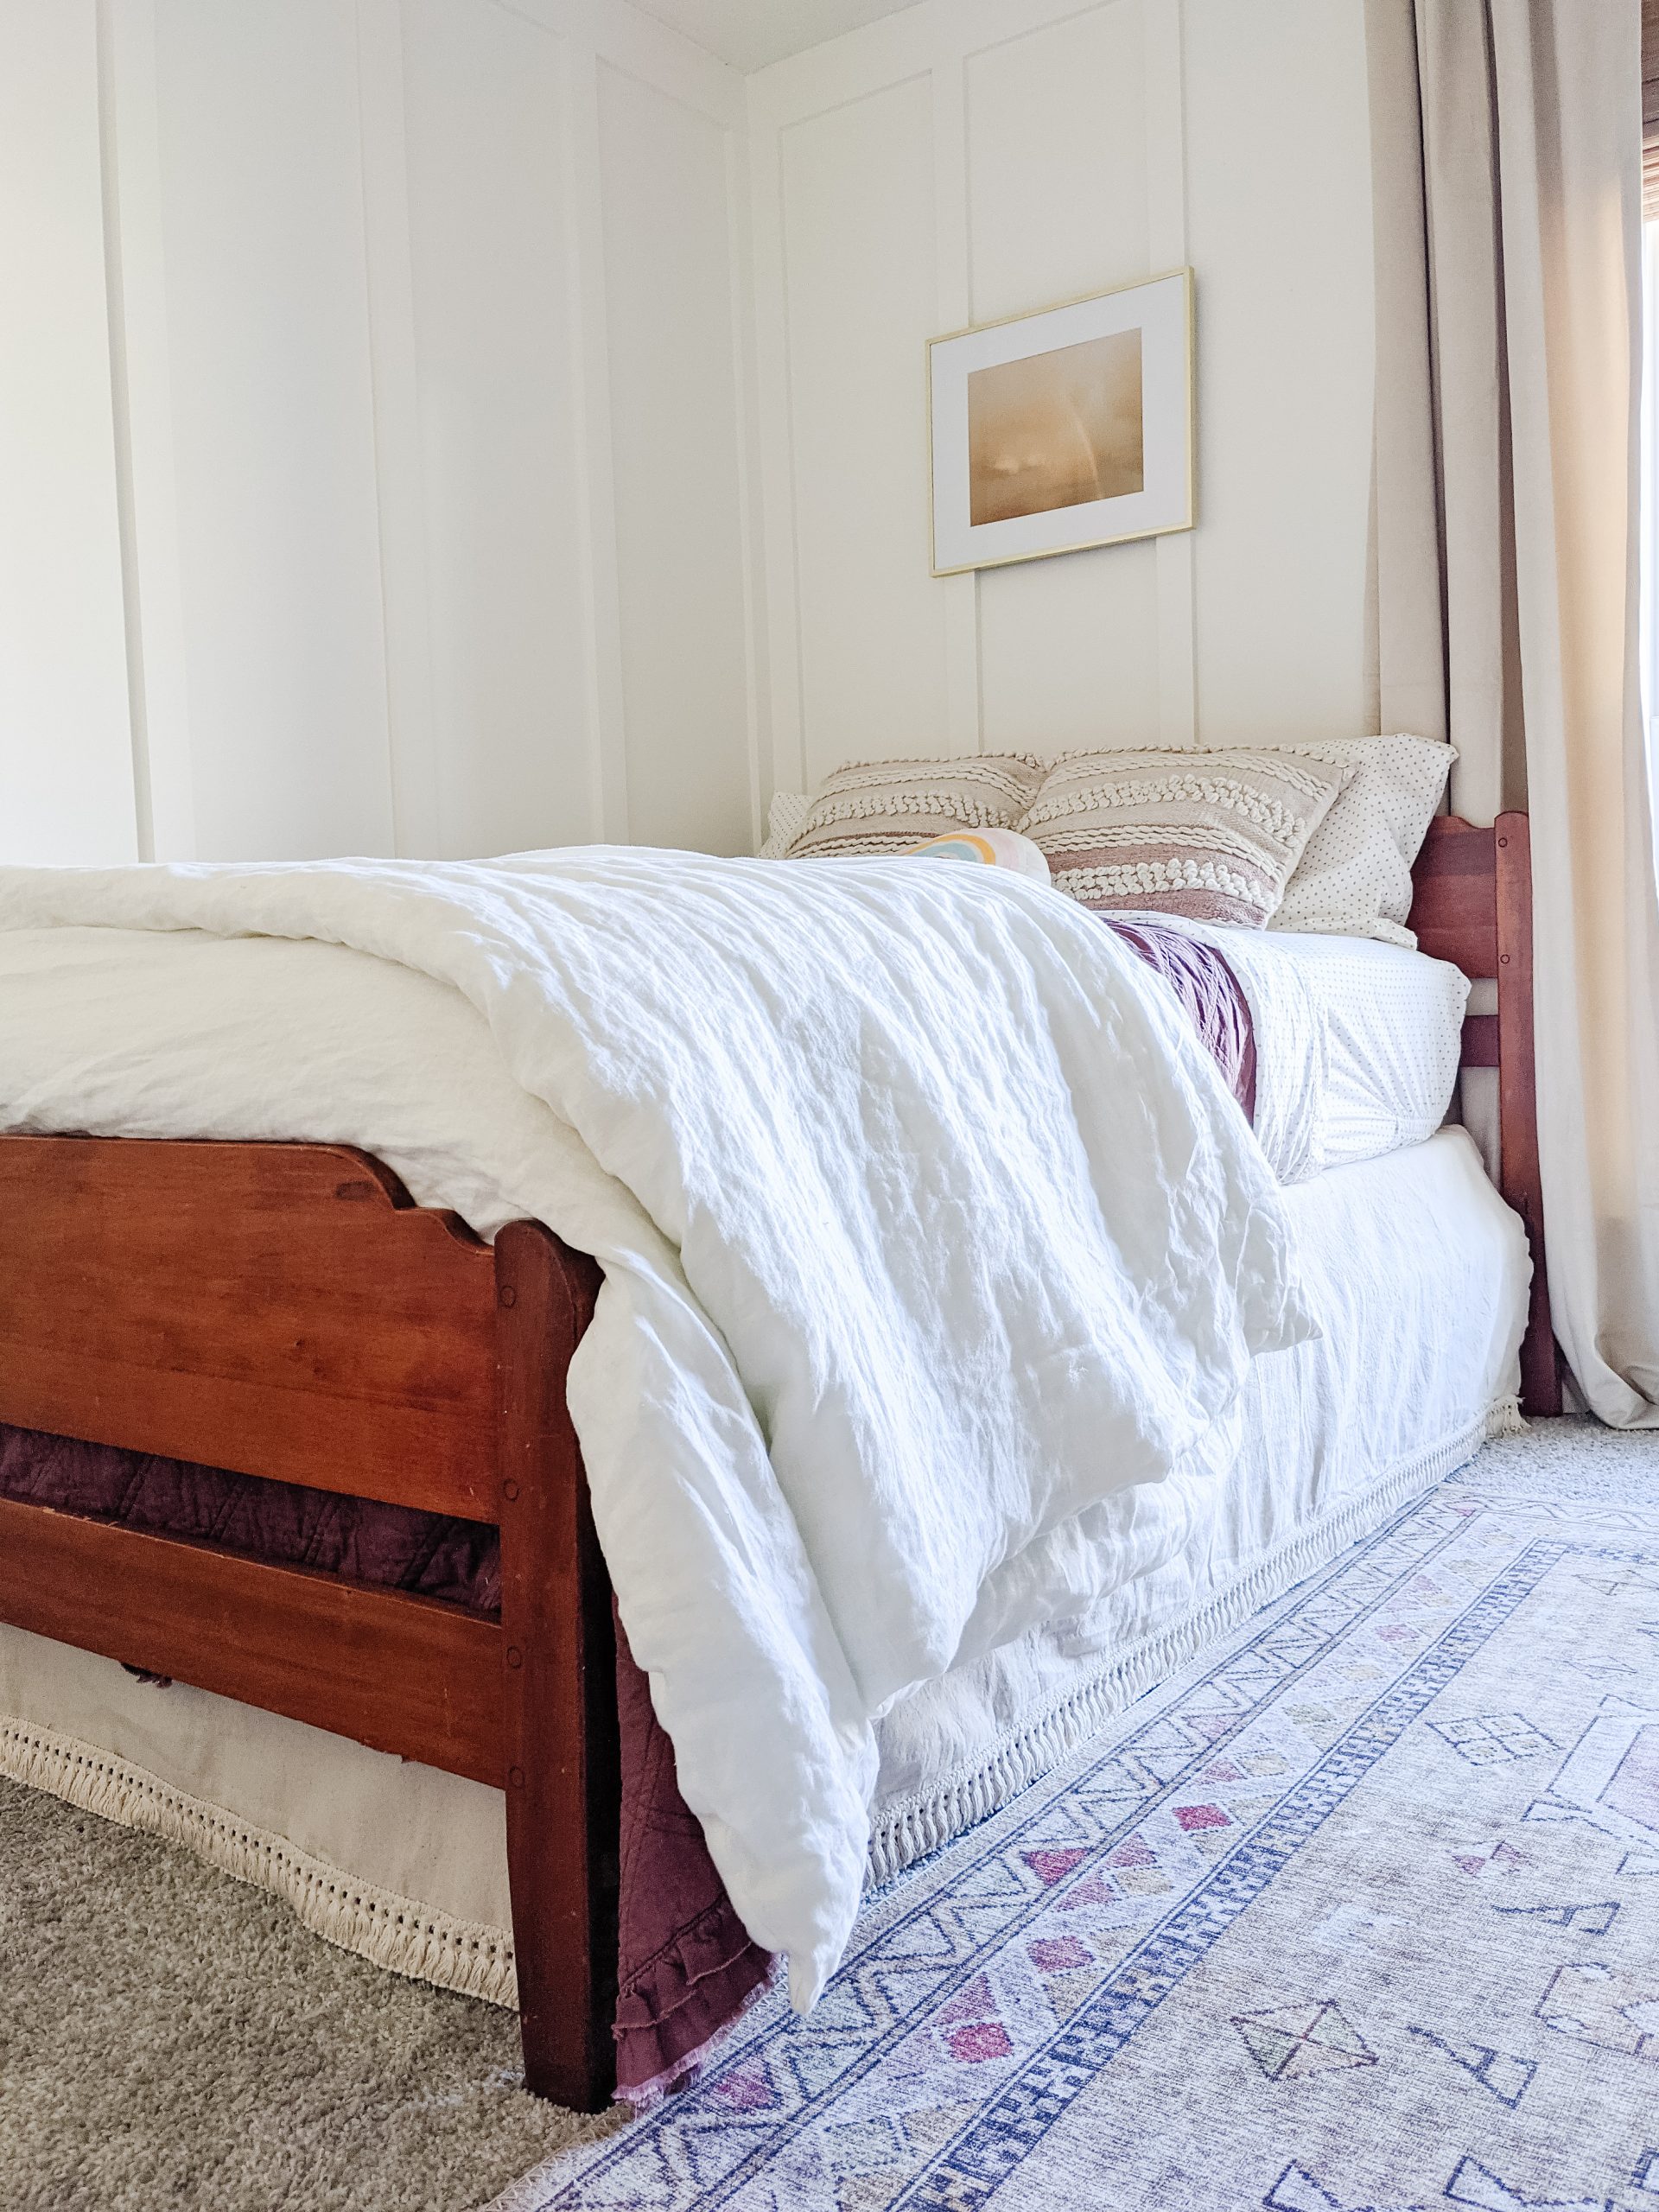
There’s a small stitch between each tassel that I could snip to give it even more of a similar vibe. I will probably do that the next time I’m itching for a tedious task. 🙂
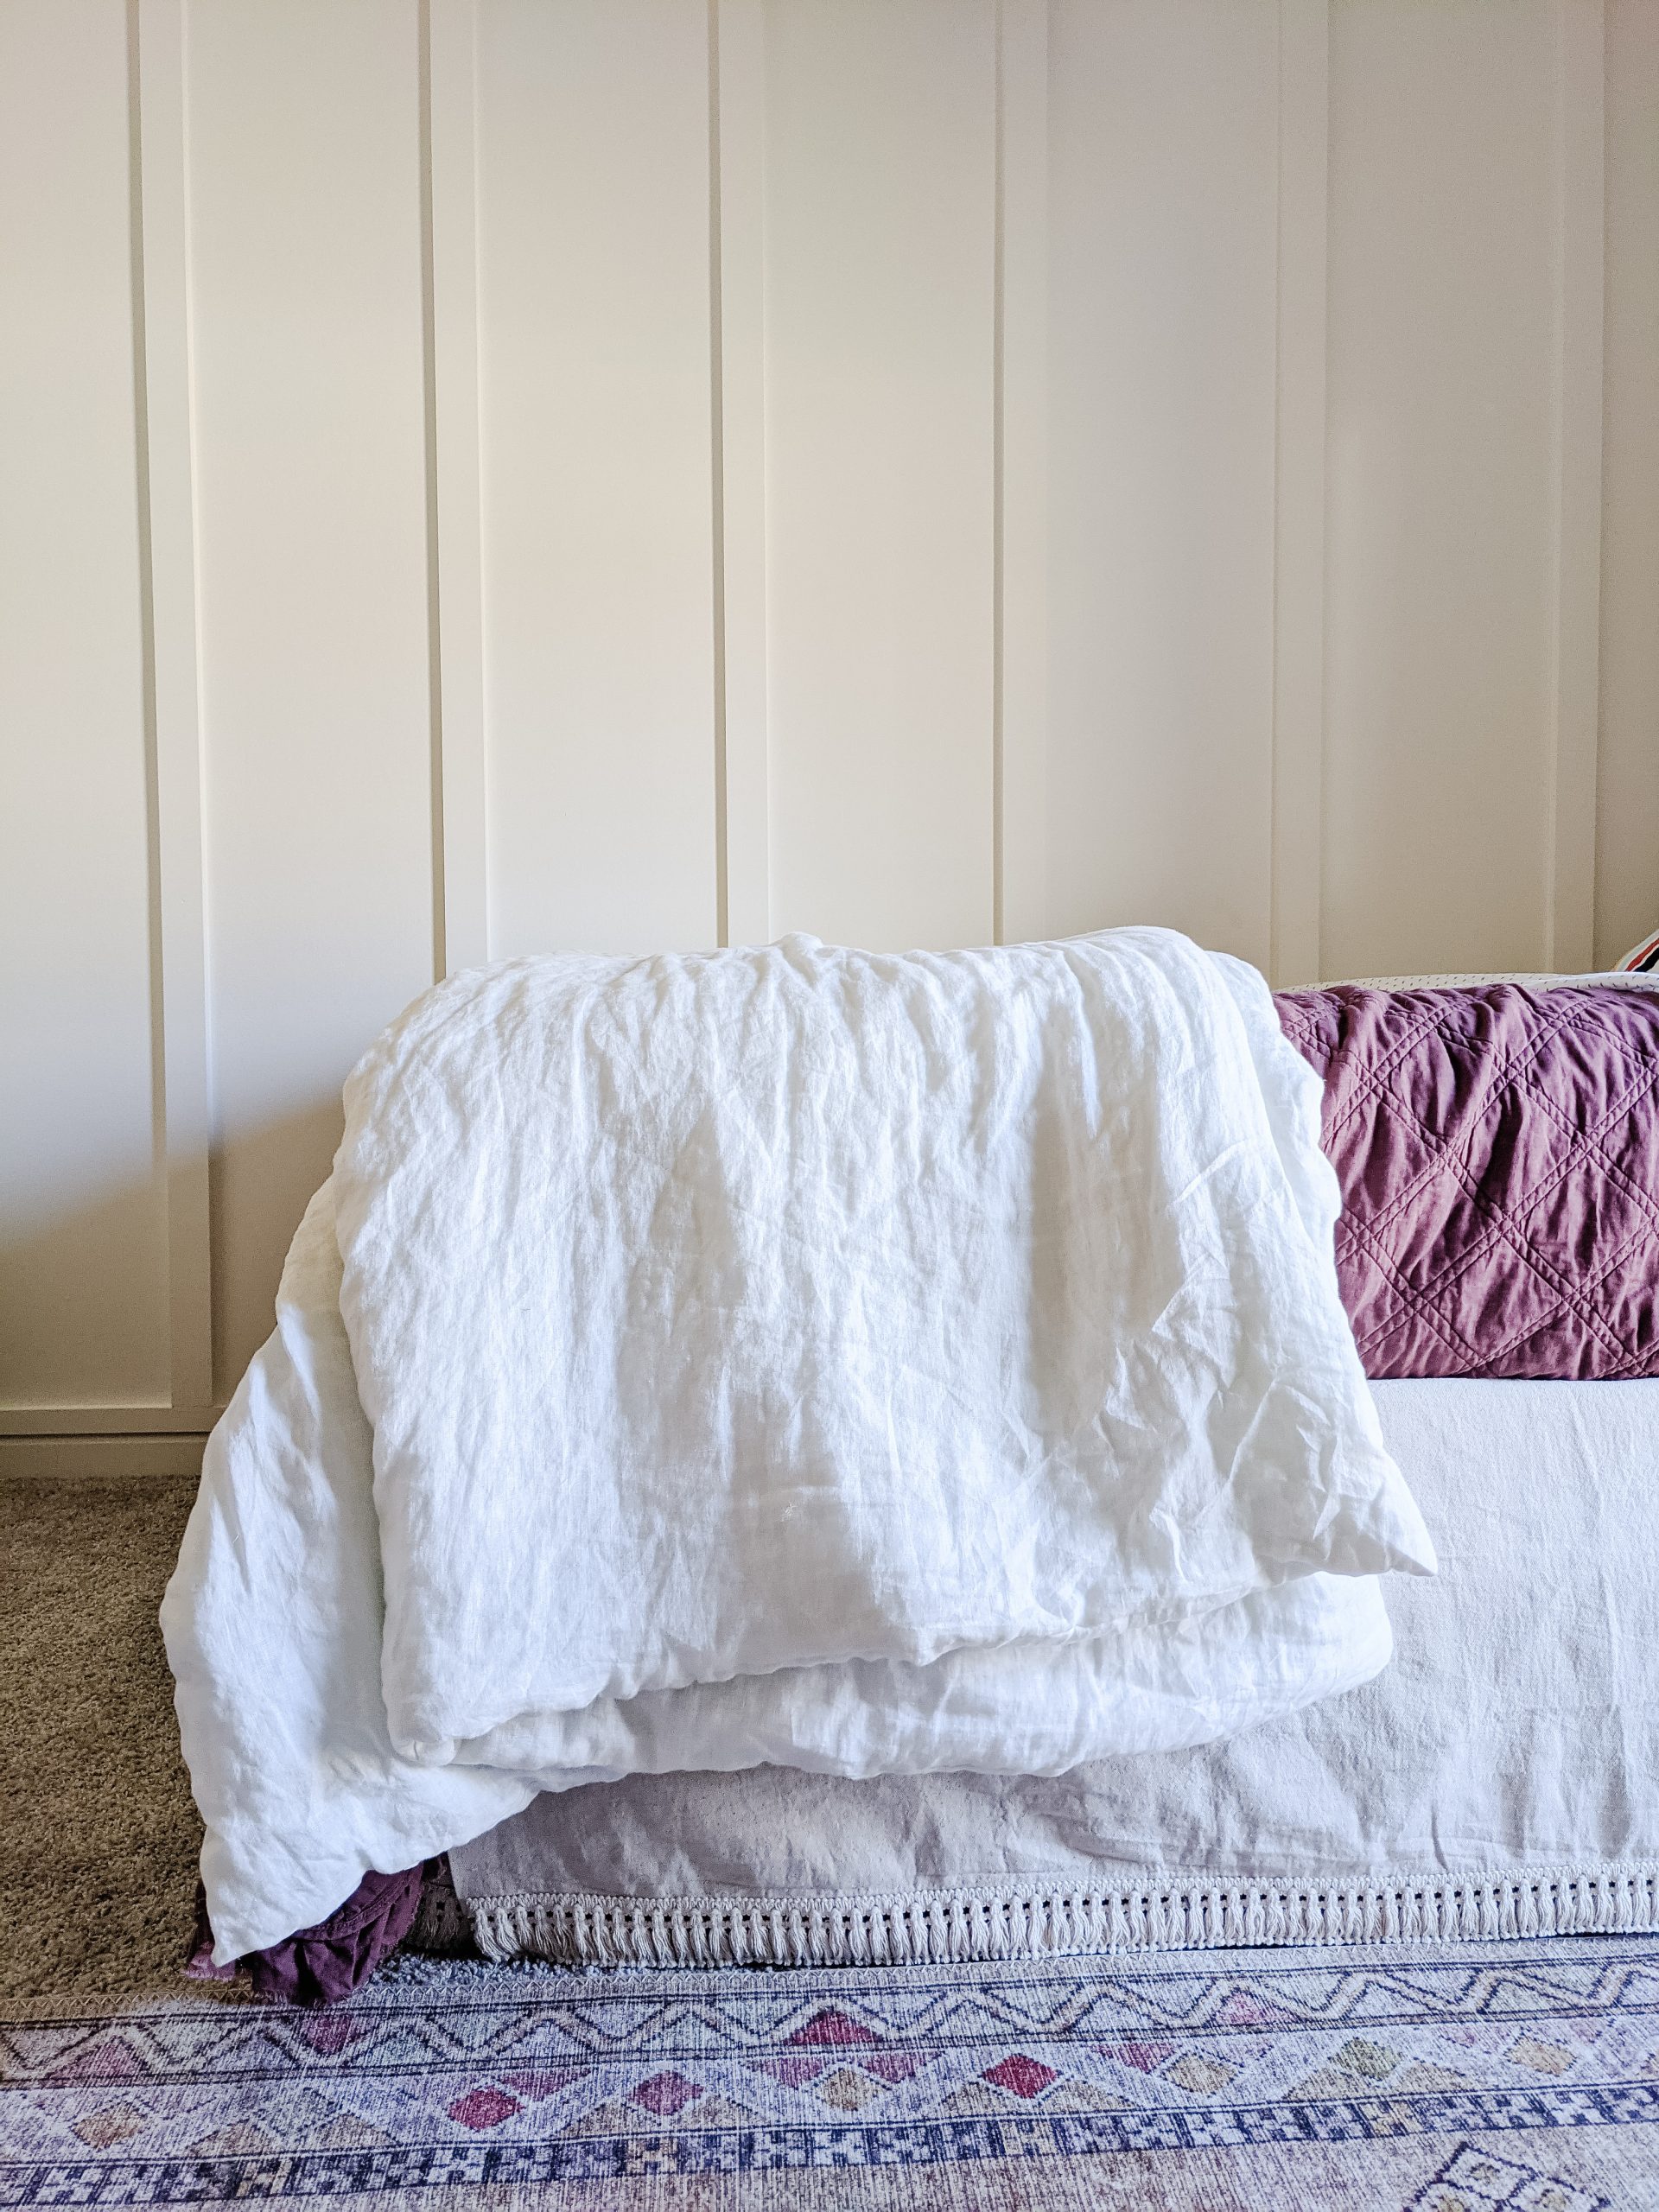
Pretty close don’t you think?!

Save for later!


