
My in-laws recently moved into a brand-spanking new home after living in the same house for 20+ years. When you nest in the same place for that long, many things become overlooked and forgotten, hence the poor trunk below. It was hidden away in a guest bedroom closet acting as a shelter for old t-shirt and possibly some blankets. My mother-in-law didn’t want to get rid of it, so she entrusted me to give it a little makeover before moving it to its new home.
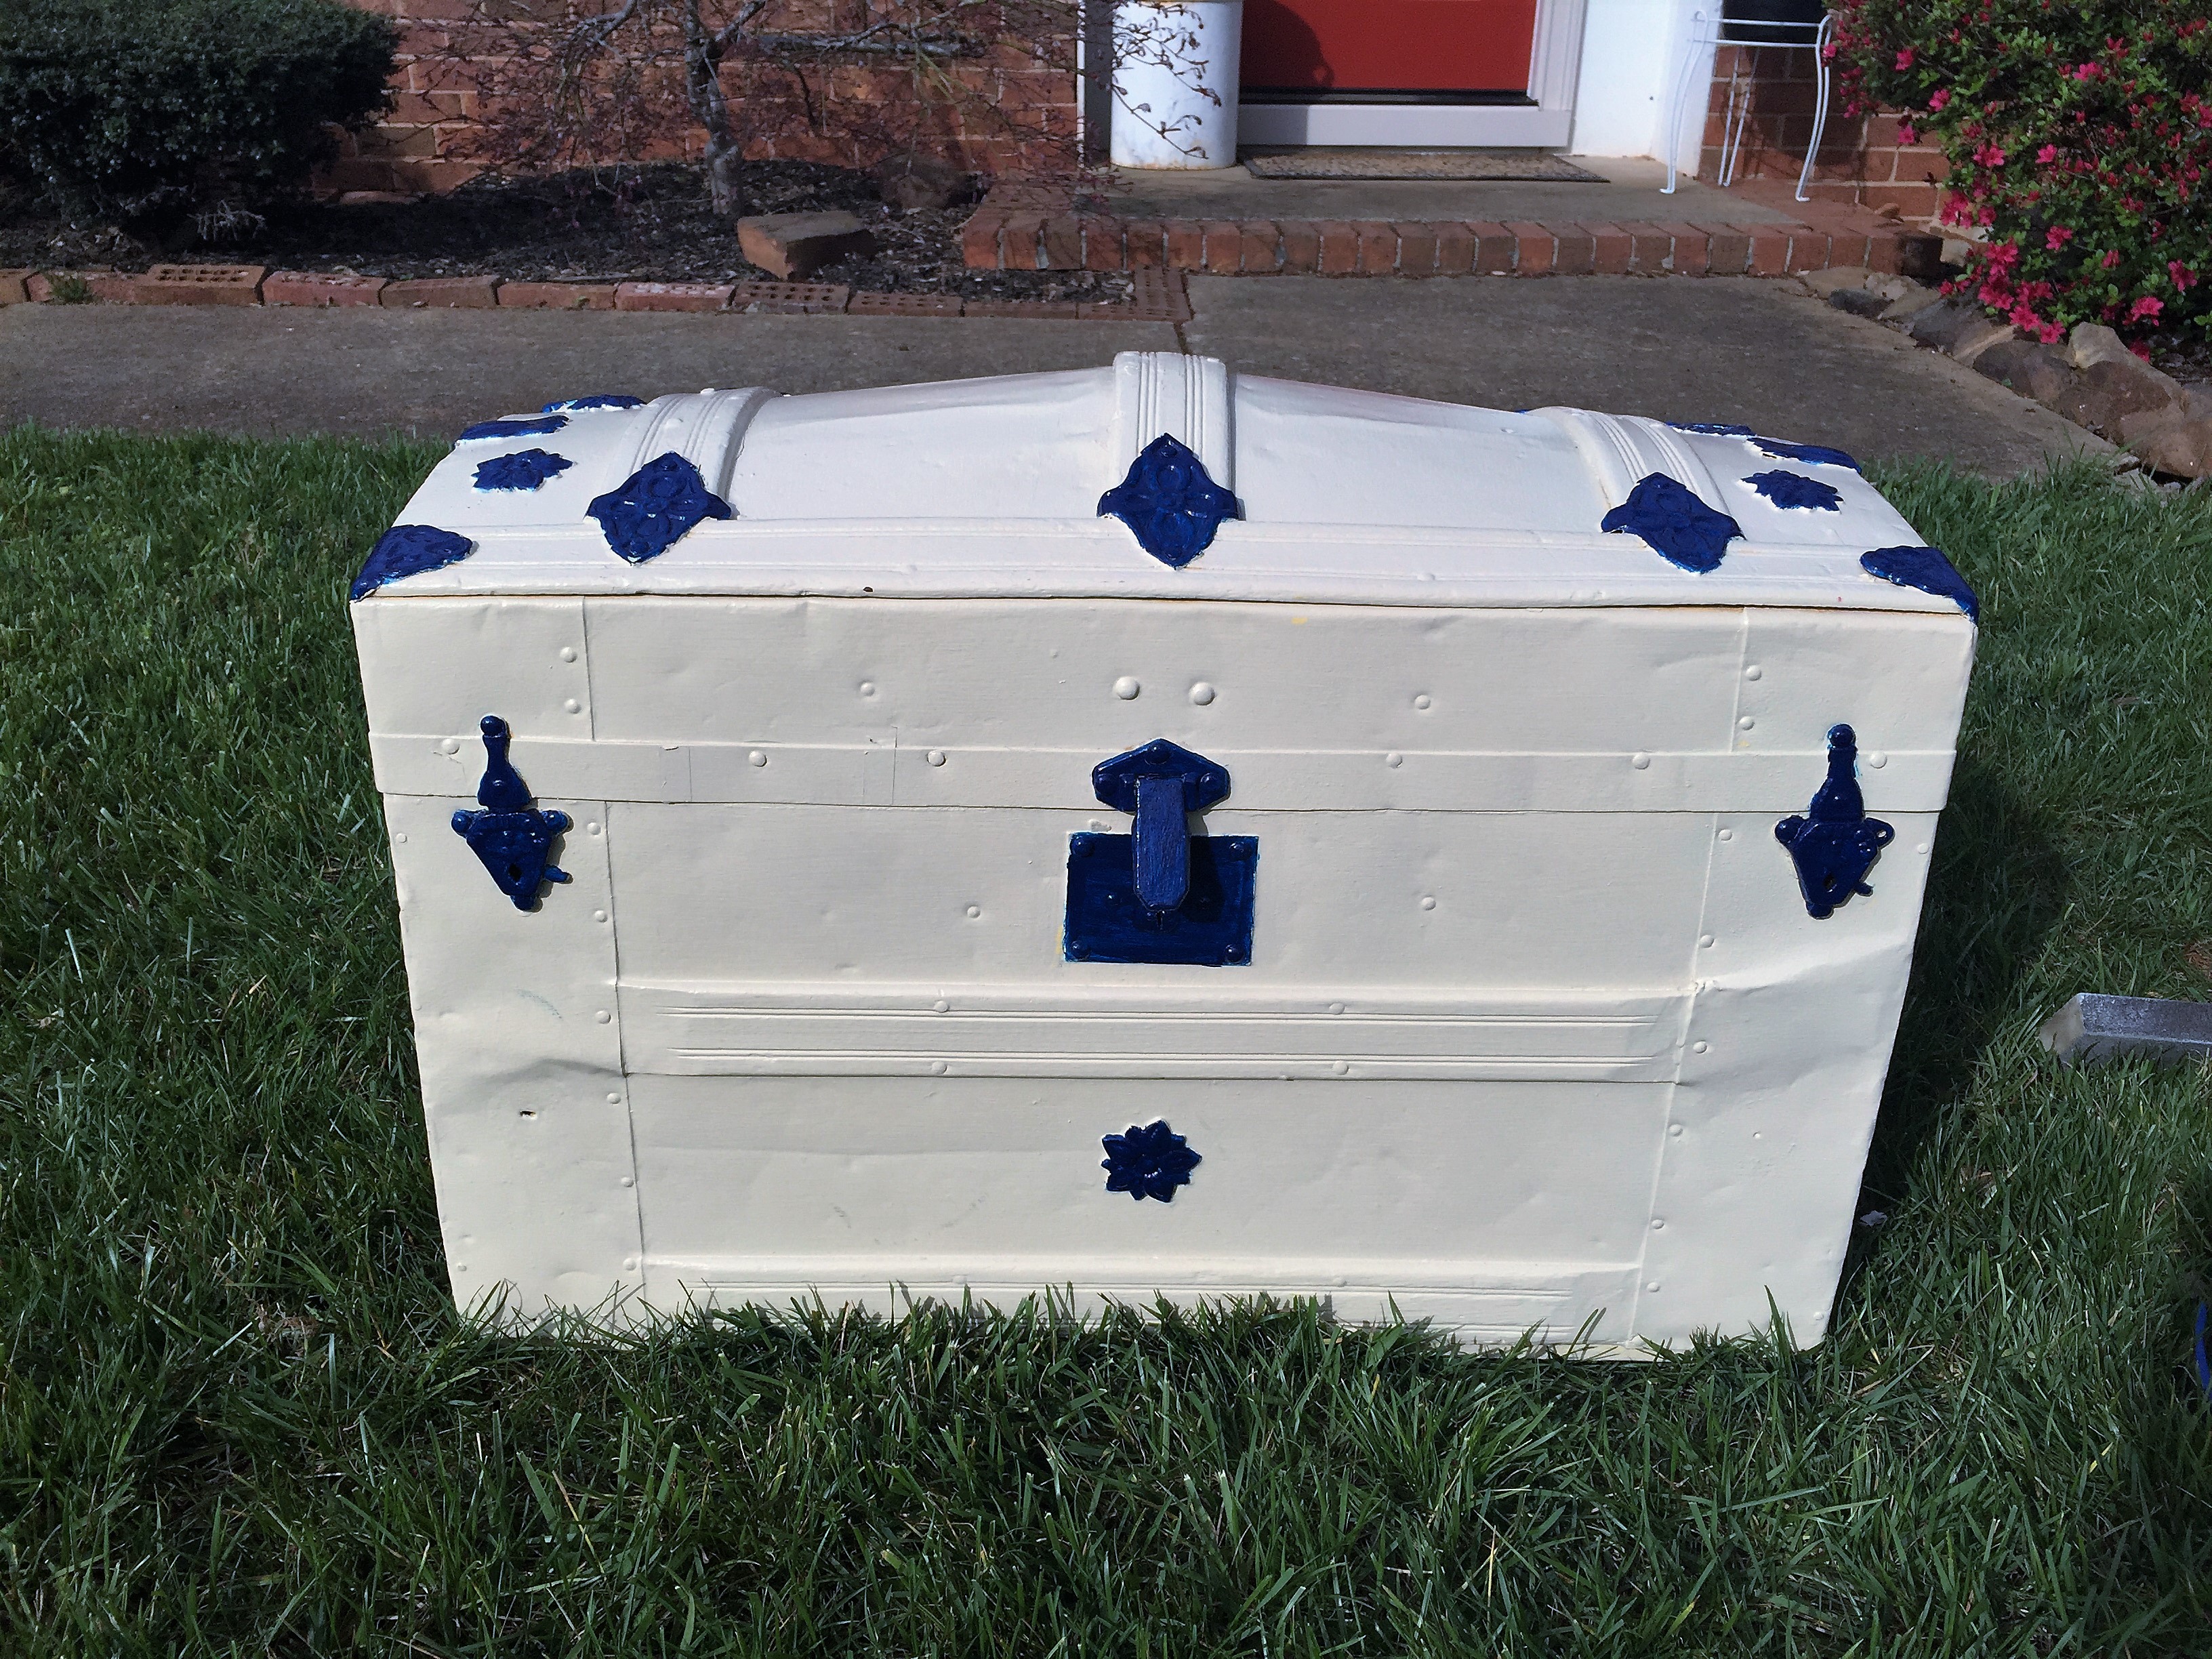
The details, shape, and hardware was screaming to be made into an antiqued fixture to shine. Isn’t it funny how we often spend money and time making a piece of furniture look old with tons of aged character, but we wish quite the opposite for our own appearance? Aged character that tells a good story is a good thing no matter what it is.
Materials
Here are the materials (plus a cleaning agent and old rags) I used to give this trunk a faux-antiqued look. This technique is MUCH easier than it looks. It was one of the simplest and quickest refinishing projects that I’ve done.
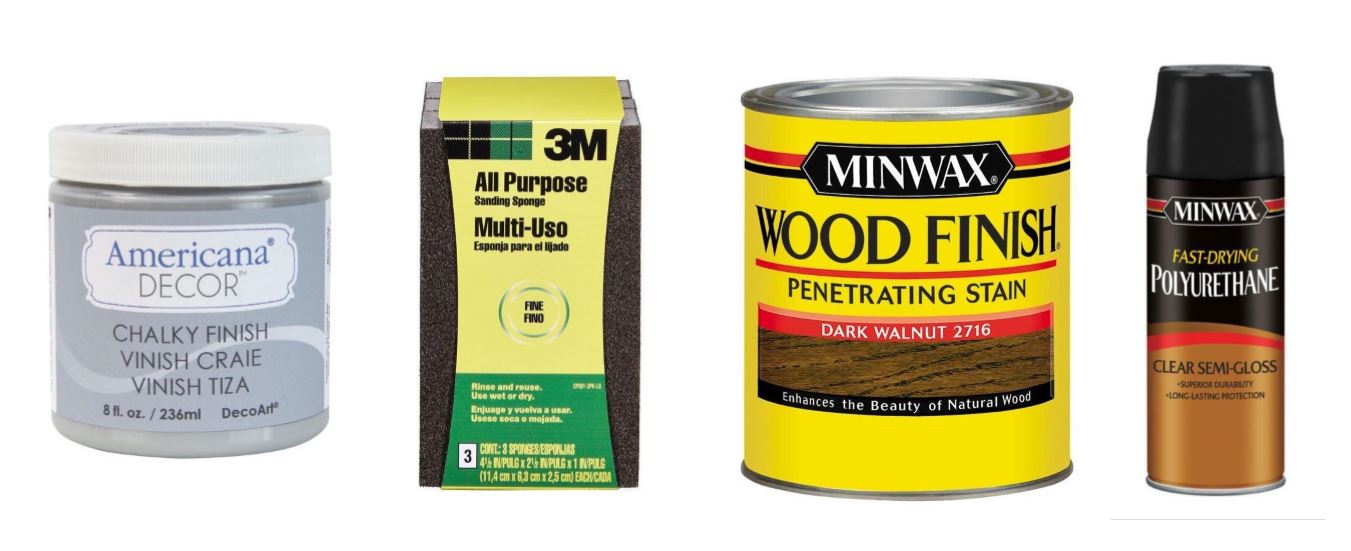 chalk paint – sanding sponge – wood stain – polyurethane
Step 1
– I started by giving the trunk a good scrub with my trusty TSP. I use this stuff on almost every piece of furniture I refinish. After you give your piece a good sanding, mix the TSP powder in a container. Make sure to wear gloves. This stuff is strong. It wipes off all the dirt, grime, and dust that could discouragingly affect your hard work to come.
Step 2
– Next, slap on any chalk paint of your choice. I usually make my own, but I only needed a little bit and saw the small containers of Americana Chalk Paint at Home Depot that I thought I would try out. The beauty of chalk paint is that you don’t have to worry about brush strokes. Just do the best you can do get your piece covered. I applied two coats.
Step 3
– I thought about just roughing it up with a little sand paper and calling it done, but it was still way too dull after my sanding efforts. Plus, the paint turned out more of a cool blue than I expected, and my mother-in-law uses more warm colors in her décor. I knew it needed more. So I brought out the stain. I used Mini Wax in Dark Walnut, per the usual. You will need two old rags for this part. One for wiping on the stain, and one for wiping it off. Work in small sections by wiping on the stain and use the clean rag to wipe it off before it dries. I tried to remove the stain more in some areas and kept it heavier in others for a more natural look.
Step 4
– Once I was happy with the stain, I let it dry for an hour or two before using the Mini Wax Polyurethane Spray. The spray is a life saver on projects like these. I usually always use the can of poly on wood projects (the trunk is light metal). After two coats of poly, I called it finished.
I am so pleased with how this trunk turned out. Not only does it look much more expensive, it has so much character now.
One of my favorite things about redoing a piece of furniture is giving an old piece new life, and that’s just what happened with this trunk. It now proudly sits in a beautiful new home in full display, no longer hidden away in a dark closet collecting the dust of a forgotten life.
