After a long day’s work of cutting and laying tile after tile and still being left with a mess when you go to bed can be a little discouraging, but today is the day your hard work pays off!
If you missed Part One on how to install a subway tile backsplash, make sure you check it out by clicking the link below! I have visuals of all the supplies needed in the last post, but make sure to sign up for the free printable checklist of supplies at the end.
Subway Tile Step-by-Step Tutorial: Part One
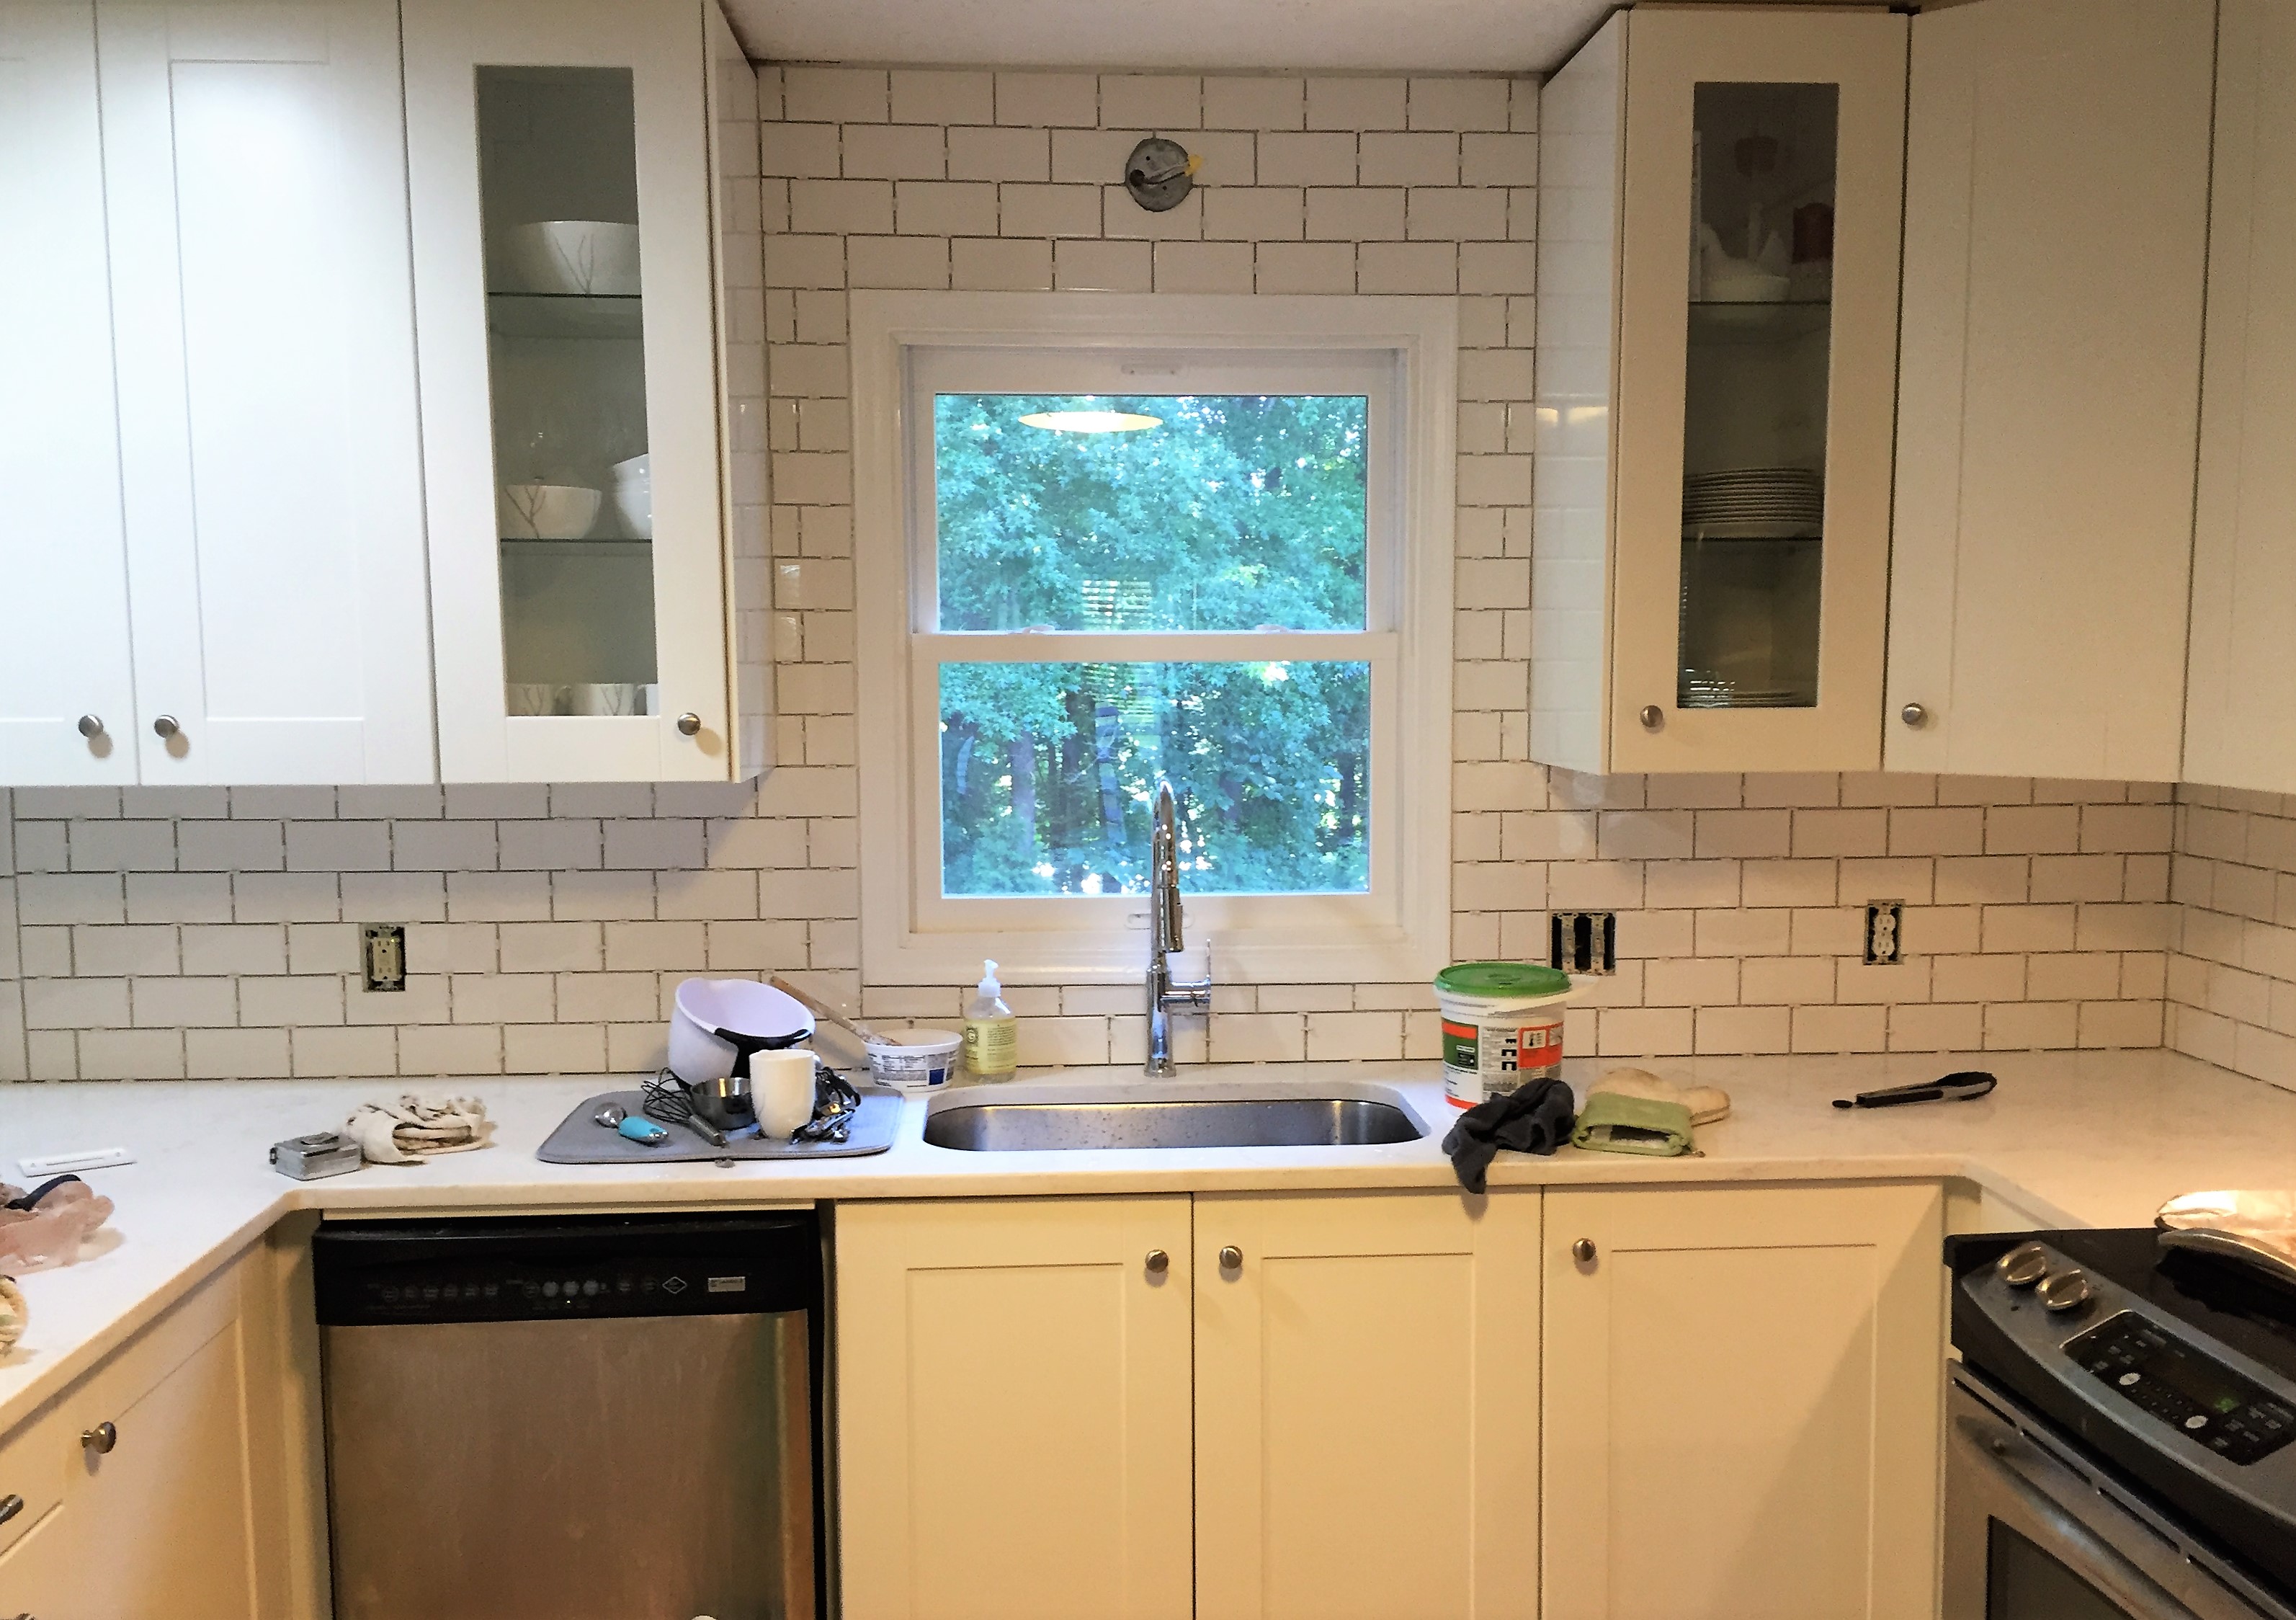
Once you let your mortar set for 24 hours and removed all of the spacers, you’re ready to make the backsplash look finished and a whole lot more beautiful!
This post contains affiliate links for your ease of shopping.
Step One: Mix Your Grout
Supplies: large bucket, grout, sealer, water, mixing paddle, cordless drill
The back of the grout bag should show you how much water to mix with your grout powder. Follow the given directions. You’re looking for a thick, pancake mix-type consistency. This is also where you want to add your sealer stain blocker mix. This saves you a step at the end when a lot of tutorials will advise you to seal your backsplash a few days after completion. The sealer protects your grout from staining and gives your tiles a nice protective coat as well. The sealer bottle also tells you the ratio of grout per bottle of sealer.
We spent $12 on the mixing paddle, and it was absolutely worth it. I just attached it to our cordless drill and mixed in up-and-down motions until I got the texture we wanted.
Step Two: Apply Grout
Supplies: Rubber Float, Grout Sponge, large bucket, clean water
This is the messiest part of the entire project, so prepare yourself! I promise it will clean up nicely.
Scoop your grout onto your rubber grout float and smear it on your tiles at a 45 degree angle. Focus on small areas and work your grout in between each tile. You may even need to use your finger to apply grout into tight places. Do not apply it where the tiles meet the countertop. That is what the caulk is for at the end. Wipe off the excess grout with the float at a 45 degree angle.
Keep working down your wall in 10-20 minute increments. Once the mortar has set for 10-20 minutes, wipe off the grout with your damp grout sponge. Wipe in circular motions to ensure you’re working the grout into the grooves evenly and not removing it. This is where you need to ensure to wipe all of the grout off the tiles. You will still be left with a dirty haze, but you can deal with that later. You just need to make sure to get the mortar off the tiles before it completely sets because it’s nearly impossible to remove dry grout from ceramic tiles.
Important Tip: Try to keep your water as clean as possible. This means you will need to make several trips to the sink or outside spigot to dump your water and refresh it.
Step Three: Clean Tile
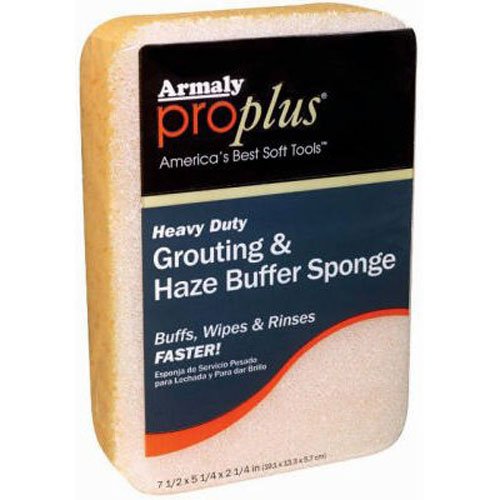
Supplies: Buffer Sponge, Bucket, Haze Removing Agent, Clean Water
Once you’ve filled all the spaces with grout and wiped off the excess grout, you need to let it dry for at least an hour. Take a much needed lunch break! Clean your grout sponge and refresh your water during this time.
I highly recommend the grout sponge that also has the buffer side. You will use the buffer side to remove the haze with the haze removing agent mixed with the water. This will take off the film that the grout left on the tiles. Work in circular motions and keep sponge clean throughout the process.
Step Four: Apply Caulk
Supplies: Matching Grout Caulk, Heaps of Paper Towels
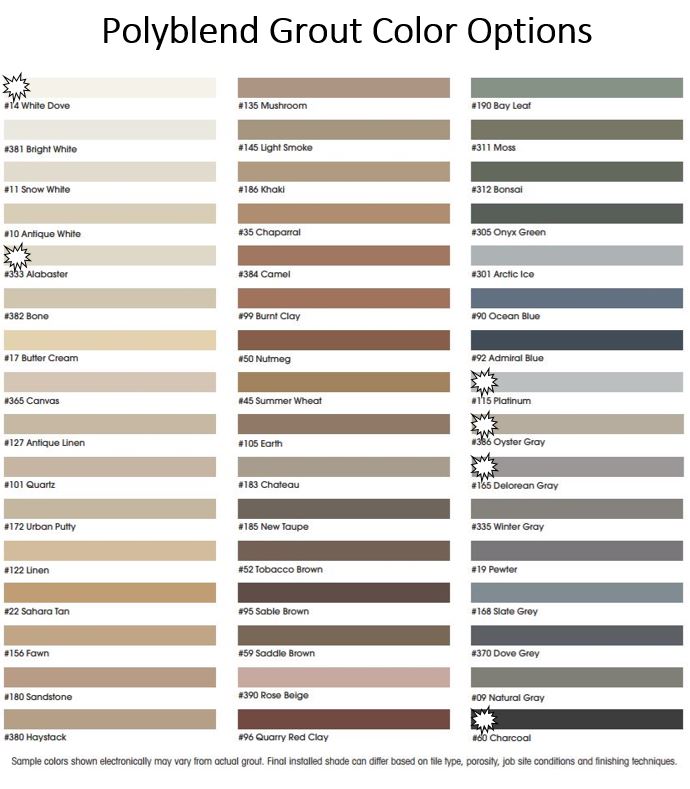
Most grout brands offer a matching caulk. I used Polyblend Grout. They have 48 colors to choose from and a matching grout option for each one. Choose the matching color and purchase more than you think you’ll need. I went through it fairly quickly. Grout the space between the tile and counter top, along the ends of the tiles, and at the top edge as well.
Caulking Tip: Apply a bead of caulk along the edge, wet your finger in clean water, and rub it along the bead of caulk. Wipe the excess off your finger on a paper towel.
I probably went through a whole roll of paper towels during this project…
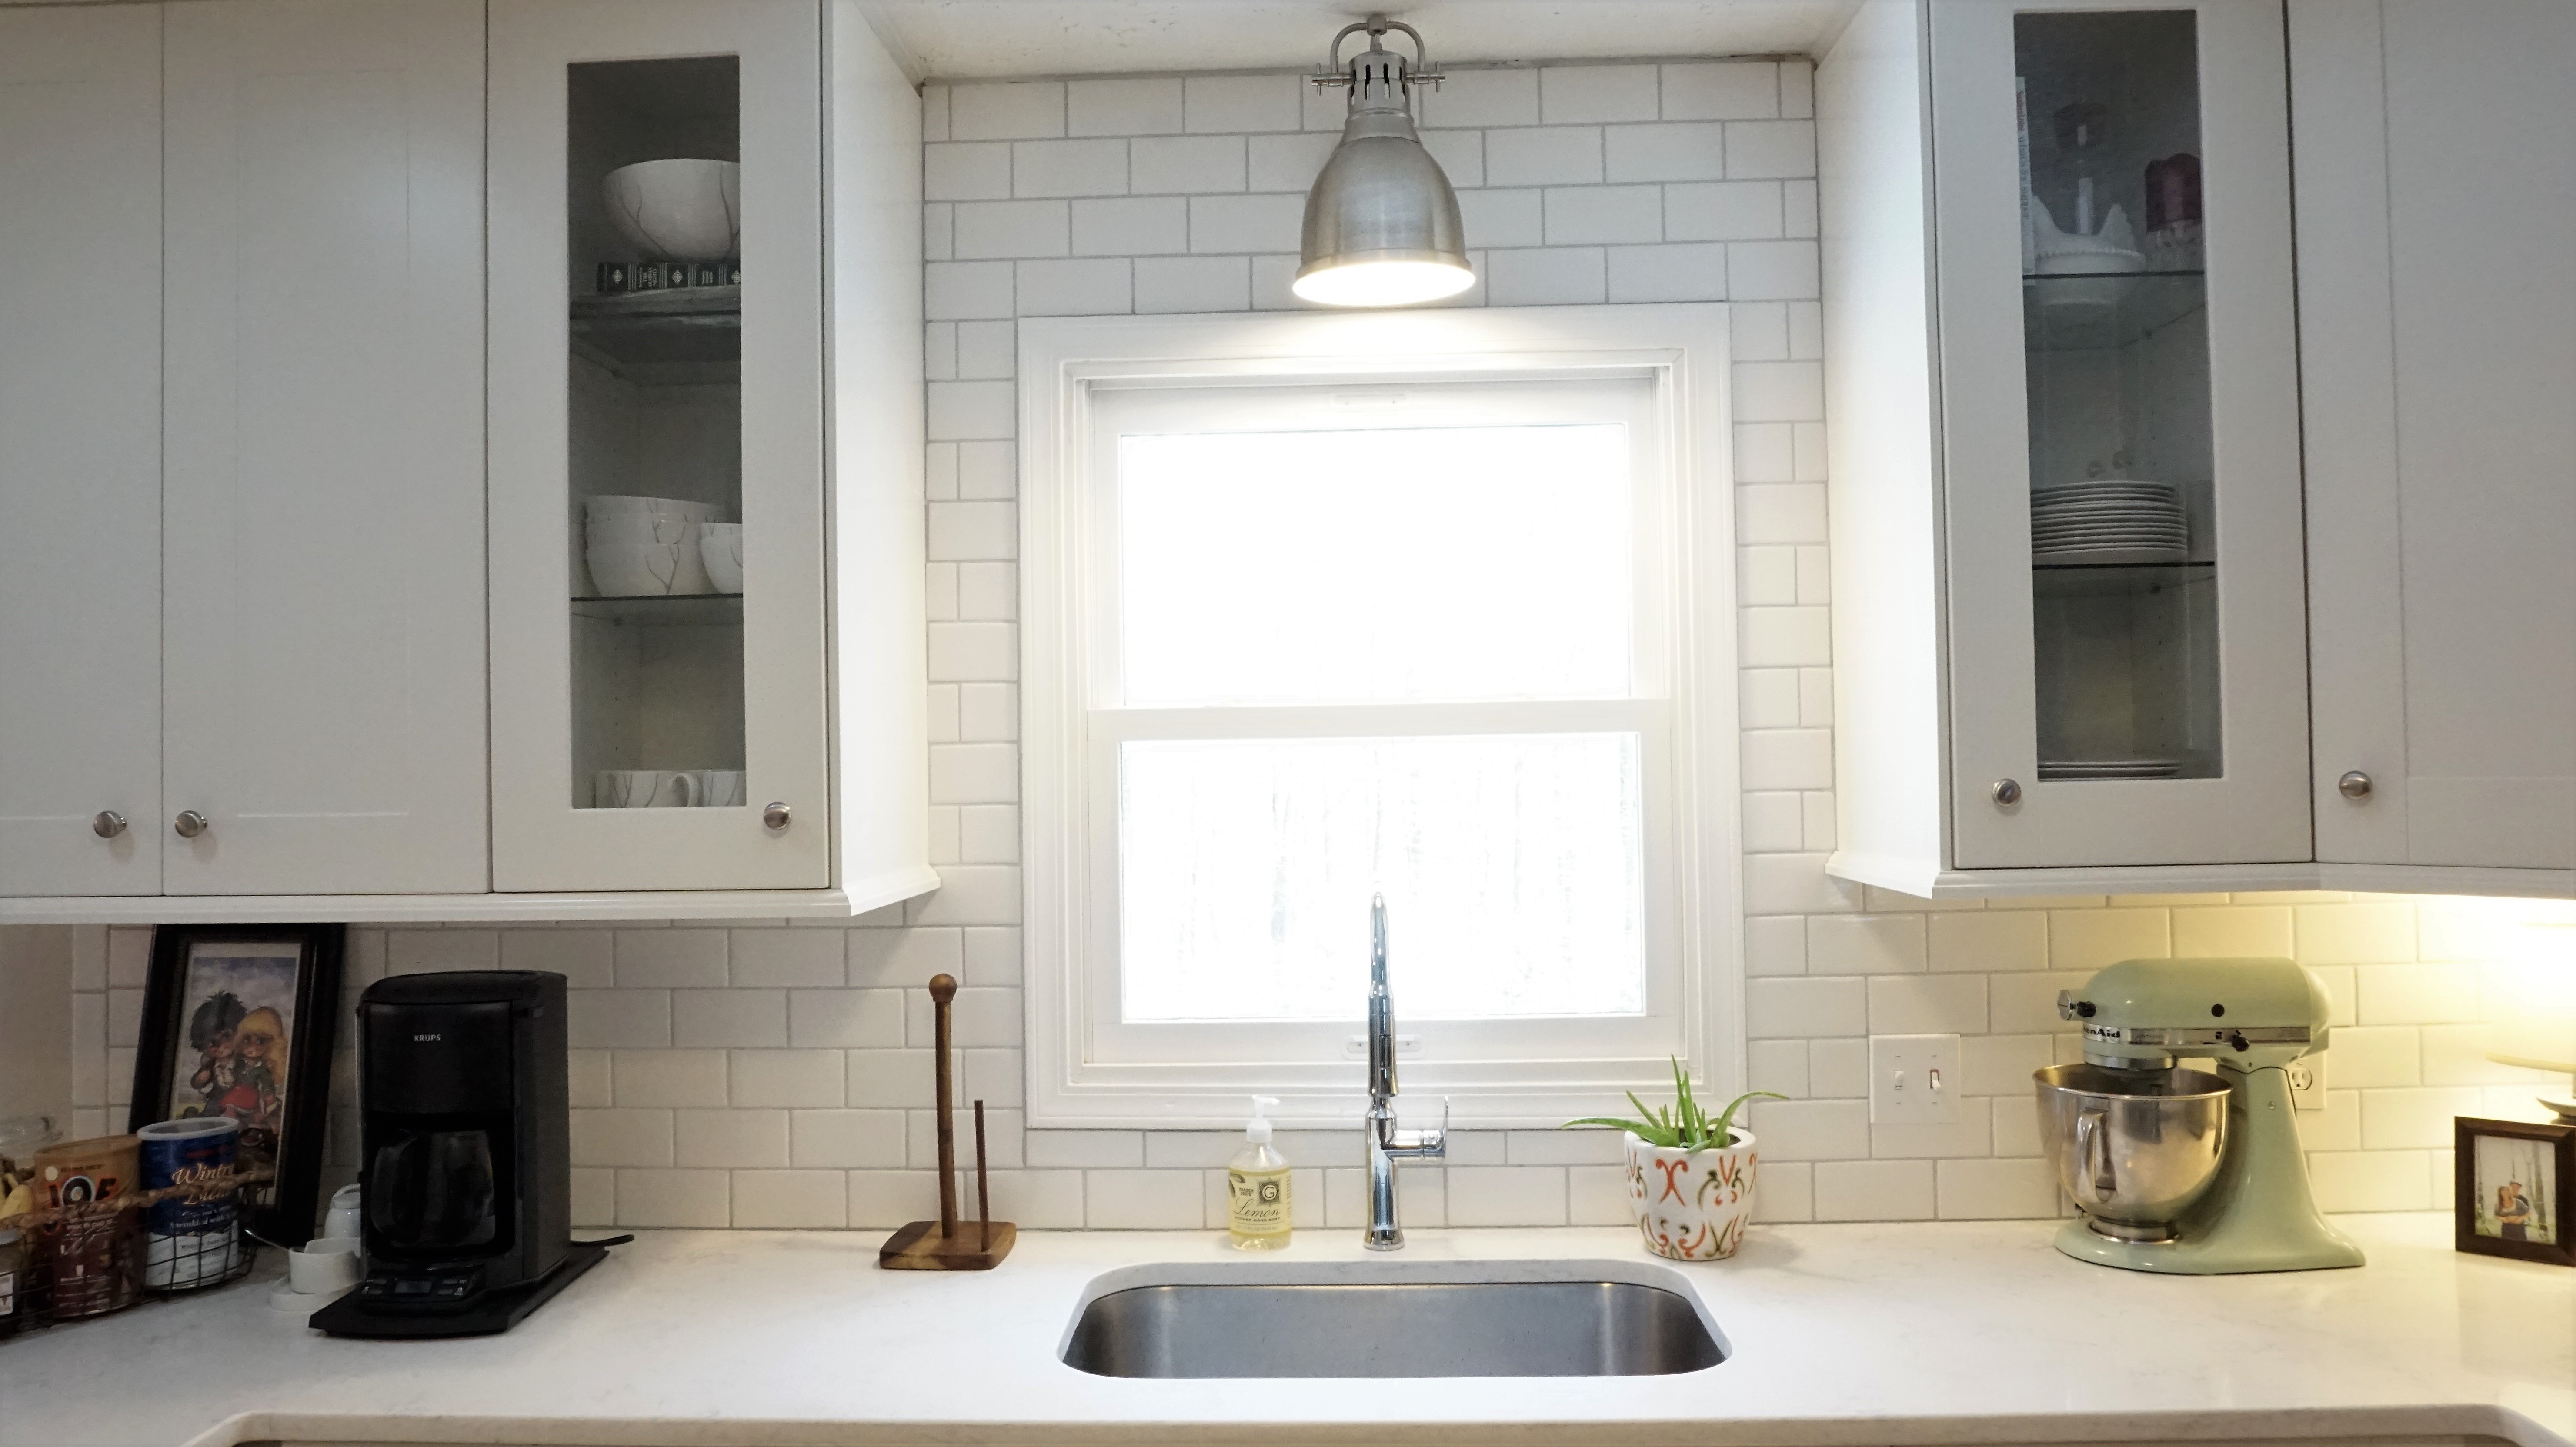
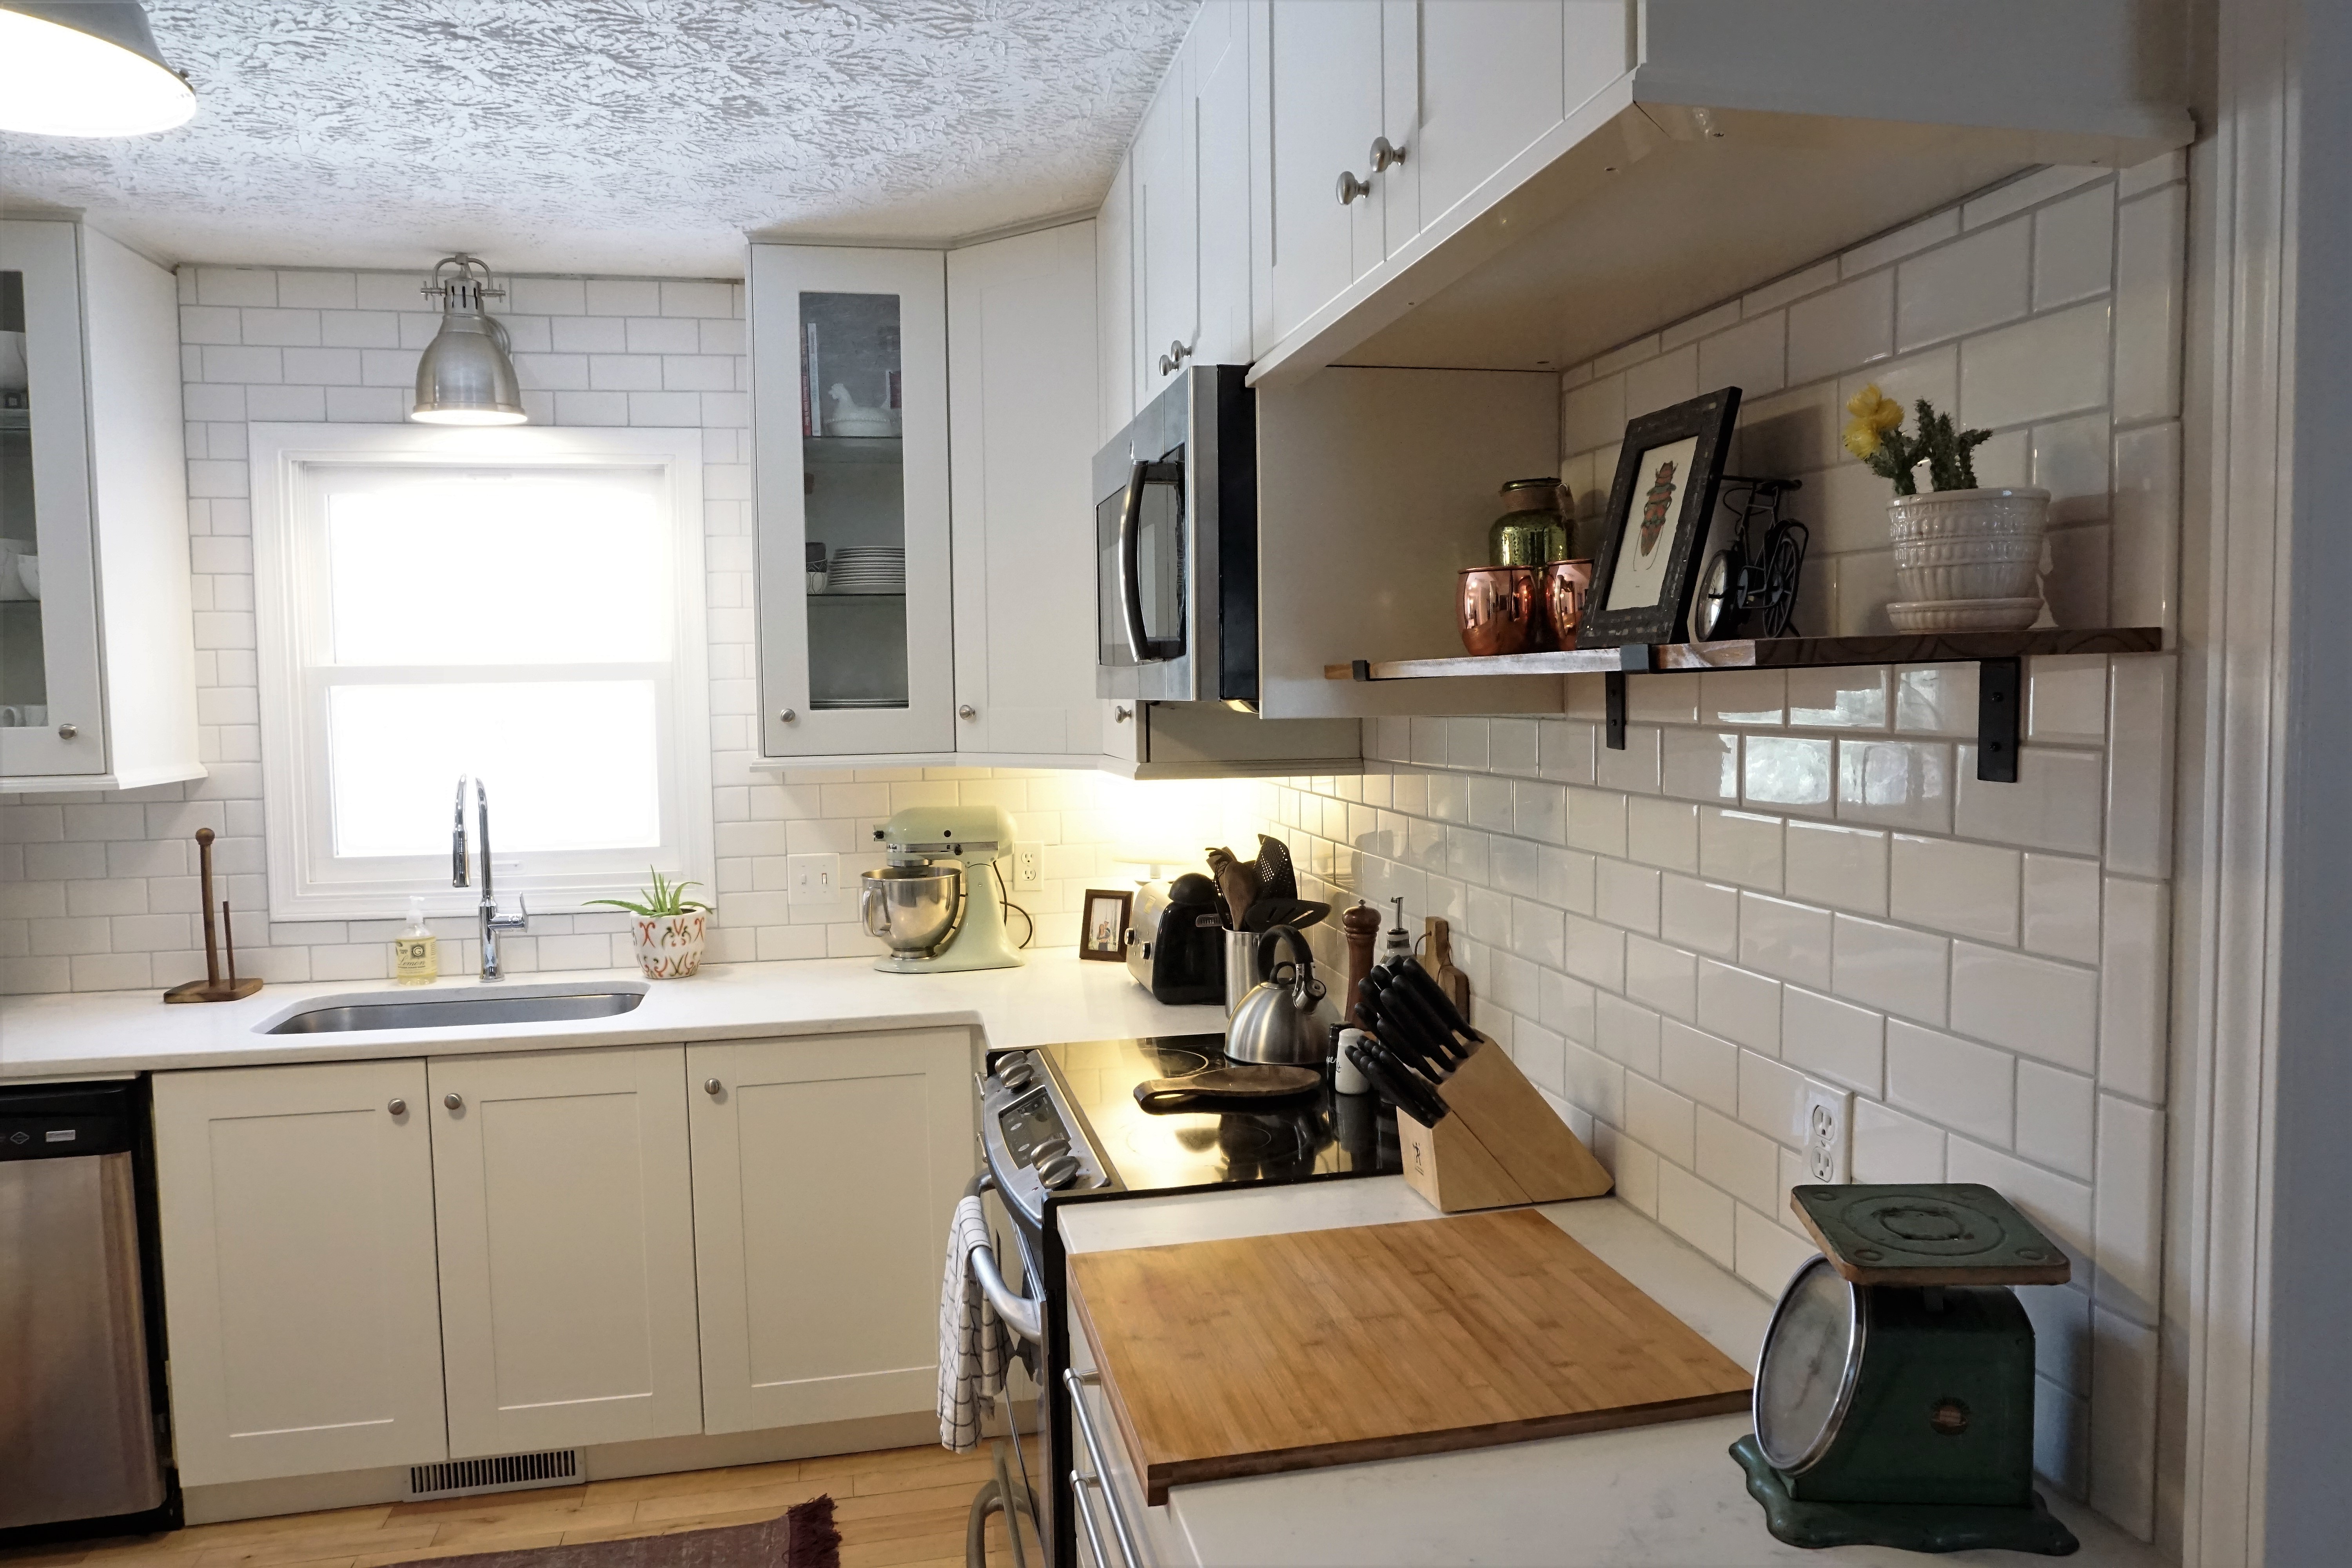
The caulk will set within a few hours and you will be left with a beautiful tiled backsplash that you did yourself!
Check out the complete kitchen reveal here.
Caulk Color Options
This decision was such a headache for me. I wanted contrast with my grout, but I didn’t want it to be too dark. I also considered the color of my countertop, which has light gray veining. I finally decided on Platinum by Polyblend, and I couldn’t be more pleased with the end result. There are so many routes you can go with white subway tile though. Polyblend has 48 options alone. I’ve starred a few of my favorites to help with your decision whether you go white, gray, or dark.
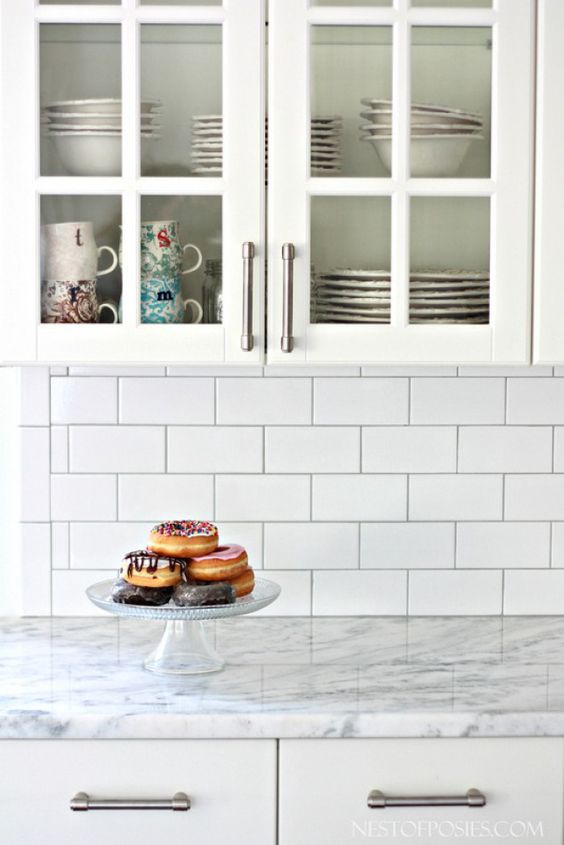
White-on-White
Classic, beautiful option. It also appears as the cleanest to the eye, though it may show more dirt and grime in the long run. It has a very high-end look when done right.
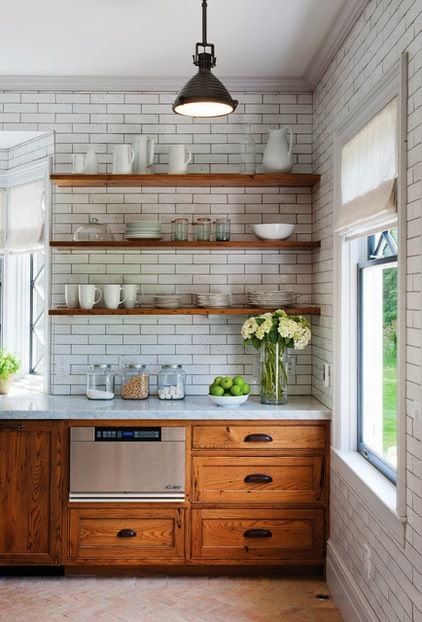
White-on-Gray
A personal favorite. It adds just a bit of contrast without being over-bearing. There are many variations of gray, from cool to warm, to choose from.
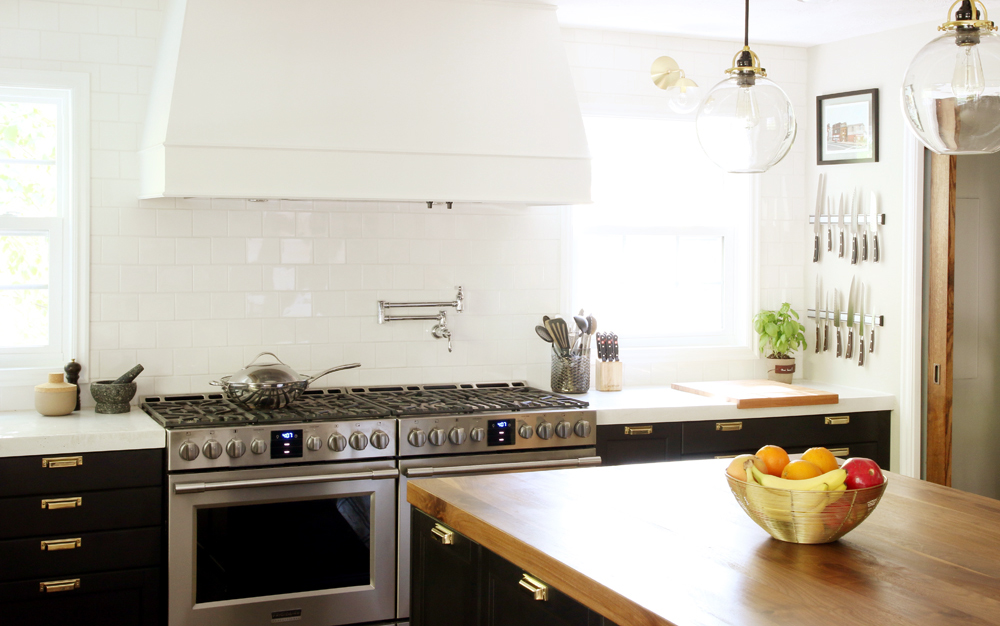
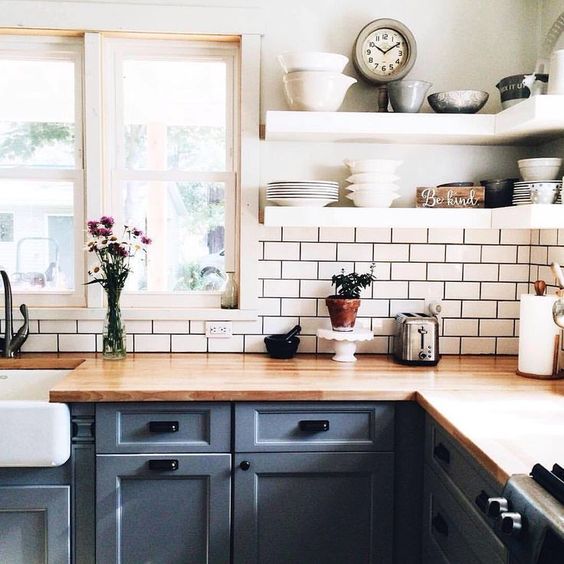
White-on-Black
High contrast, which is currently trending right. It shows the least amount of dirt. Provides great contrast for an all white kitchen or a kitchen with white cabinets and dark countertops or vice-versa.
 Instagram – Antique Farmhouse
Get Your Supplies Ready!
I know the list of supplies and options seem over-whelming, but I promise you can do this yourself! You are capable. I just know it. To help you out. I’ve compiled a checklist of supplies you will need to complete this project. Hopefully, you’ll be a better shopper than me and get everything in one trip. I’ve concluded that it’s a physically impossible task for me. This list would’ve help me tremendously! You can gain access to the free printable below.
So are you ready to tackle your subway tile backsplash? Let me know if you have any questions in the comments below.
