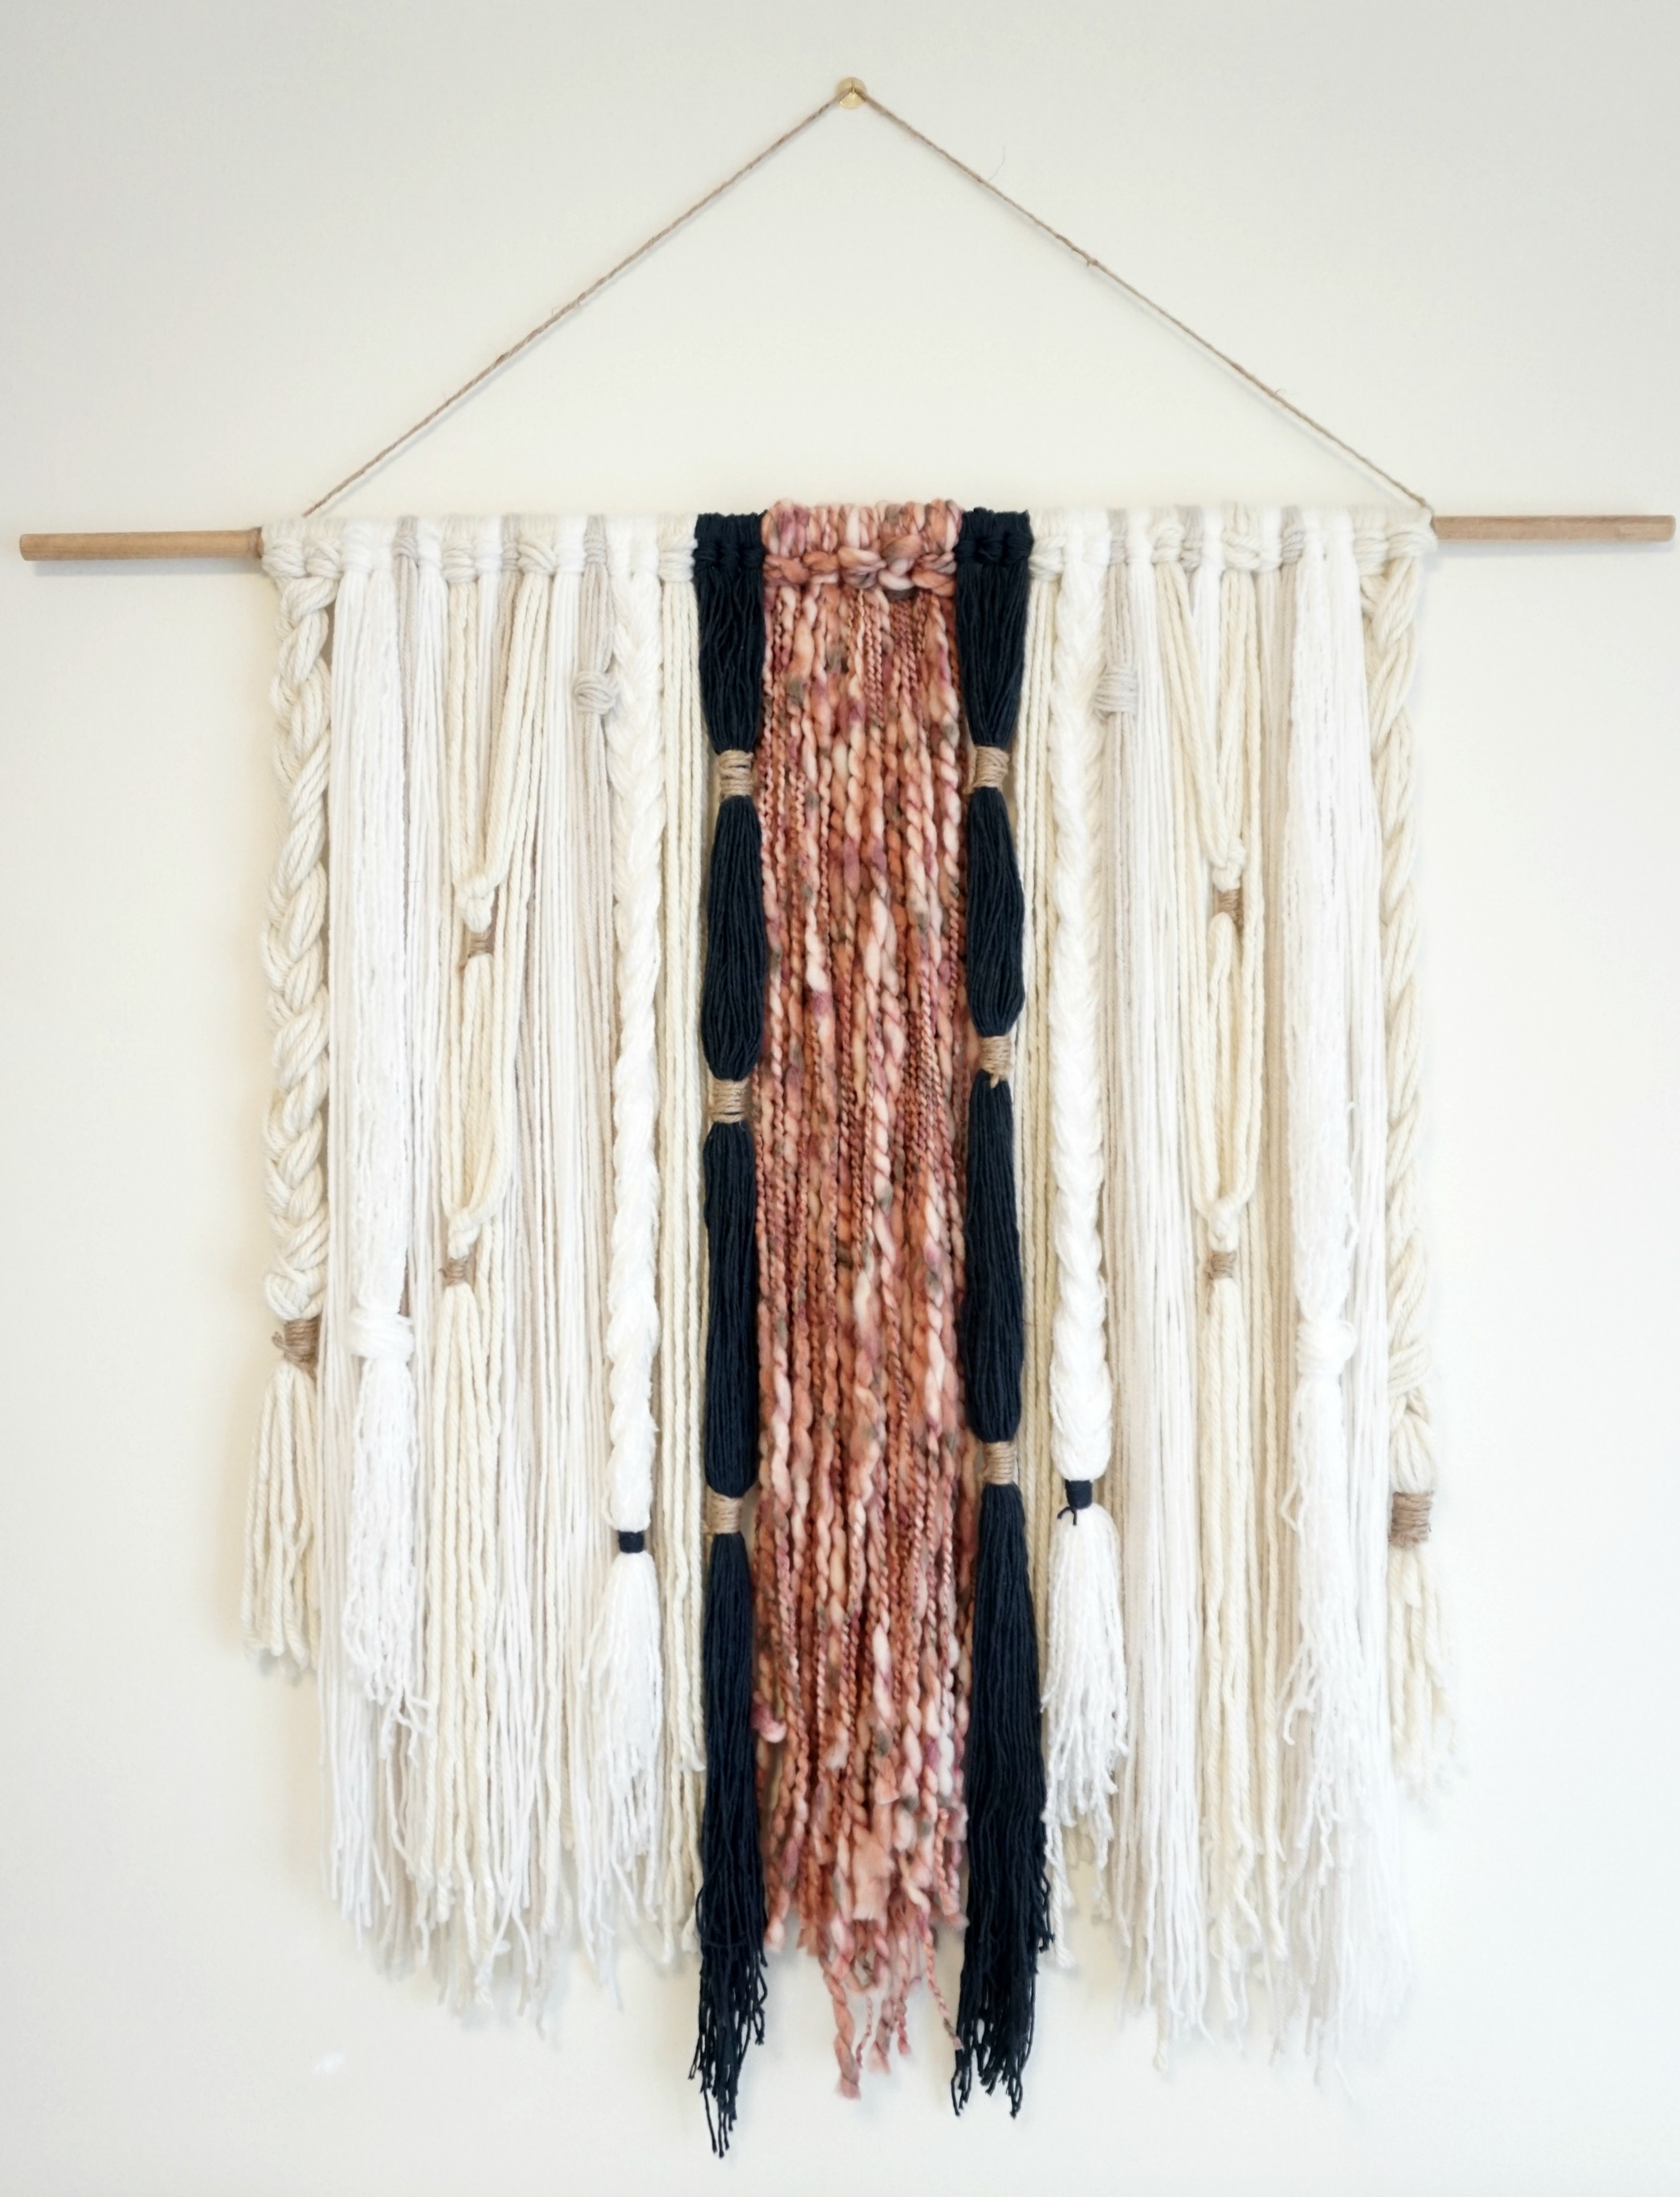
Over the last few months, I’ve been obsessed with macrame or yarn wall hangings. My Pinterest boards have become inundated with yarn wall art. You can see some of my favorites in my January Highlights.
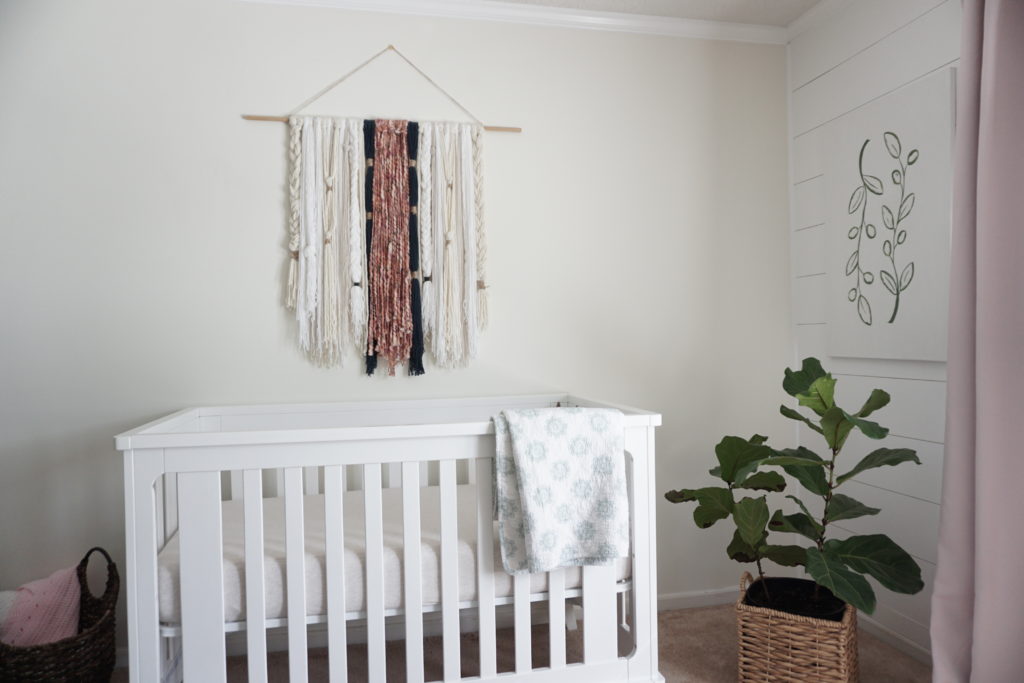
While putting the design together for the baby girl’s nursery, I was set on hanging one above her crib. It needed to be large, and I also wanted it to have specific colors to coordinate with the rest of the décor. A large, custom wall hanging can cost hundreds of dollars. It might be worth it for some people to just pay up, but I was convinced that I could make one myself (also I’m cheap and will do anything to save a buck).
What You Need
– LOTS of Yarn – I used 7 skeins at Joann’s for a 3’x3′ wall hanging
– Wooden Dowel Rod, tree limb, magic wand…you choose
– Jute Twine (optional)
– Scissors
Here’s all the yarn I ended up using. I used two packs of the Big Twist Chunky yarn.

When shopping for yarn, keep texture in mind. I bought skeins that were thin, twisted, chunky, and a few in between. You can obviously go with any colors you’d like, but sticking with no more than 3 colors and going with mostly neutrals will result in a finished product you’re probably going to be most pleased with.
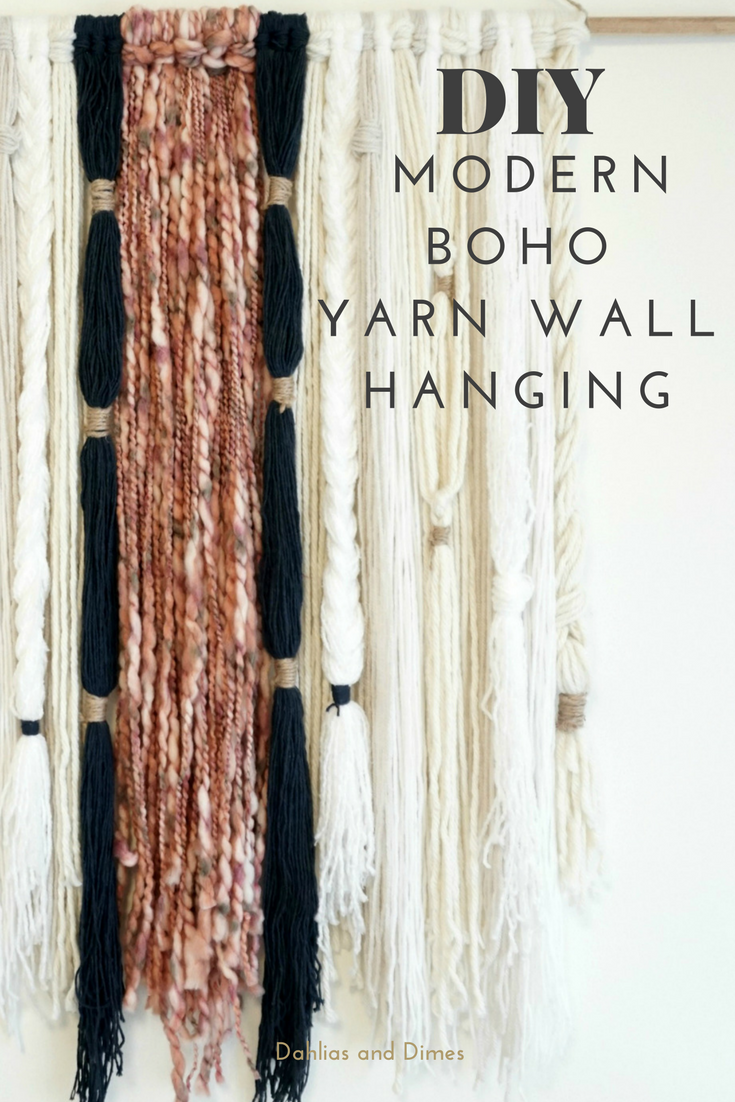
Though this is a DIY, it is not simply a copy and paste, unless you just love the colors and the size is right for your space. I wanted to share this tutorial solely for inspiration. I think it’s important to remember that we can create beautiful things around our home with our own hands and on a budget.

How To
Create a Vision
This was the hardest part for me. I grabbed some markers and a piece a paper to draw out how I wanted the finished product to look. It was a super rough sketch, but it gave me an idea of where to place the different color and textured yarn bundles.
Measure Up
Start by determining the length of your hanging. Keep in mind that there will be a string on the top for hanging.
When you’ve figured out how long you want your hanging, find a cozy spot in your home and start cutting more yarn than you think you’ll need. You’ll need to double the length of your yarn. For example, my hanging is 36″, but I cut the yarn 72″ so that I could double it and loop it around the rod. Cut all the yarn the same length. You can trim, braid, knot, etc. once all the yarn is on the rod.
Laying Out Your Pattern
For the thicker yarn, I cut 7 – 72″ pieces per bundle. The thinner yarn, I cut 14- 72″ pieces. This was so much more time consuming than I thought it would be. I cut strands of yarn every evening for days. A friend or a child who loves to use scissors would make a great addition to this project!

Looping Your Bundles
Grab each bundle and loop them onto the rod. This is the step when you realize after hours of cutting string, you still need to cut 100 more strands to cover the rod.
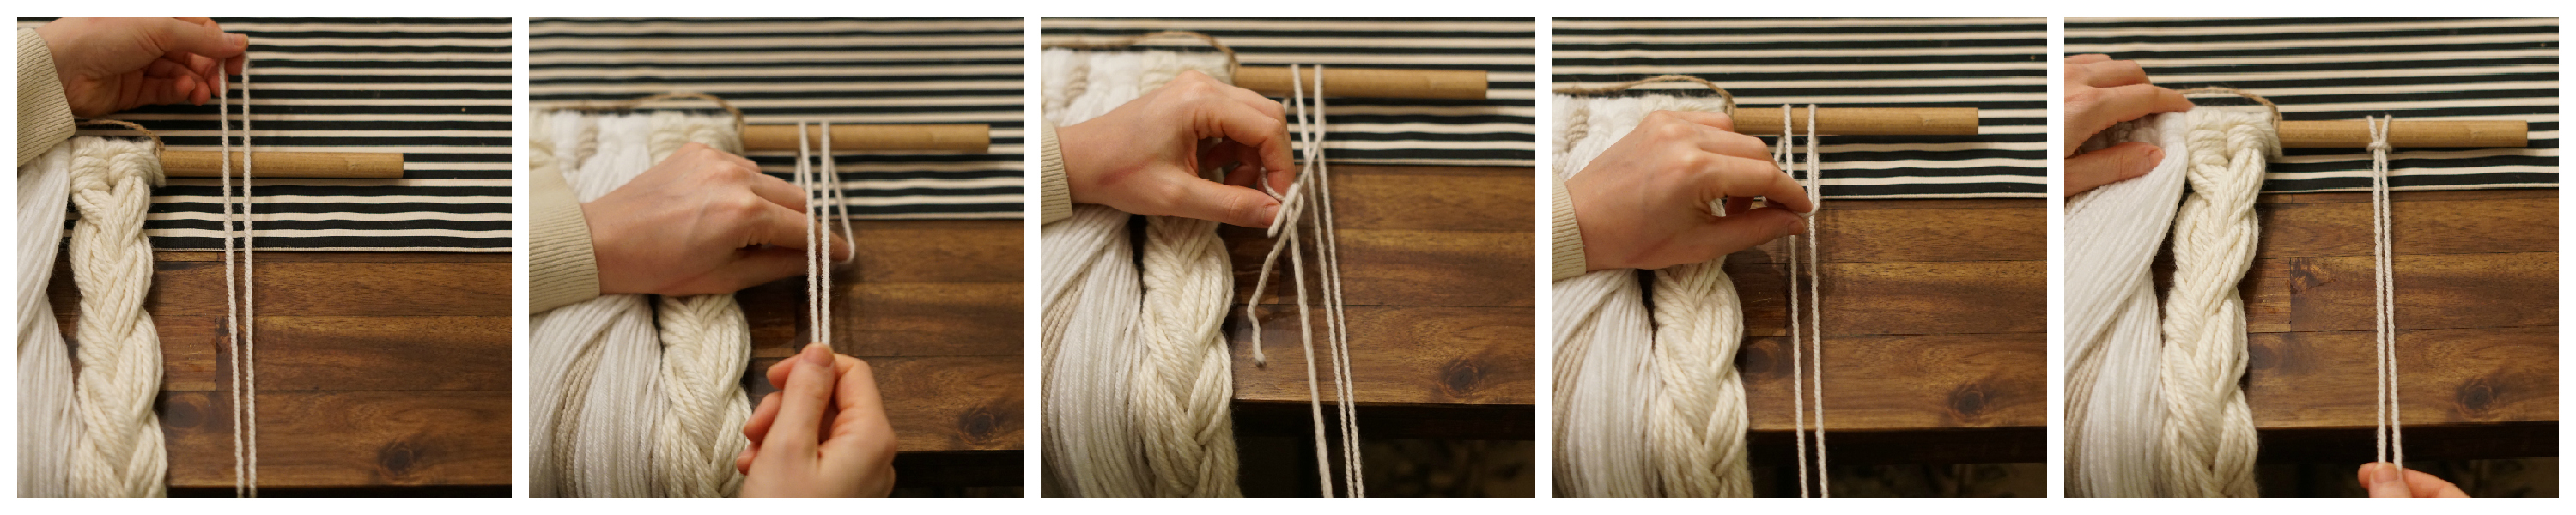
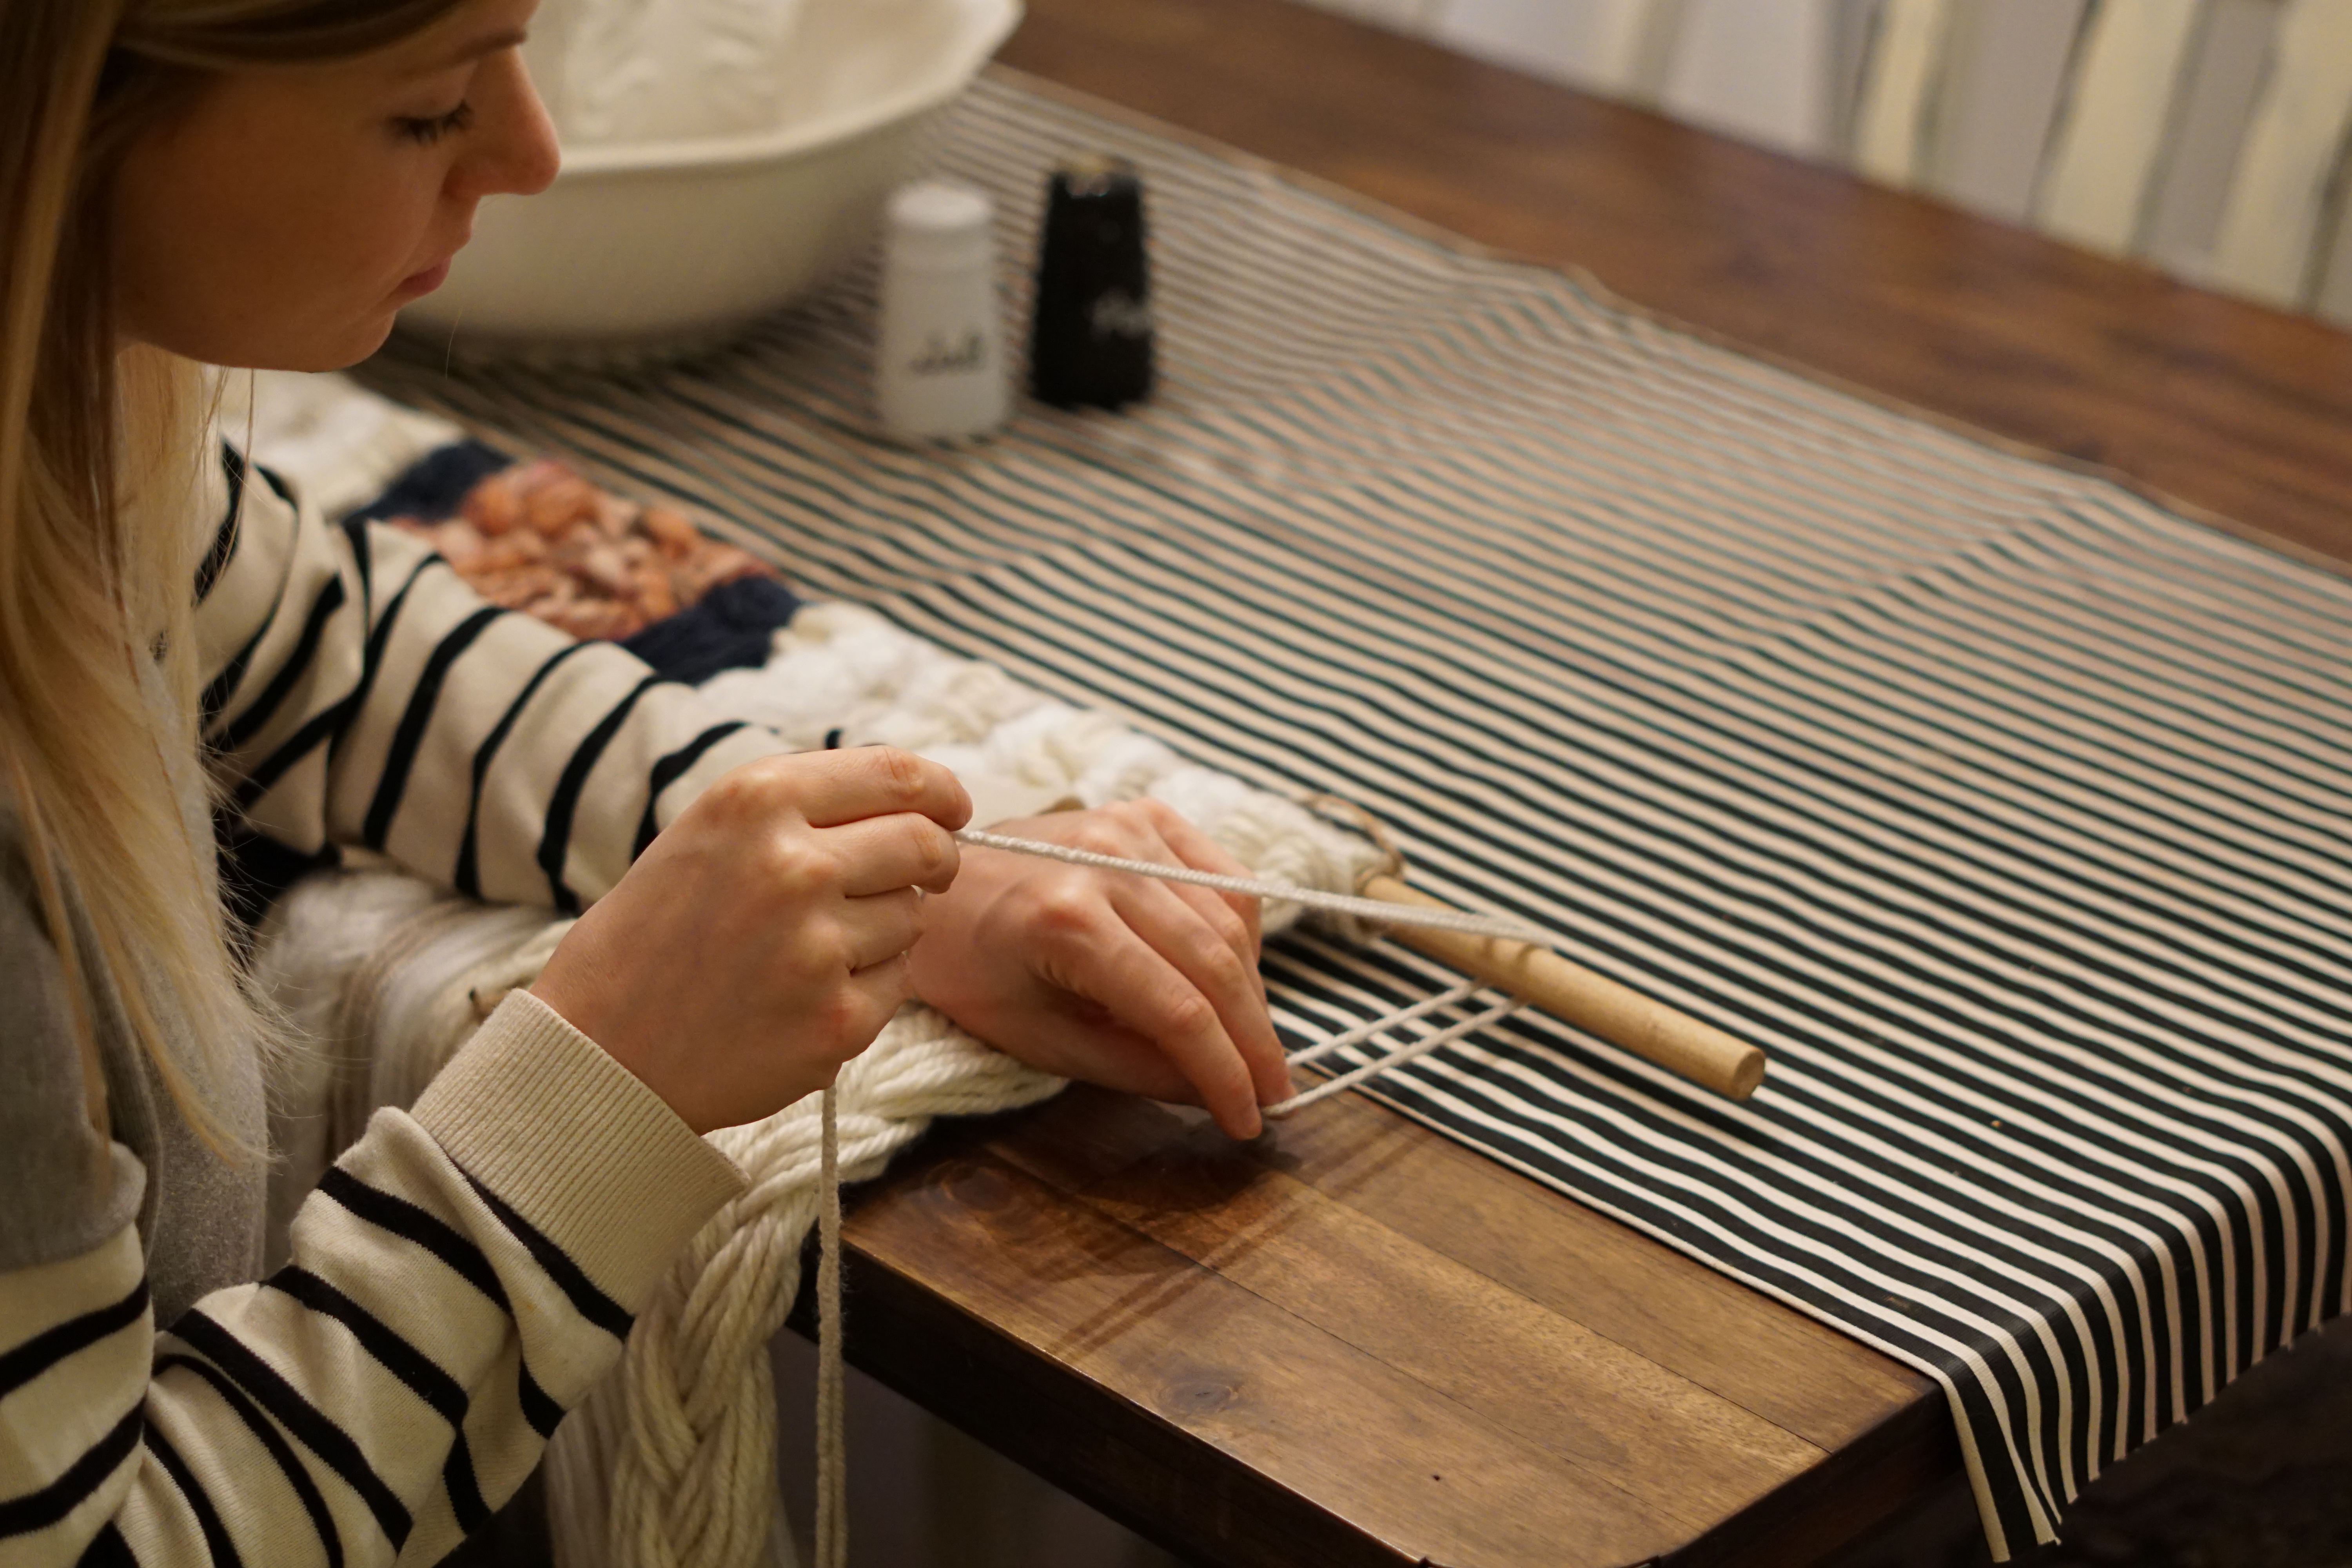
Getting Crafty
This is the fun part where you get to make it unique. Consider braiding or knotting bundles. You can also add tassels or wrap jute around strands. Get as creative as you want. There are no rules or exact instructions to follow. Just make it uniquely yours. You may also want to trim the ends to even out the bottom or angle it to your desired shape.
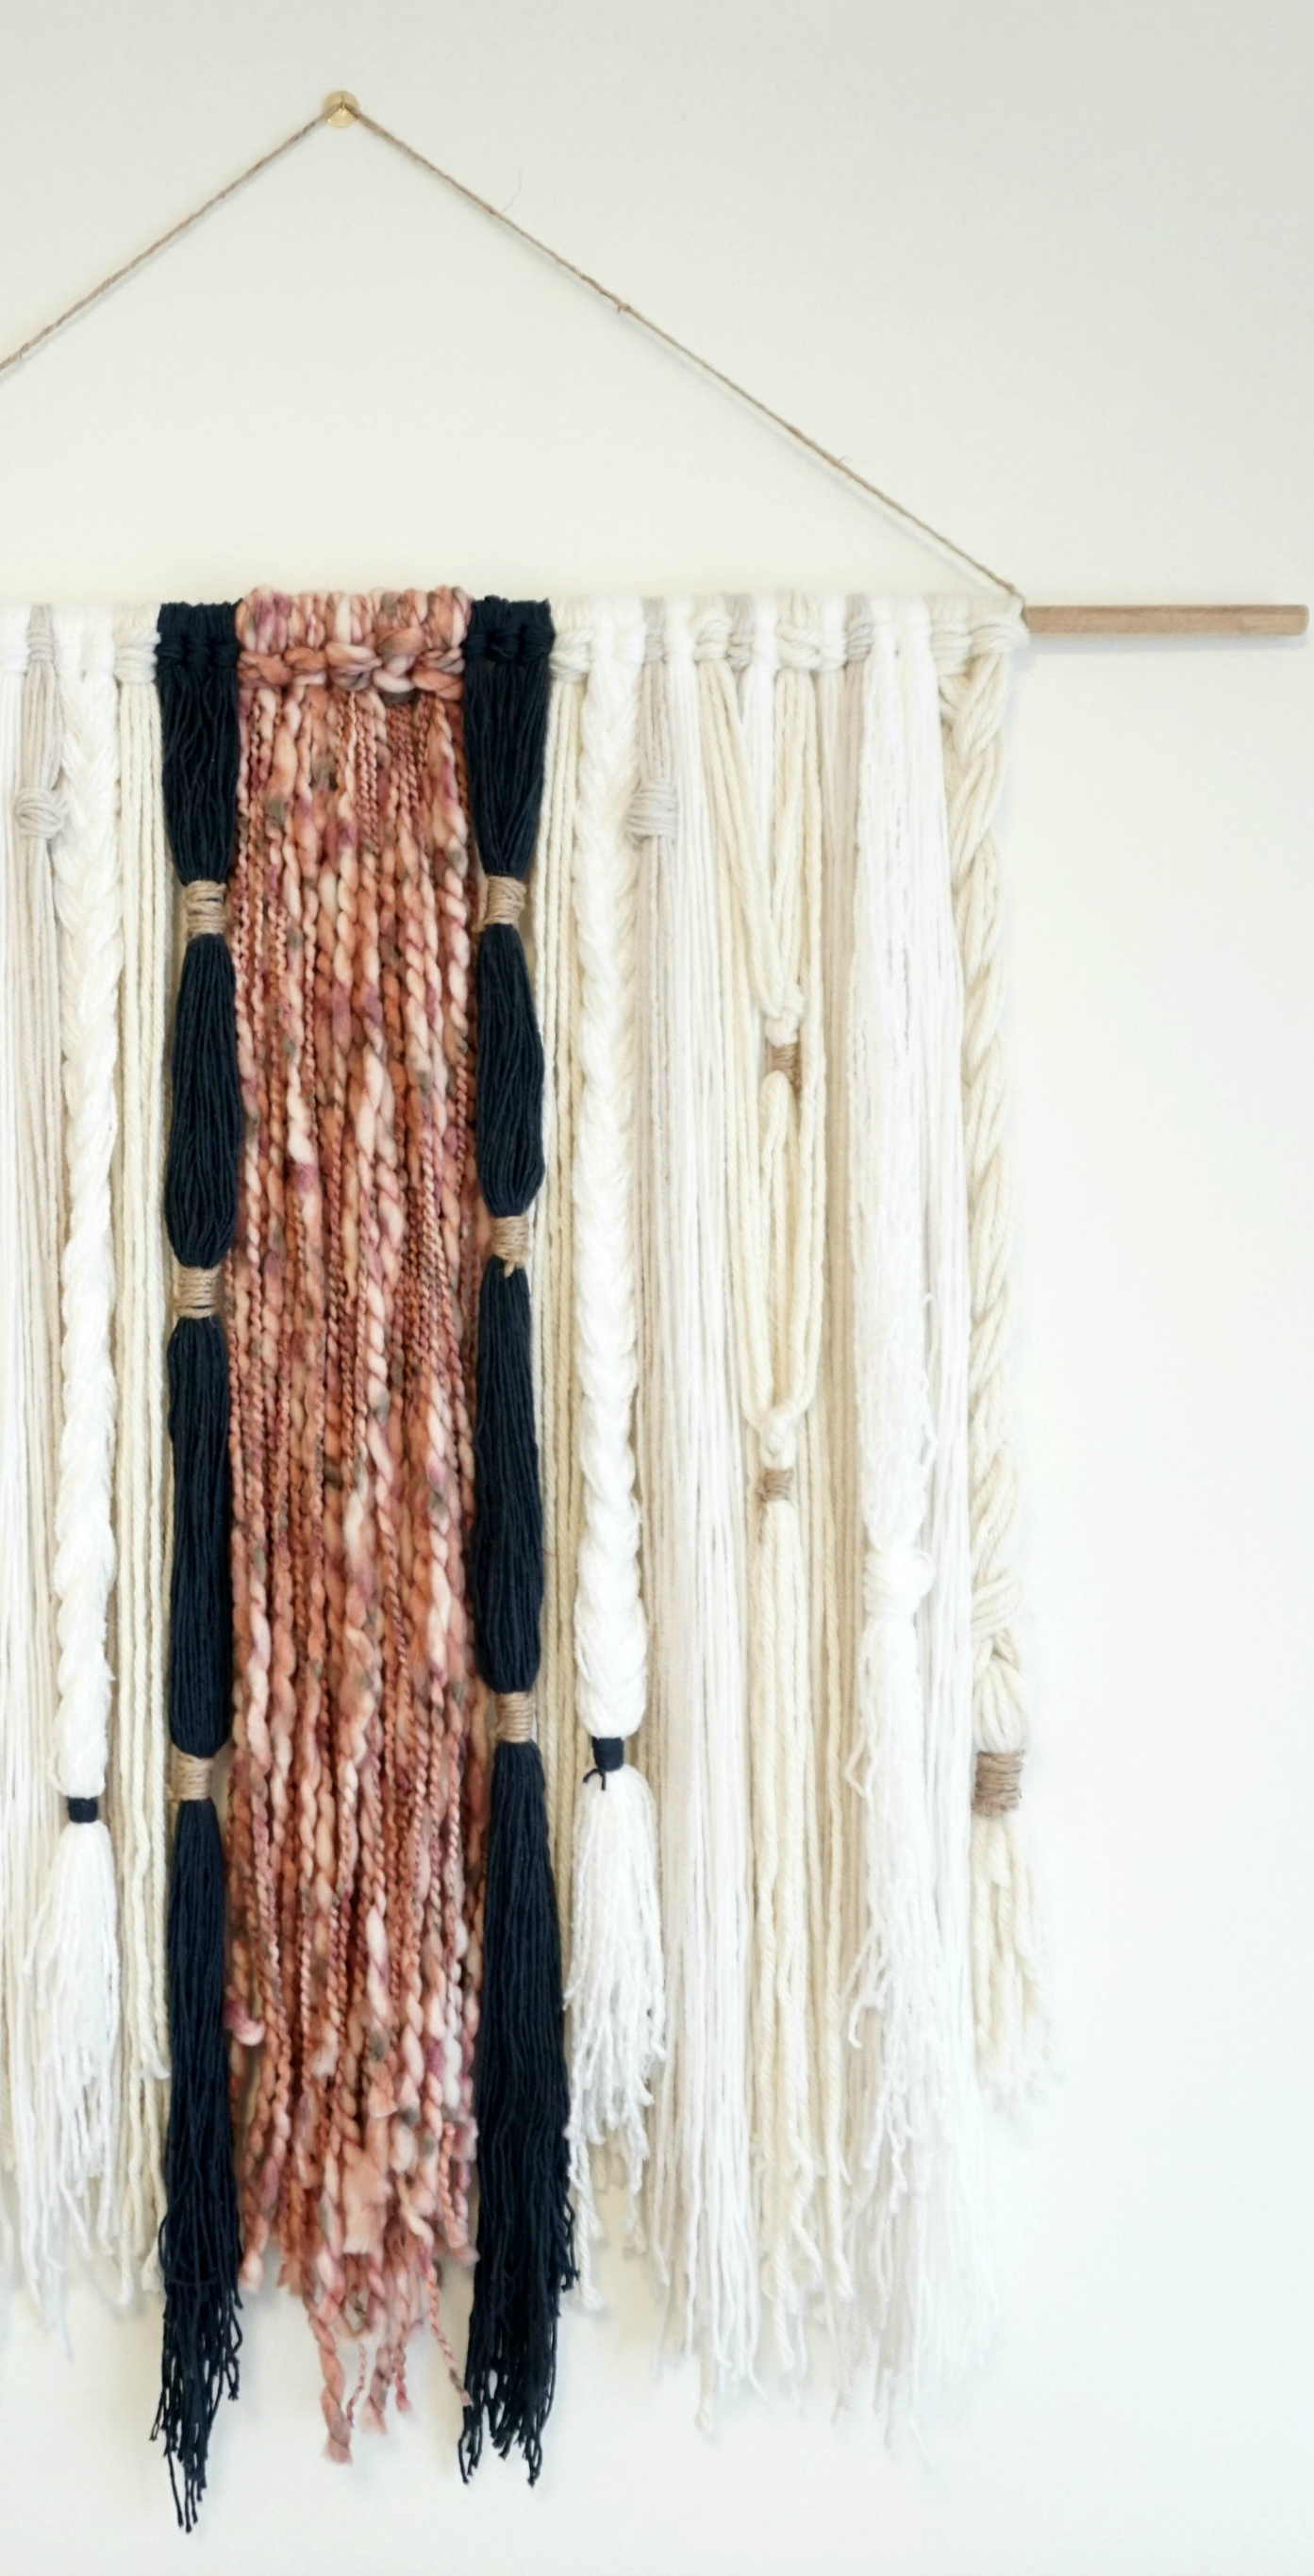
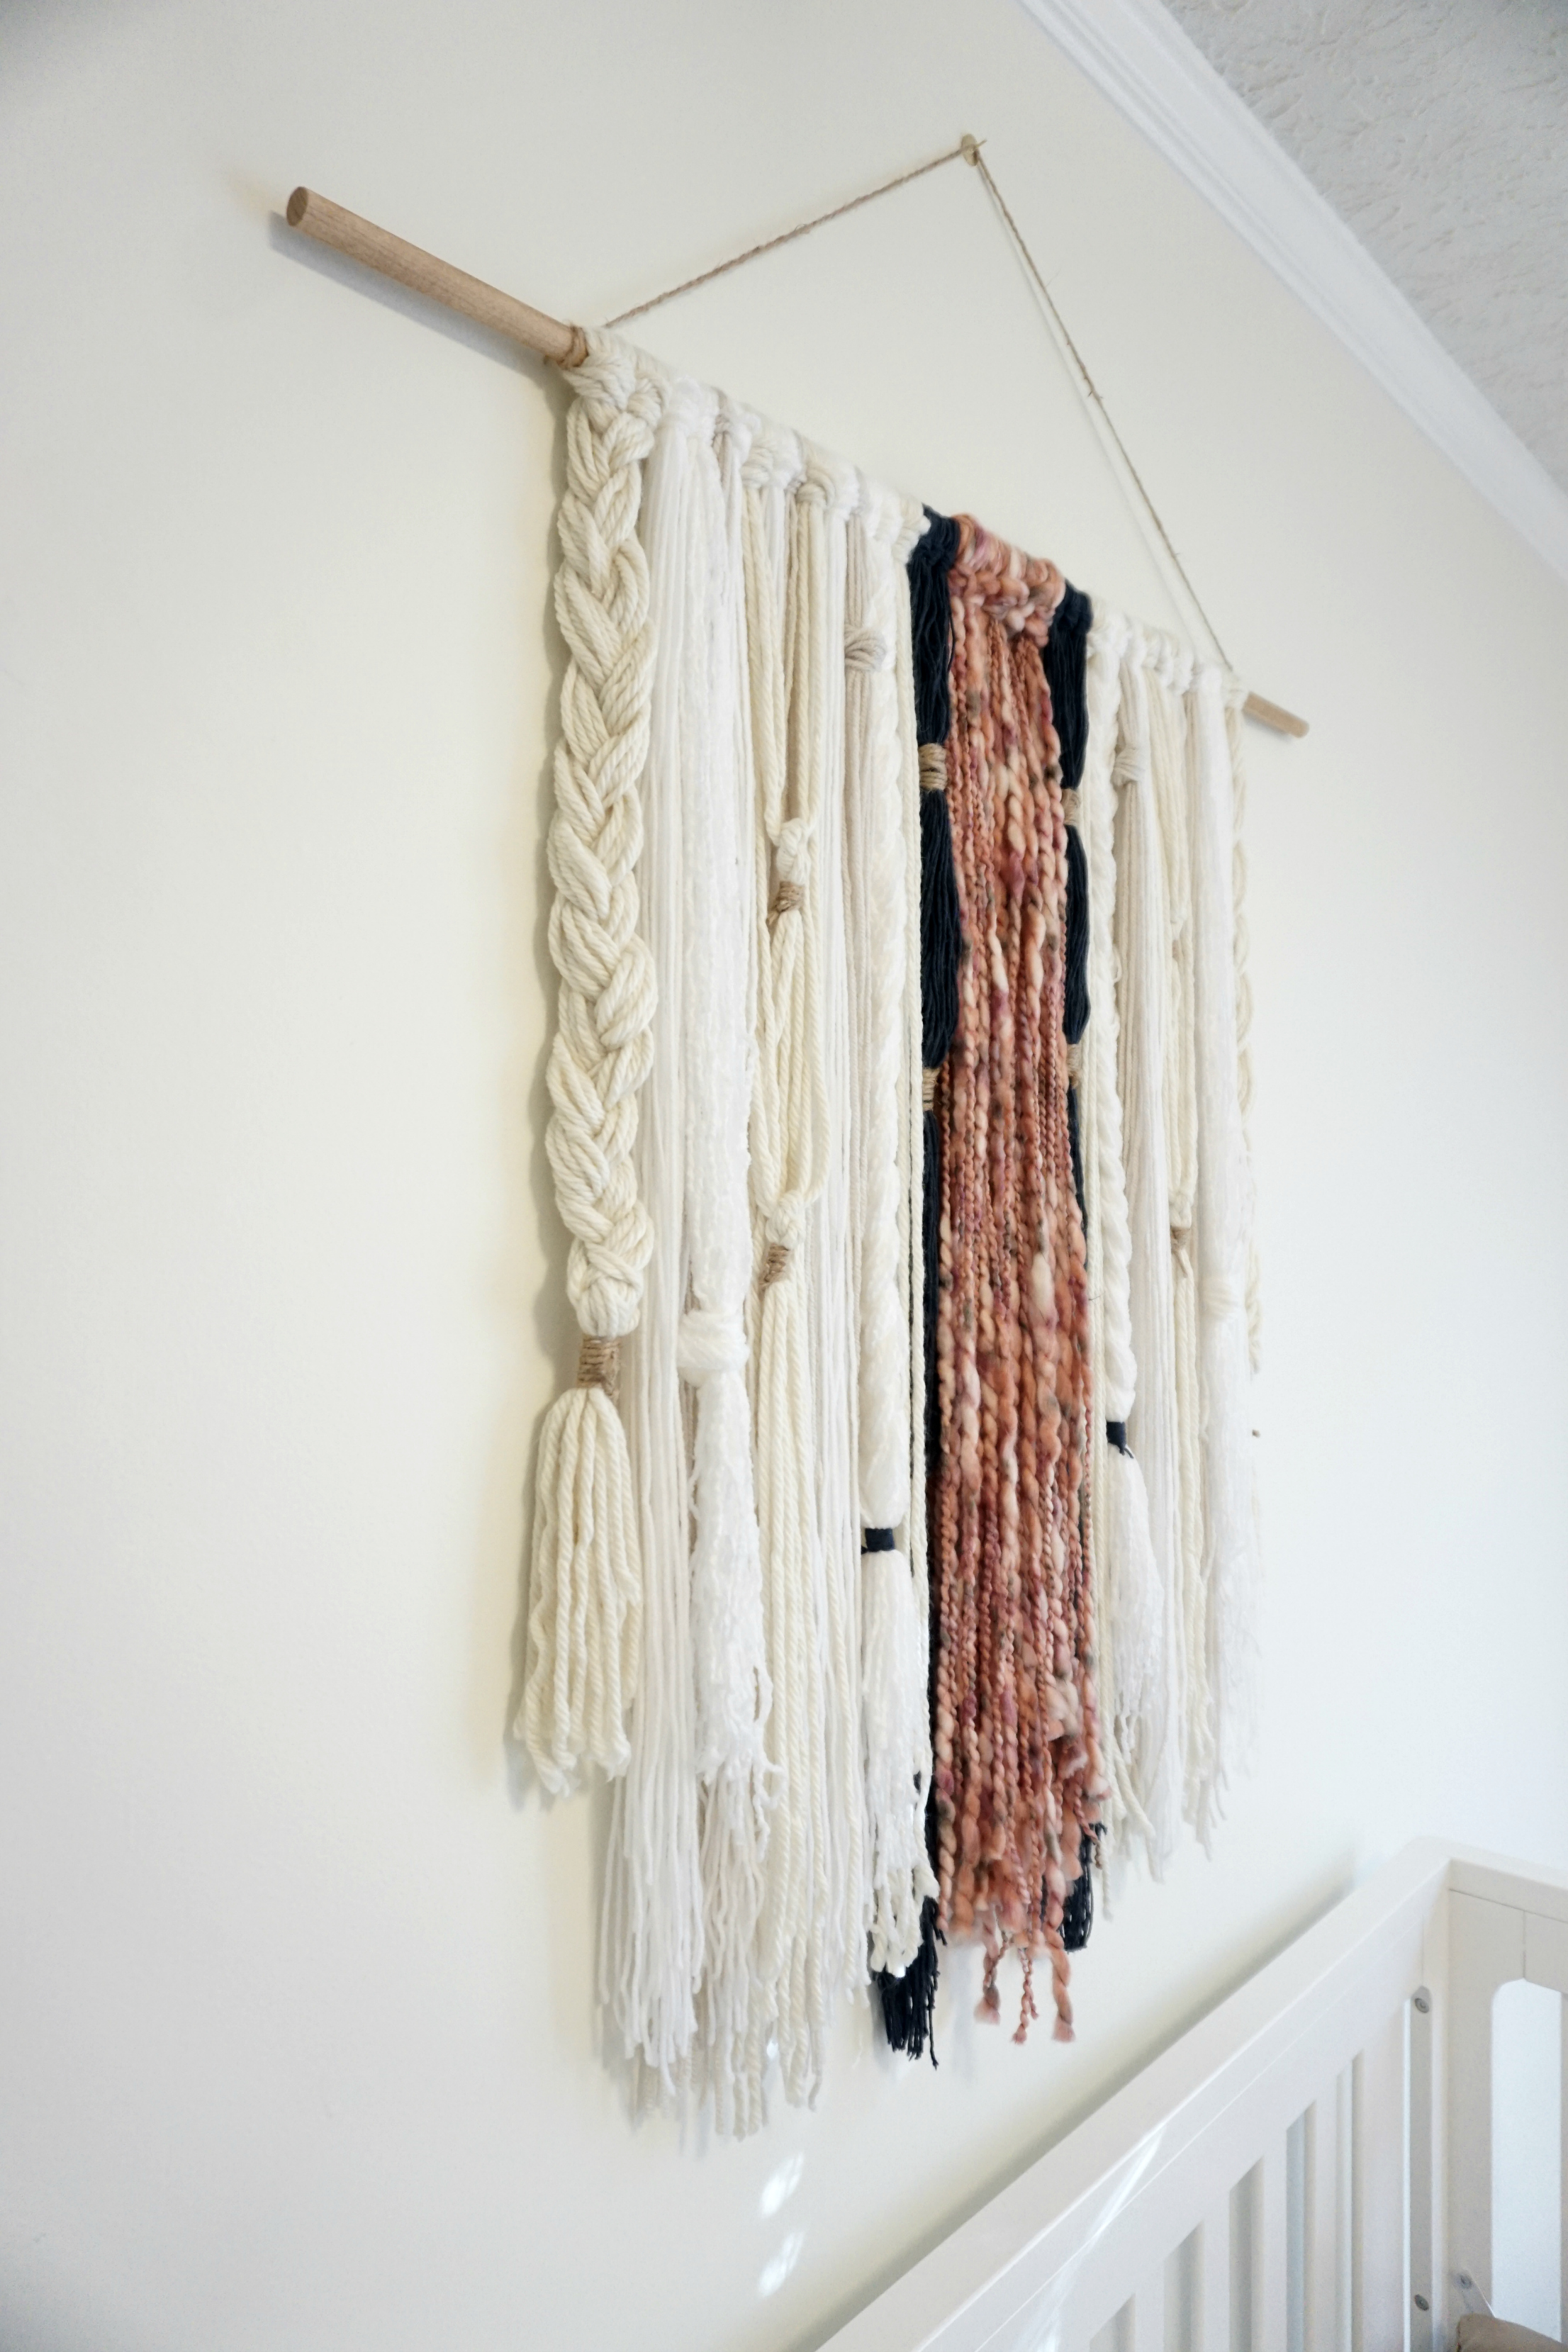
Displaying Your Art
I took a strand of jute twine and simply knotted it on both ends of the rod.
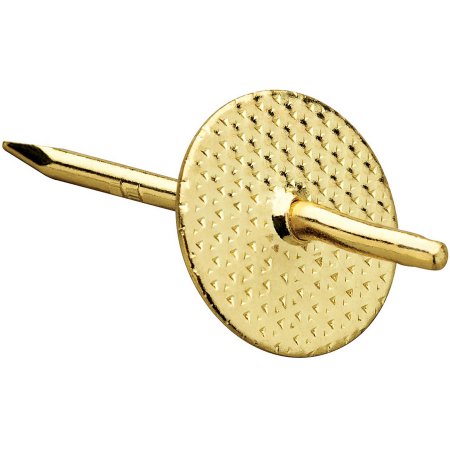
Hang it with a hook, nail, or one of these fancy little numbers I found at Walmart.
Let me know how this project goes for you! Tag me on Instagram or Facebook @dahliasanddimes. I’d love to see how you made yours to uniquely fit your space!
