In my last post, I talked all about why every room needs a lamp or two, and how I have filled my home with thrifted lamps.
In one of my tips, I suggested finding an inspiration online before purchasing a lamp at a thrift store. This is exactly what I did before I purchased my last lamp.
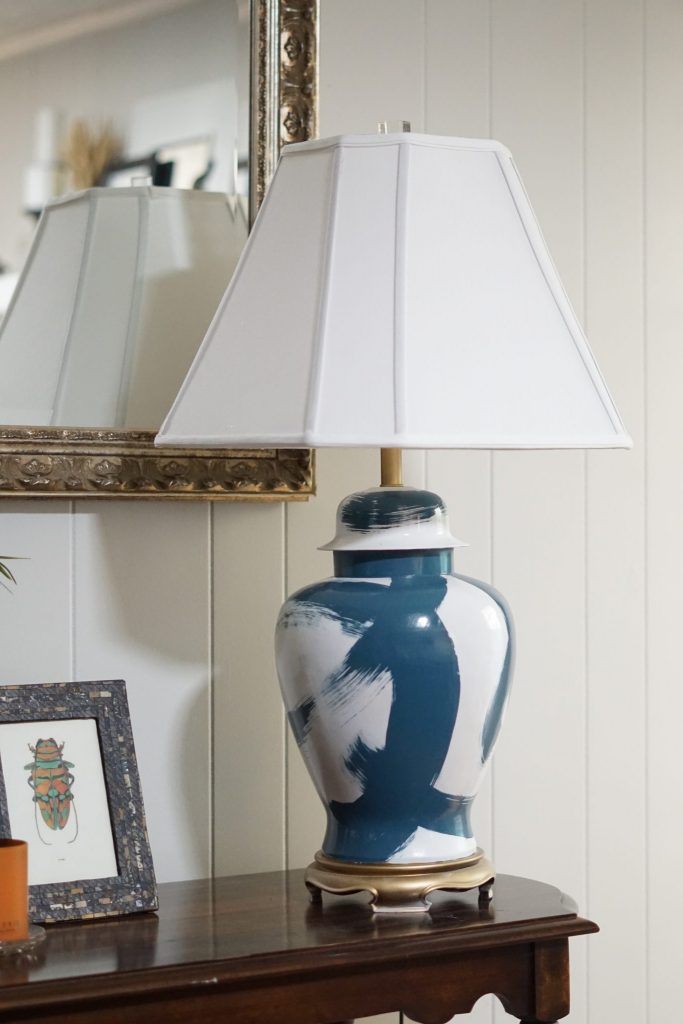
I had seen this gorgeous blue brush stroke lamp all over Pinterest and on several blogs. I loved how it was classic yet stylish and eclectic. So I go to find where I could possibly purchase one for my own home, and that’s when I saw the price tag: $450!!!
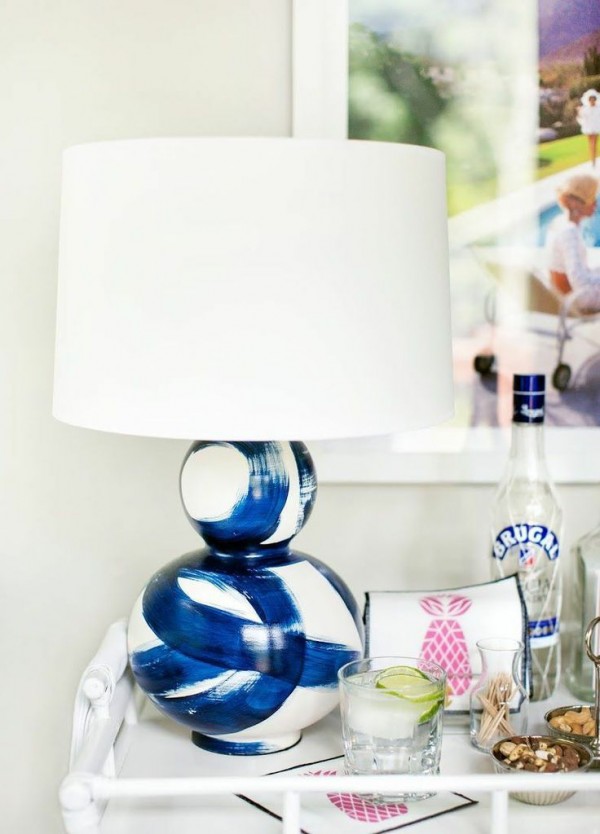
Though it’s beautiful and gorgeously crafted, it’s just not in the Horton budget!! And I’m pretty sure my husband would have a kind discussion reminding me of why we need to pay our mortgage if I purchased this lamp.
My mind started churning.
“I’m a creative person.”
“Surely I can find blue paint and brush some strokes on a lamp!”
So that’s just what I did.
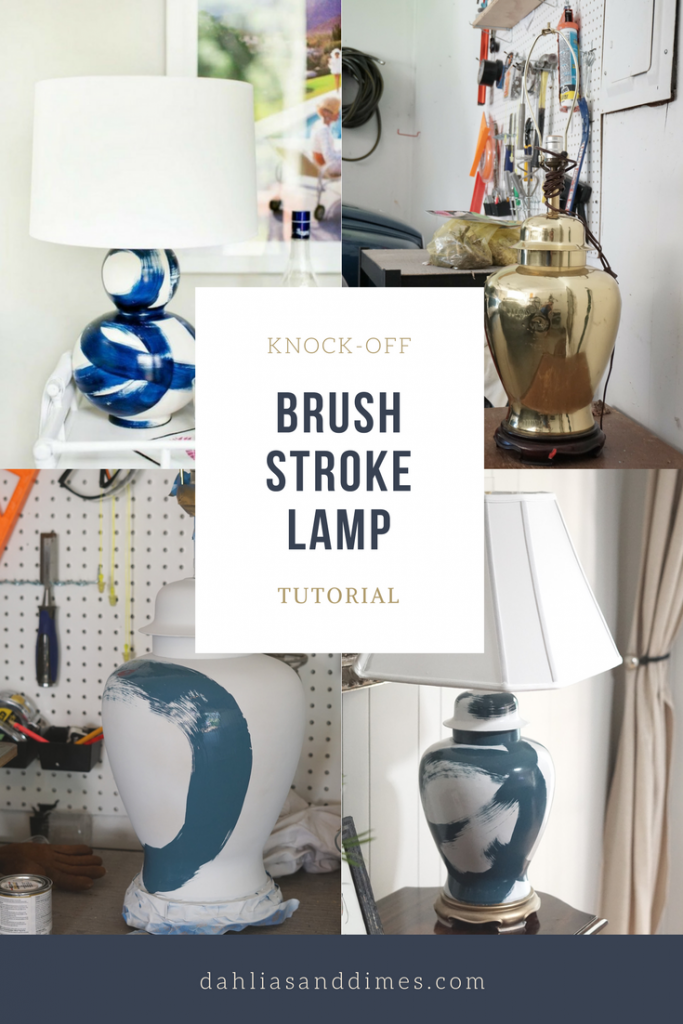
How to Create Your Own Knock-Off Brush Stroke Lamp
Materials Needed
Painter’s Tape | White Spray Paint | Gold Spray Paint | Paint | 1-1/2″ Paint Brush | Spray Lacquer
(Some links are affiliated for your ease of shopping.)
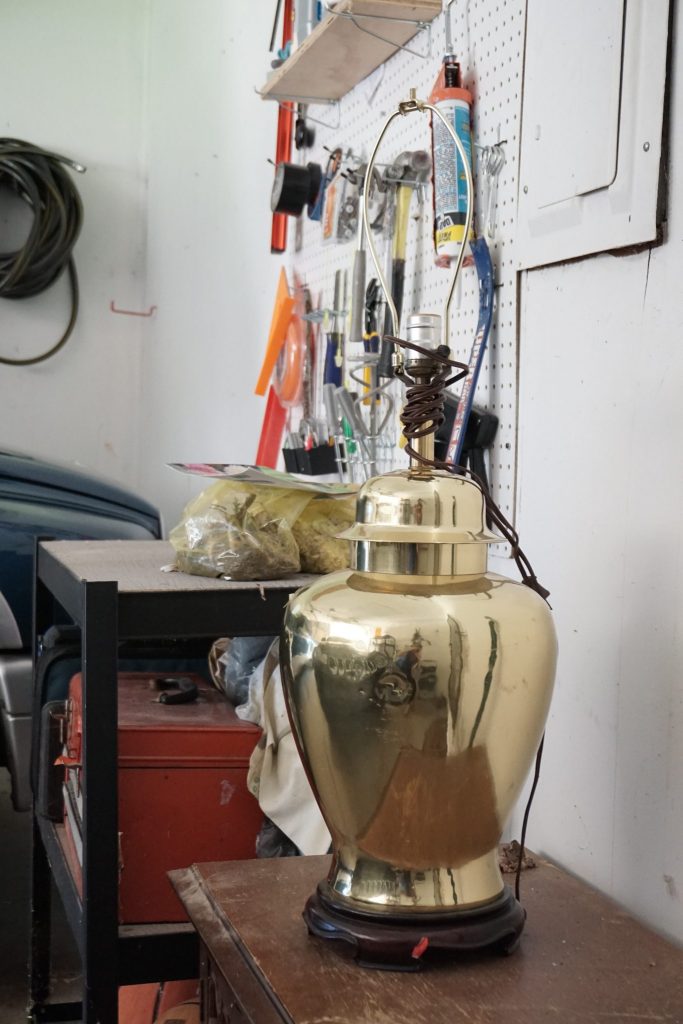
Find Your Lamp
Find a working lamp with a large urn-like shape at a thrift store, yard sale, or your attic.
My local Goodwill had several lamps with the right shape. You can choose a size that best fits your space. Look past the color or finish. You will be painting over it. You’re strictly looking for the right shape.
I found mine for $4 at Goodwill.
Tape and Spray
I used painters tape to tape the cord before spraying the wood base and stem with a couple coats of my favorite gold spray paint – Rust-Oleum Specialty Gold Metallic.
Once that was dry, I taped the gold surfaced and sprayed the rest of the lamp white. This took 3-4 coats to get a nice, full coverage.
Brush Strokes
Using the same Behr paint that I used in my office, I started with a large circle covering nearly half of the base. It doesn’t have to be a perfect stoke. It’s meant to look like an effortless brush stroke. Also, feel free to use any color you like. I recommend getting small sample carton of your favorite paint color from Lowes or Home Depot.
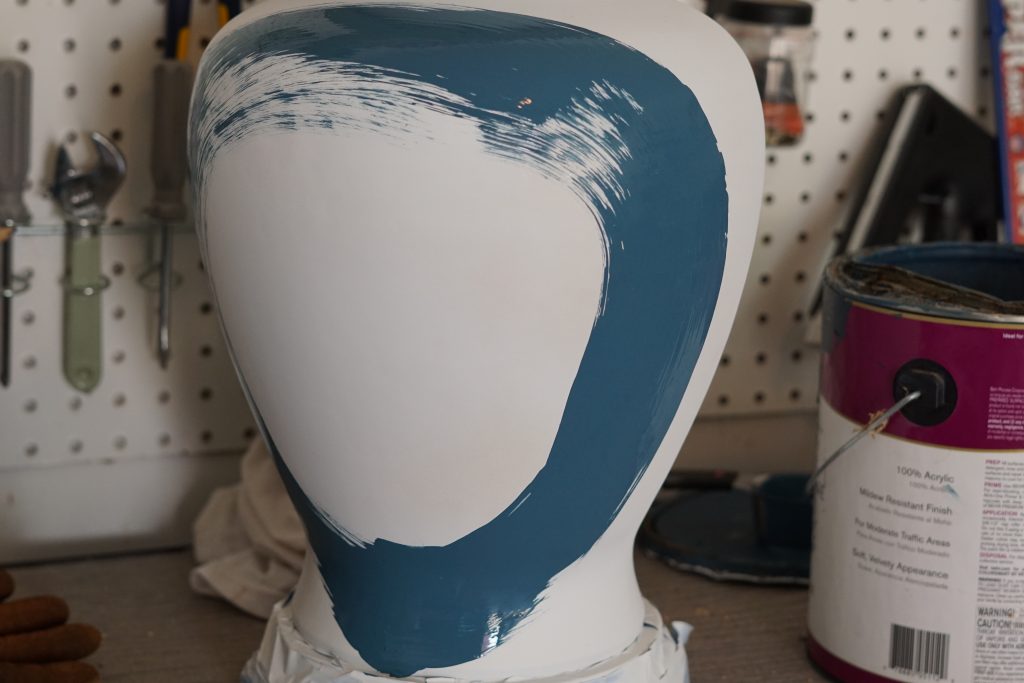
From there, I filled in the rest of the lamp with imperfect but thoughtful stokes. I consciously went heavy in some places and lighter in others.
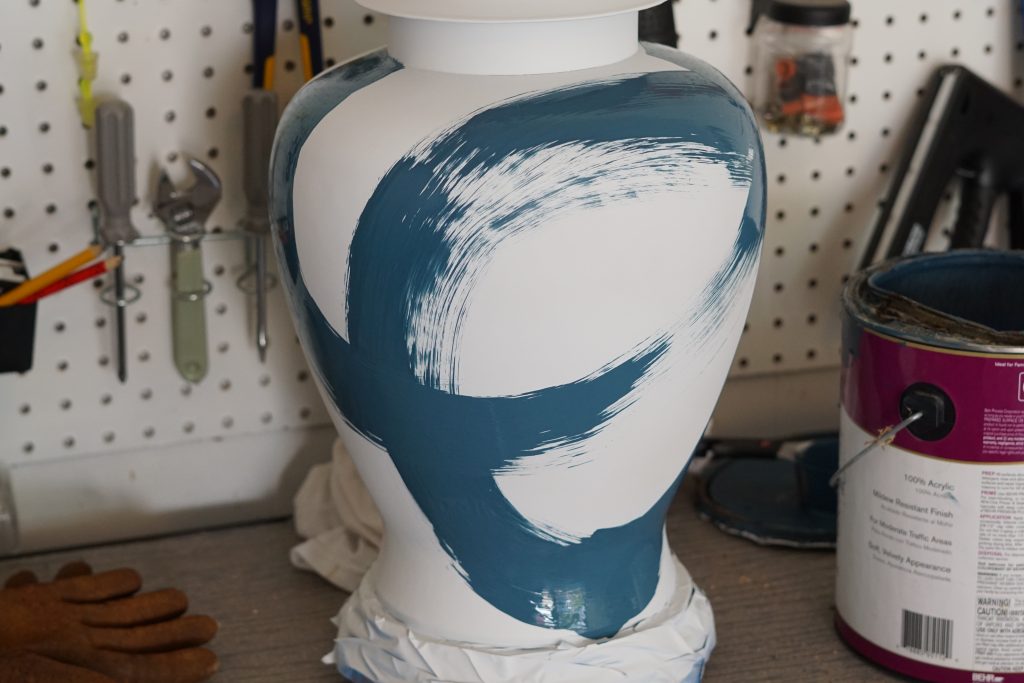
Just keep in mind to leave white space.
I also decided to paint the neck blue, which I think really pulls it all together.
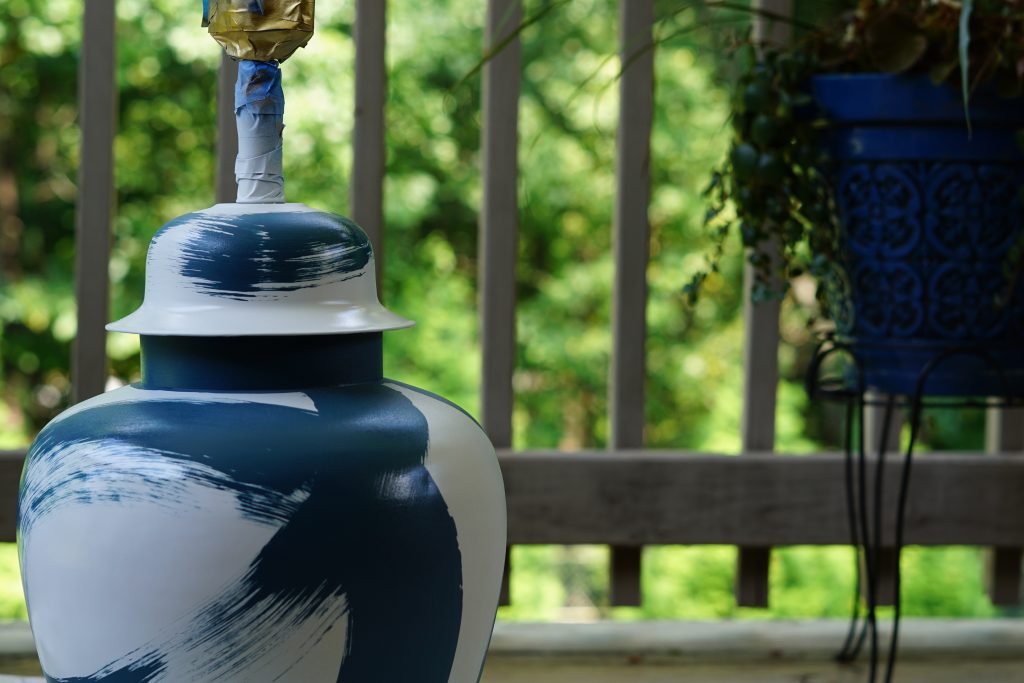
Get Glossy
I used two whole cans Valspar High Gloss Lacquer. Make sure to hold the spray paint can about a foot away from the lamp so that you don’t get any drips or runs. Let each coat dry before spraying on the next one.
I still wish mine was a little glossier, so if you have a product that really produces a high glossy shine please let me know!

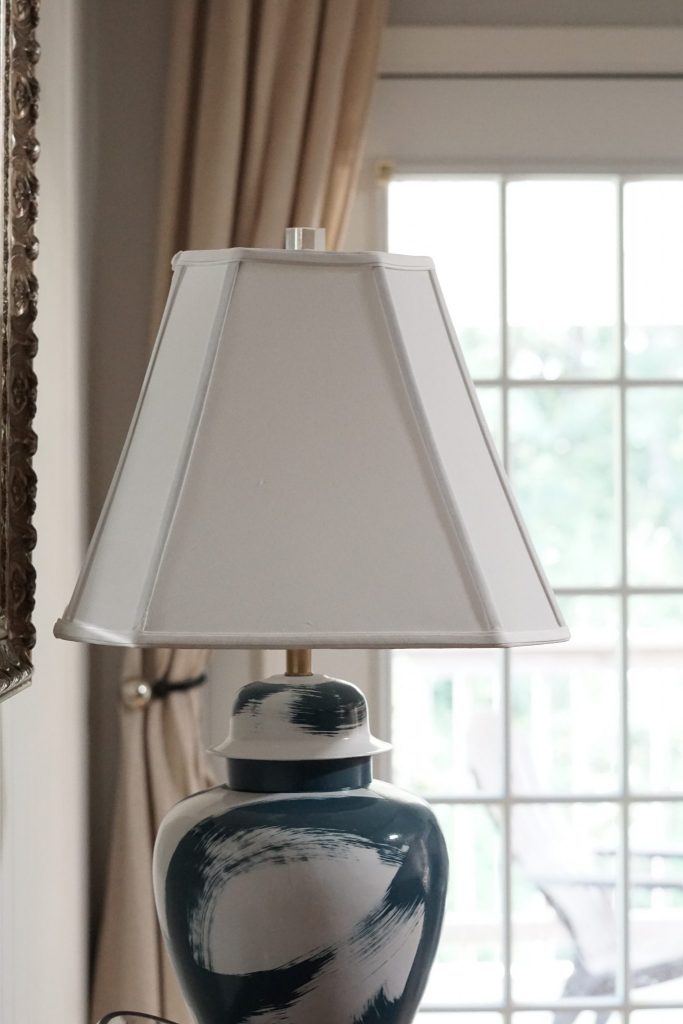
After purchasing the materials and the shade from Target, my total was around $35.
That’s a $415 savings!
Let me know if you’re going to try this and make sure to tag me in any of your brush stroke lamp projects. I’d love to see how they turn out!
Instagram – @dahliasanddimes | Facebook – Dahlias and Dimes