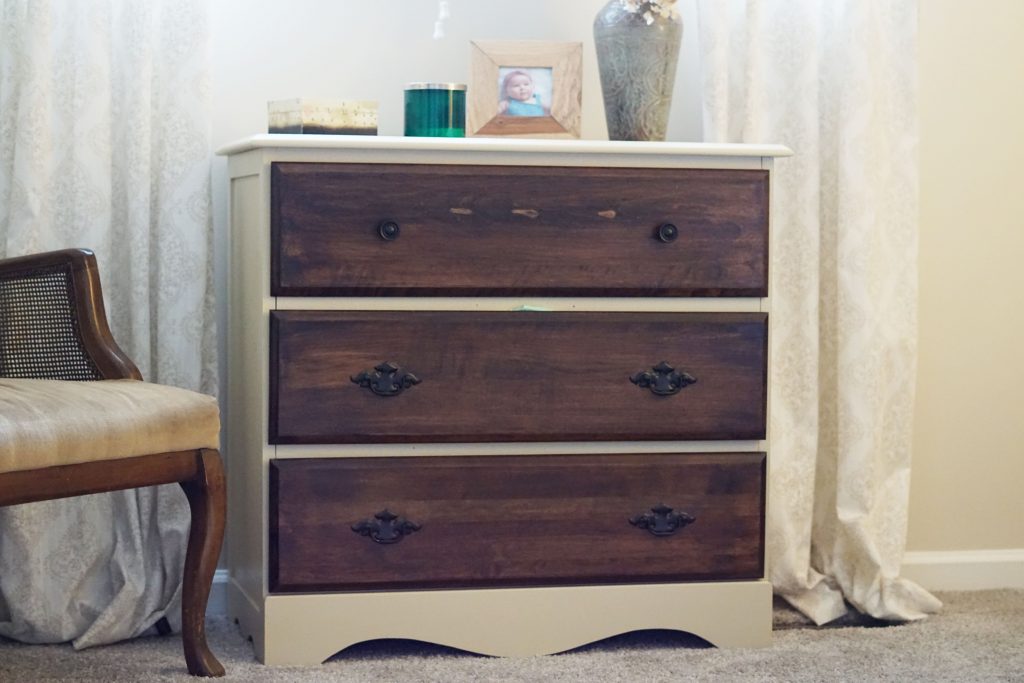
There are several changes I want to make to our bedroom just to bring it up to date to my current style, but it’s one of those spaces that will receive the updates as time passes. One big project I tackled over the past couple weeks was giving our bedroom furniture a subtle, yet much needed, face lift.

I painted our furniture, which was once in my husband’s childhood bedroom, several years ago with a homemade chalkpaint that I made with a leftover yellowy-beige sample paint. I’m not sure what I was thinking when I chose this color. I never loved it, but repainting sounded like misery. Once we moved into our new home, I had a vision of what I wanted to do with these two pieces to make them last several more years until we (maybe…hopefully…fingers-crossed) get new furniture.
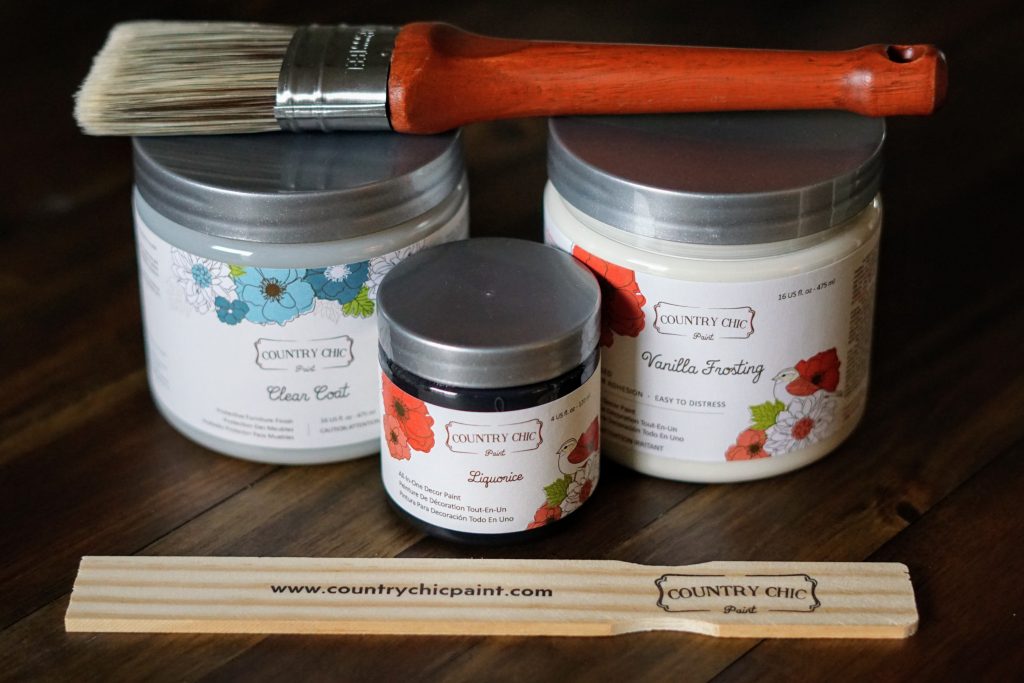
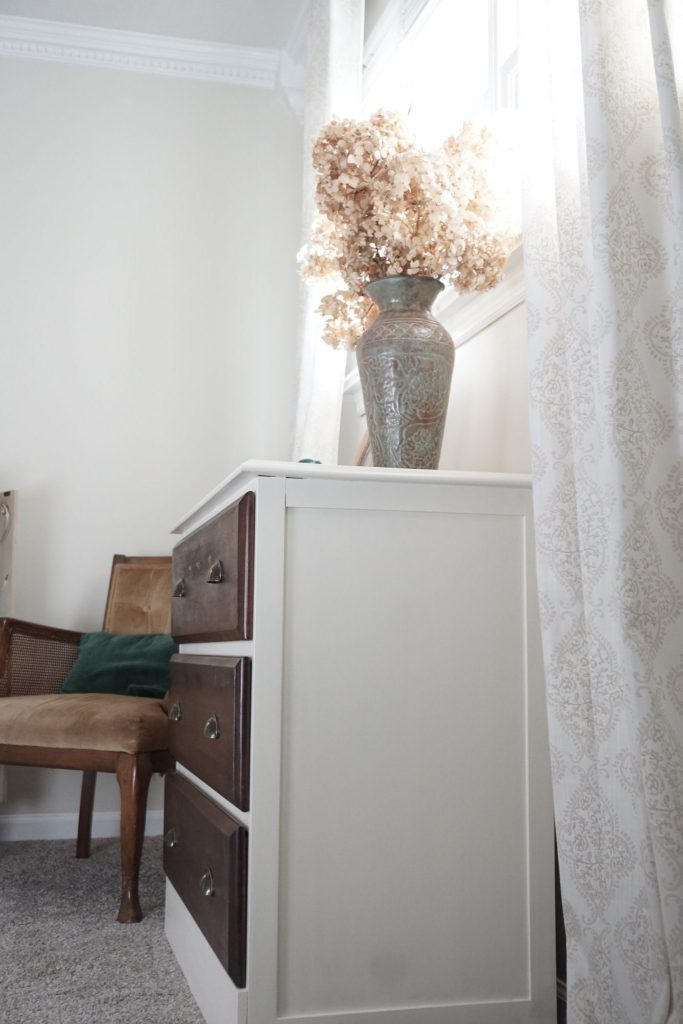
Like I mentioned, I usually make my own chalkpaint (RECIPE HERE), but I received Country Chic’s clay-based paint to try out for this project. I now know why people spend a few extra dollars on the real stuff! It glided on the furniture so smoothly, evenly, and effortlessly. No brushstrokes or texture was left behind.
Working with Clay-Based Paint
(some links are affiliated for your ease of shopping)
Supplies | paint – top coat – paint brush – foam brush – paper towels – cleaner – sanding block (optional)
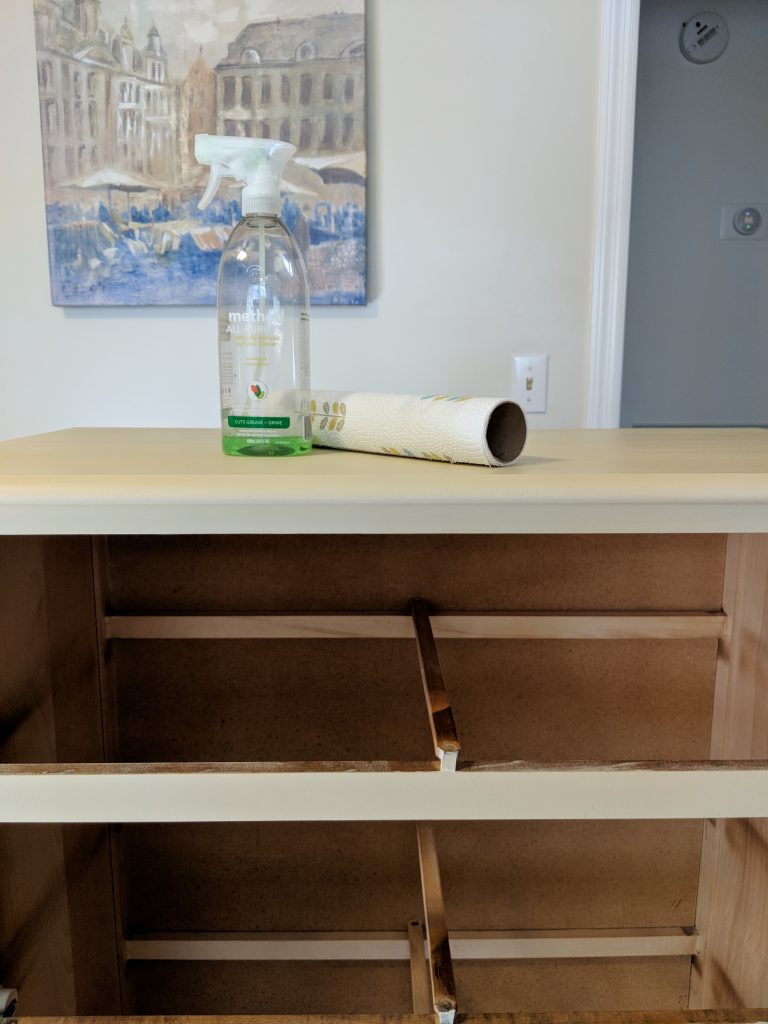
Step One | Prep
Unless your piece has uneven spots or drips or a super glossy finish, there’s no need to sand. You simply just need to wipe your piece down with a gentle cleaner, let it dry for a few minutes, and get started.
Step Two | Technique
When using a clay or chalk-based paint, you want to apply several thin layers instead of trying to get a full coverage on the first coat, which will result in a textured finish. Make sure your brush is always wet with paint. This paint dries quickly, so you never want to keep going over an area without a wet brush. Just get a fuller coverage on your next coat instead.
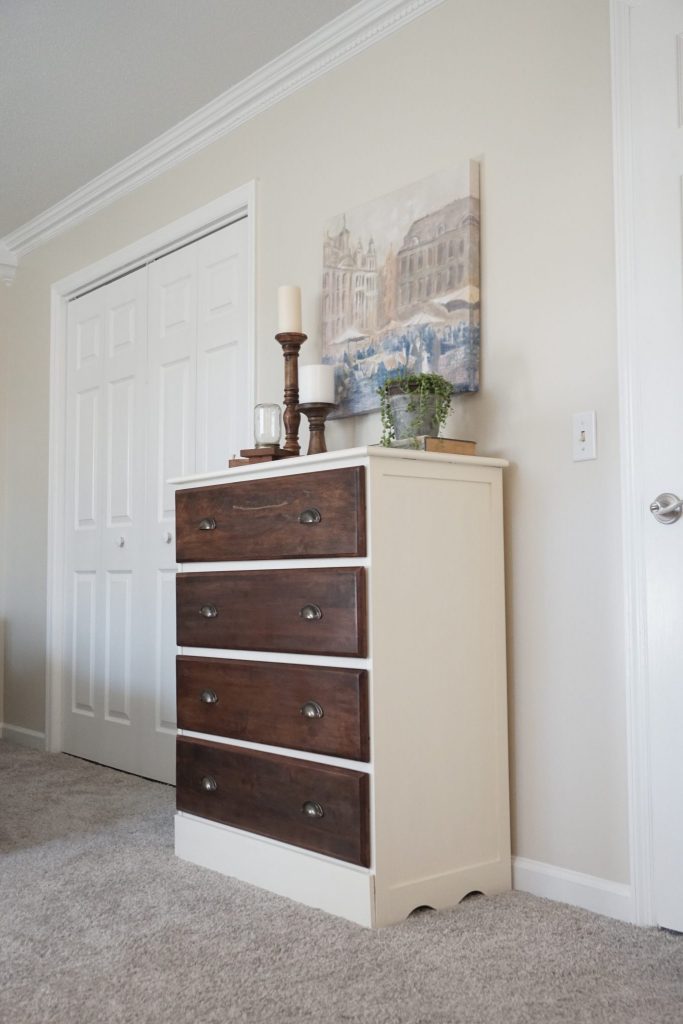
I used Country Chic’s Vanilla Frosting to lighten up my furniture without them being stark white.
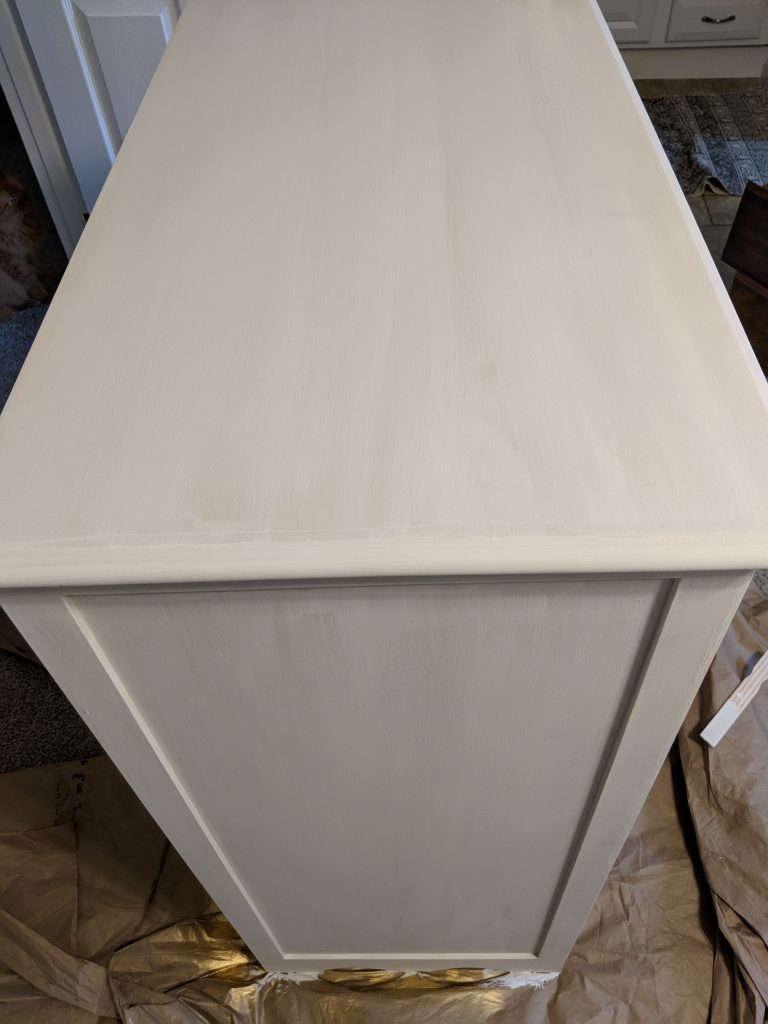
This is after one coat.
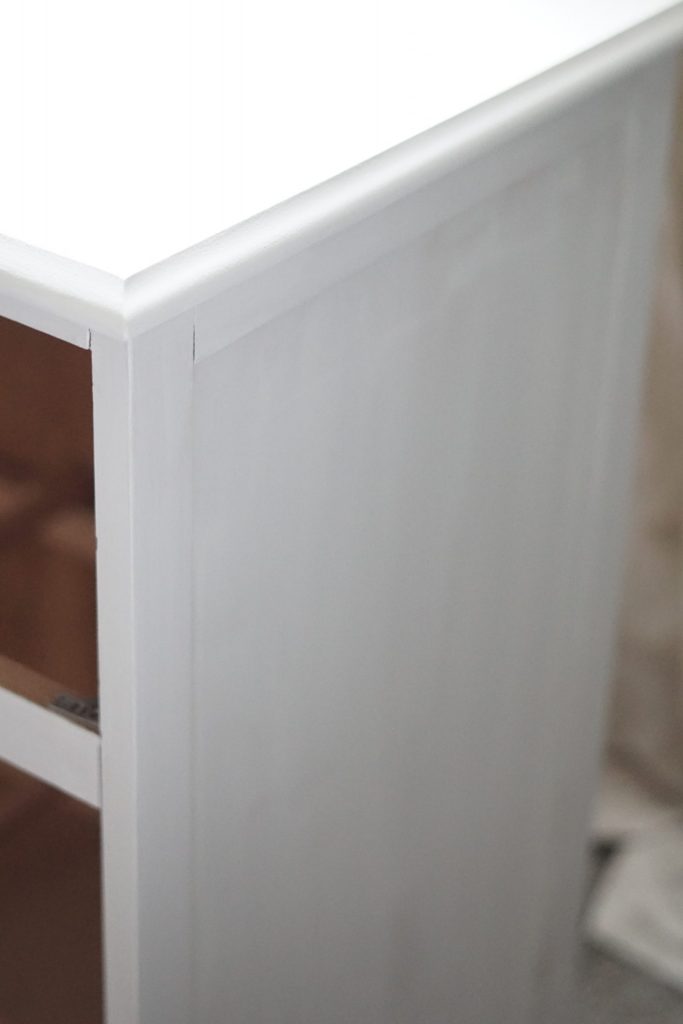
In the end, it only took me two coats plus a few spot touch-ups. I waited 45 minutes to an hour between coats, but you really don’t even have to wait that long. Half an hour should be plenty of wait time.
Step Three | Protect
Country Chic Paint has a few different options when it comes to top coats. I applied two coats of their clear coat with a foam brush. Like with the paint, you want to apply 2-3 thin coats with a wet brush without going over and over the same area with a dry brush. This will leave a textured top finish. You’ll want to wait several hours between each coat of top coat to give it a chance to completely dry and harden.
Wait at least 24 hours before placing any objects on top of your finished piece.
For even more detailed tutorials, Country Chic Paint has awesome step-by-step videos on their YouTube channel.
Finishing Touches
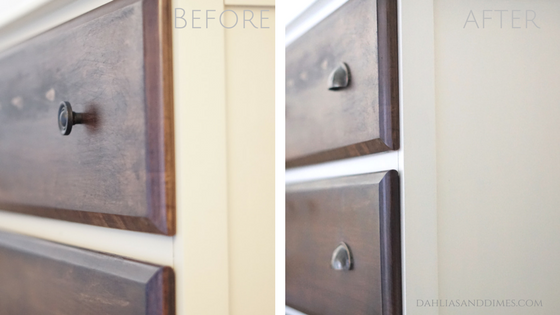
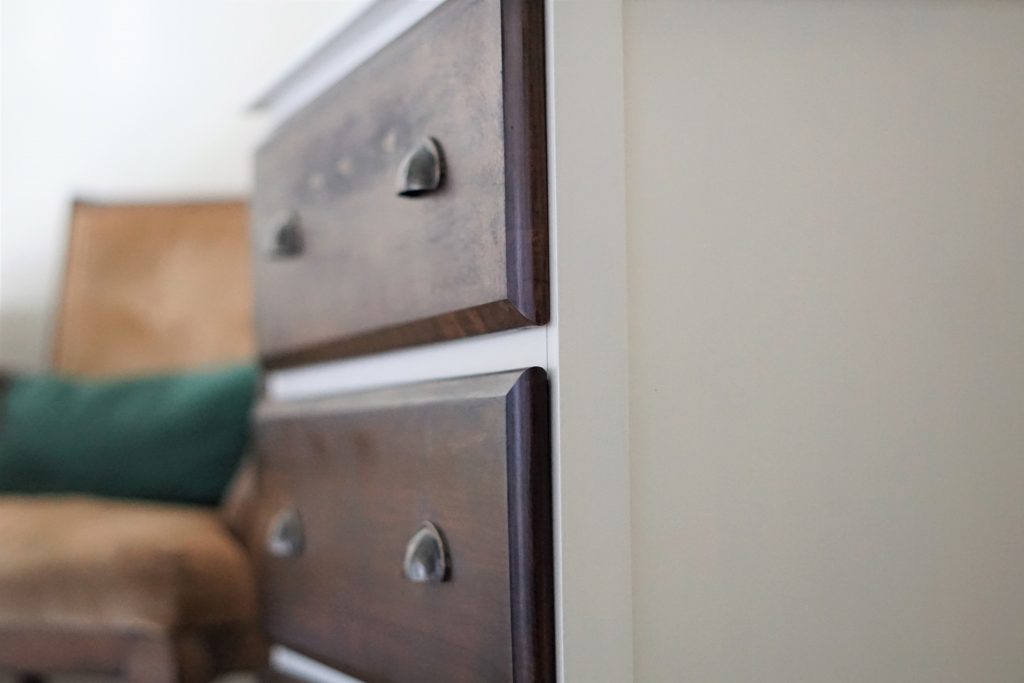
My furniture showed signs that it was dated in a couple different ways: the hardware and the curvy detailed finish on the bottom boards.
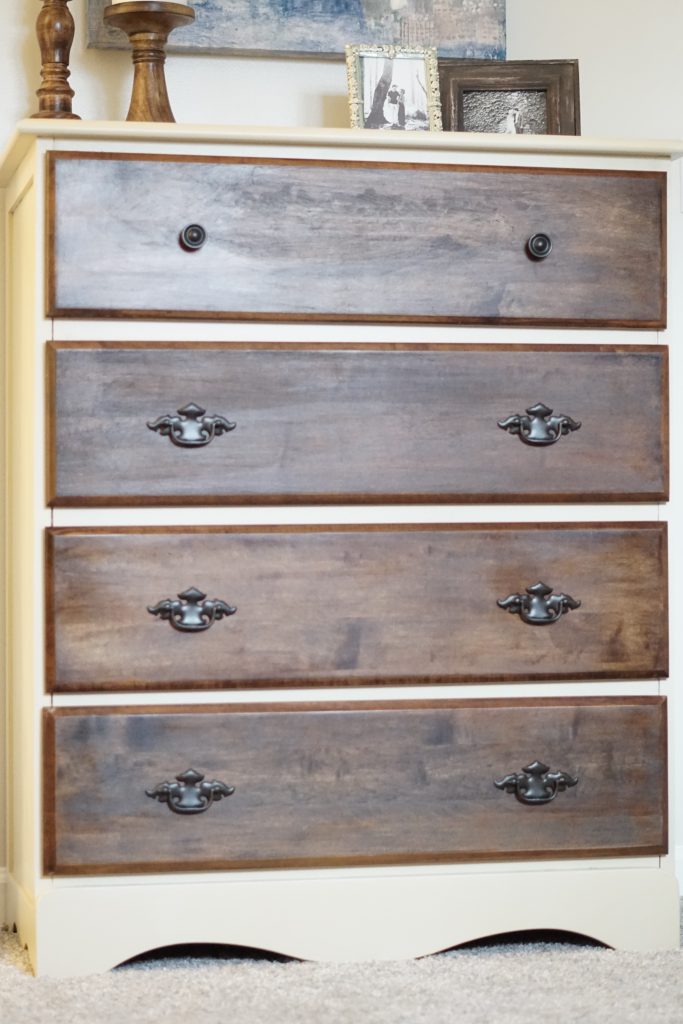
I replaced the bottom board with a solid pine board. I wanted to replace with side boards as well, but I just couldn’t figure out how to remove them without completely ruining the furniture, so I comprised.
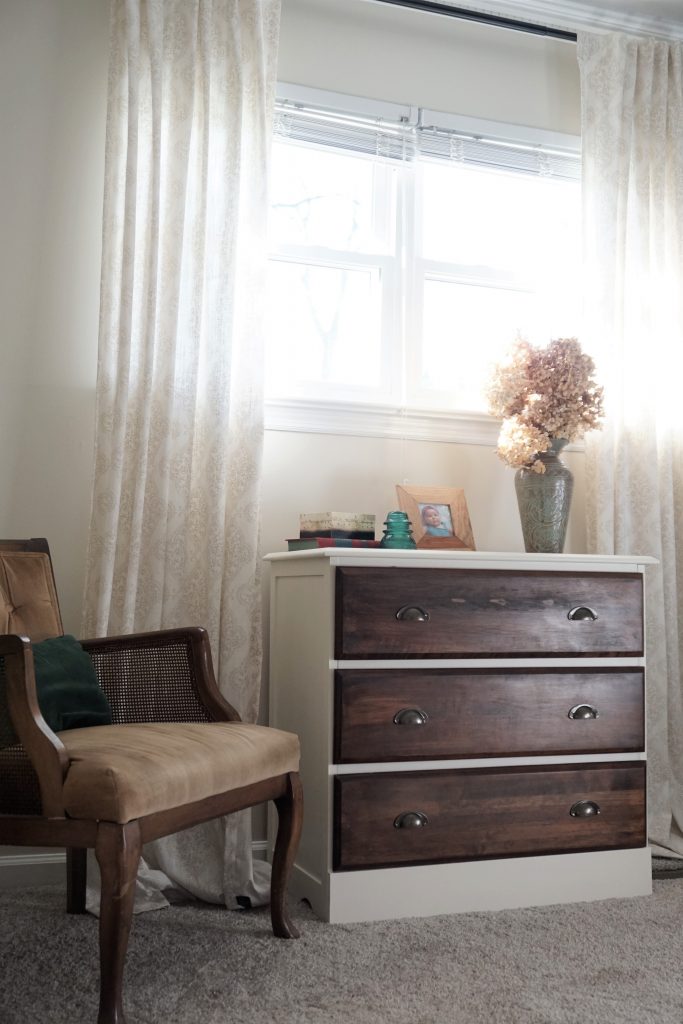
I also replaced the old hardware with inexpensive cup pulls I found on Amazon. They’re only $7 for 15 pulls, which sounds like the deal of a lifetime, but I would not use these on something that gets a lot of wear-and-tear (i.e. kitchen cabinets). They come with little screws, but I had to buy new ones at Lowes because they kept snapping in half. All-in-all, they look great and worth the savings to me for what I needed them for.
![]()
Though the changes were subtle, my room now has lighter, brighter feel just by lightening up the paint and adding a few finishing touches.
Moral of the story: refinishing a piece of furniture doesn’t always have to be a drastic before-and-after. Just brightening up your piece with fresh paint and updating the hardware can give your space just the face lift it needed!