It’s the final week of the One Room Challenge before our big reveal next Wednesday! Cross your fingers that I’ll have more than just an empty nursery to reveal since the girl is due at any moment. So before she gets here, I want to share one of my favorite pieces in the room (I think I’ve said that about everything in there)…the dresser!
Check out the last 4 projects of the challenge below:
Week 1 | Modern Boho Nursery Mood Board
Week 2 | IKEA Algot Closet Makeover
Week 3 | Affordable Modern Shiplap Wall DIY
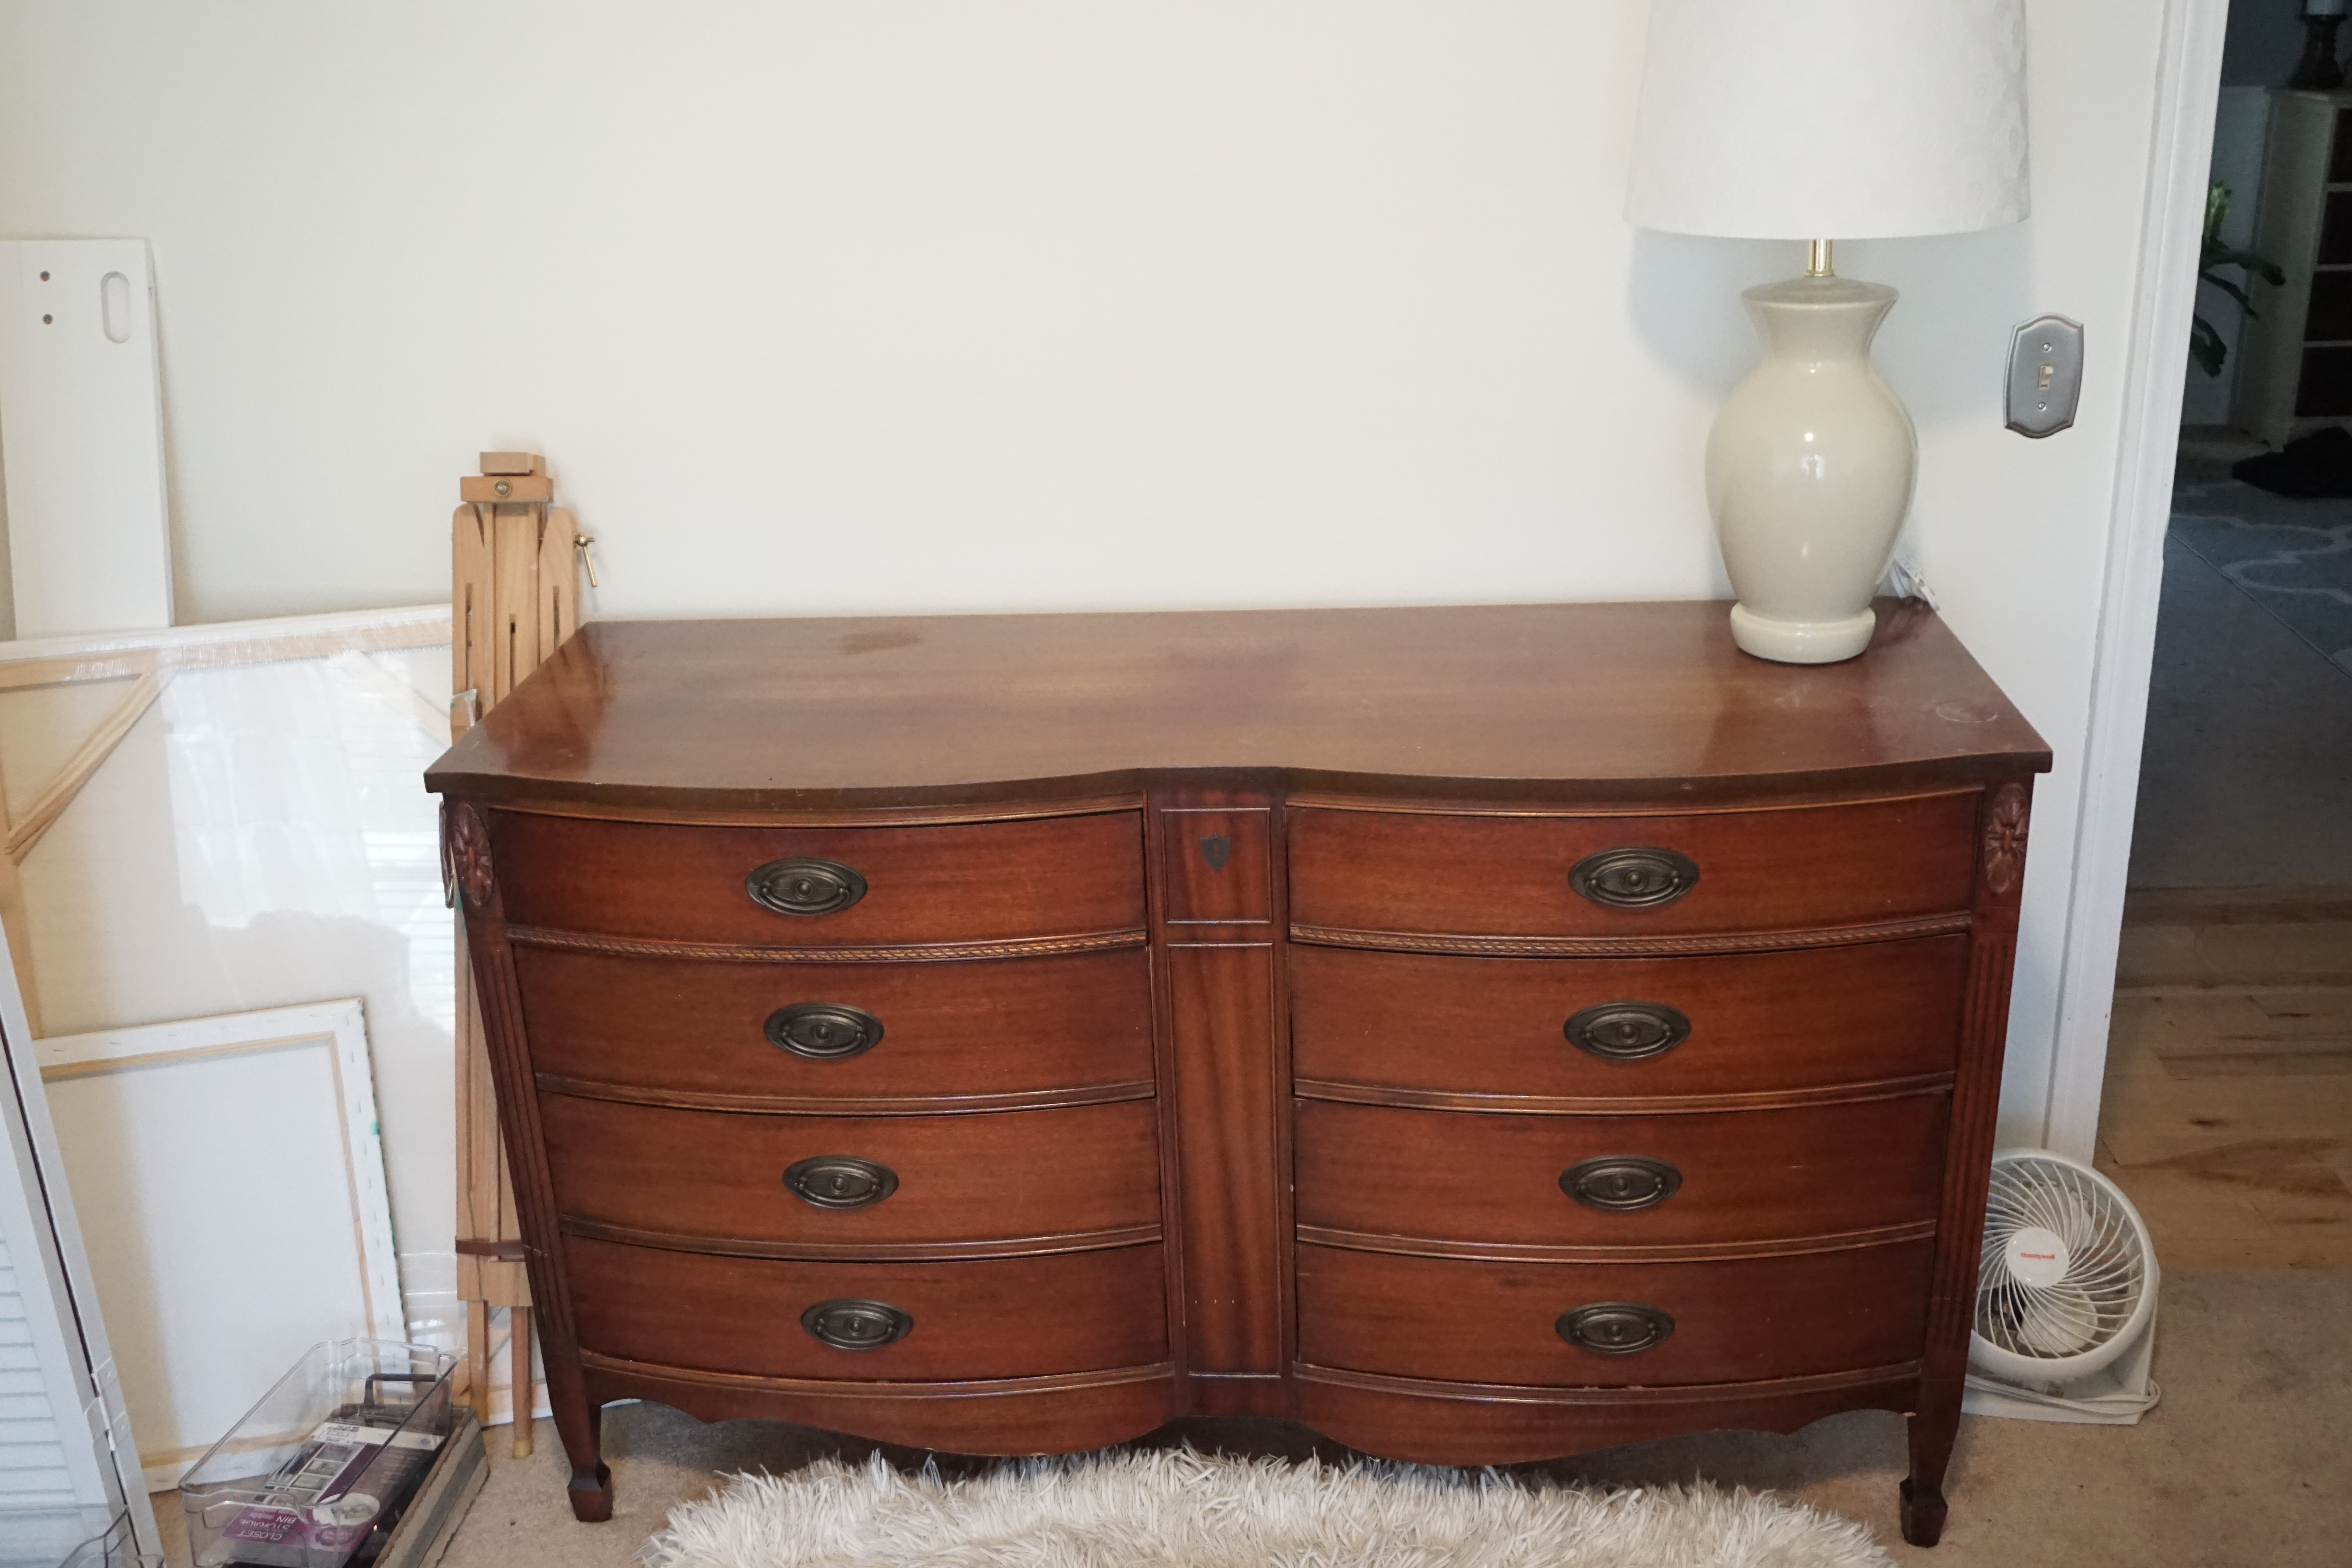
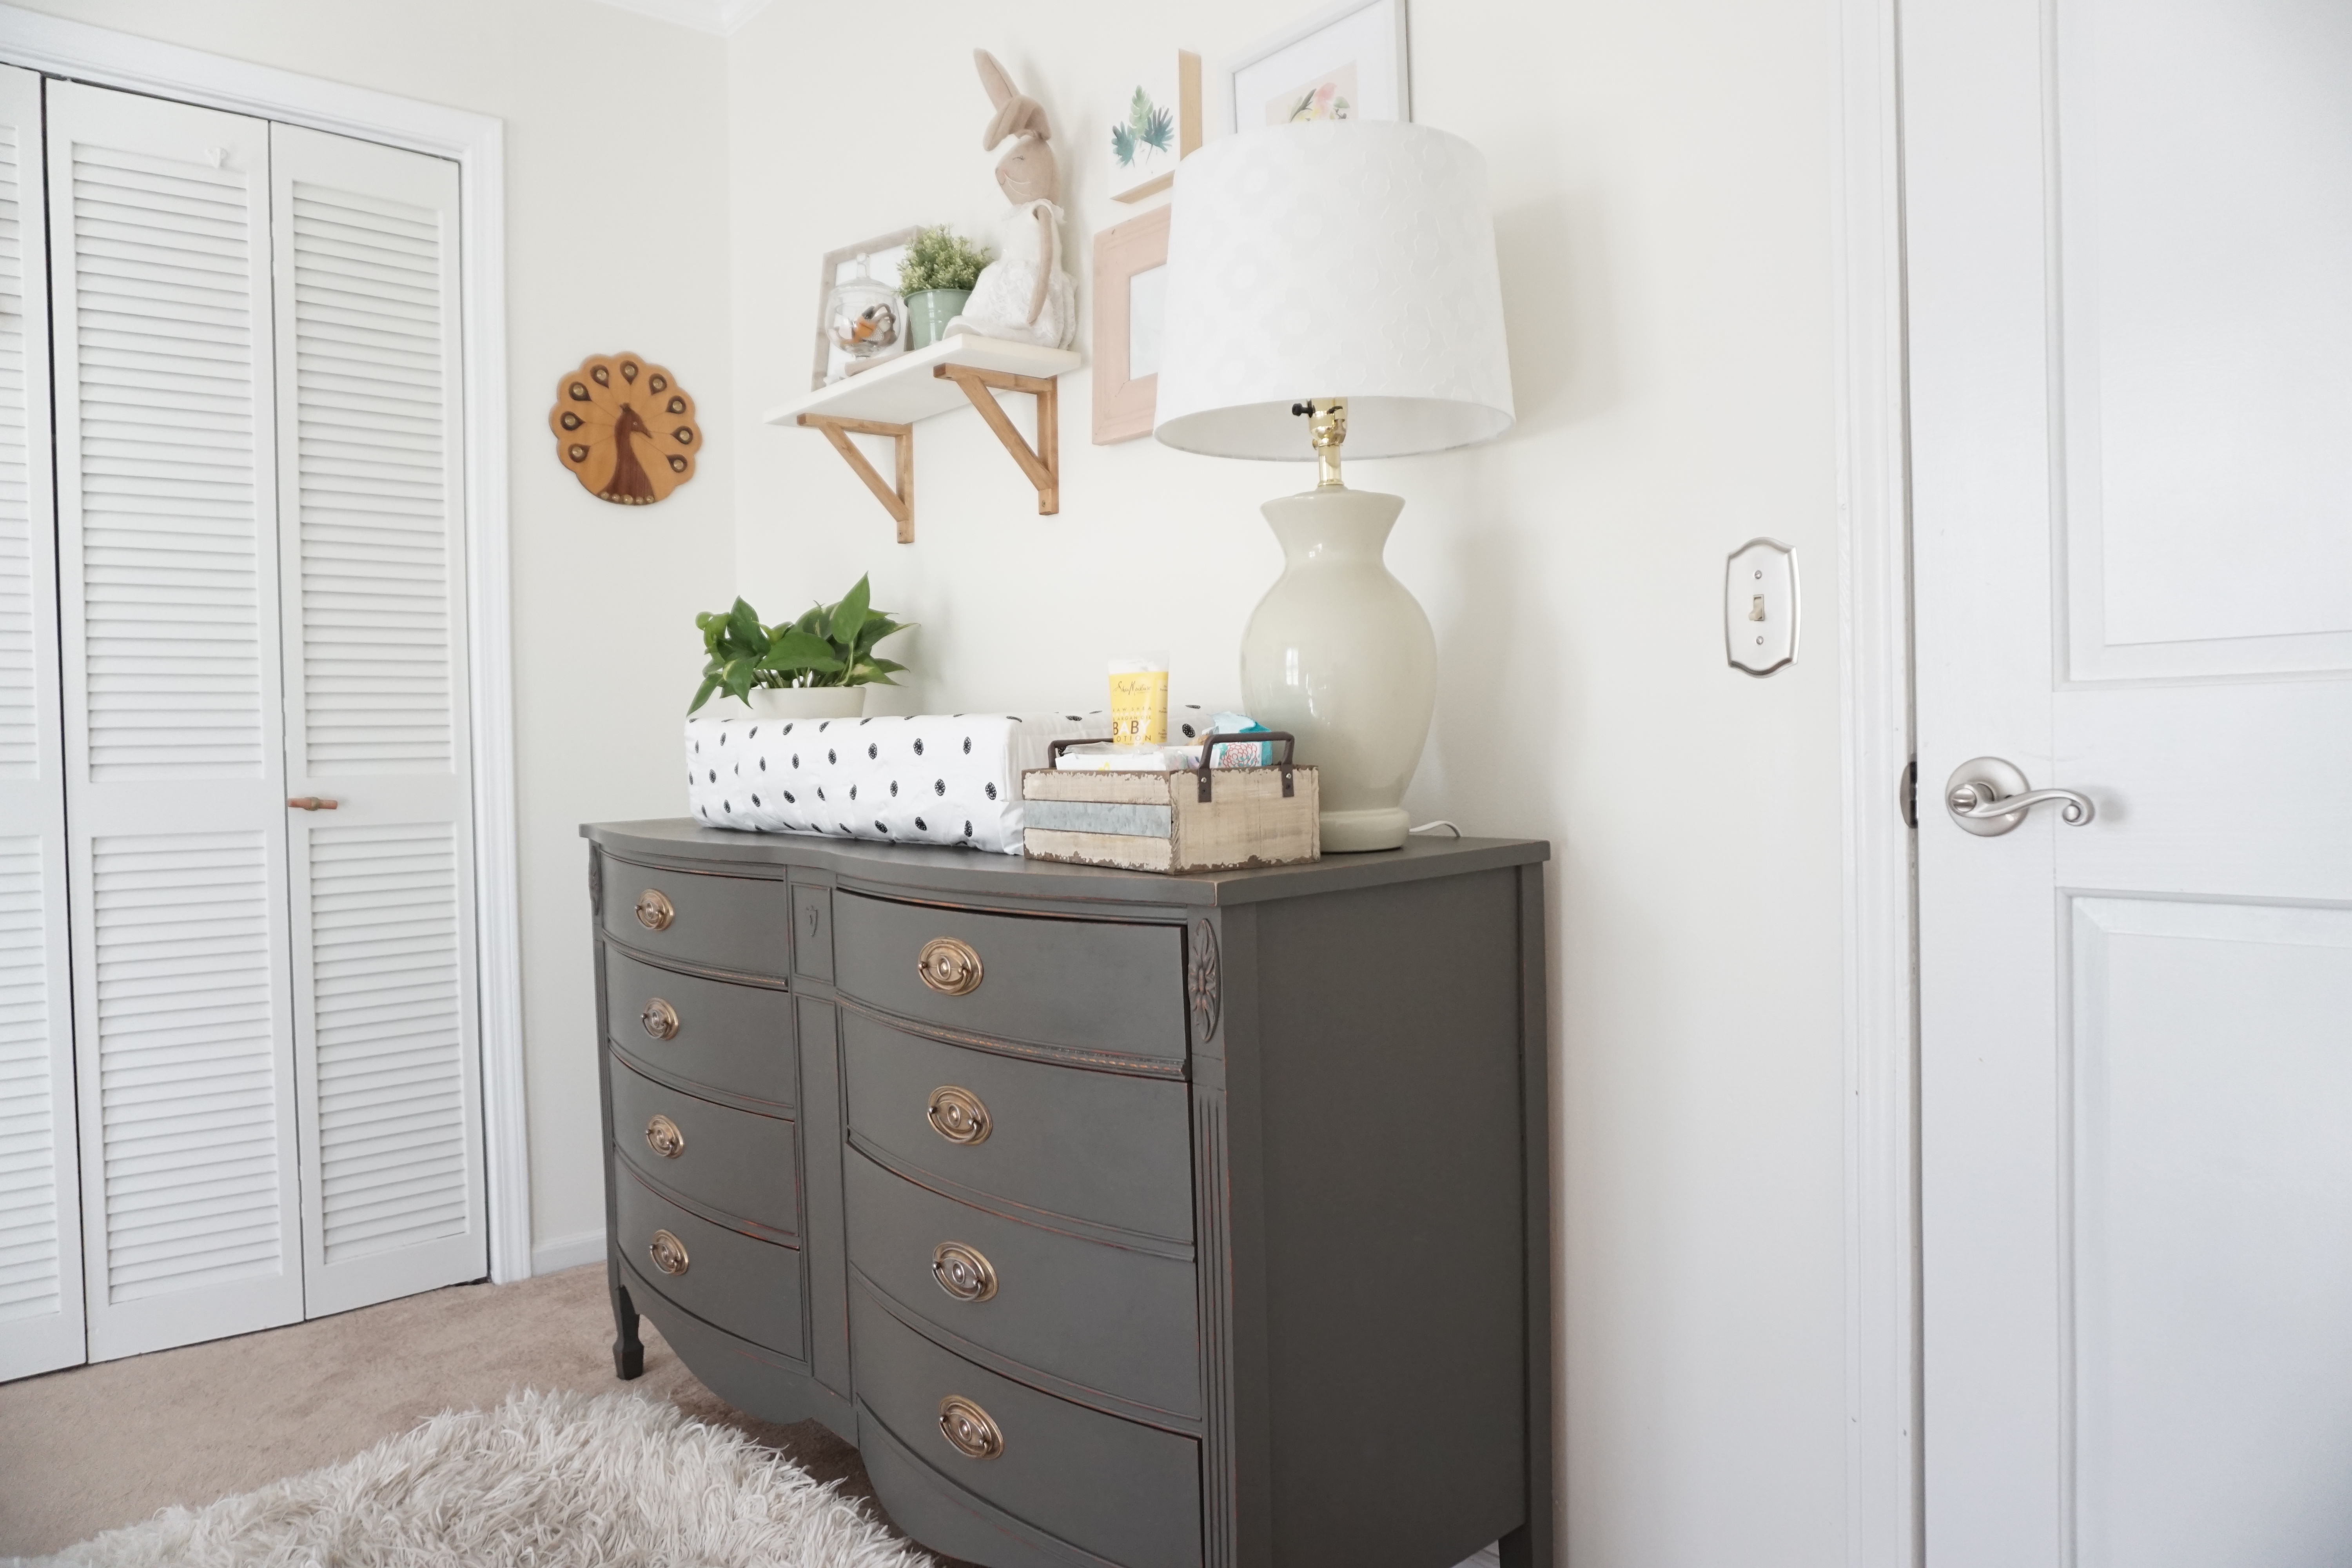
If you’re a regular around here, you know that I’m all about practical, yet stylish, design. When it came to a changing table, it was a no-brainer that I would repurpose a dresser that could be used for years to come. My quest was on for the perfect dresser with the right shape and beautiful details that would also fit in our small budget! Luckily, I stumbled upon the perfect piece on our local Facebook sell and swap for $150!
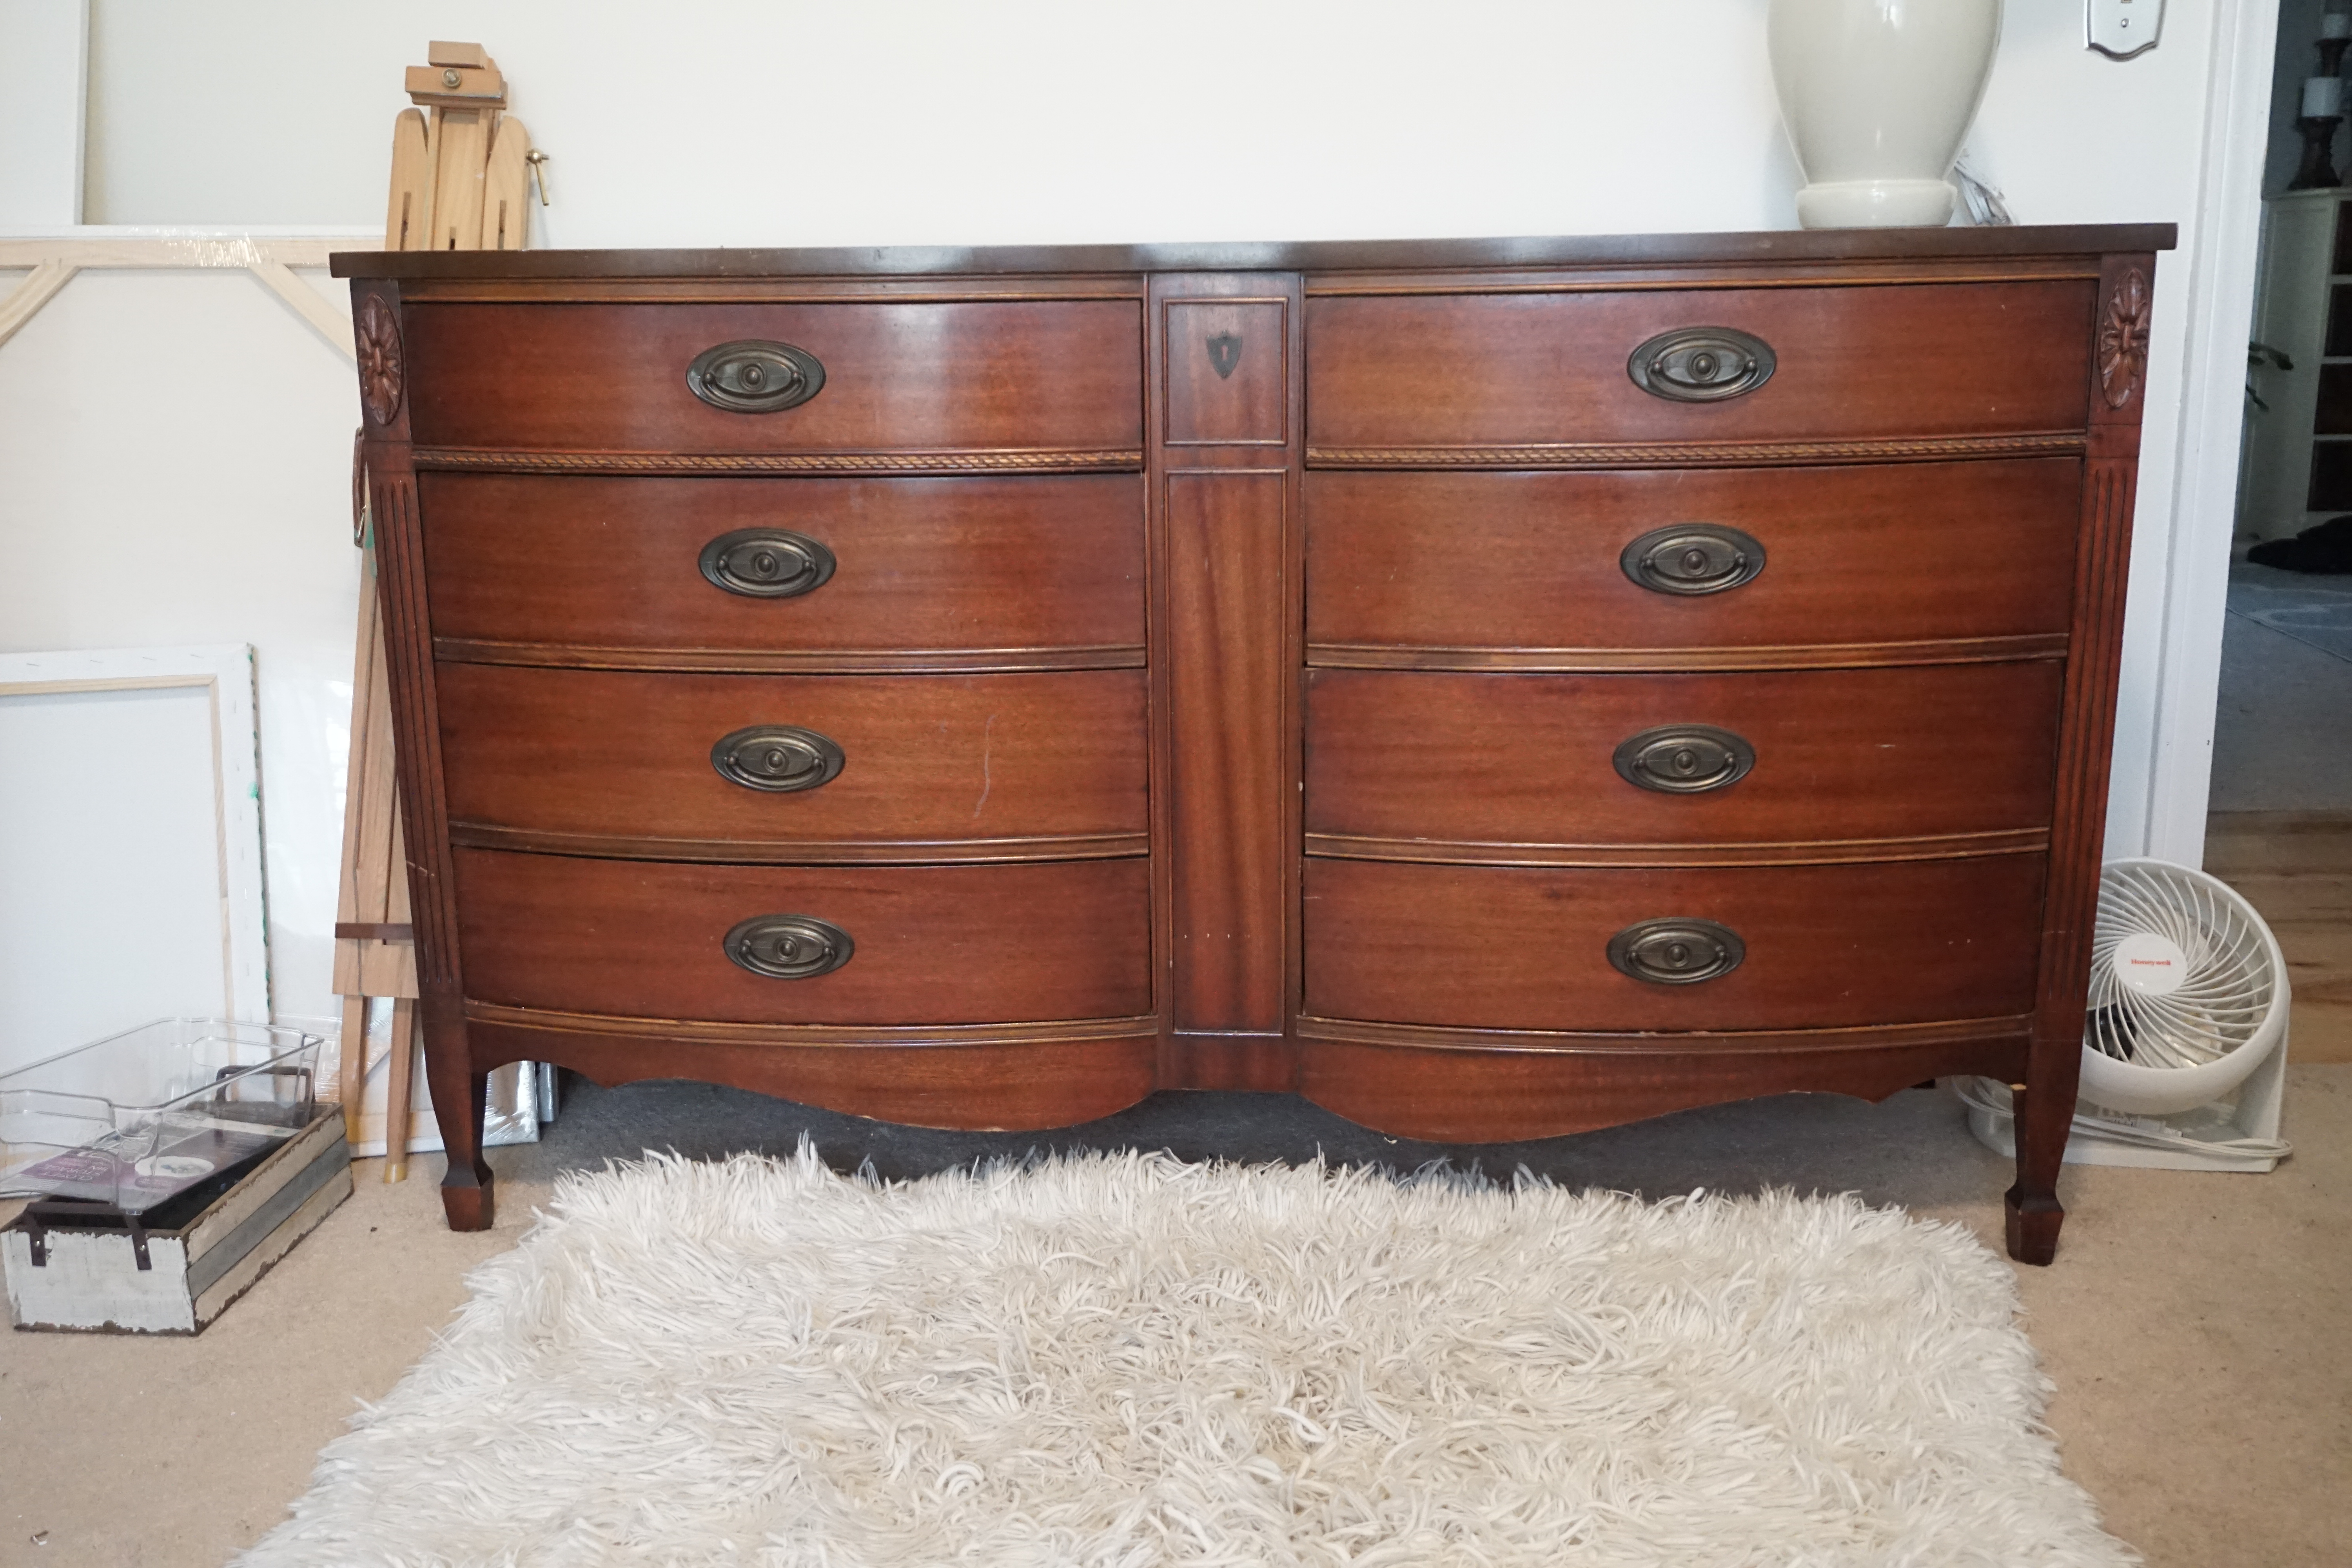
The bones were great and the stain was a beautiful color, but there was some cosmetic damage and scratches that needed attention. You can slightly see the discoloration on the top and scratches on the drawers from the photos, but it was quite a bit worse in person.
One of my favorite hobbies is refinishing furniture. I’ve refinished tons of pieces over the years, and chalk paint has got to be my favorite medium. Not only do you not have sand a piece before you paint it, it also doesn’t leave brush strokes. It’s nearly fool proof. Chalk paint is not as hard to find anymore, but it’s still not cheap.
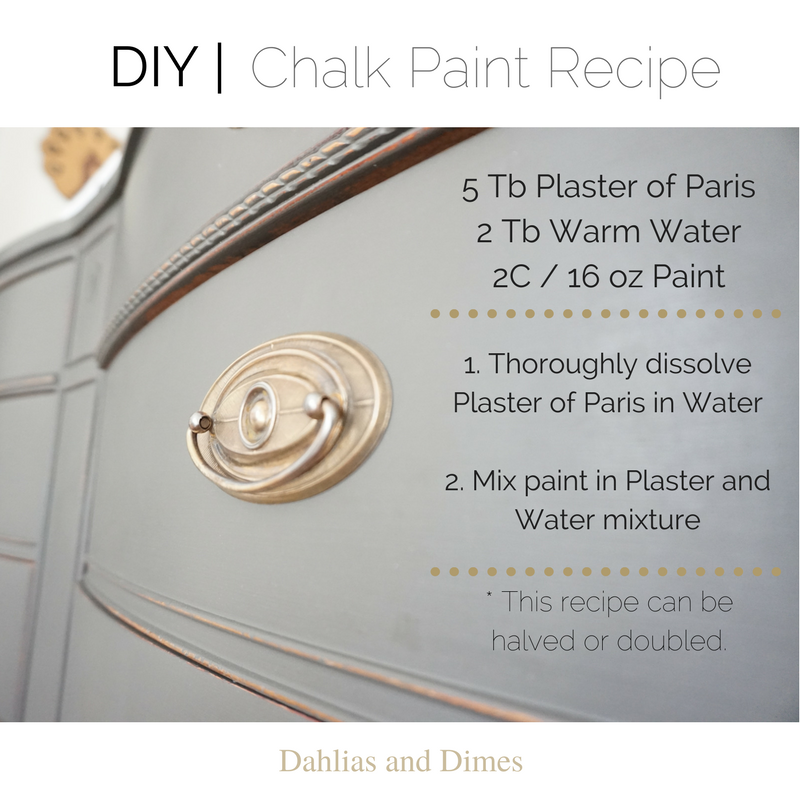
Beside this trunk that I painted with Americana Chalk Paint, I’ve always made my own. Using the recipe below allows you to use any color you want. I usually just buy a couple samples of paint at Lowes or Home Depot, or I just use whatever paint I have on hand to make my chalk paint.
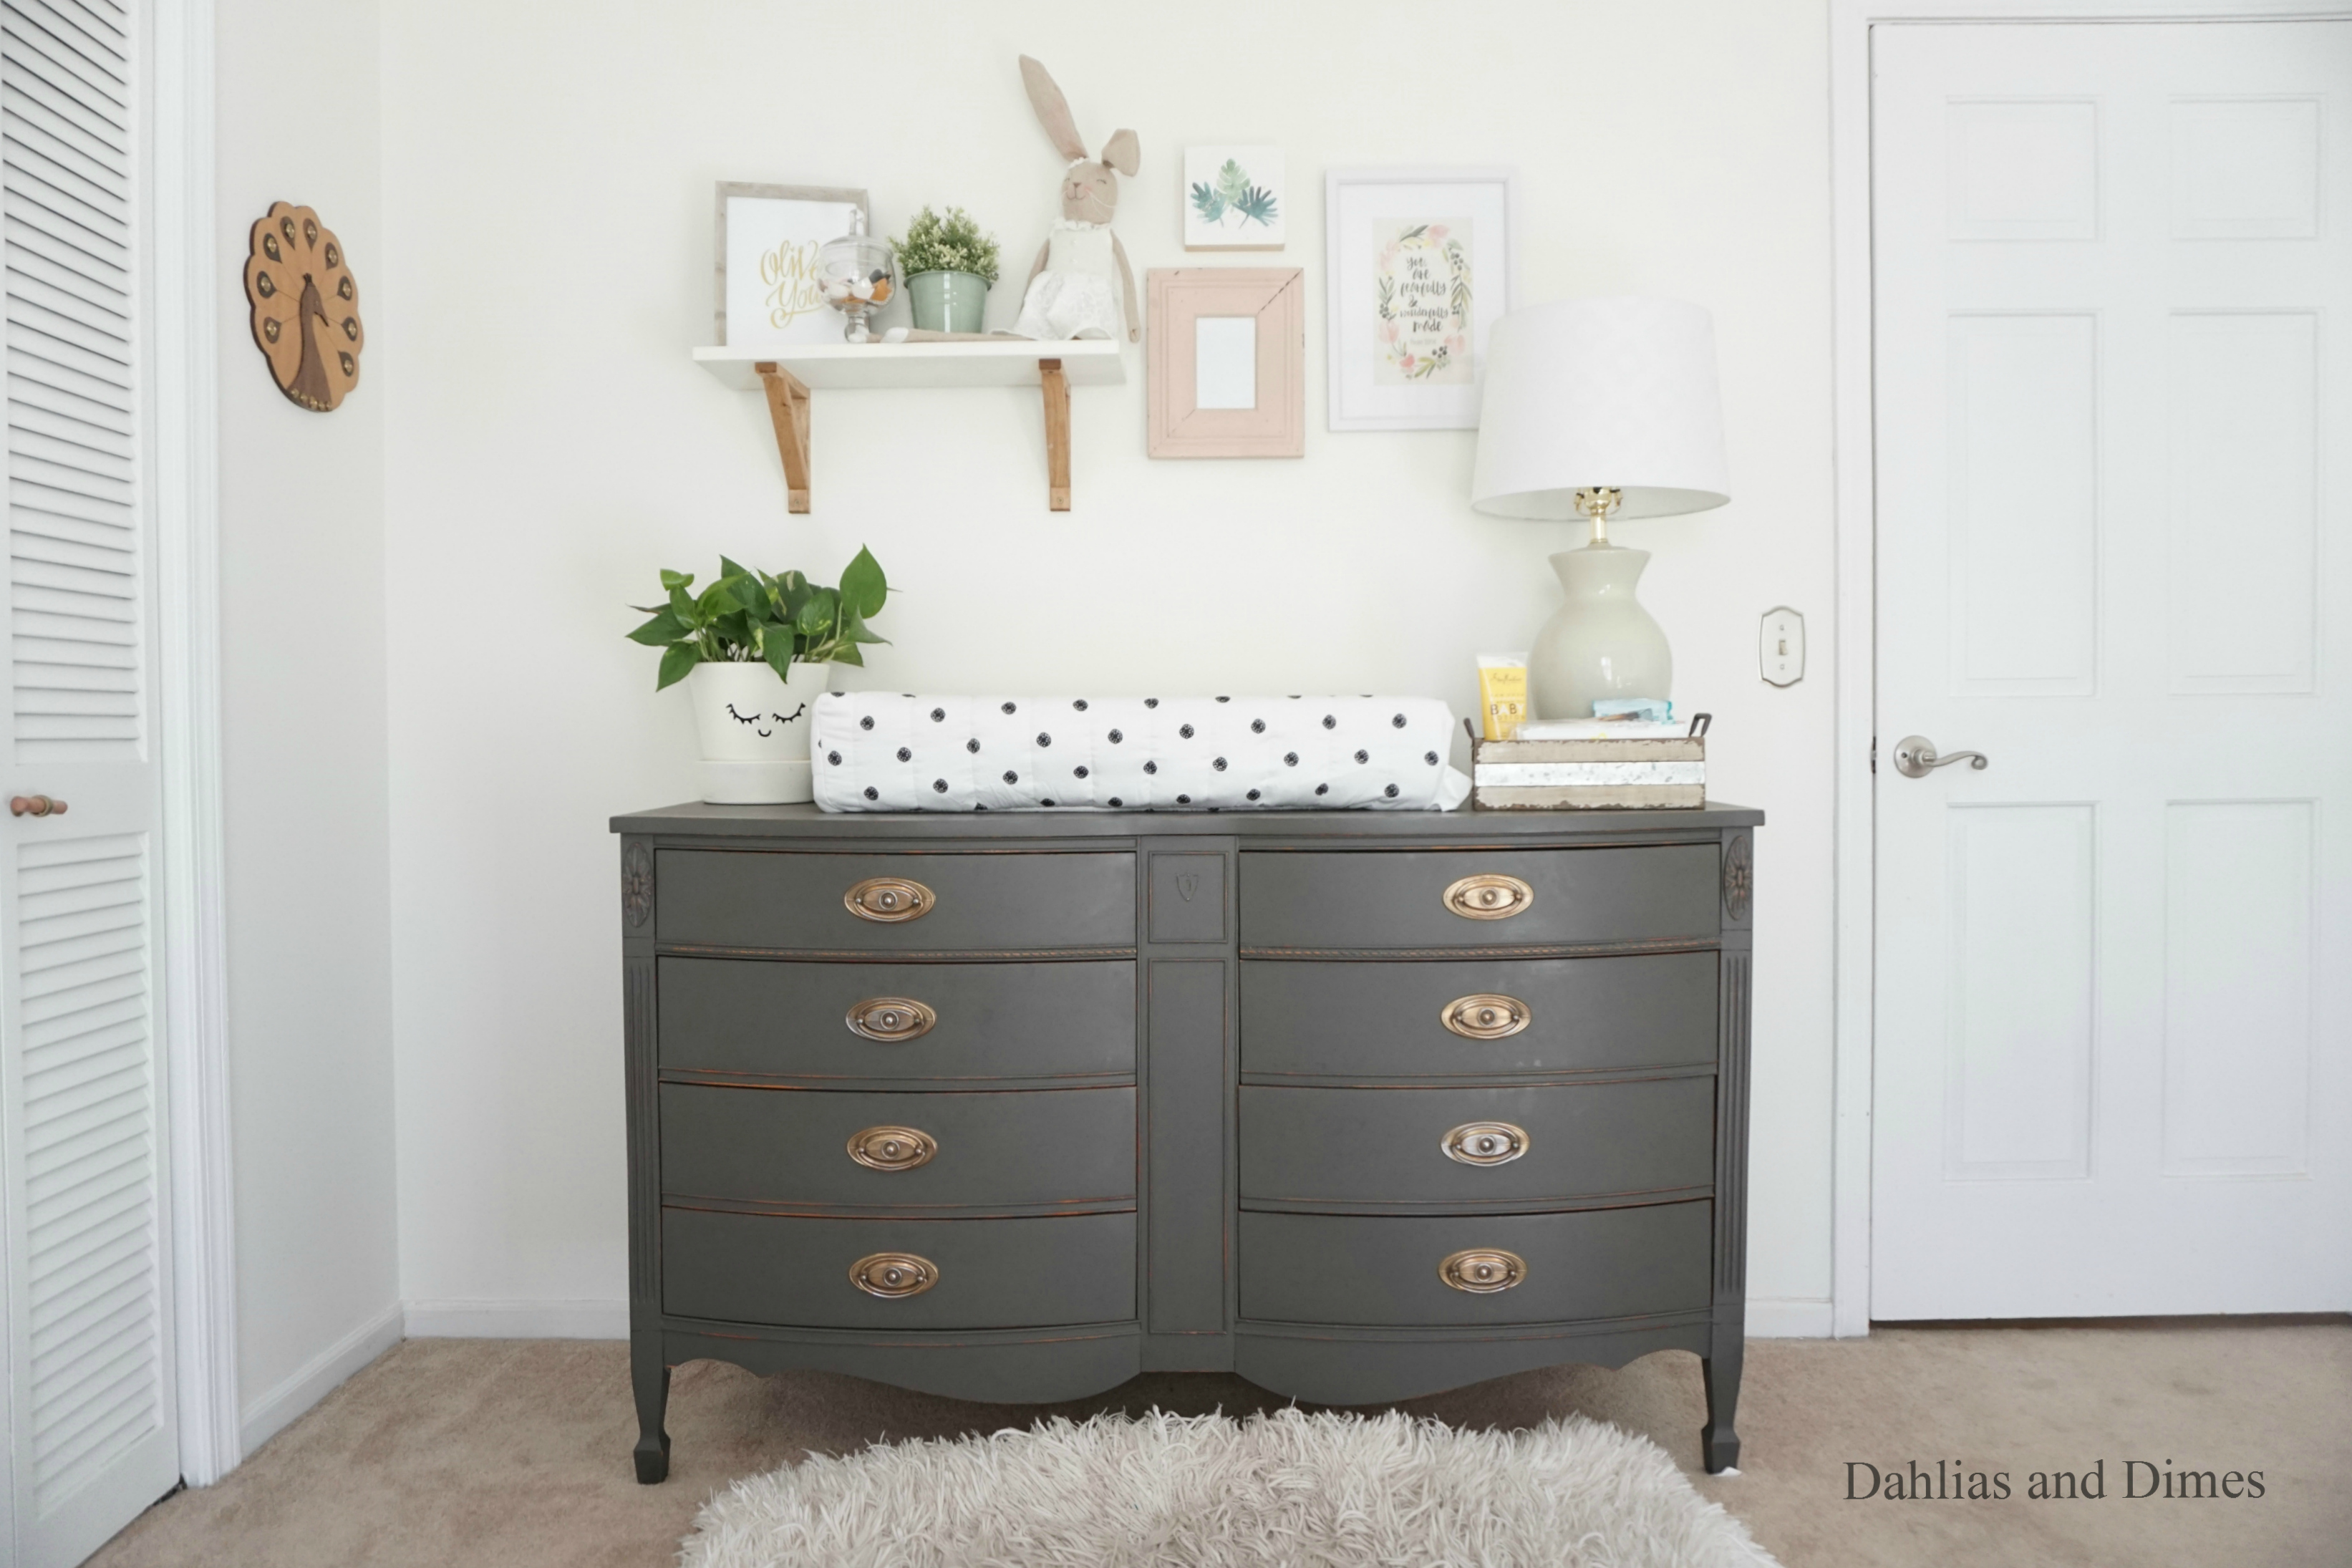
For this project, I used Urbane Bronze by Sherwin Williams, but I just asked the kind associate at Home Depot to mix up a couple samples for me in using their Behr paint.
Prep Work
Before you begin painting any piece, especially if it’s been sitting in a basement or attic, you’ll want to thoroughly clean it with a heavy duty cleaner. I usually use TSP. It gets away all of the grime and dirt. Just make sure to wear gloves if you’re using TSP. You’ll also want to fill any holes or deep scratches with wood filler and remove all the hardware.
Restoring an Old Soul
Once your piece has been prepped, cleaned, and dried you’re ready for your first coat. I used my trusty Purdy brush for this dresser, like I do for every other piece as well. I ended up using three thin coats of chalk paint to get to the desired coverage I was looking for. You need to let the paint dry between each coat, which is another great thing about chalk paint, it dries fairly quickly.
After the final coat, allow the paint to set for 2-3 hours before sanding.
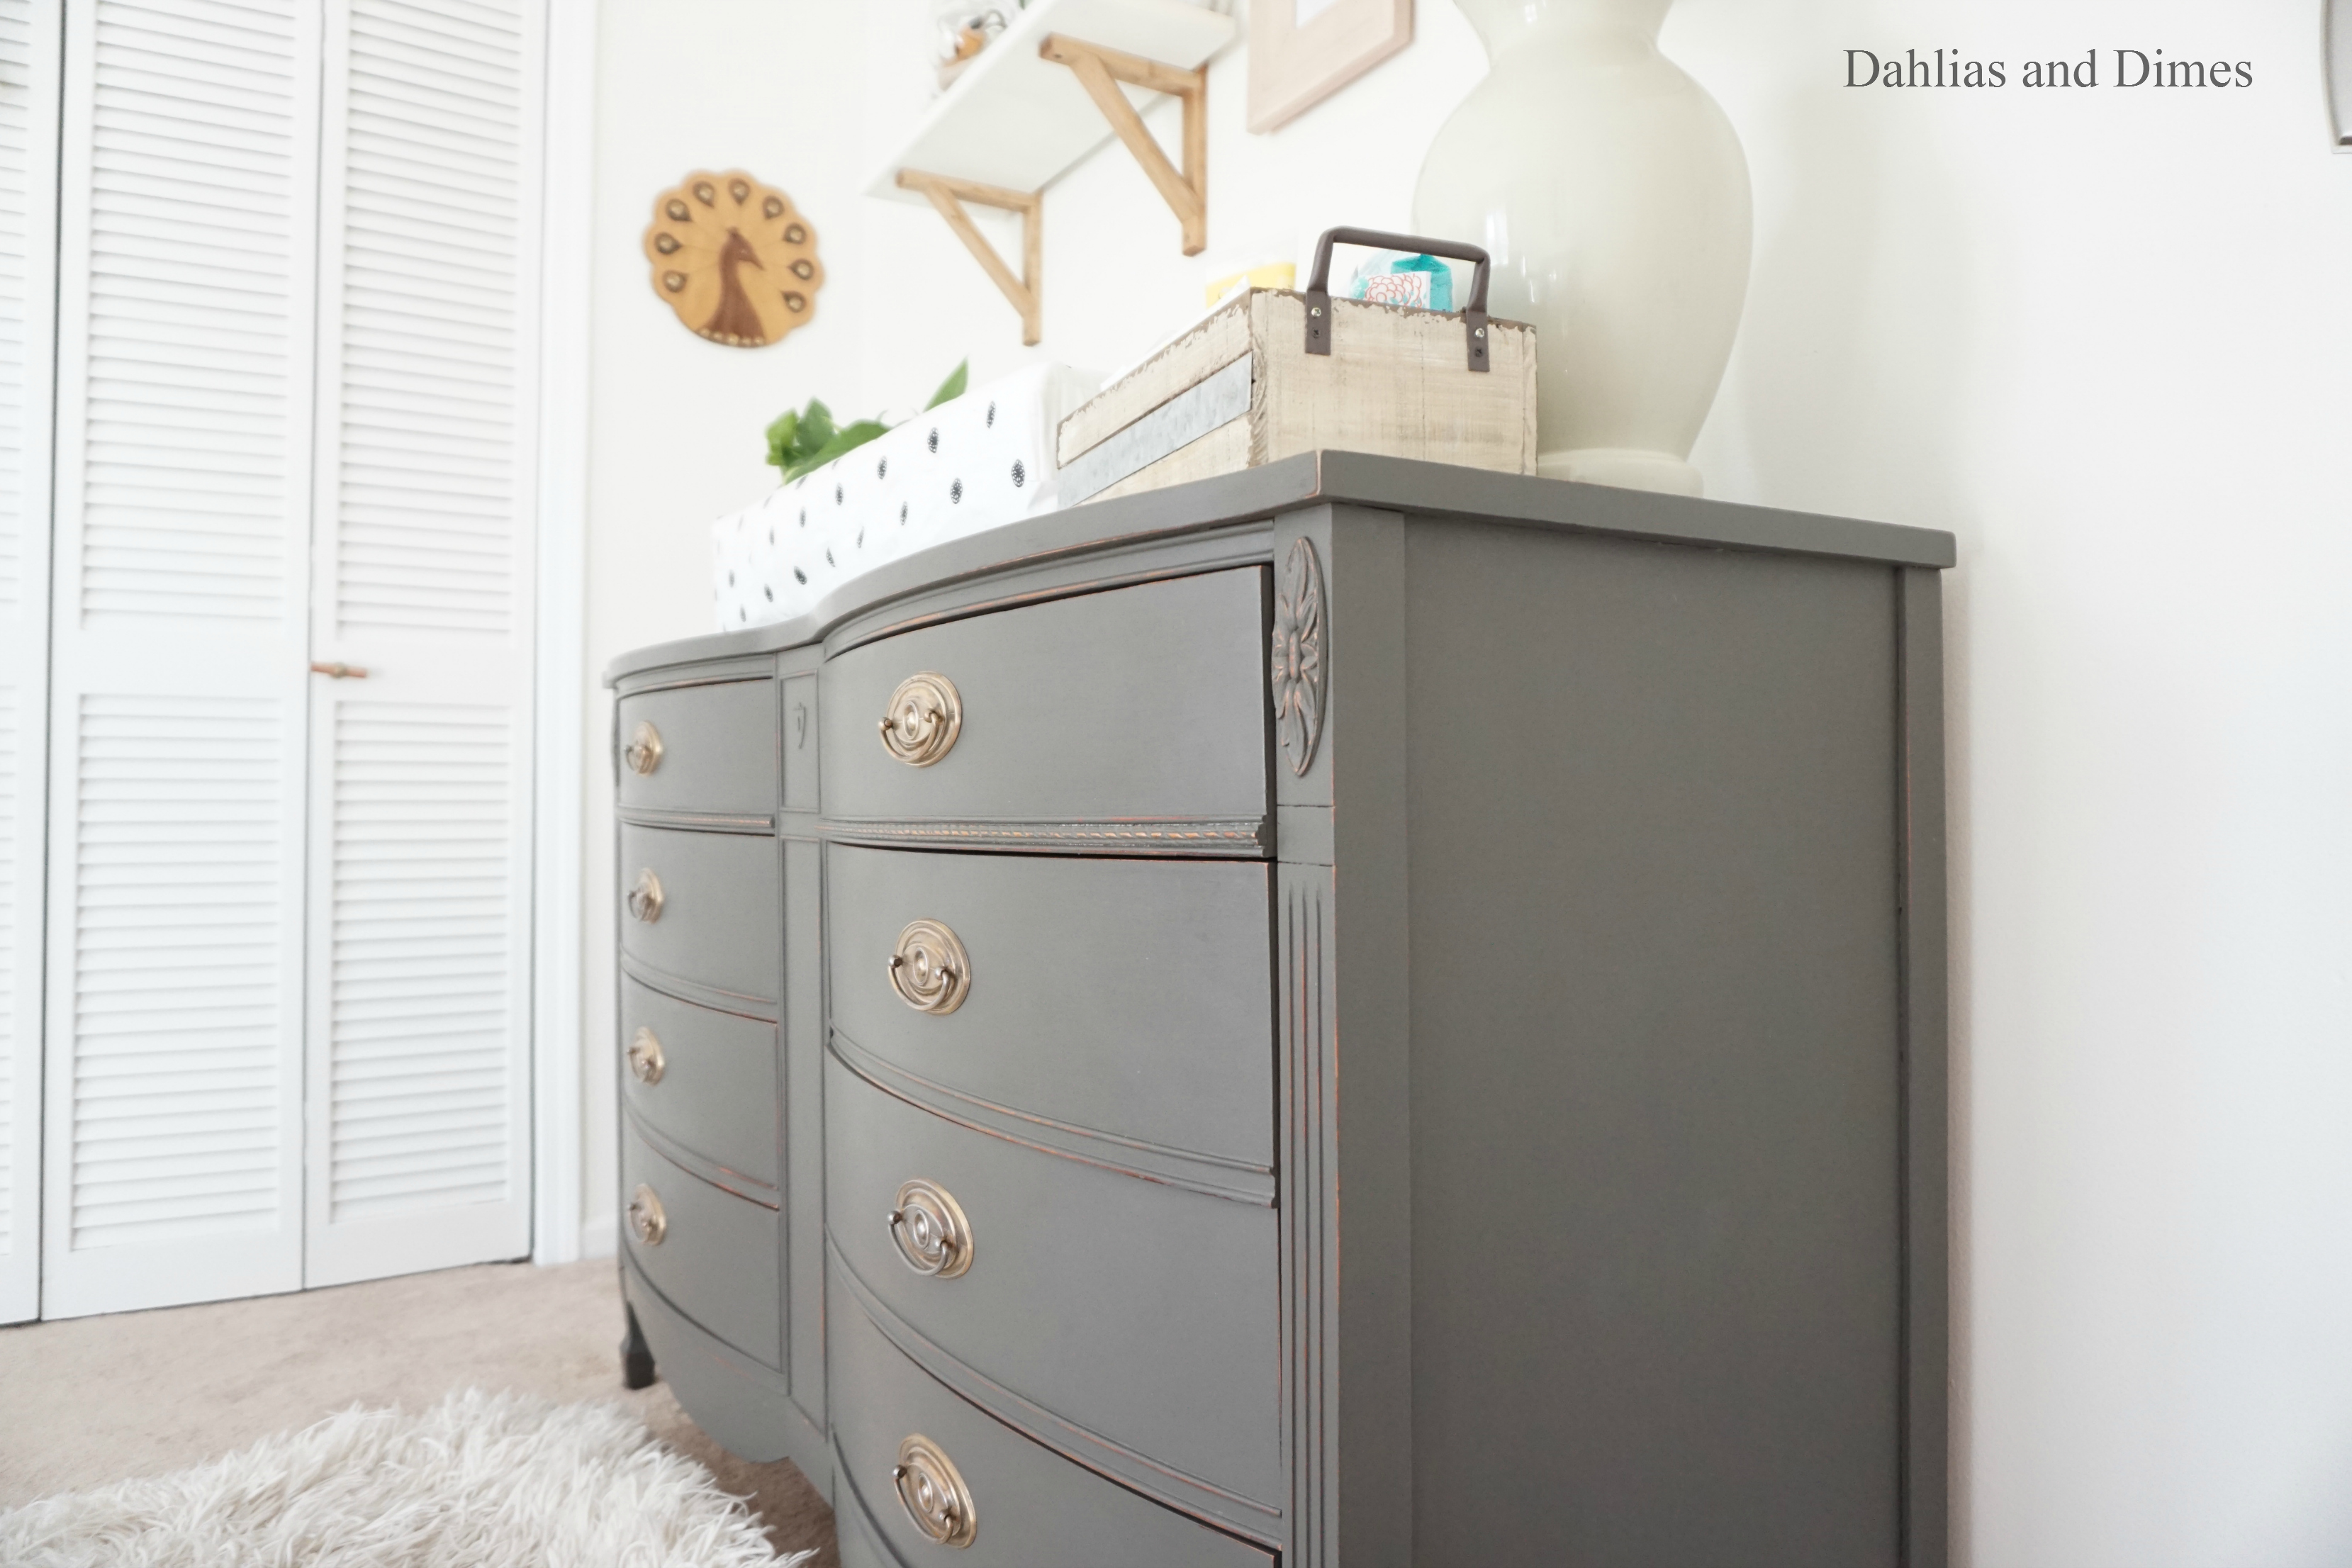
There’s a difference between sanding and distressing. I don’t always distress every piece, but I always lightly sand it. Chalk paint can be a little gritty, so it’s good to use a fine sanding block to lightly sand each piece before waxing. For this particular piece, I used a medium sanding block to distress the high points and edges to give it a lived-in, lightly worn look.
When you’ve sanding to your heart’s desire, wipe off the piece with a damp cloth to remove any dust. Then grab an old rag or ripped t-shirt and rub on finishing wax in circular motions. The finishing wax is your protective coat against scratches or general wear. I’ve had great success with Miniwax Finishing Wax.
Vinegar Bathing
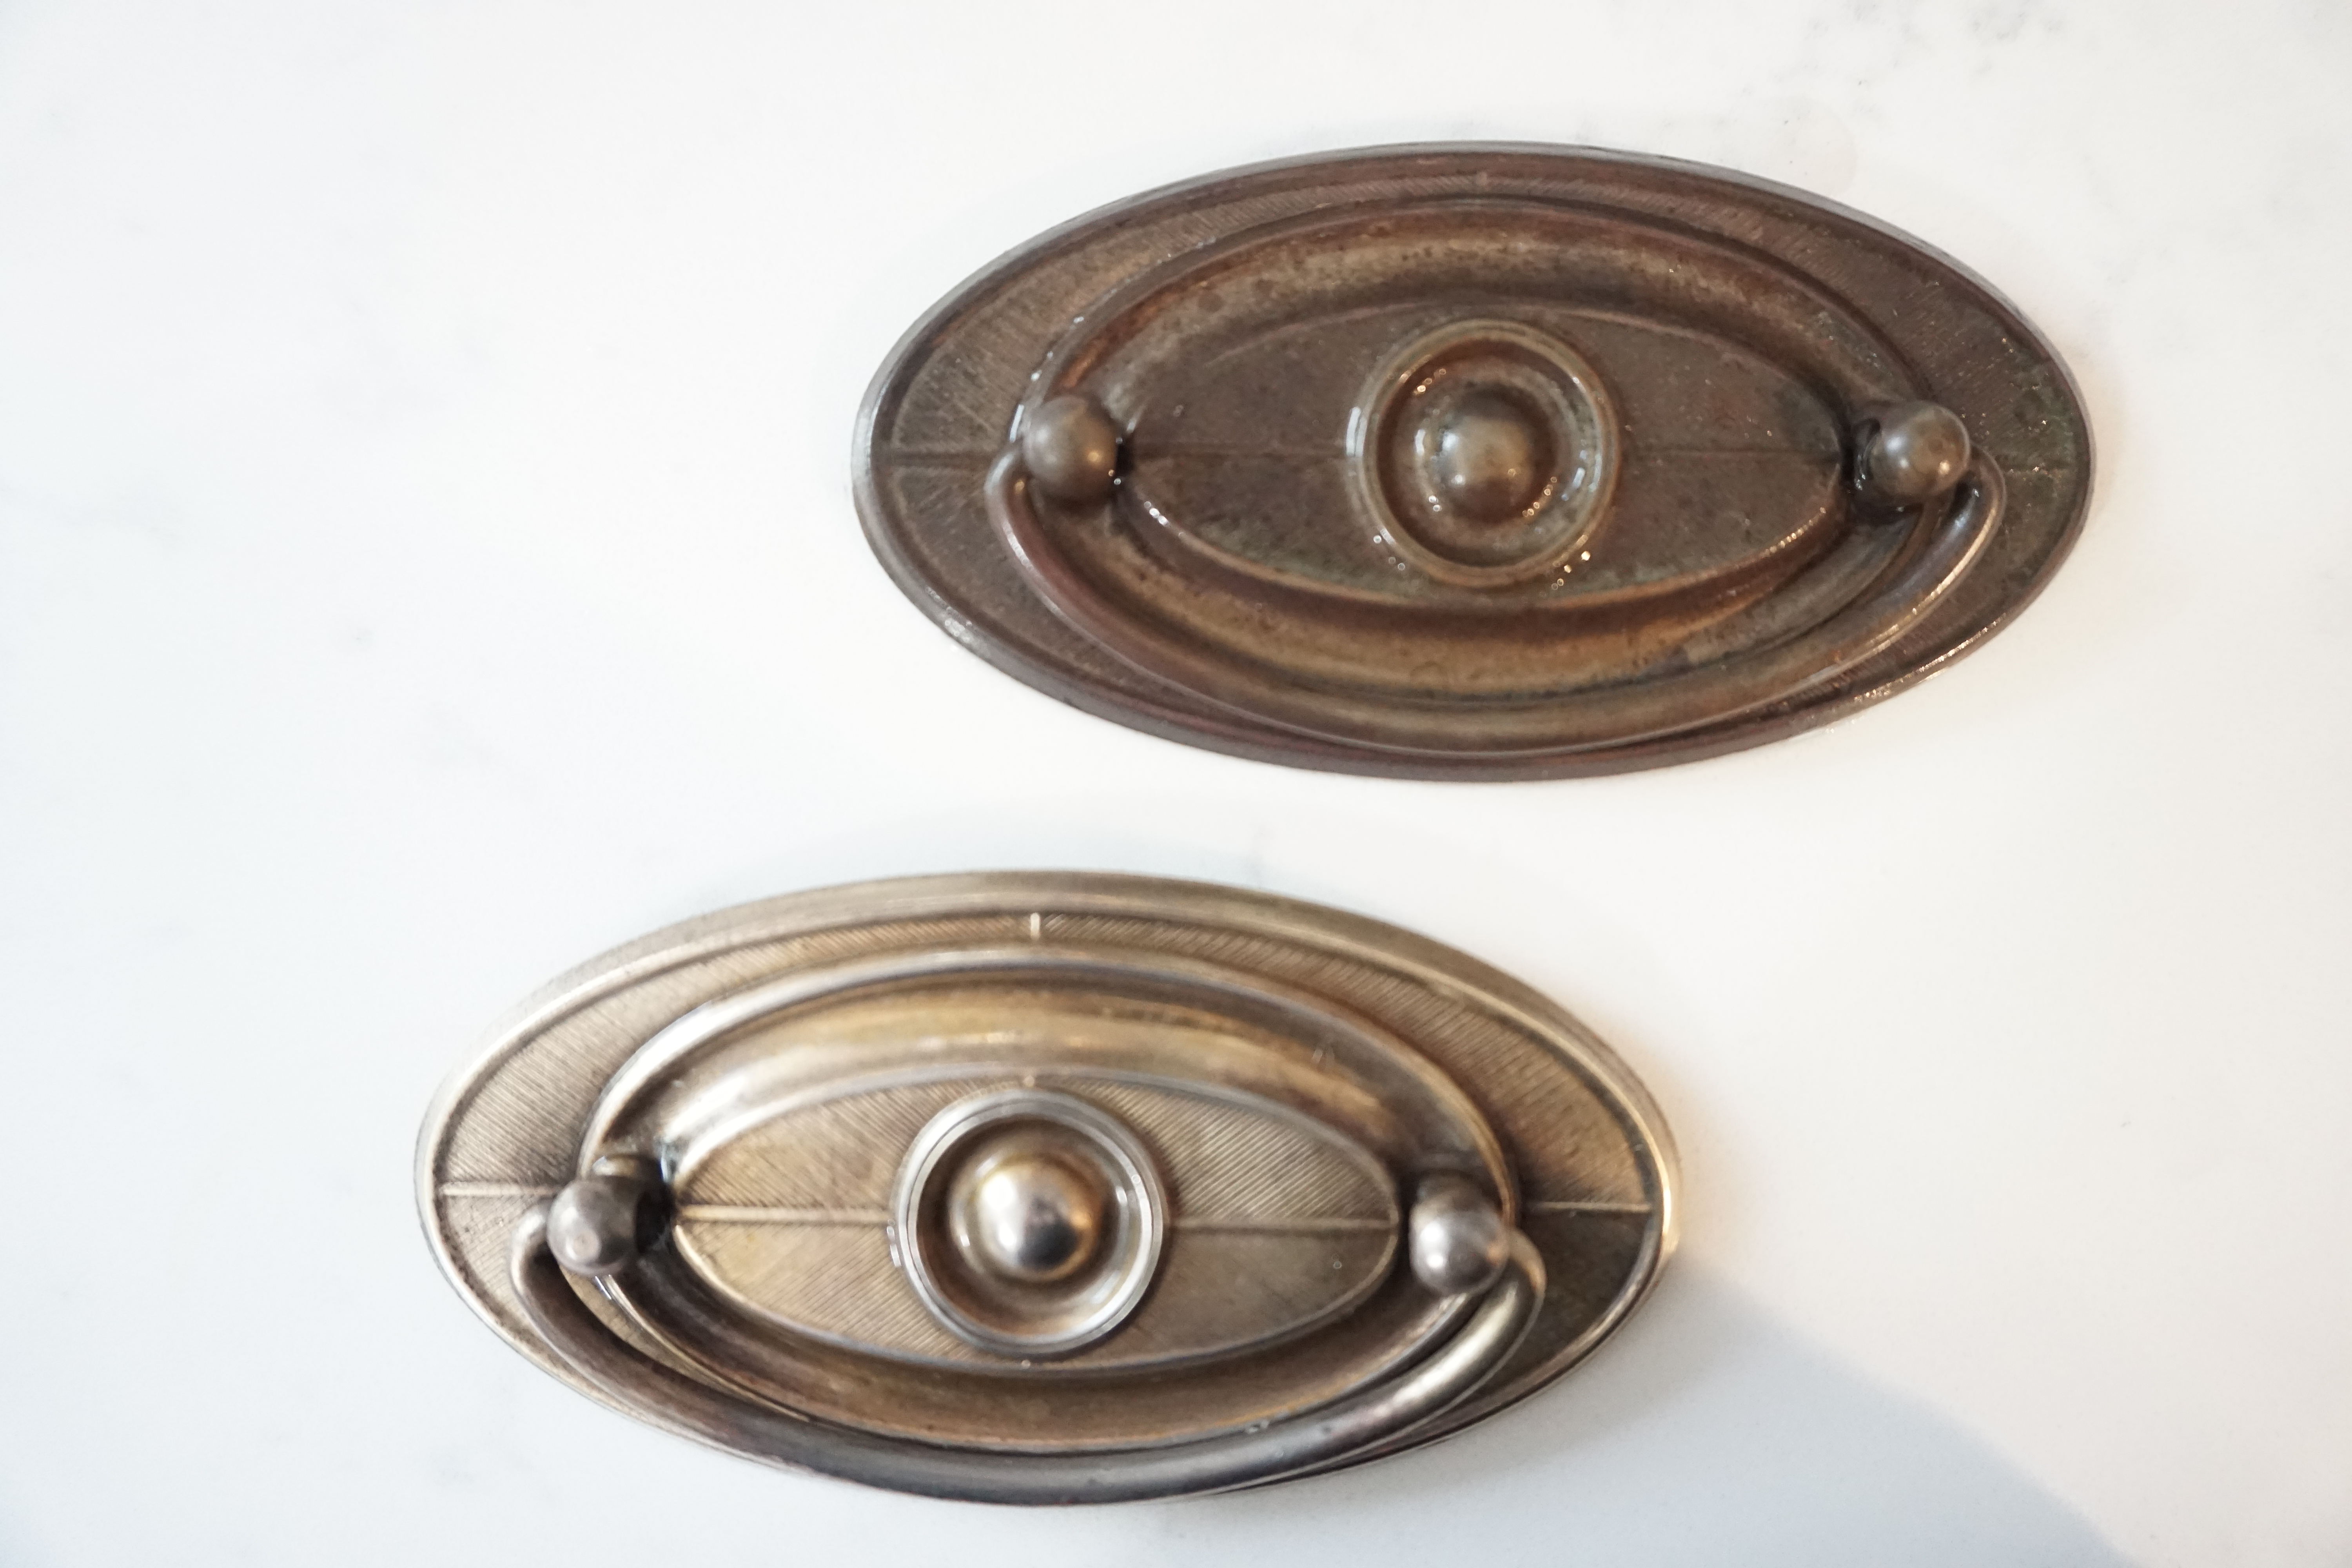
Jumping back a few steps. When I was allowing the paint to dry, I soaked the hardware in vinegar, salt, and warm water for an hour. Once the hour was up, I scrubbed them with fine steel wool and wiped them off thoroughly with a clean rag. It’s amazing what a difference this made! So, I urge you to think twice before ditching old hardware. Maybe all it needs is a nice warm vinegar bath and some love.
Once we got the hardware back on and the dresser in place, I fought hard not to move it into our bedroom instead of the nursery because I just loved it so much. It’s definitely a piece we’ll keep for many, many years!
Have you tried making your own chalk paint before? If not, try out my easy, inexpensive recipe above. If you do, make sure to tag me @dahliasanddimes on Facebook or Instagram.
