Welcome to Week 2 of the 6 week One Room Challenge. If you missed last week’s design inspiration and mood board post, make sure to check it out here. I shared a glimpse into what our nursery looked like before and our plans to make it a special place for our daughter to come home to in May.

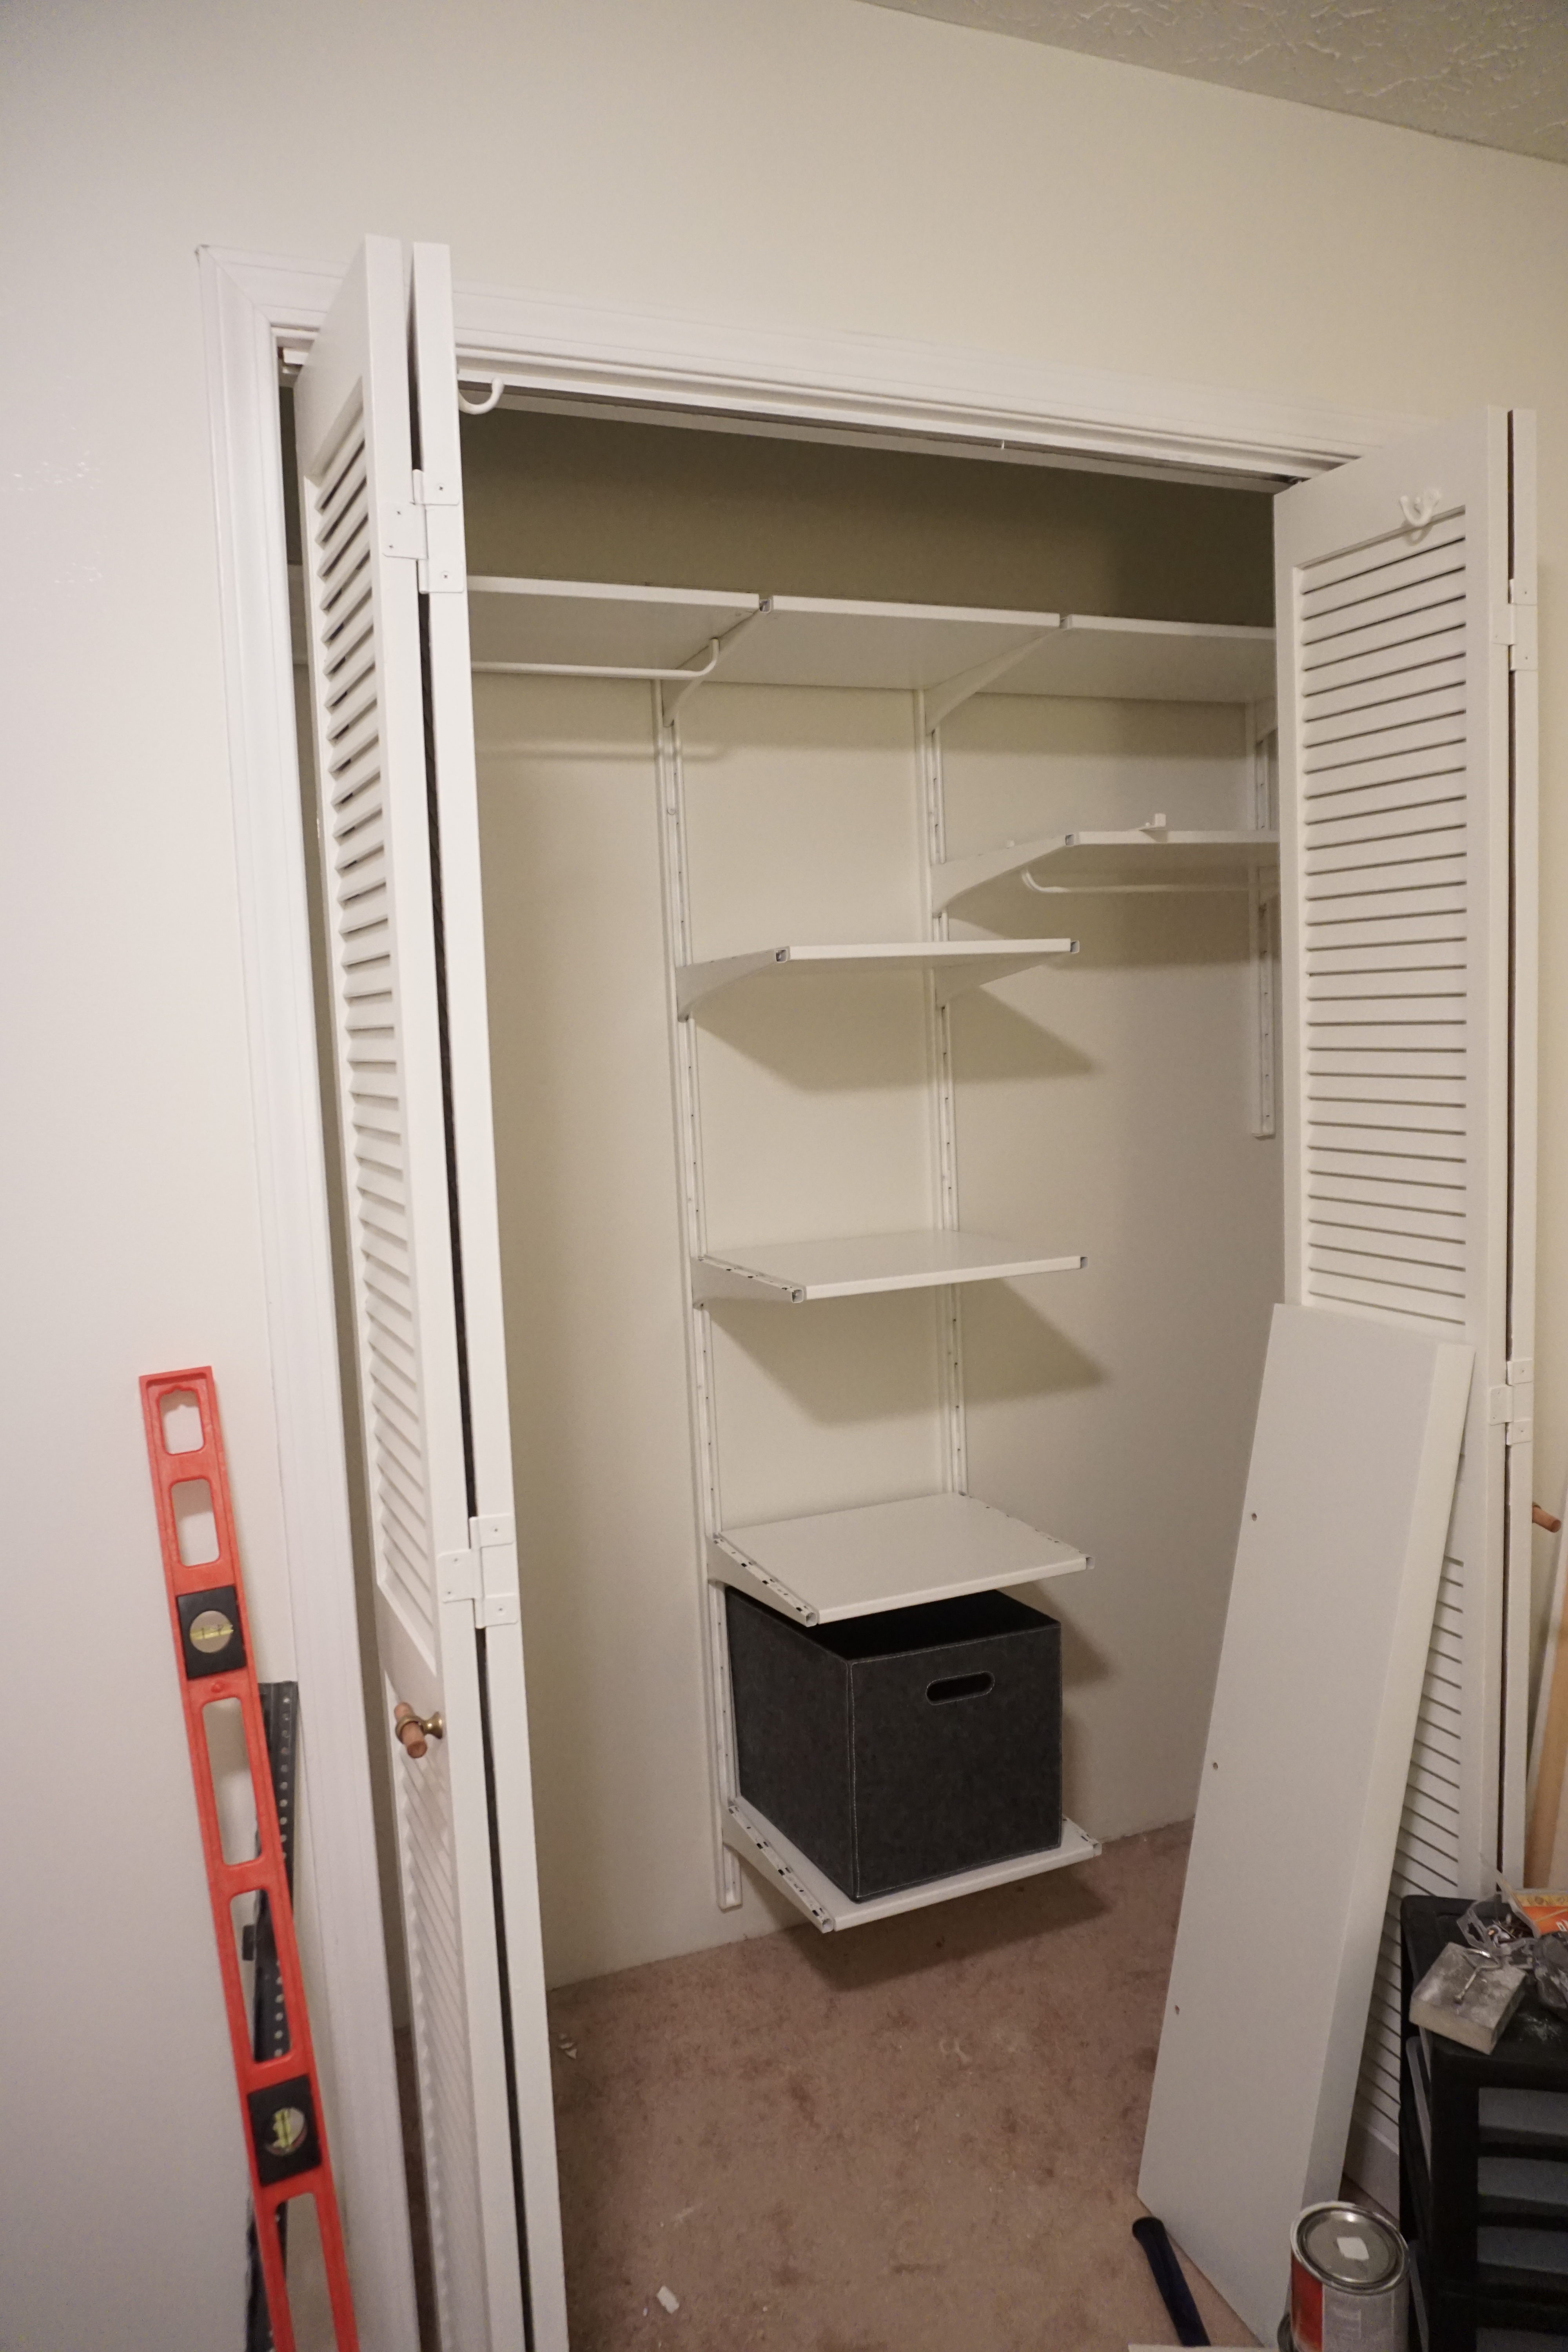
As I shared before, this room used to be a guest room with a closet crammed full of everything we wanted out of sight. When we decided that it was going to be the nursery, I immediately dreaded cleaning out the closet and finding a new home for all of our “stuff”.
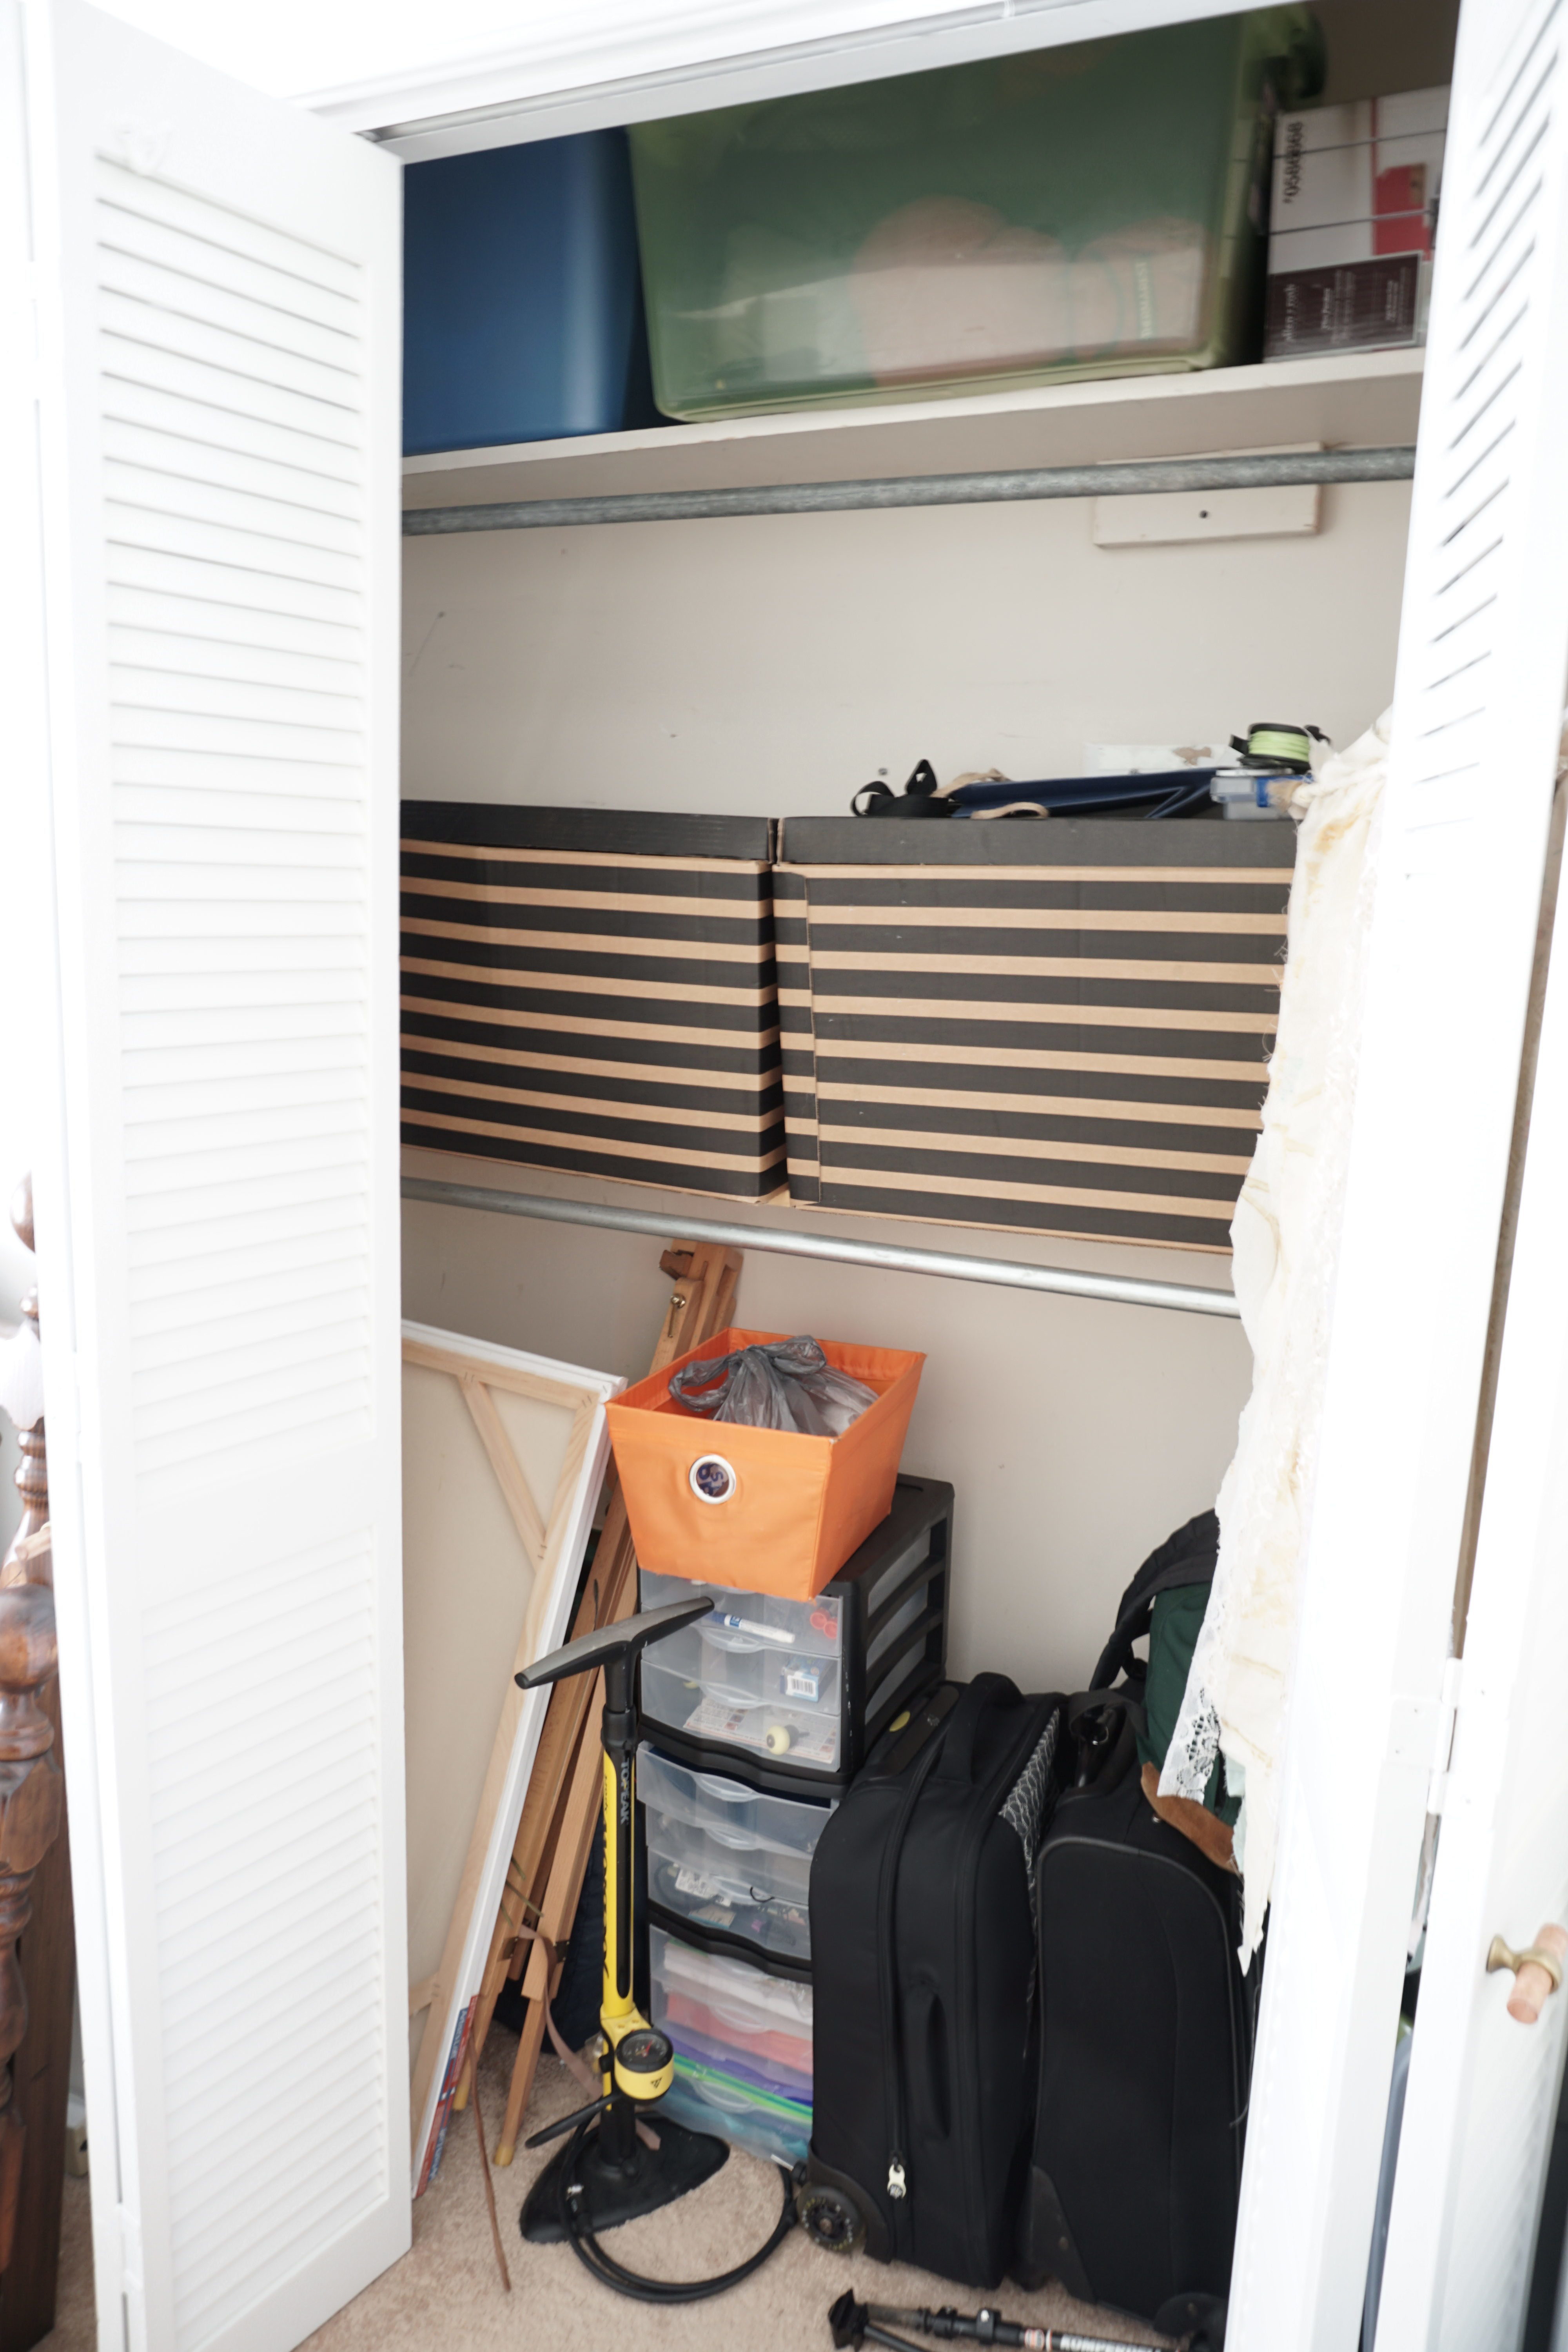
The shelves were warped and there were holes in the walls. It needed so much love, but I also knew that closet systems are not cheap starting at $500+. The more I saw beautifully organized nursery closets on Pinterest, the more I thought, “Imma gonna need to make this happen!”
I looked until my eyes were crossed for a system that would work for us and our budget, and I came upon the IKEA Algot closet system. It’s affordable, durable, and easy to install, but there’s a catch. You have to measure and design the entire closet piece-by-piece with a limited number of product lengths to work with. I wanted to utilize every square inch of our closet with shelves that would fit storage boxes and plenty of room for hanging clothes that varied in lengths, so planning the design was tricky.

(Baby shoes are the cutest, most impractical thing I’ve ever seen. I want them all!)
I’ve listed the products we used in two categories: must haves and optional. The “must have” products are needed for any closet design no matter how you’re laying it out. The “optional” products are items that you may or may not need depending on your design. Also notice the sizes available with each item.
Must Have Items:
- Suspension Rail – (this can be cut down to size)
- 26″
- 34-5/8″
- 74-3/4″
- Wall Upright Rails
- 22″
- 33-1/8″
- 77-1/8″
- Wall Brackets
- 7″
- 15″
- 22-3/4″
- Clothes Rail
- 15-3/4″
- 23-5/8″
- 31-1/2″
Optional Items:
- Shelves
- 15-3/4″
- 23-5/8″
- Mesh Baskets *
- 15 x 23-1/2 x 5-1/2″
- 15 x 23-5/8 x 11-1/5
- Wire Baskets *
- 15 x 23-5/8 x 5-1/2″
- 15 x 23-5/8 x 11-3/8″
- Pull Out Rails for Baskets *
*Did not use in our closet but great options to add.
Measuring Your Closet
The measuring and planning was the toughest part. I drew out how I wanted it to look, and my super math-wiz of a husband helped me piece it together with the size options listed above.
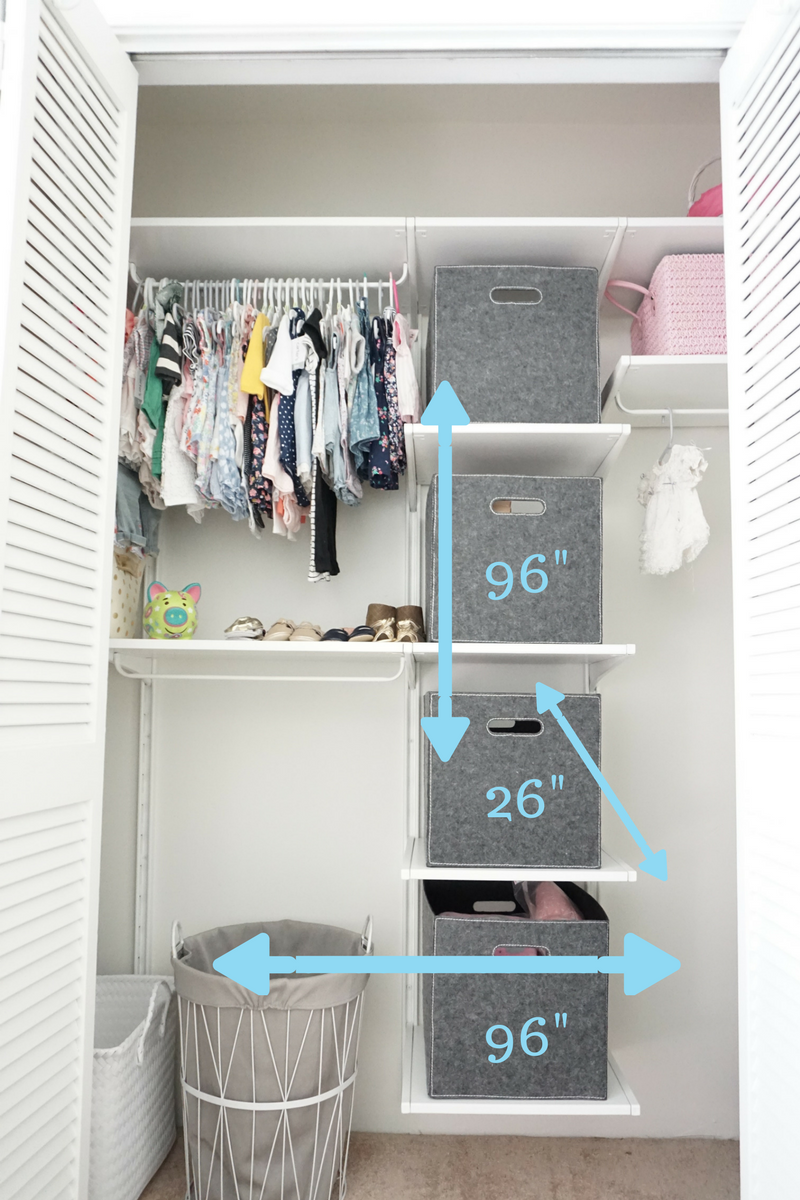
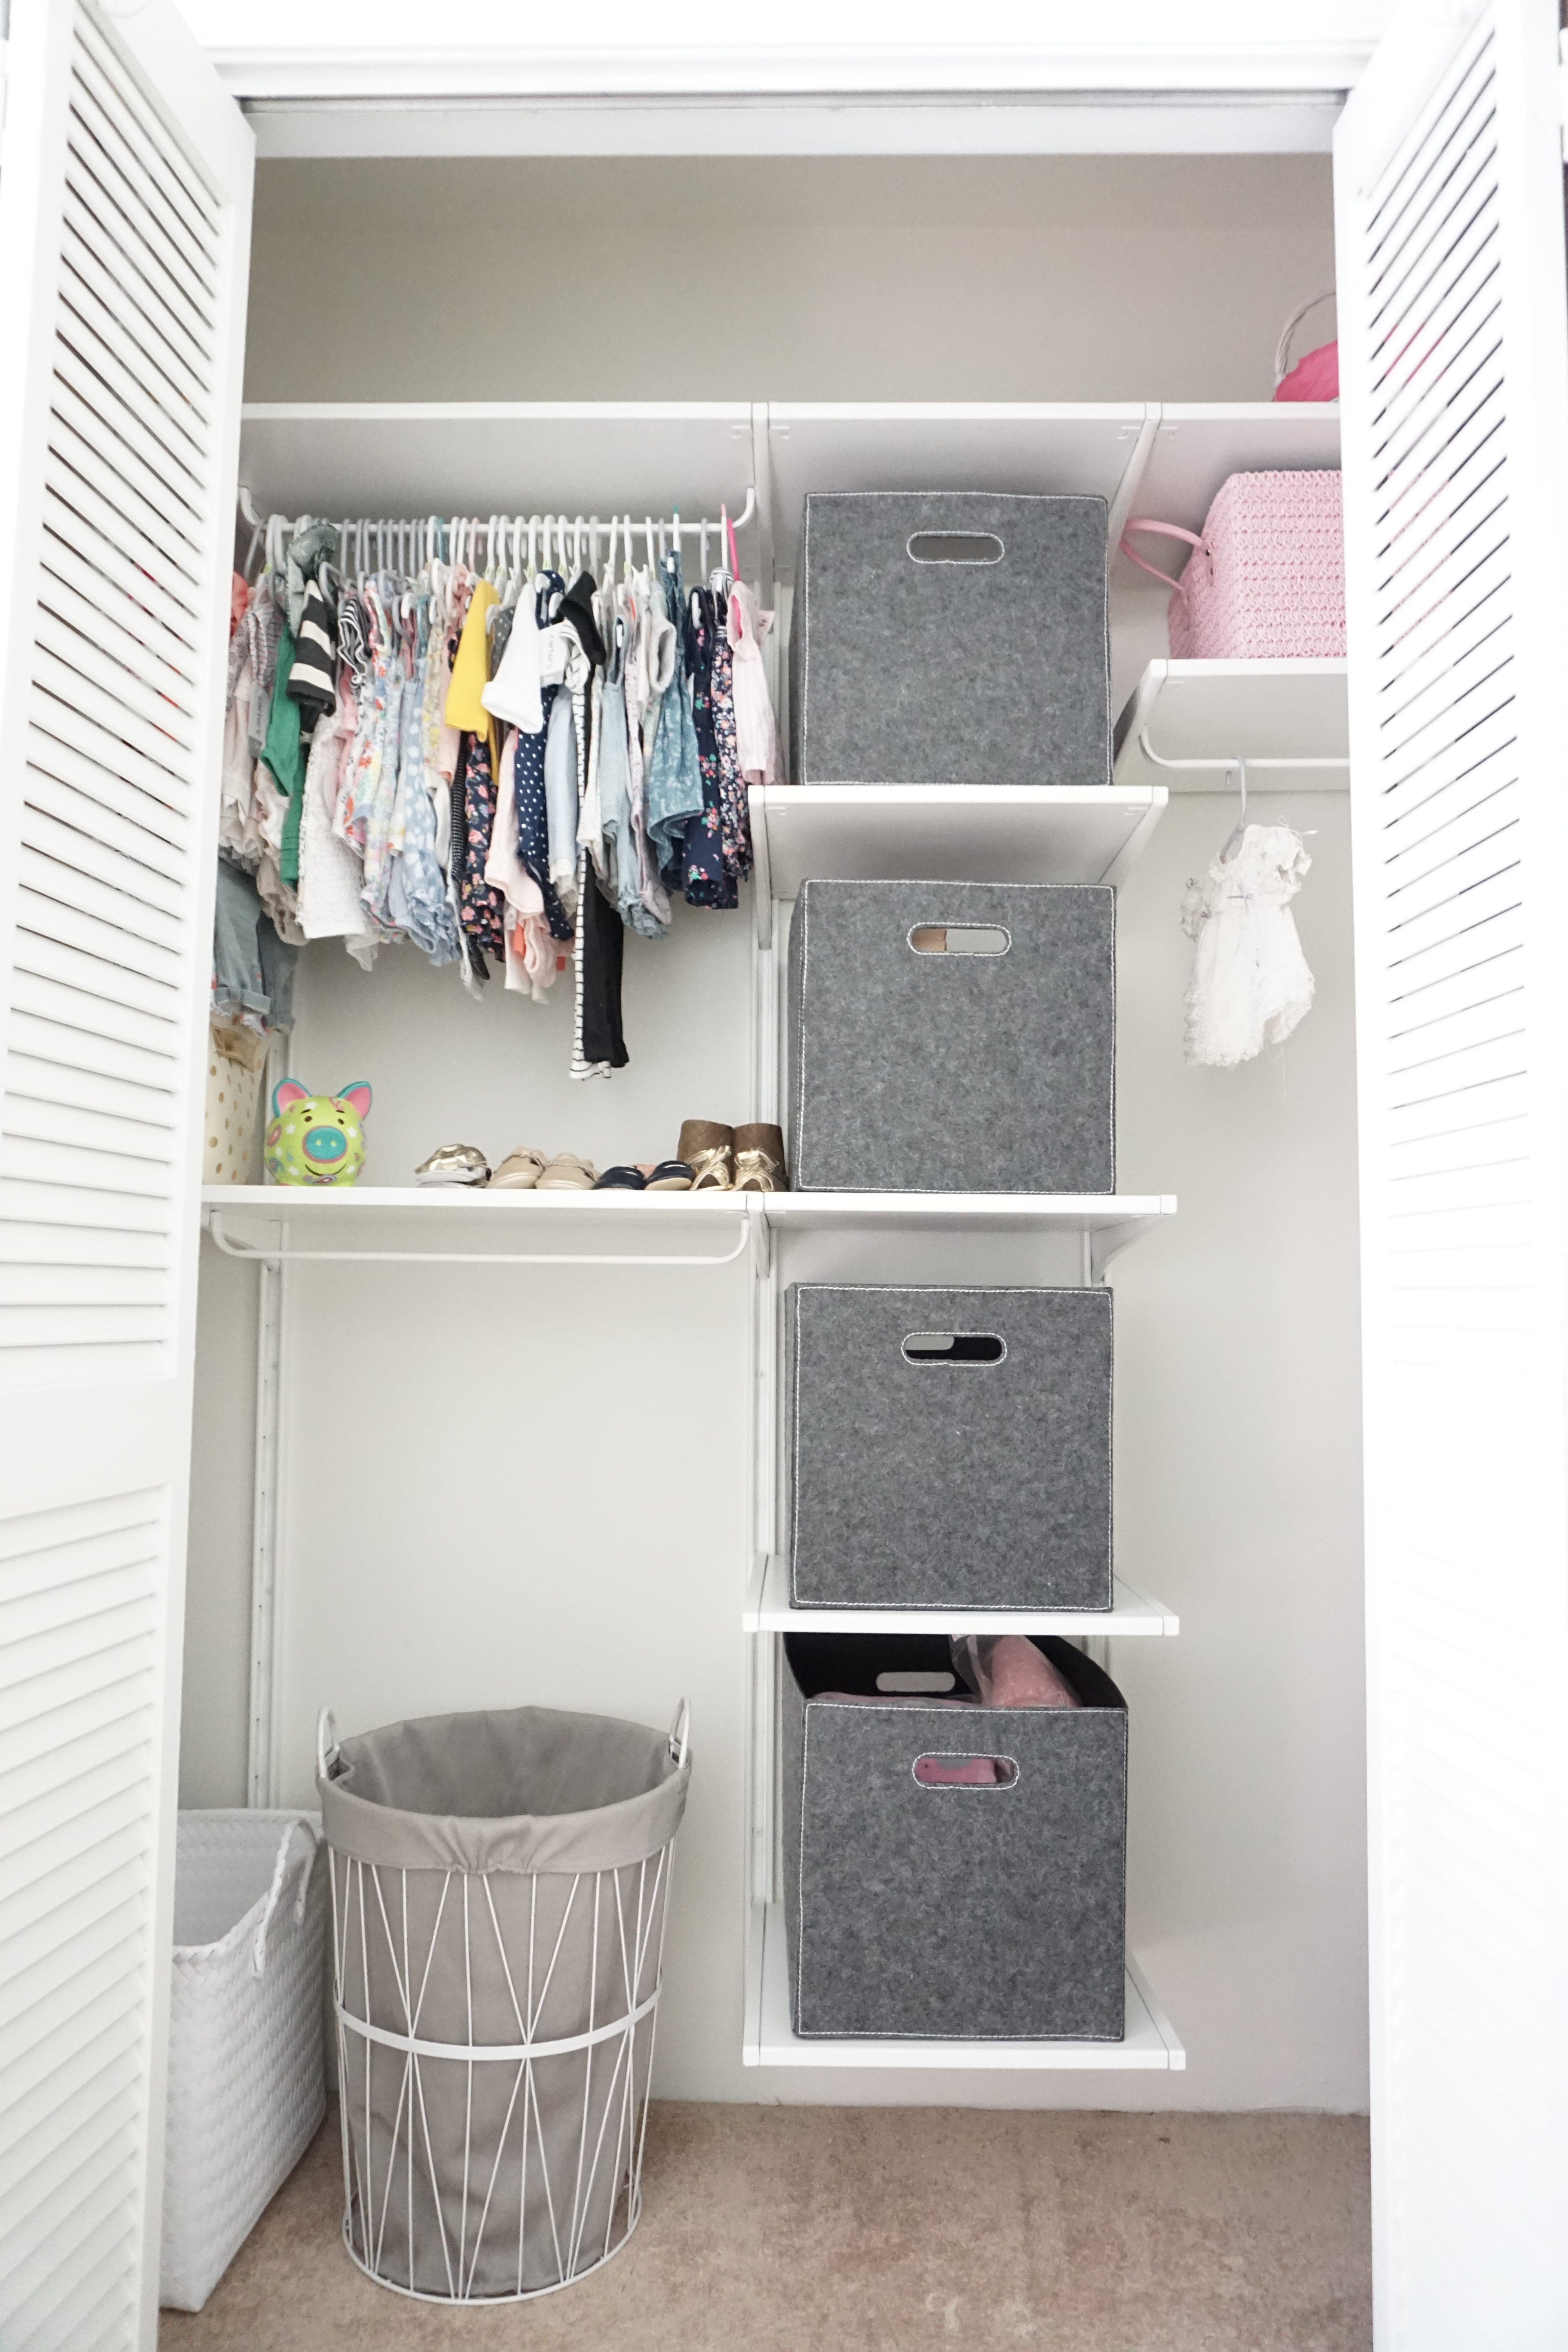
We have an 96″ x 96″ x 26″ closet. In order to utilize as much space as possible, we went with 3 – 23-5/8″ shelves, 2 on the left and 1 on the right, and 1 – 15-3/4″ shelf in the middle for the bins. The wall brackets are 1/4″, so you’ll need to factor that into your overall measurement. We have 5 brackets from right to left, so that added 1-1/2″ to our measurement leaving us at just over 88″. This was as close as we could get without going over. We have about 4″ leftover on each side.
When measuring your space, you need to measure the height, length, and depth of your closet. 15″ depth is pretty standard. You want to leave yourself with enough space to reach the sides of your closet. You typically want to leave 36″-40″ for shirts, 36″ for pants, and 15″+ for shelves.
Installation
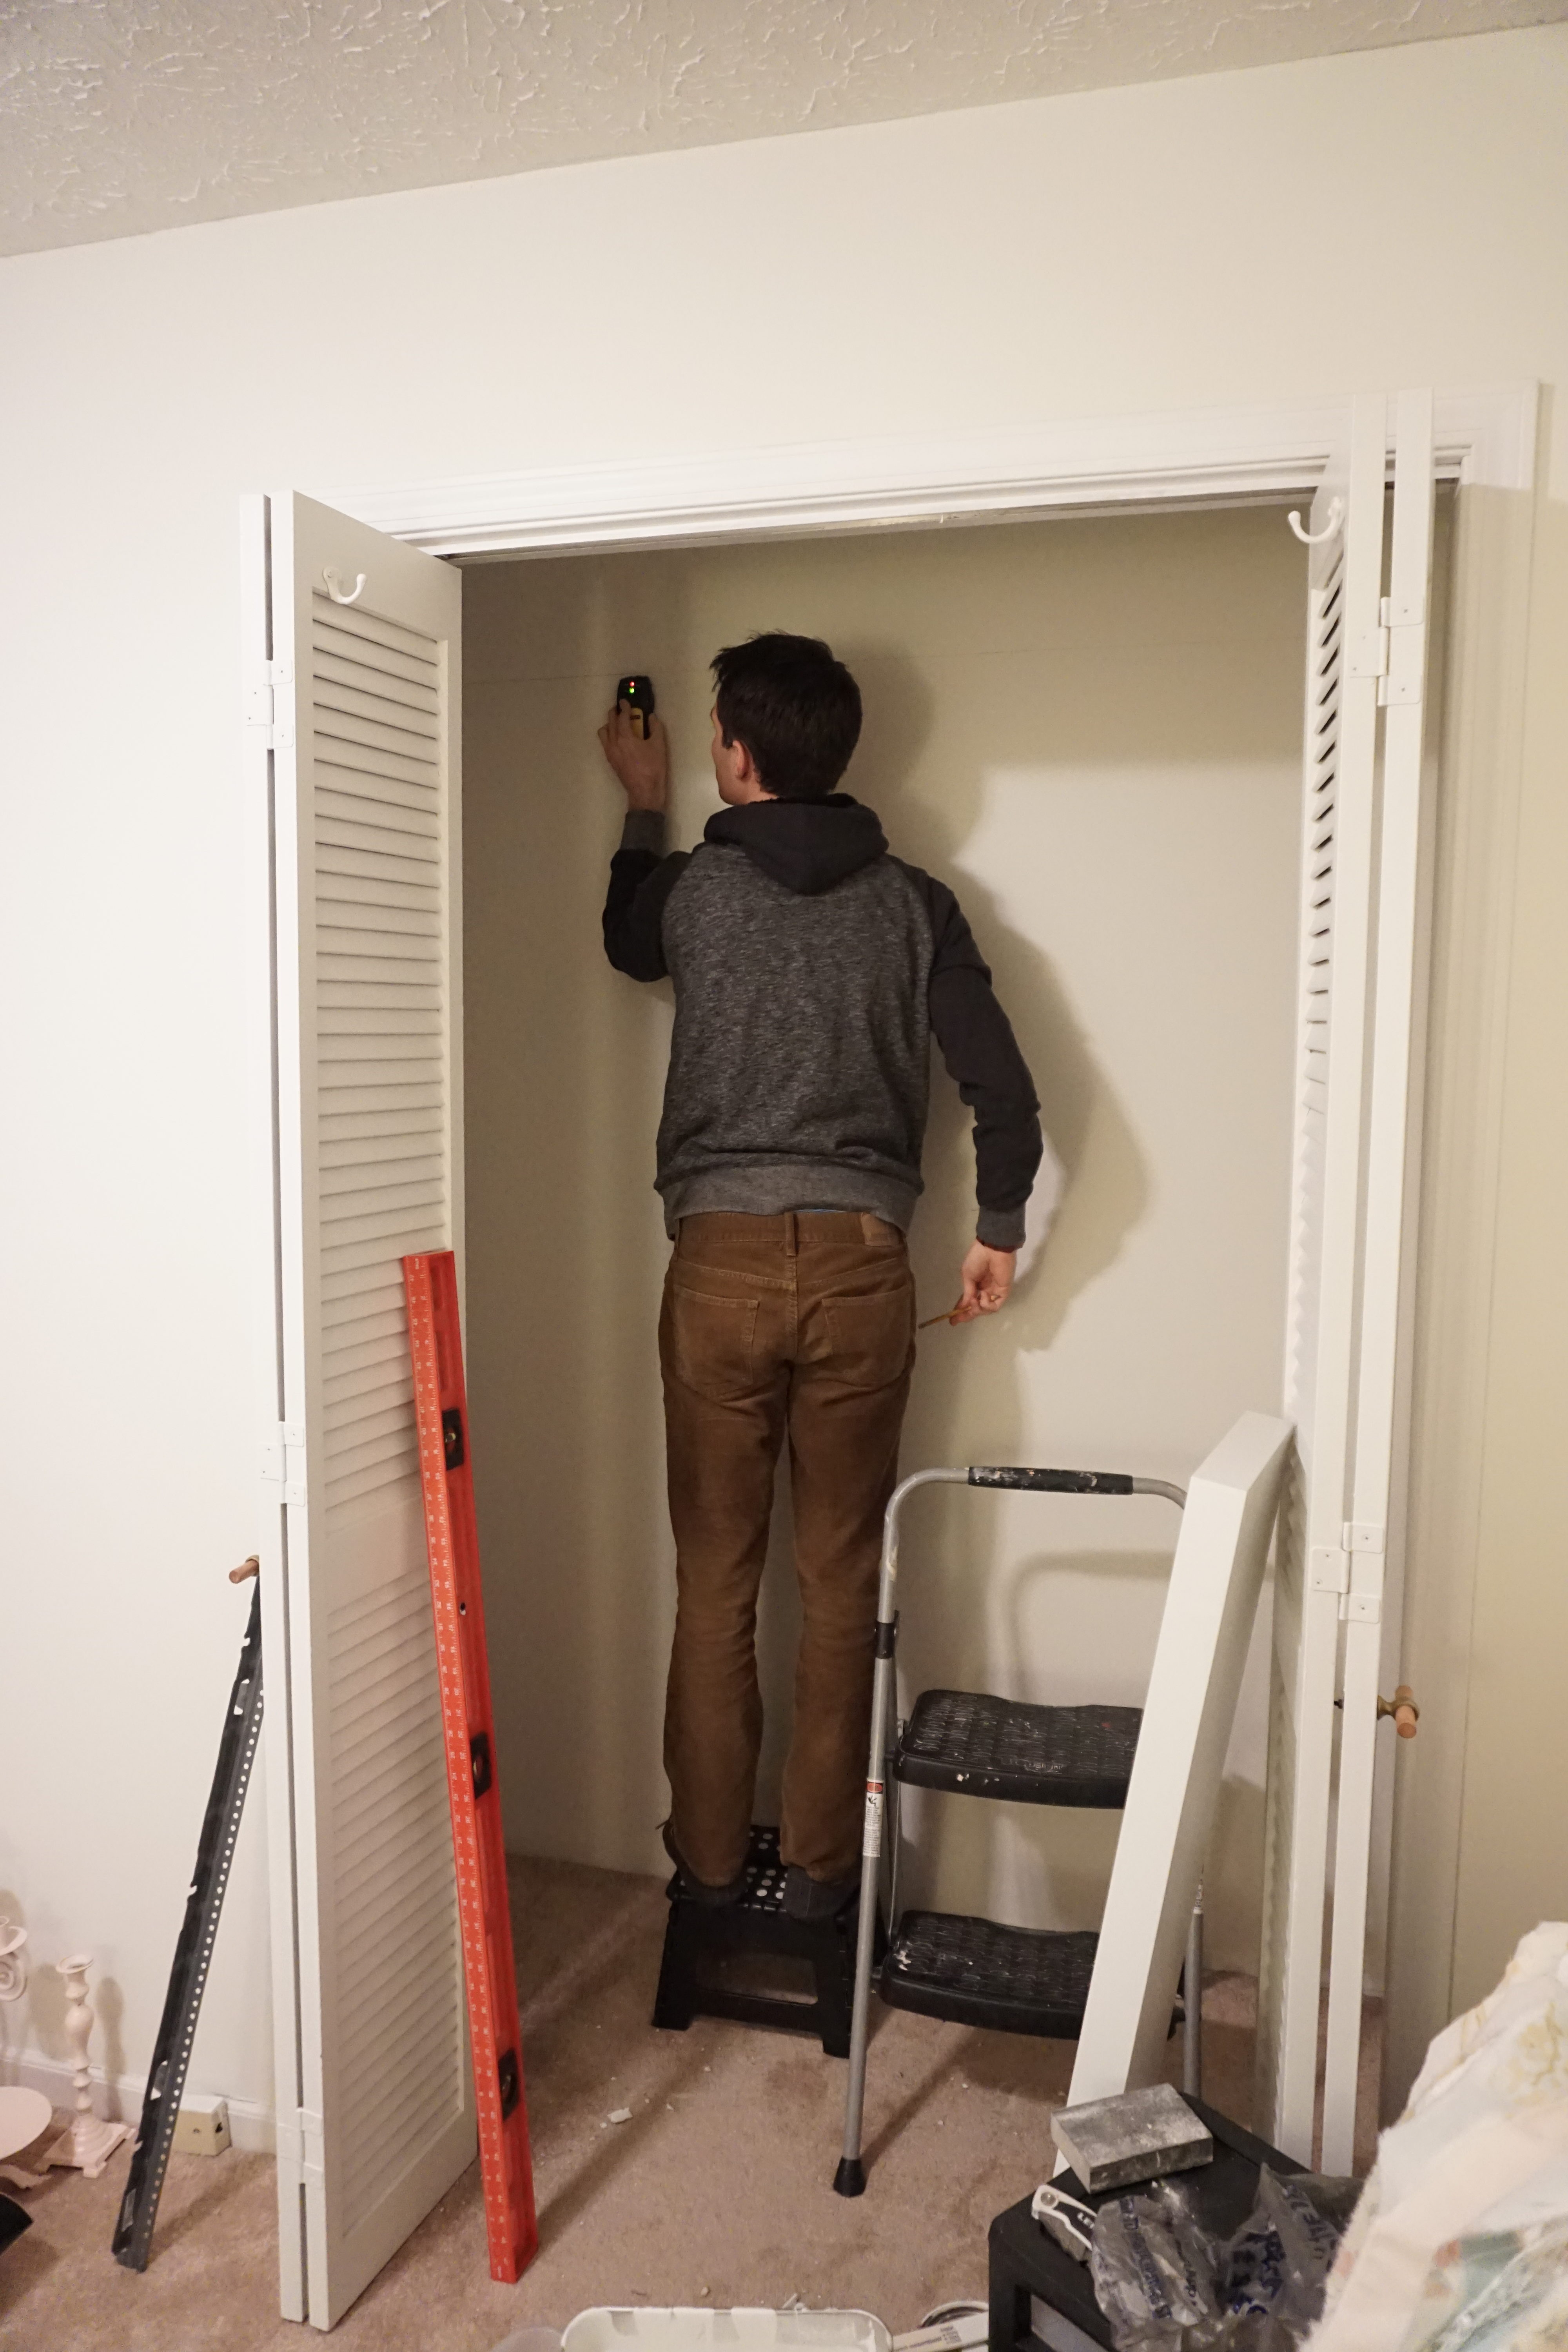
After patching up the holes and giving the walls a fresh coat of paint, we were ready for installation. We organized our items and checked our measurements one more time before making new holes in the walls.
Suspension Rail
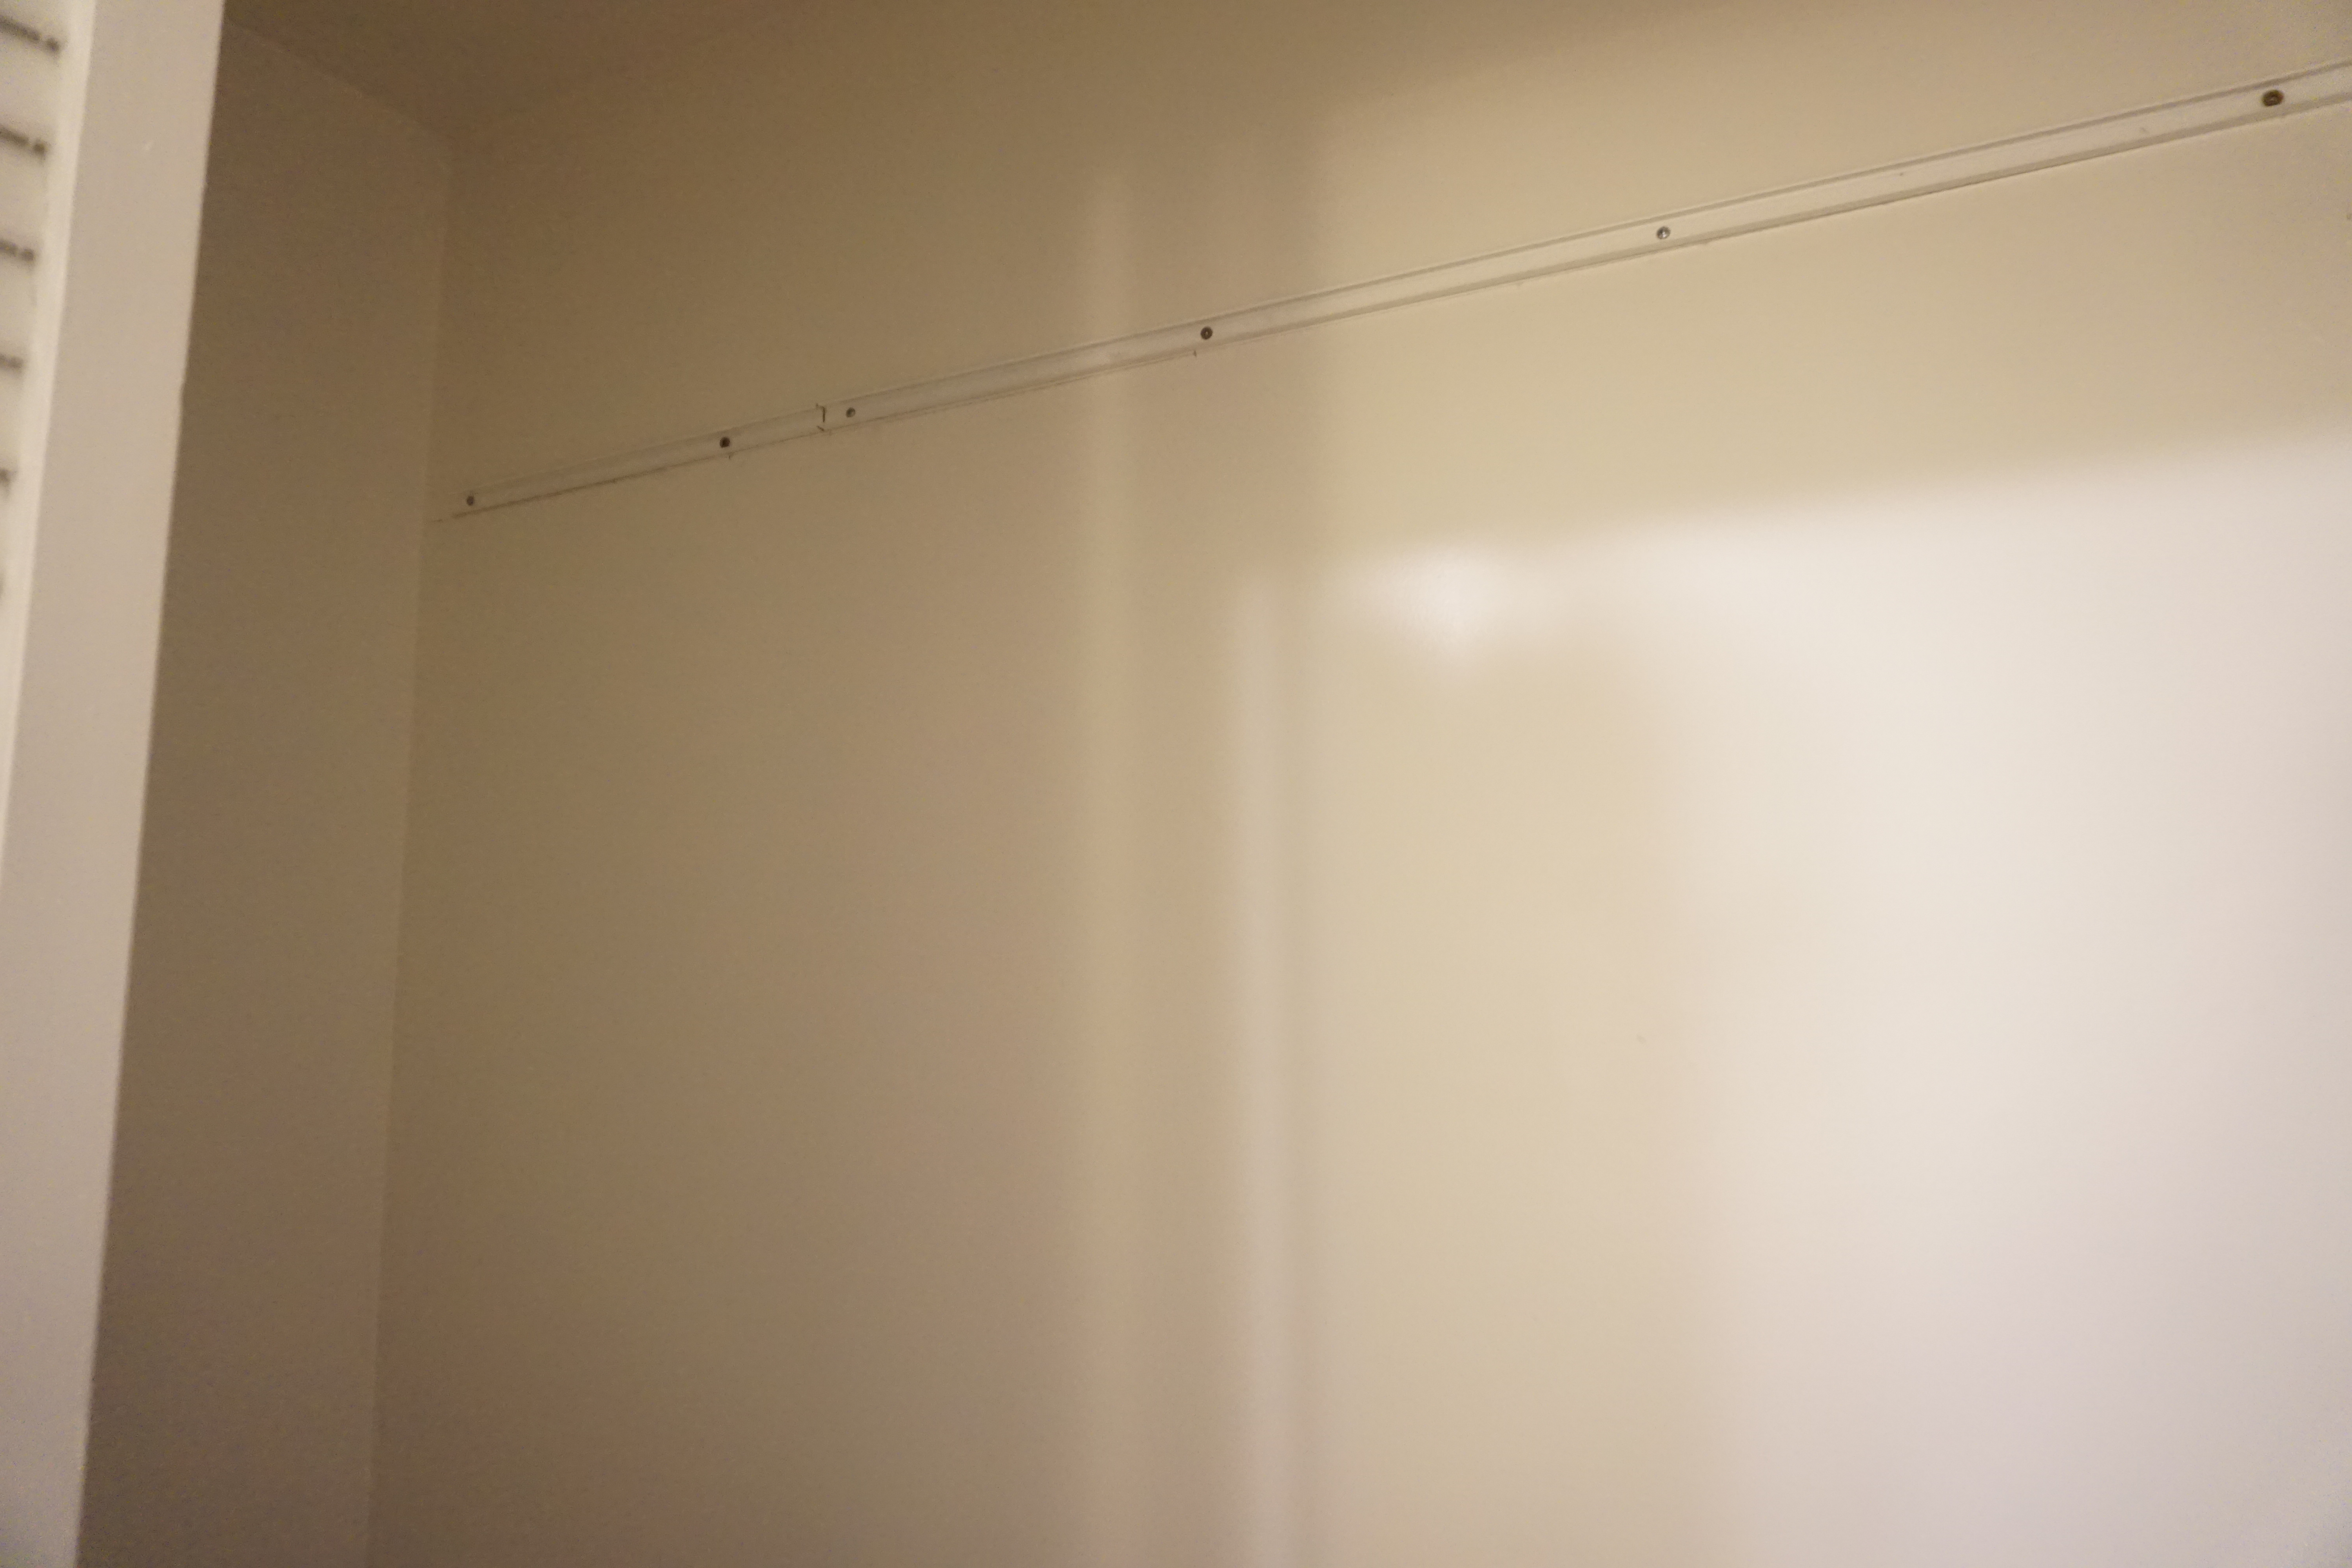
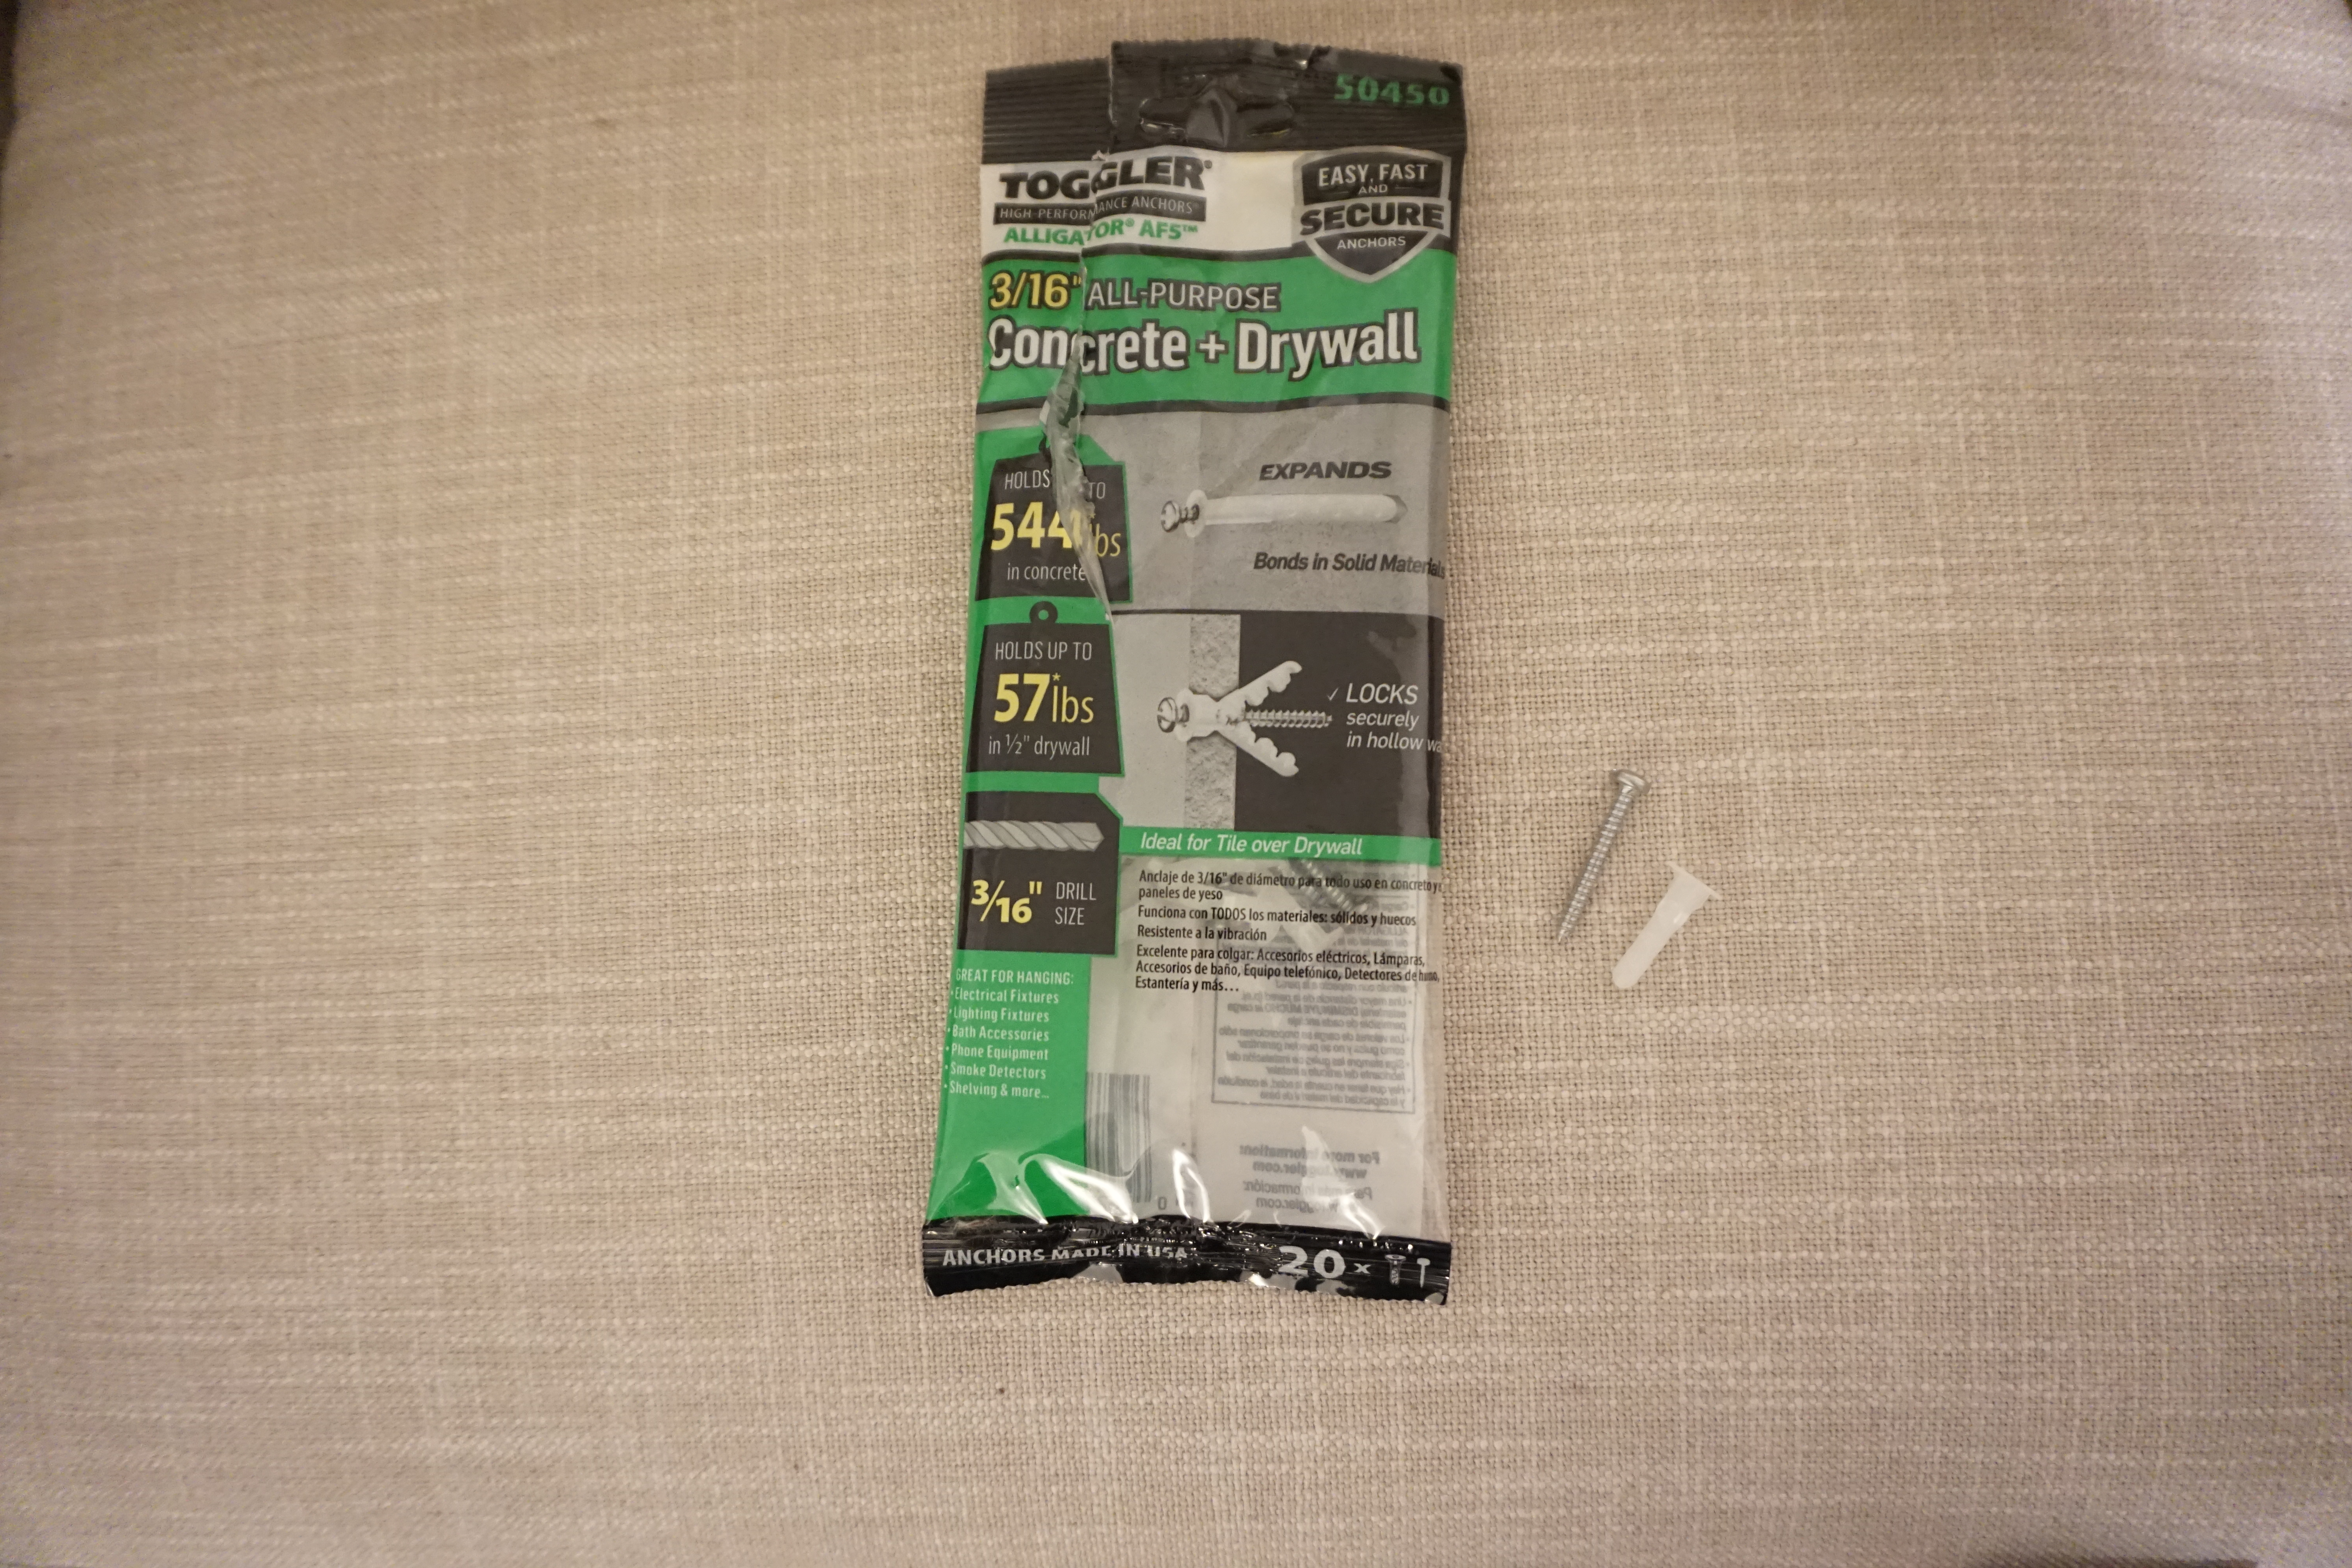
Start by installing the suspension rail. If you do not have studs, then you’ll want to use anchors. We used the Toggler 3/16″ anchors behind the rail. Also, use a level to make sure the rail is completely level.
This is the main rail holding up the shelves and brackets, so it needs to be secure in the wall and level or else the rest of the unit will be off.
Wall Upright Rails
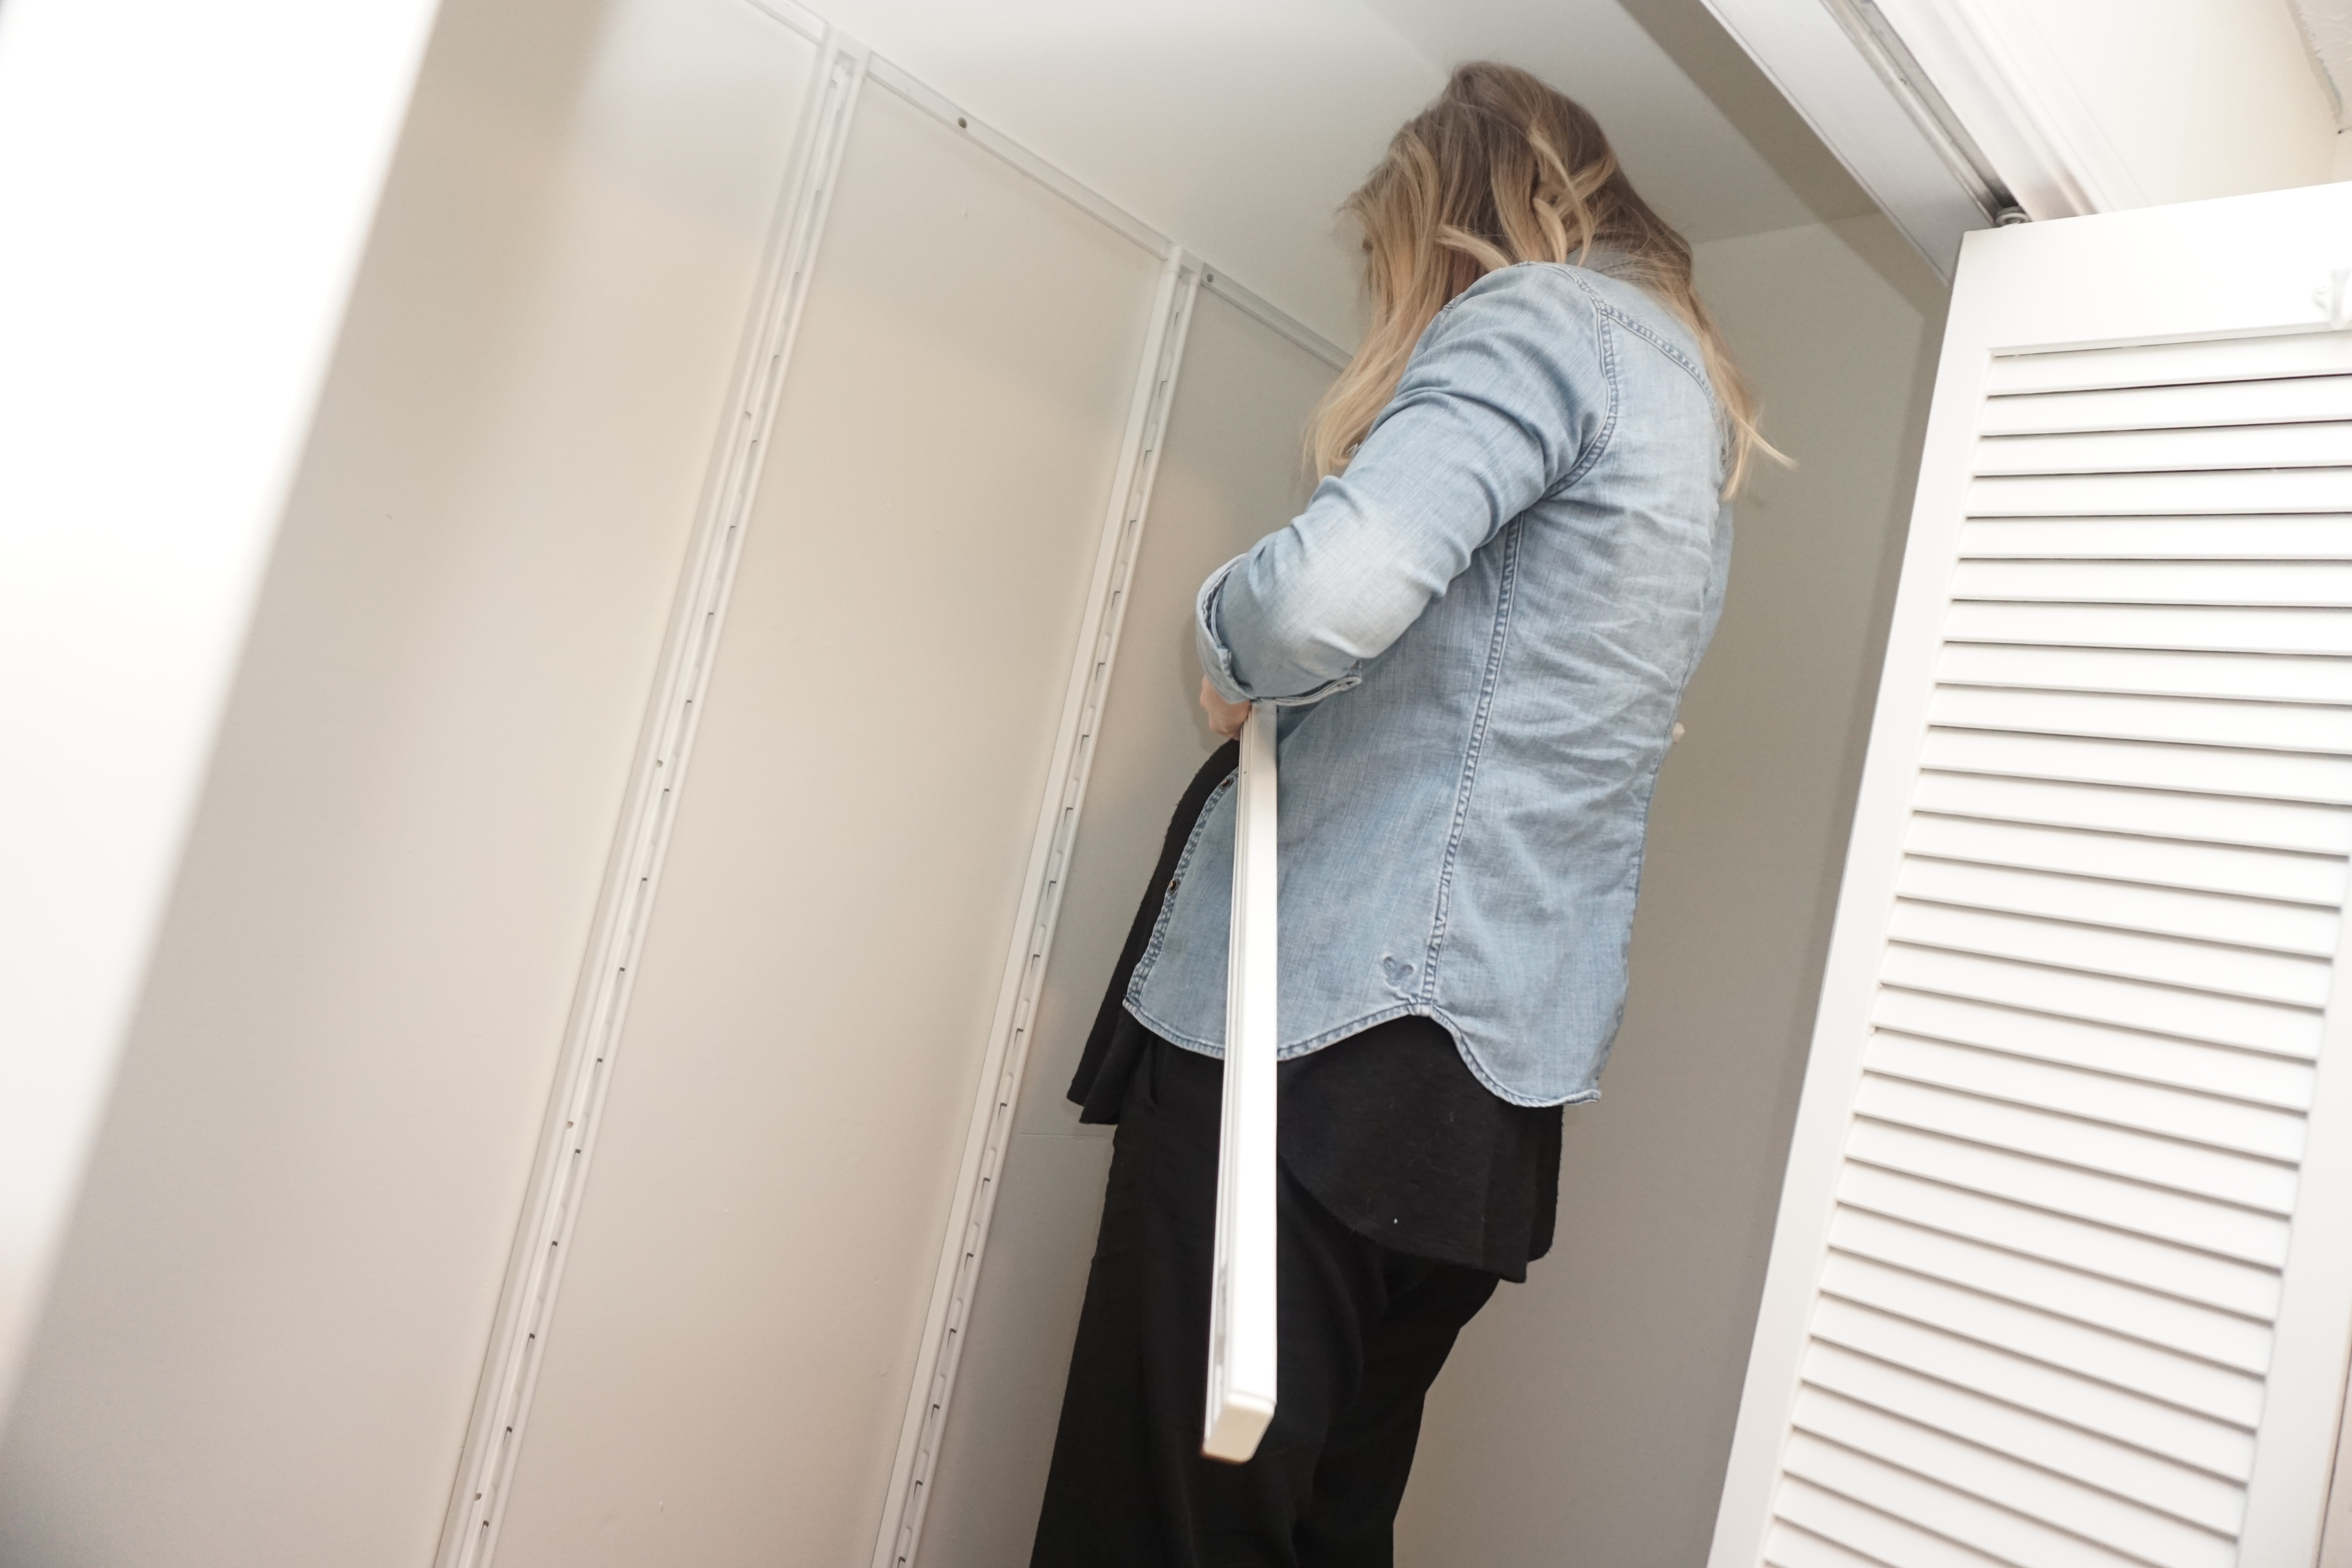
The top of the wall upright rails hang onto your suspension rail.
Space out the rails according to your shelving lengths, but do not fasten them down yet. You may need to adjust the widths once you start adding your wall brackets. You can fasten the rails to the wall once you have a row in place.
These do not necessarily need to be placed in studs since the weight is supported by the suspension rail and not the wall upright rails.
Wall Brackets
The wall brackets come with a plastic strip on top of the bracket. You will need to remove this strip, but be careful not to break it because it goes back on once the rails and shelves are in place.
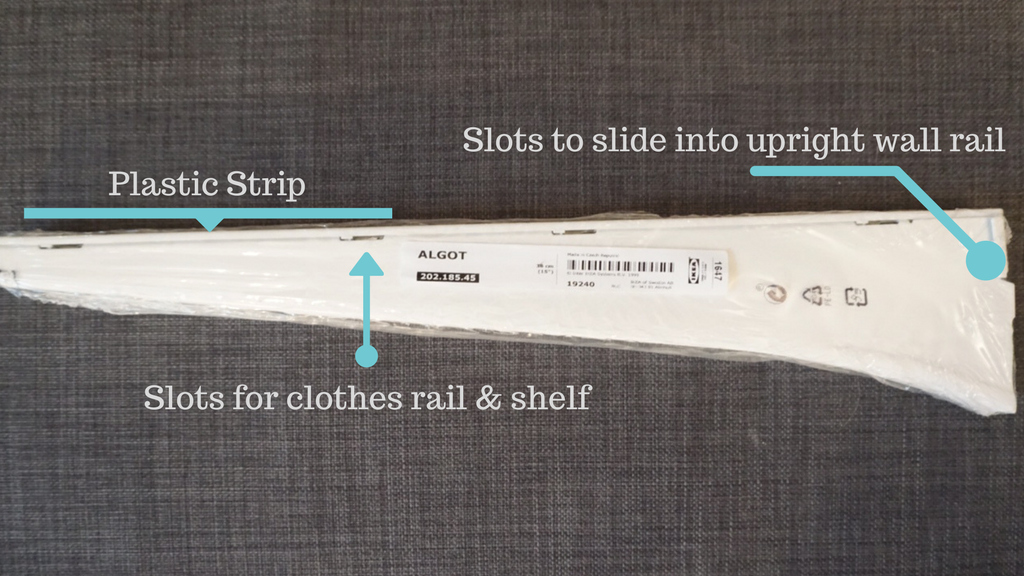
I started snapping the wall brackets into the rail from the top and worked from right to left. One wall bracket will hold a shelf or clothes rail on both sides, so you don’t need a whole wall bracket for every shelf. I then placed the clothes rail onto the appropriate brackets according to my design plan. (I will detail that process in the next step.) The shelves go on last.
Finishing Touches
This is where you’ll add your clothing rails, shelves, baskets, etc.
I made the mistake of 1) not putting the clothing rails on before the shelves, and 2) putting them on backwards. So learn from me. Put the clothing rails on before you start placing your shelves on your wall brackets.
Once you have all of your rails, shelves, and drawers in place, begin adding the plastic strips back onto the wall brackets. It took us a while to get the hang of this. You’ll want to make sure the little hooks on the shelves are placed flush into the wall brackets. If not, the strips will not go back in place as easily.
Results
With the IKEA Algot system, our closet space is utilized so much more efficiently than before. It’s also designed where it can be used for clothes larger than baby sizes. We wanted it to be a closet that could be used for all ages, and we’re thrilled with how it turned out. We can’t even fill the space…yet.
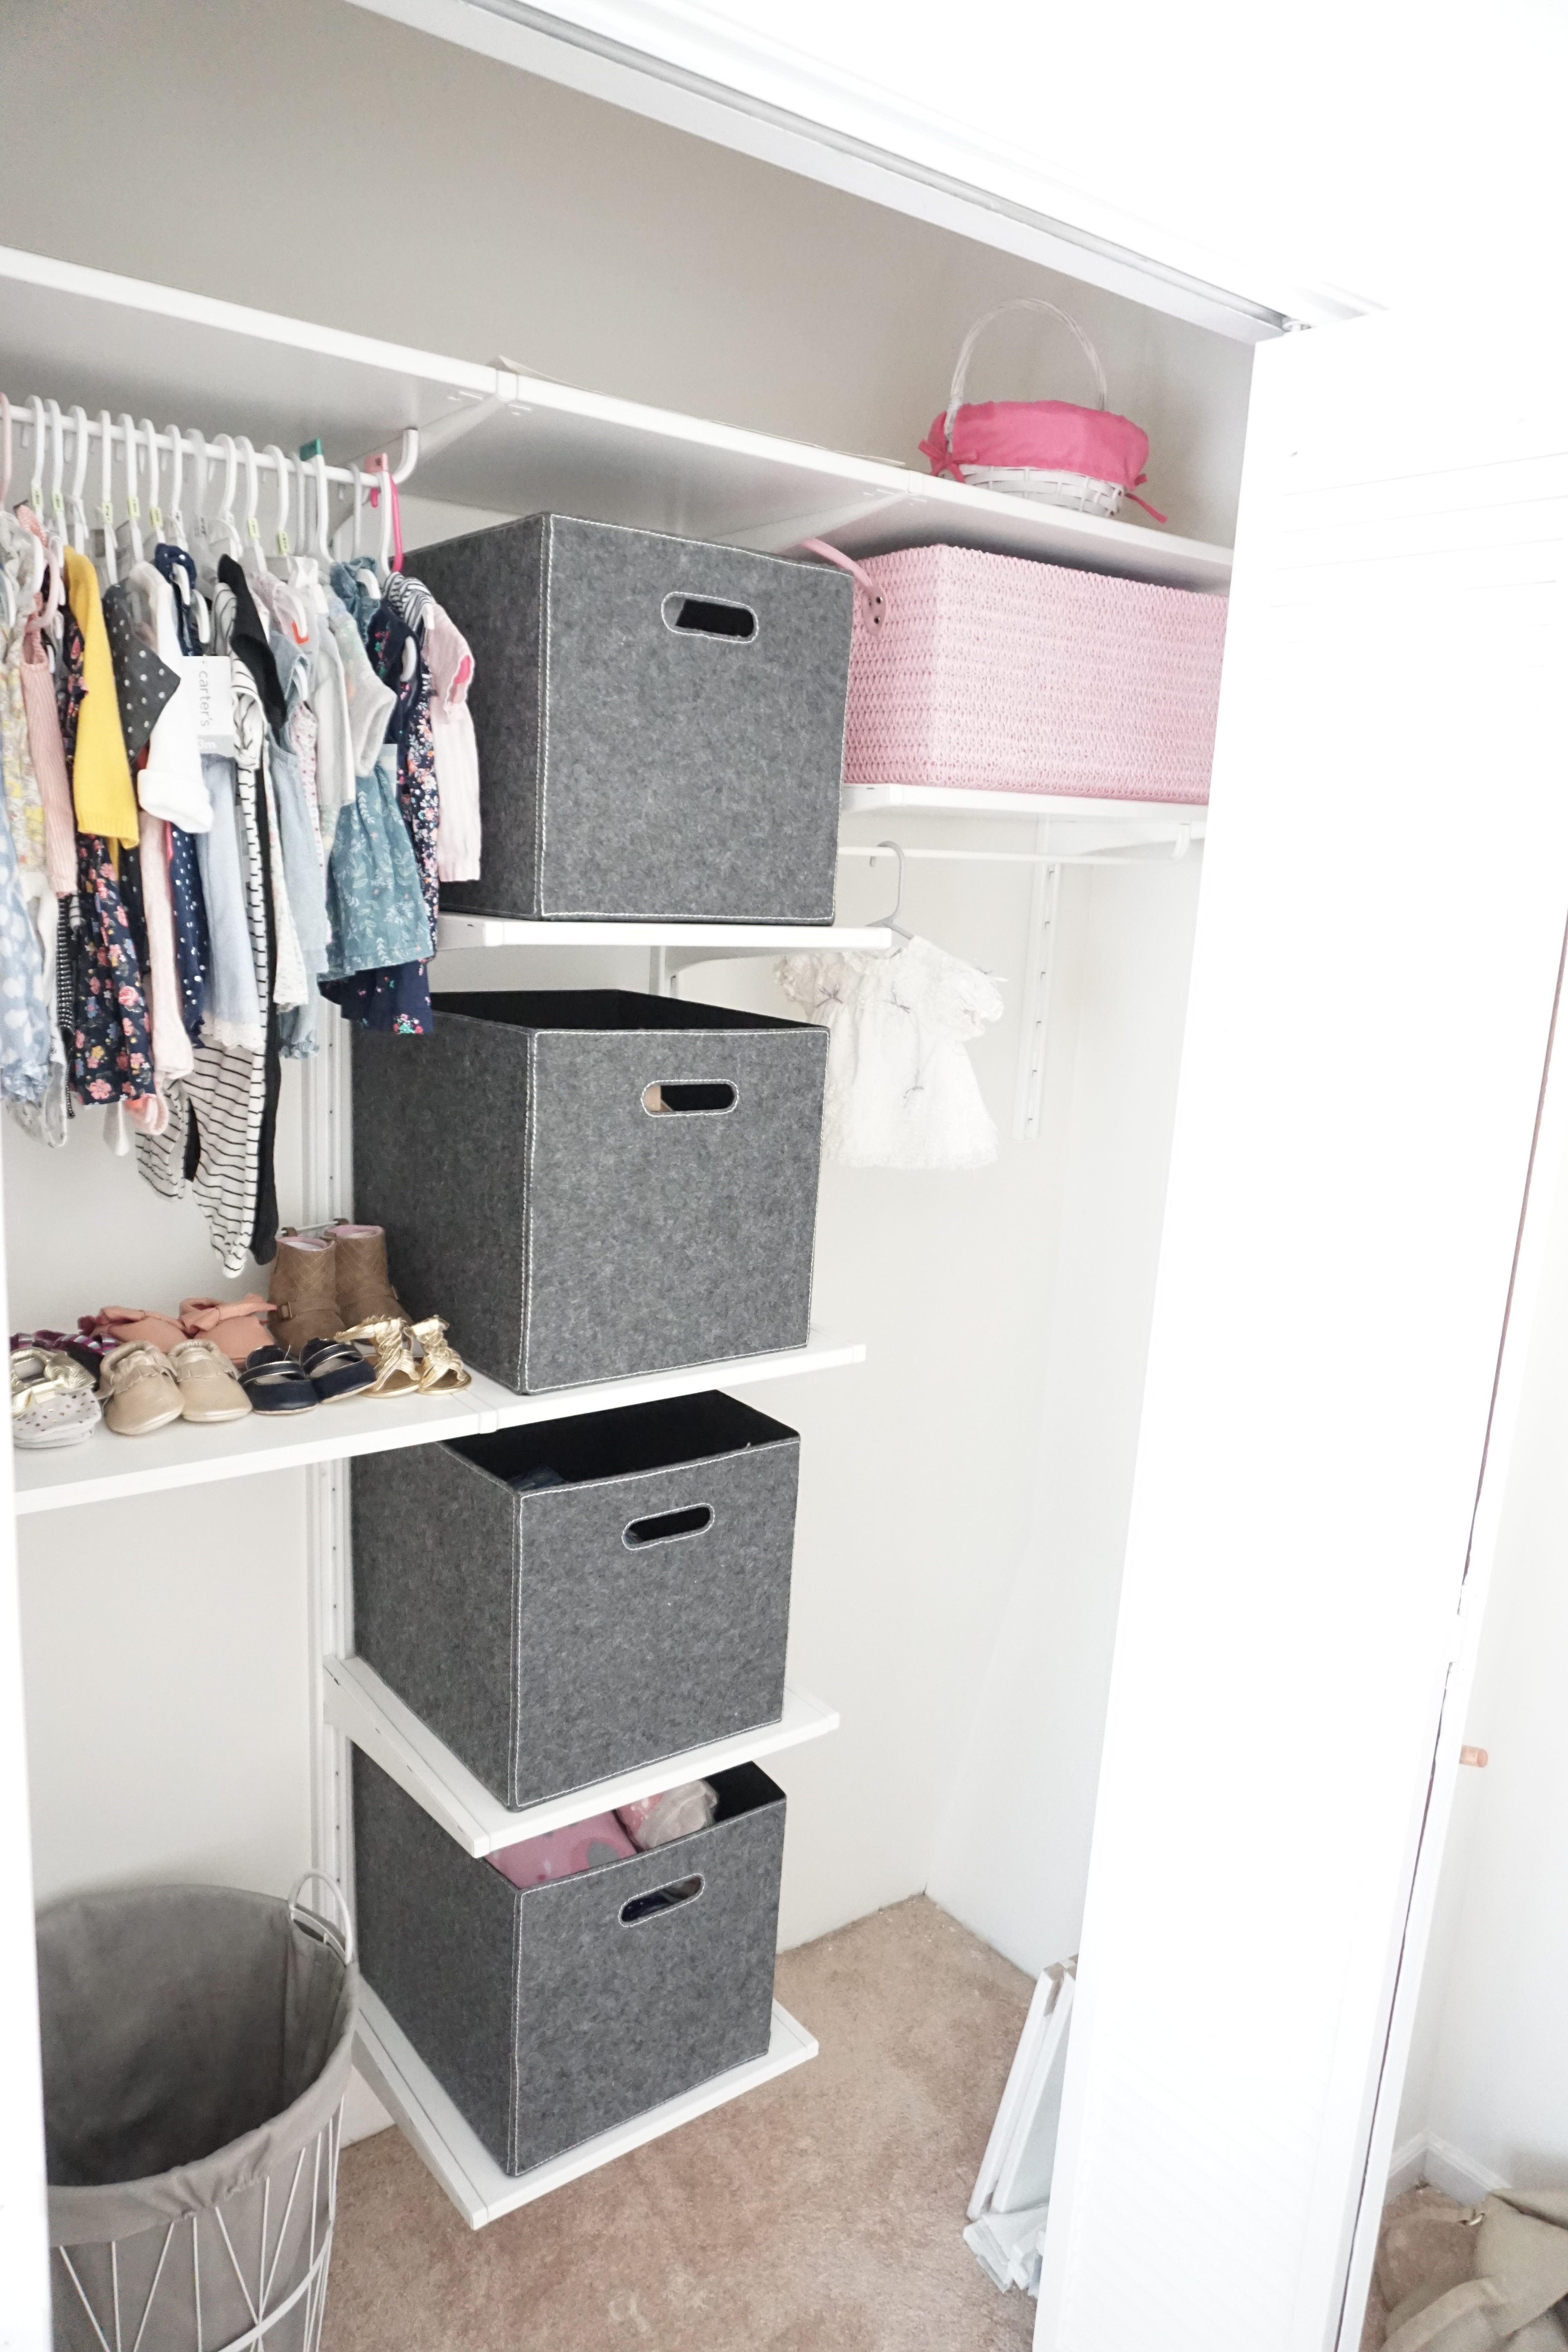
I used these bins from IKEA. I had a couple of them before we decided to do the closet, so we spaced out our shelves so that the bins would fit. There are so many other great storage bins to choose from that would fit your style. It’s definitely helpful to pick them out before you design your closet, so that you can plan around them.
Have you used a closet system in your home, or are you thinking about installing one?
Let me know your thoughts on closet systems or organization solutions in the comments below!
