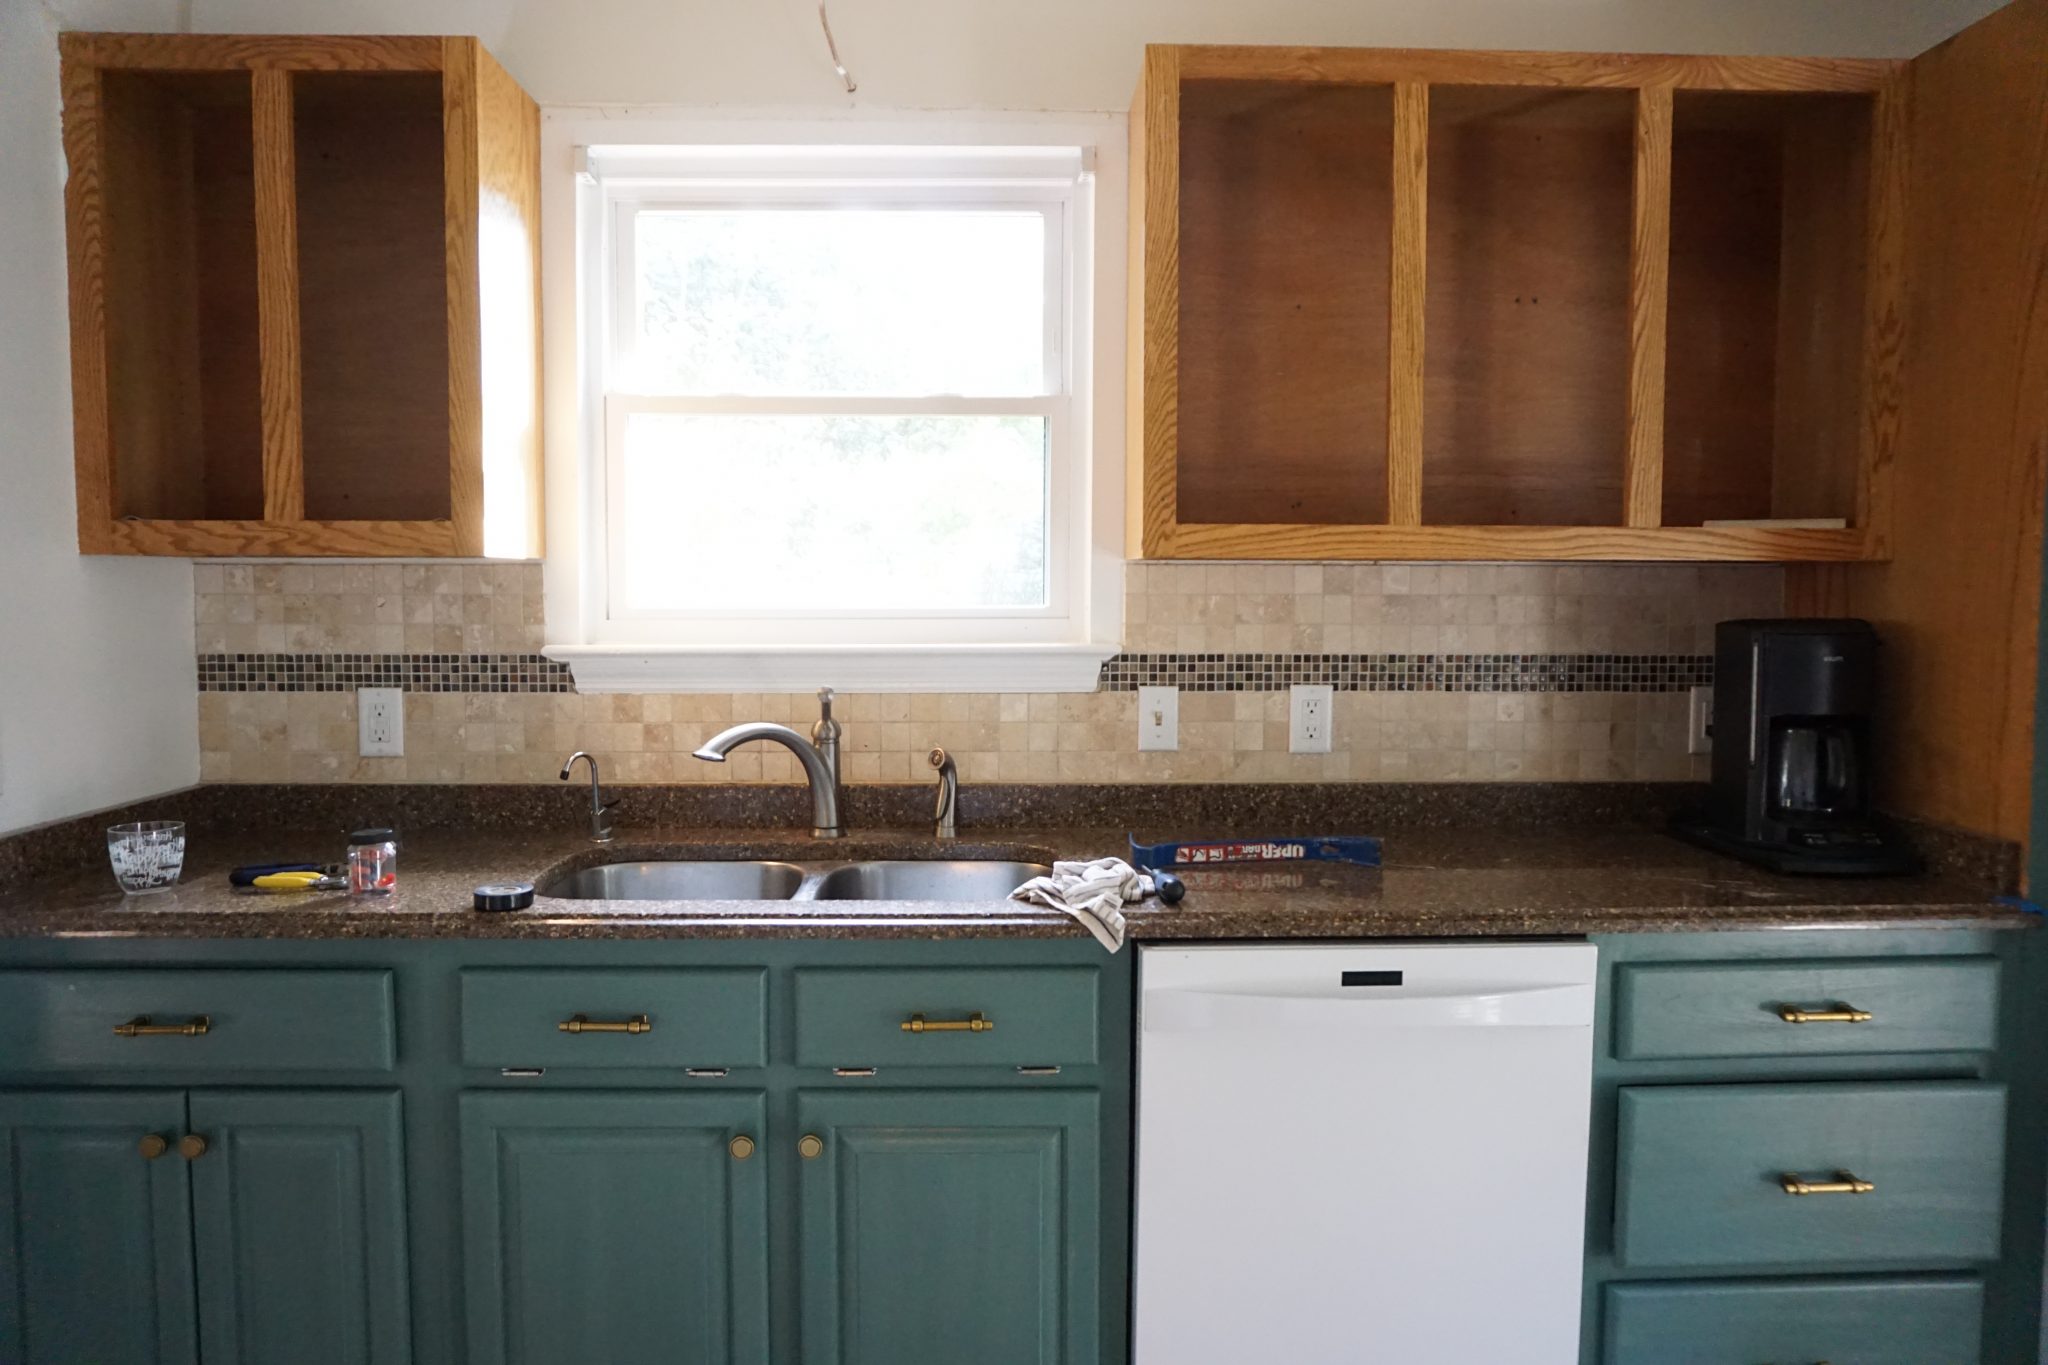
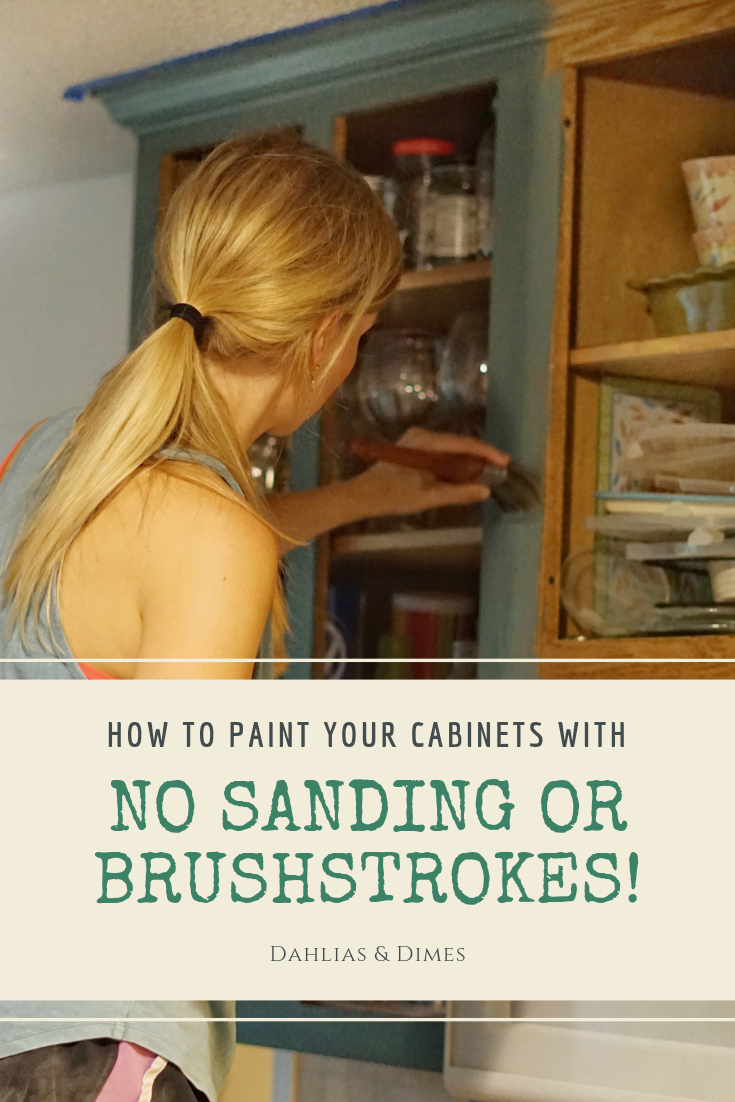
Week 2 of the One Room Challenge and it’s all about painting my 90’s oak cabinets! Check out the before of my kitchen and design board HERE.
There are many different ways to paint cabinets and many different types of paint to use. Some are more time consuming or involve a sprayer and lots of plastic, but if you’re an average DIYer like me, you may just want to consider using clay-based paint when painting your cabinets.
Pros: NO SANDING! / No paint strokes. / Fool proof.
Cons: May take a few coats. / It needs a top coat. / Several steps to get a good finish.
I’ll be doing a best practices post once the ORC is finished, but for this tutorial I will just be giving you the basic steps on how I used Country Chic Paint’s clay-based paint on my kitchen cabinets. I have a discount code for my readers at the end!
Tools Needed
(Disclaimer: Some links are affiliated for your ease of shopping.)
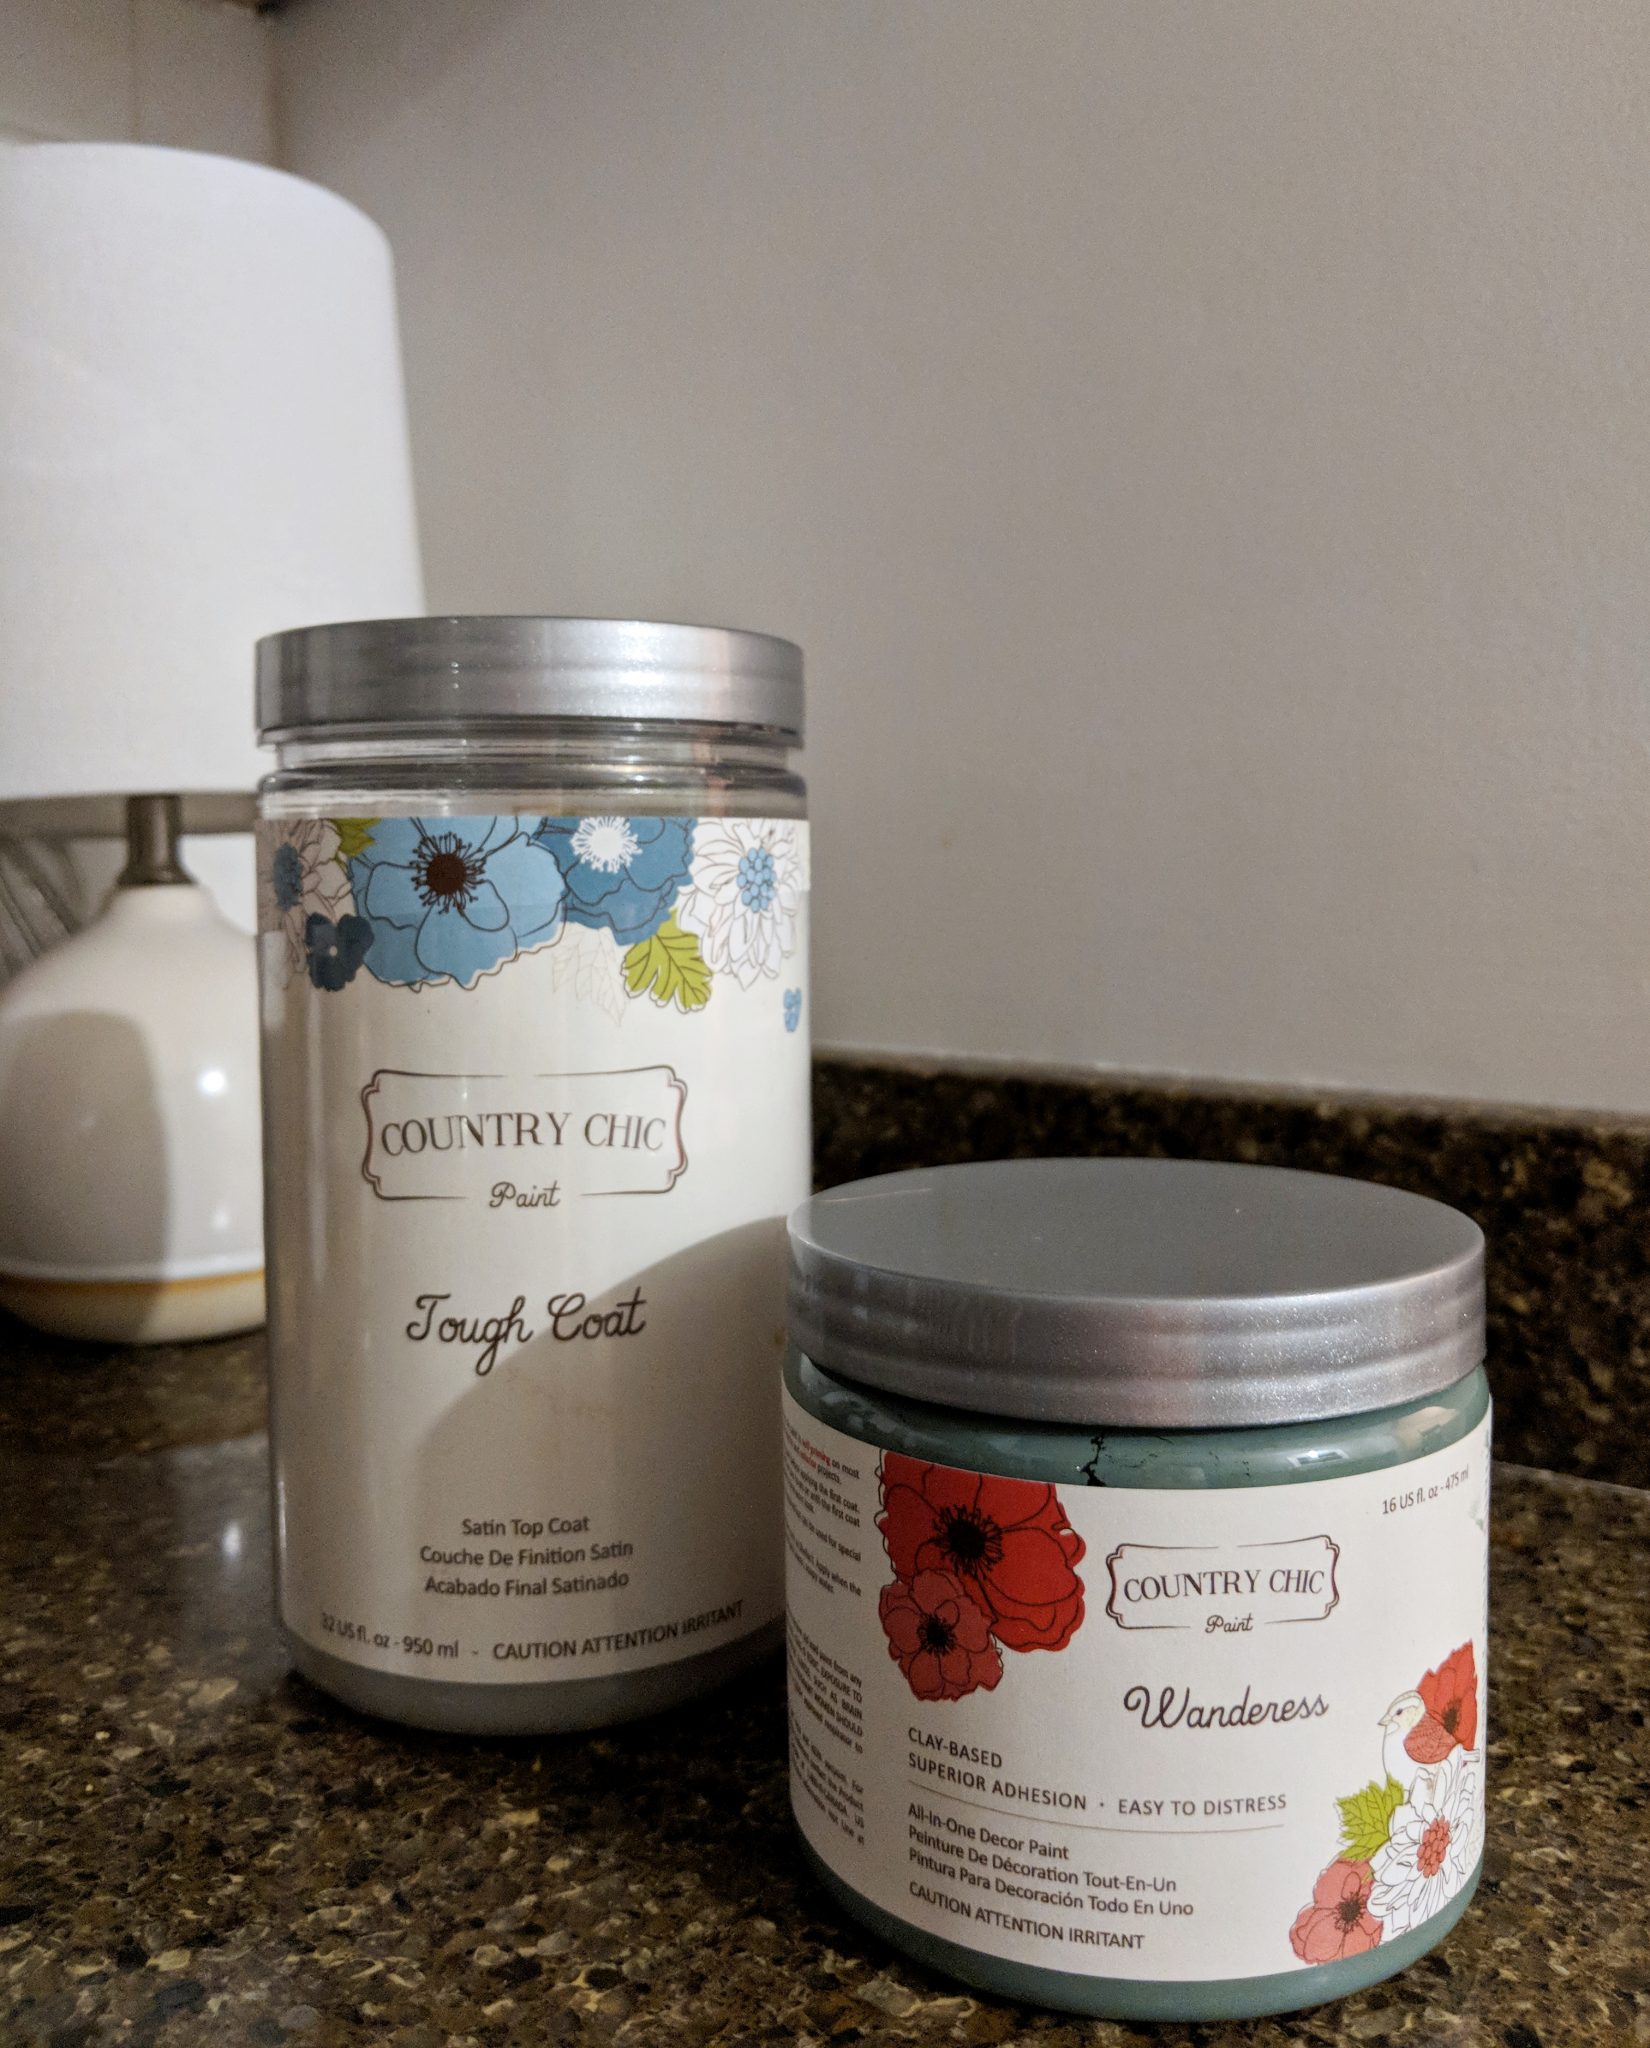
Goof Off | Sanding Block (optional) | Plastic Wood (optional) | Primer | Country Chic Paint Decor Paint | Country Chic Paint Tough Coat | 2″ Oval Paint Brush | Synthetic Brush | Microfiber Cloth
Prep Work
1 | Remove Doors and Hardware
I decided to work in sections with my kitchen, so I only removed the doors in the section I was working on. If you’re doing your entire kitchen in one go, then make sure to be organized and know where each door goes.
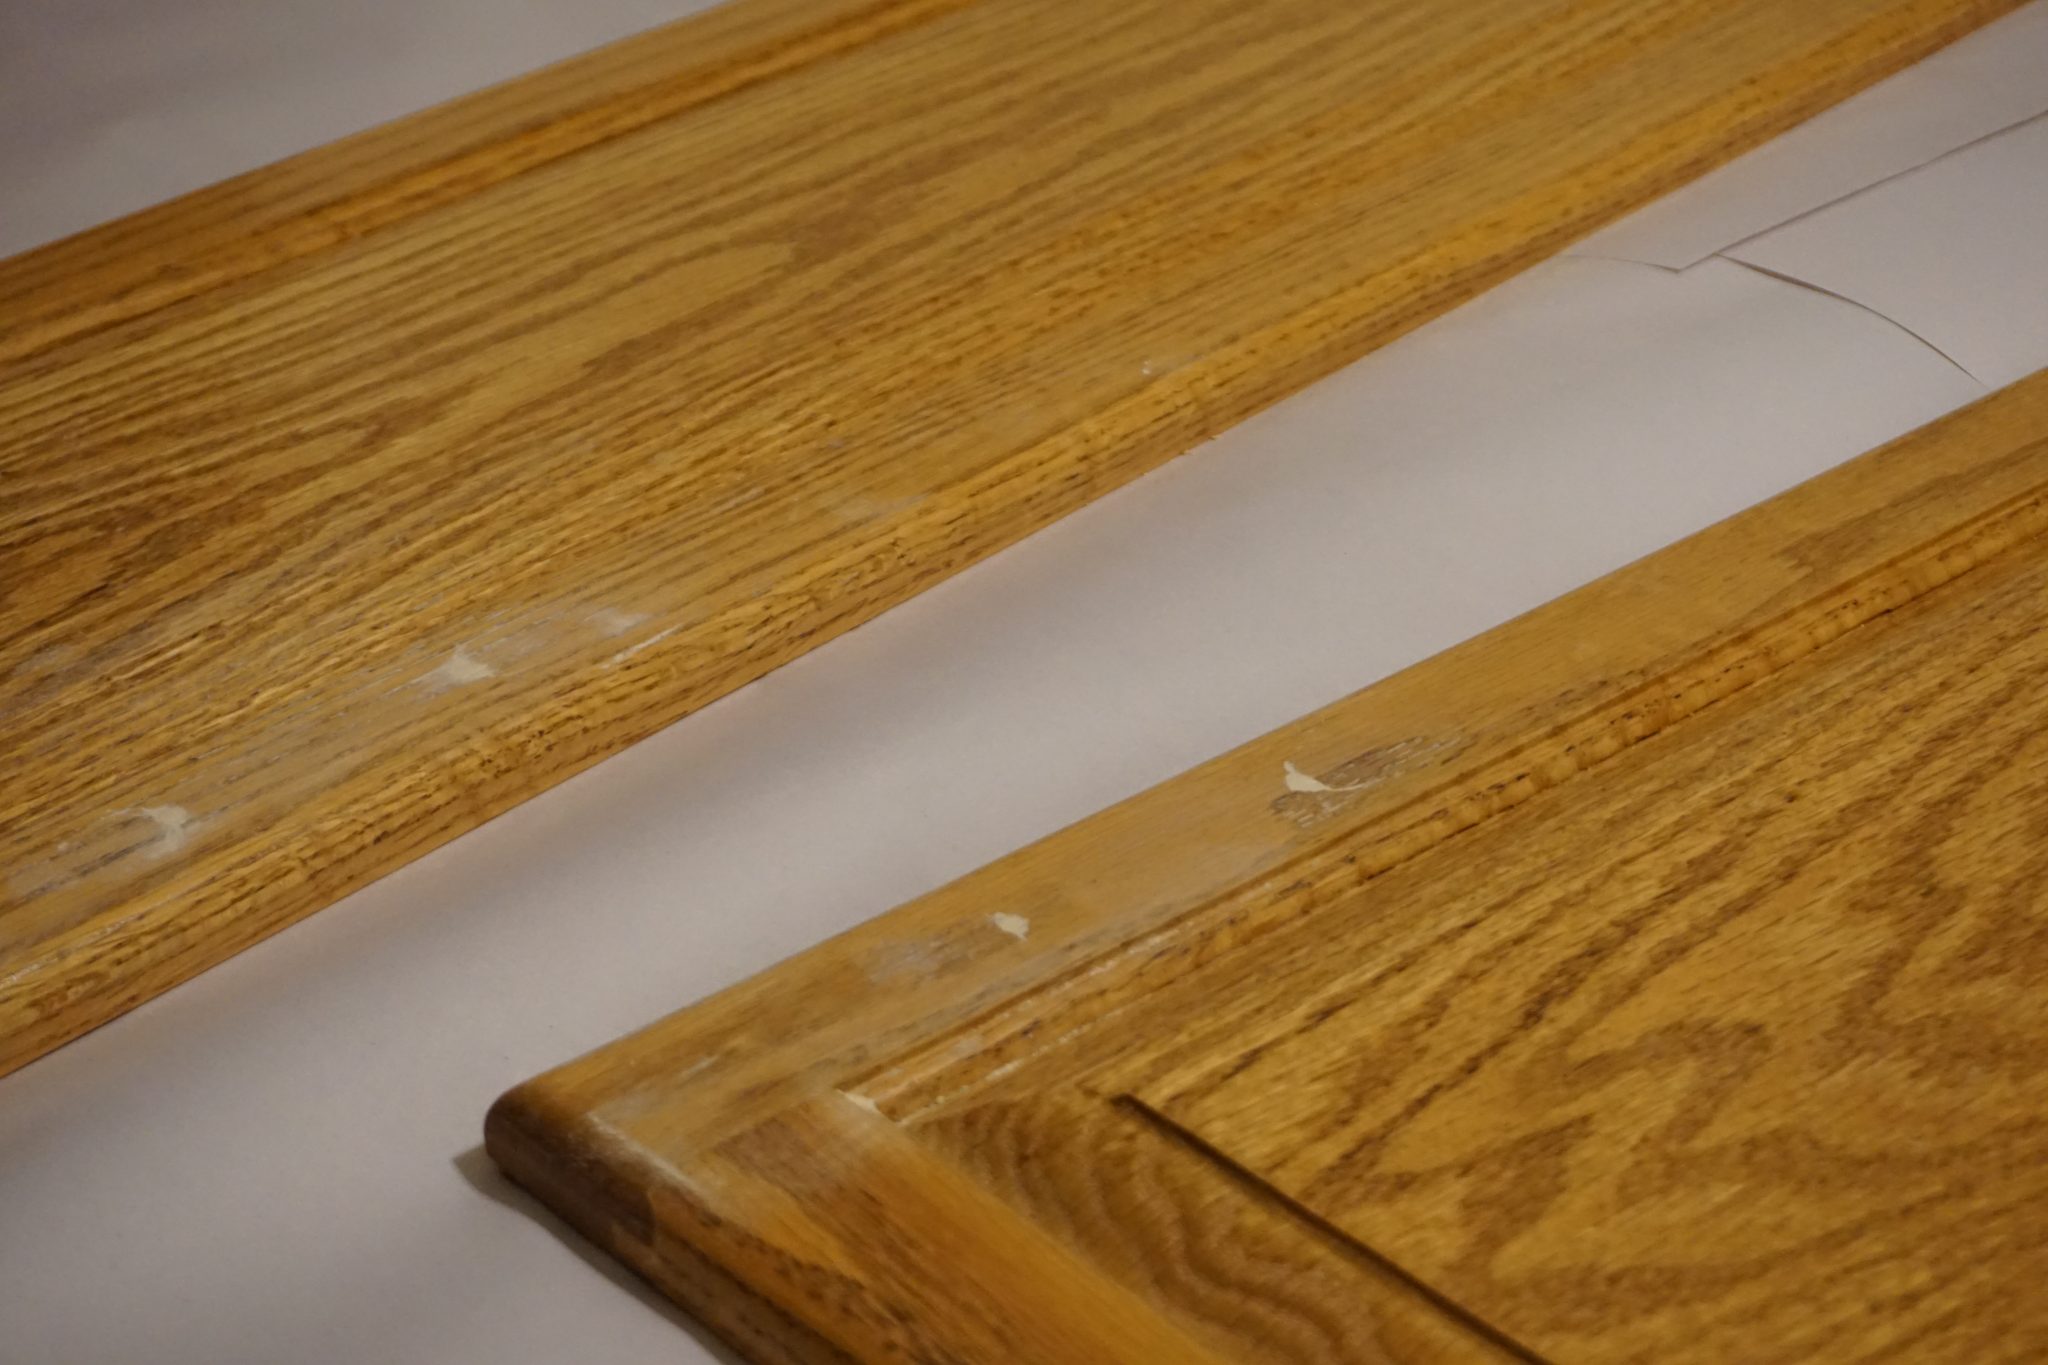
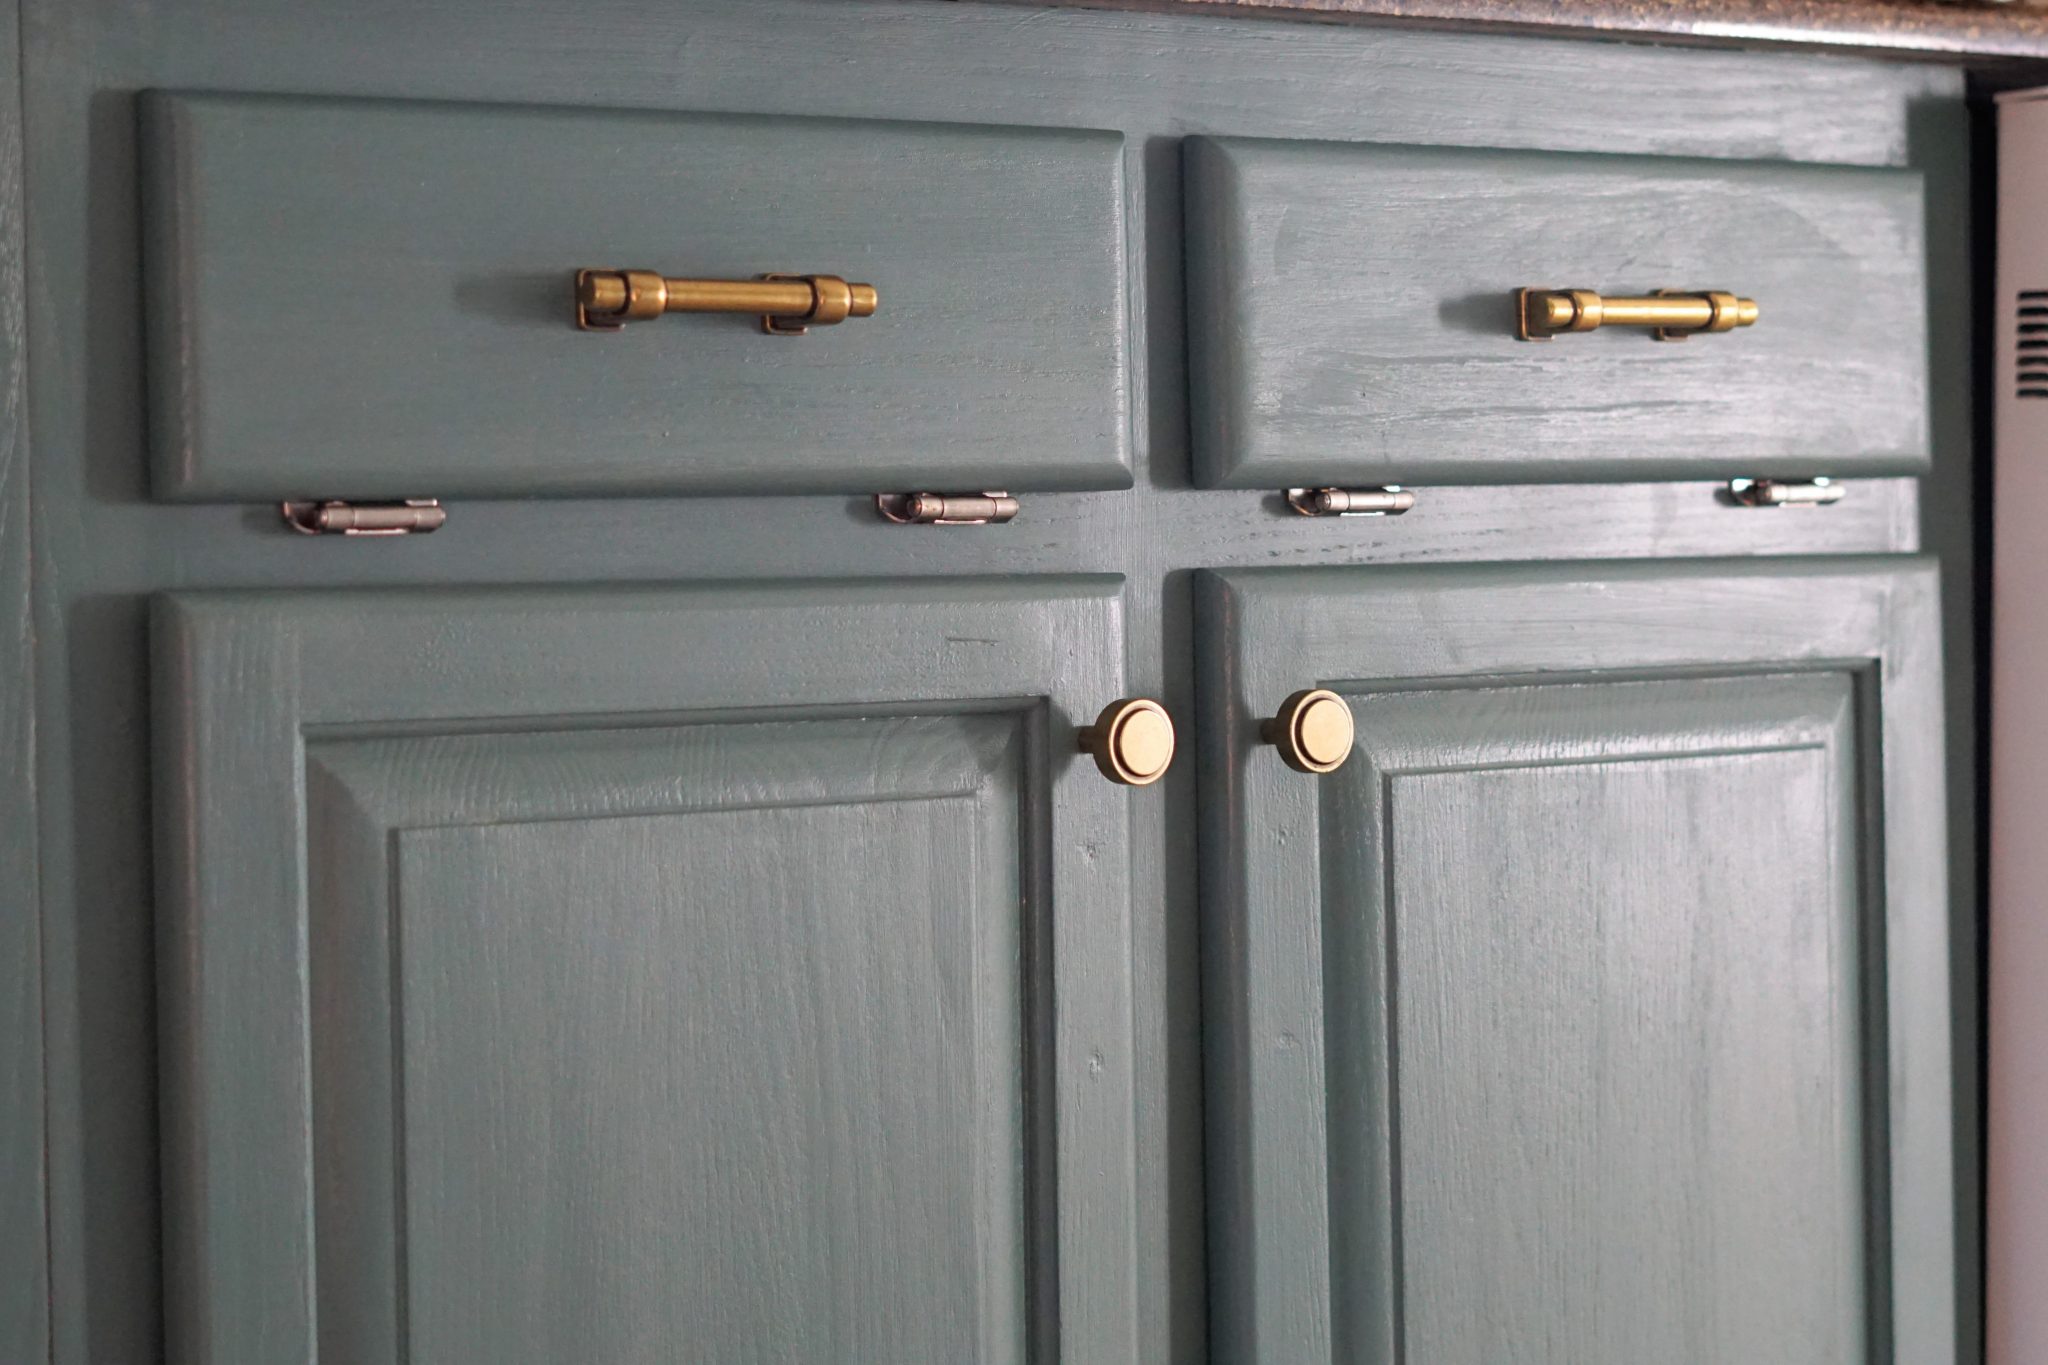
You will then want to remove all the hardware included the hinges (if they’re on the outside of the frame) for ease of painting. We received new hardware and hinges, so not only did we have to remove everything, we also had to fill in all the holes with plastic wood. This adds an extra step to the whole process because once you fill in the holes, you’ll need to sand them before cleaning the entire surface.
2 | Clean, Clean, Clean
Once your holes are filled and sanded (if needed), you’ll need to make sure your surface is clean of any grease or grime. You may also need to sand some even spots before cleaning to achieve an even surface. I used Goof Off and a microfiber cloth to scrub down the all the surfaces.

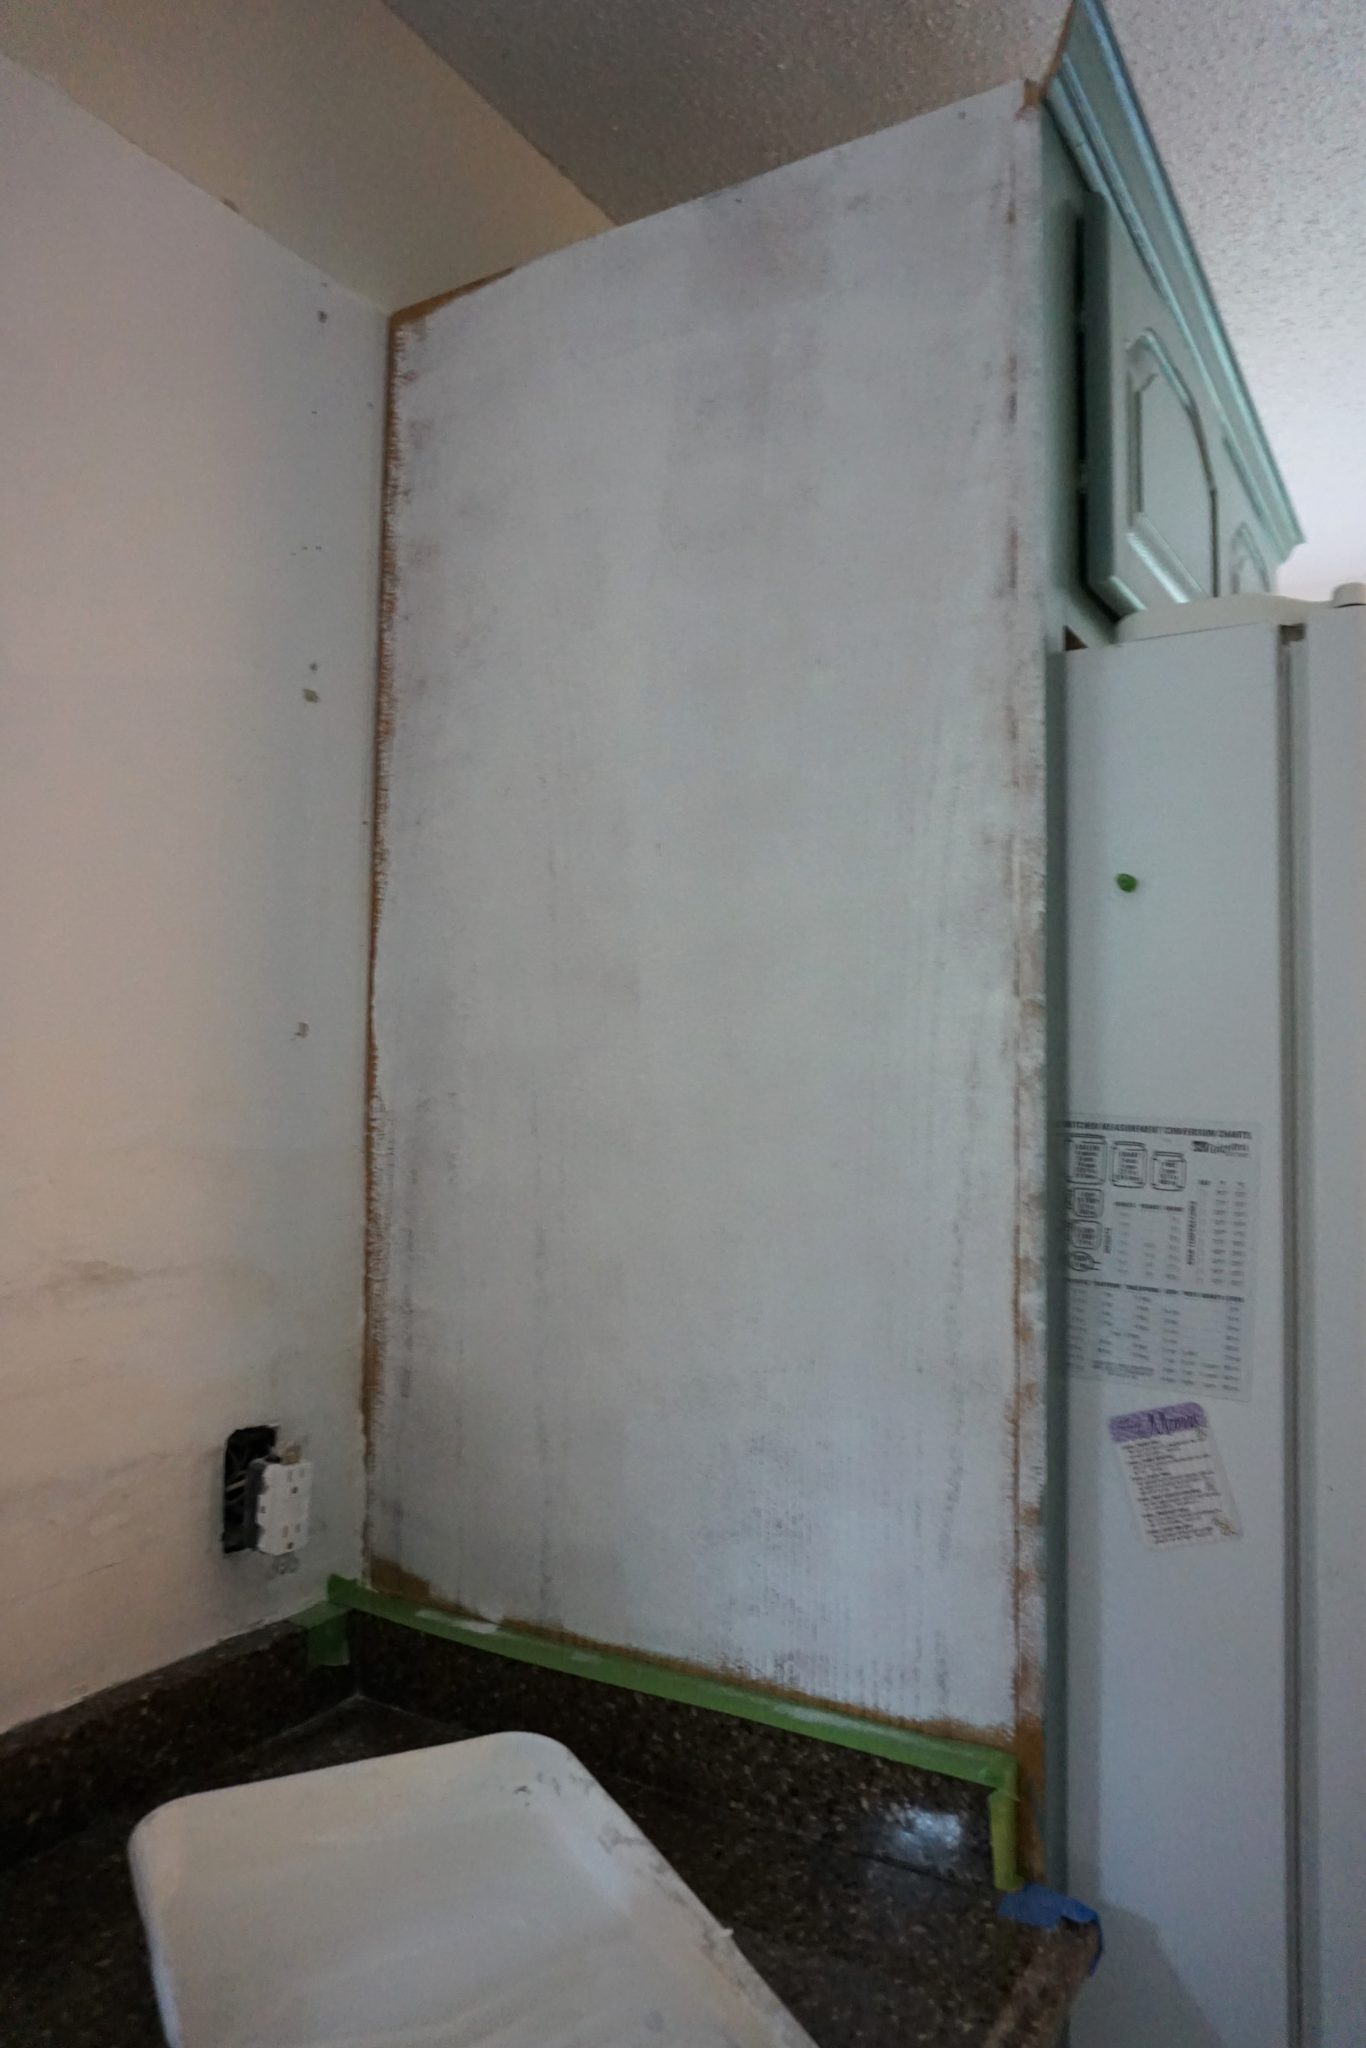
3 | Prime
I rolled on one coat of my favorite primer, Zinsser. The top coat is super strong and will pull out any set in stains that you didn’t even know your cabinet had, so the primer will ensure a true, lasting finish.
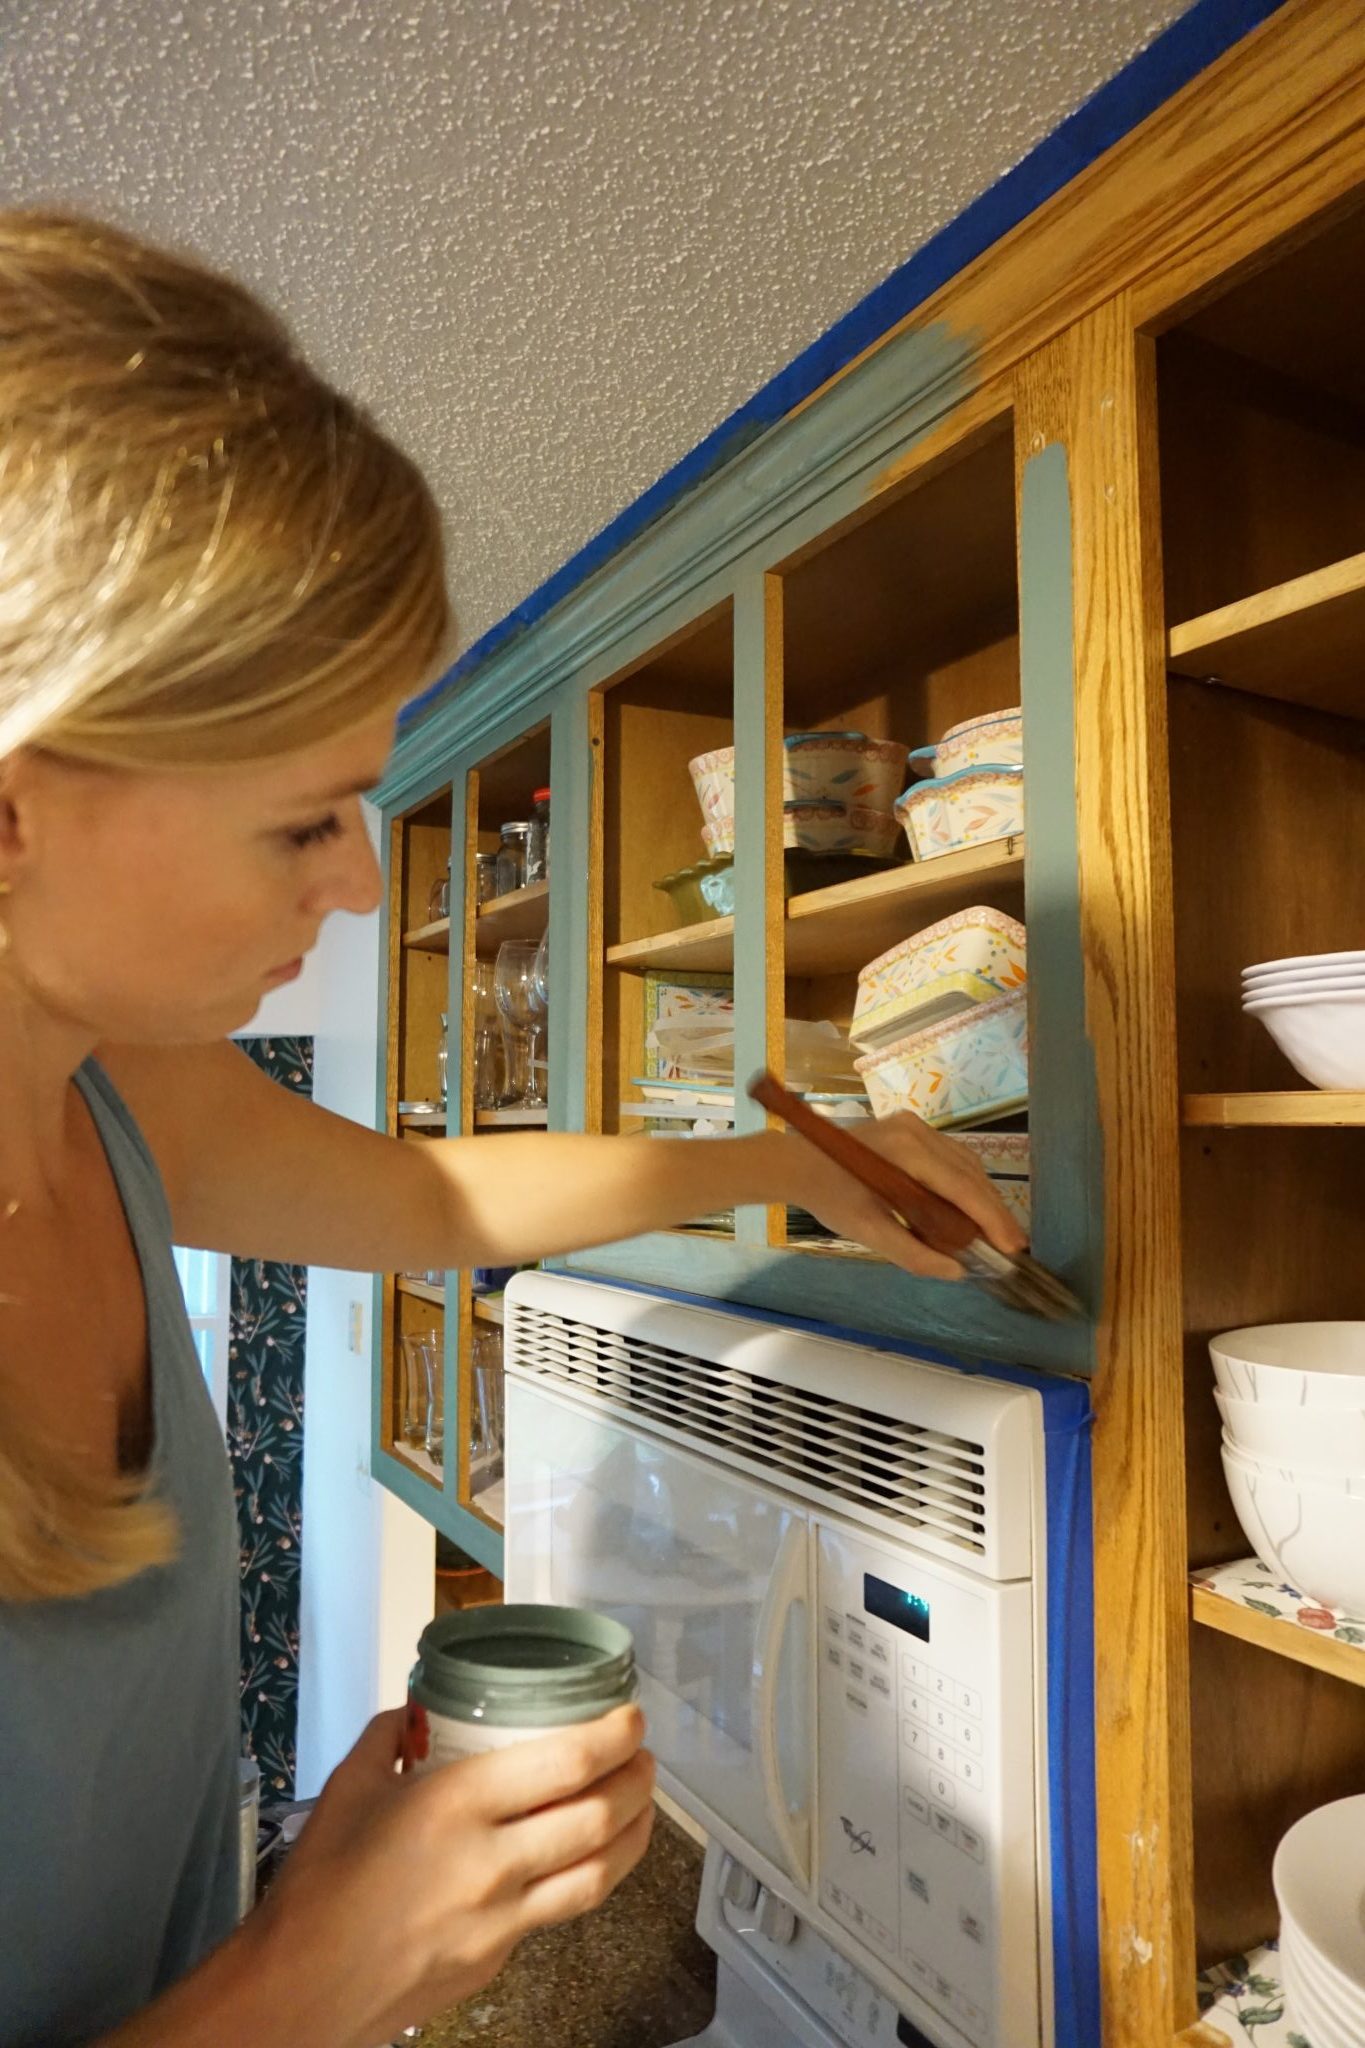
Painting on the Coats
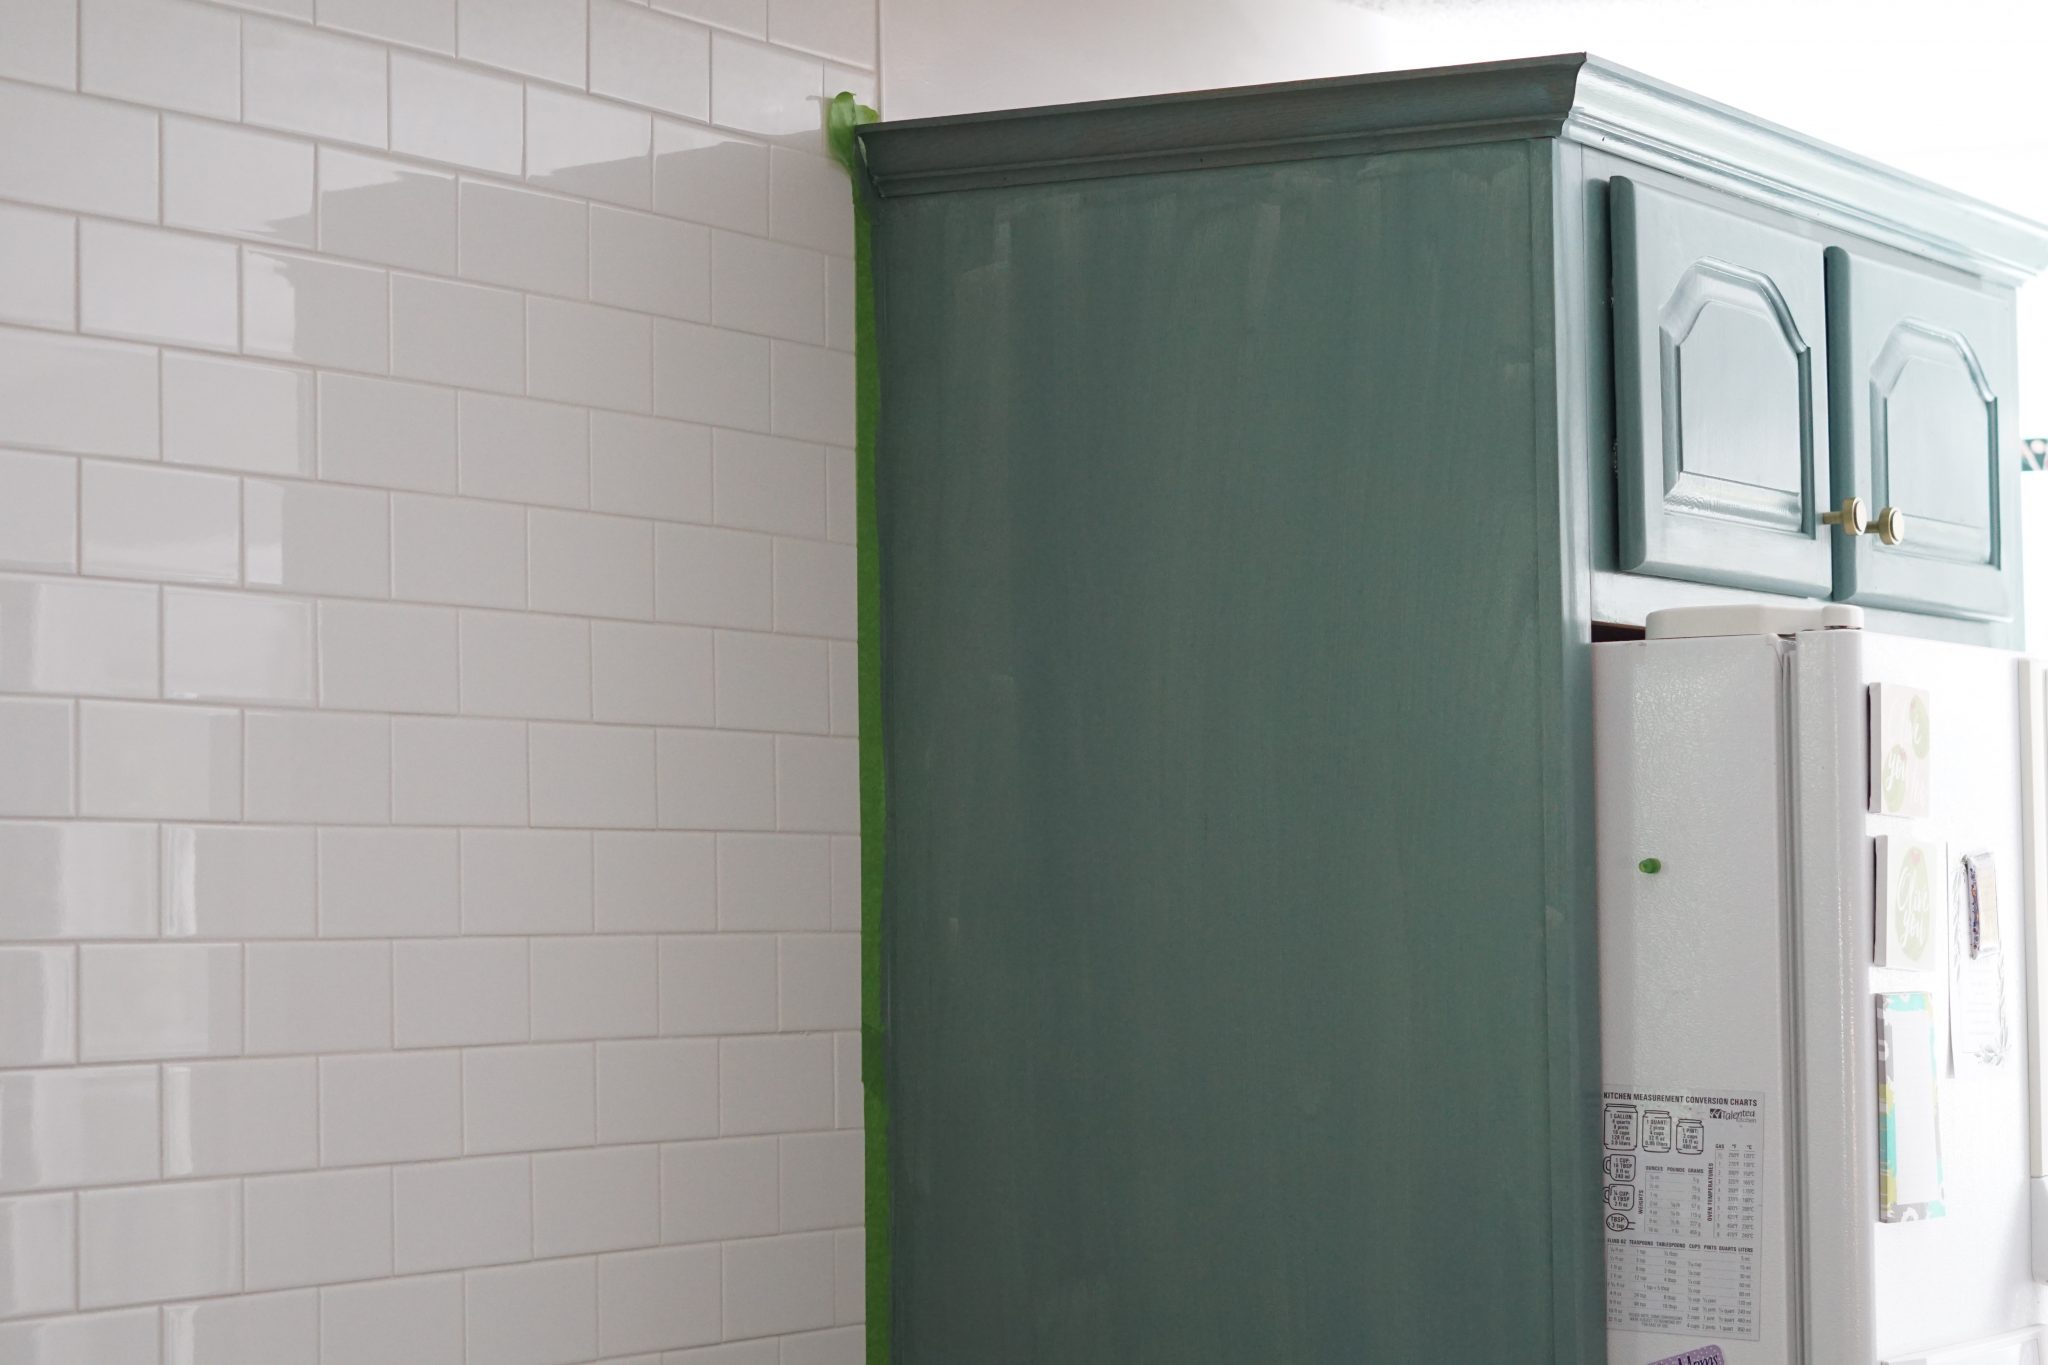
This was the easiest part. Once you shake and stir your tub of paint, you simple just brush it on. I used CCP’s oval brush, which holds a good amount of paint and is very easy to work with. The nice thing about clay-based paint is that it doesn’t leave brush strokes! You may doubt this after the first coat, but I promise it levels nicely after the second or even third coat.
I used Wanderess by Country Chic Paint.
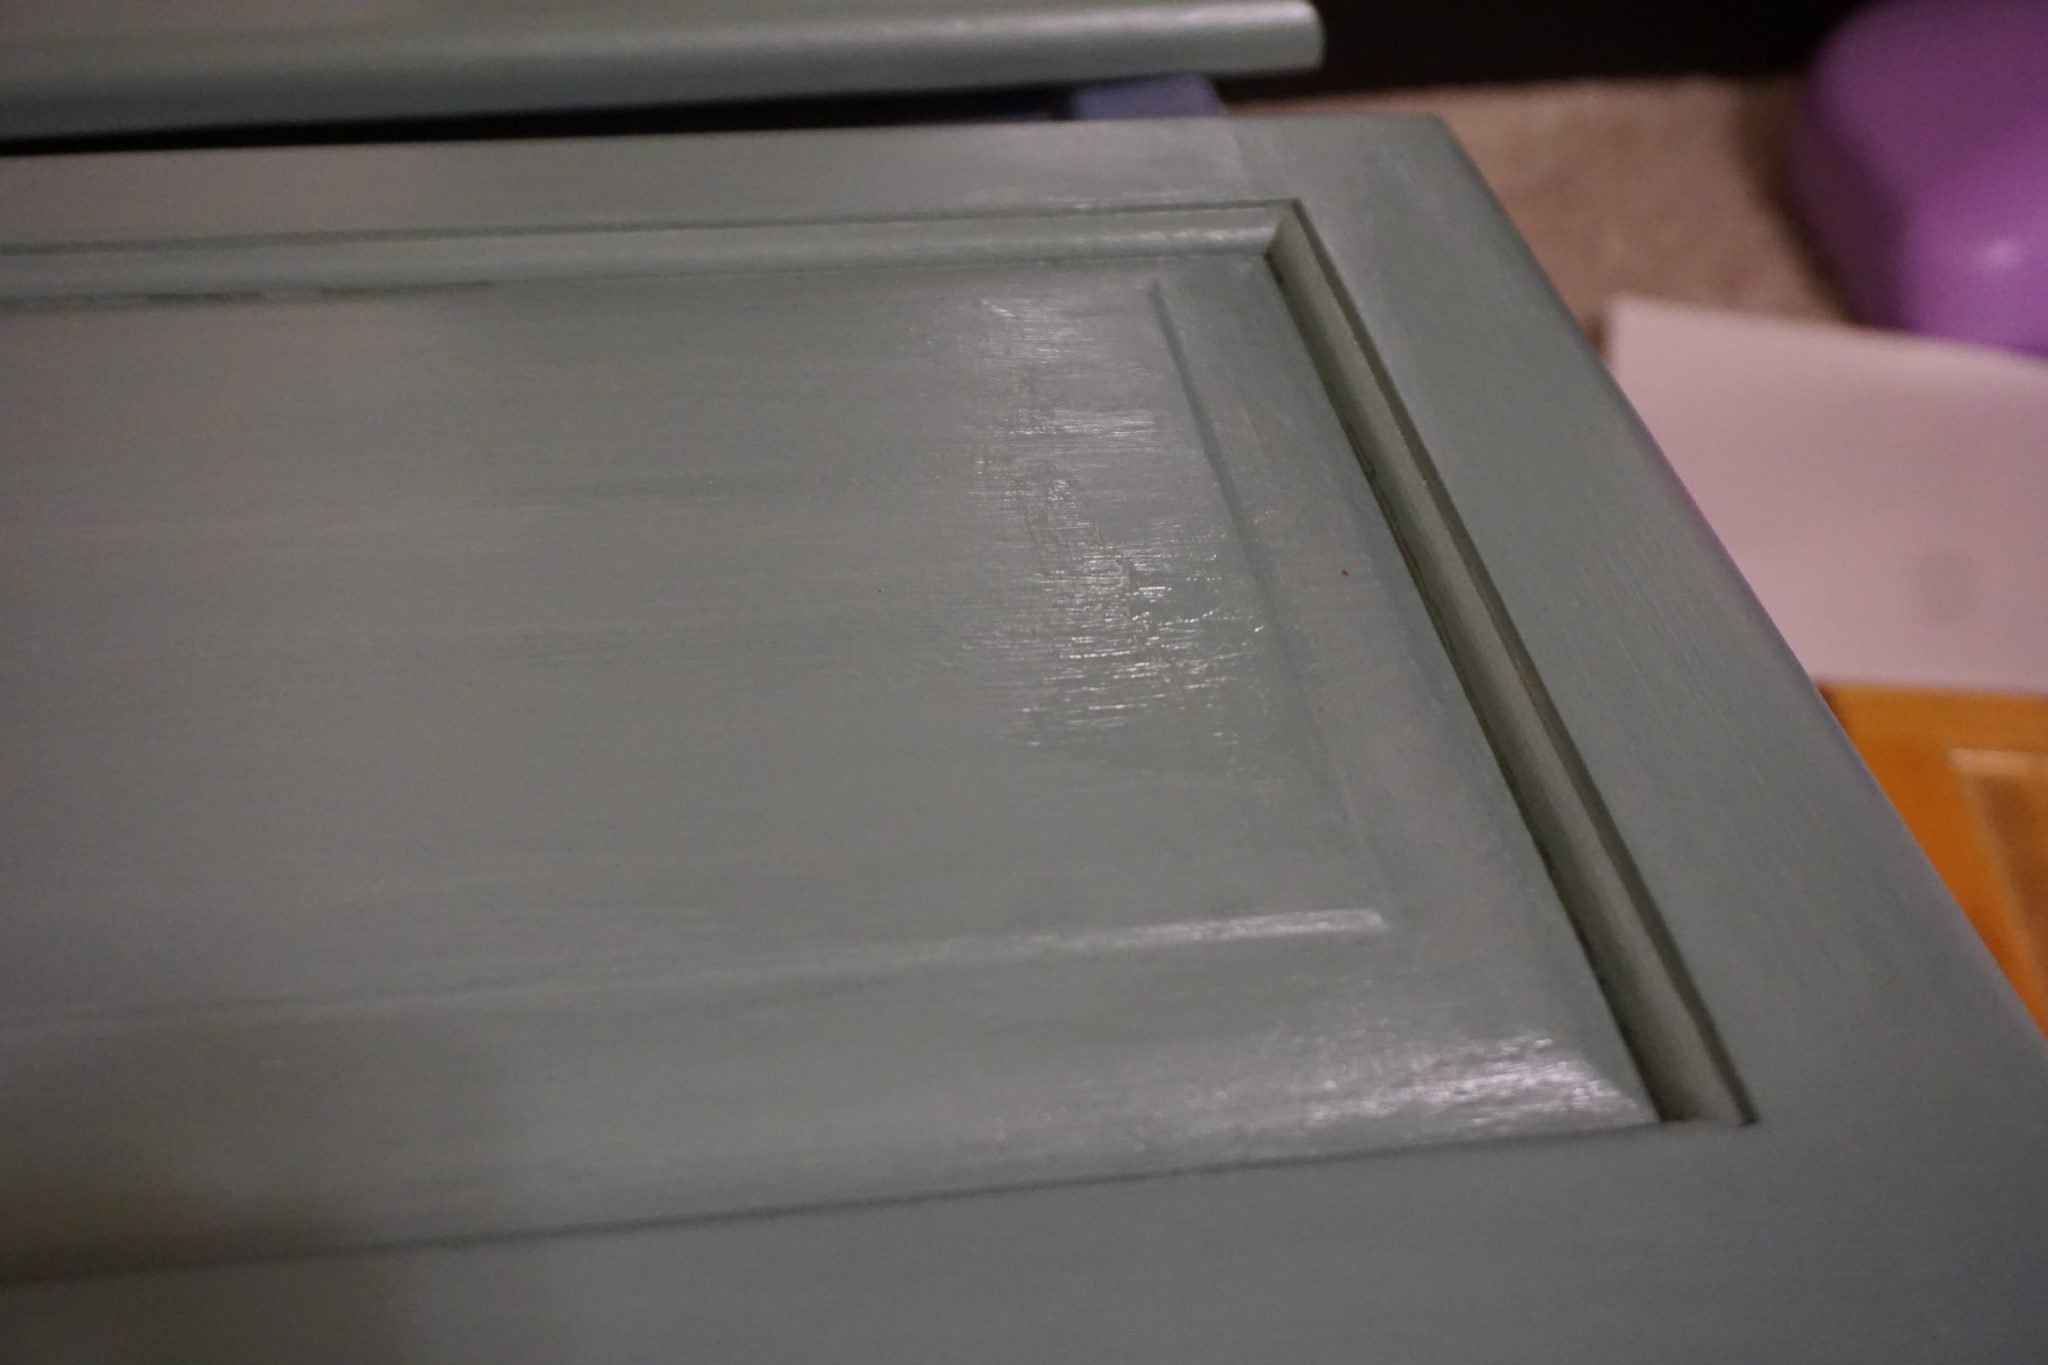
This is after this first coat.
And here is the second coat. Big difference!

I ended up using three coats on my cabinets for a nice full, even coverage. This also built up the paint so that the wood grain would hardly be noticeable.
Finishing Coat
Country Chic Paint makes a long-lasting, scratch-resistant top coat for high traffic areas called Tough Coat. It’s such a great product, but there’s definitely a learning curve when using it. It’s best to let the paint cure for 24 hours before apply the Tough Coat. I found the best way to apply it is with a synthetic 1-1/2″ brush. You’ll want to apply it using long strokes. Also, avoid overloading your brush with product. It will build up and dry in crevices resulting in discoloration.
If you missed a spot turning your first coat of Tough Coat, wait until the second coat before going back over it. You’ll want it to dry completely before your second coat. Luckily, Tough Coat dries within 20-30 minutes, so this step goes fairly quickly.
Once the last coat of Tough Coat is dry, you can start piecing your kitchen back together!
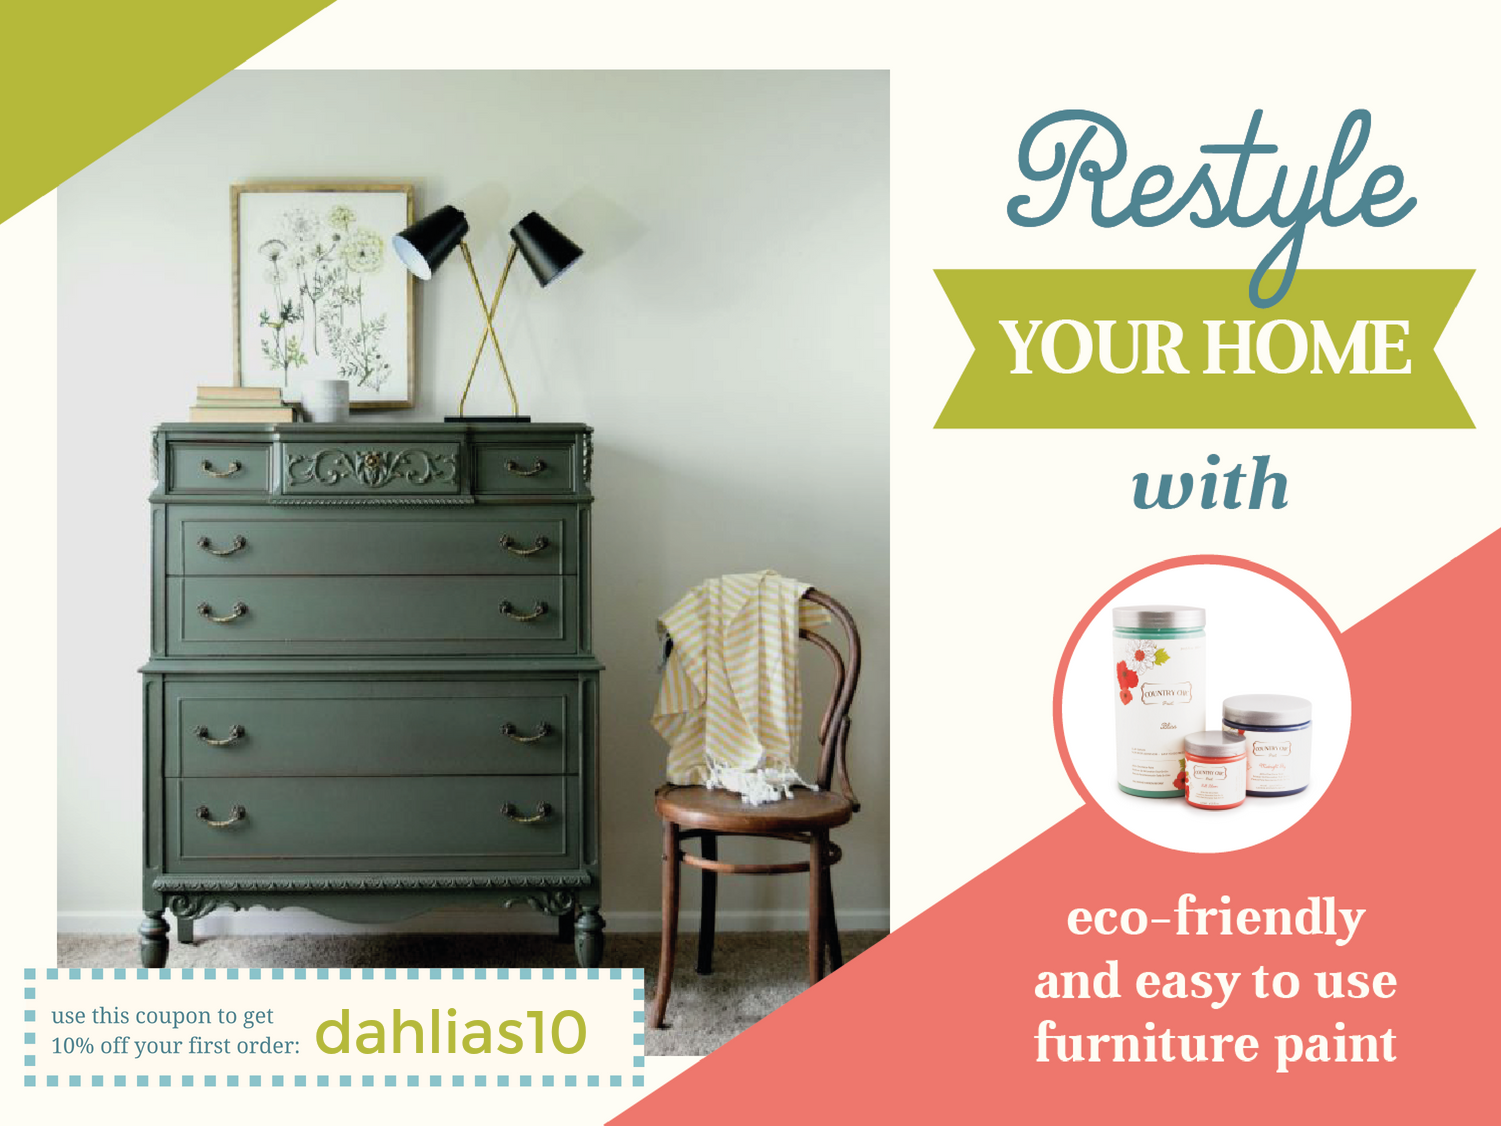
Have you considered painting your cabinets with clay-based paint? If so, you can use my code dahlias10 to receive 10% off your entire order. For reference, my kitchen took almost 4 pints of paint and just over one quart of tough coat.
Pin this for later!
Make sure to check back next week as I walk you through taking off old tile in preparation for a new backsplash!