Week 1: Nursery Plans
Week 2: IKEA Closet Makeover
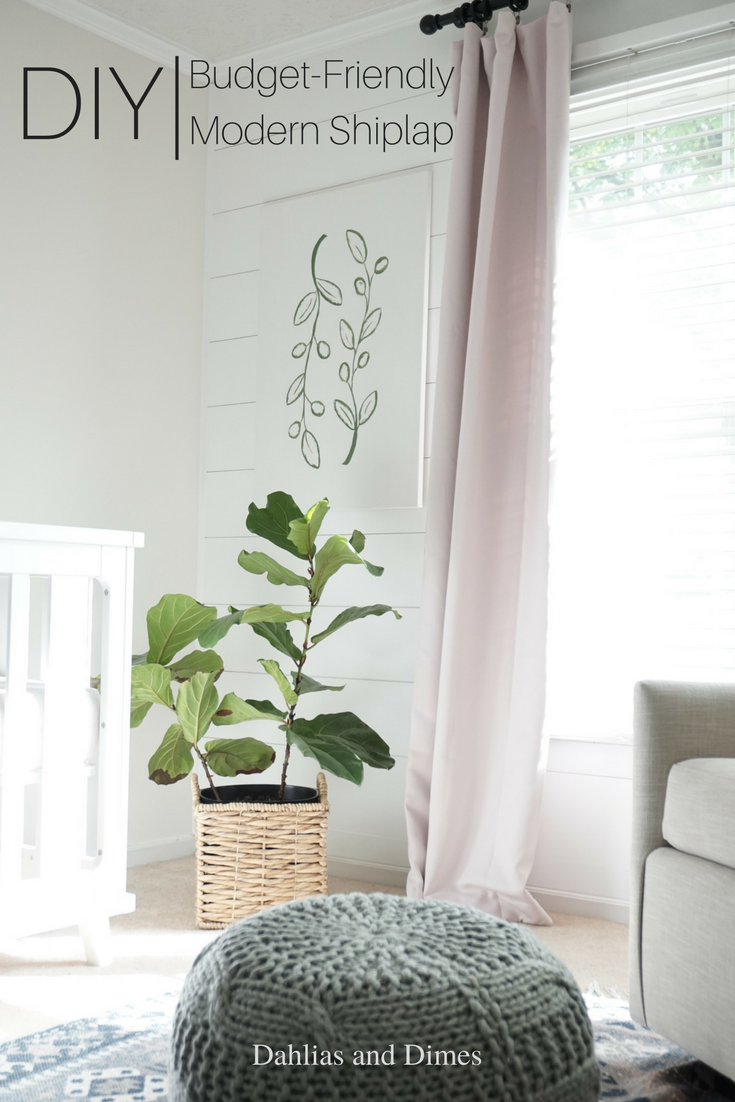
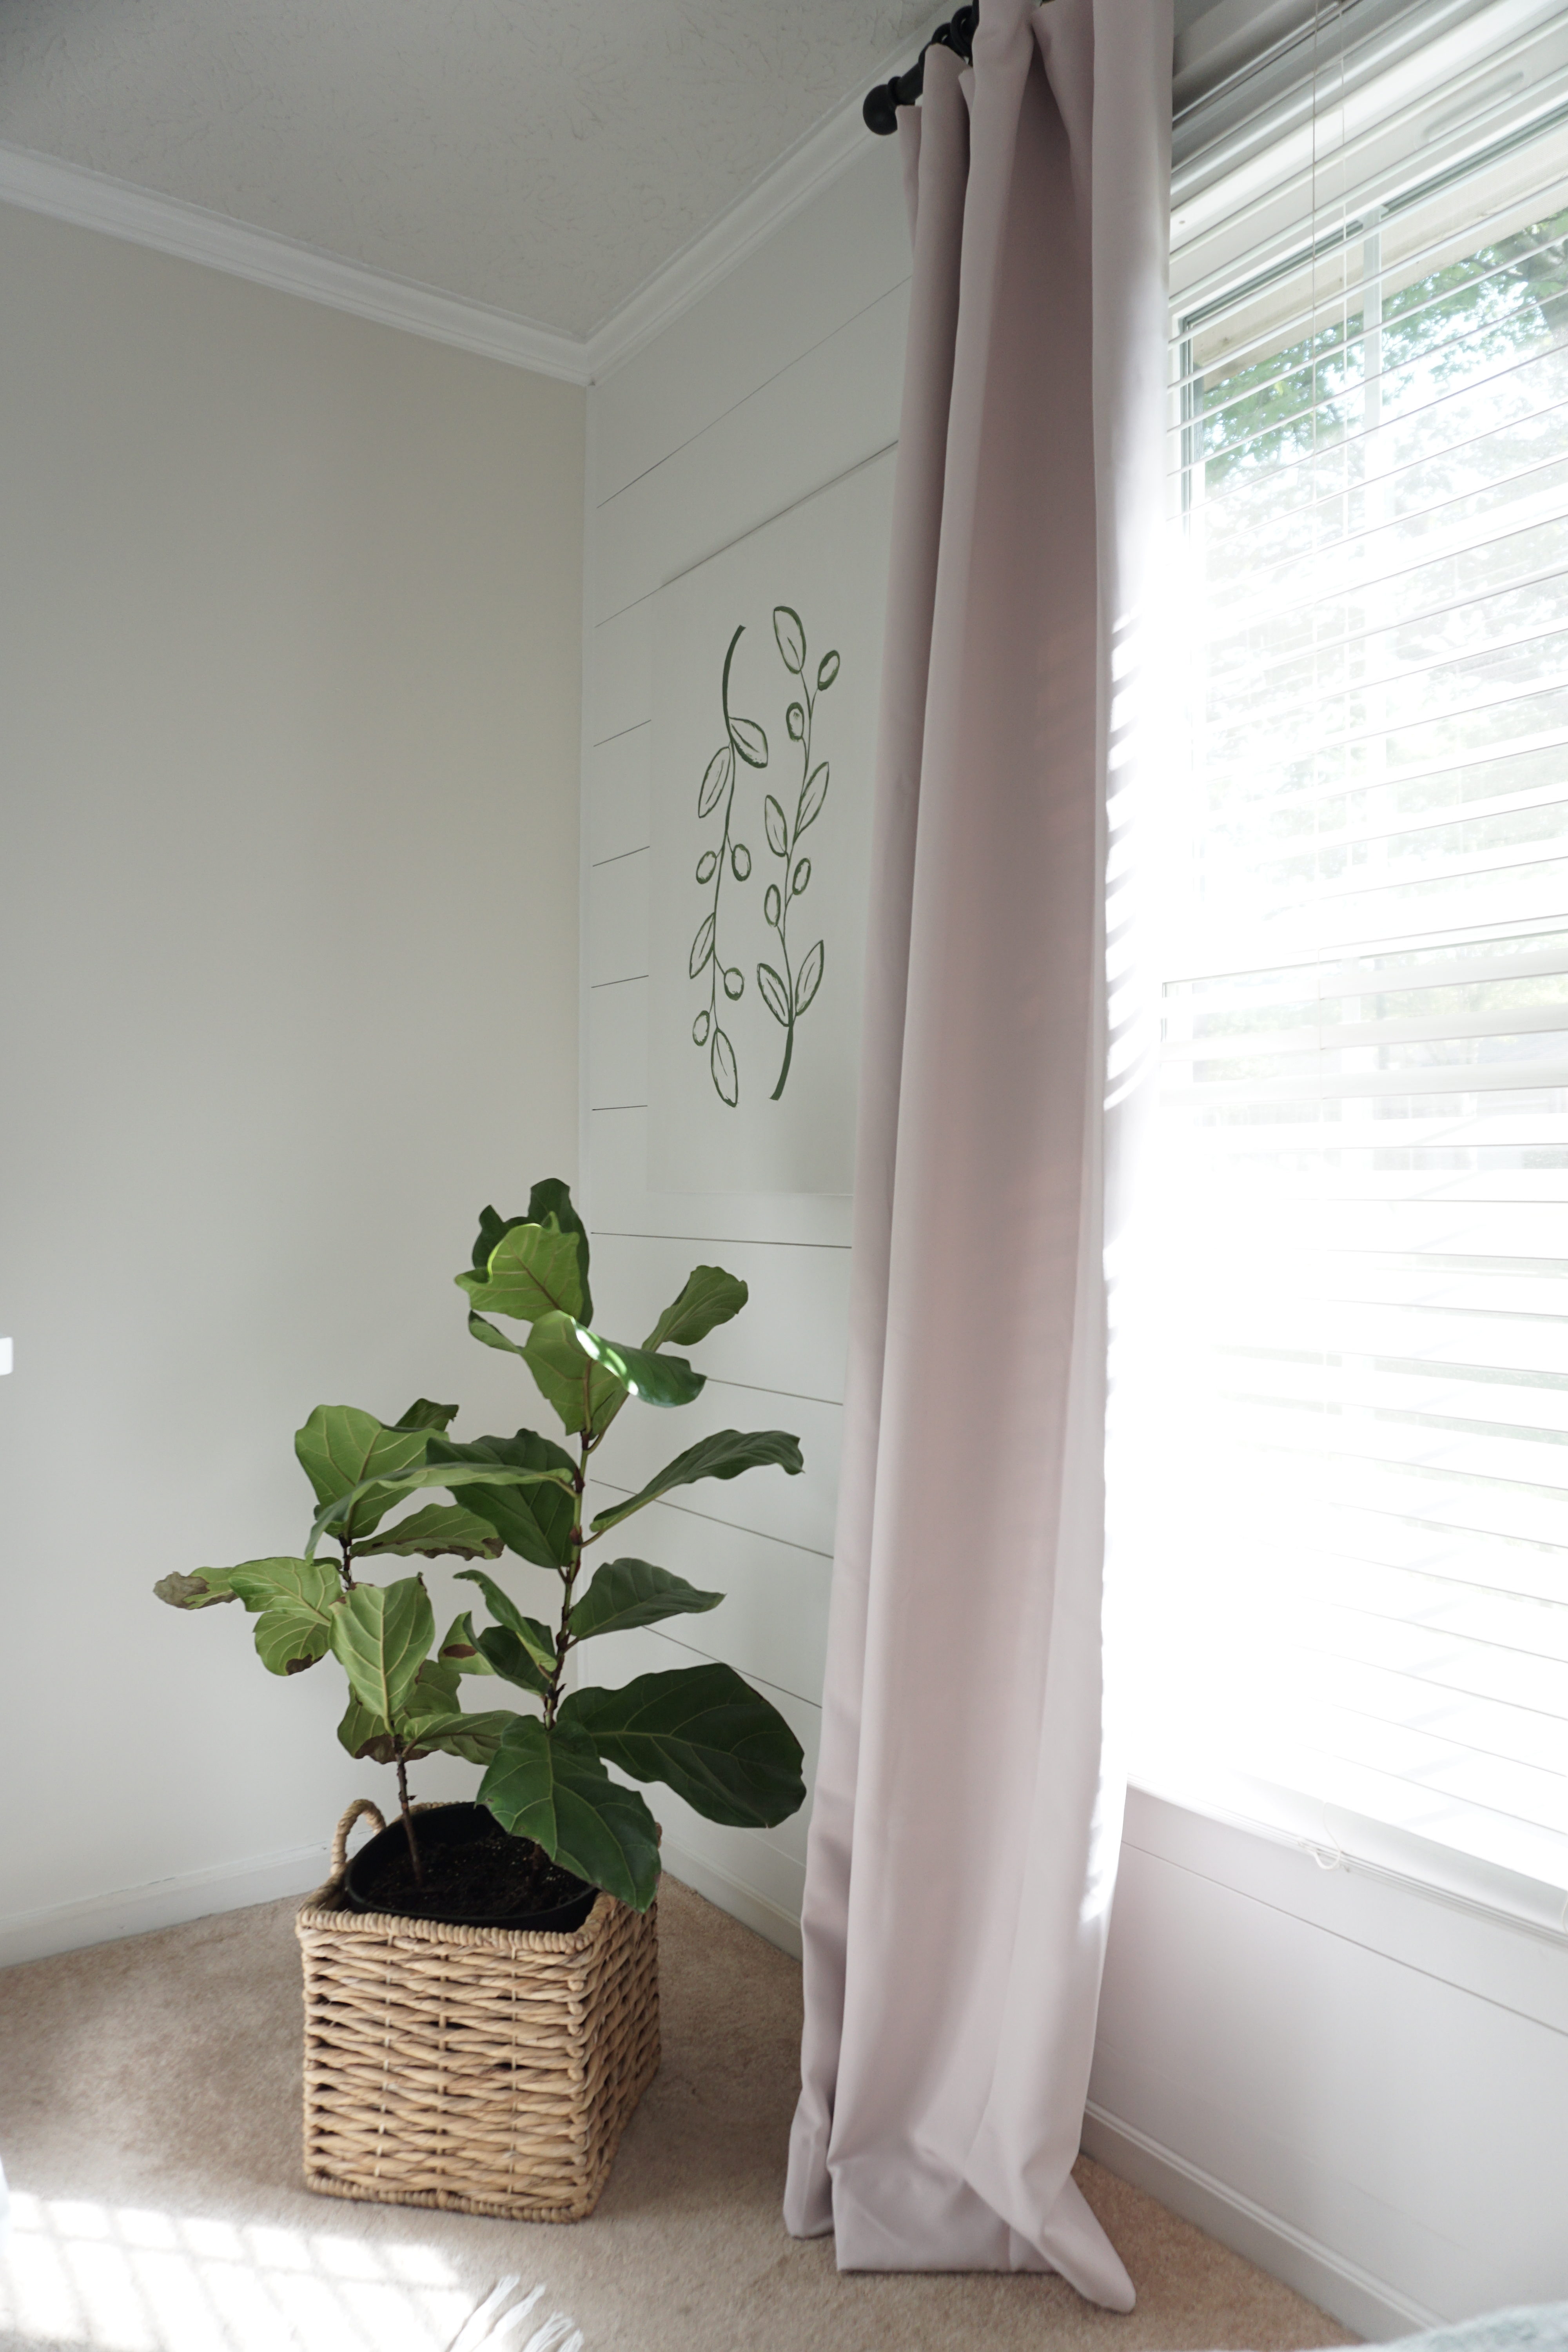
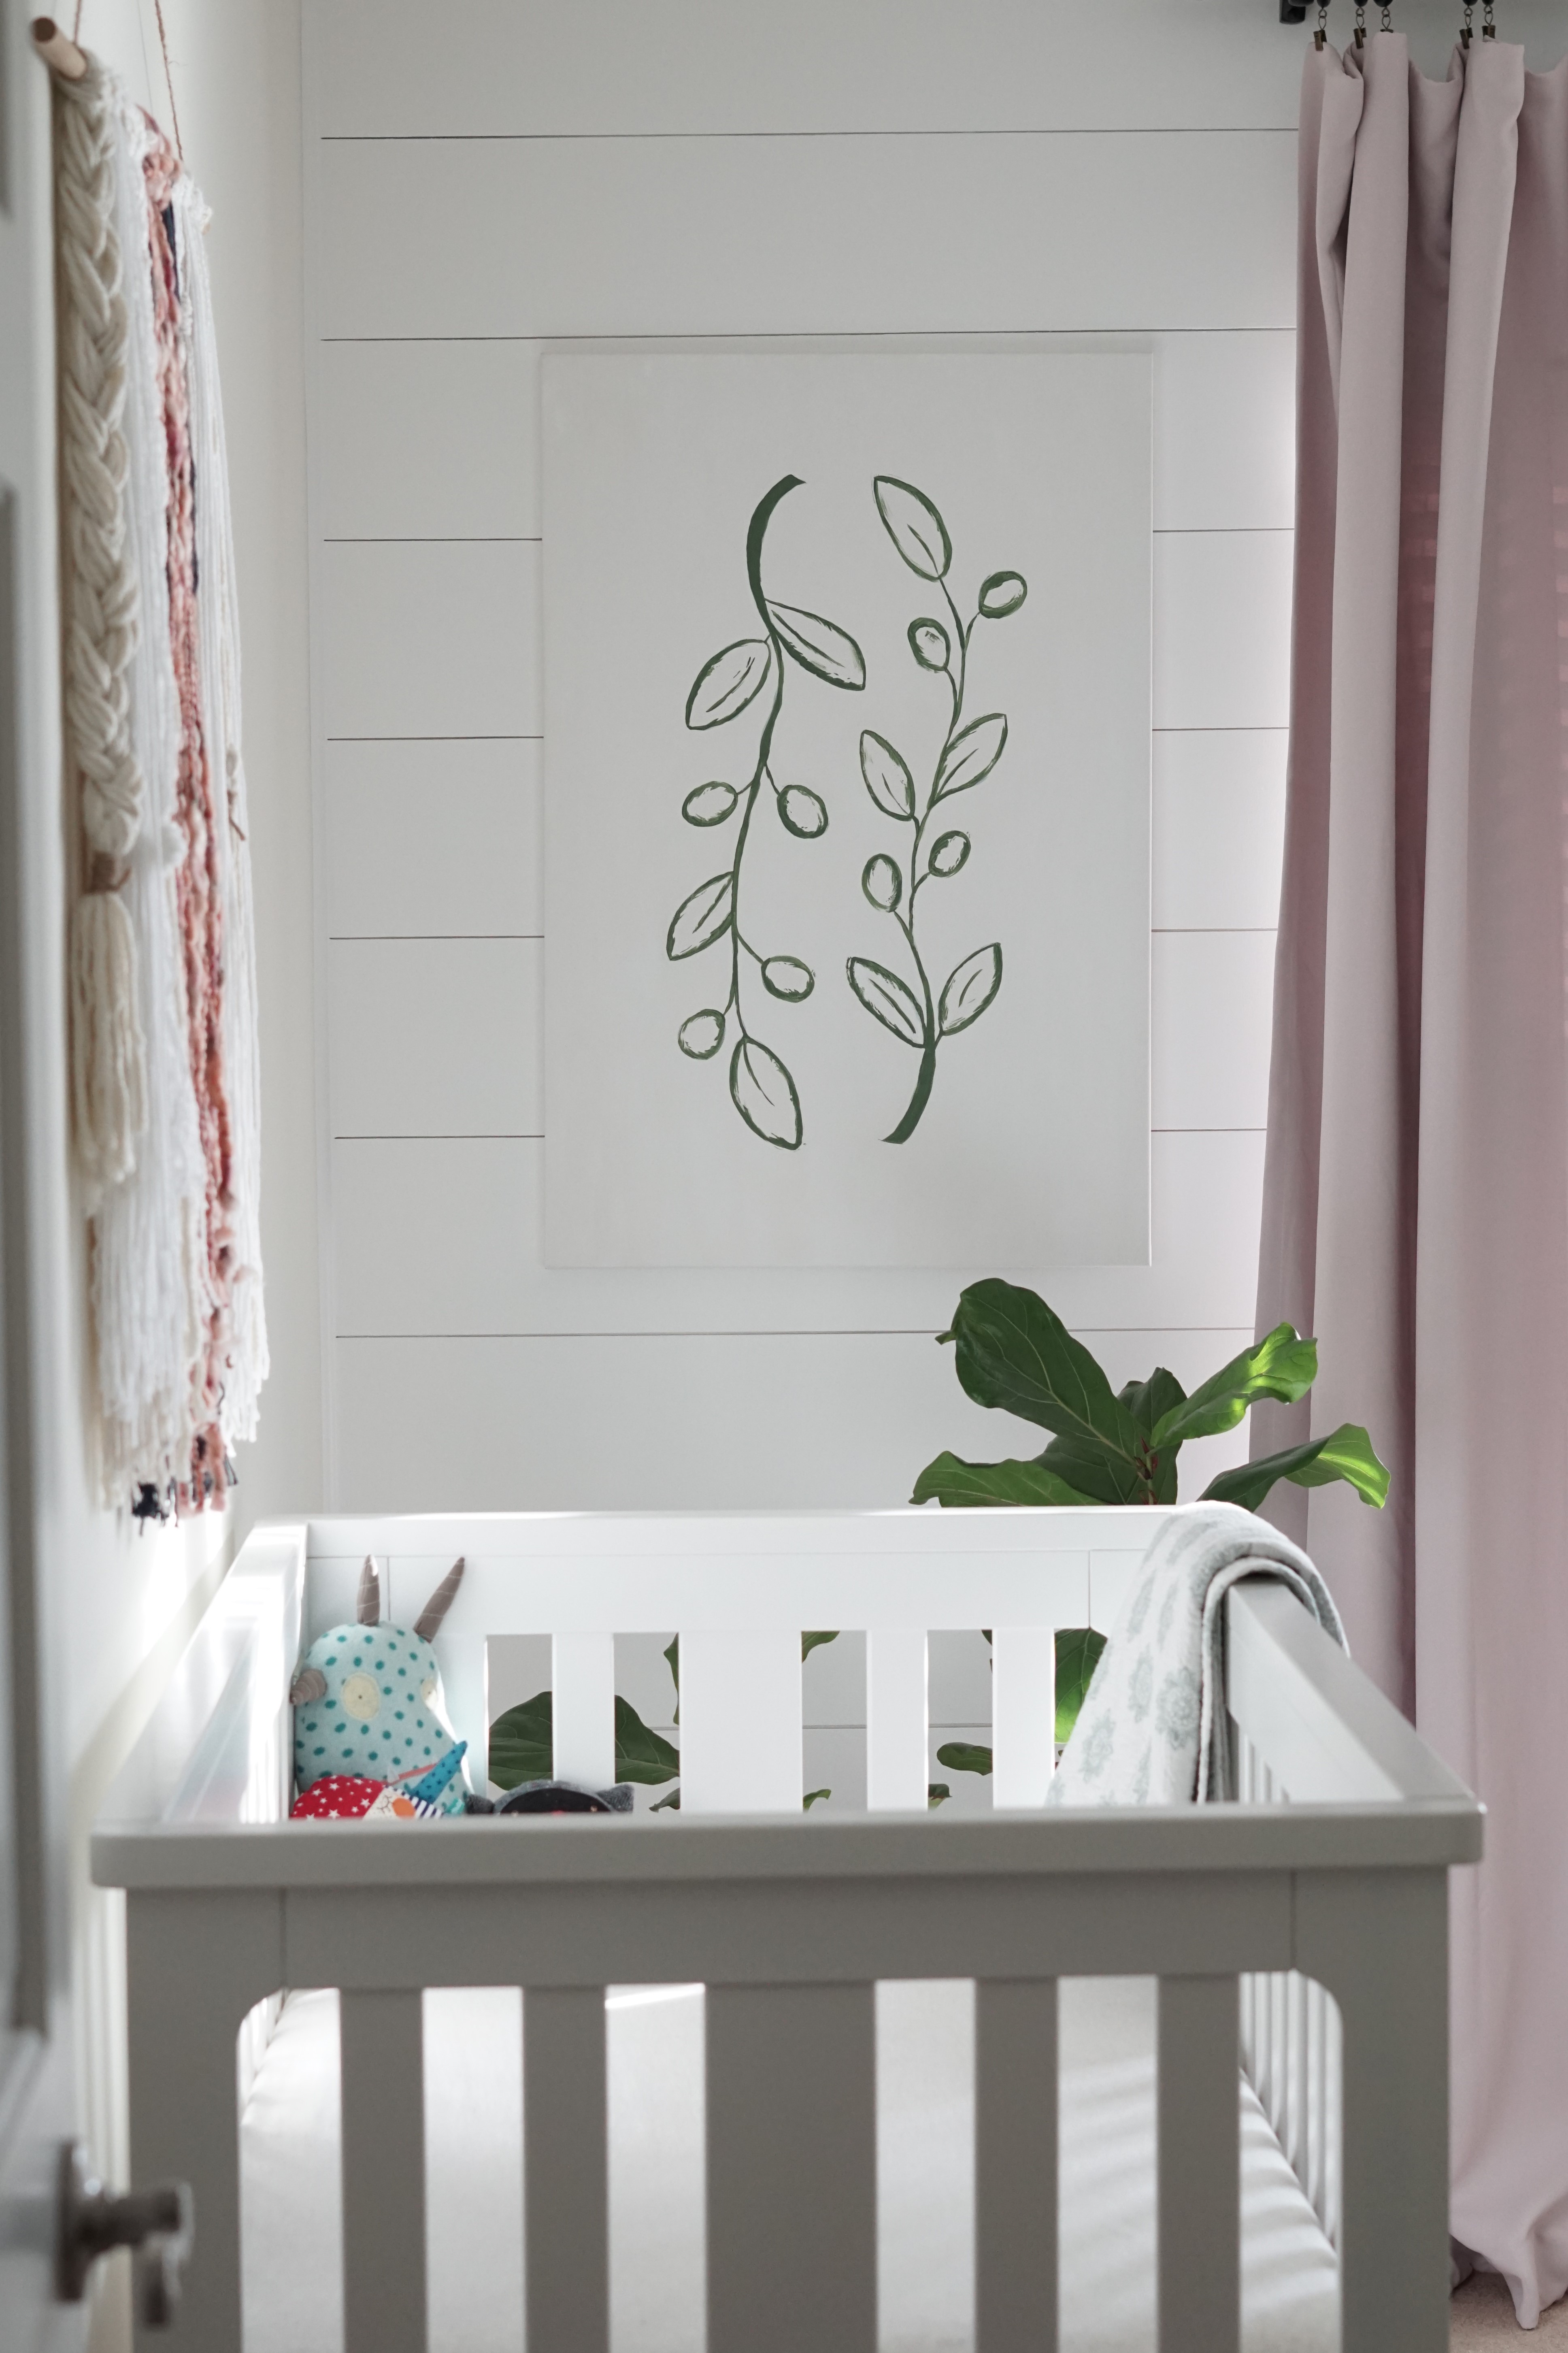
This week I’m sharing how we created our budget-friendly modern “shiplap” wall for under $75!
Shiplap is incredibly popular right now all thanks to Joanna Gaines. She has transformed the “feature wall” and has given “texture” a whole new look and feel. Some people may cringe of the thought of shiplap though because farmhouse décor is everywhere, and it will eventually circle out of style just like any other trend. That doesn’t mean farmhouse décor is a bad thing though. I personally thinks it’s beautiful, bright, and cozy, but I wouldn’t consider my home to be “farmhouse” by any stretch of the means.
So when I was thinking about paneling a wall in the nursery, I was a bit stuck on how to achieve the feel of shiplap without it being “farmhouse”. I then found this article by Claire Brody Designs, Non Farmhouse Shiplap Paneling, and my plan was set. I decided to go with a larger 8″ plank with clean white lines, which makes the room appear larger and gives it more of a modern feel instead of rustic.
Tools & Supplies:
- MDF Floor Underlayment
- Quarter Round Trim
- Liquid Nails or Wood Glue
- 1-1/4″ Finish Nails or Brad Nailer
- Circular Saw or Miter Saw
- Primer and Paint
- Wood Filler or Drywall Spackling
- Caulk
- Sanding Block or Mouse Electric Sander
- Nickels or Pennies
- Old Credit Card or Gift Card
Prep
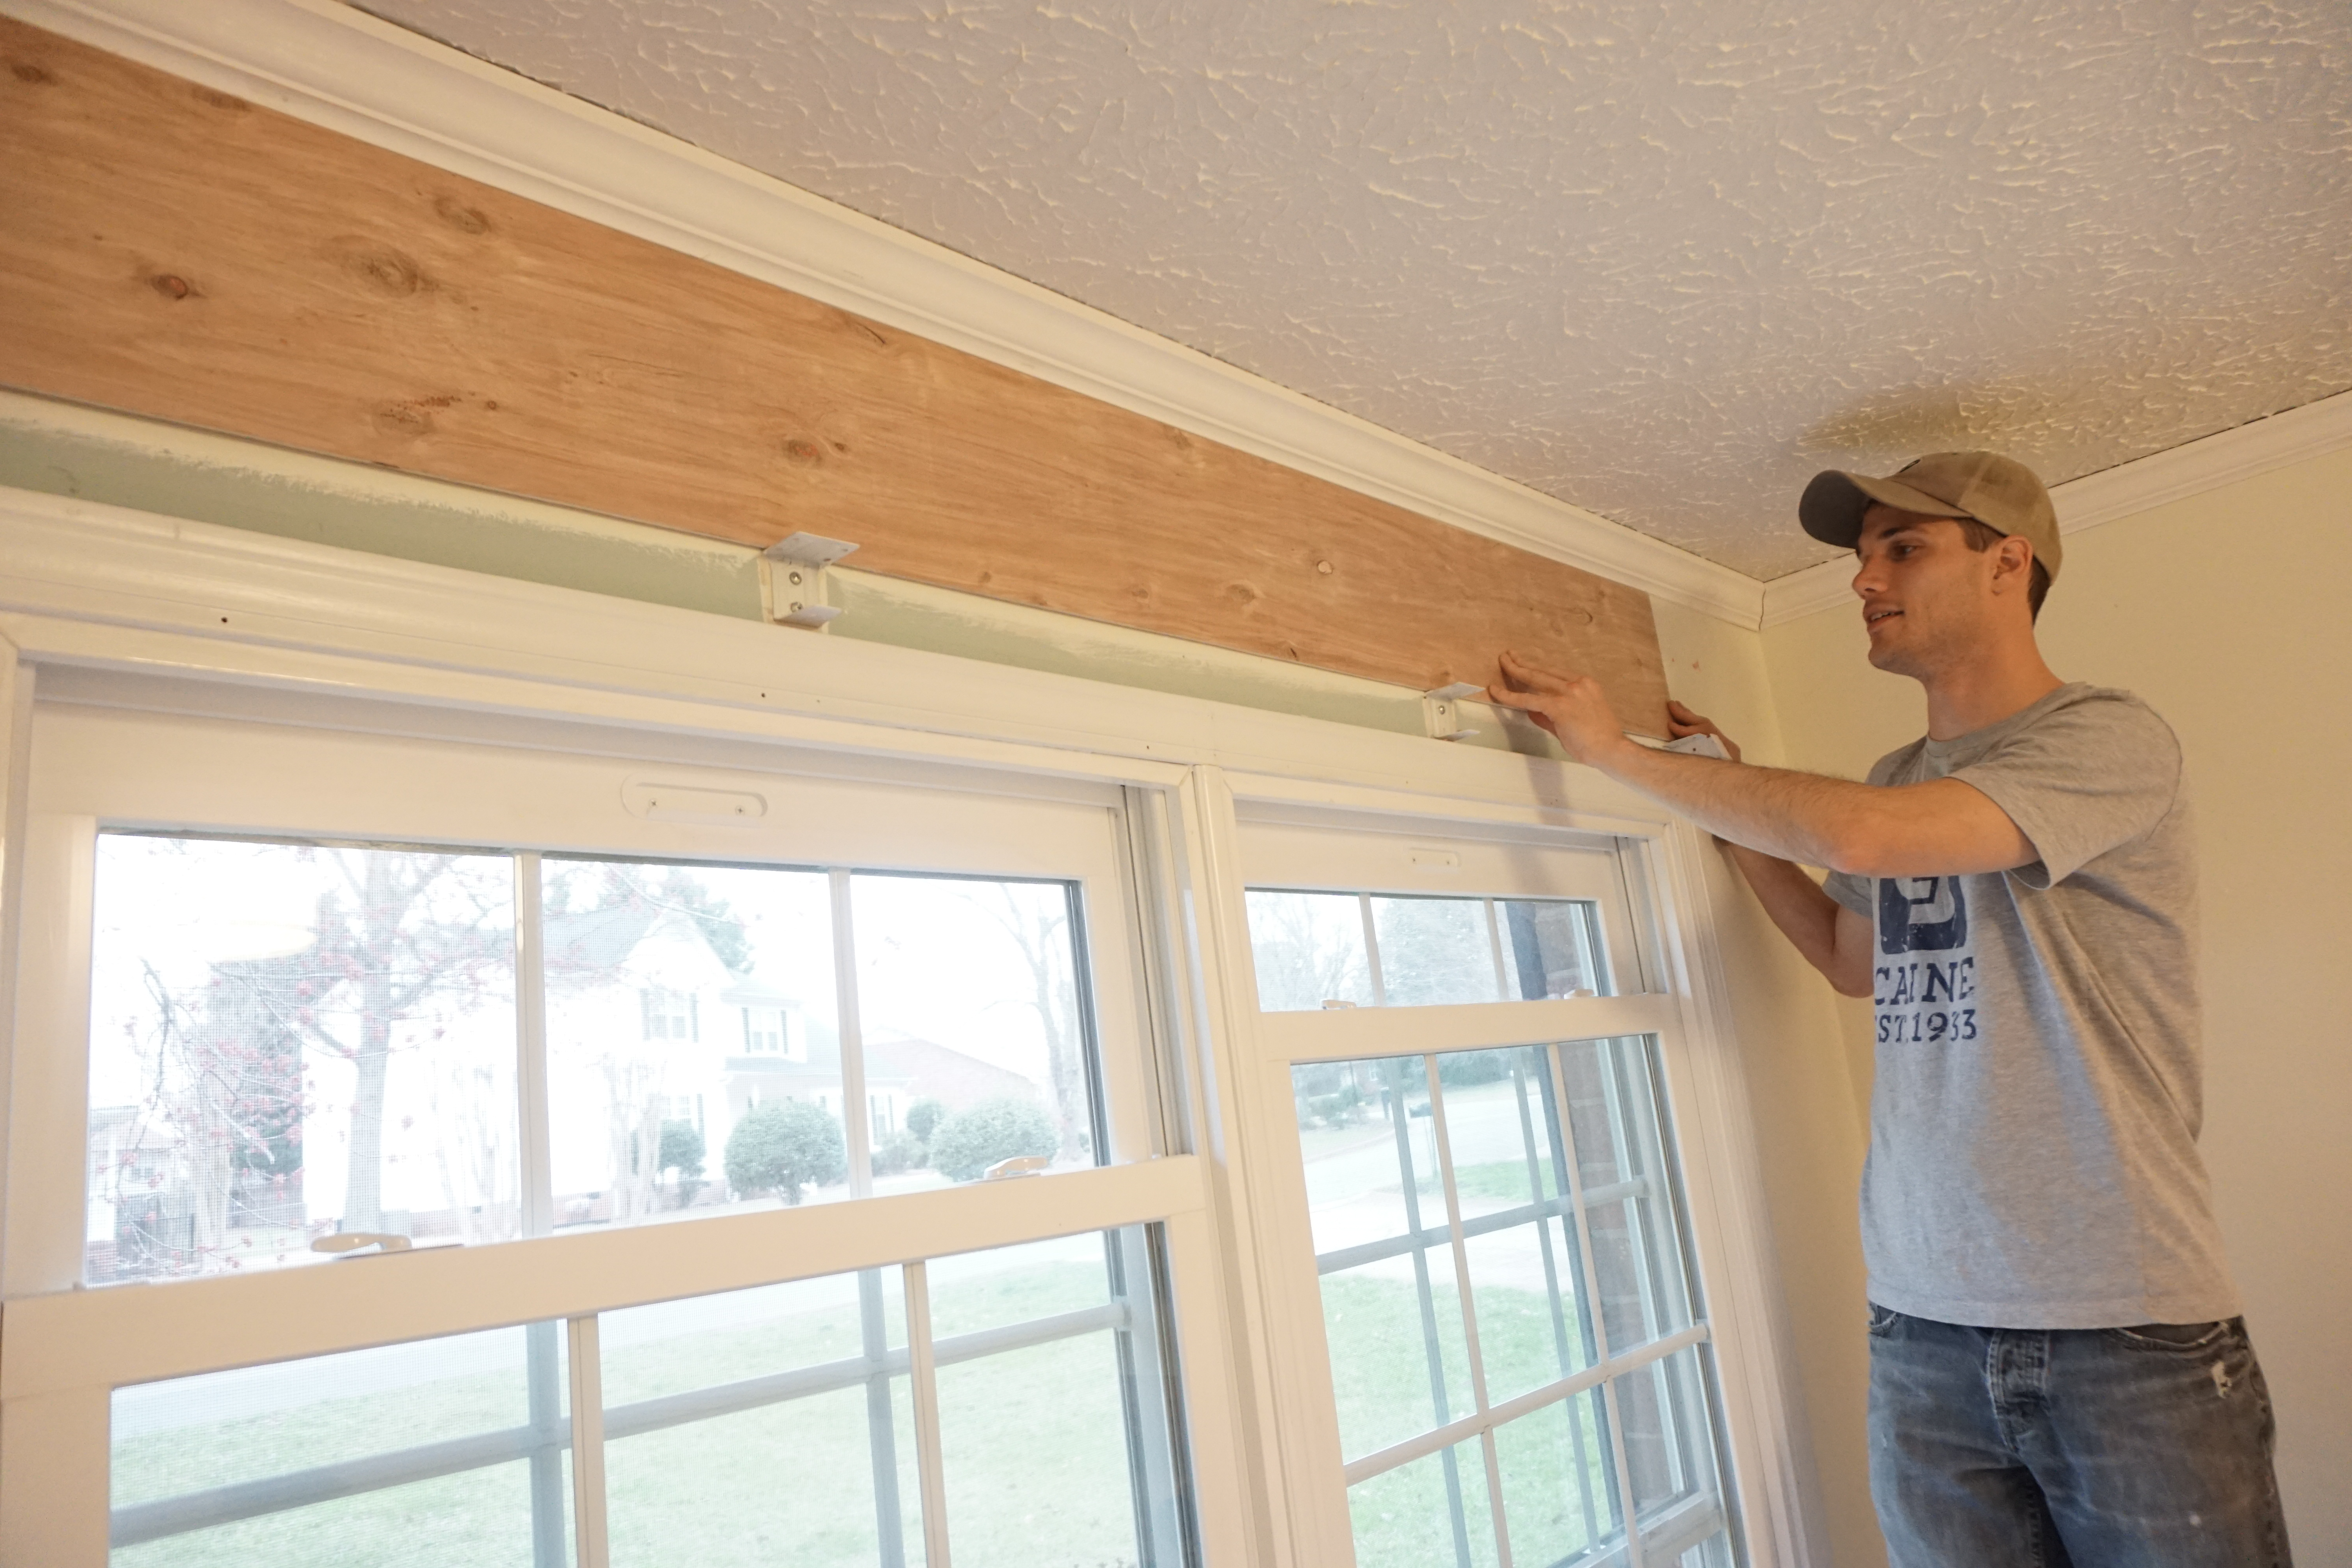
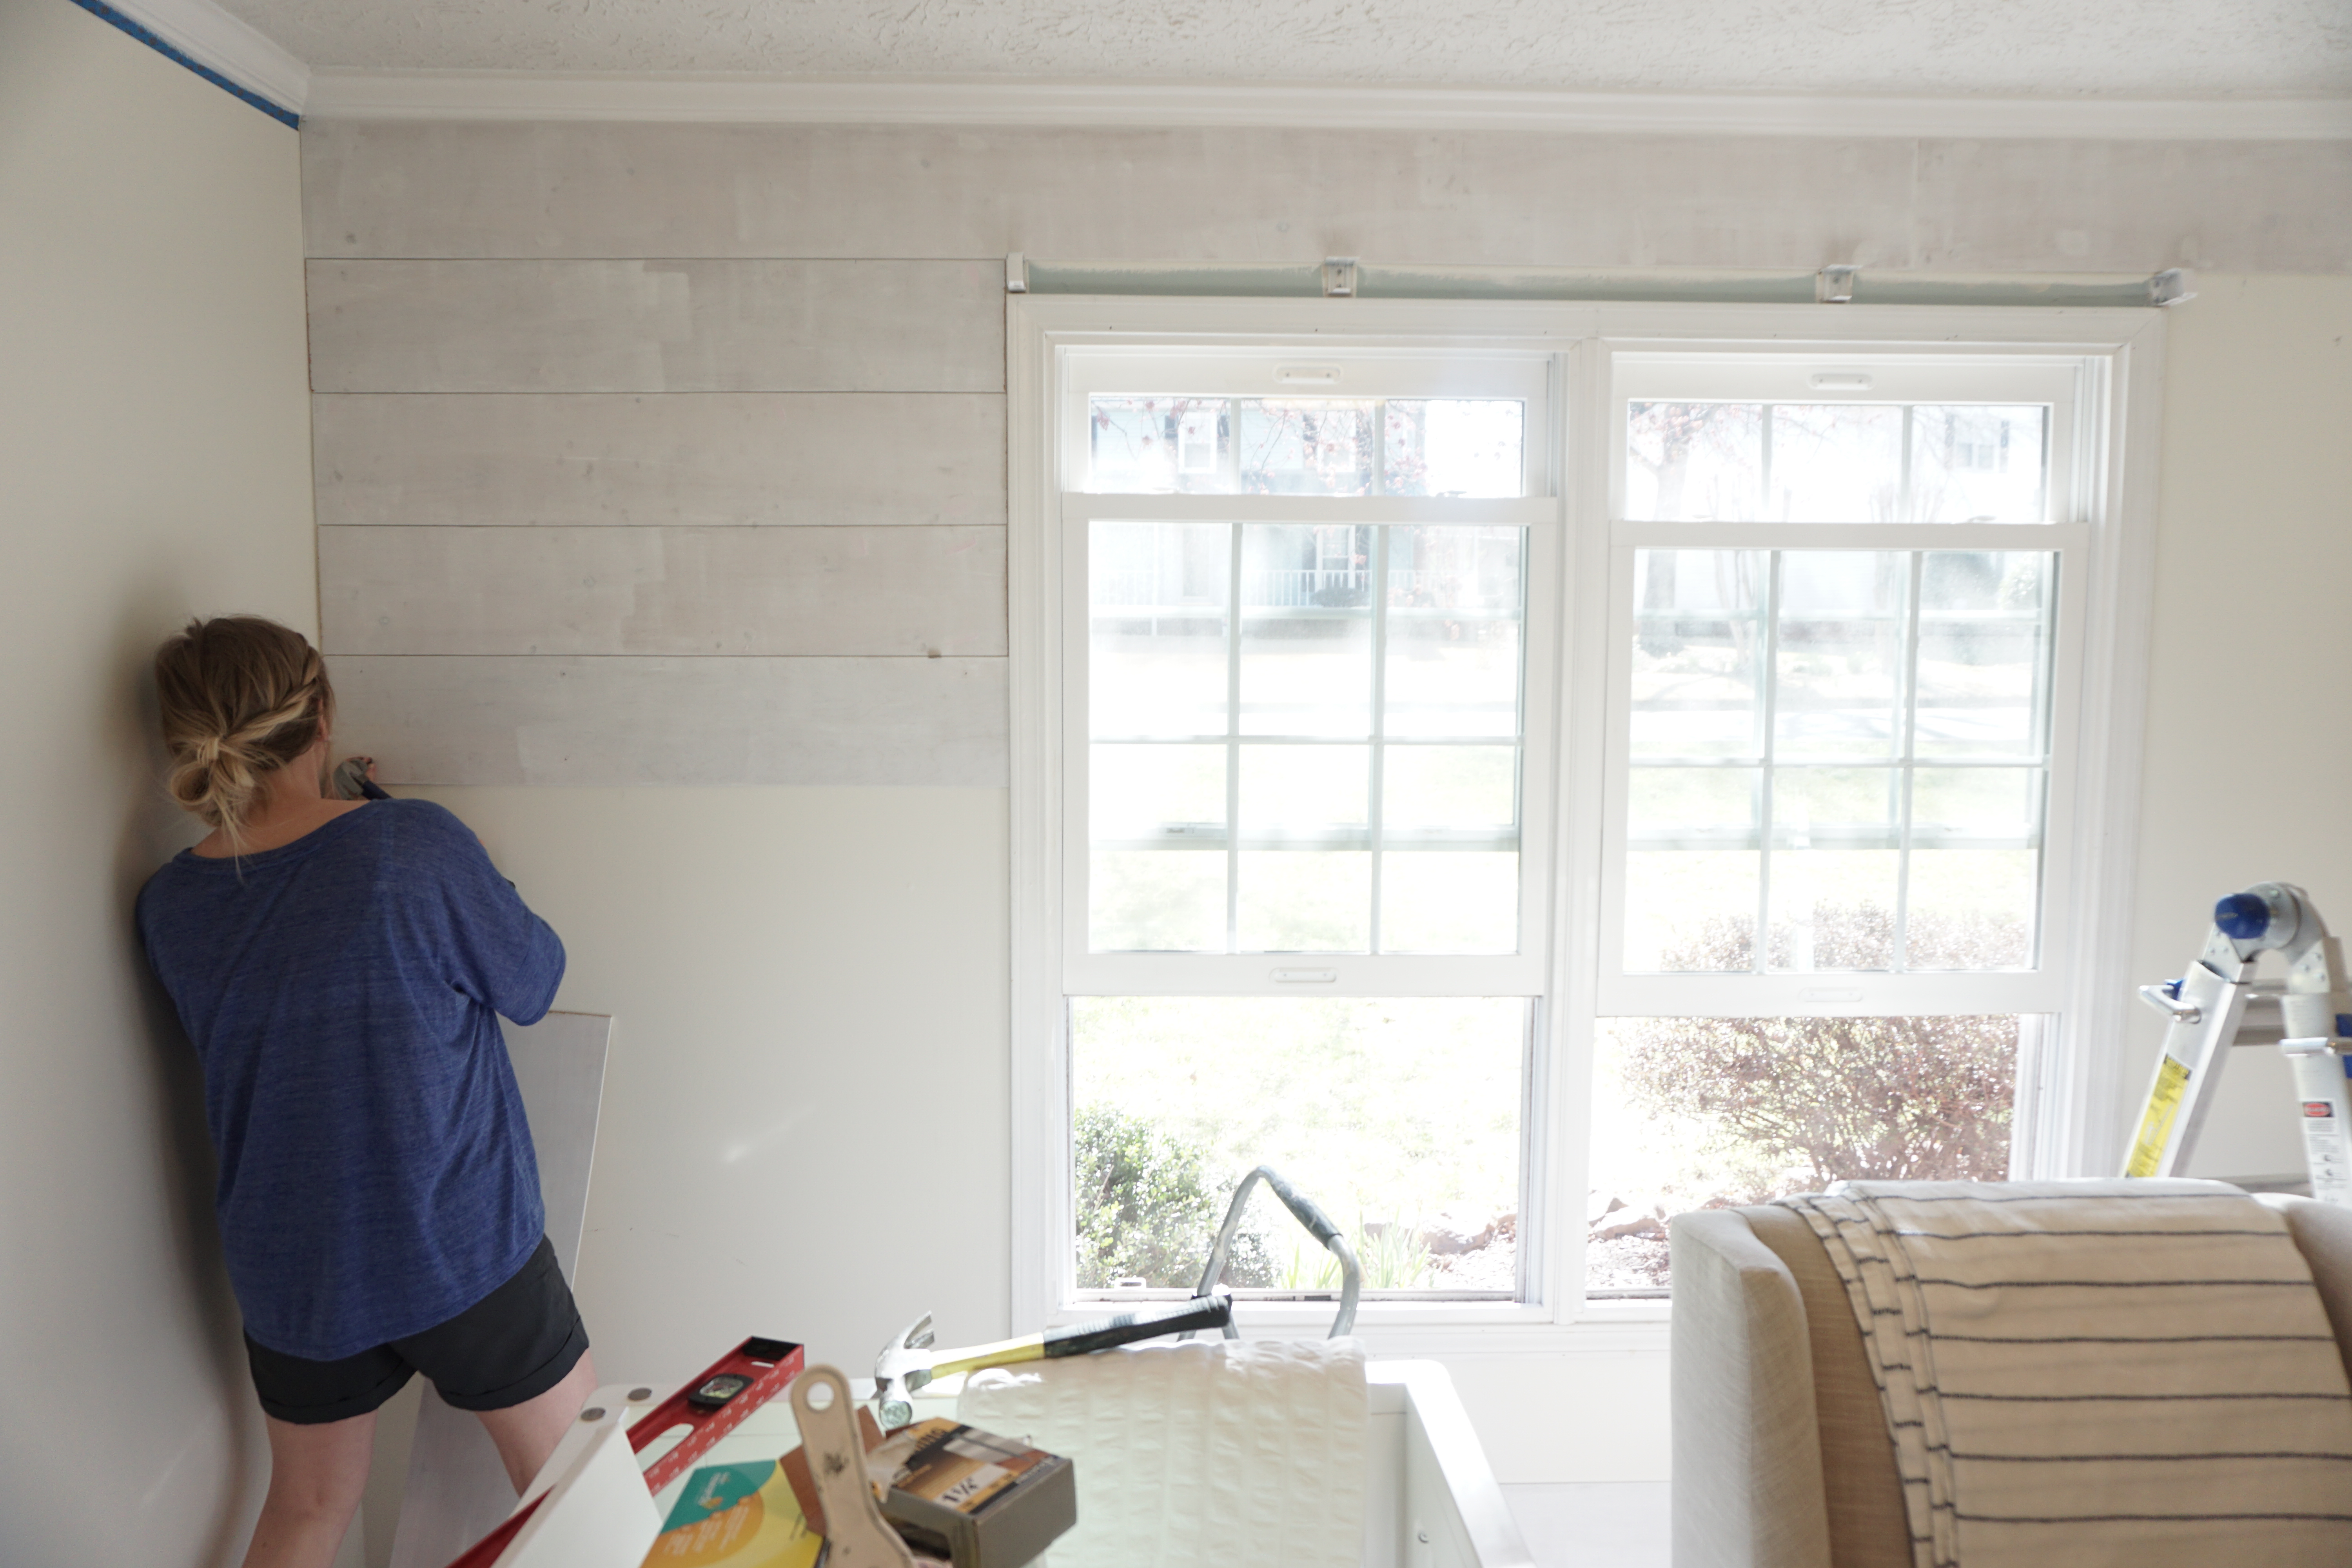
We had Home Depot rip 3 – 4’x8′ sheets of floor underlayment into 8″ planks. Though this is a great service, the boards are not all identical or completely even. Luckily, it’s not noticeable once your wall is complete.
Once you get the boards home, you’ll want to sand all sides of the board with a fine grit sand paper. I used my handy Mouse sander, which made the process go by much quicker. If you’re an avid DIYer or just an every-so-often-DIYer, I highly recommend purchasing one of these.
You’ll then want to prime the boards before placing them on your wall. This includes not just the front but all sides as well. This just makes the whole painting process go by much quicker. I used my trusty Zinsser to prime the boards. Allow them to dry for a few hours or overnight before assembling your wall.
My husband tested one of the boards above the window before we primed, and thankfully it was a perfect fit without us having to trim any off. Our luck shifted as we went along.
Assembling Your Wall
Before attaching your first board, find your studs using a stud finder and mark them with small X’s down your wall.
Starting from the top, place your first board flush with the ceiling or molding. Use your level to make sure your first board is straight before attaching it to the wall. If your first board is off, then the whole wall will be crooked. Apply a thin layer of liquid nails or wood glue on the back of the board and nail 1-1/4″ finish nails into the corners and/or studs. A brad nailer would make this project go much quicker, but we’ve yet to make the splurge.
We used a circular saw to cut the boards to length because they were a bit too wide to use our miter saw. Either tool would work depending on your plank size. Measure precisely, but don’t fret. The edges will be covered with quarter round trim and caulk for a clean look.
You can use either pennies or nickels as your spacers. We chose nickels because I wanted the gap to be slightly larger. Place a few of them along the board as a gracious assistant helps you hold up the board below. Continue gluing and nailing down your wall.
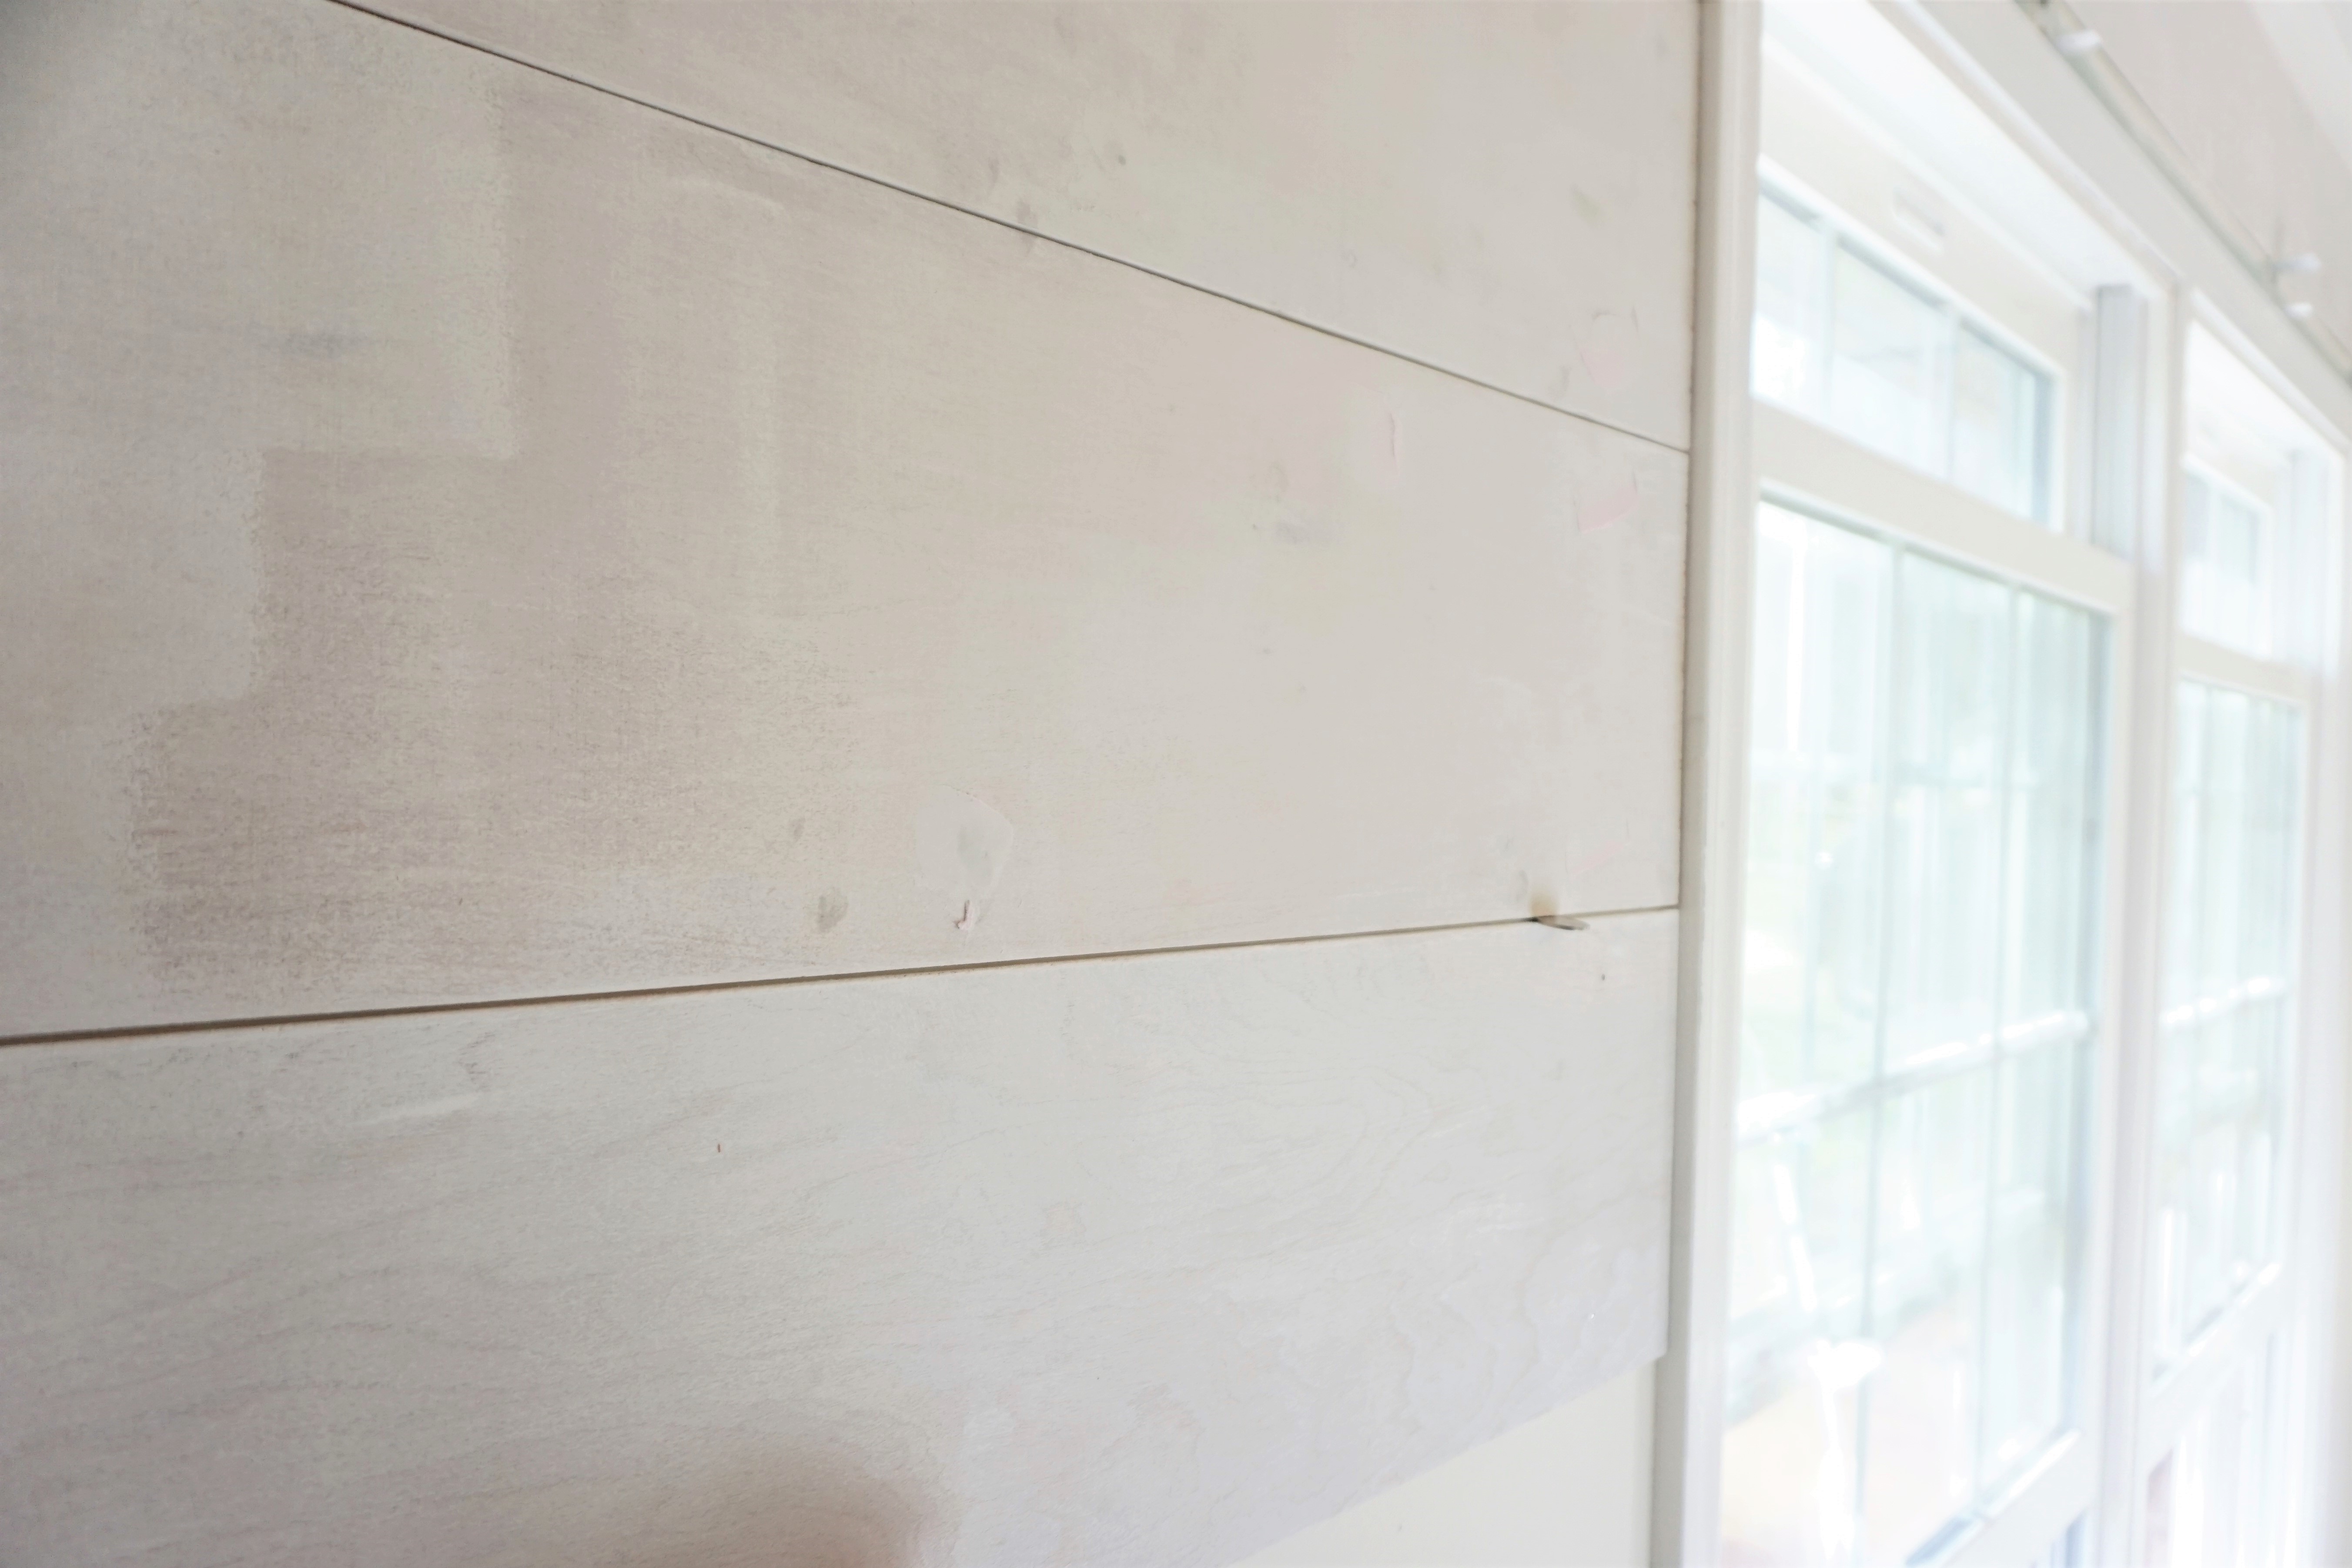
For the longer portions of the wall, we butted two boards against each other and used wood filler in the seam to make the boards appear as one long board. This is totally preference. You can space them just like the horizontal gaps as well.

The bottom of the wall was the trickiest and most time-consuming. We measured the distance from the wall to the trim and the height of the trim and made a mark on the board. Then Patrick made the cuts using a circular saw and jigsaw. Once we got the board to fit just right around the trim, we measured and cut around the outlet using the jigsaw.
We were left we 10″ on the bottom, which was super unfortunate since all of our boards were cut to 8″. I would highly recommend measuring the height of your wall and dividing it up before getting all your boards ripped. We decided to make two boards into one large board at the bottom by using wood filler. Unless you’re intentionally looking for the joint or the lack of proportion, it’s not even noticeable.
Finishing Touches
Once all of your boards are on your wall, you will attach the trim pieces, fill the nail holes with drywall spackle, and caulk the sides.
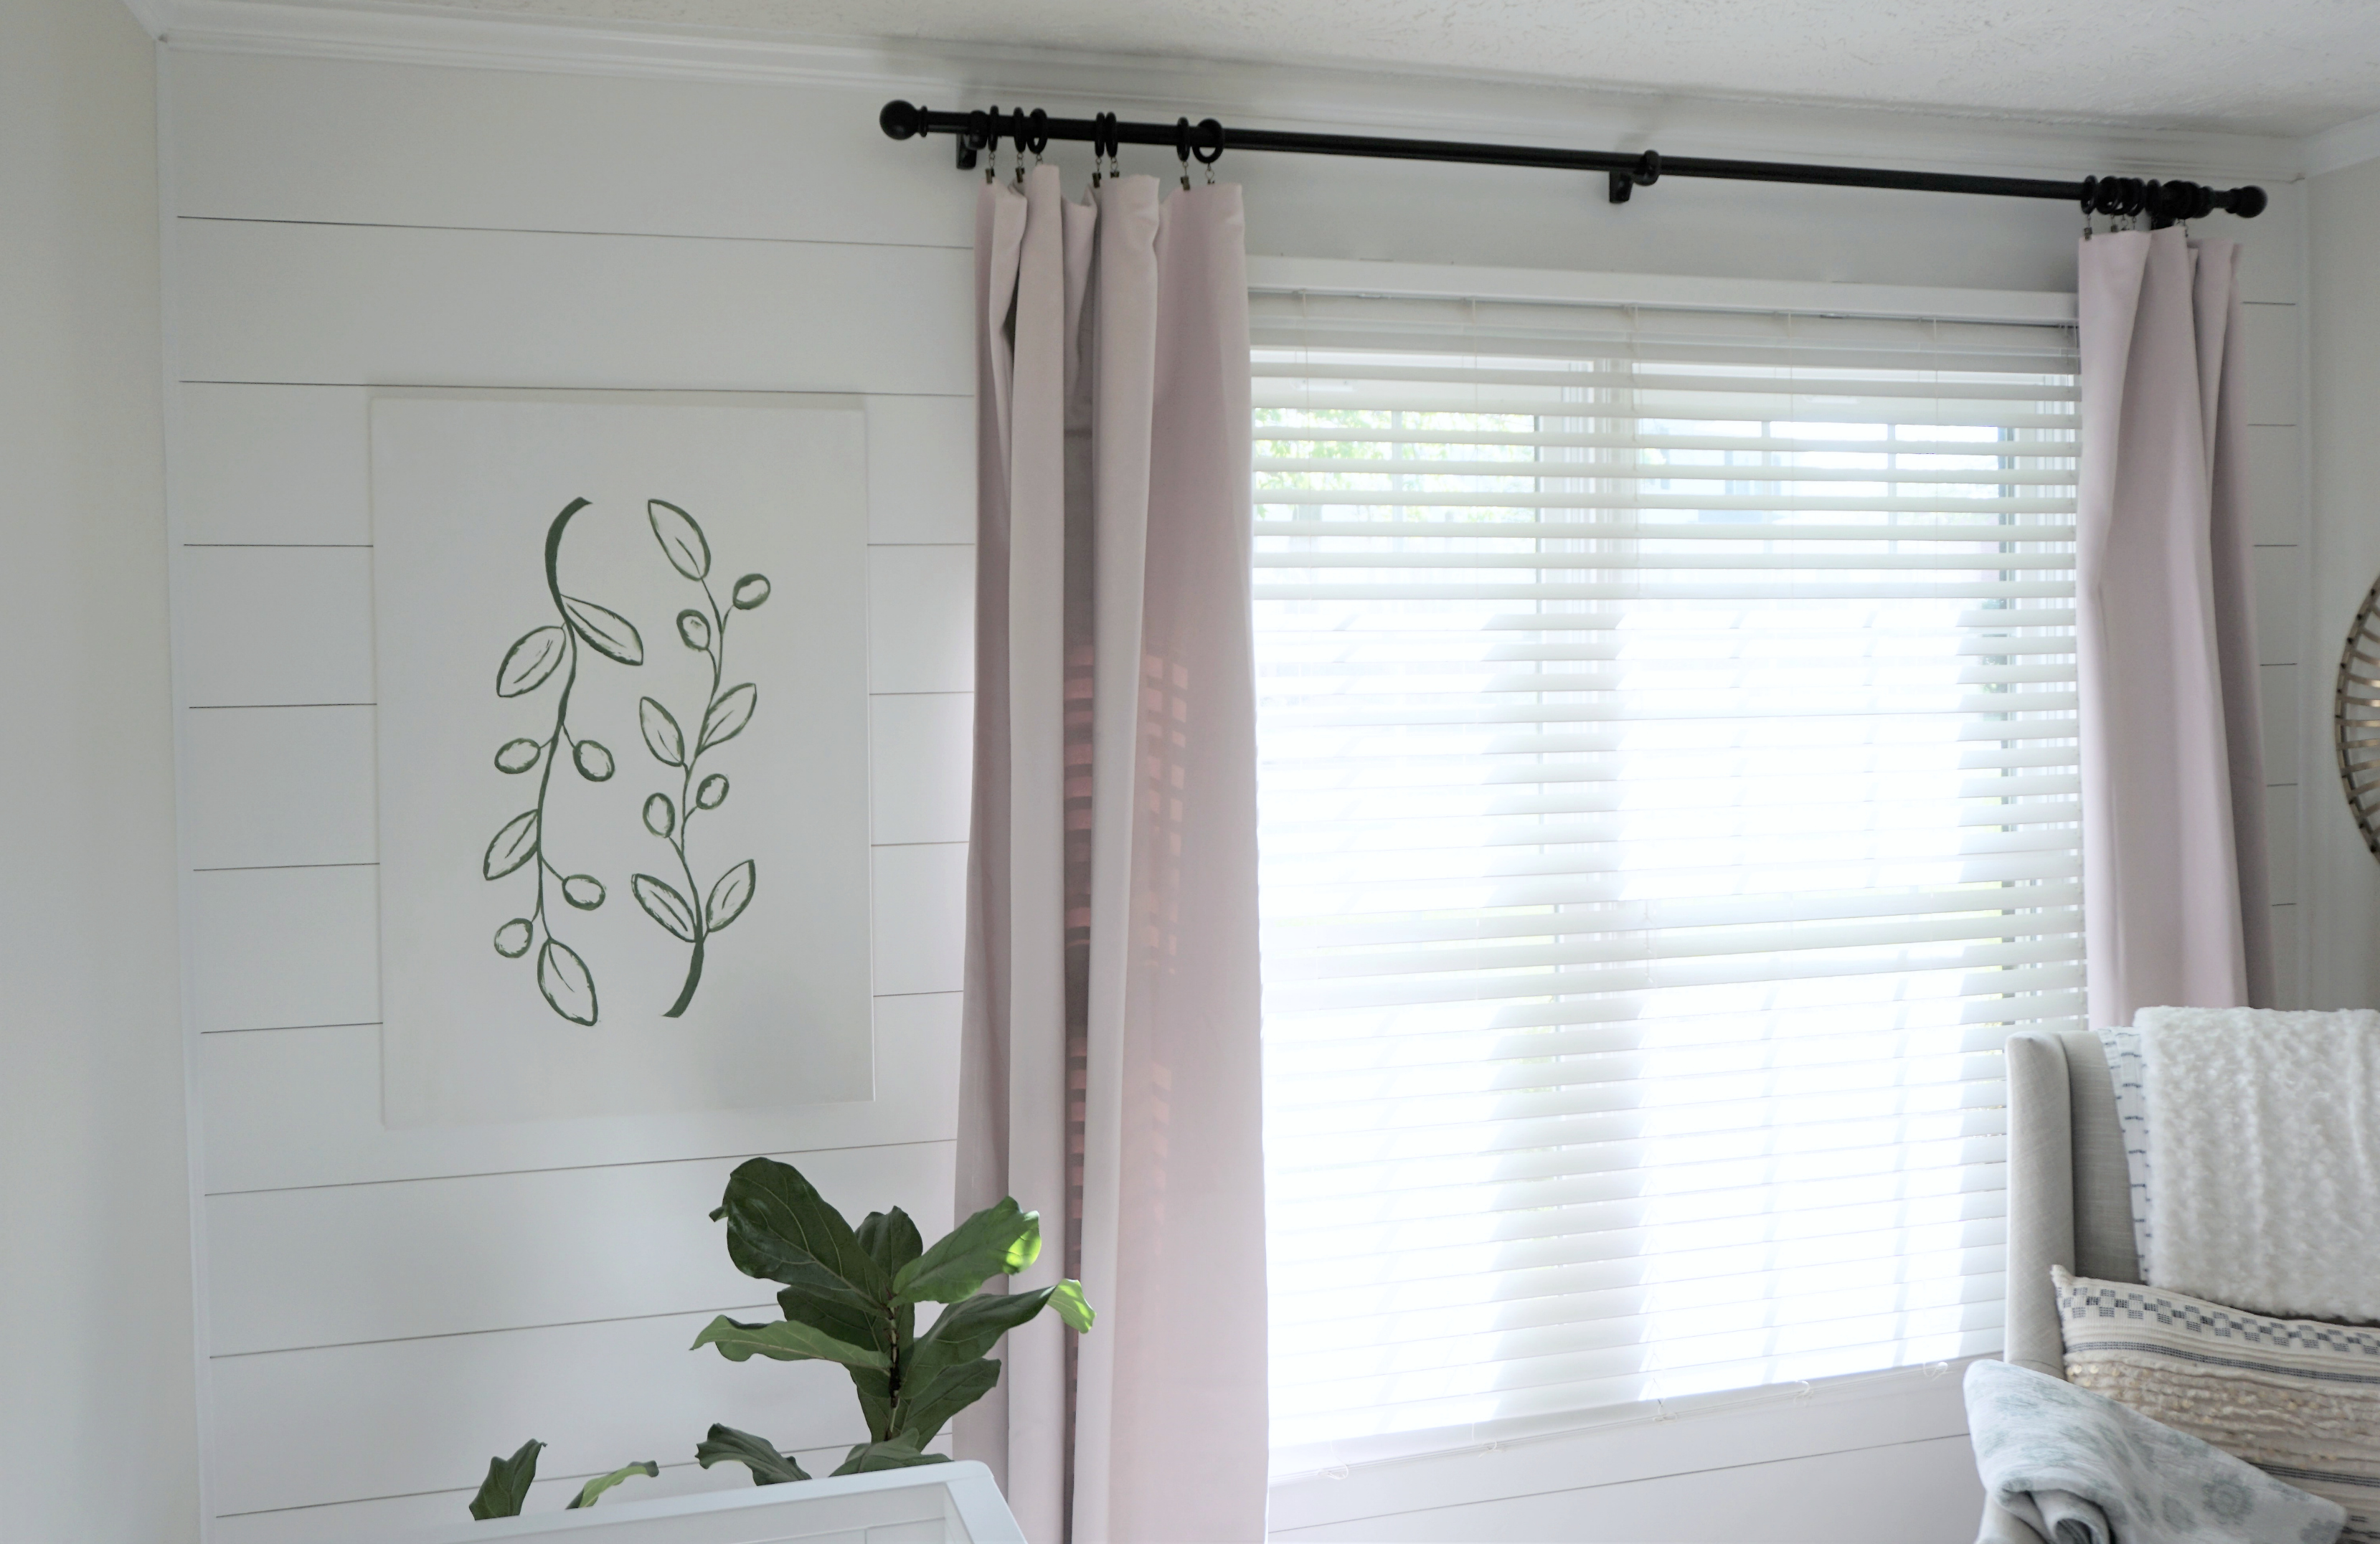
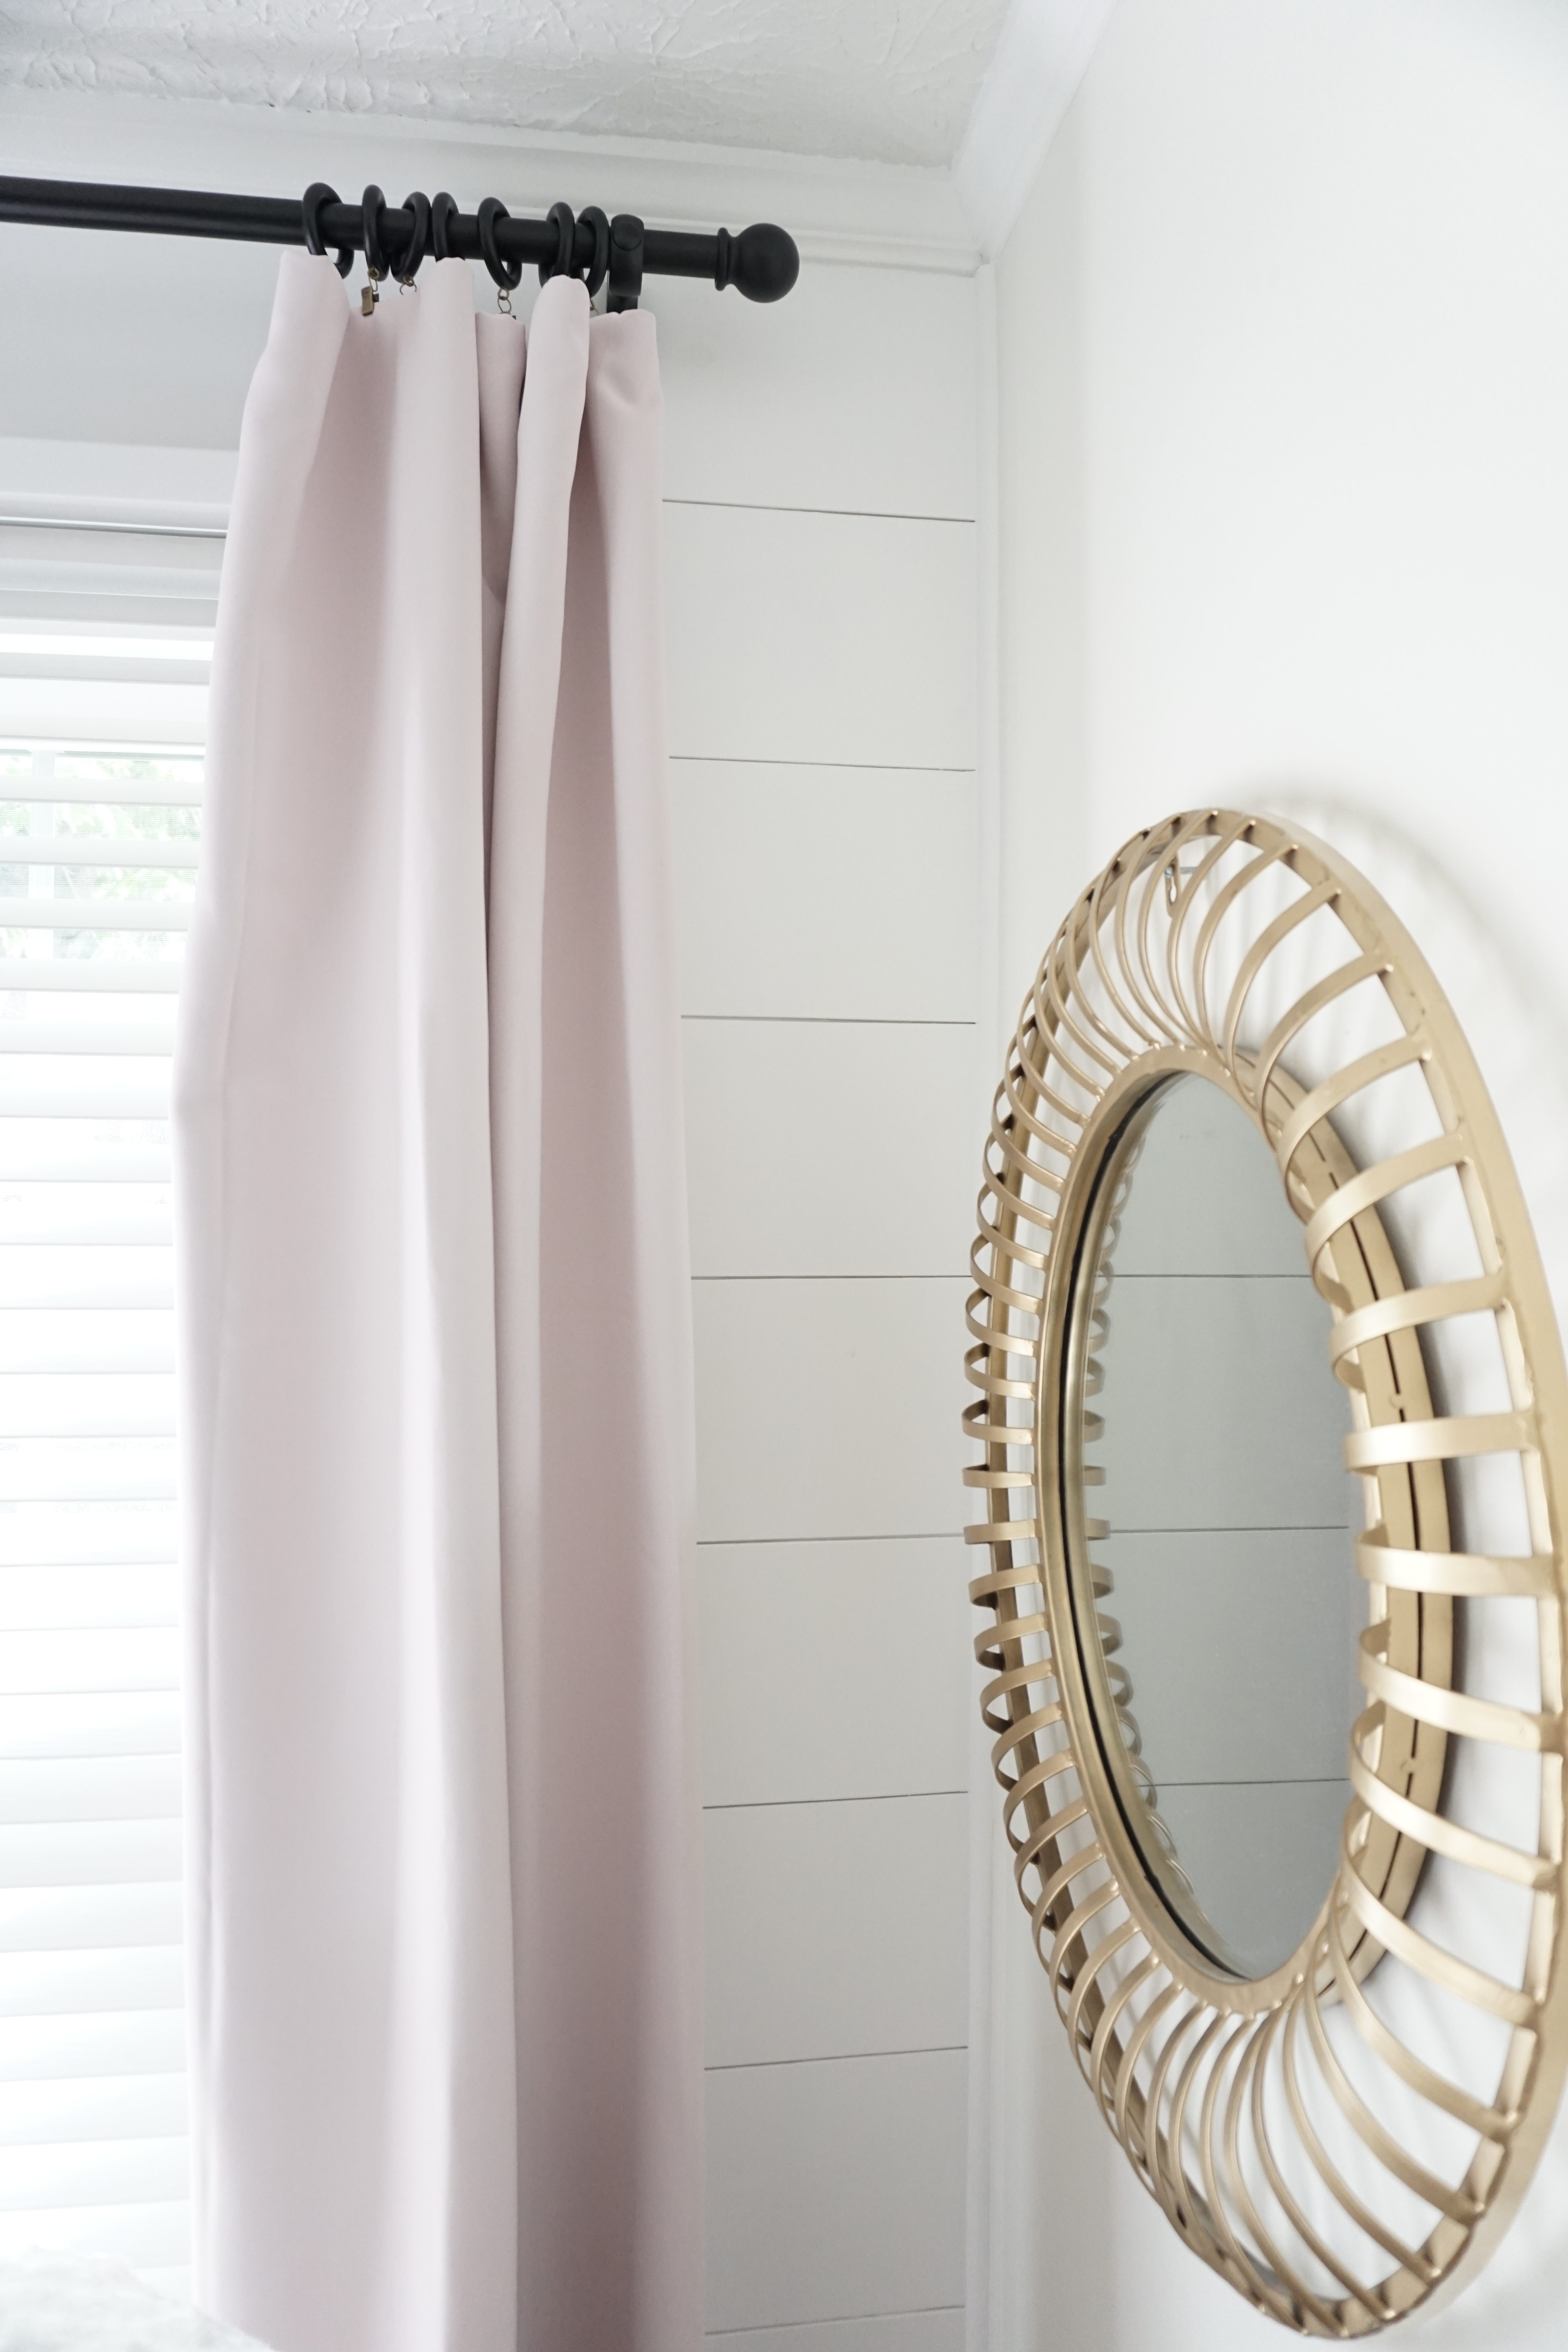
We used quarter round trim on either side of the wall for a finished look and caulked around the window and moldings to hide any unfinished or rough edges. Apply caulk wherever the planks come in contact with moldings or trim. This step is one of the ways to make the shiplap wall appear more clean-lined and modern instead of farmhouse rustic.
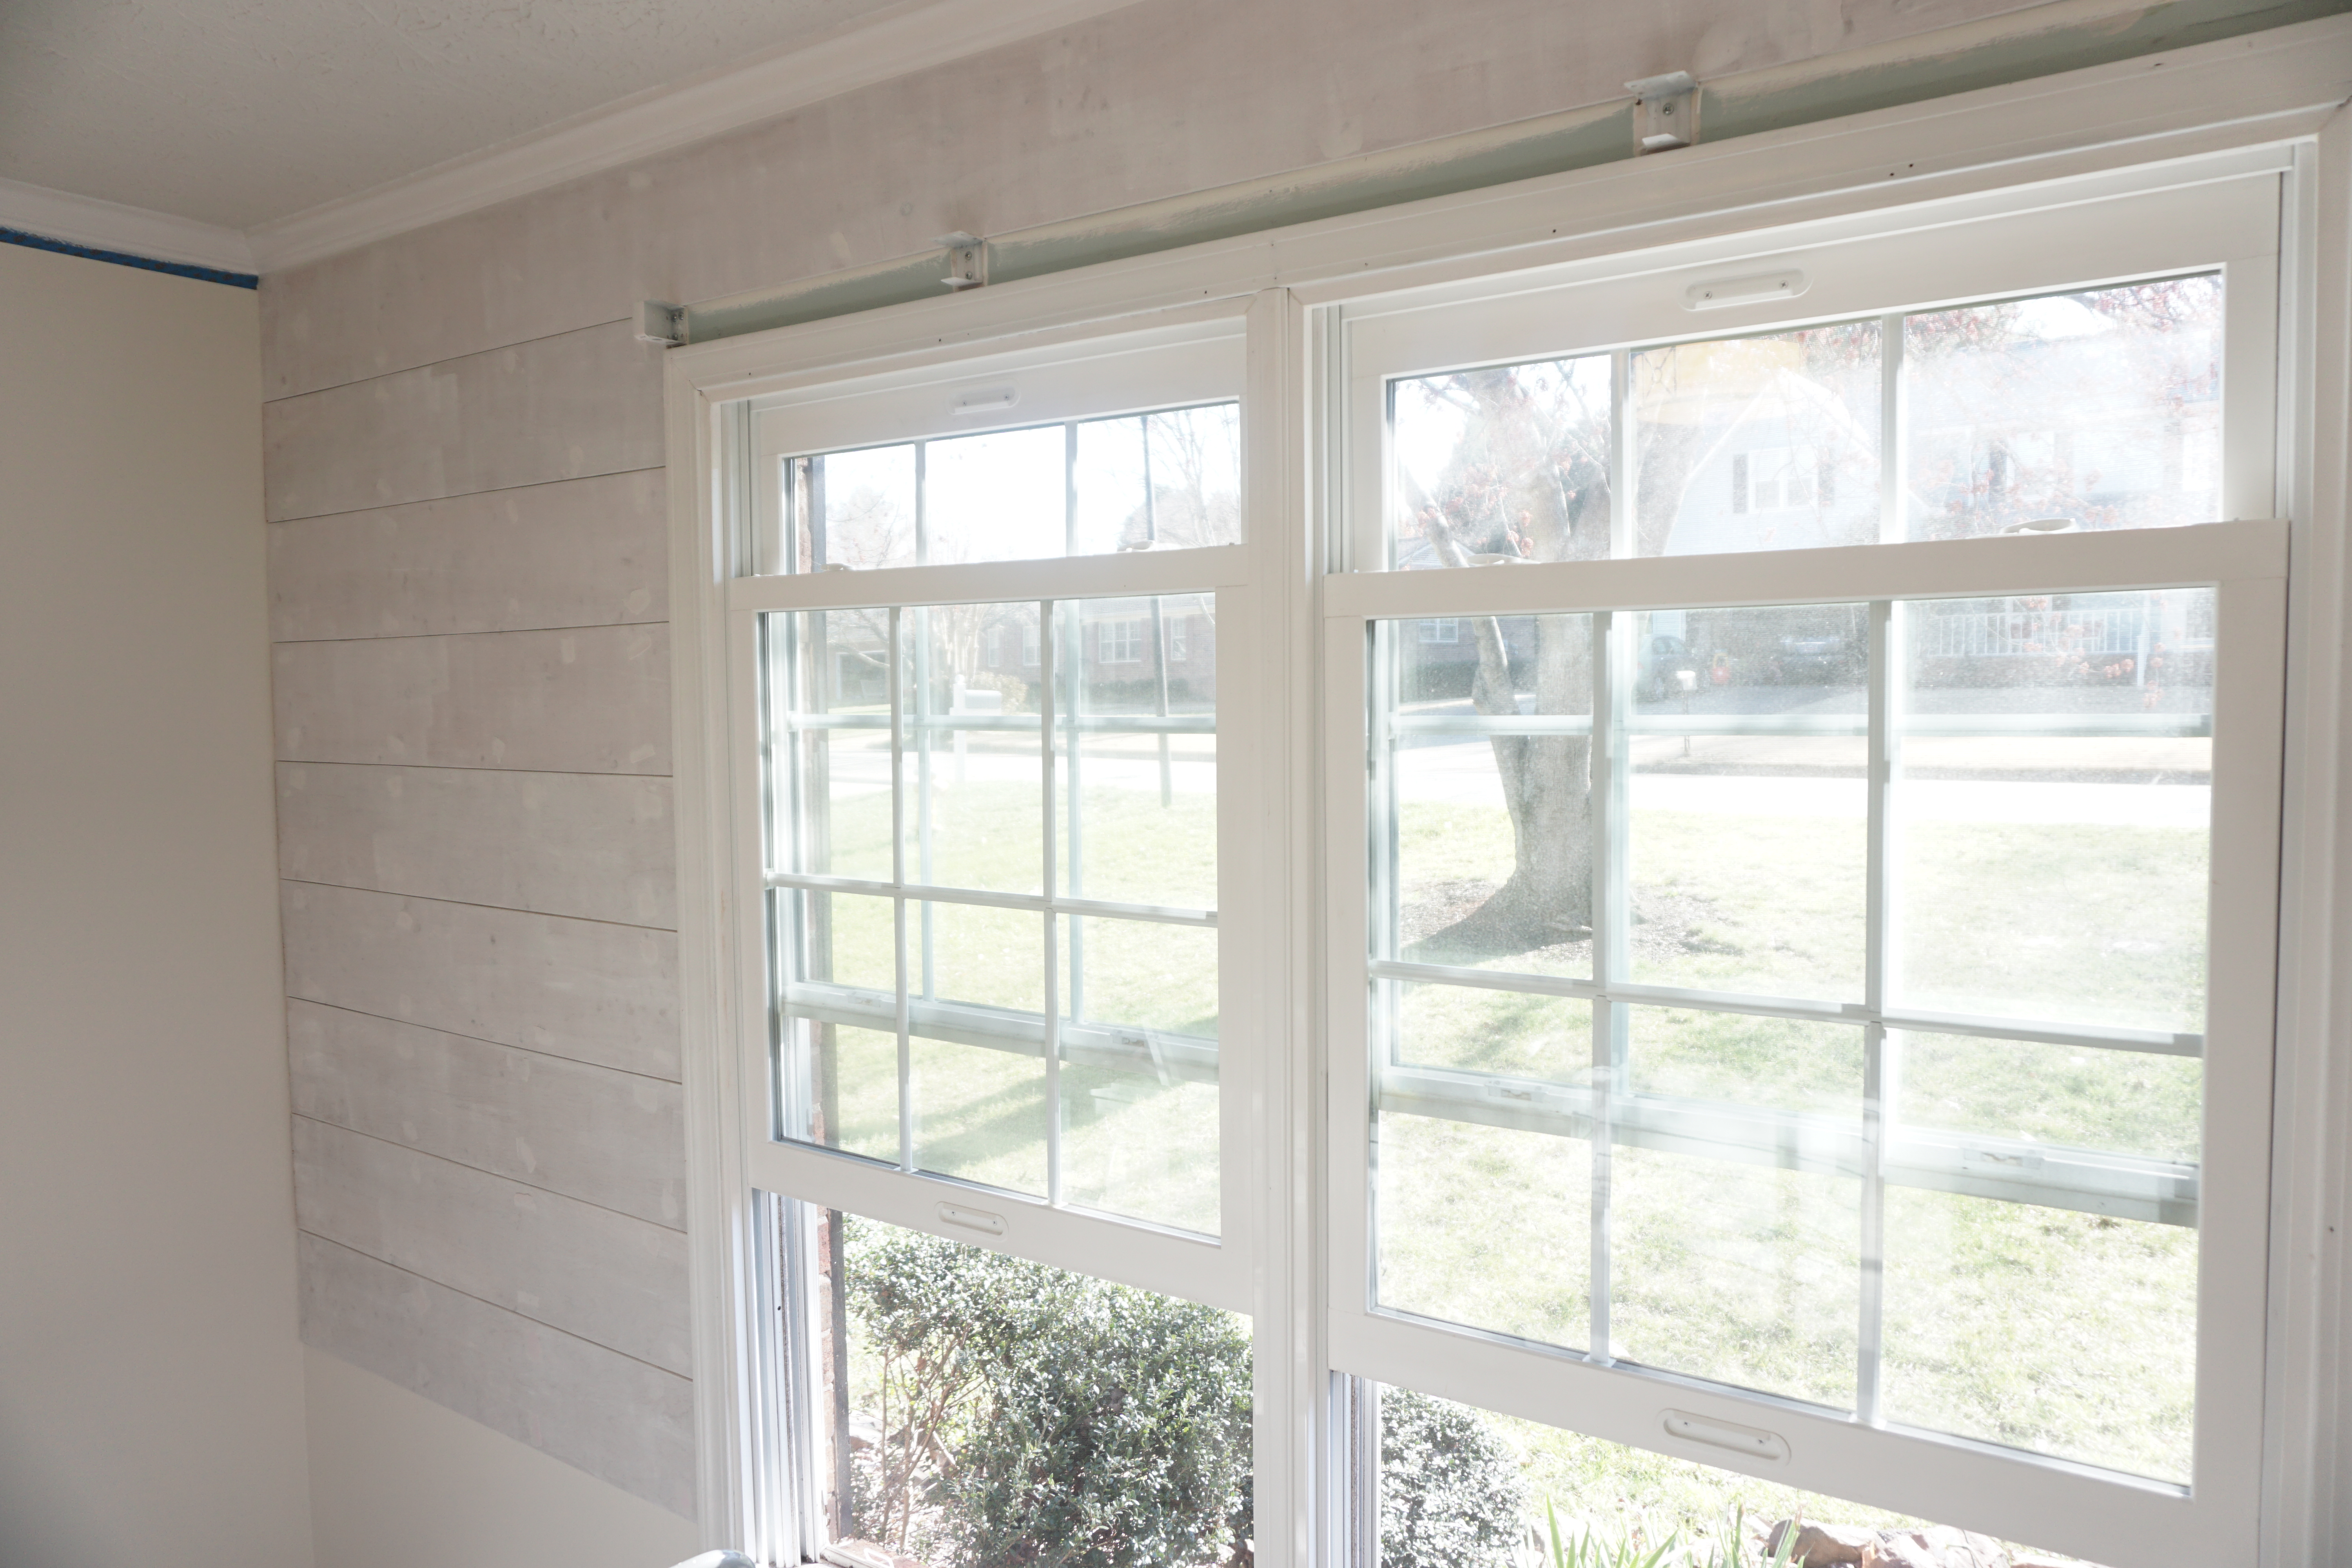
After the caulk is dry and the spackling has been sanded, you’re ready to paint. I used Ultra Behr White in eggshell. Ultra Behr White is what’s on the shelf on Home Depot. Just have them shake it for you so that it’s ready to use when you get home. This bright white really brightened up the room and visually raised the ceiling another foot. It also added just the right amount of contrast to the wall color, which is Swiss Coffee by Benjamin Moore.
When rolling on your paint, take an old credit card or gift card to wipe off the excess paint in the gaps. Paint a few boards then clean out the gaps. This process will assure that you’re getting to the excess paint before it dries.
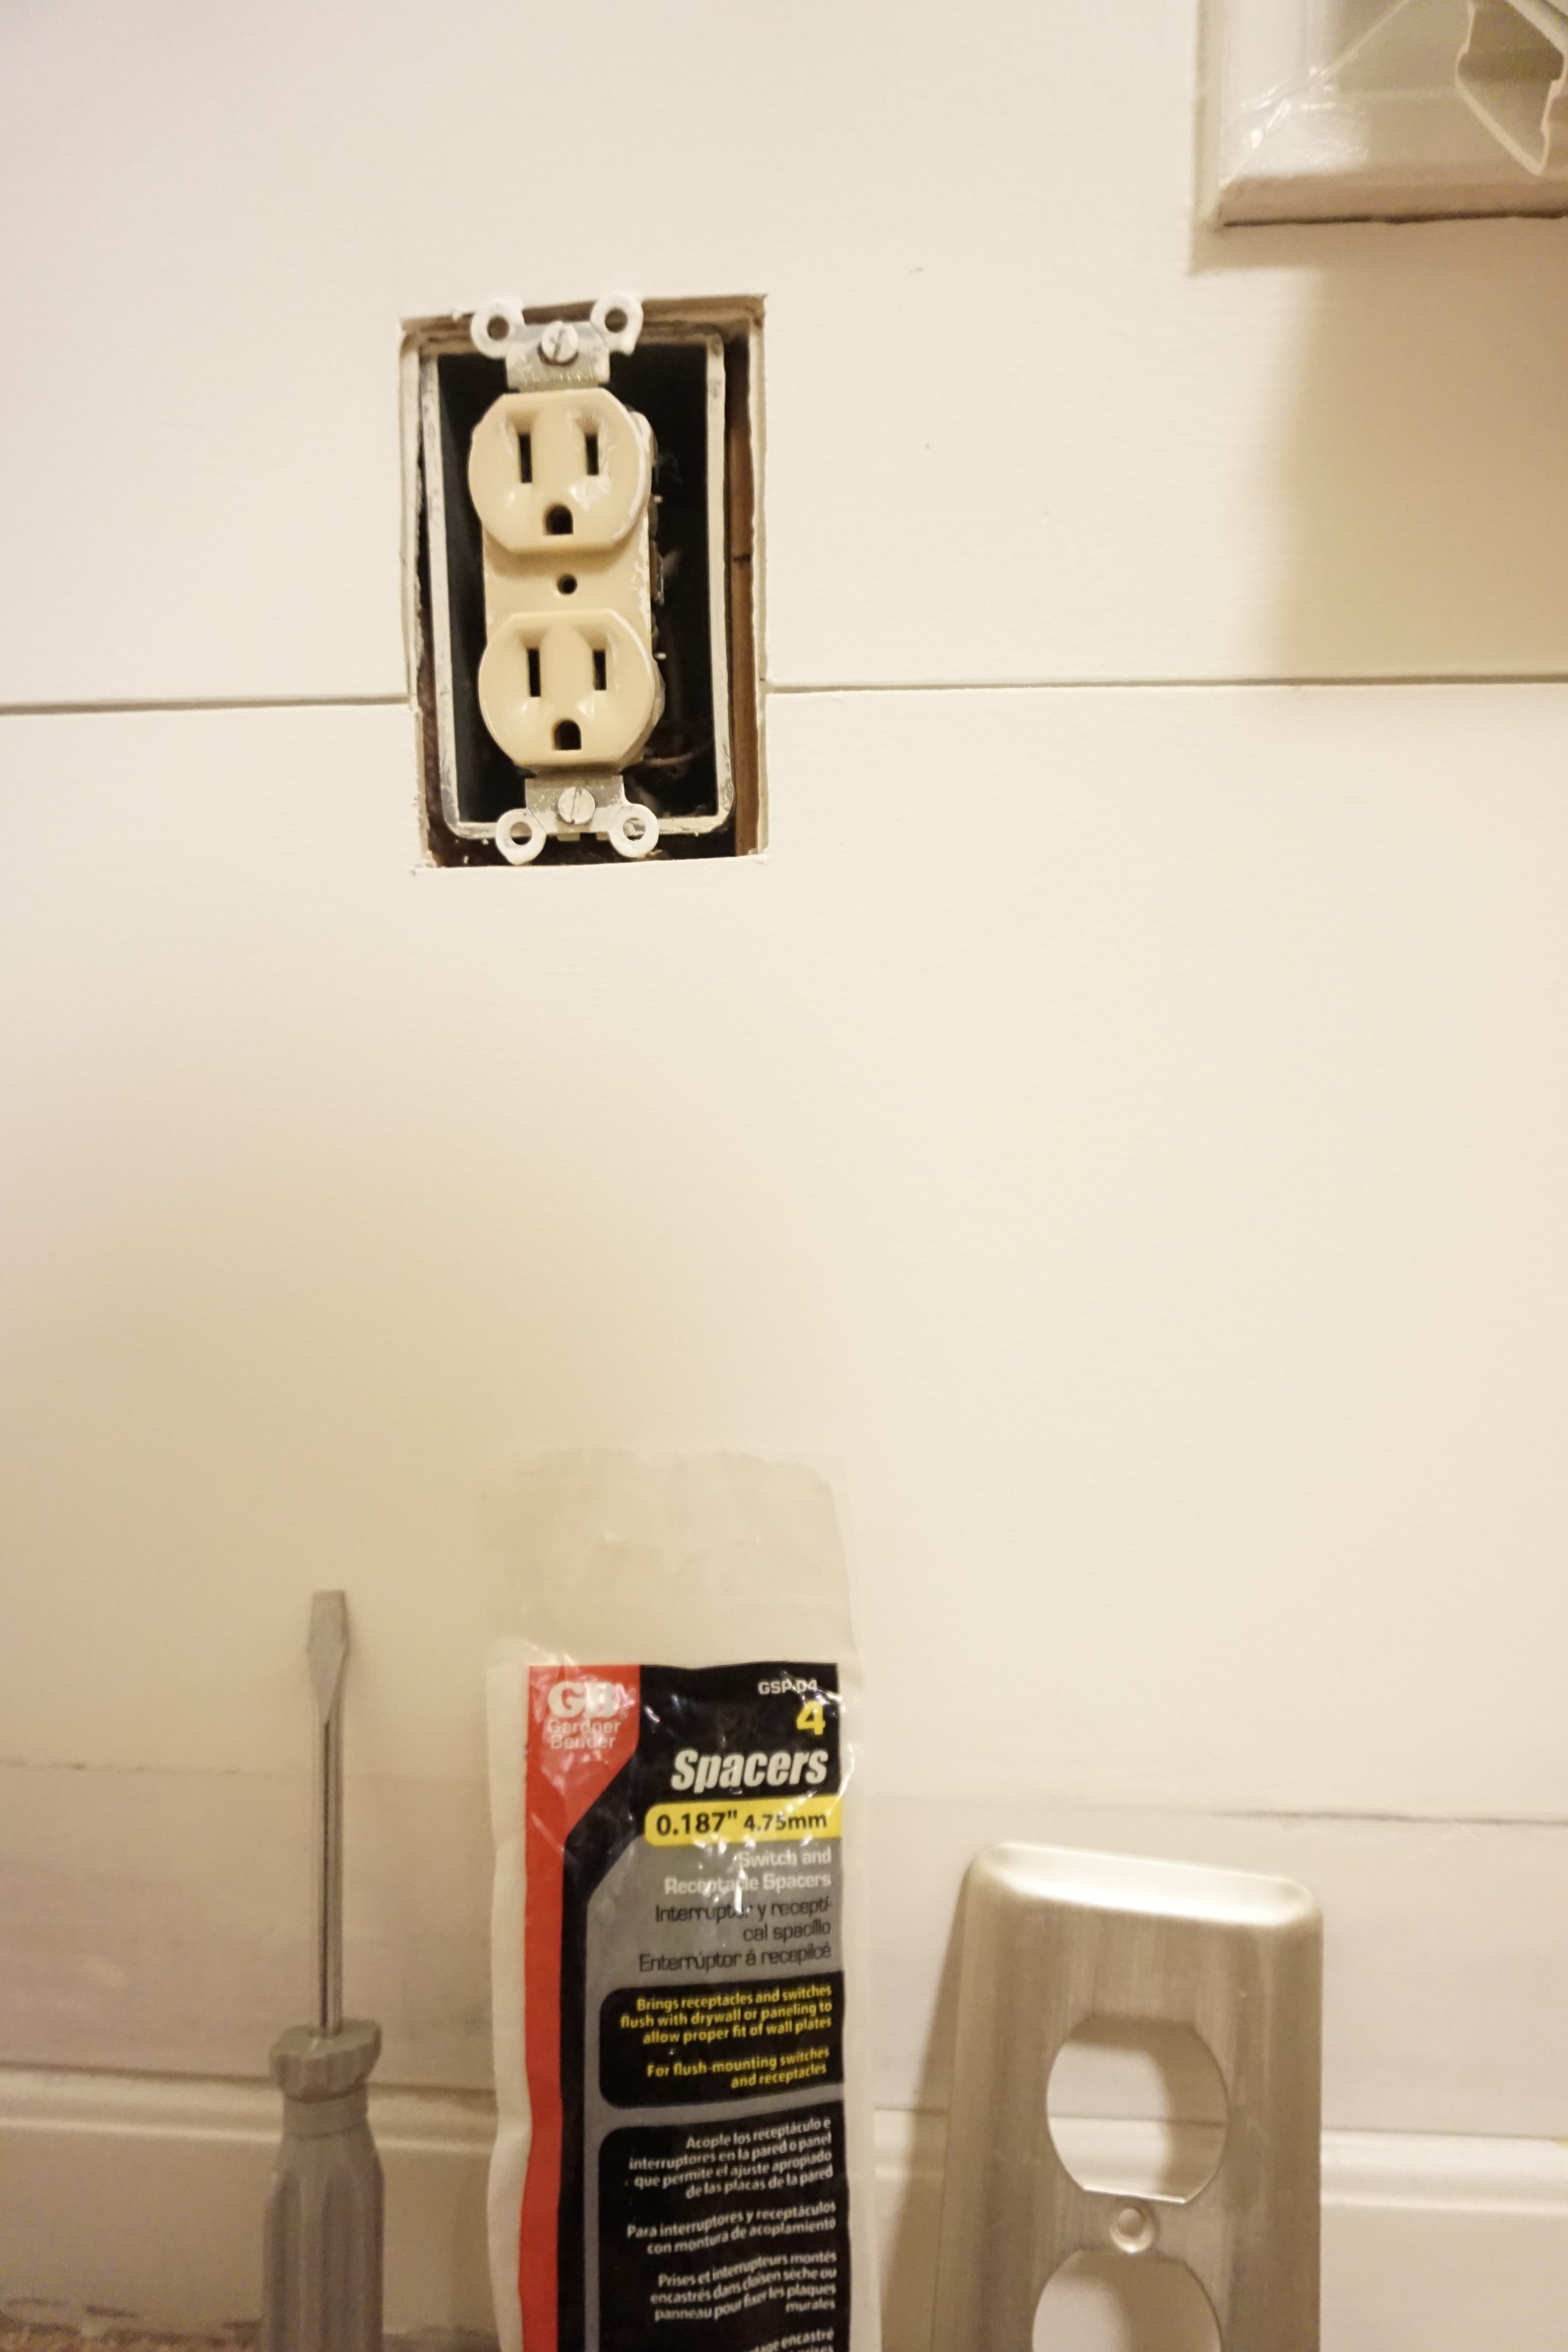
As for the switch plate, we used switch and receptacle spacers to bring the outlet out so that we could place the switch plate back on the wall.
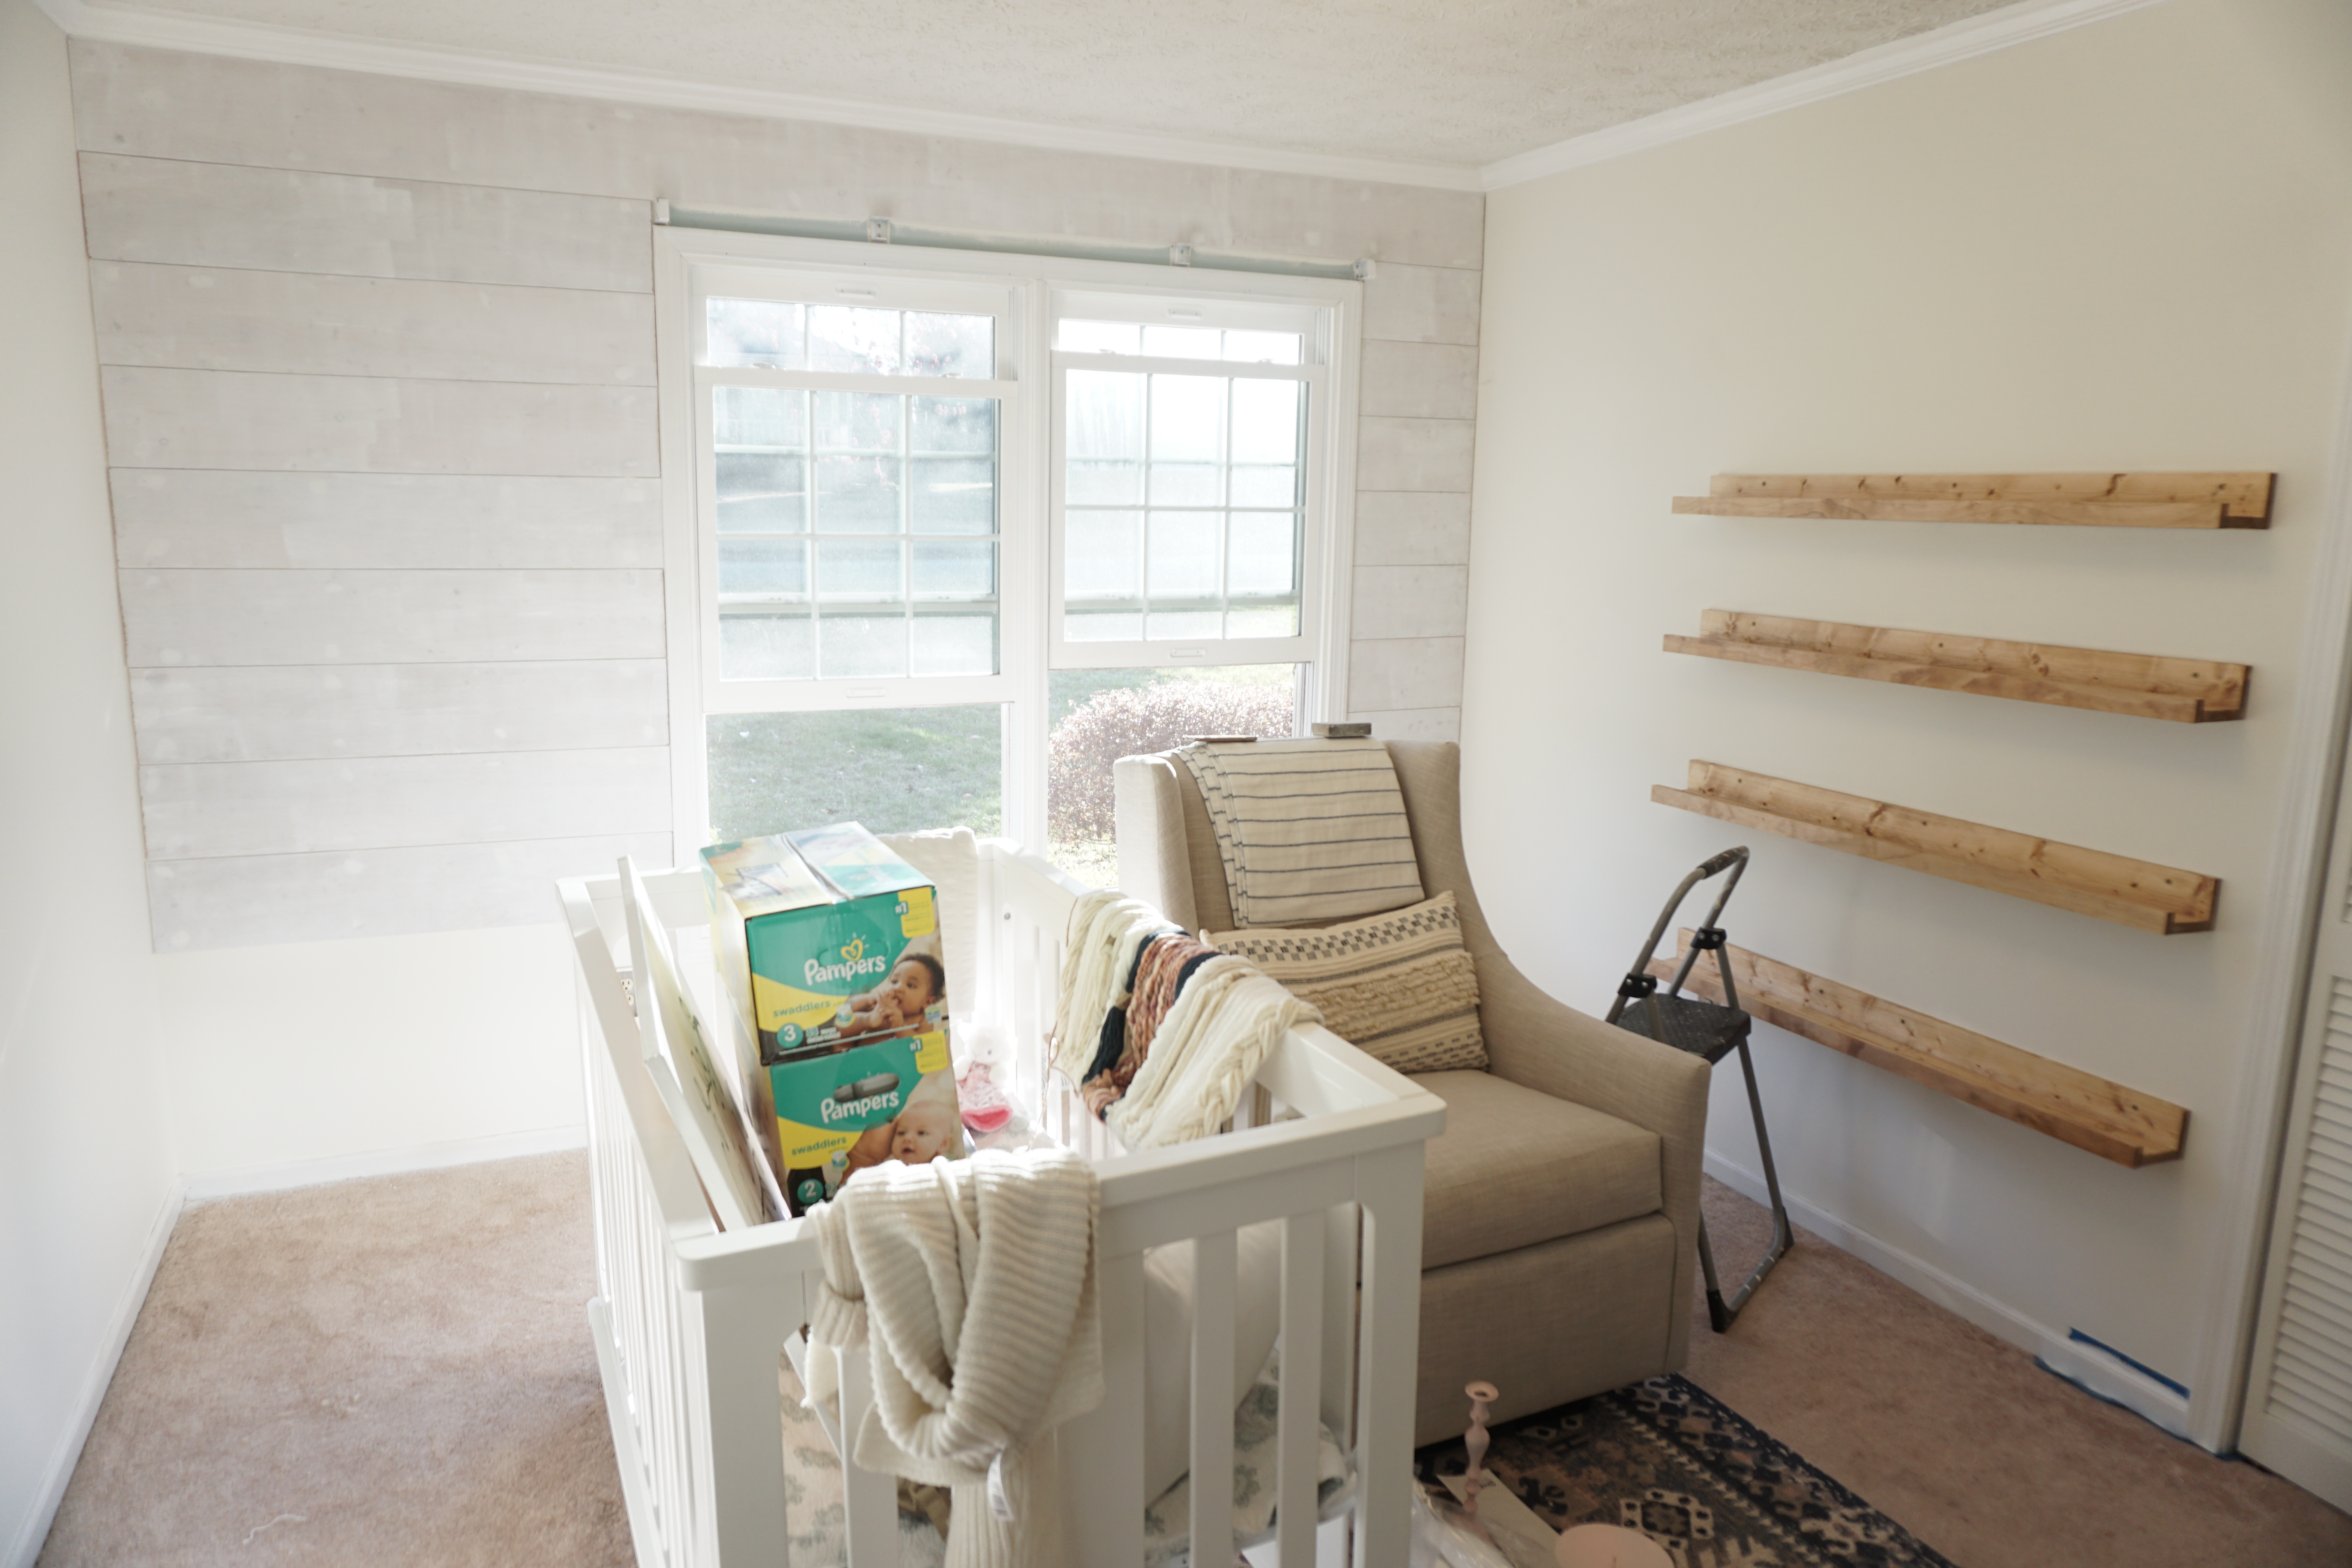
The Results
Out of all of the projects we’ve tackled in this room, this one has truly transformed the space the most. I didn’t realize what a little ripped plywood could do to a space until it was all said and done.

Are you as smitten with the shiplap look as I am? Let me know in the comments below if you’ve added shiplap in your home as well.
If you enjoyed this tutorial, you may also like:
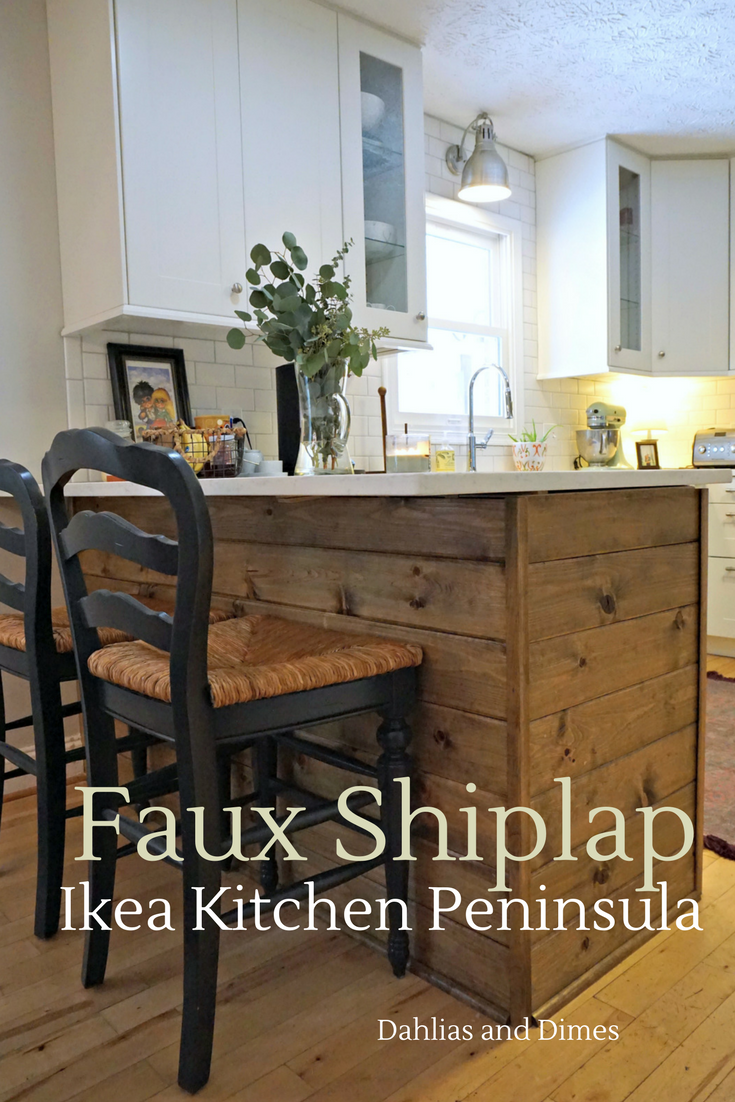
Faux Shiplap Ikea Kitchen Peninsula