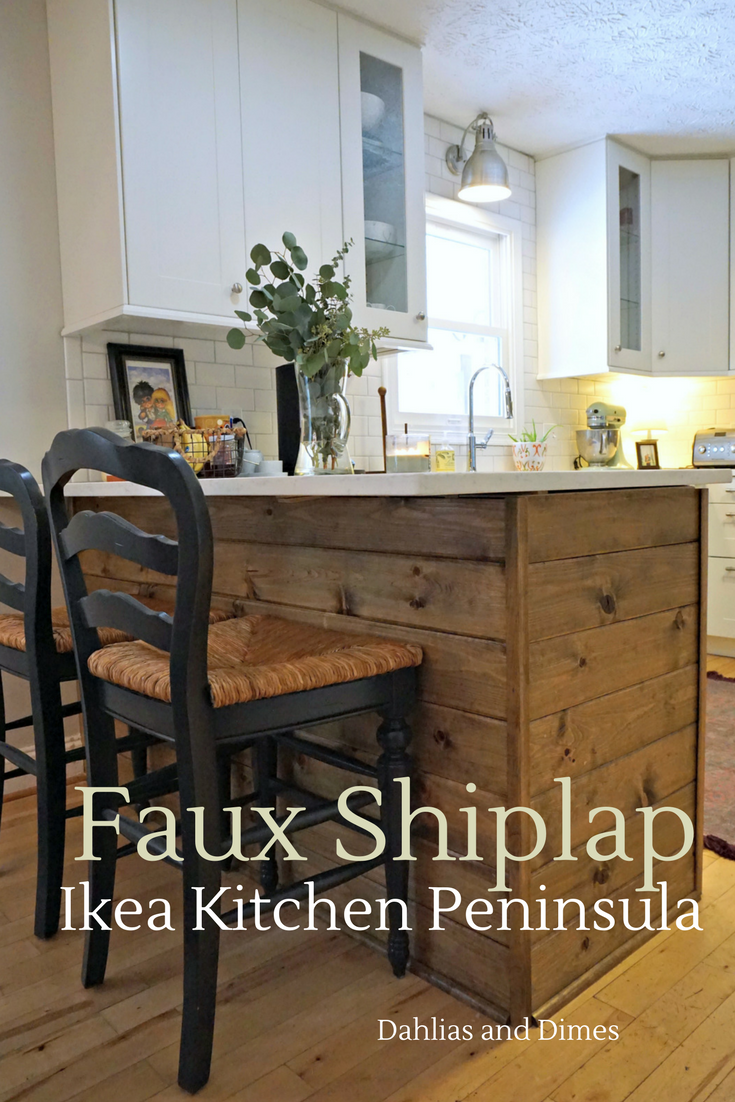
When it came time to install the base cabinets making our IKEA kitchen peninsula, Diana had big plans. She wanted two things; 1) Natural wood accents & 2) A feature that really states… “this kitchen is ours!” So, I was the labor and the faux-shiplap peninsula was the result.
The Start
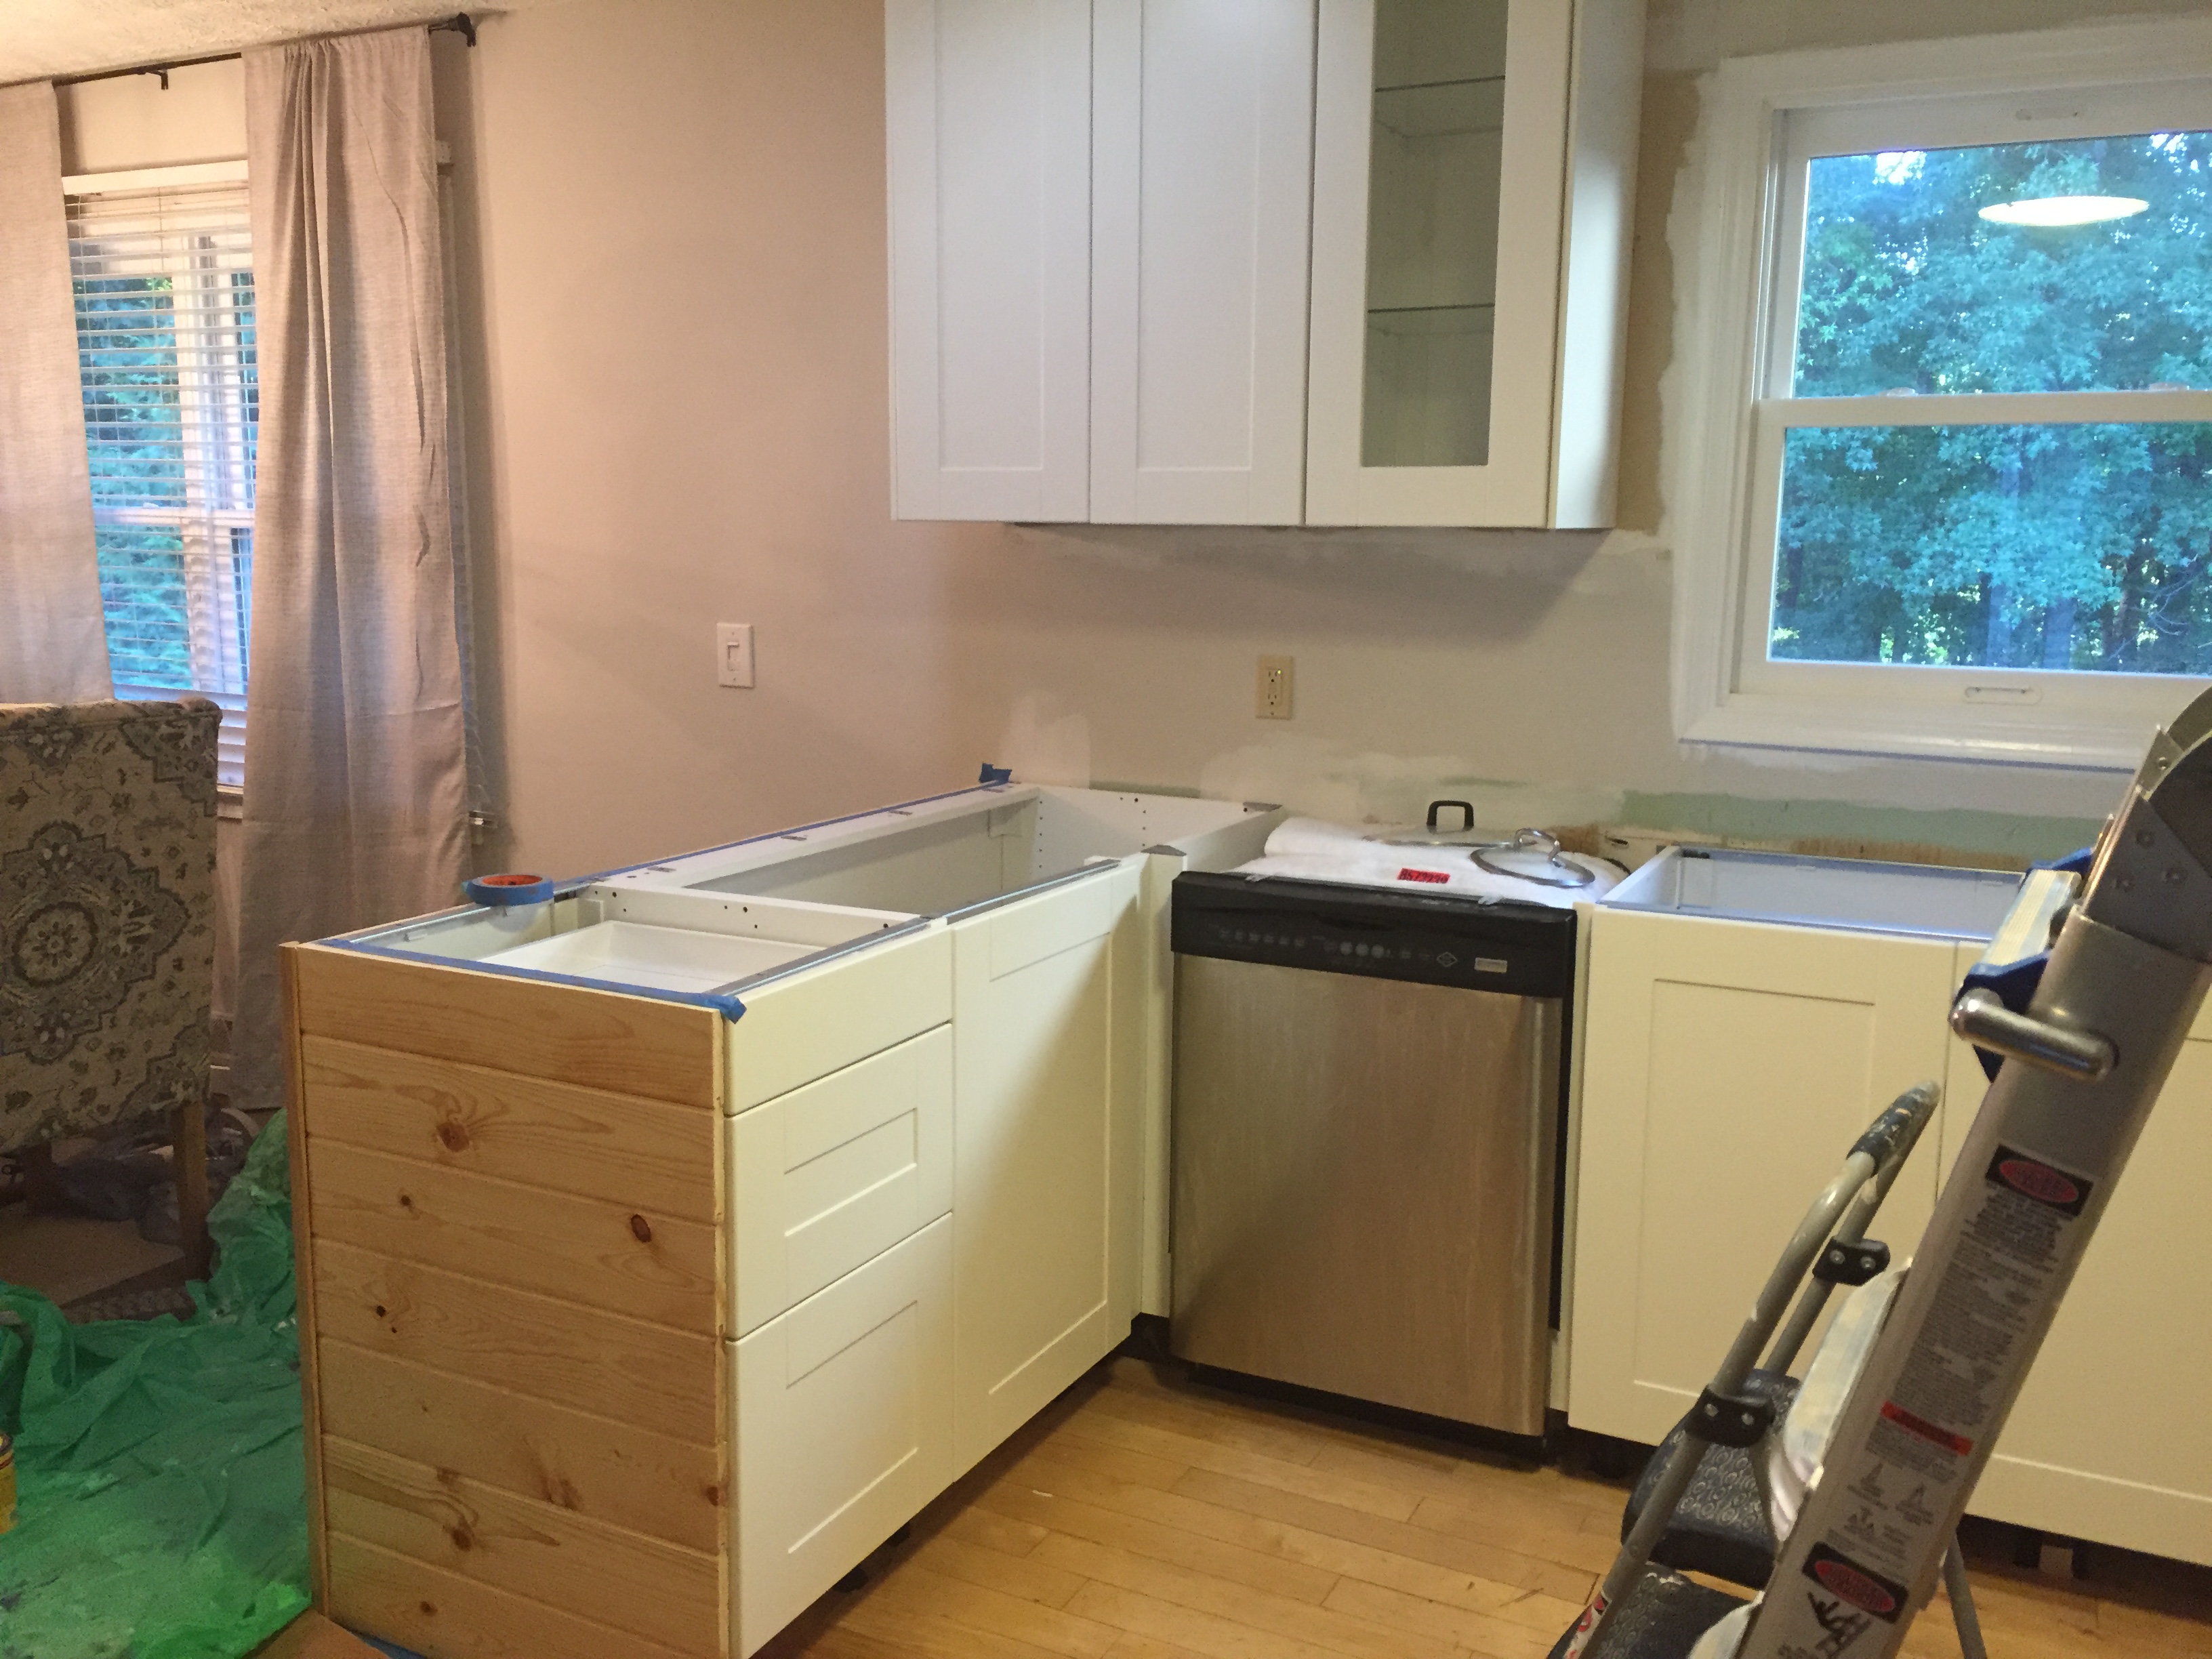
I’m getting ahead of myself though. IKEA Sektion cabinets are designed to be installed using the rail and track system provided. So naturally the question I had was, “How the heck do I install a cabinet with no wall behind it to fasten to?” Thankfully, I was not the first person with this question (YouTube was very helpful at this point in the journey). As recommended, we created a base frame made of 2X4s and cabinet-grade plywood. The base was then fastened to the floor and the cabinets to the base. And believe me, these aren’t going anywhere.
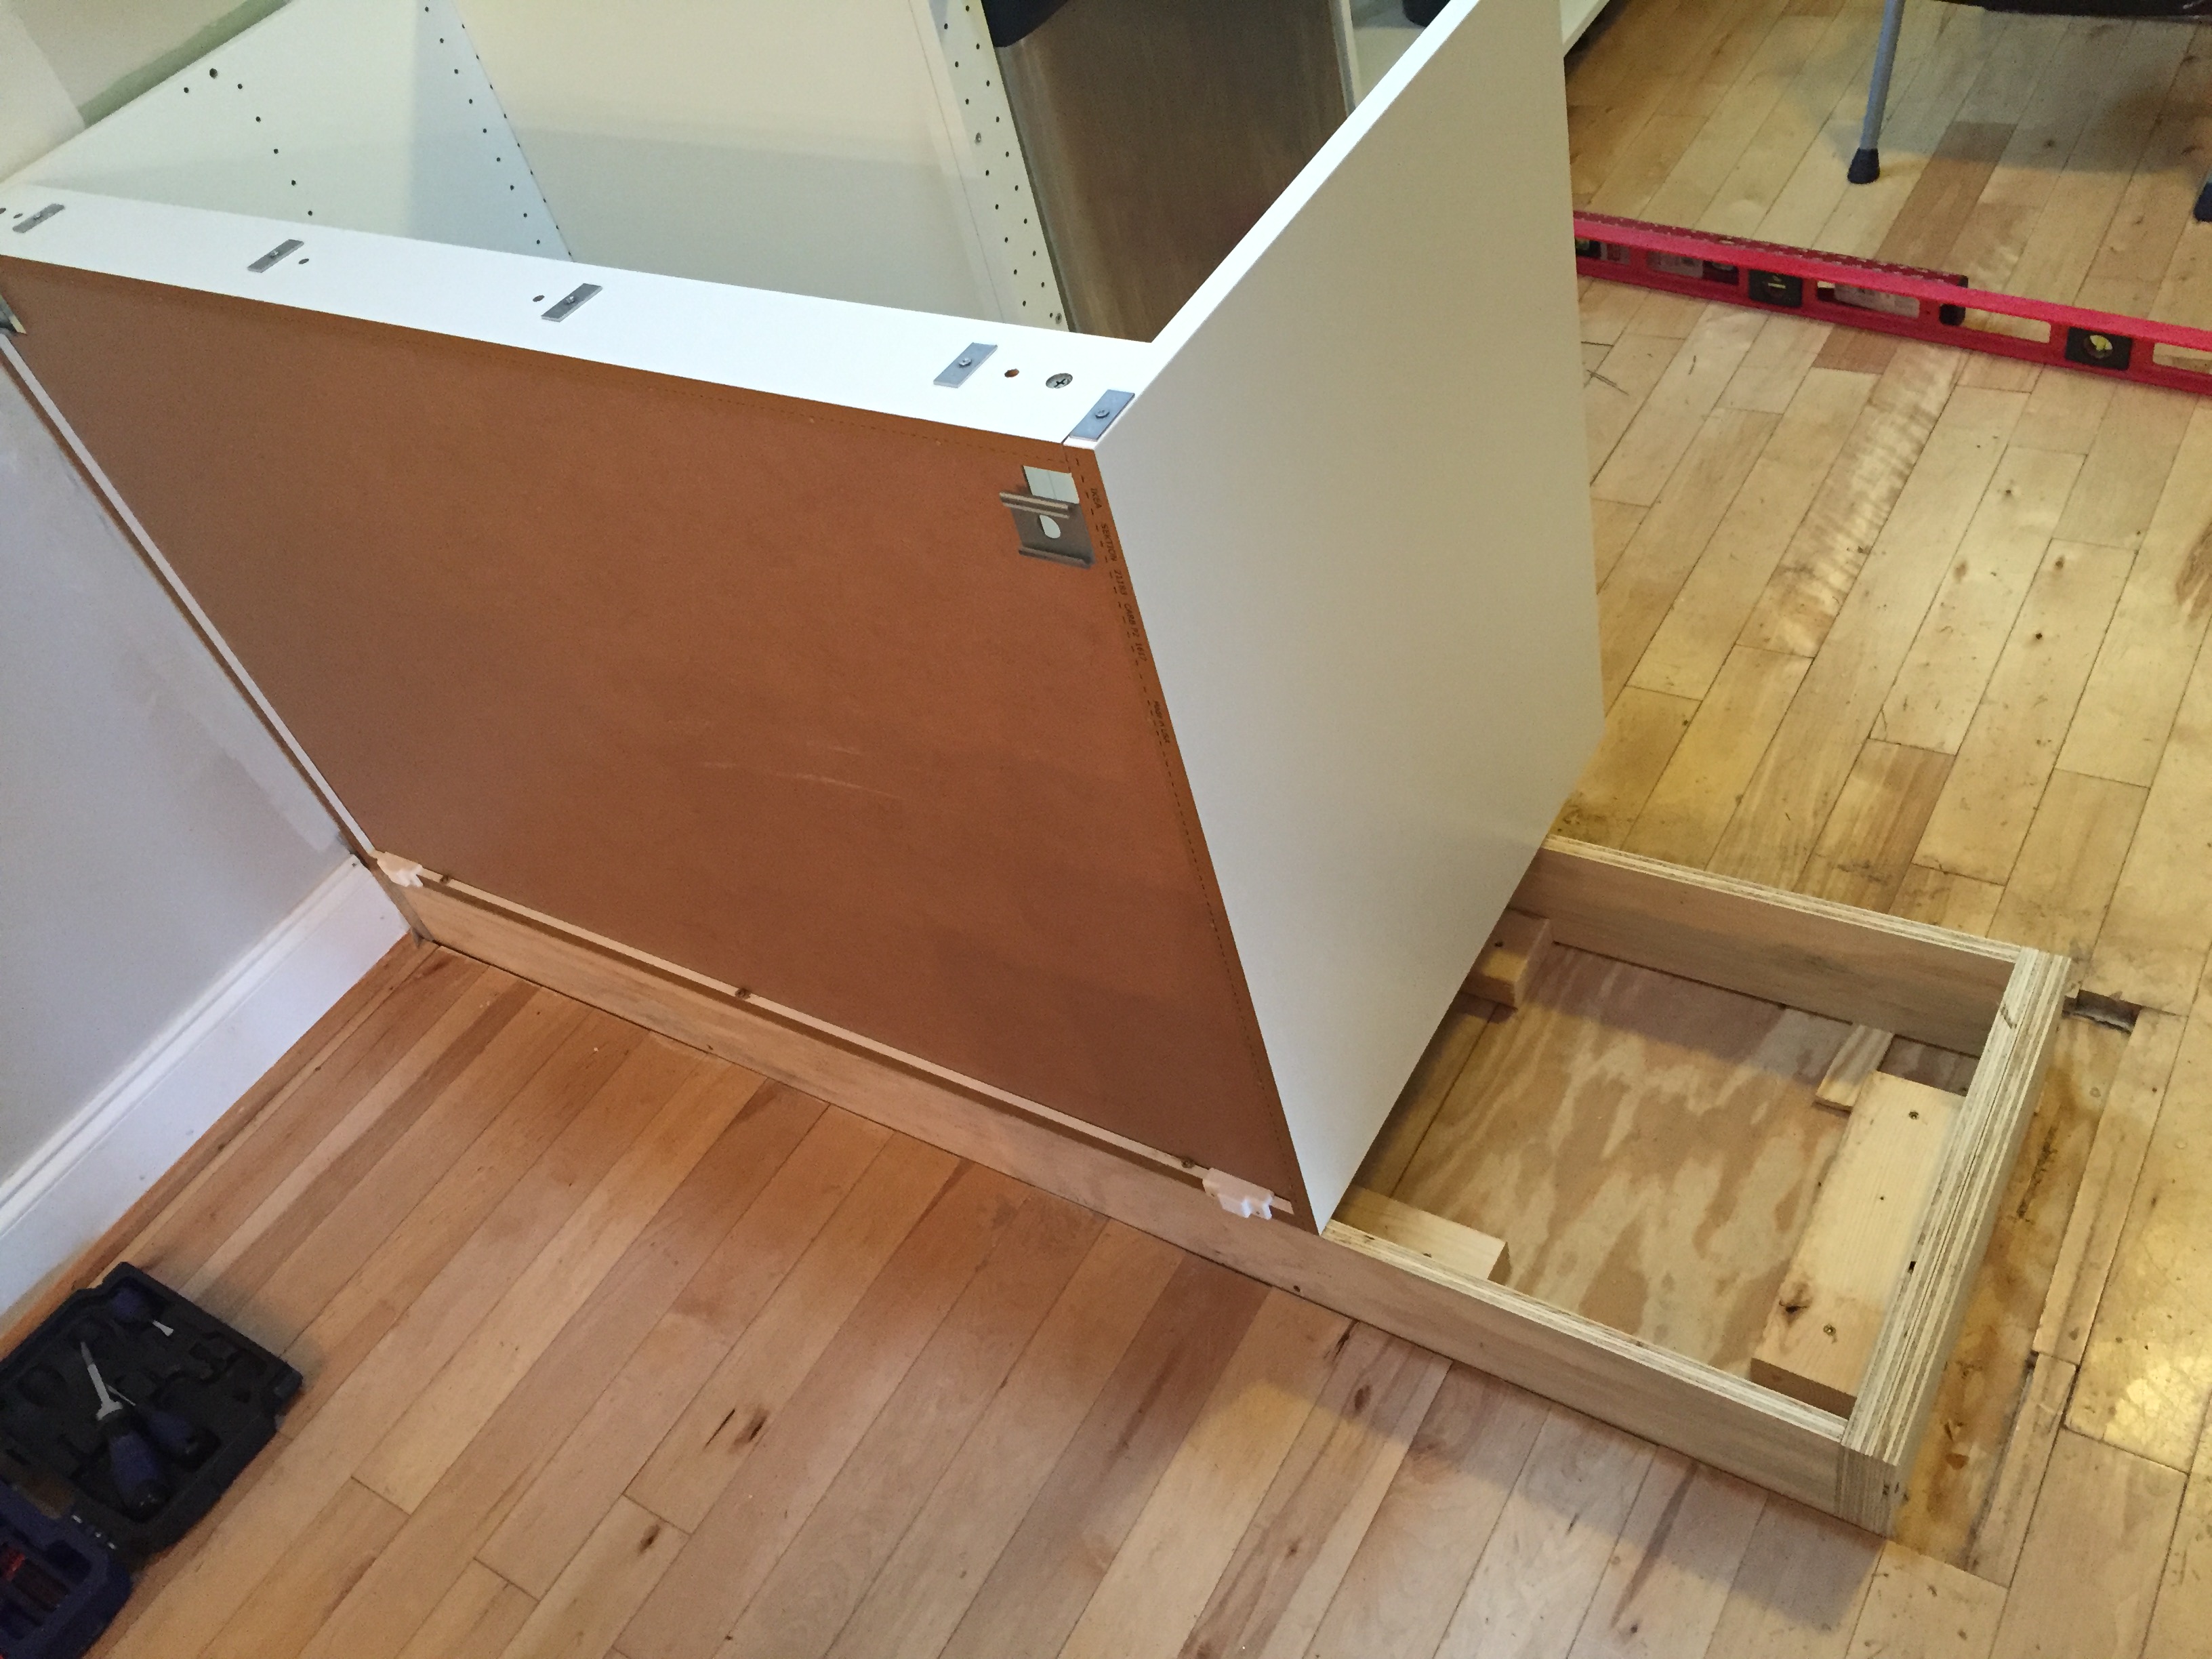
I have seen that some folks have gotten by with only using 2x4s to build the frame. If you’re building your entire kitchen cabinetry from solid finished flooring, you can do this as the feet the that come with the SEKTION are ~4in. We didn’t have this luxury as our cabinets were secured to the subfloor. So I had to rip the plywood to the height we needed (and happily shim as needed).
Getting There
Supplies: 1×6 Tongue and Groove Board / Quarter Round / Outside Corner Molding / Scrap Plywood / Wood Glue / Finish Nails
Links are affiliated for your ease of shopping.
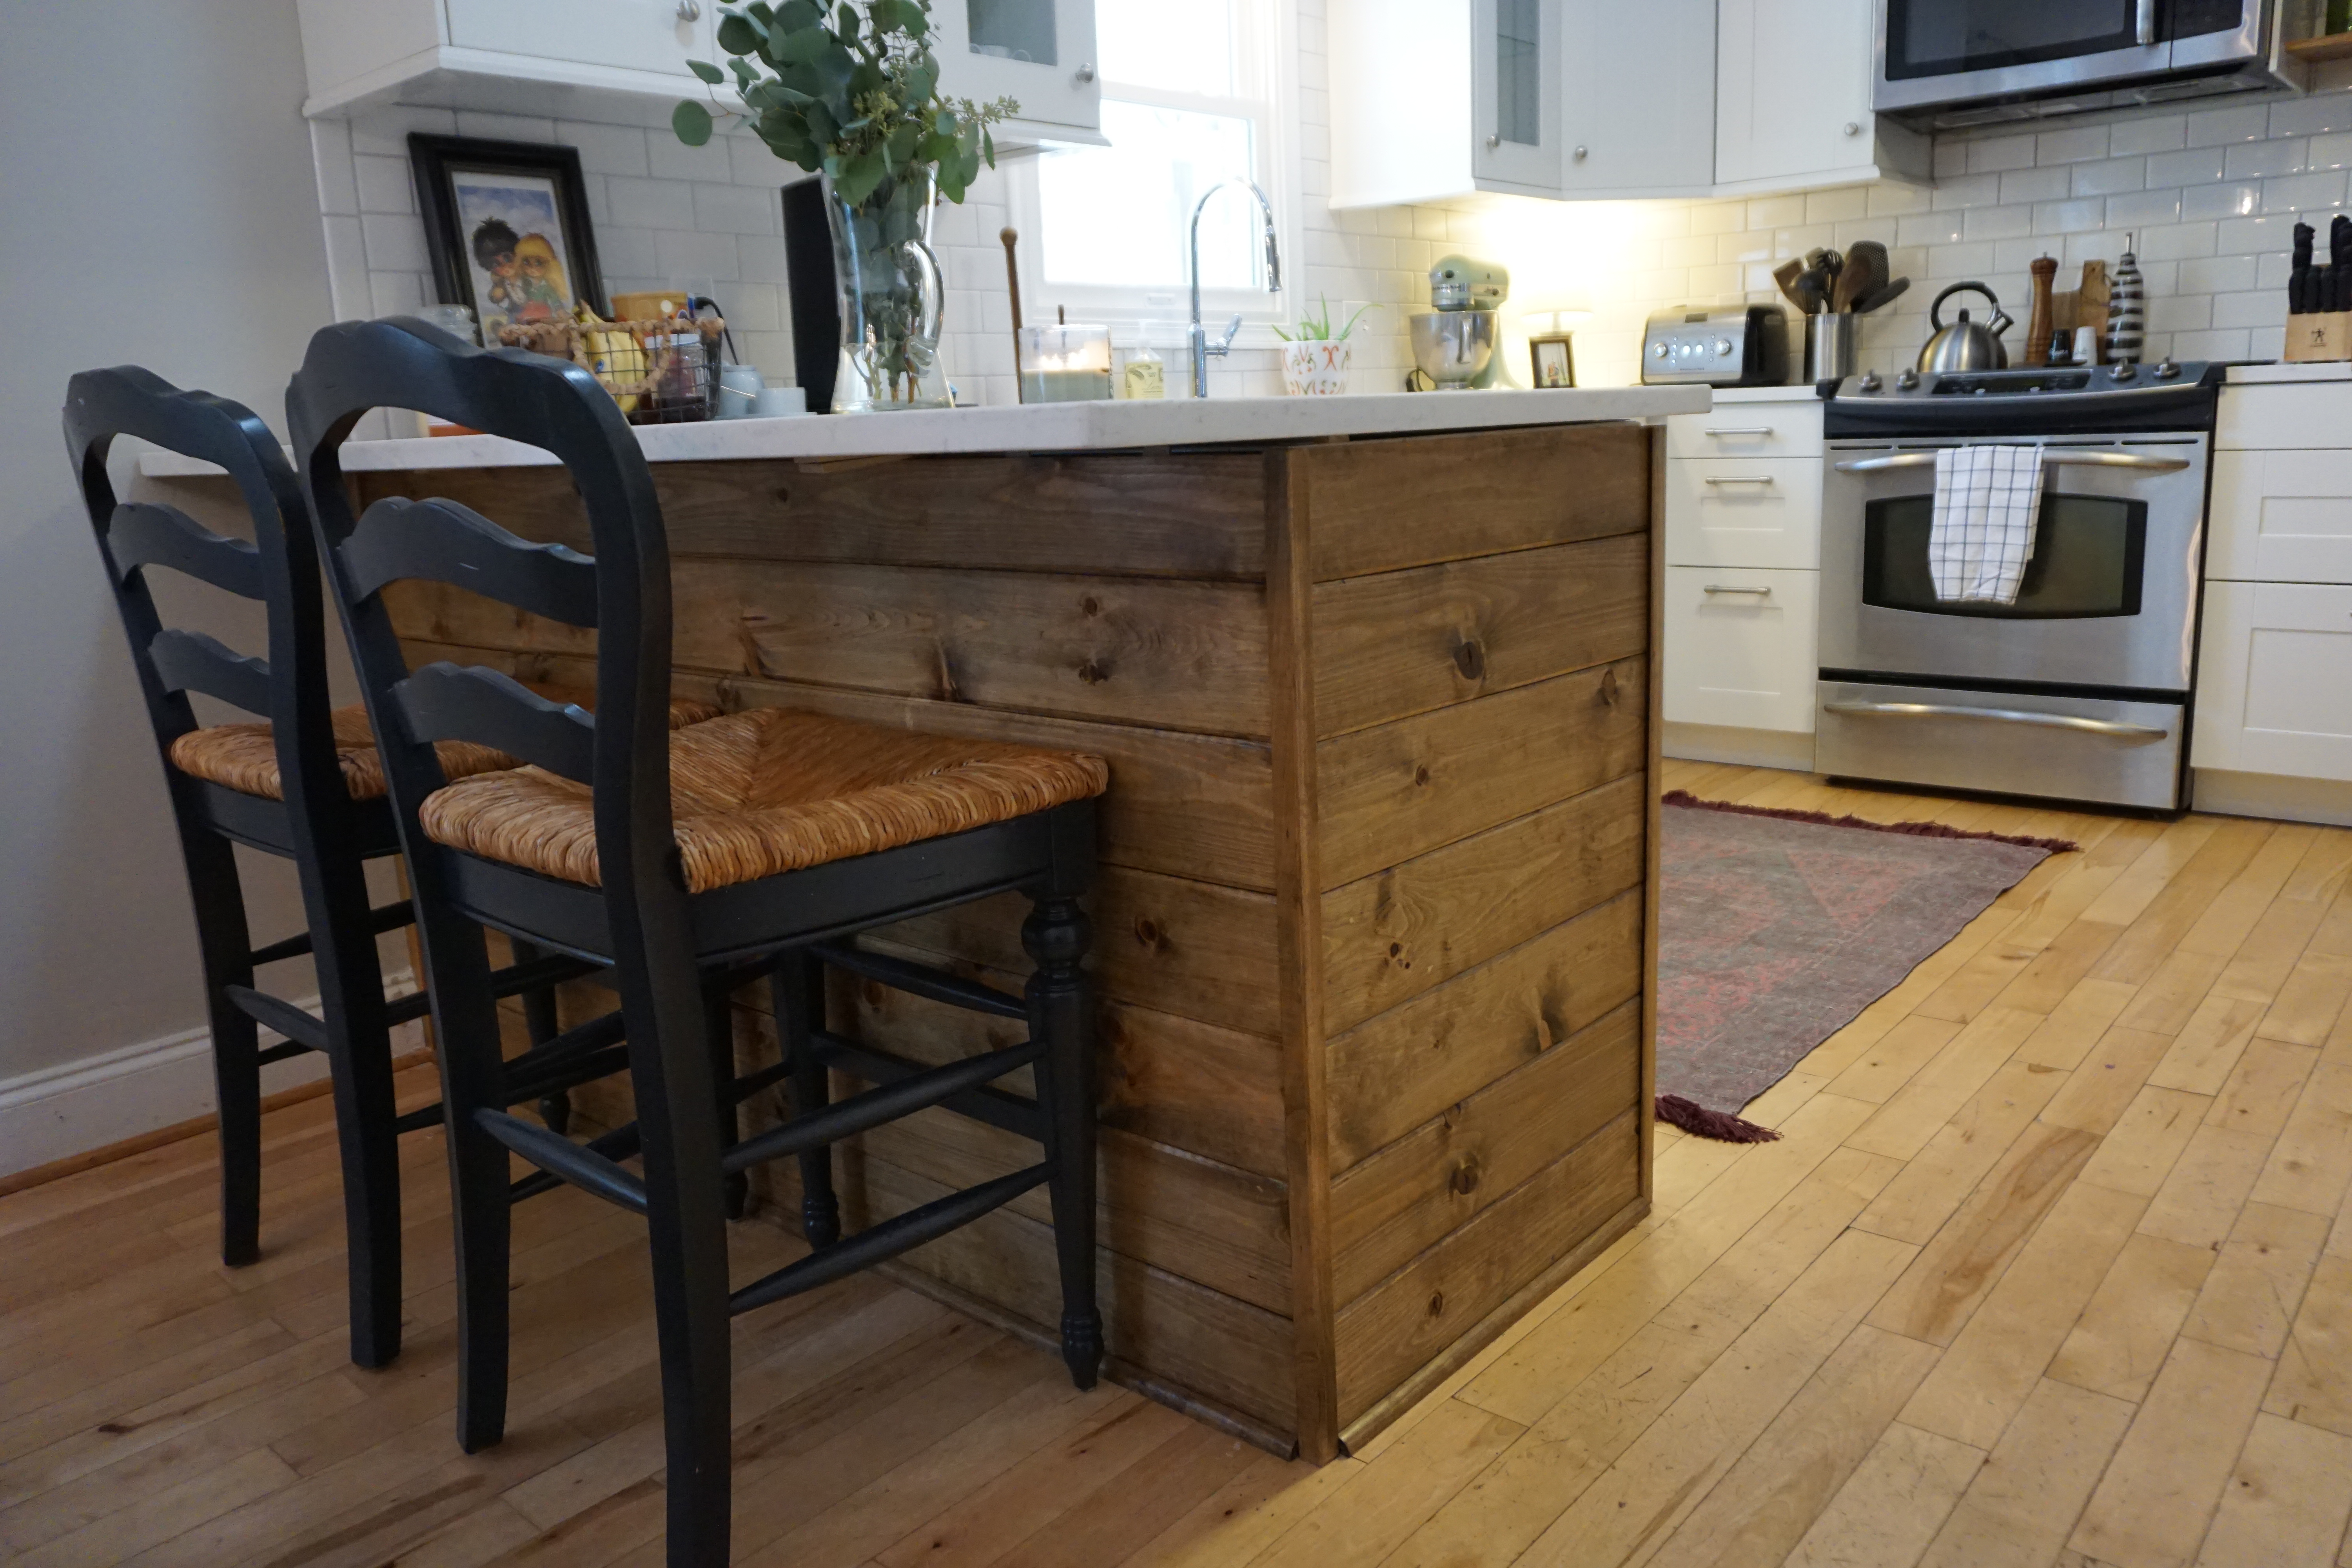
This was the fun part; making Diana’s vision a reality. We decided to go with 1X6 pine plank board to serve as a cover panel for the peninsula. You can notice that I placed small plywood sections along the cabinet walls on the back. I did this to keep the boards at the location I wanted in relation to the top cabinet hardwood, and they provided more surface area for adhesives.
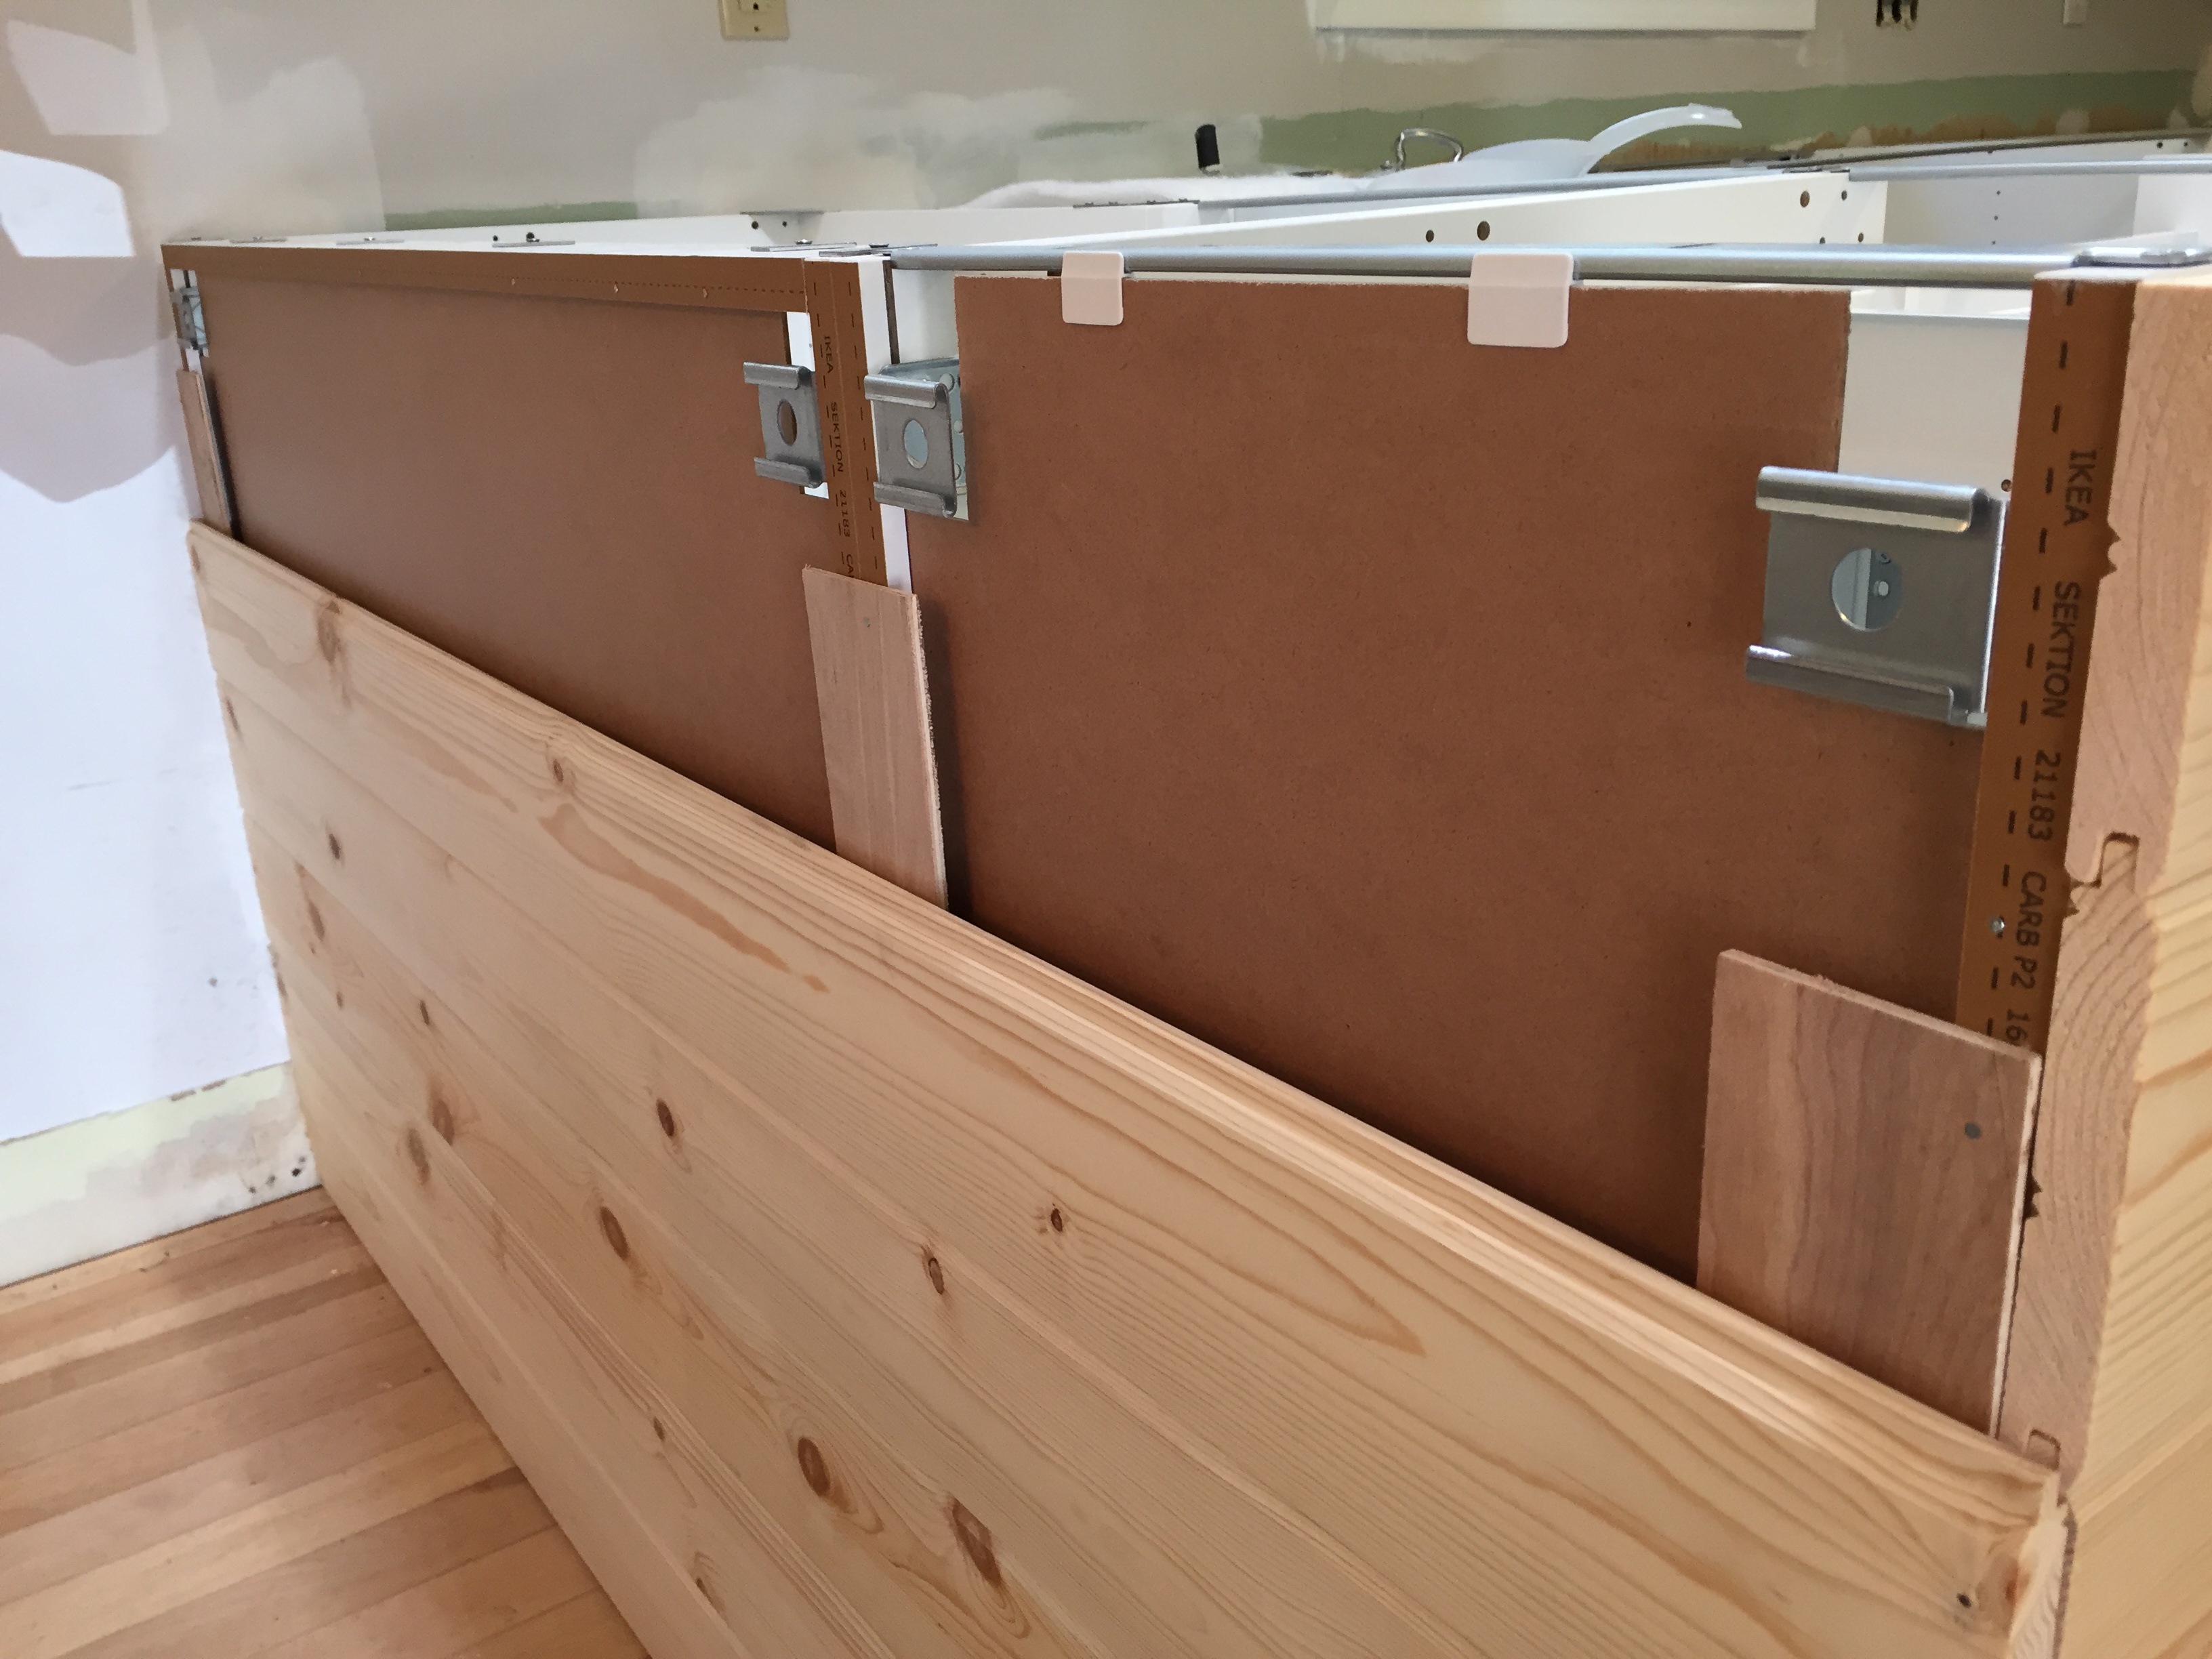
I fastened the planks to the brackets located at the top and also to my base structure. In other areas, I used adhesives and 1-1/4″ finish nails as needed. At the tongue and groove of each plank, I liberally applied wood glue. At the bottom where the boards meet the floor, I fastened a piece of quarter round with finish nails and did the same at the ends with a piece of outside corner molding. This is only a decorative panel and does not carry any load.
Savings!
Would you believe we saved $85 on this project? For this panel board, I purchased 7 1×6 boards in 8ft segments costing $5 each. (8ft segments were most efficient because the back required ~5ft and side ~2ft leaving very little scrap). We bought stain and the trim including 1 outside corner piece and 1 quarter round costing $18 total. We already had the finish nails, wood glue, and polyurethane on hand to use.
That made the total cost for our natural wood panel board $54.
Comparing that to IKEAs FORBATTRA cover panel at $139, I think we did ok.
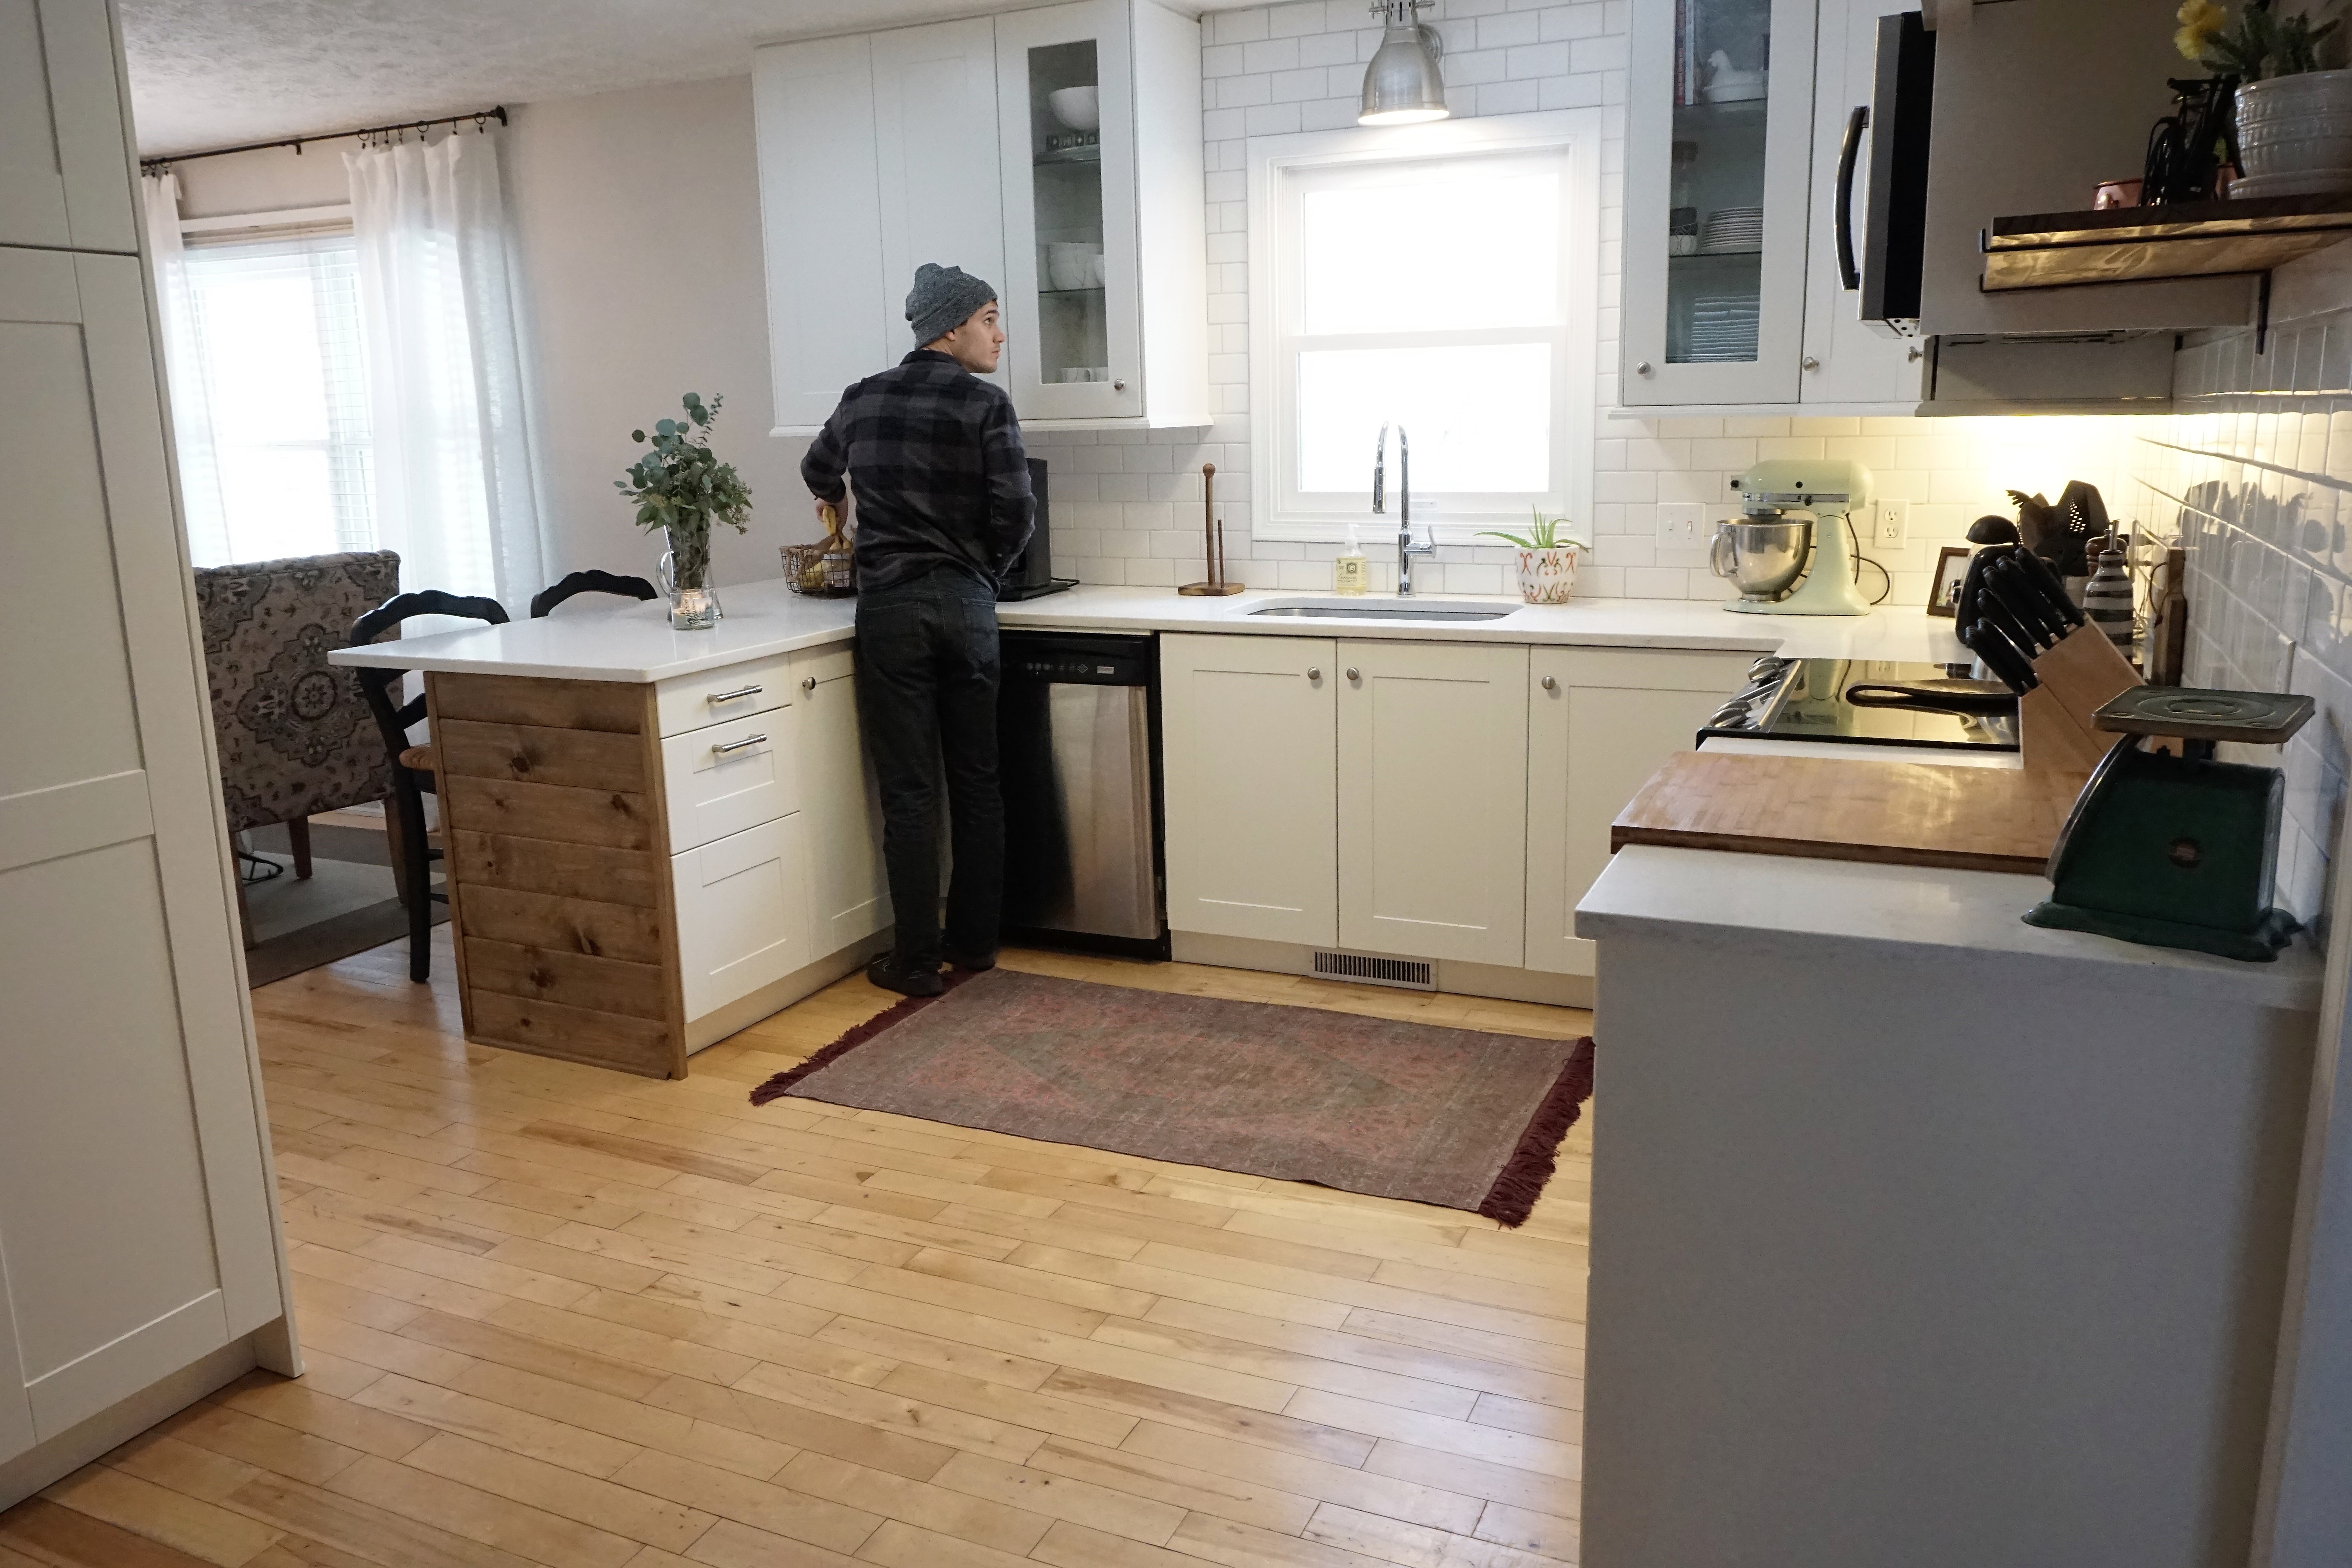
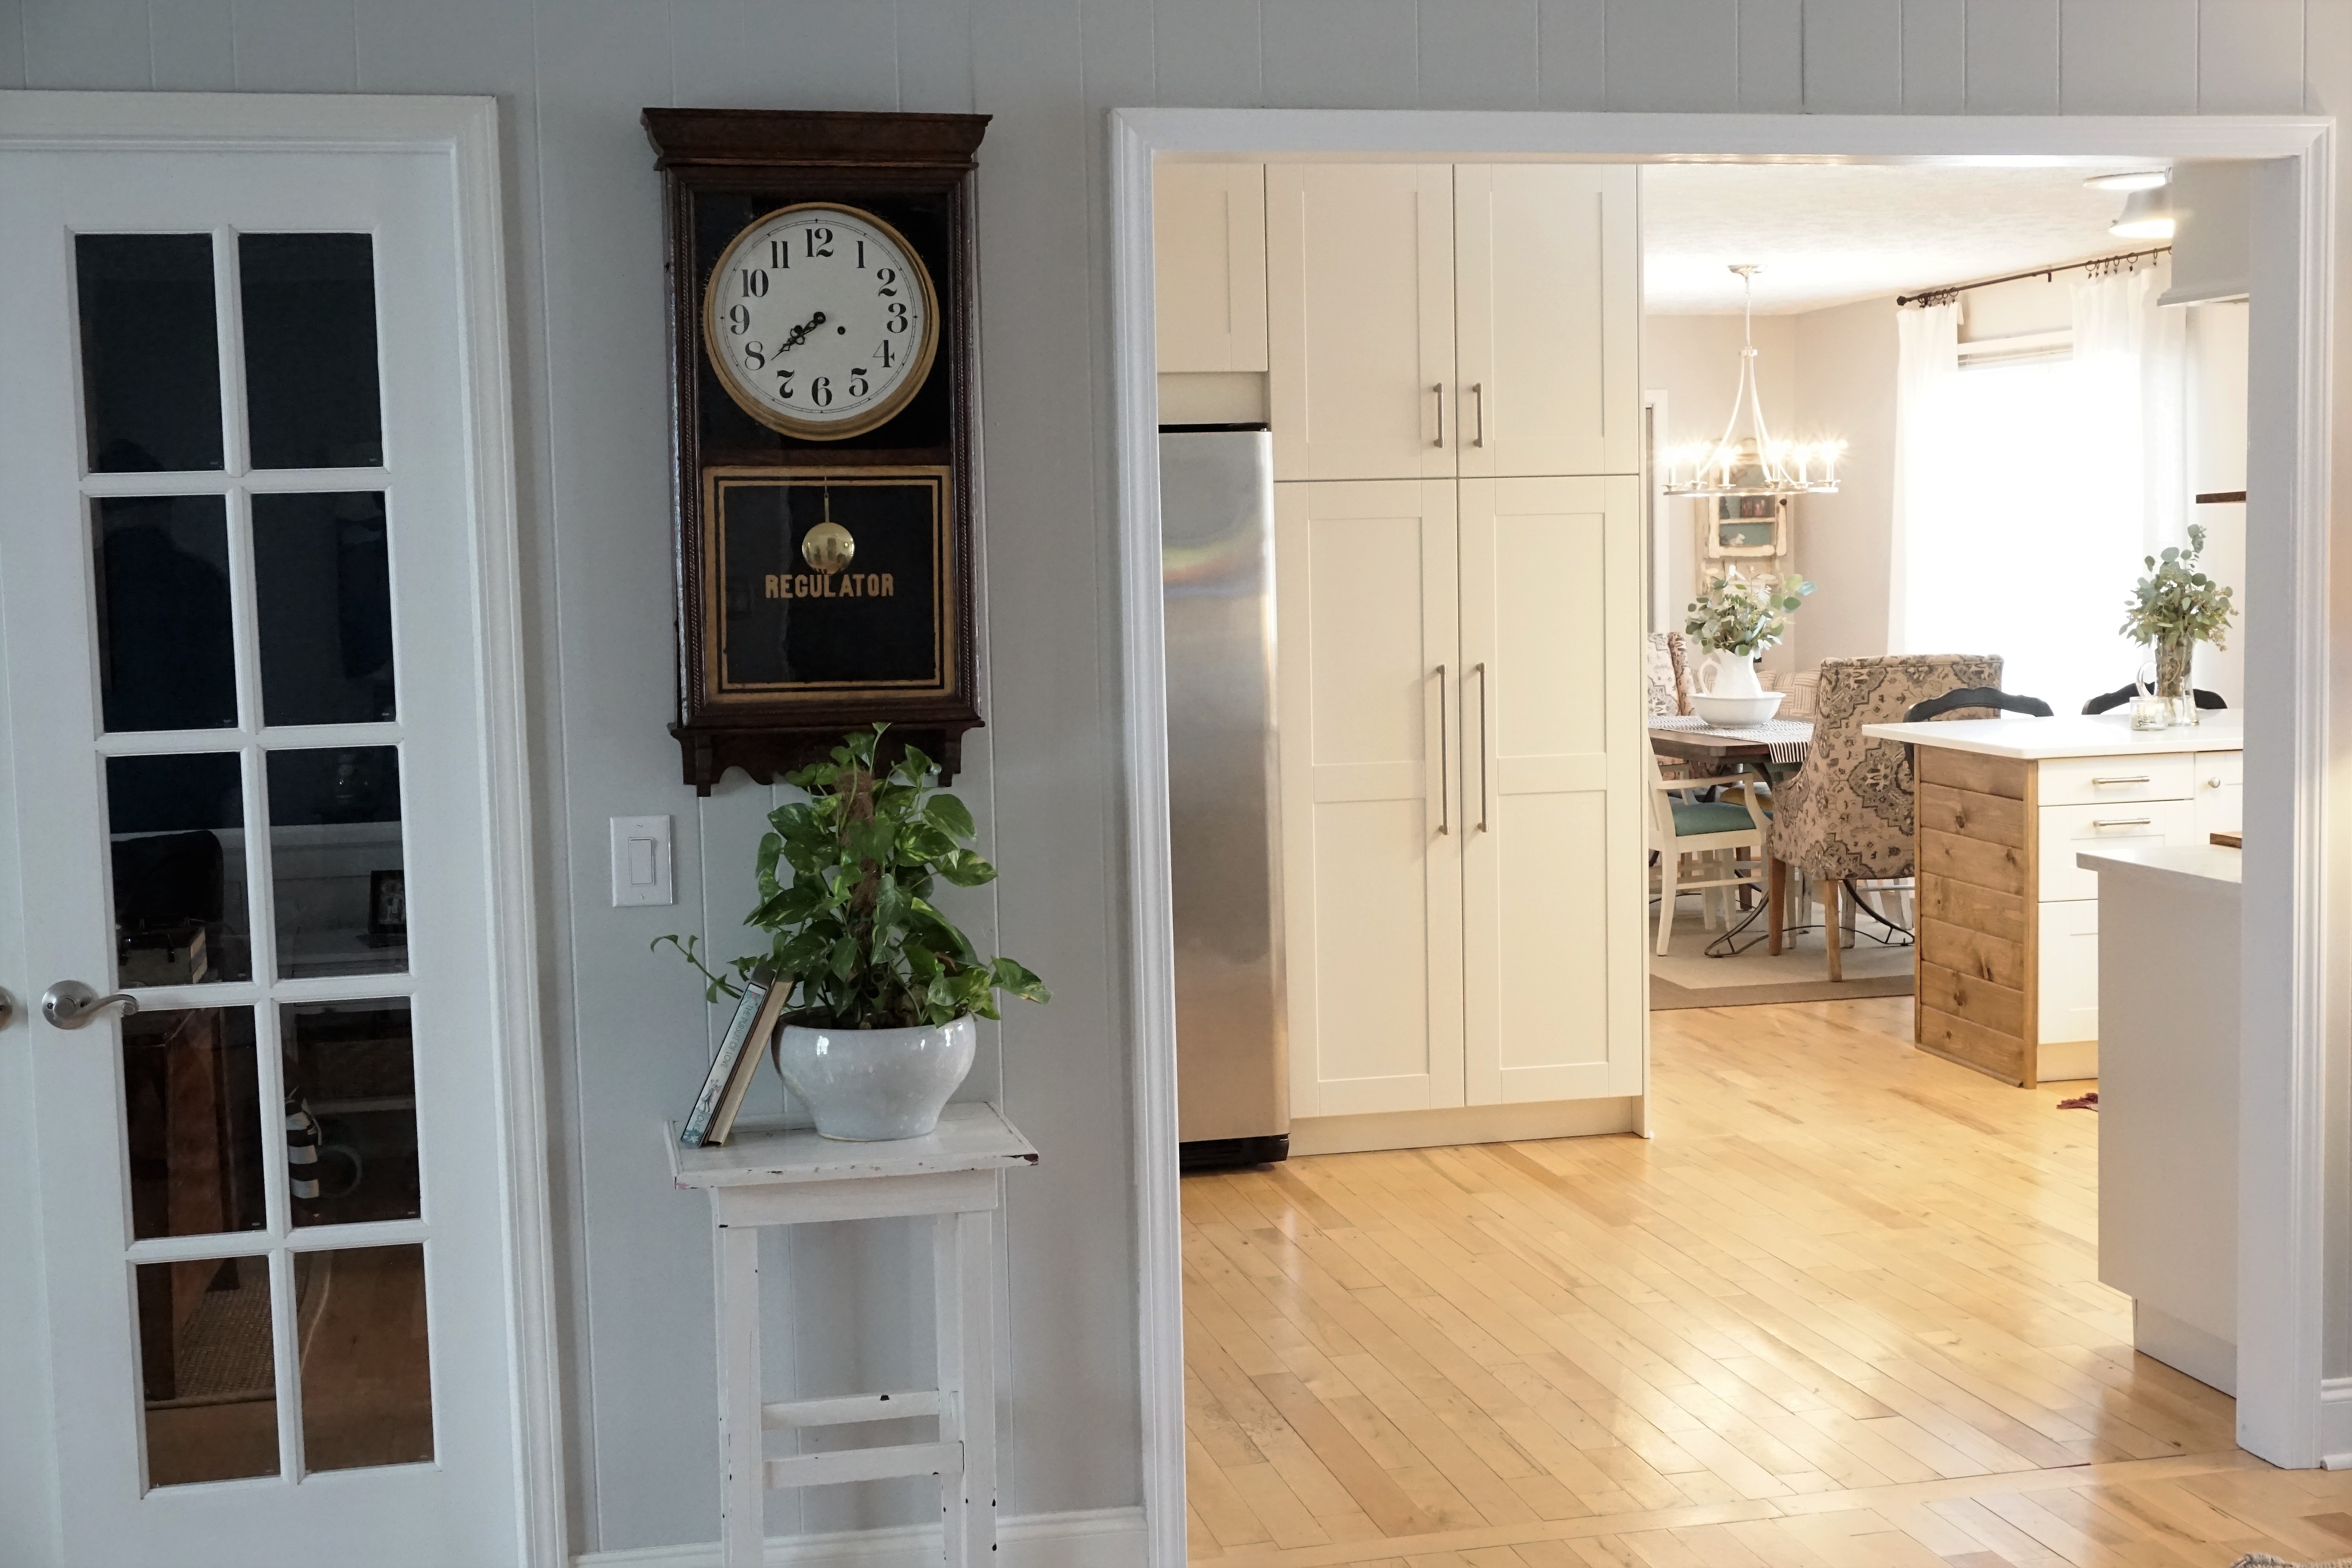
There are obviously several routes you can take with this project when it comes to paint and stain. You could go with a pop of color that ties in with a feature in your kitchen, paint it black for the classic tuxedo kitchen look, or go with white for a classic, clean feel. You could also do what we did and stain it with your favorite wood stain. I believe this feature ties our dining space together with our kitchen and the rest of our home in such a pleasant way. Also, I believe the stained plank boards are durable and ready to withstand kicks from the little feet we have coming in May!
Is shiplap a feature you want to add in your kitchen? What other ways would you implement it other than on a peninsula or island? Let me know in the comments below.
-Dimes
Check out our full kitchen reveal here and how we saved $10,000 on our kitchen here.
