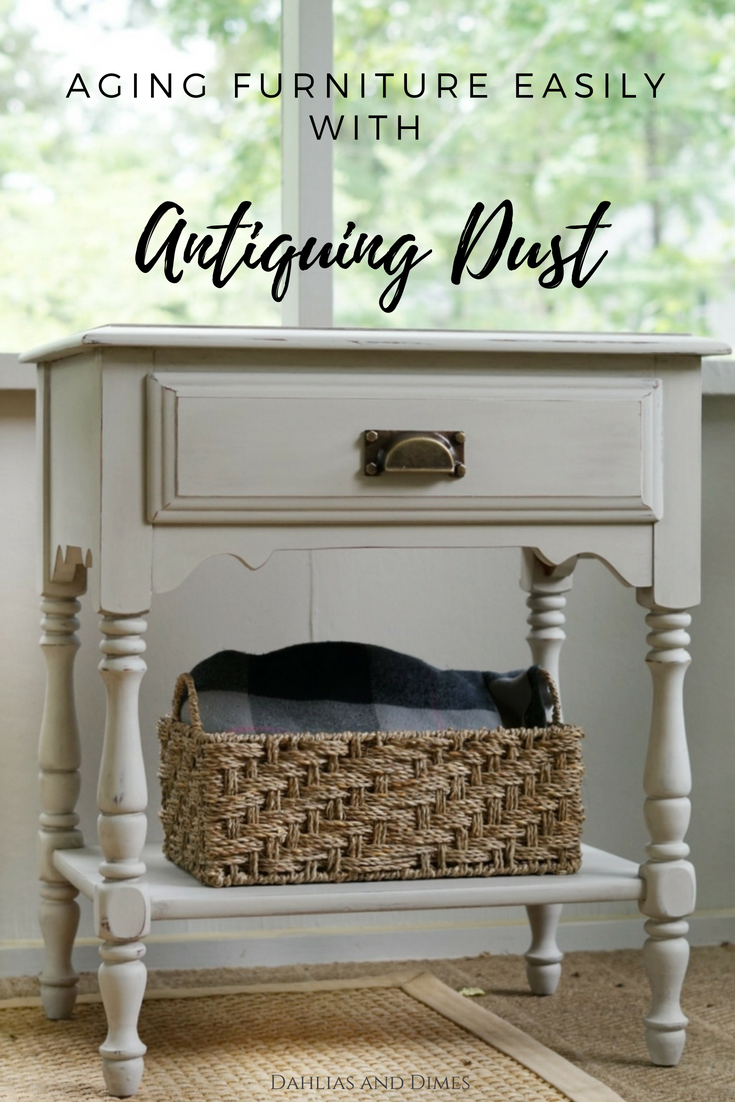
Am I the only person who tries so hard to make a new piece of furniture look old? In the past, I’ve ruined pieces of furniture by using steel wool, Vaseline, wood stain…all the little tips and tricks that Pinterest says will easily age furniture. After many disasters, I’ve finally found a product that makes this process easy, Antiquing Dust by Country Chic Paint.
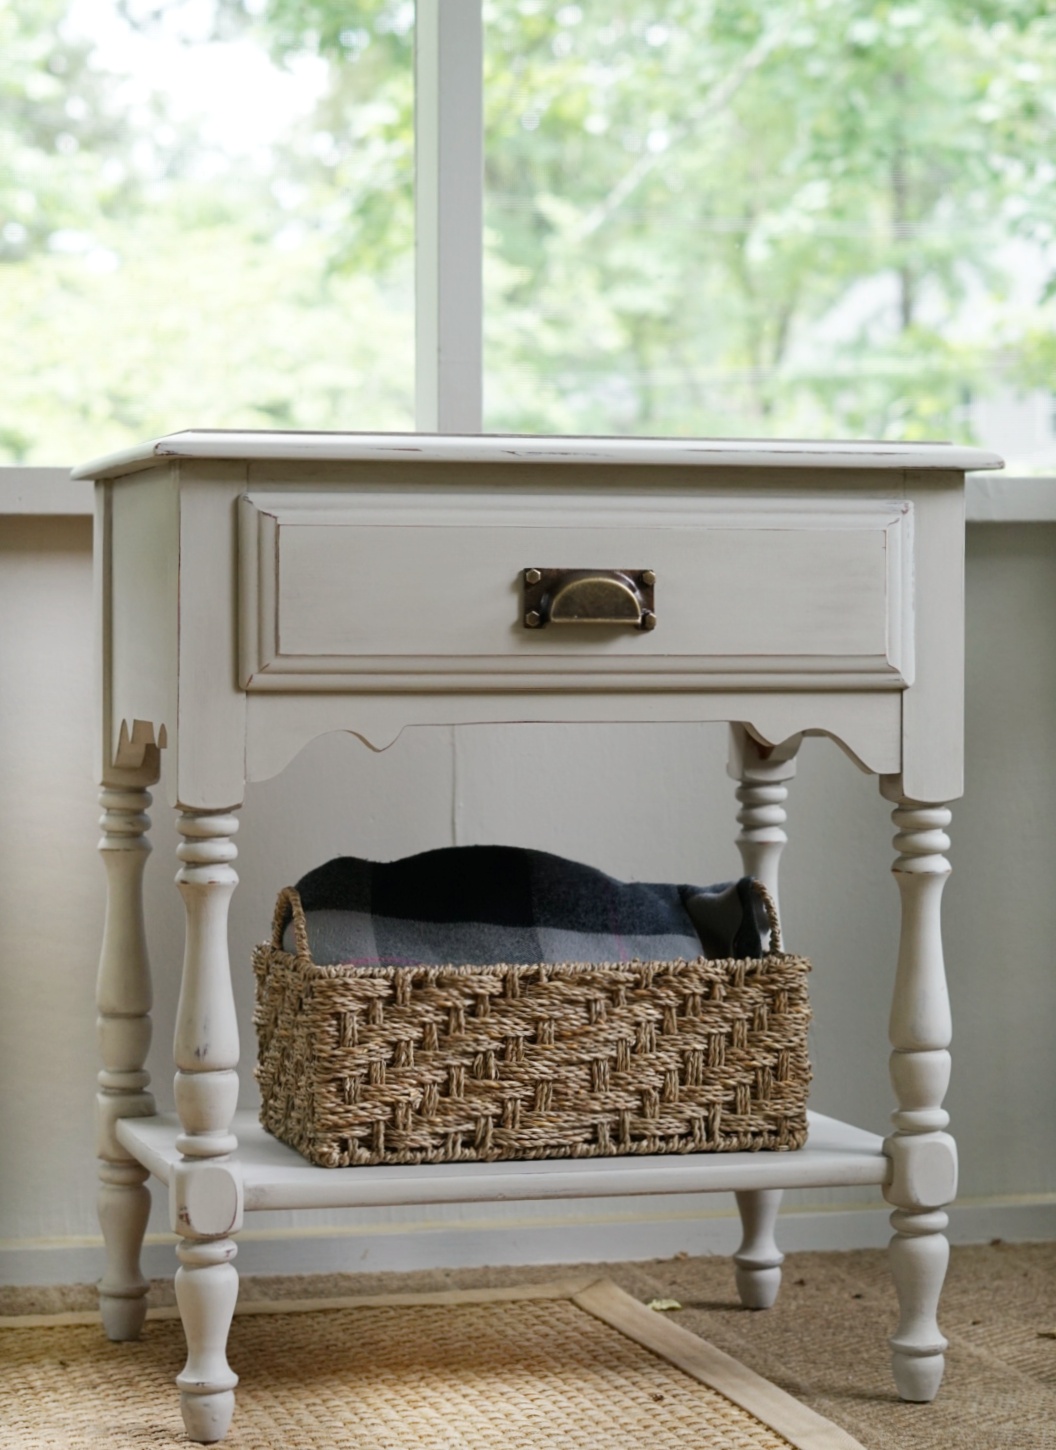
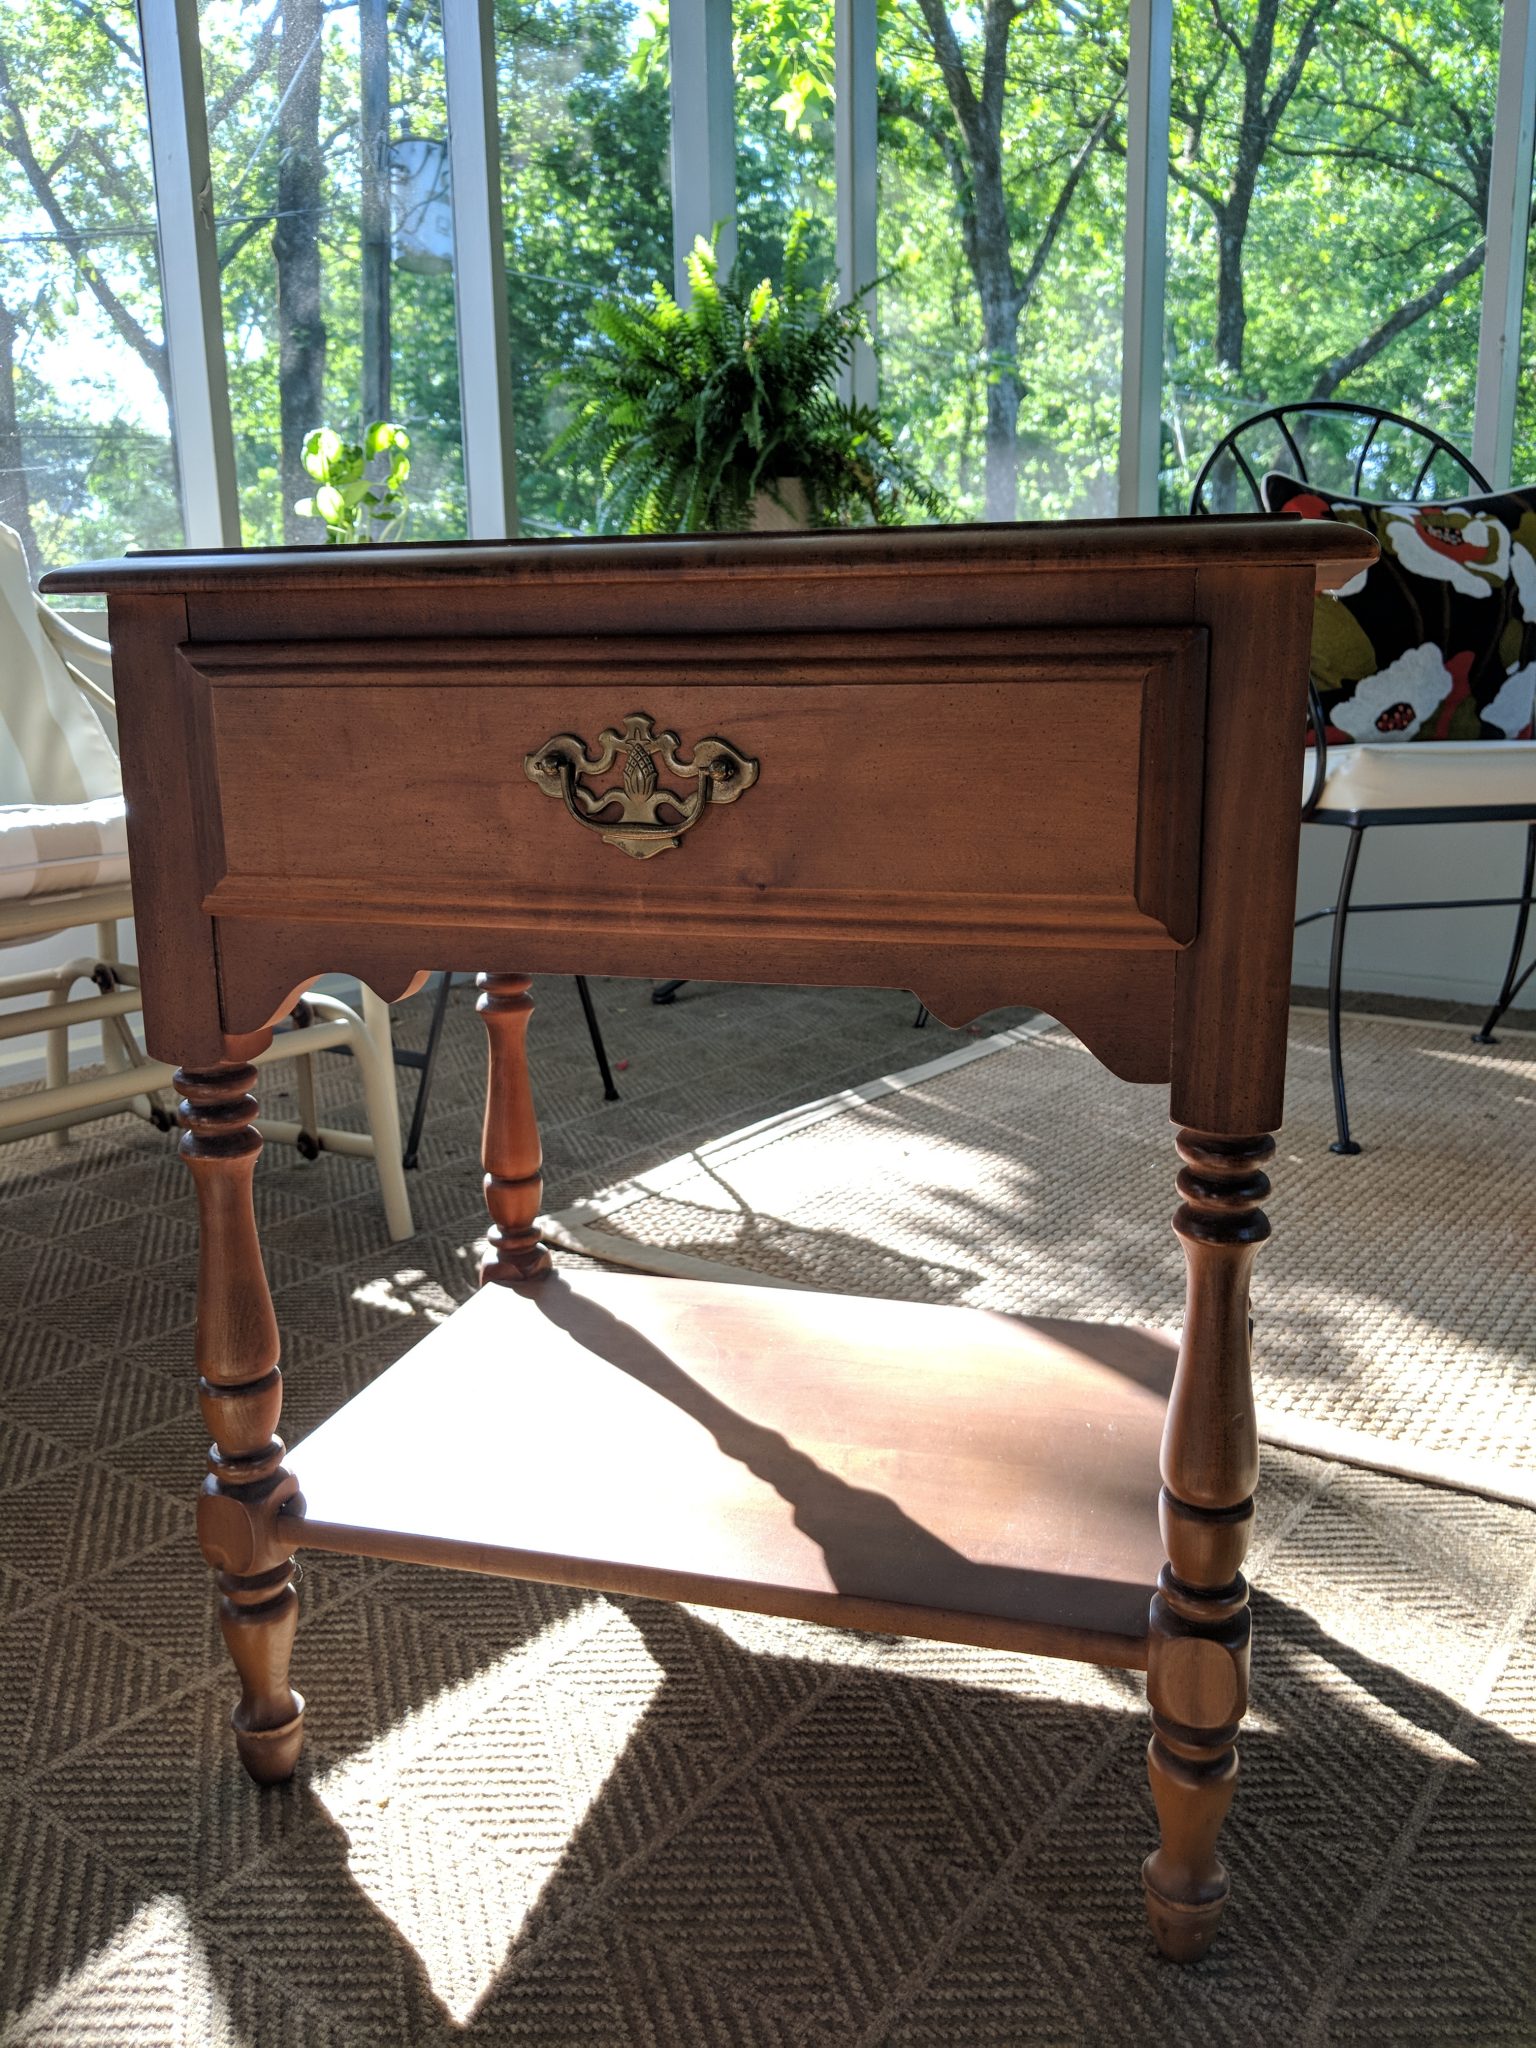
My goal with this piece was for it to coordinate with my other side table without being a perfect match. It’s lightly distressed without being overbearing, so I wanted my other side table to have the same feel. After seeing pieces on Country Chic Paint’s site that were exactly the type of finish I wanted, I quickly realized the one common denominator – antiquing dust. I watched a couple videos and felt confident enough to try it myself.
Also, I just want to let you know that I’m thoroughly disappointed in myself for not saving my Instagram stories on the full process, so hopefully you caught it while it was up. Here’s a quick and easy written how-to instead.
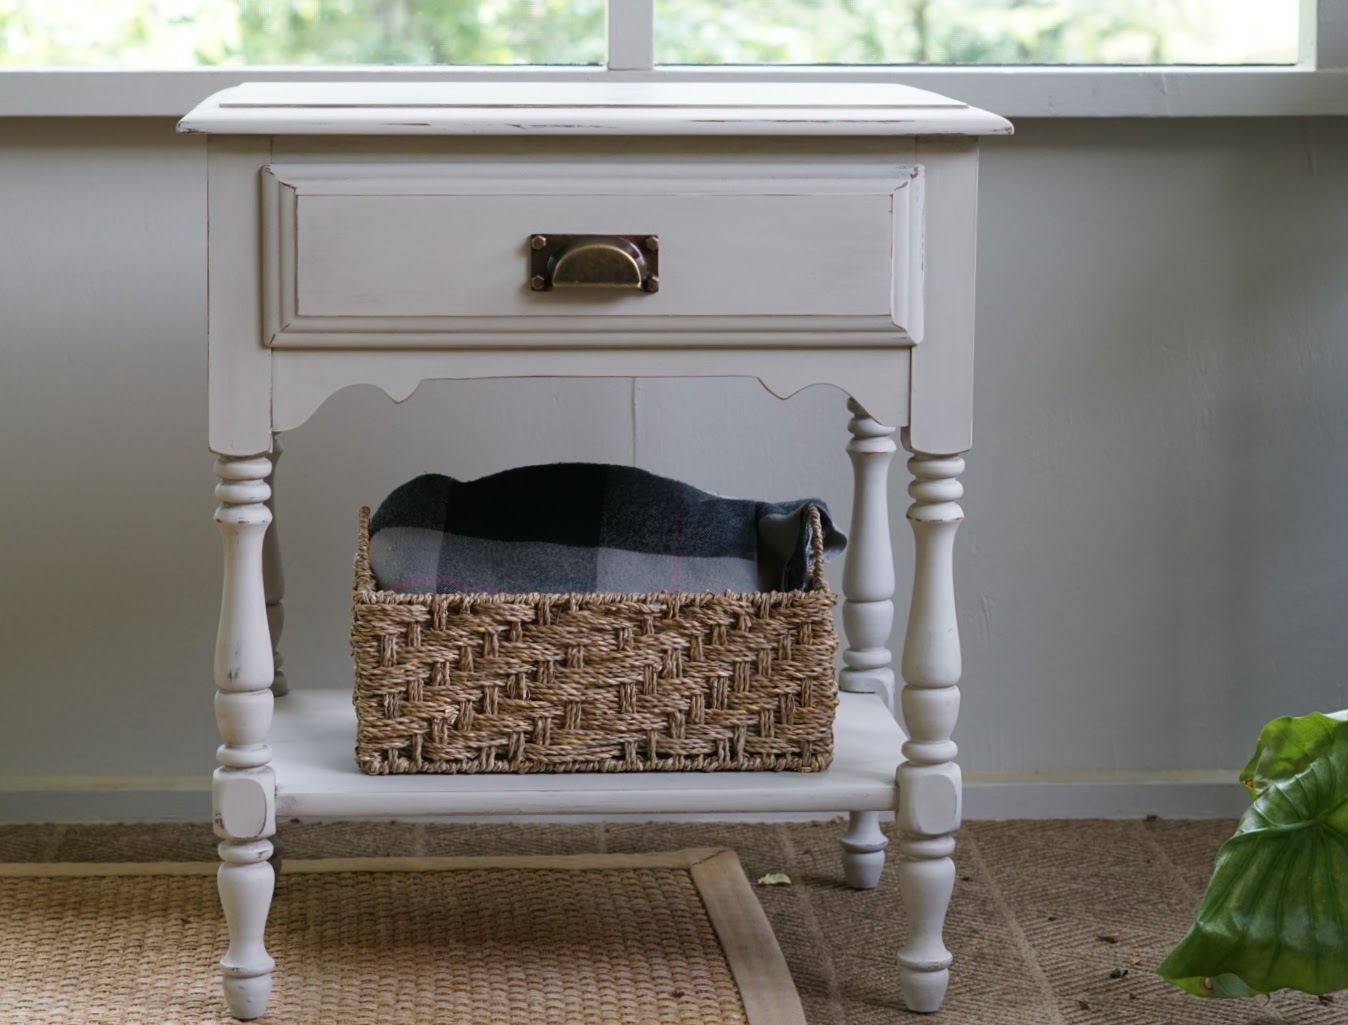
The How – To
1 || Paint piece with 2-3 coats of clay-based or chalk paint. Let it dry overnight or 24 hours.
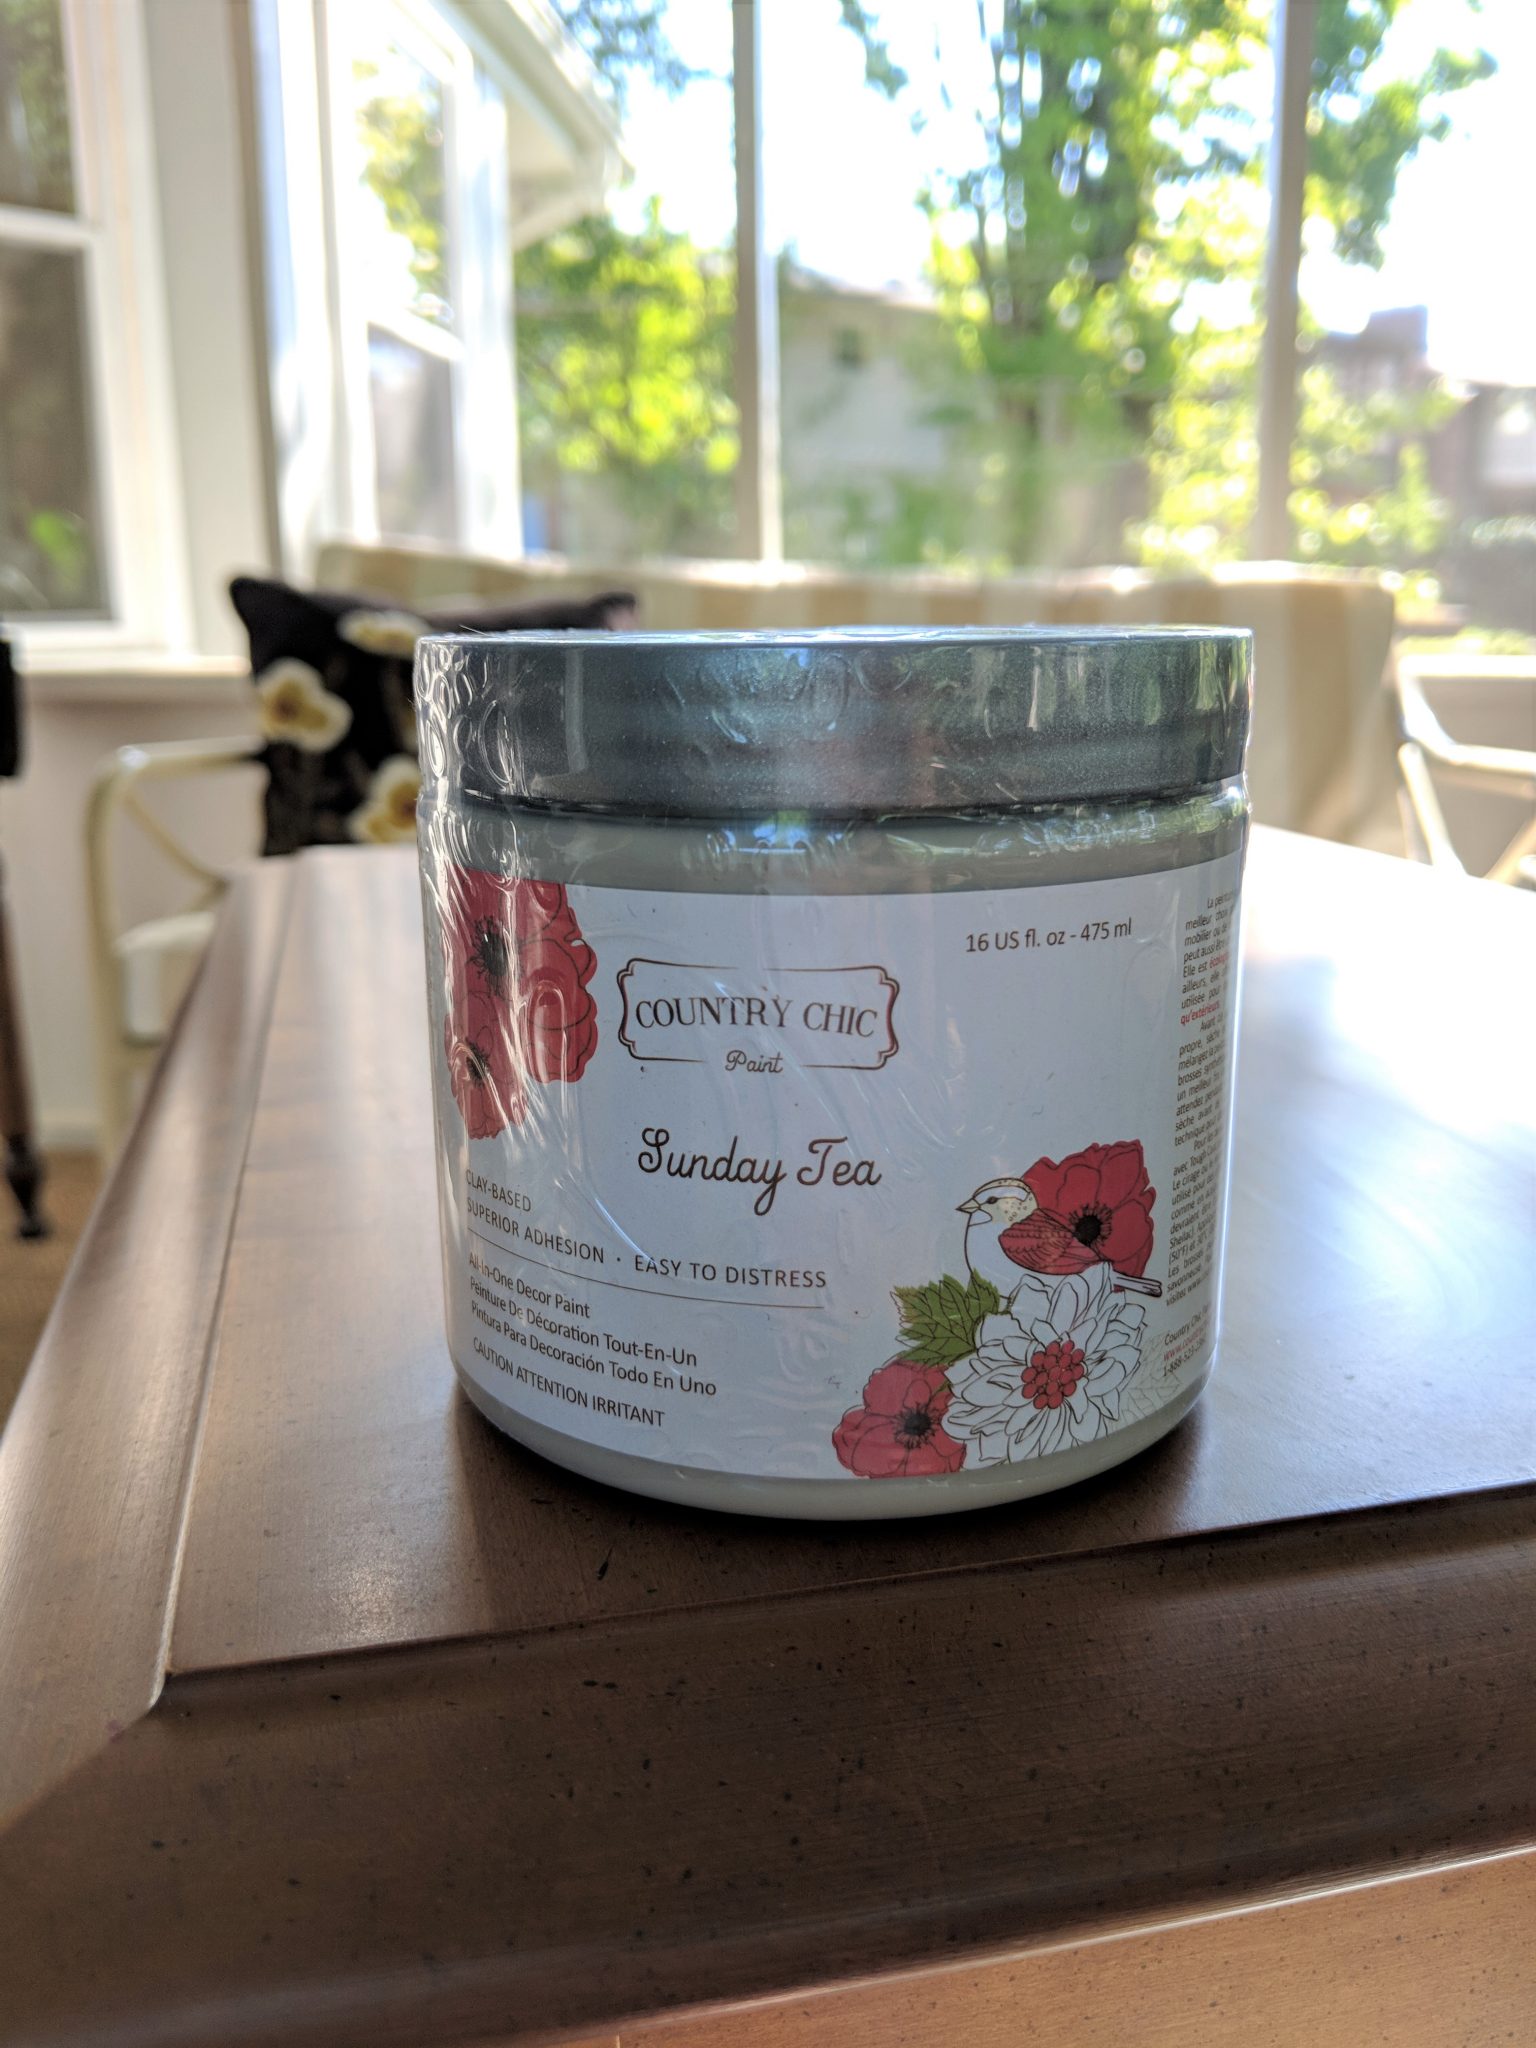
(I used Country Chic Paint’s Sunday Tea.)
2 || Lightly sand areas where you want the dust to settle. Focus on the corners and natural places of wear-and-tear.
(Dust will only settle in lines and the rest of the piece will be slightly darker than original.)
3 || Dab brush in dust and tap it into small section. Work in small areas until you finish the entire piece.
(Dust – Brush)
4 || Let the dust rest for 20-30 minutes then wipe it off with a clean cloth or rag.
5 || Finish you piece with buffing in wax with a stiff bristle brush.
(Wax – Brush)
For a video tutorial CLICK HERE.
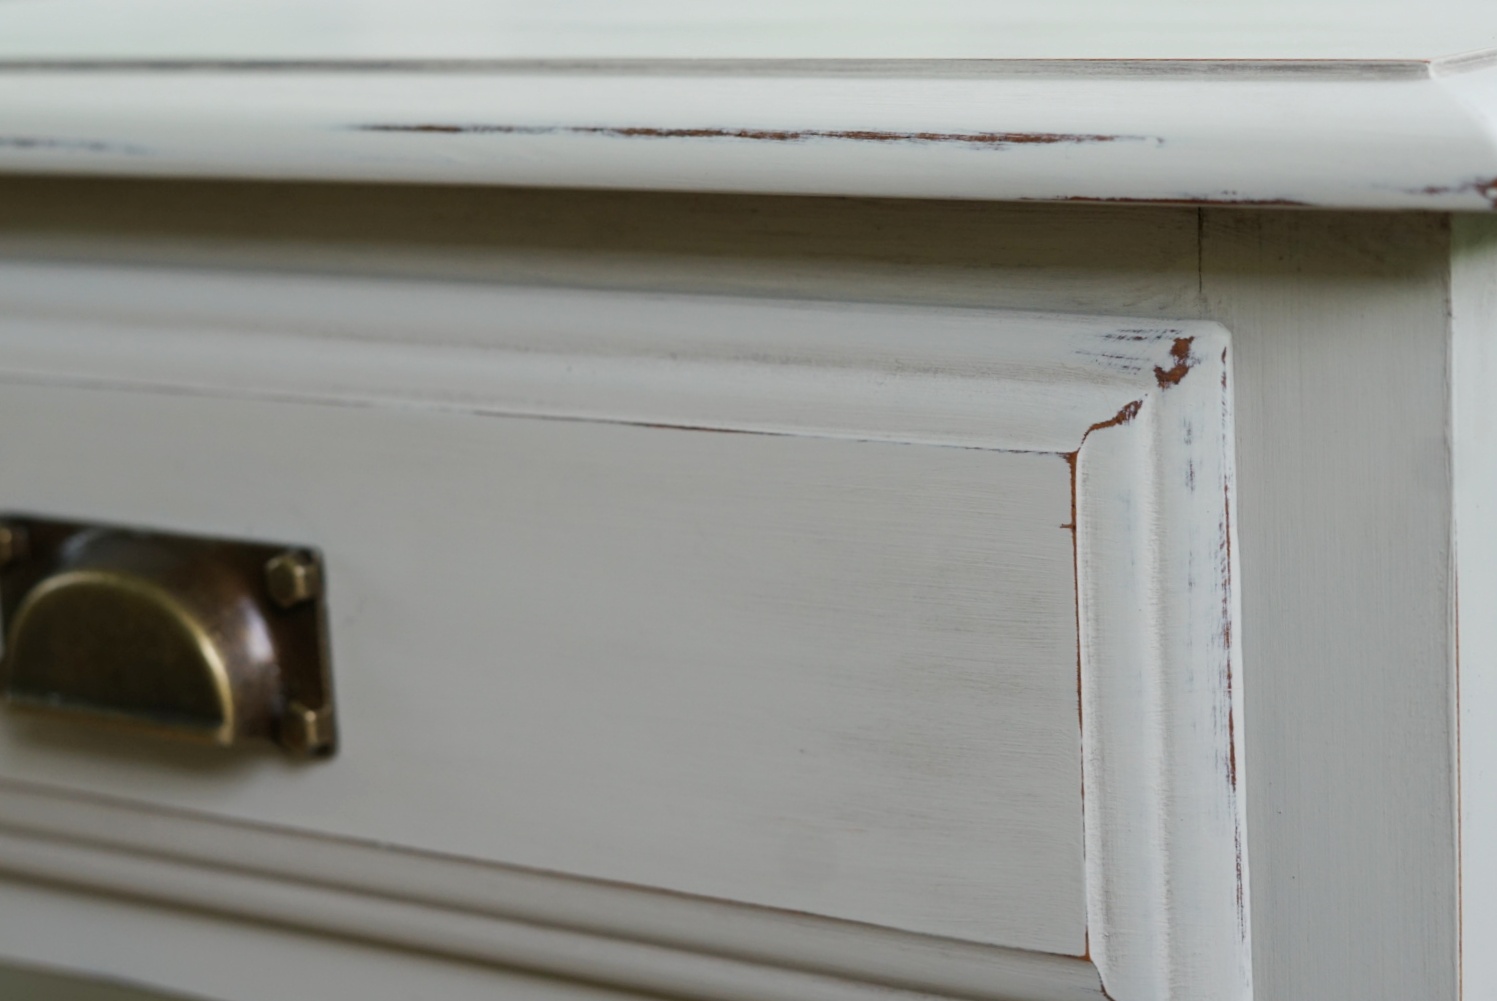
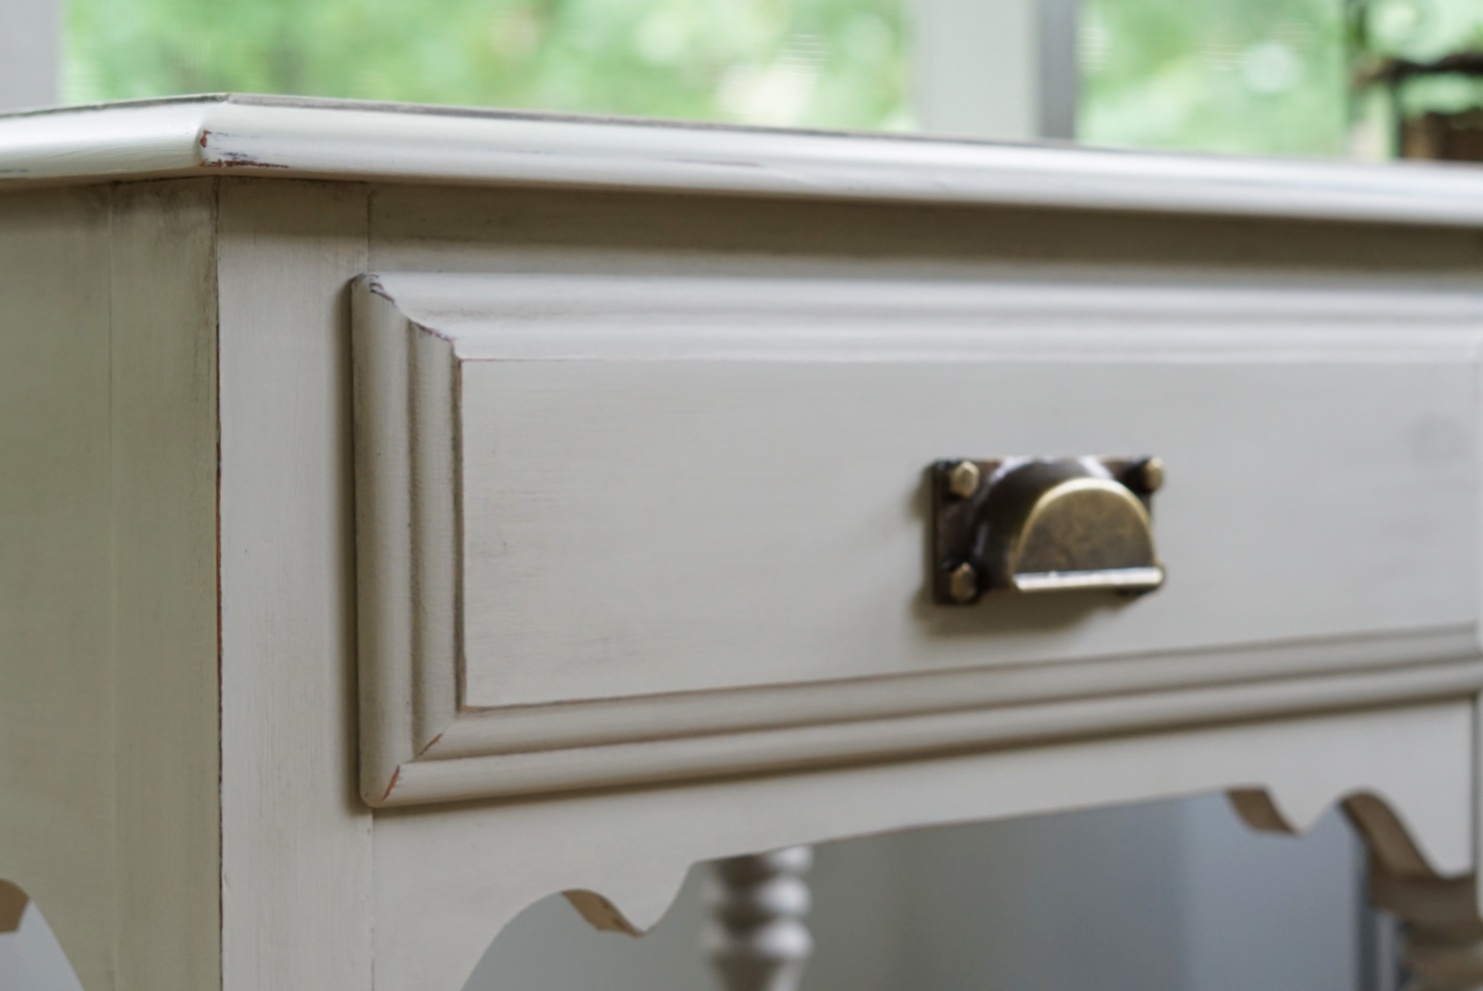
You can see in the photos above where the dust has naturally settled into the lines and crevices of the drawers. It’s subtle, but it really gives each piece more texture and dimension that regular paint just get do.
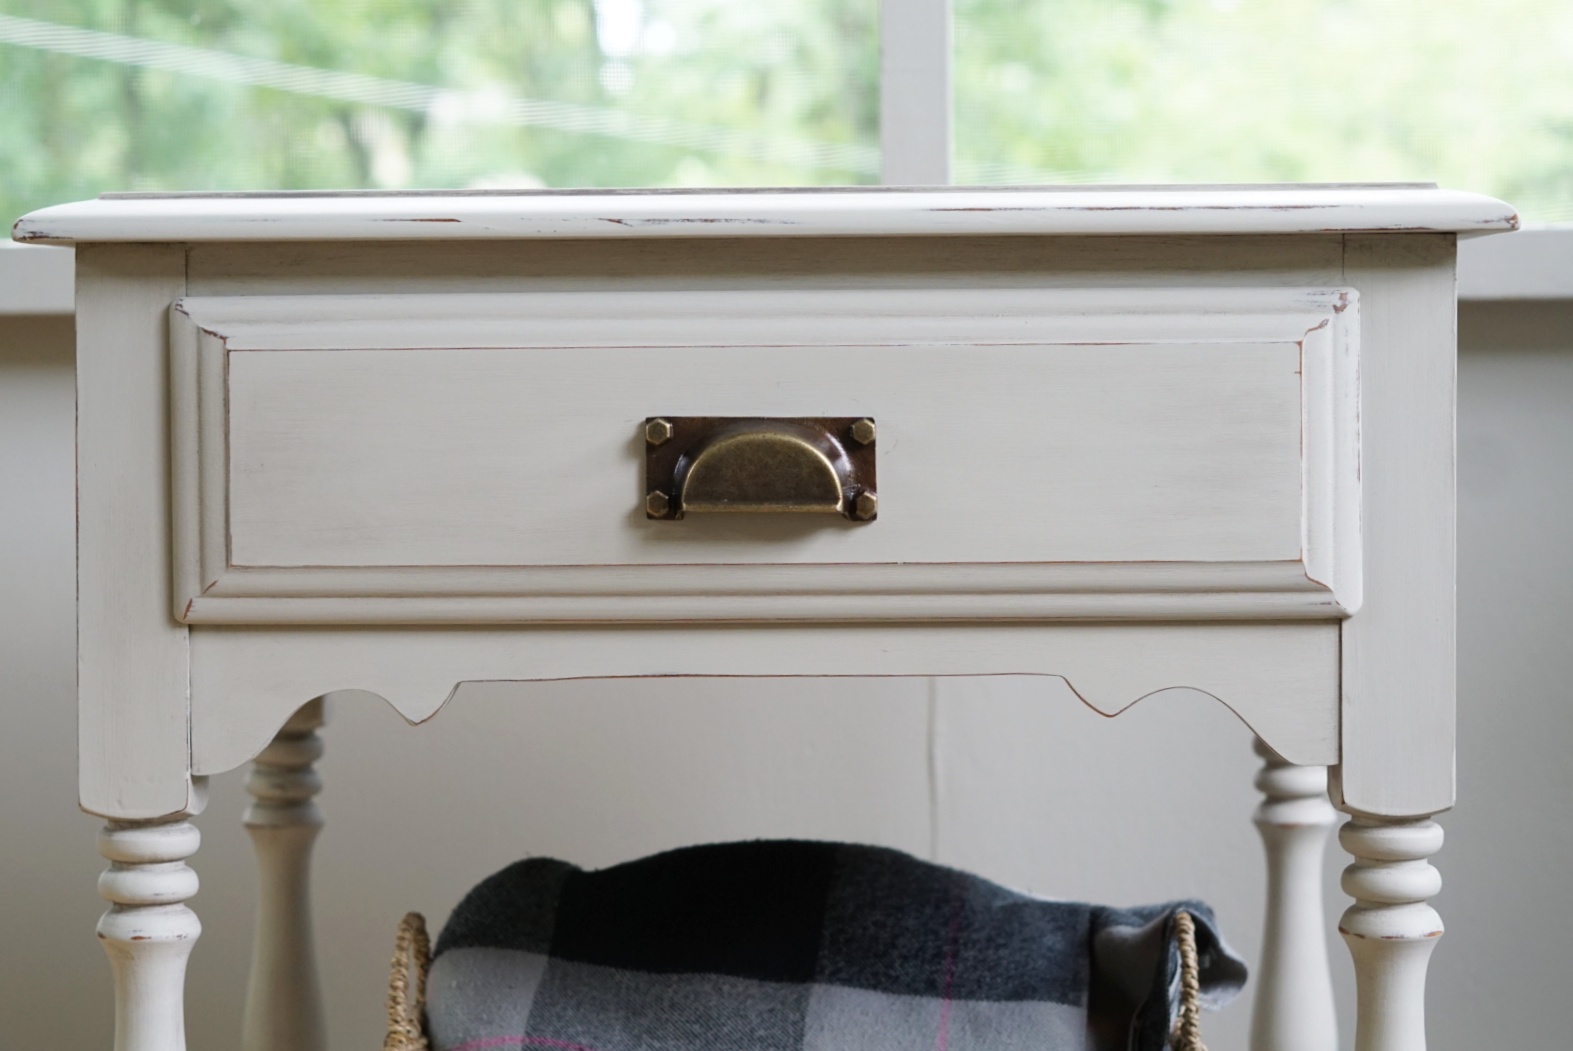
Did you miss my dresser makeovers using Country Chic Paint? Check them out HERE or click the image below.

