The search for the perfect playset began last fall just before our second was born. I knew it would be amazing to have being a stay-at-home-mom without many neighborhood kids around or a walkable park or playground near. Little did I know a few months later we would be quarantined. It has been a lifesaver for all of us!

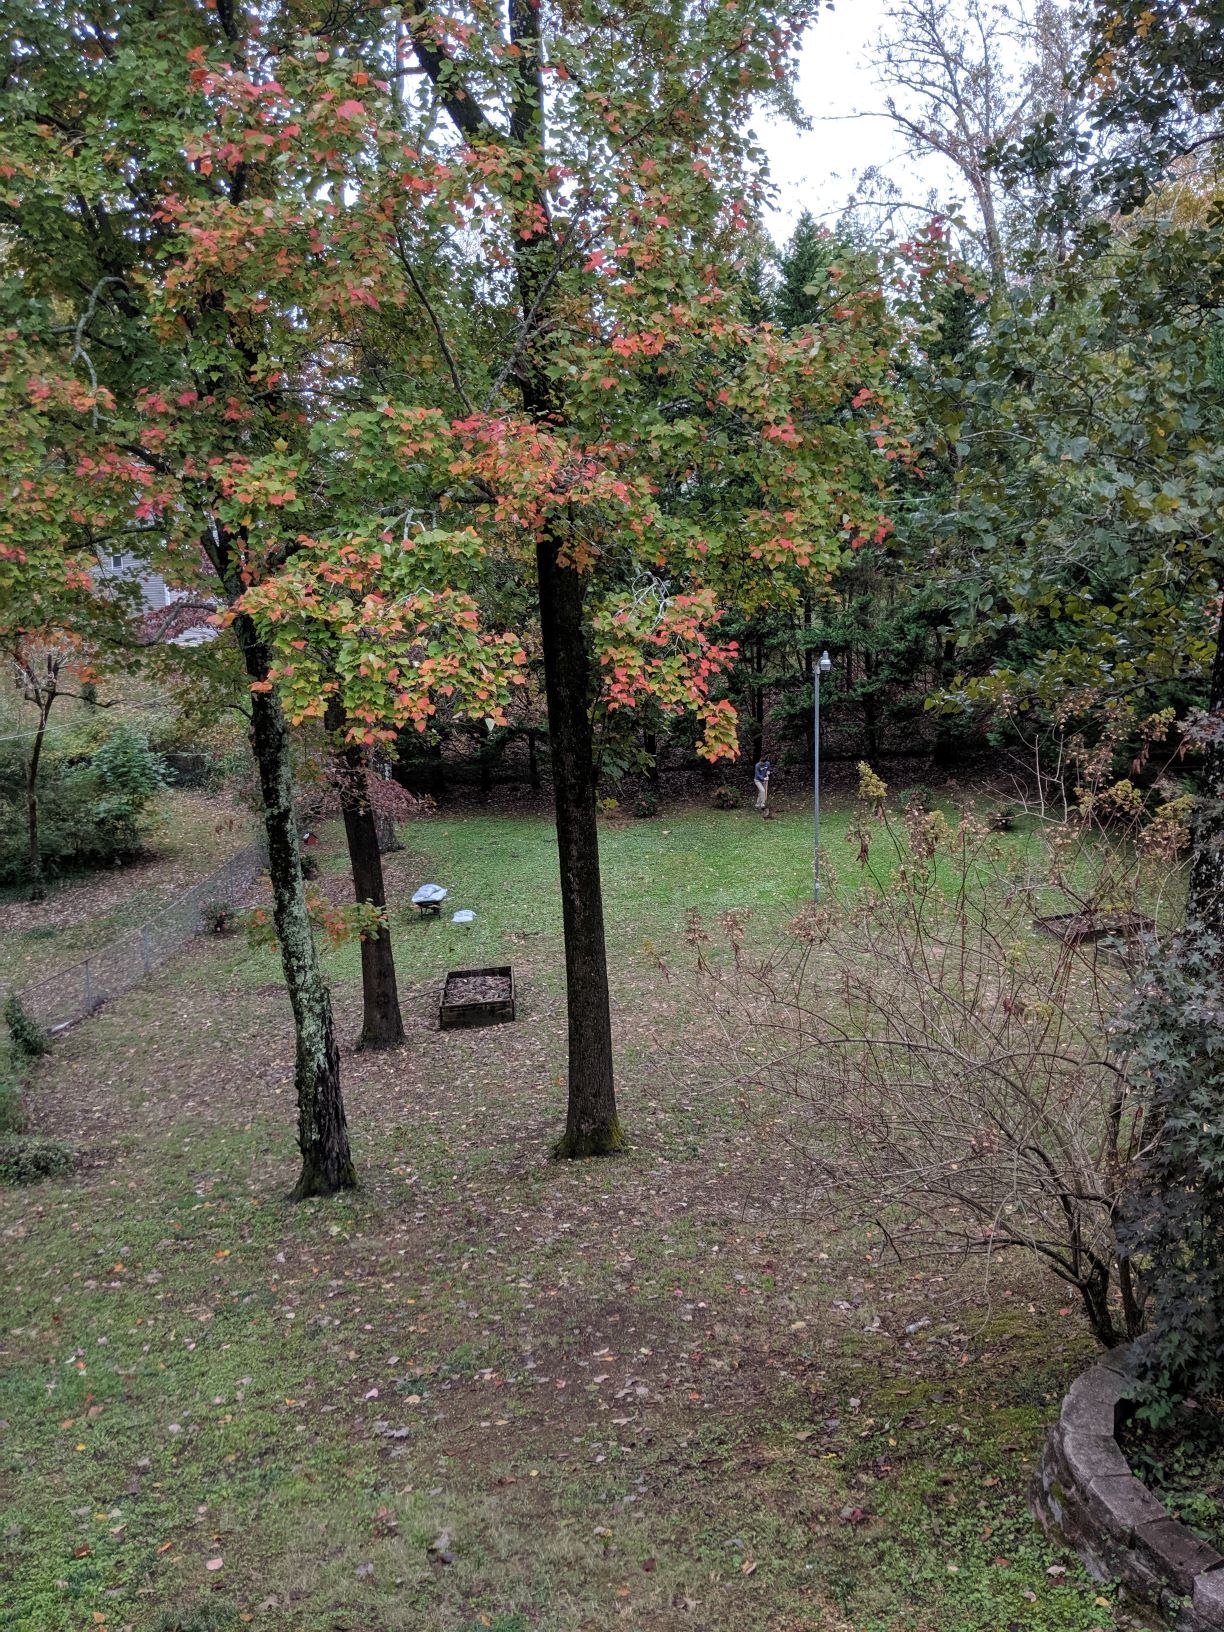
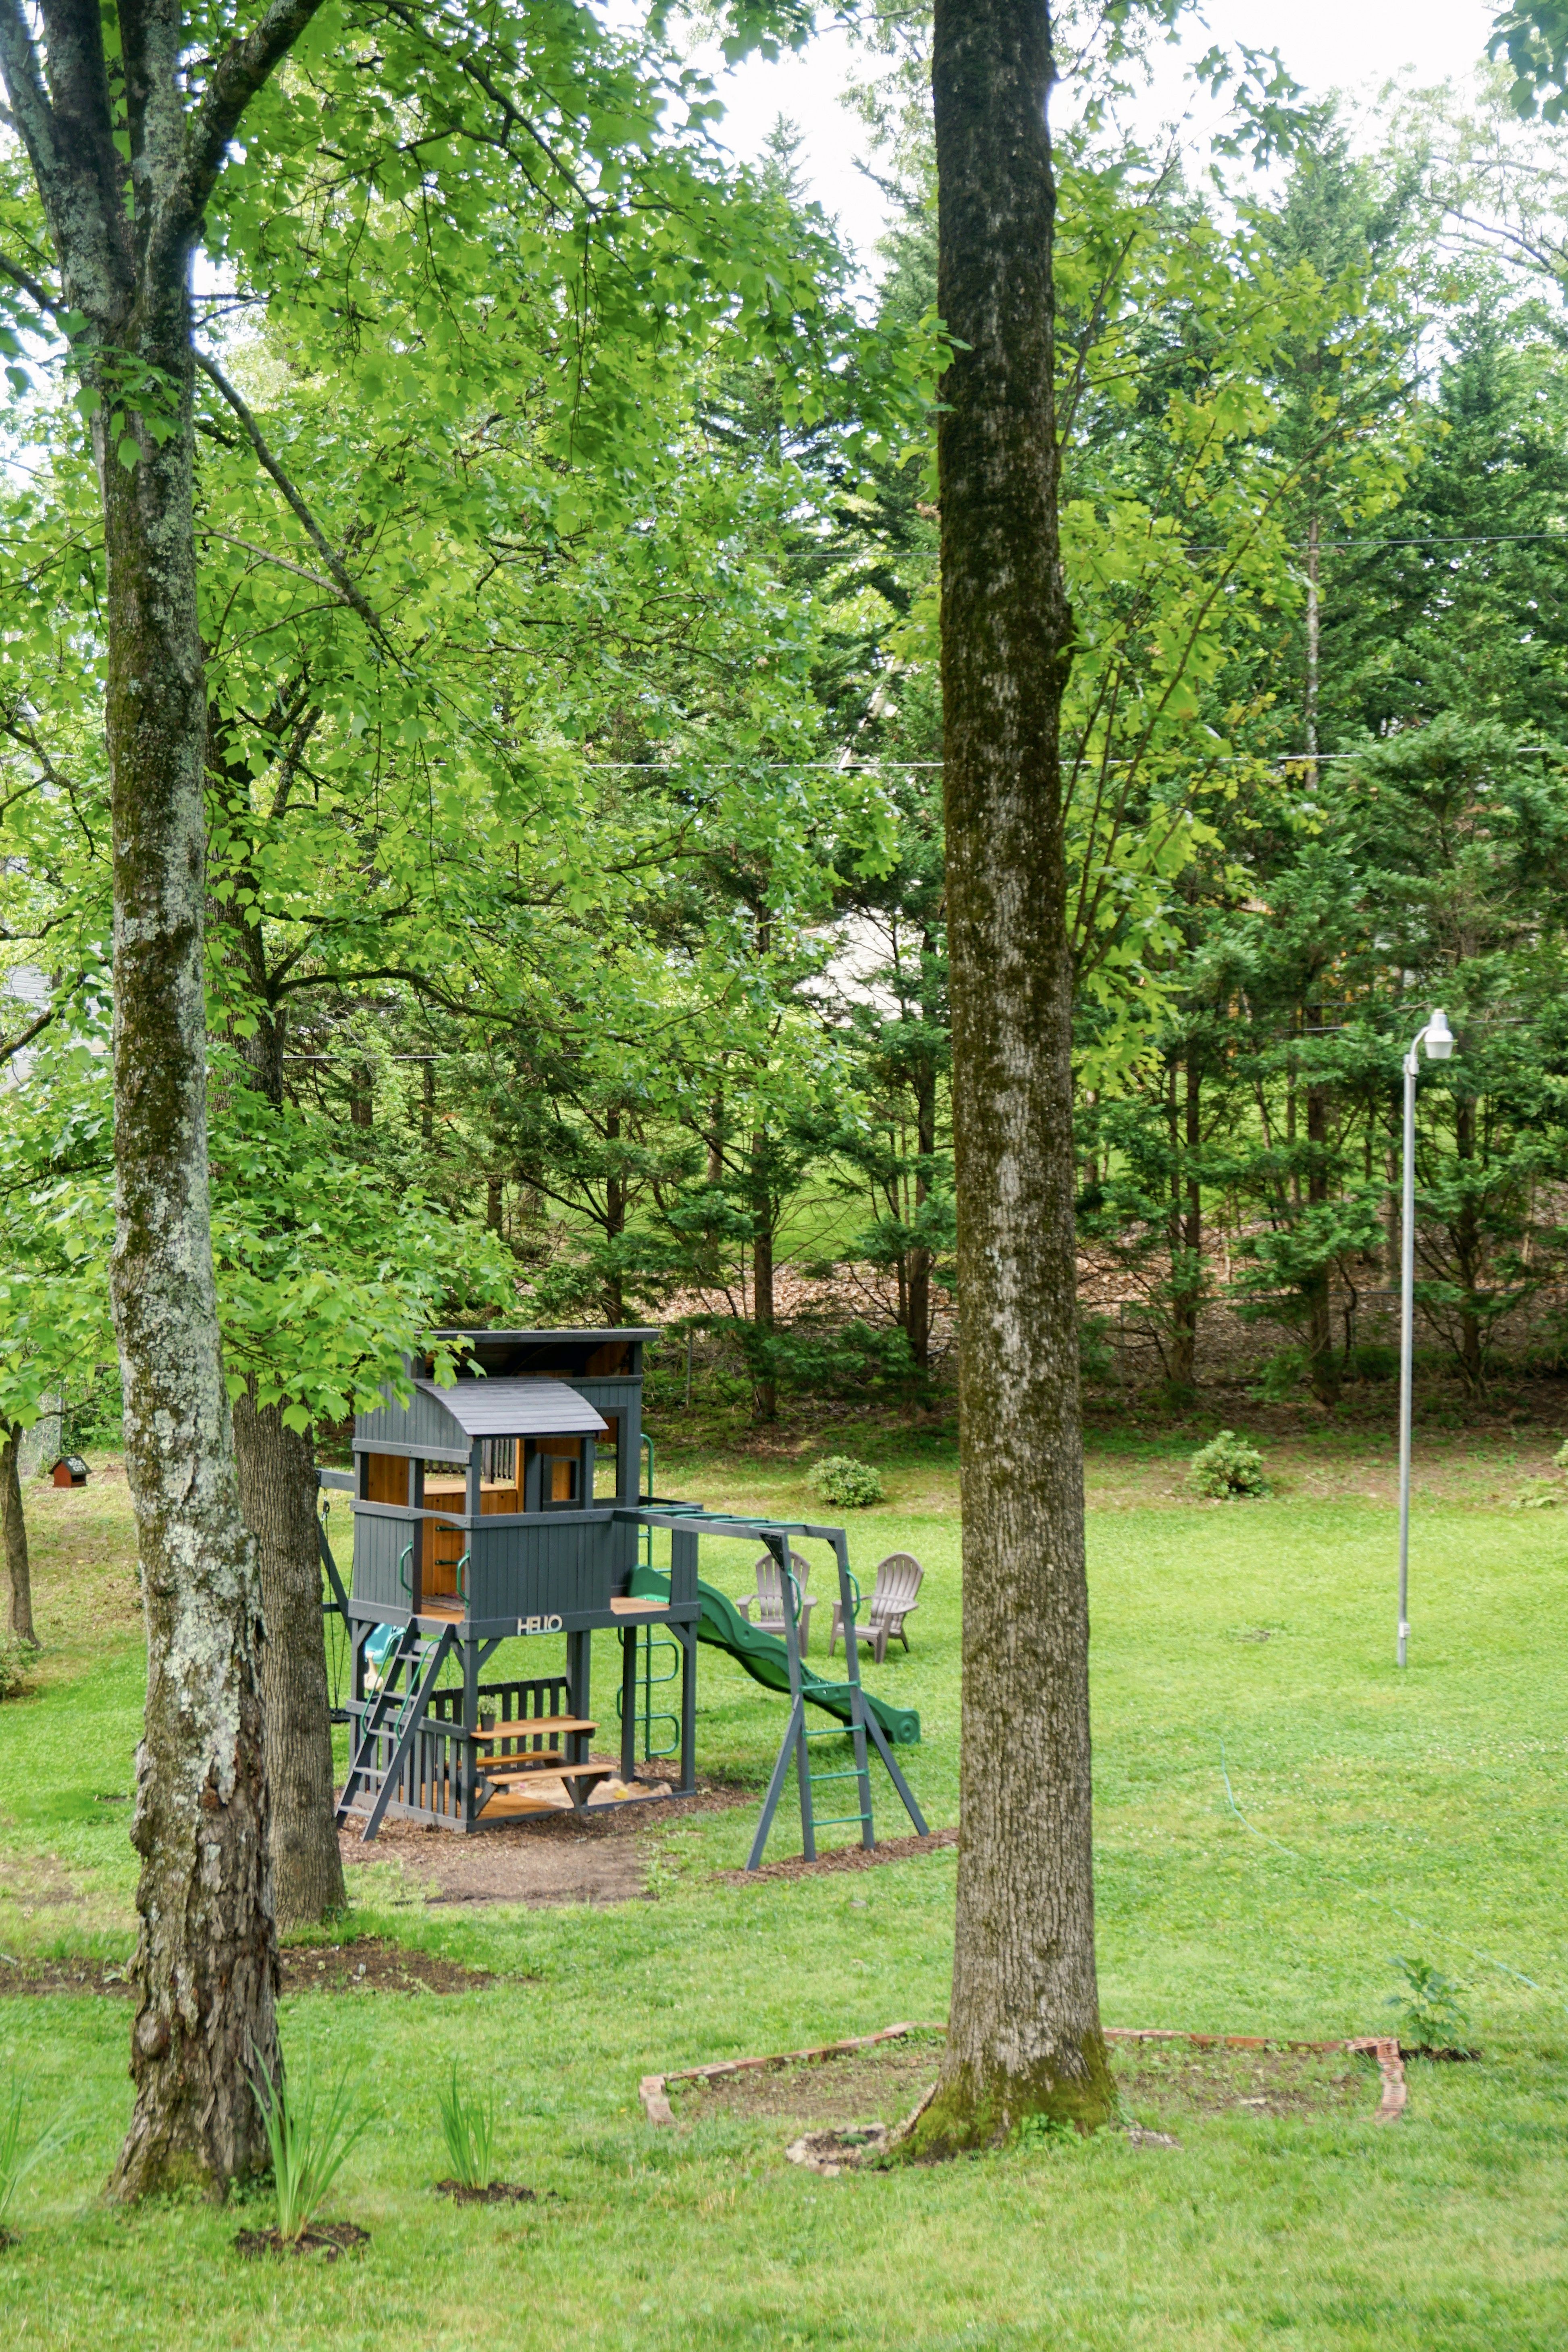
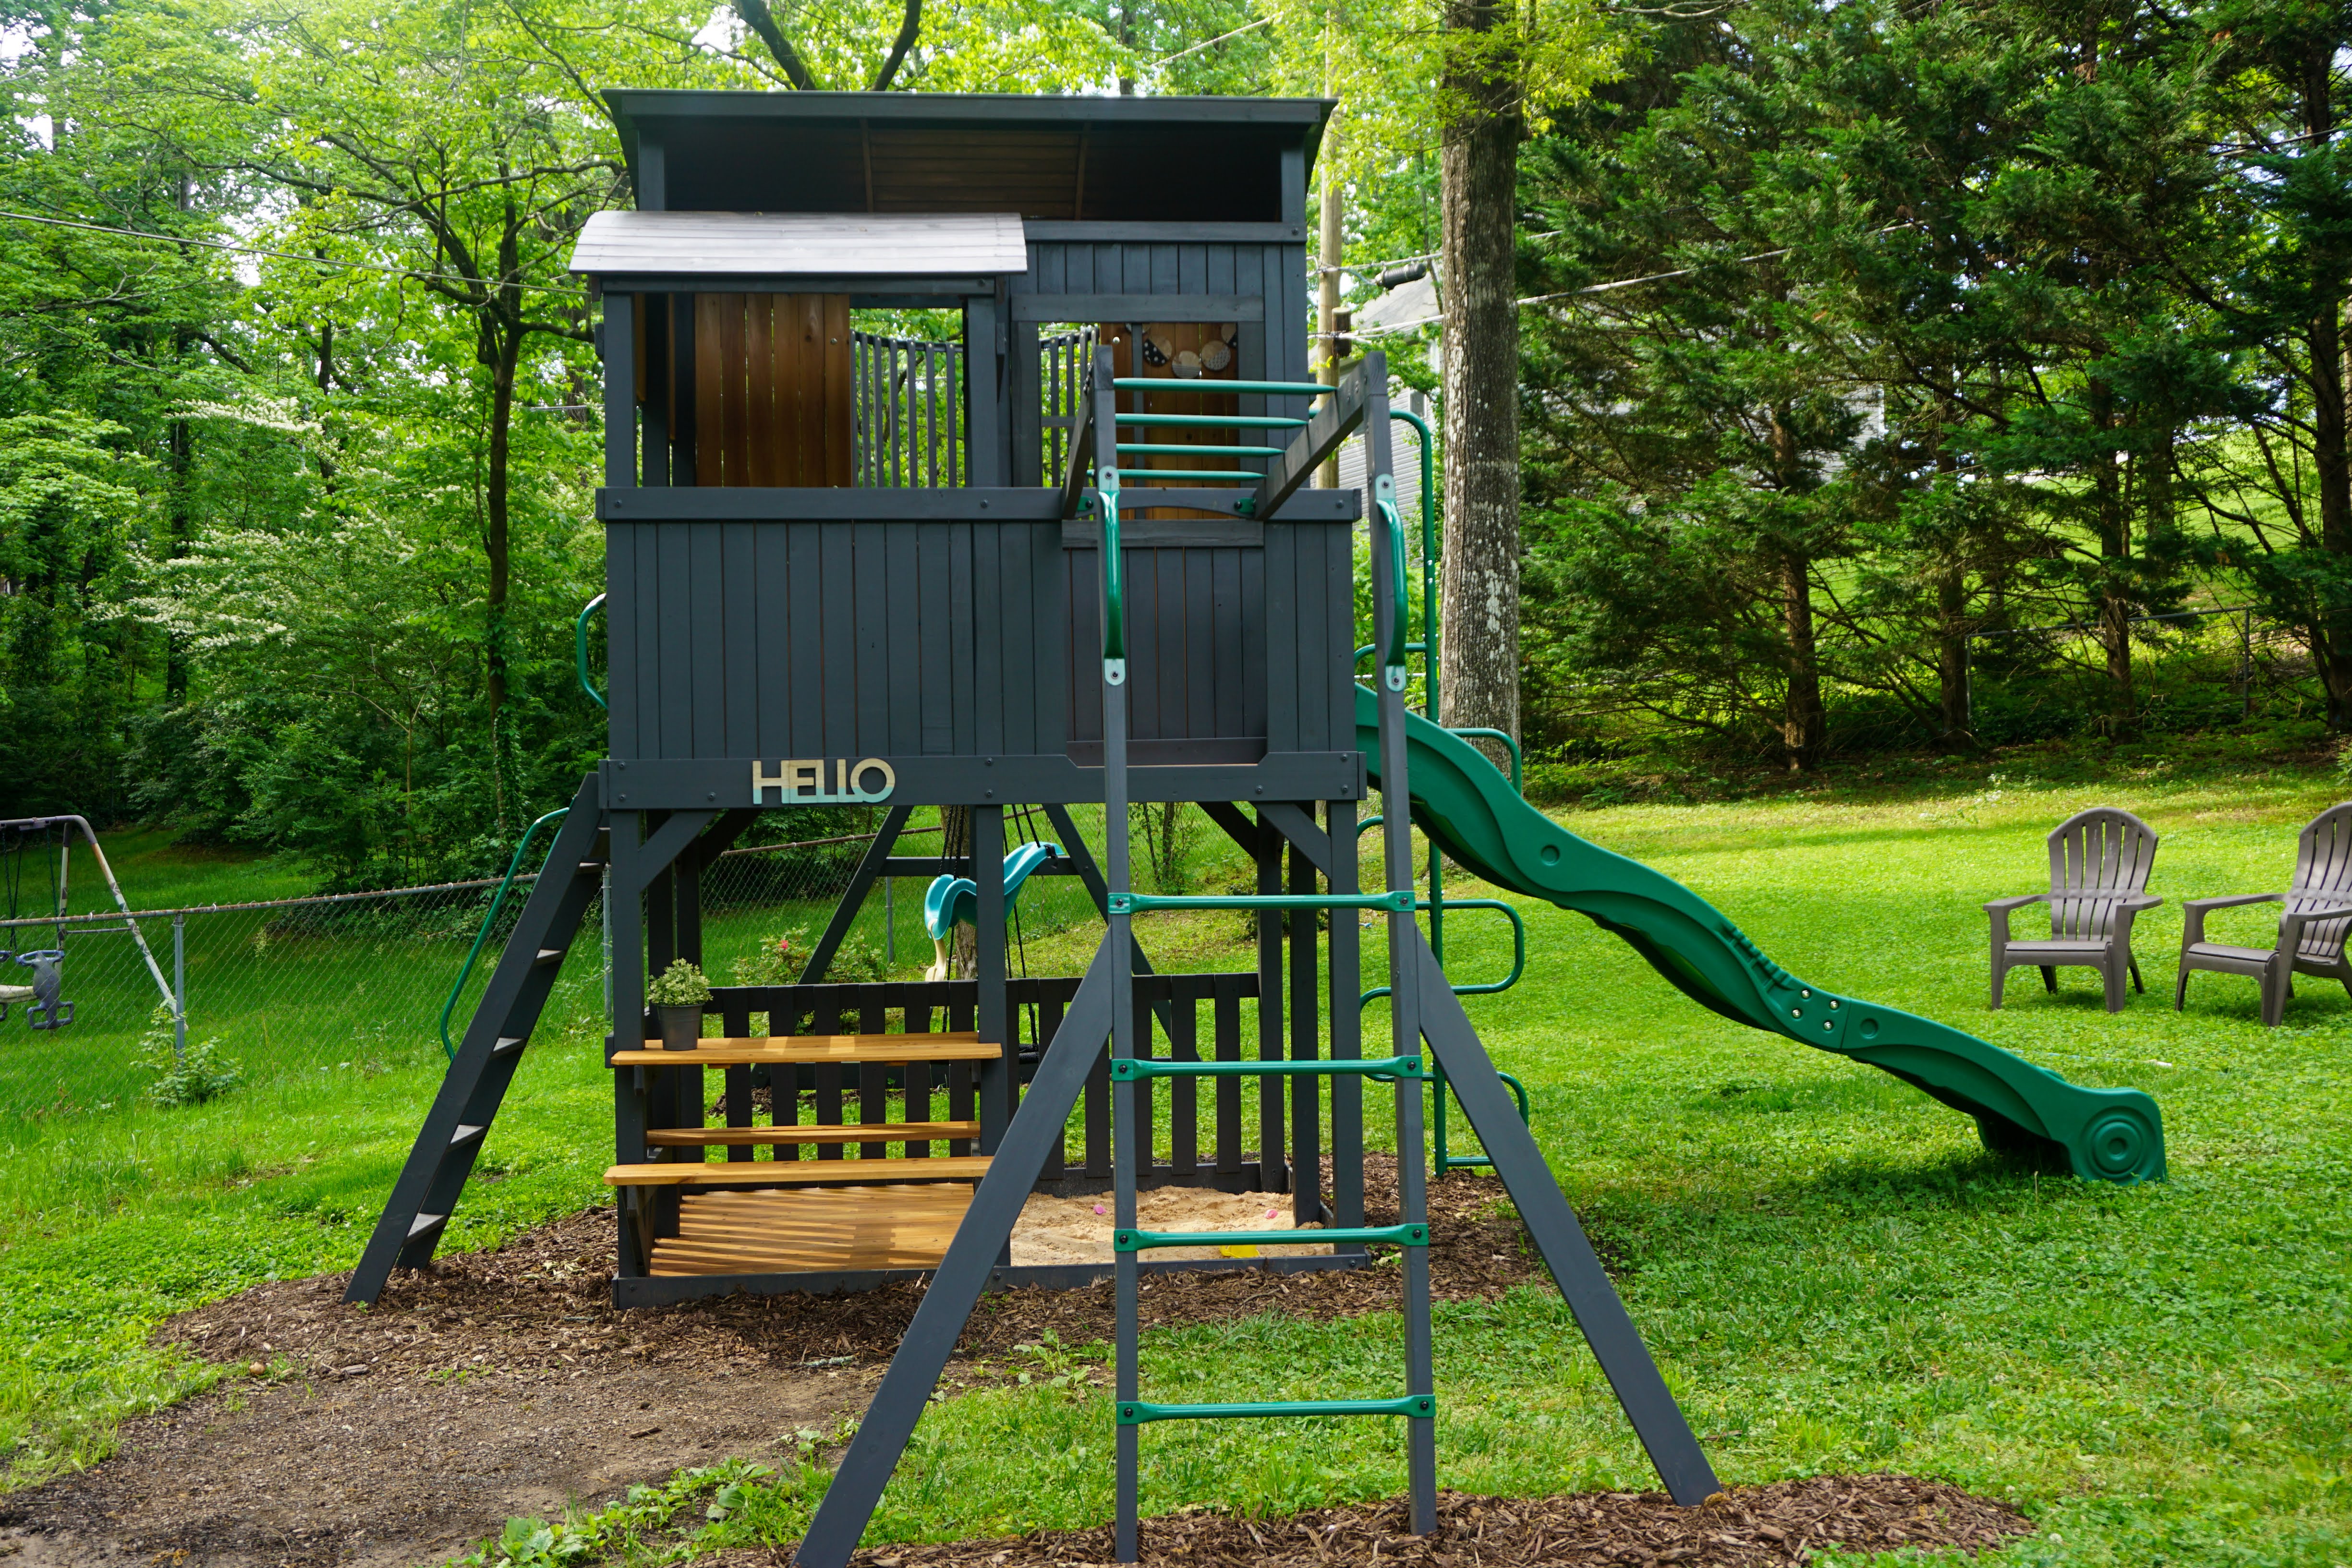
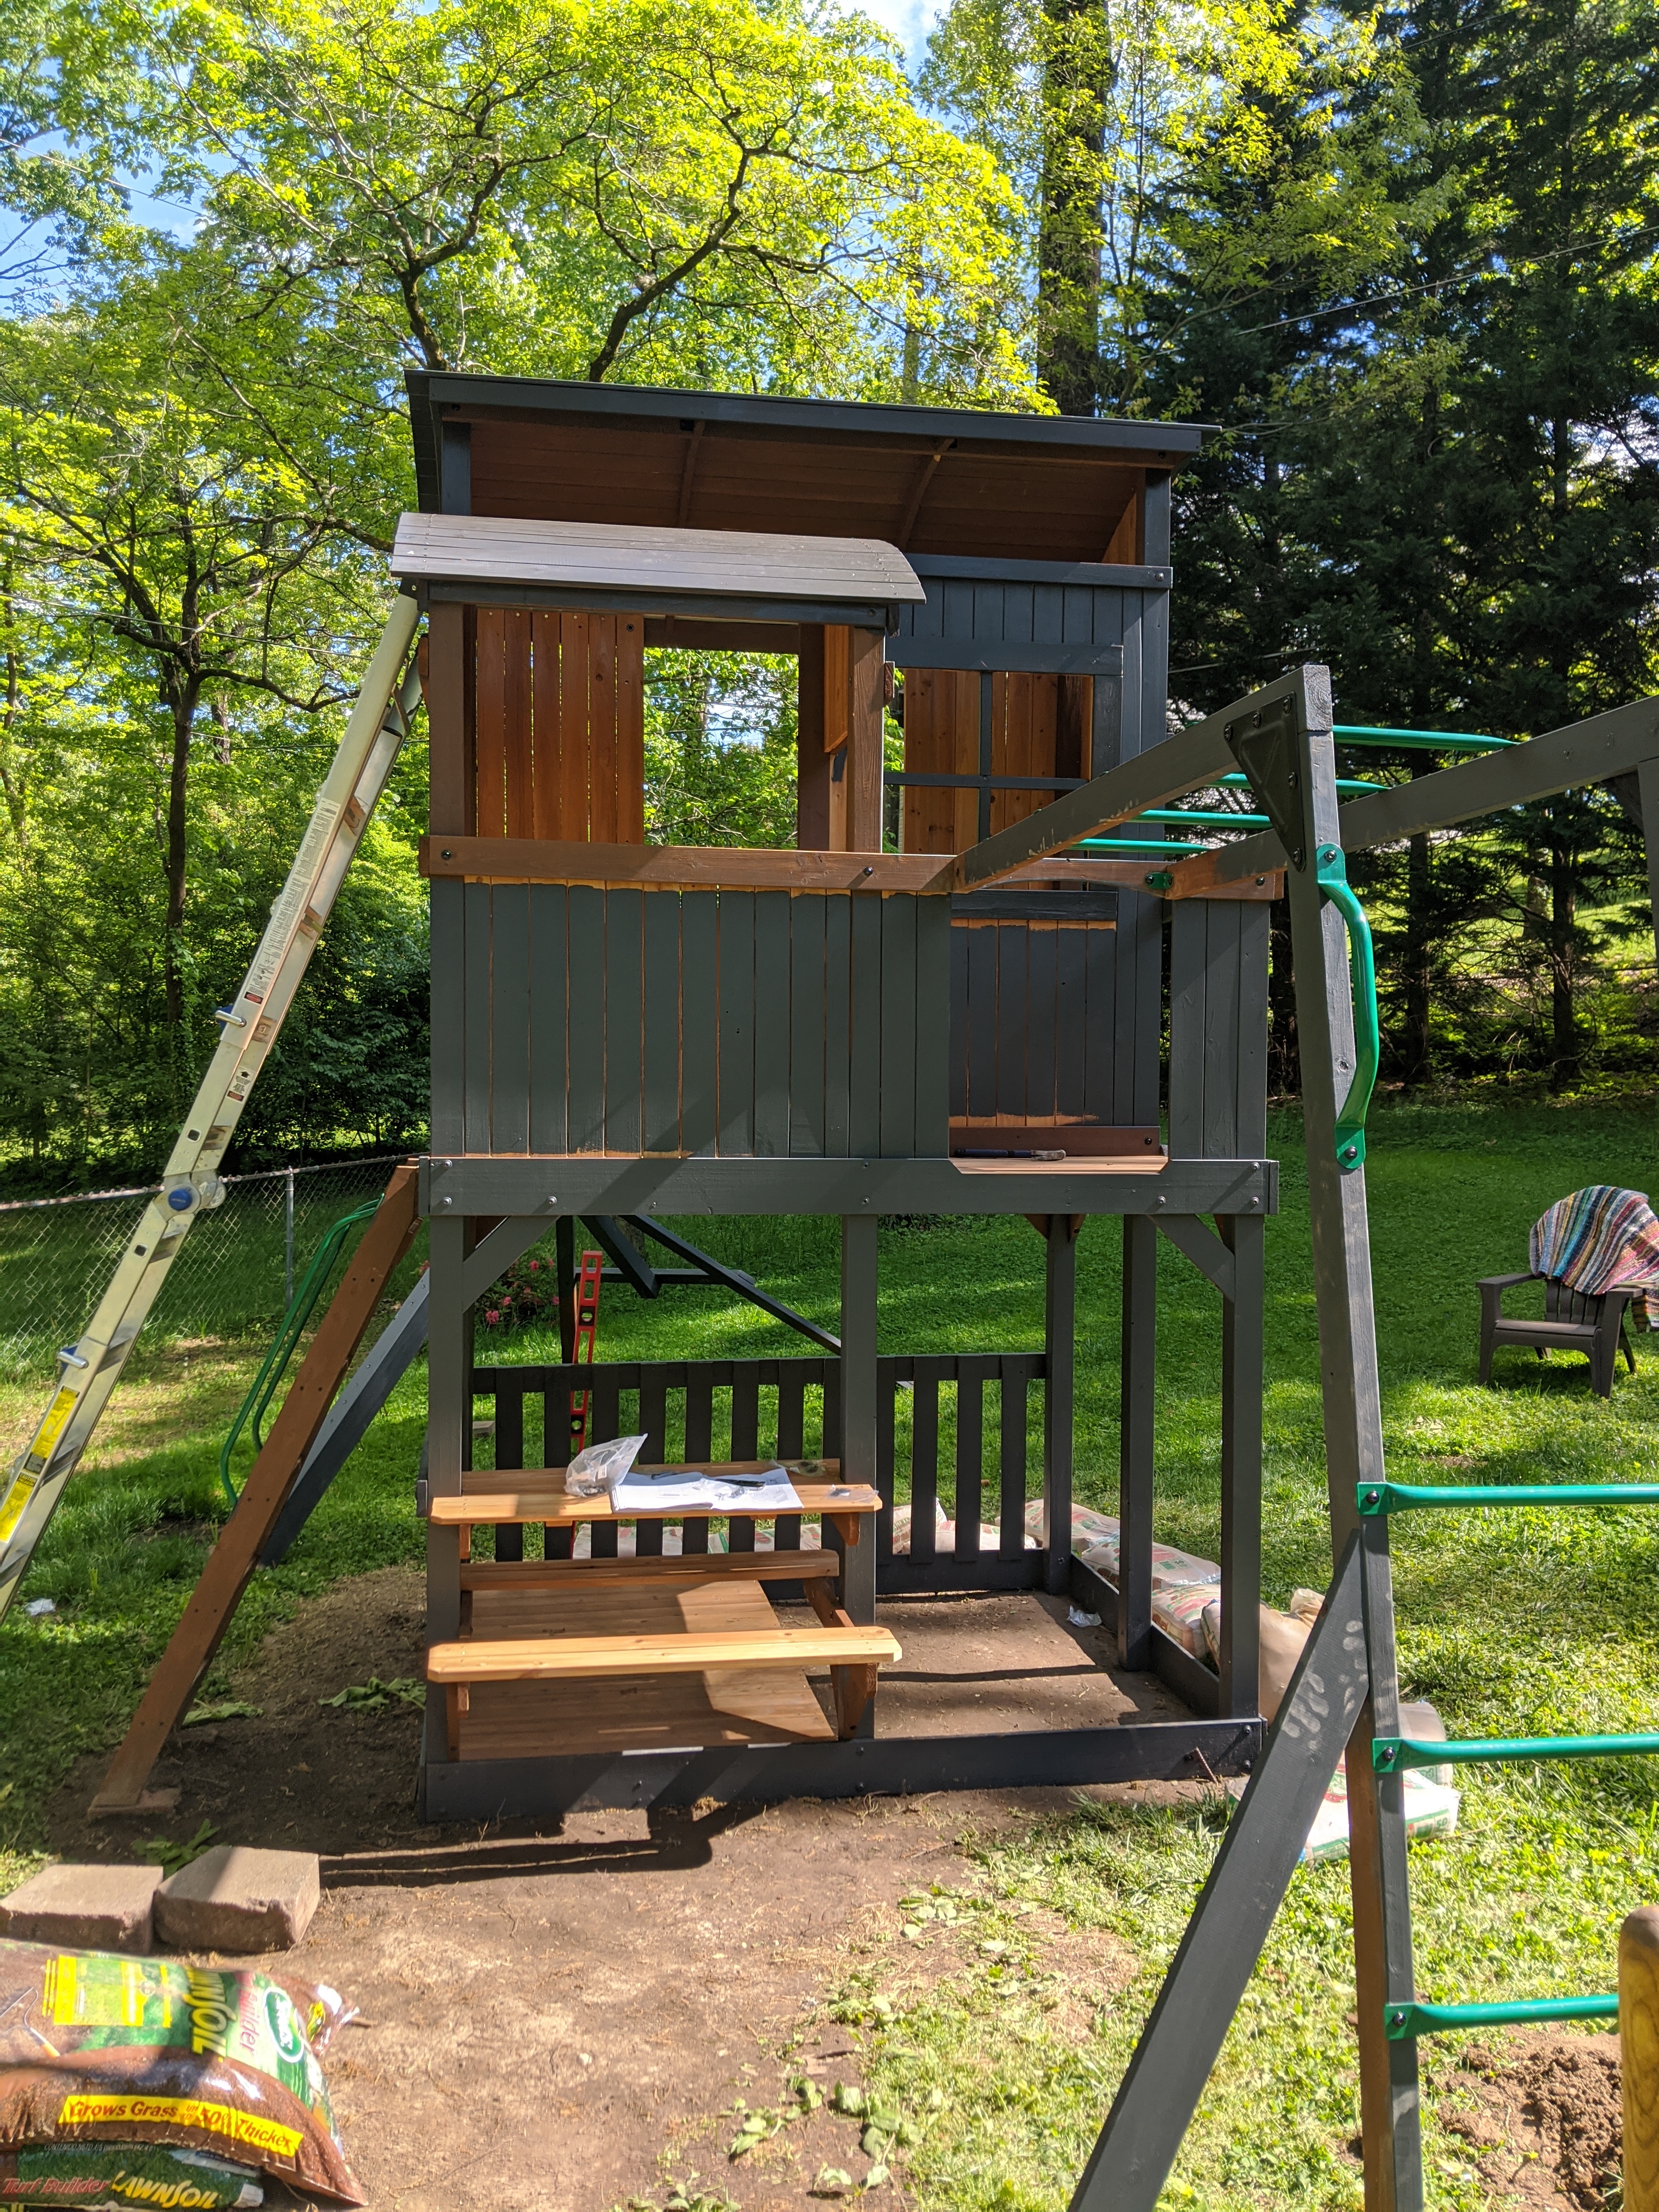
Before we get started, here’s a quick before and after:

My Playset Priority List
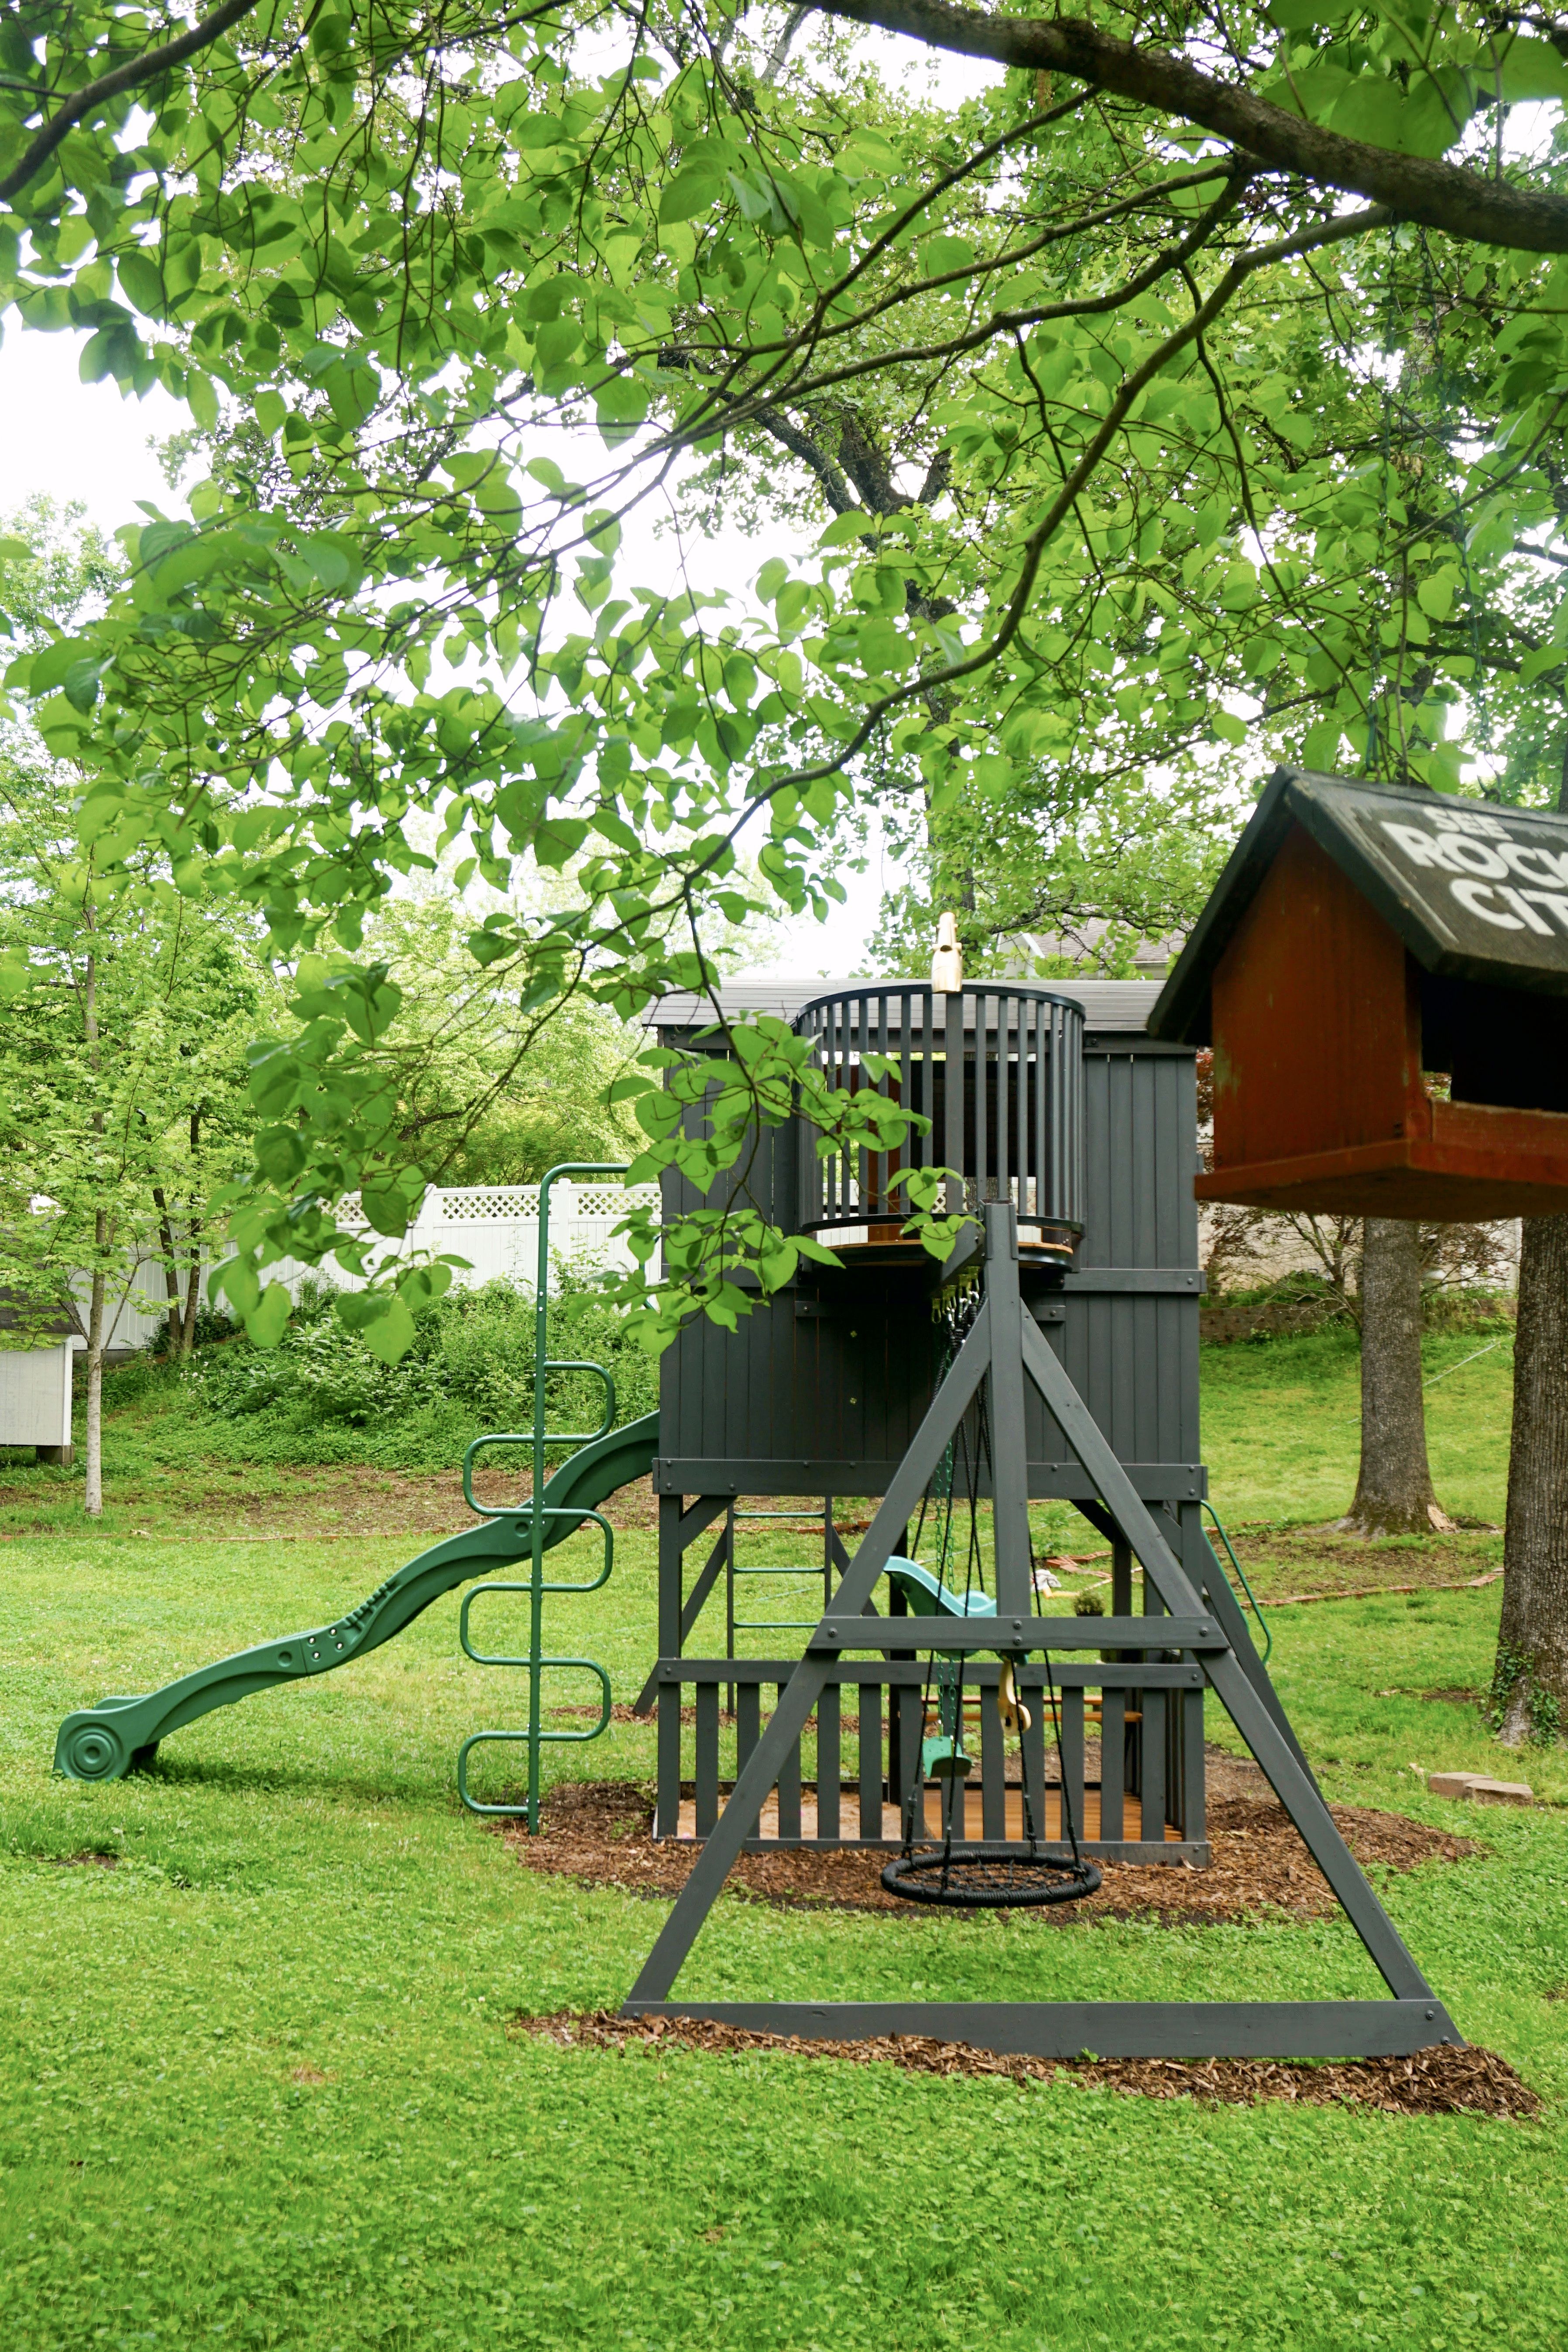
1| Features that could grow with my girls – this includes the monkey bars – which is great for strength and agility in older kids – the climbing ladder, and web swing.
2 | No cloth or plastic feature – we were willing to spend a little more on a product that would last and look good for the span of our daughter’s childhood. (I know the slide it plastic, but it’s easily replaceable if needed.)
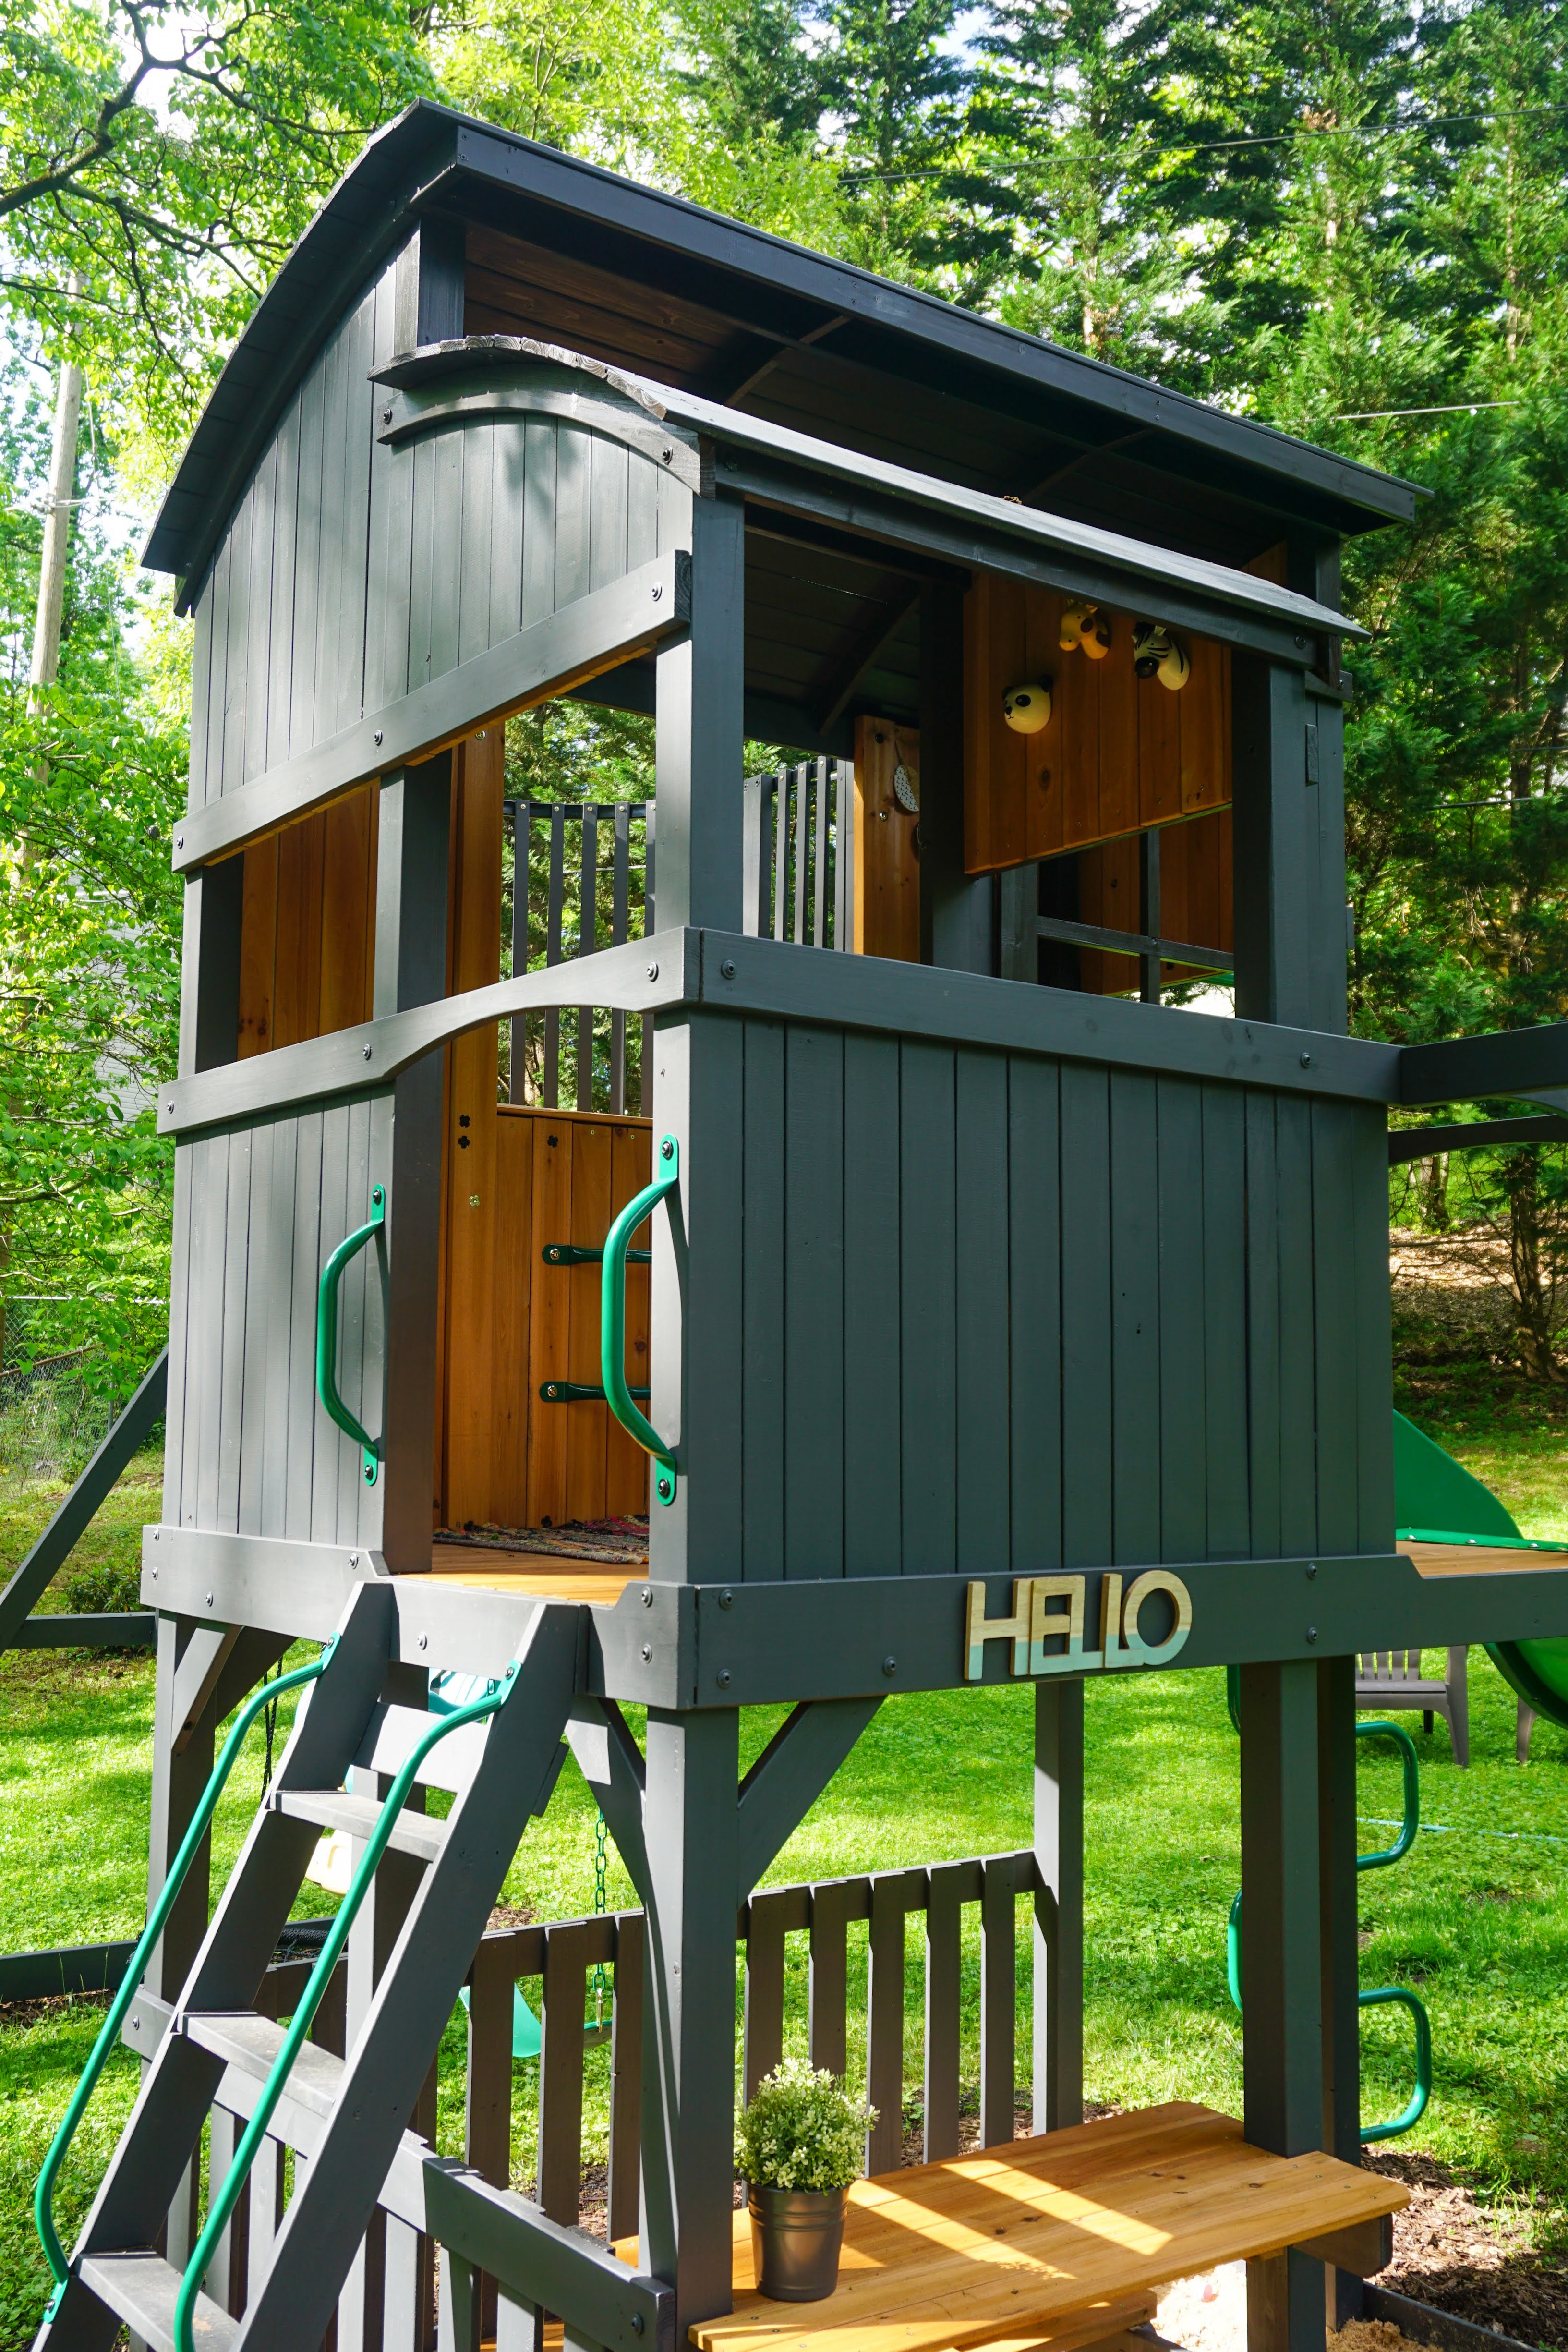
3 | A place for pretend play – knowing my 2 year old, if we solely got a swingset or slide, she would rarely use it. It needed to have a place for pretend tea parties, restaurants, and building of some sort (i.e. sand!).
4 | Safety and high reviews – this is obviously important since our children and their friends will be climbing on it. The one we bought has 4.4 stars and great comments. You would be surprised how many playsets have really negative reviews.
Tips on Playset Placement
1 | Consider the natural path your kids are drawn to already. Pay attention to their cues as it’s hard to change habits.
2 | Is there an area that more visible from a window which would allow you to easily watch your children as they play? Though this was important to me, the way our home is situated on our lot doesn’t allow for ease of visibility to the level area in our backyard from any window. This is important consideration for most though.
3 | Playsets are, unfortunately, short lived in the grand scheme of things. Kids grow quickly. Consider situating your playset on one side of your yard to allow for older kids to play games or sports.
4 | MOST IMPORTANTLY – make sure your have an exact space in your yard staked out before your purchase any playset. Measure precisely and make sure the area is level. If not level, have a plan in place on how you’re going to level it before purchase.
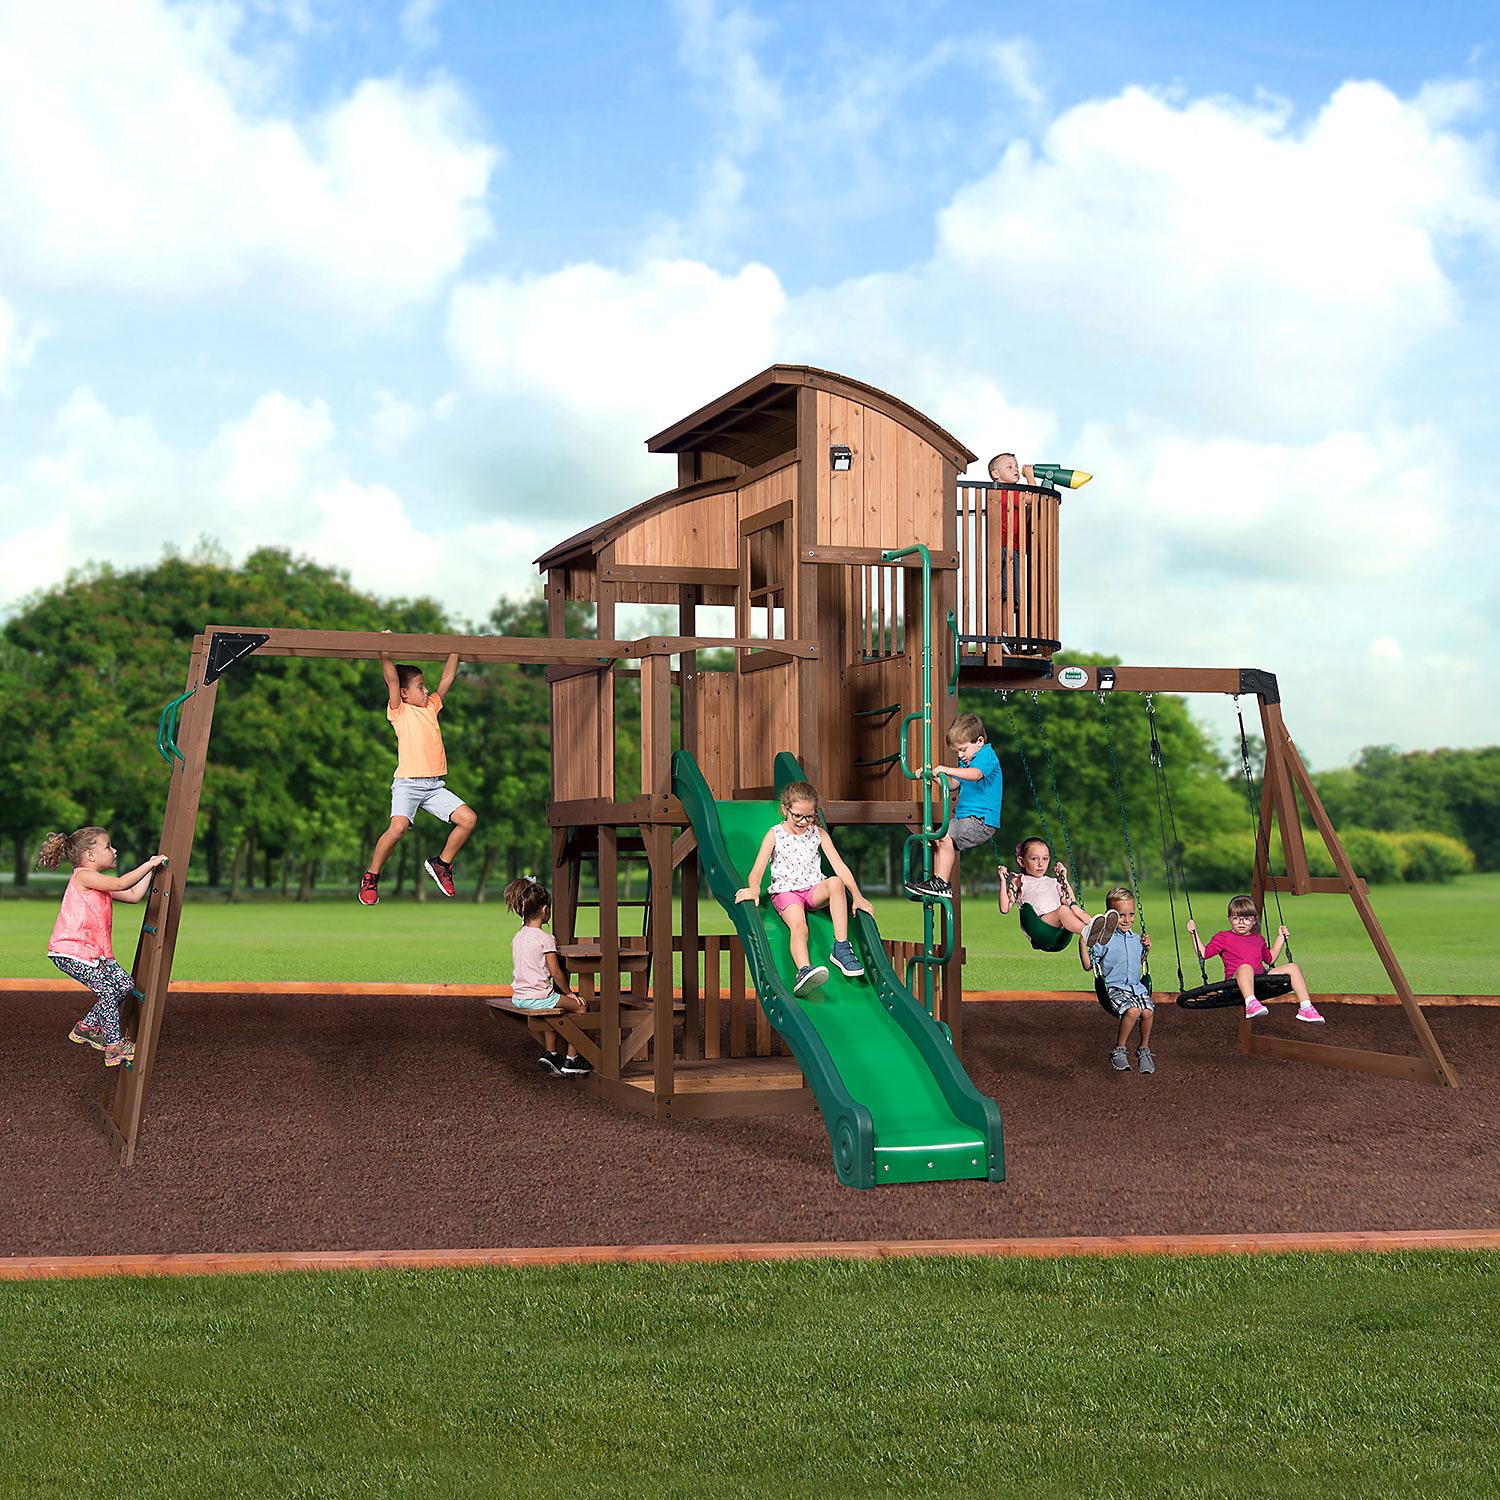
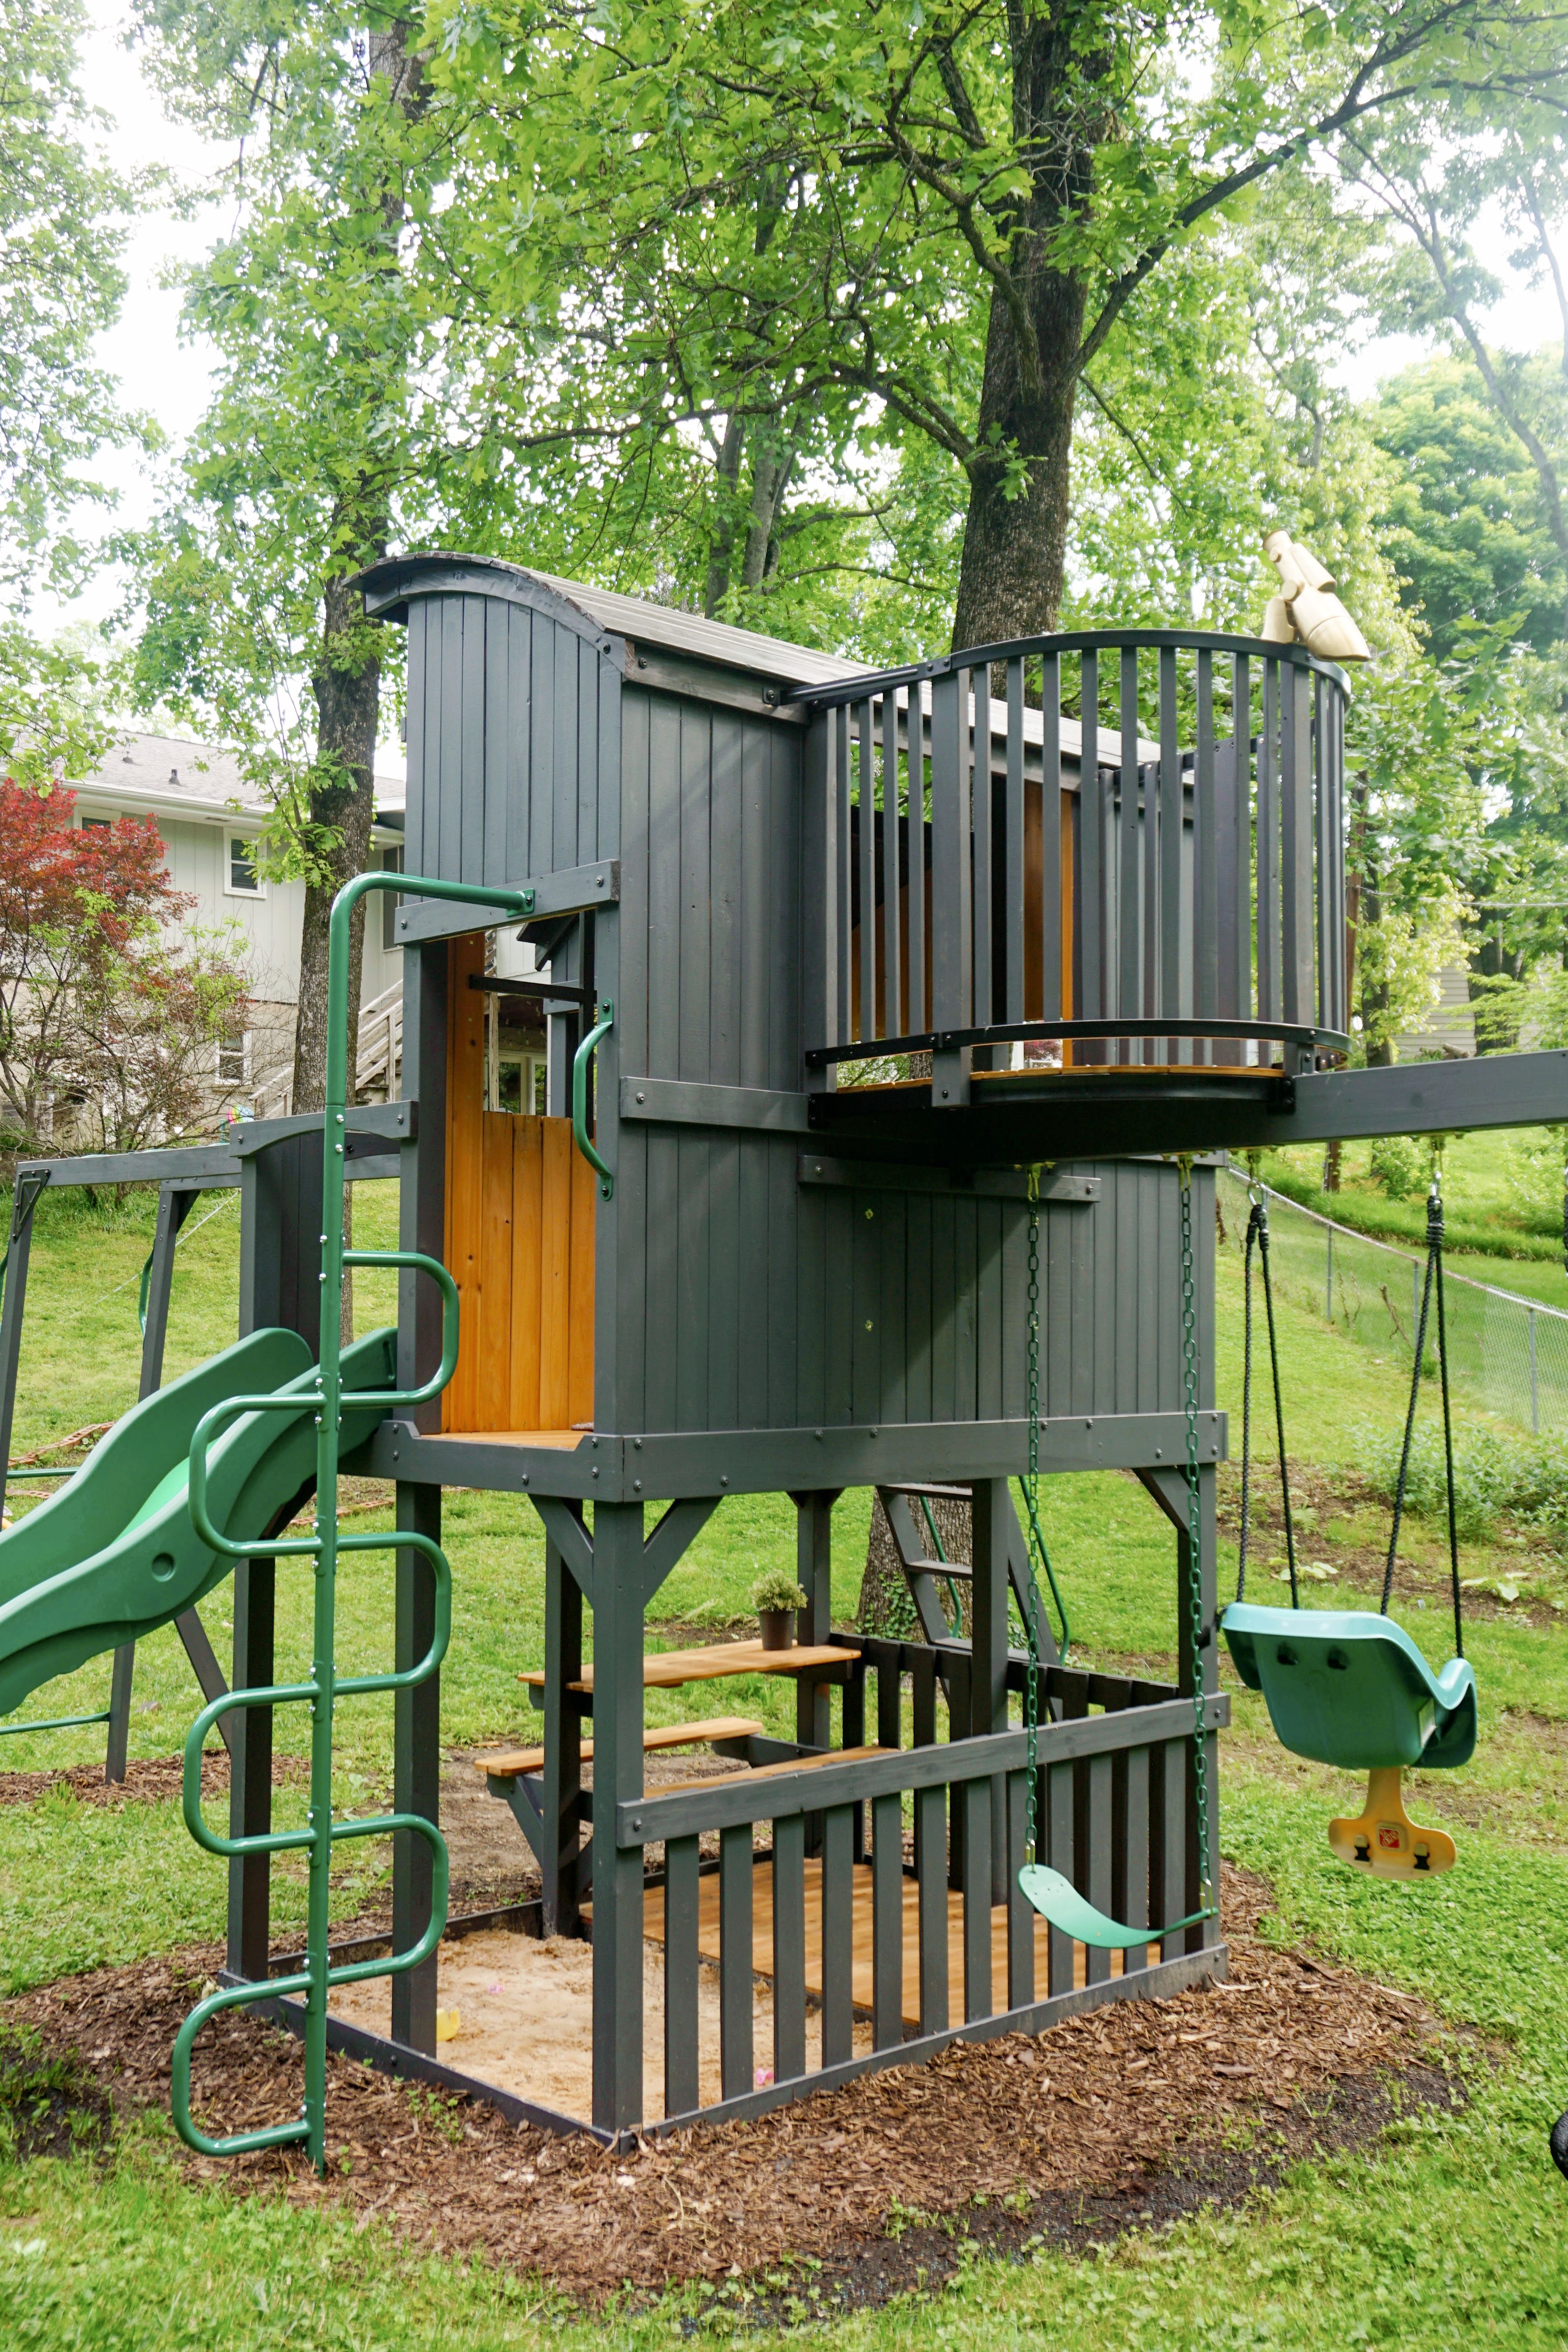
The Winner
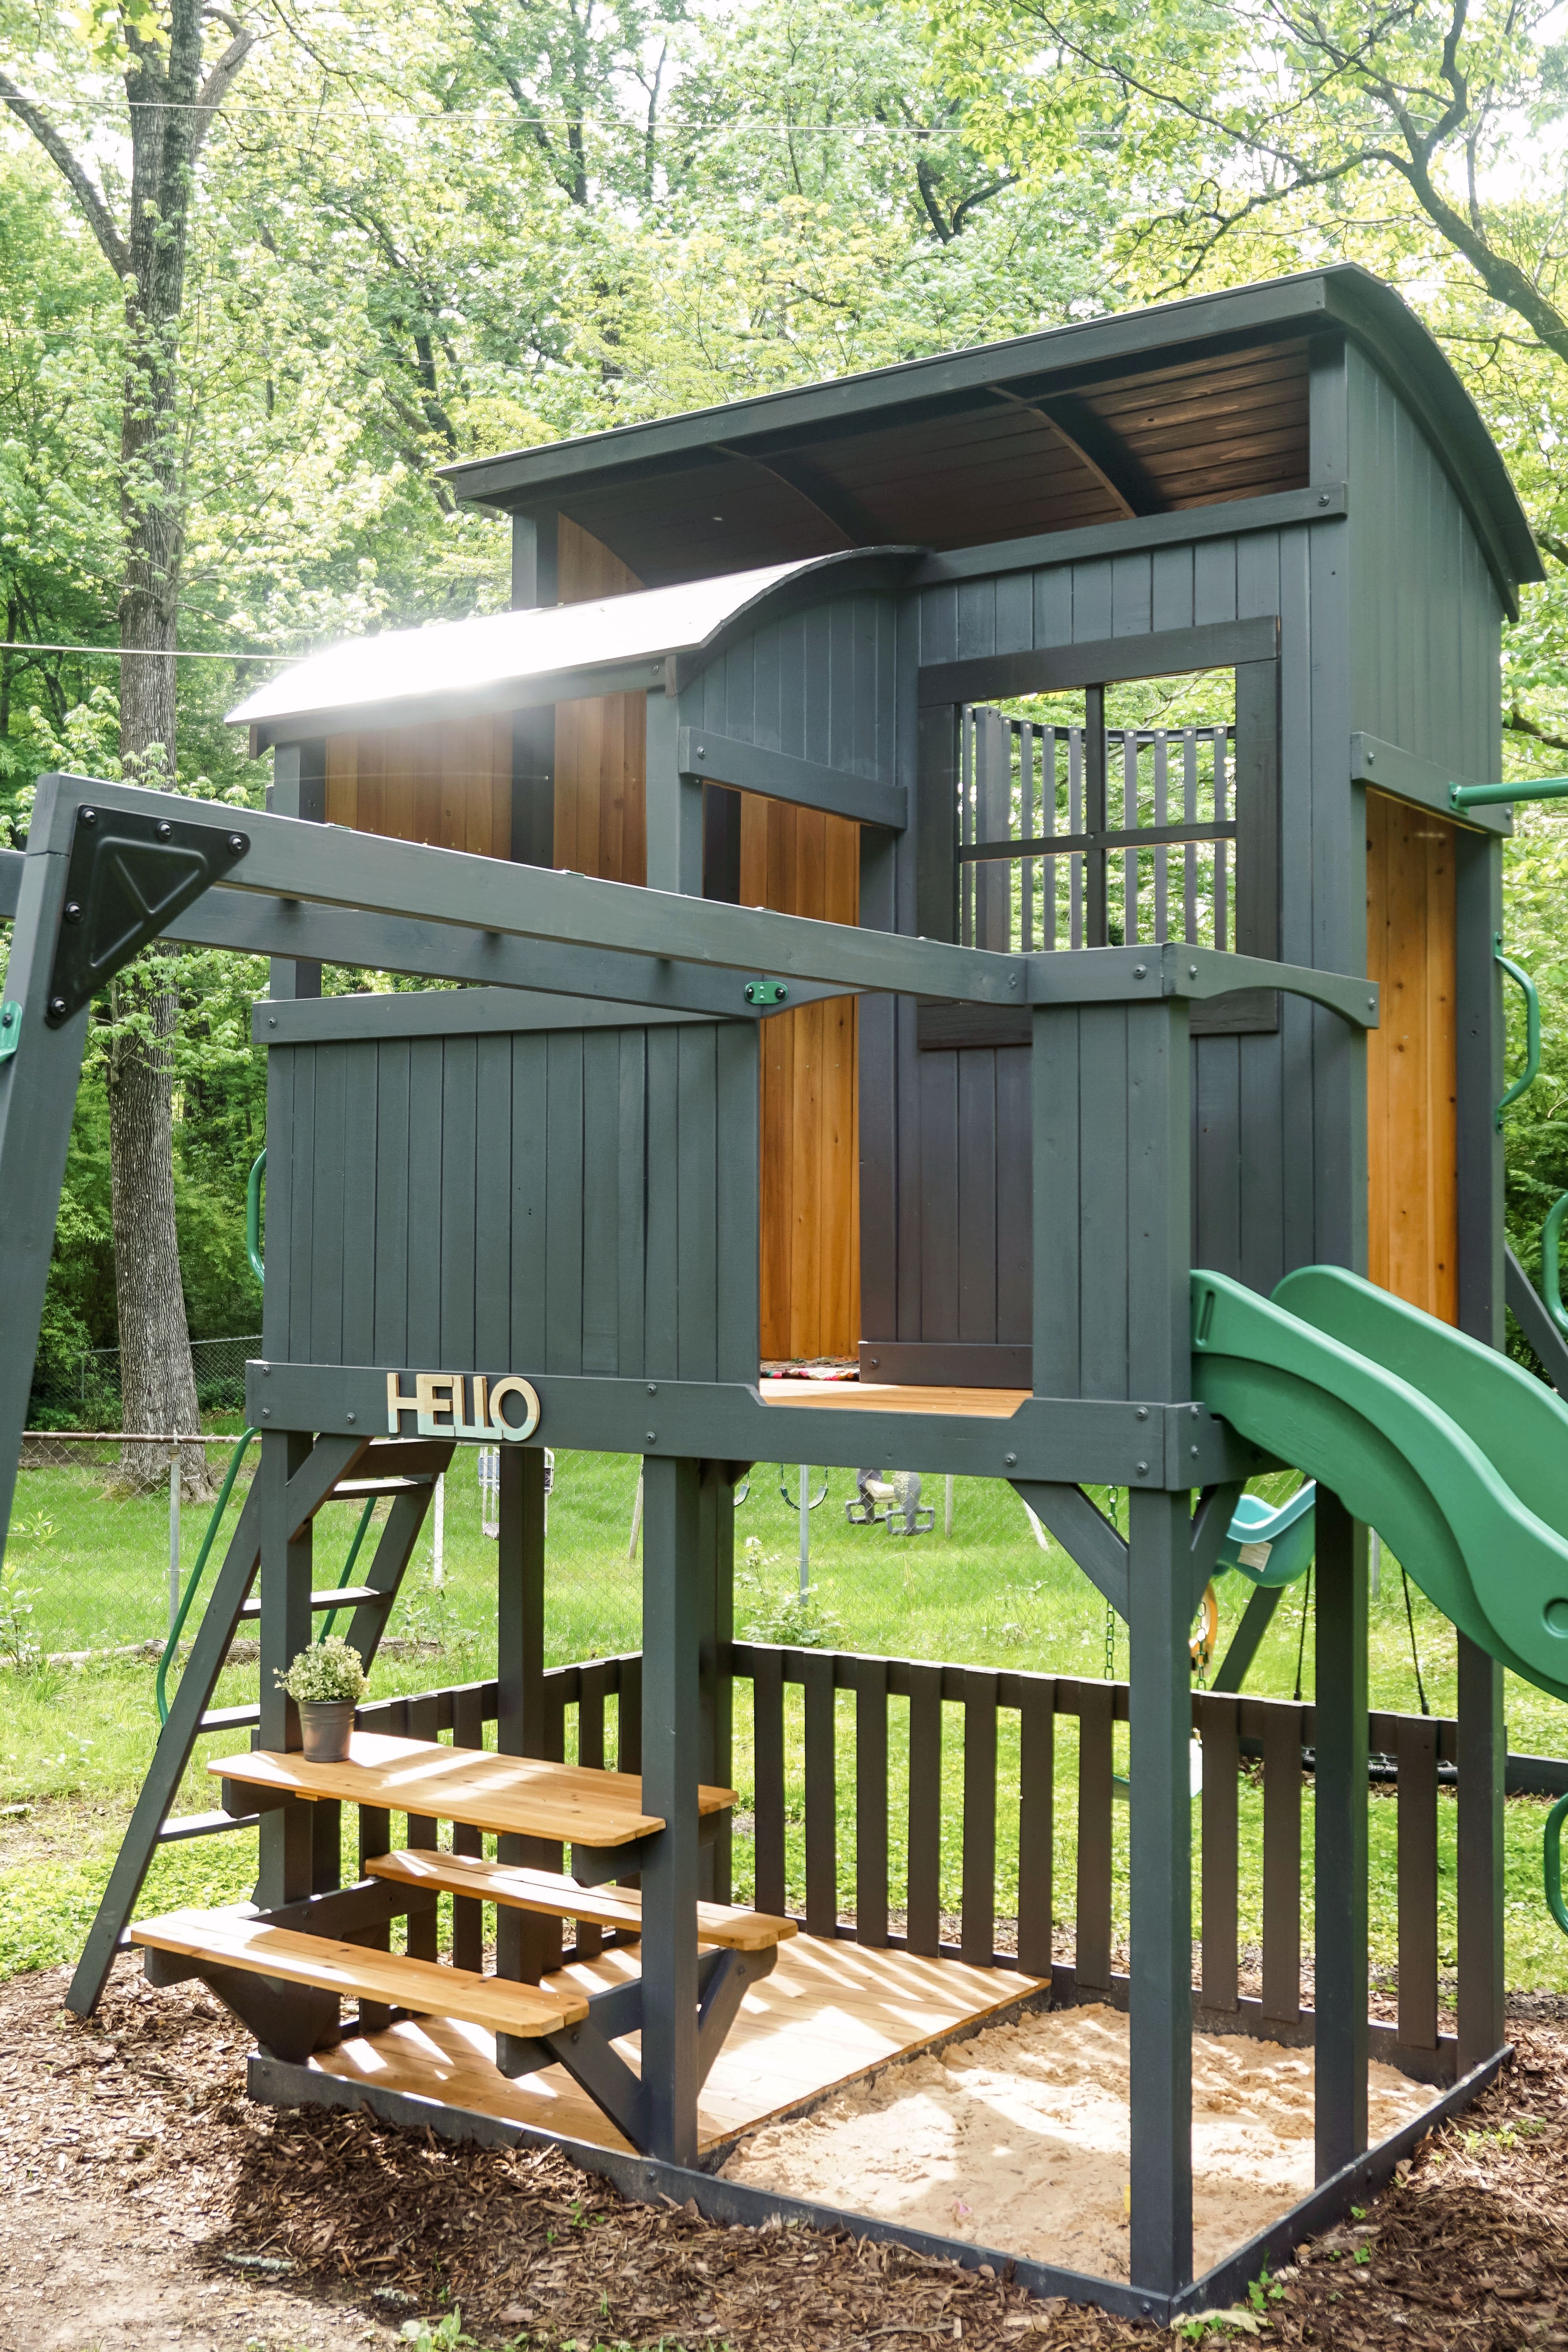
The Skyfort Elite from Sam’s had everything we were looking for though it was quite a bit larger than my husband wanted – 22′ to be exact! I initially found this one on Nesting With Grace after she had painted it, and I nearly immediately had a vision for it in our yard. It’s not your cookie cutter traditional house look, which was a huge bonus for me!
It was on sale when we purchased it with free delivery. Unfortunately, it was out of stock shortly after. I’ll keep an eye on it though and let you know via Instagram if I see it back in stock!
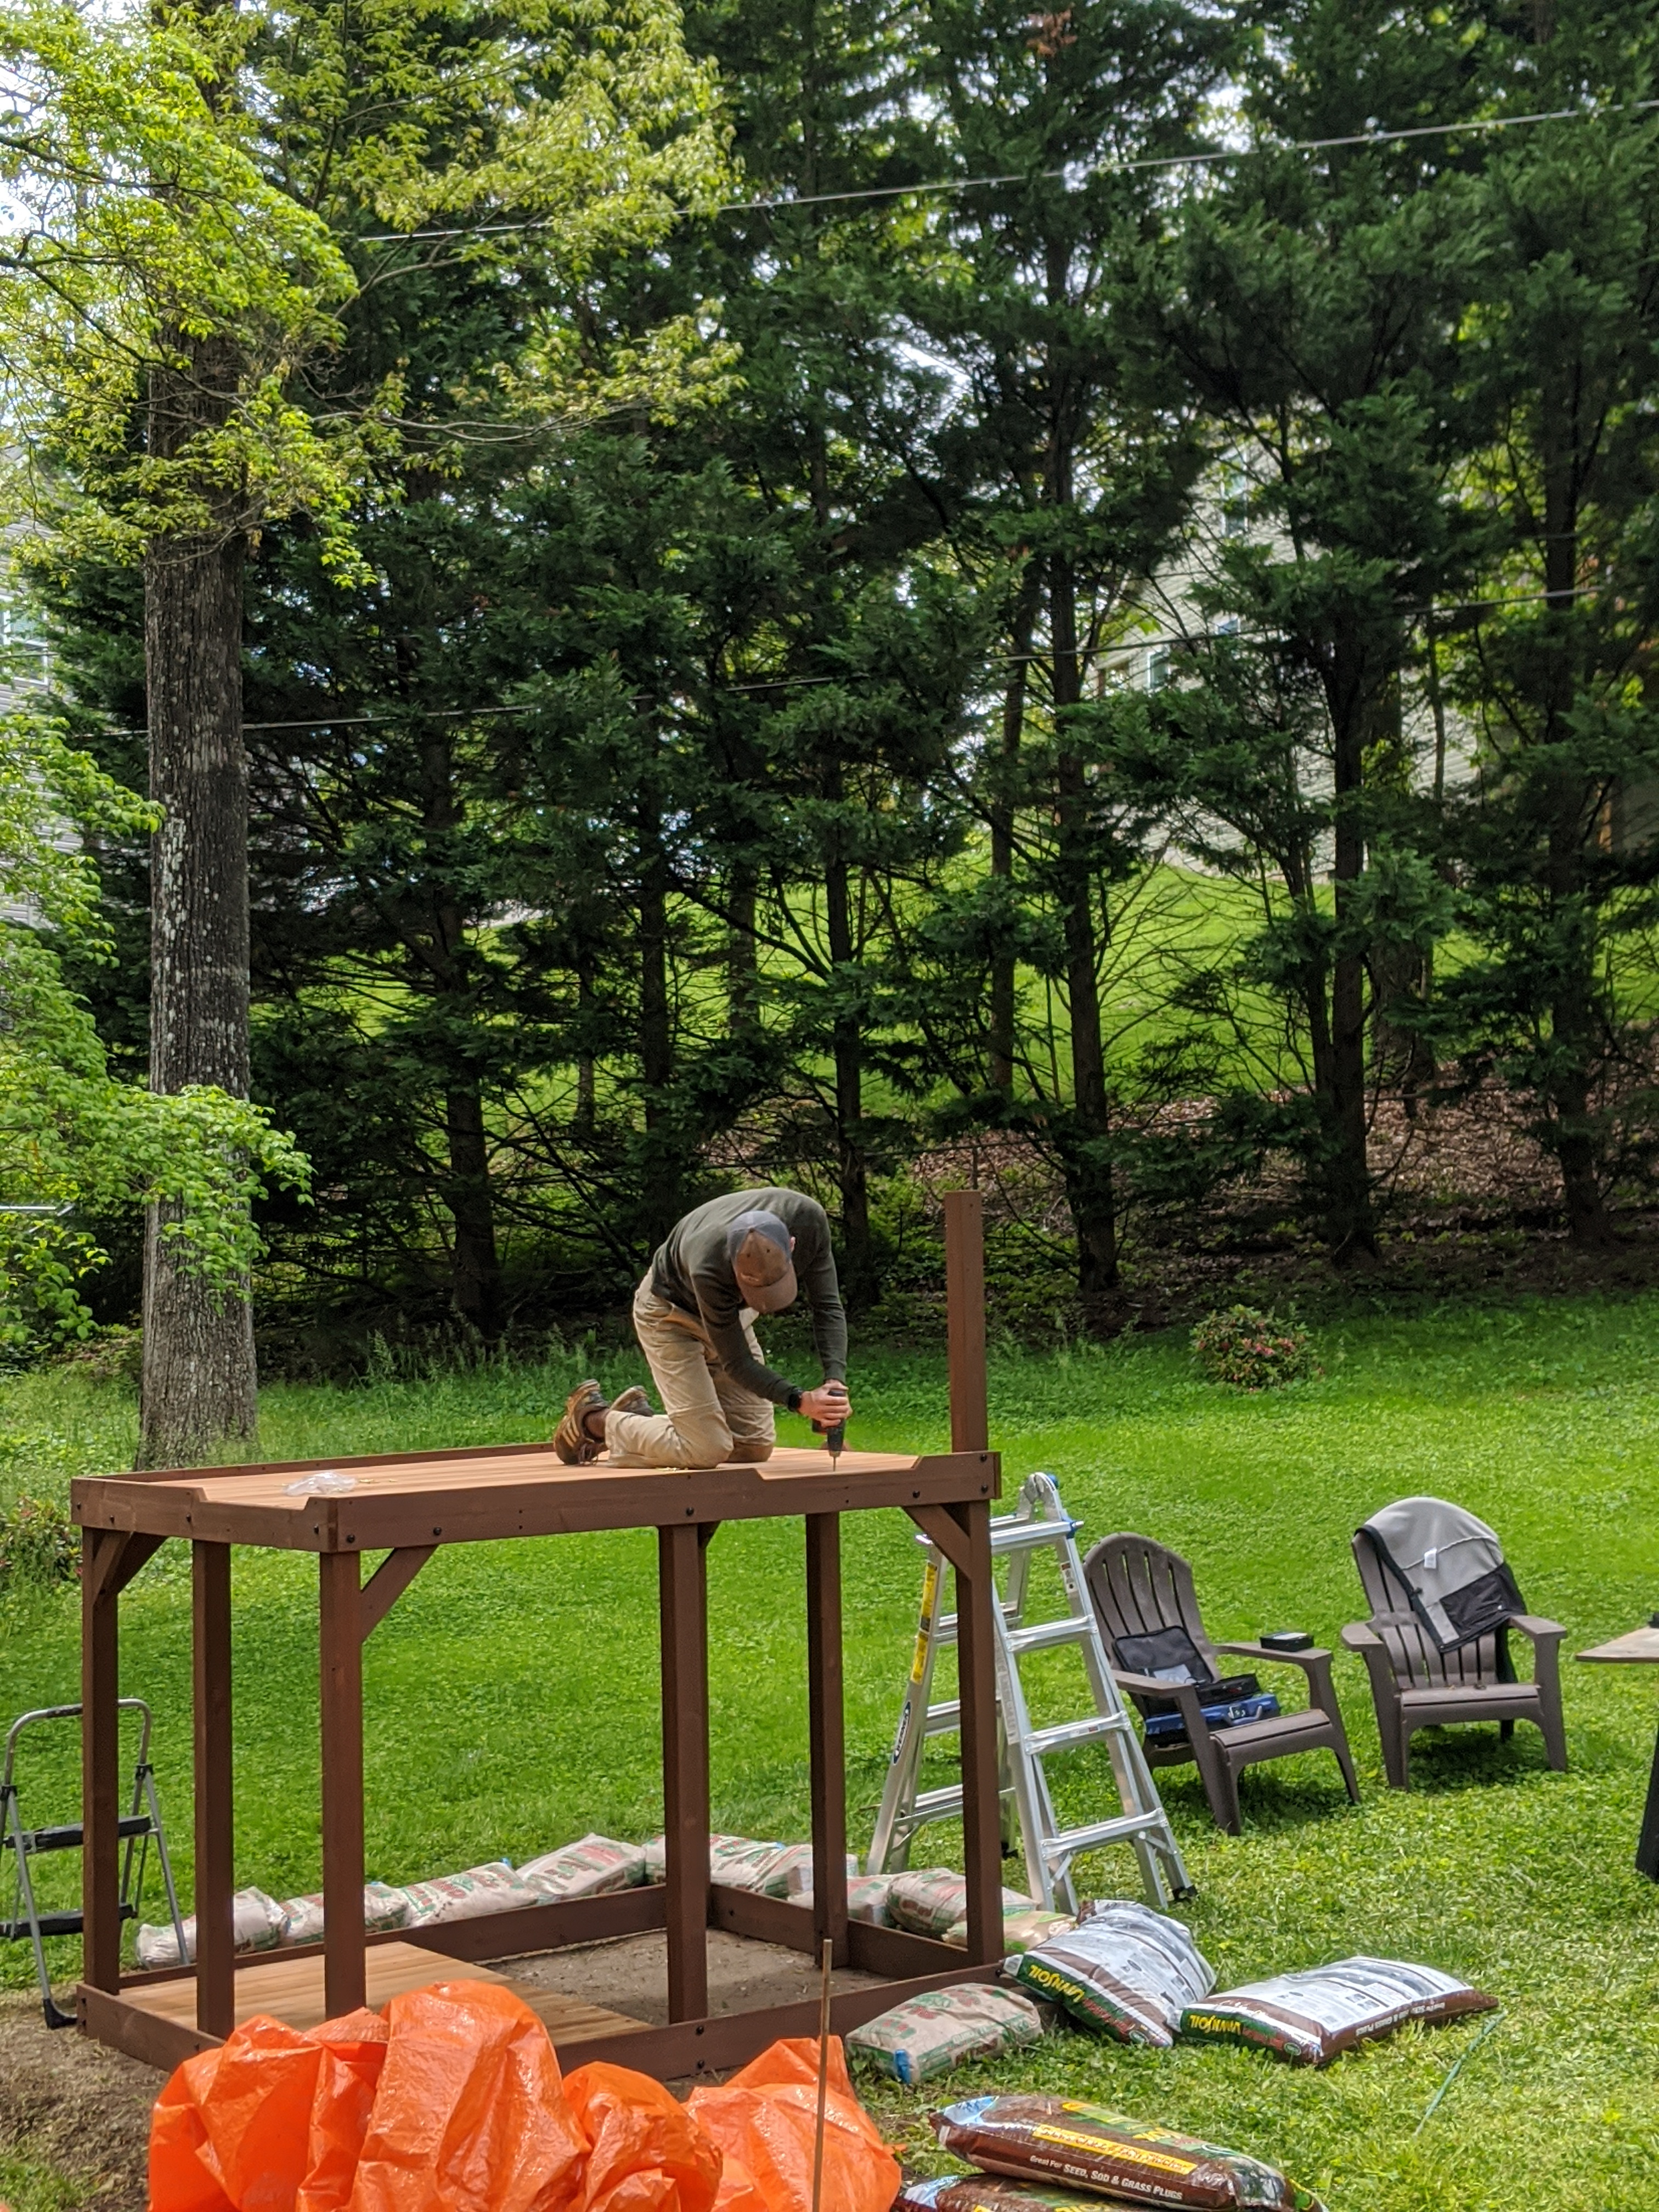
Painting the Playset
My husband spent at least 4-5 days building the playset board by board. He worked so hard and was meticulous about each step. He also precisely leveled the area where the fort is and adjusted appropriately once the swing and monkey bars were installed. You can pay for installation on most playsets, which is a great option for most. So don’t let the installation scare you from getting one.
We knew we wanted to paint the playset before we even bought it for a couple reasons: to preserve the wood so that we wouldn’t have to maintain it every year, and to make it our own and to fit in with our landscape and home.
Paint and Color Choice
I used Behr Porch and Patio paint in low lustre in the color Wrought Iron by Benjamin Moore on the bulk of it, and it went on like a dream and mostly one coat. On the roof and roof trim, I used Behr’s Premium Plus exterior paint in semi gloss in the color Black Beauty by Benjamin Moore. I also put on Thompson’s WaterSeal on all of the horizontal natural wood surfaces once everything was painted.
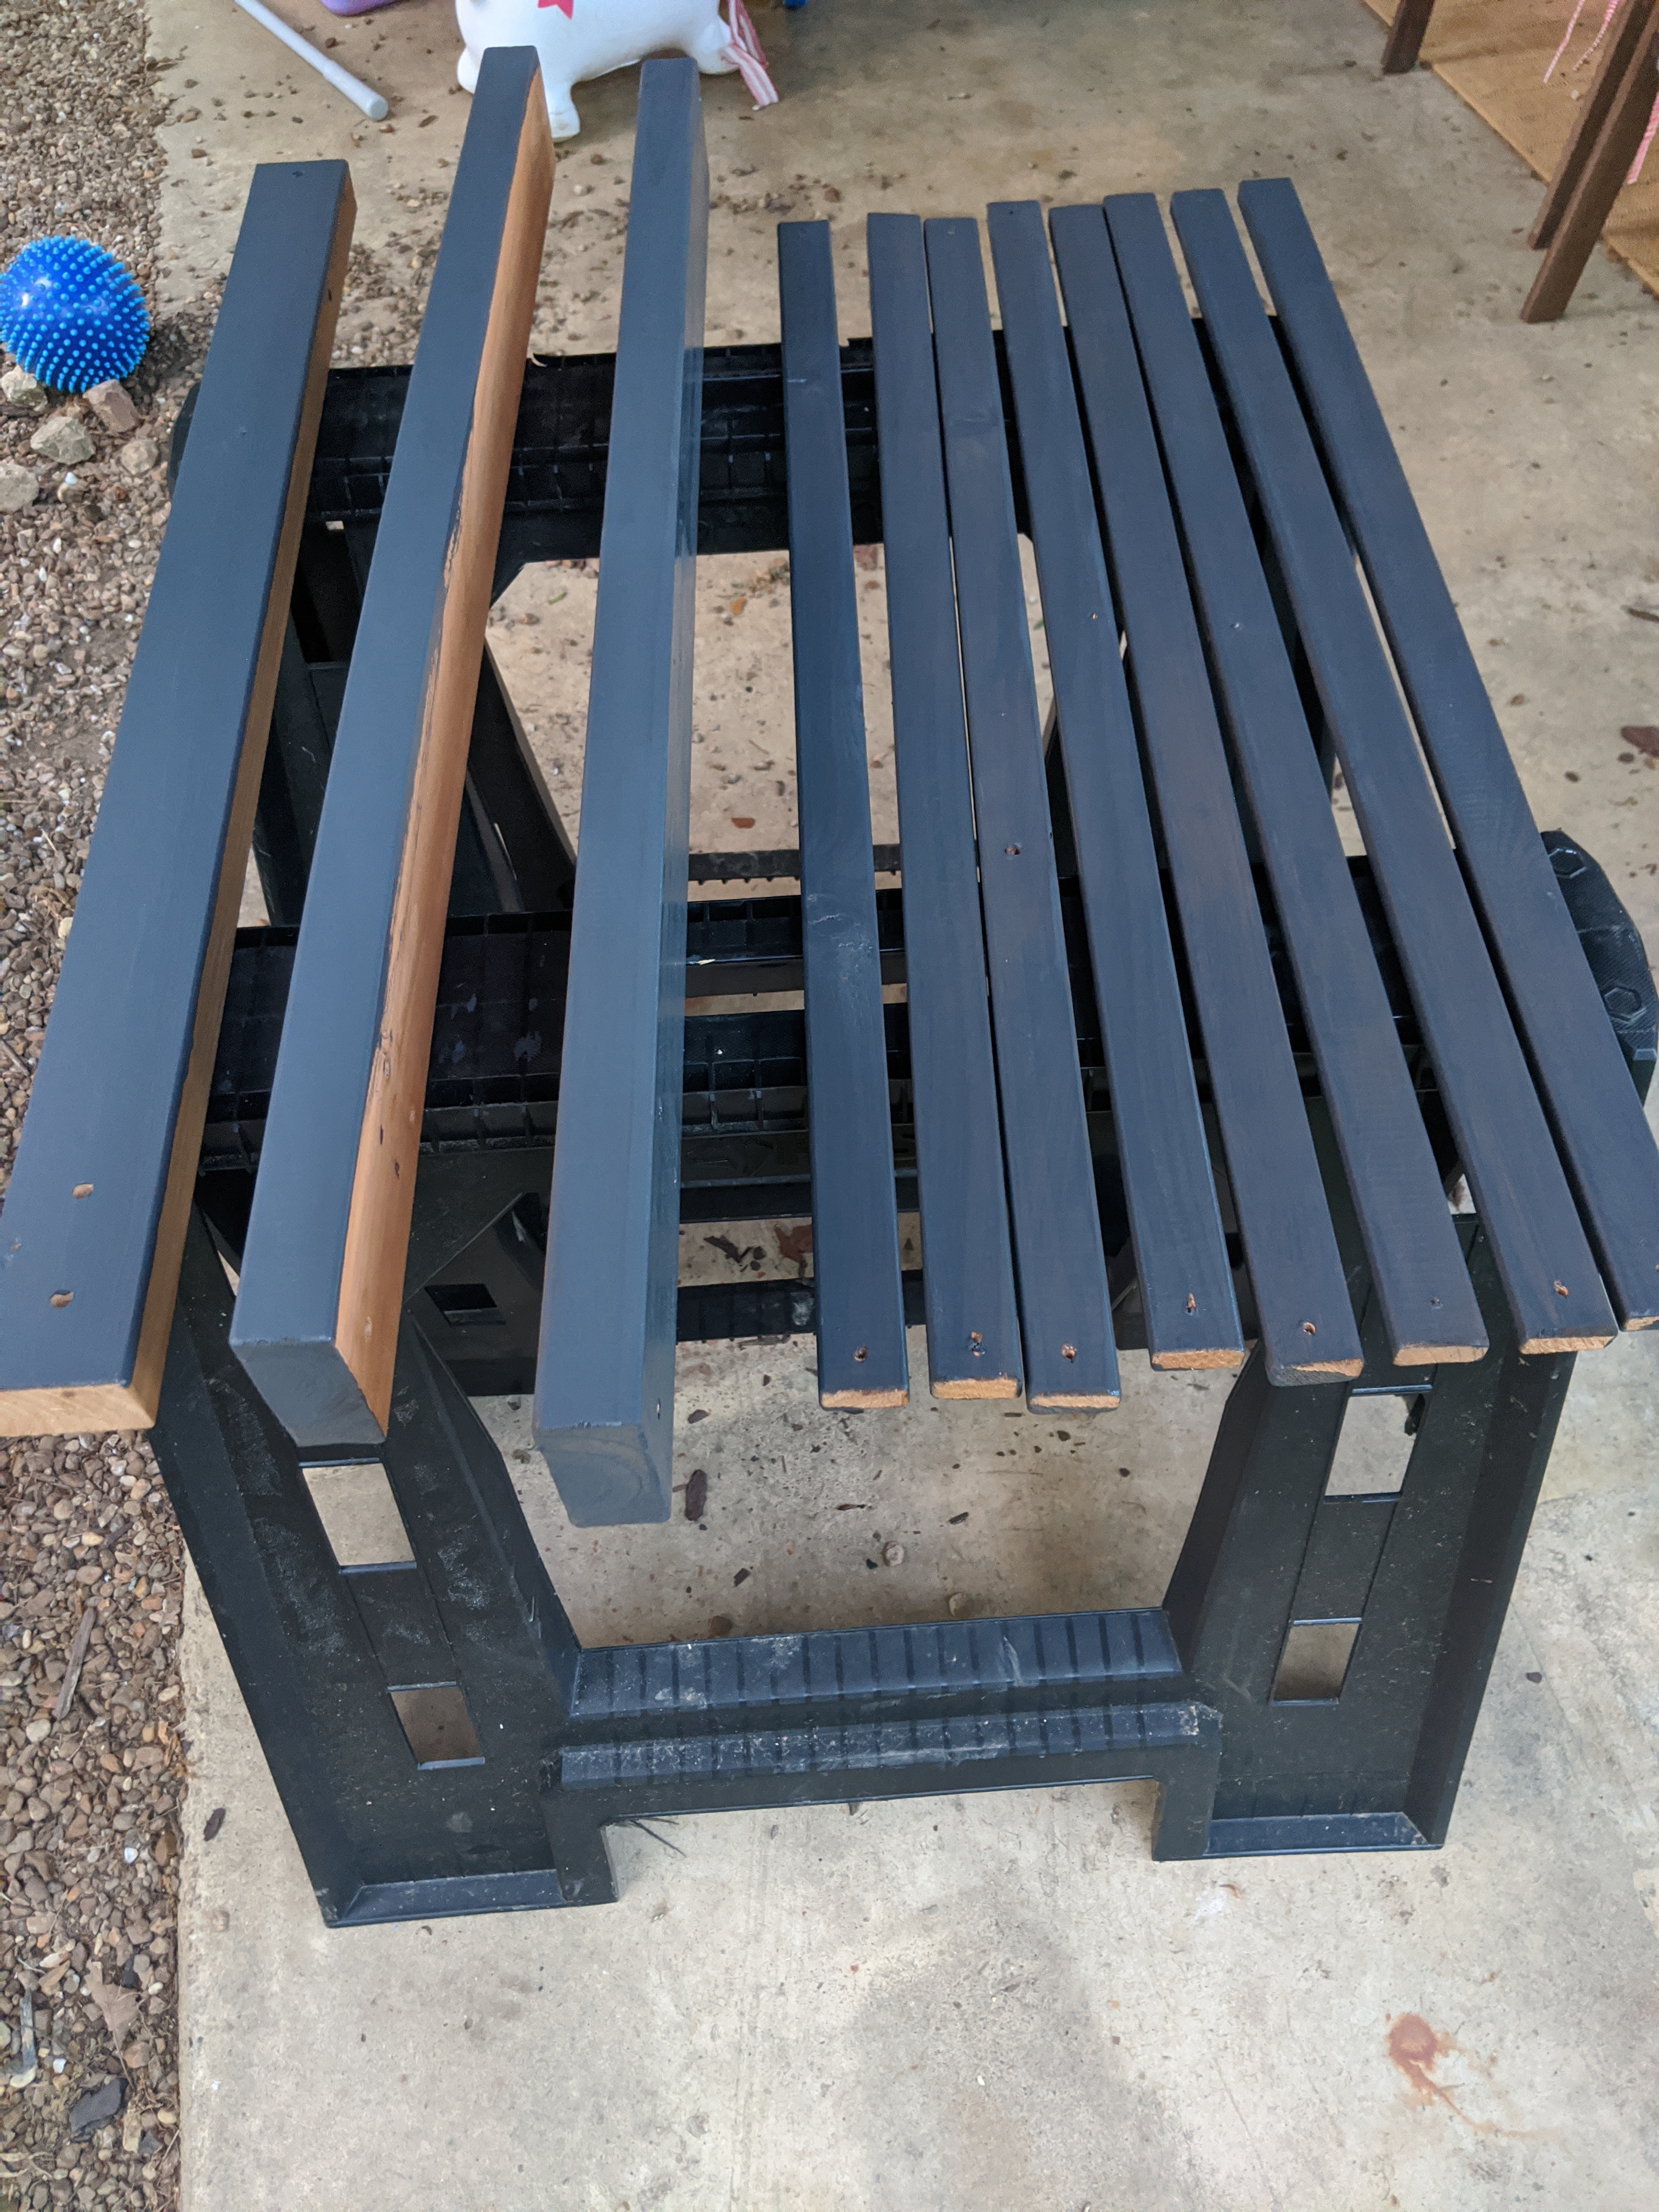
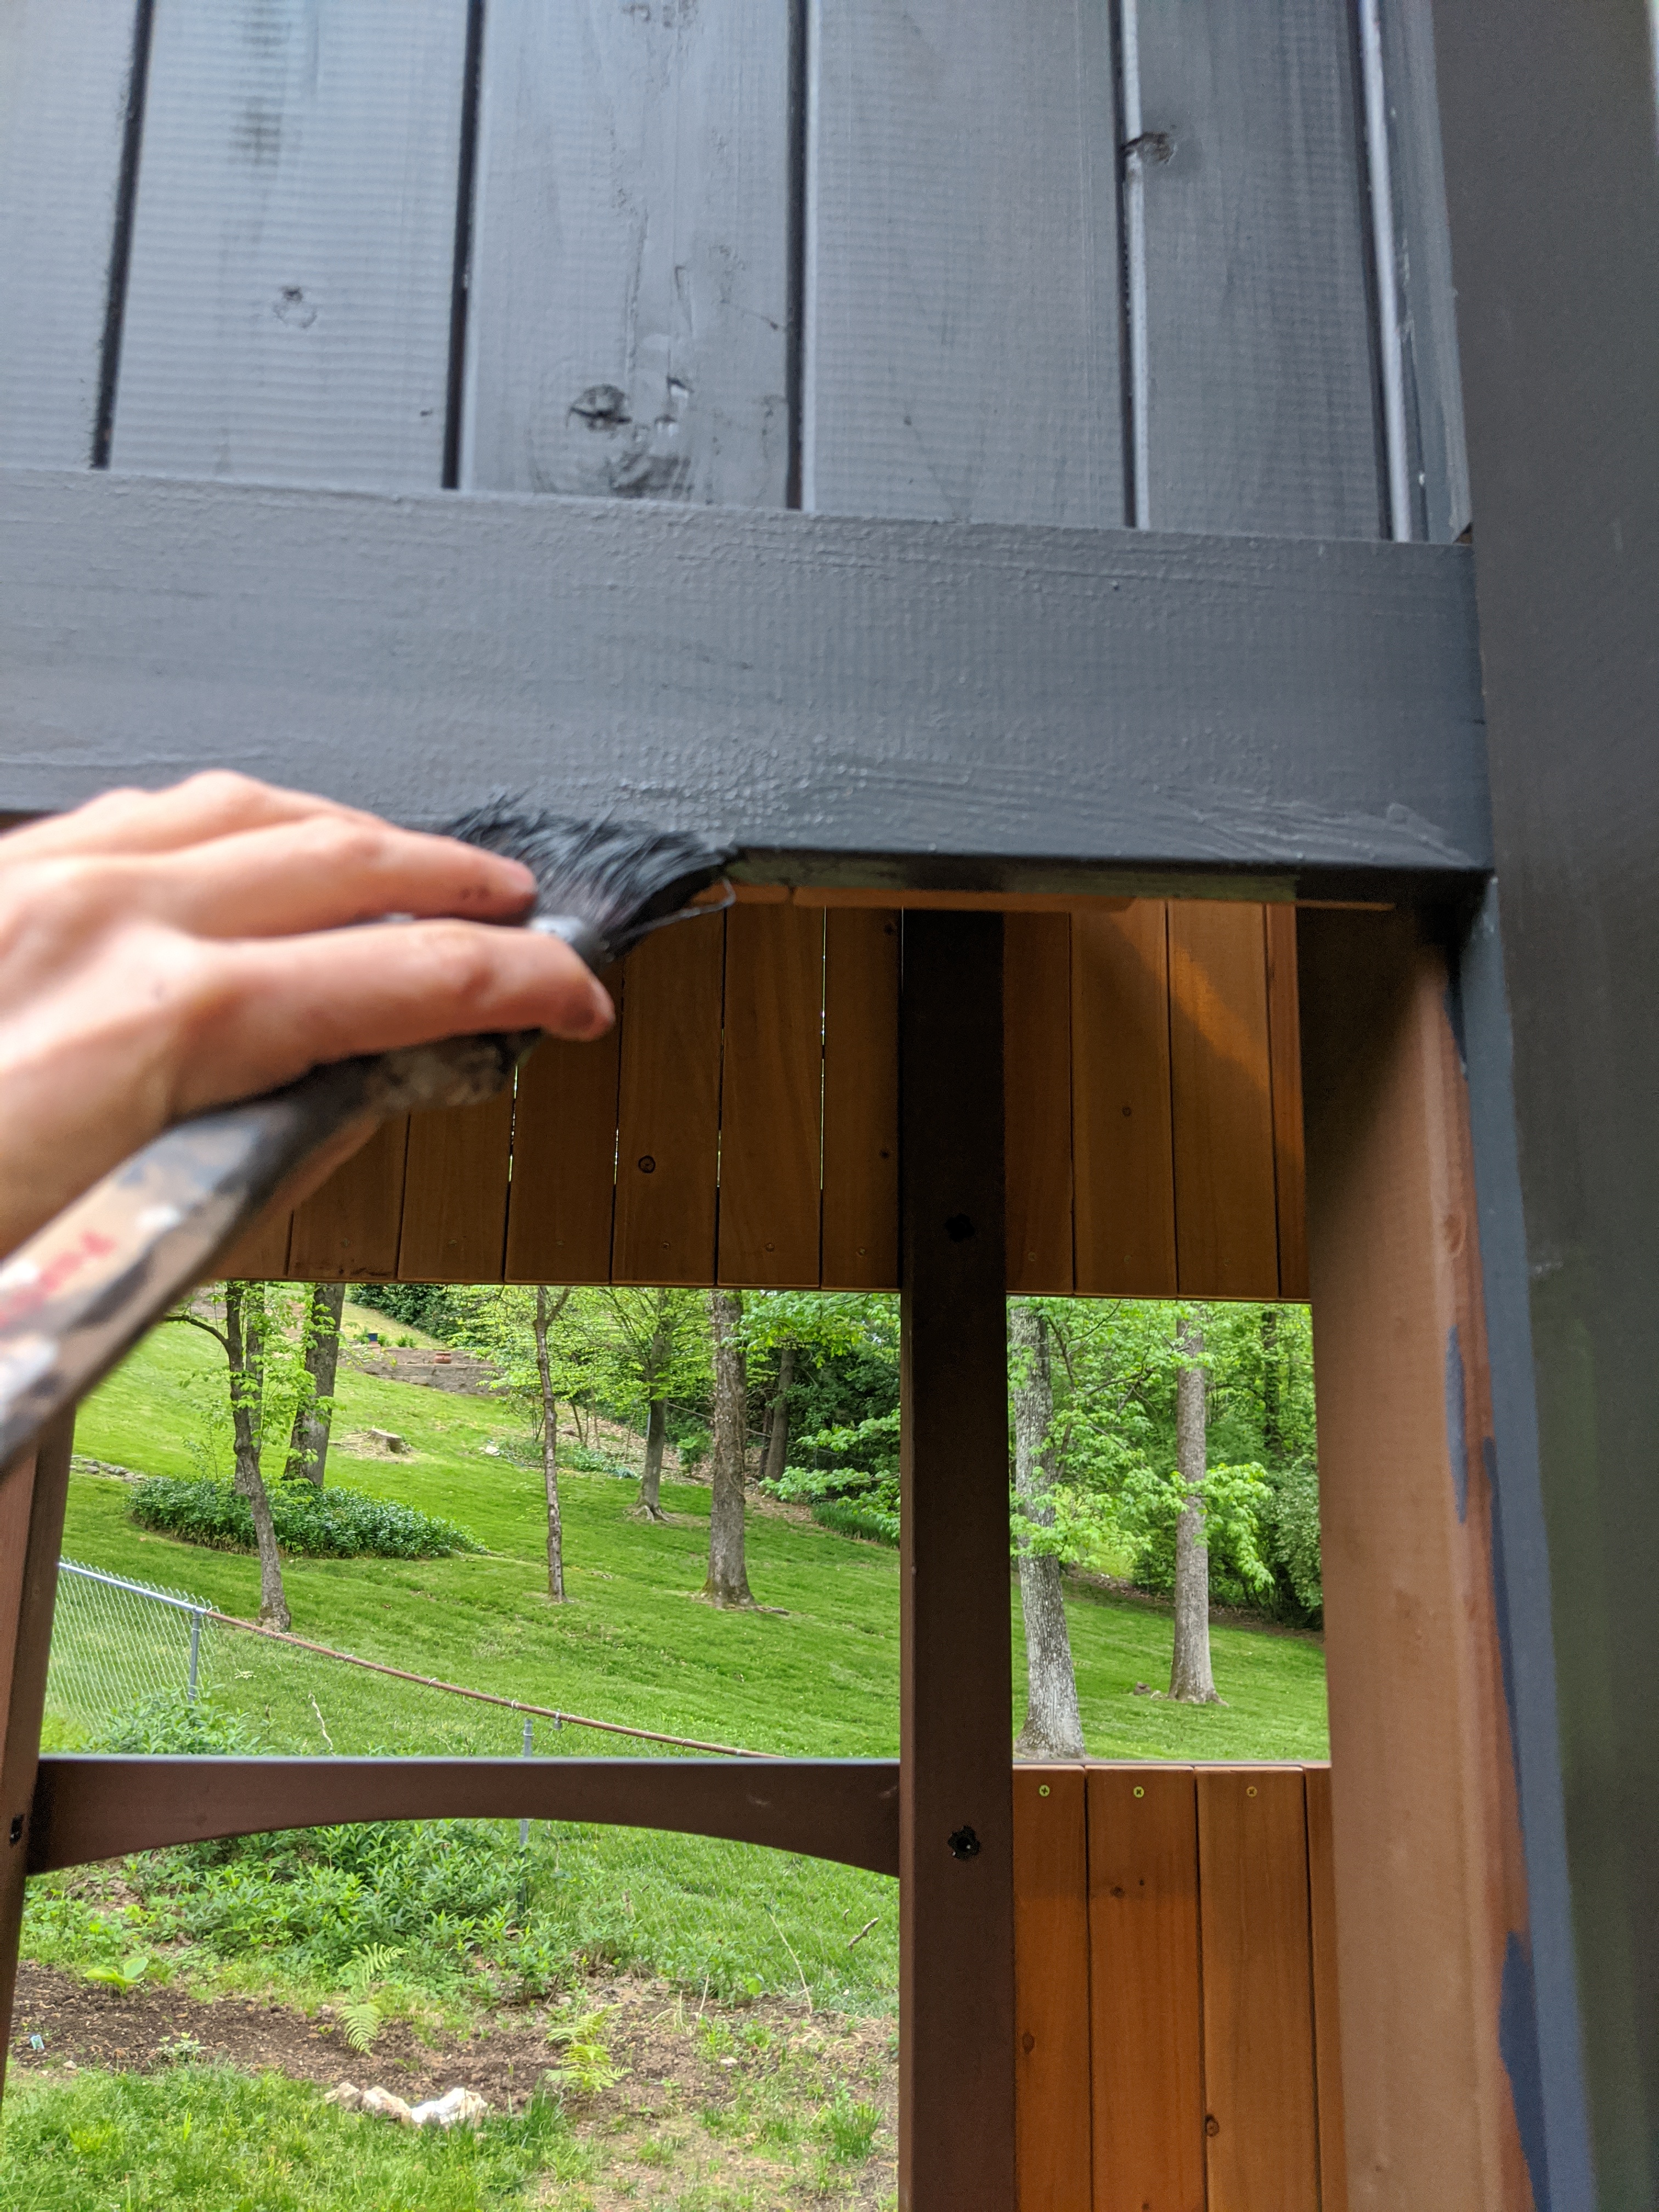
The Process
I decided to paint as my husband built. This allowed me to get to some hard to reach areas before they were installed (roof and crows nest). Nevertheless, painting the playset was a beast! It easily took me 10-15 hours, and I didn’t even paint the interior walls! Was it worth it? ABSOLUTELY! I’m just glad it’s finished.
I used my favorite Purdy trim brush and a small roller for semi-rough surfaces. Also a Handy Pail was more clutch!
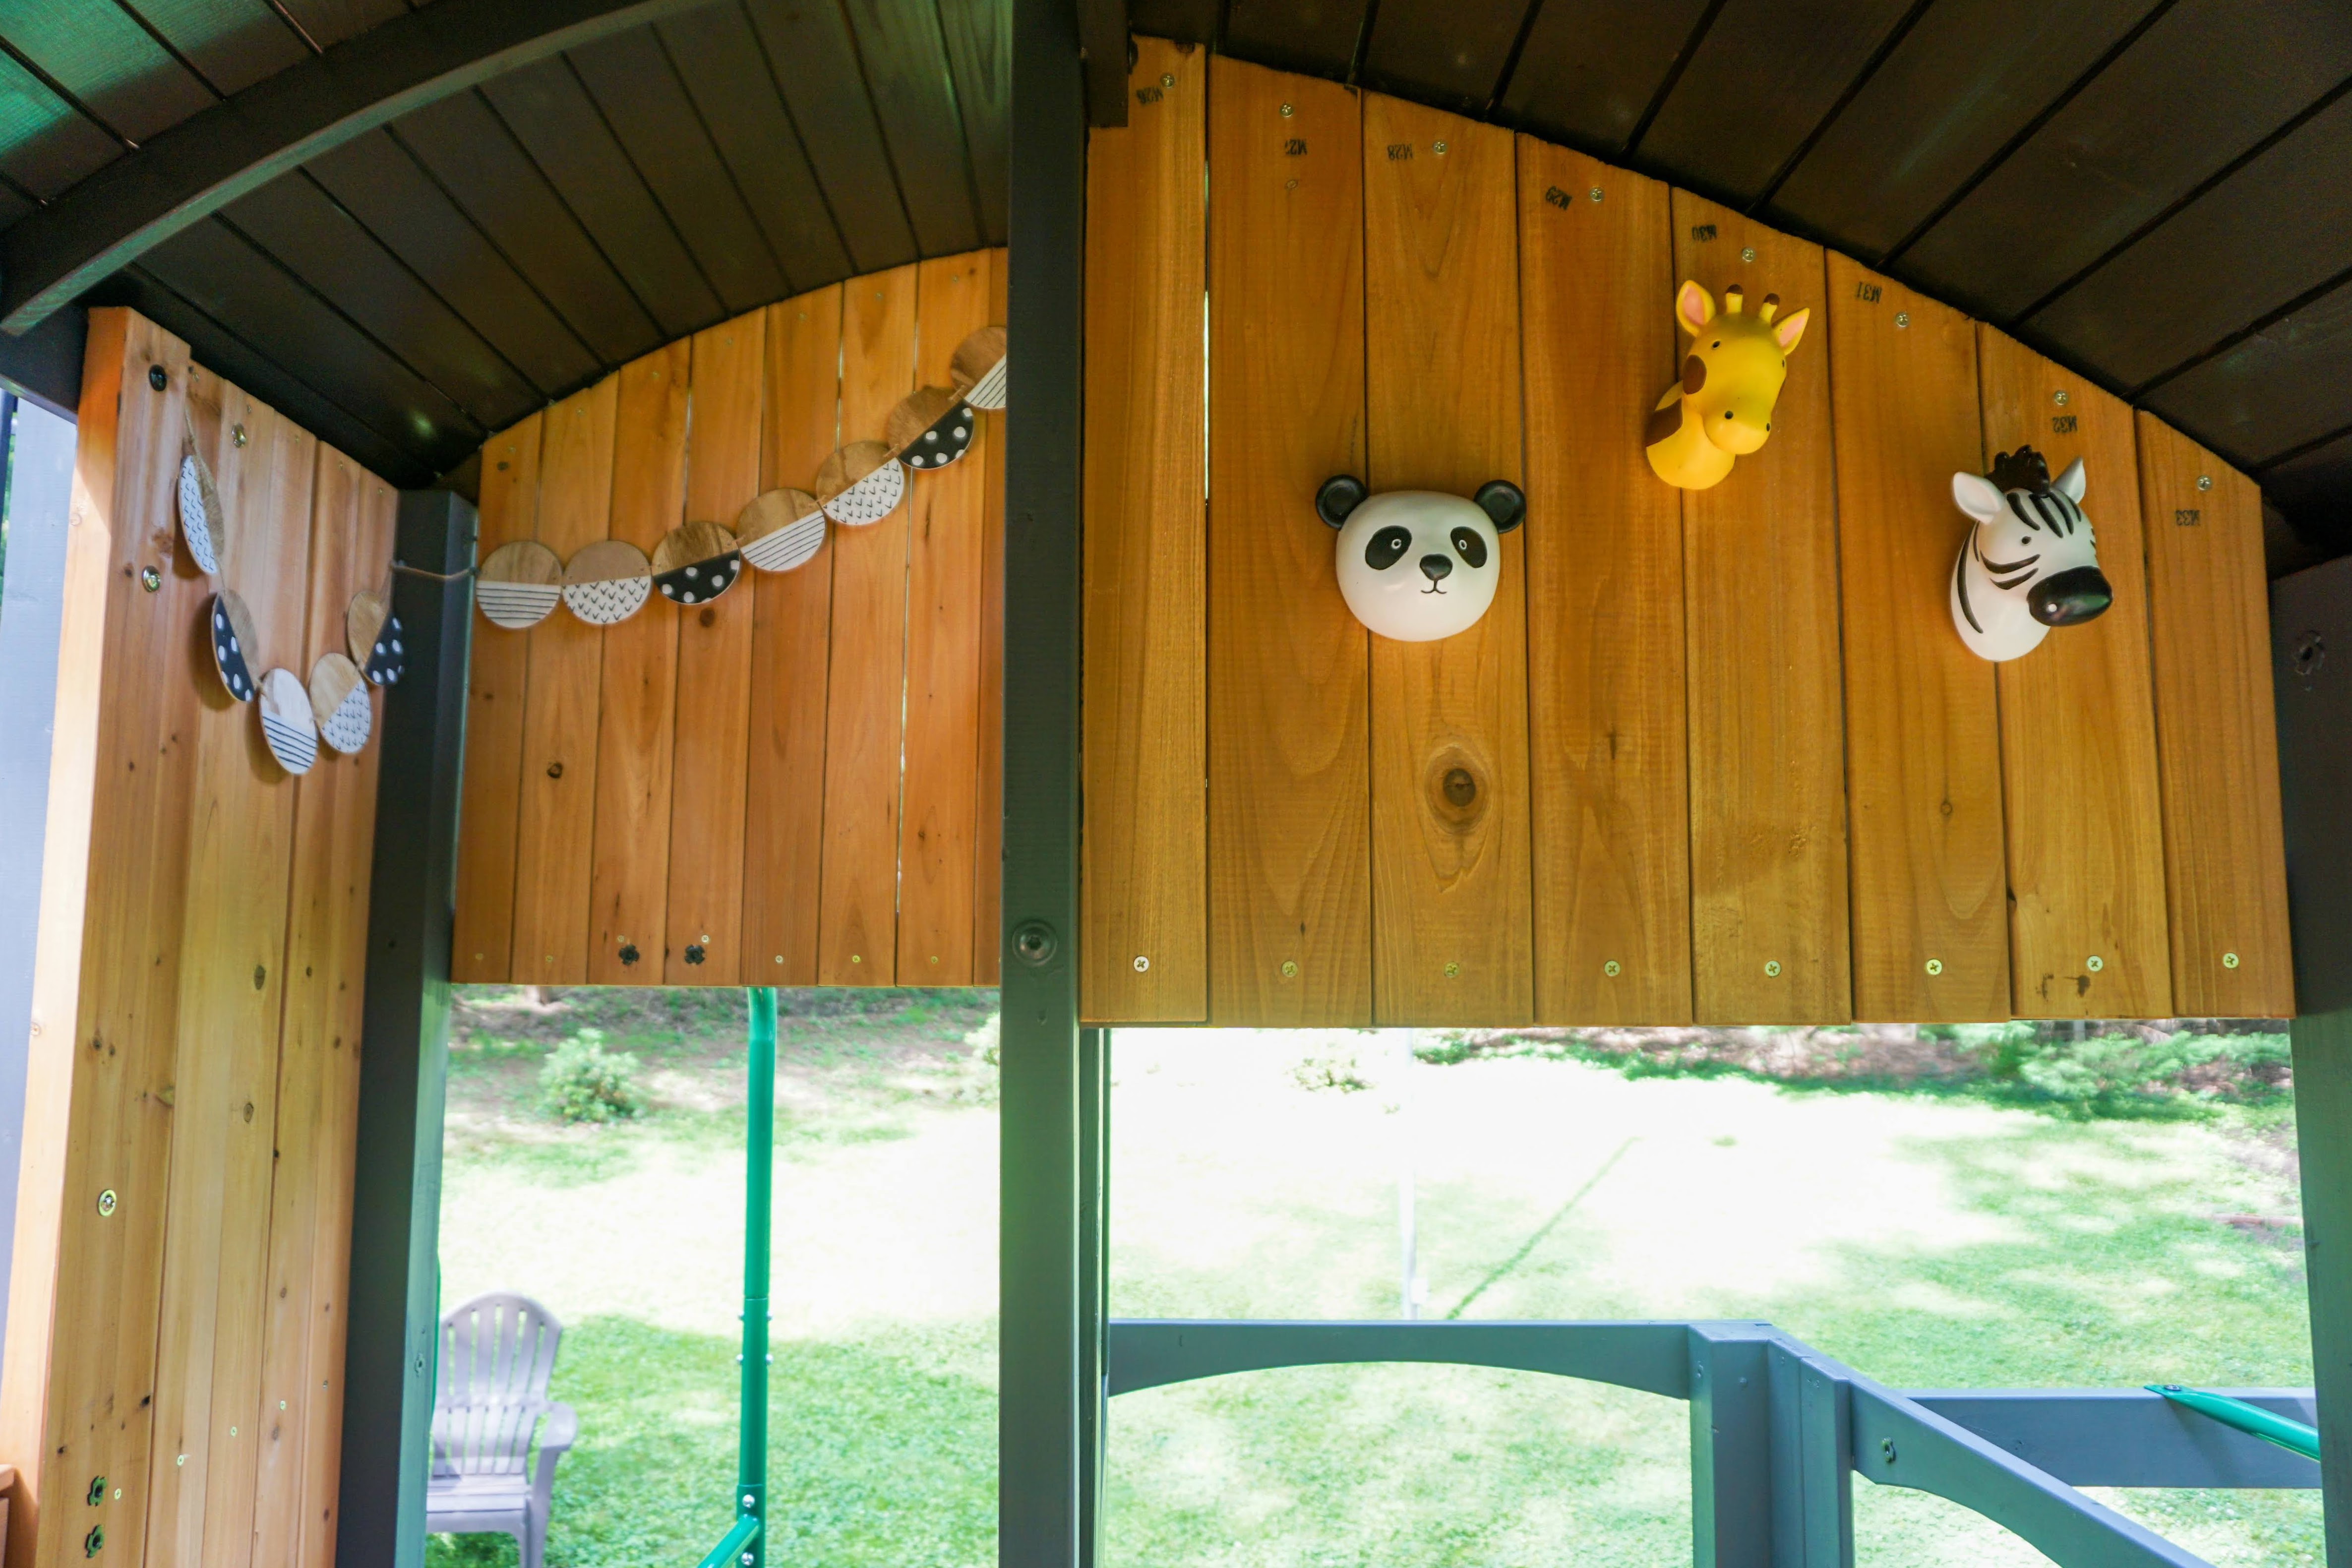
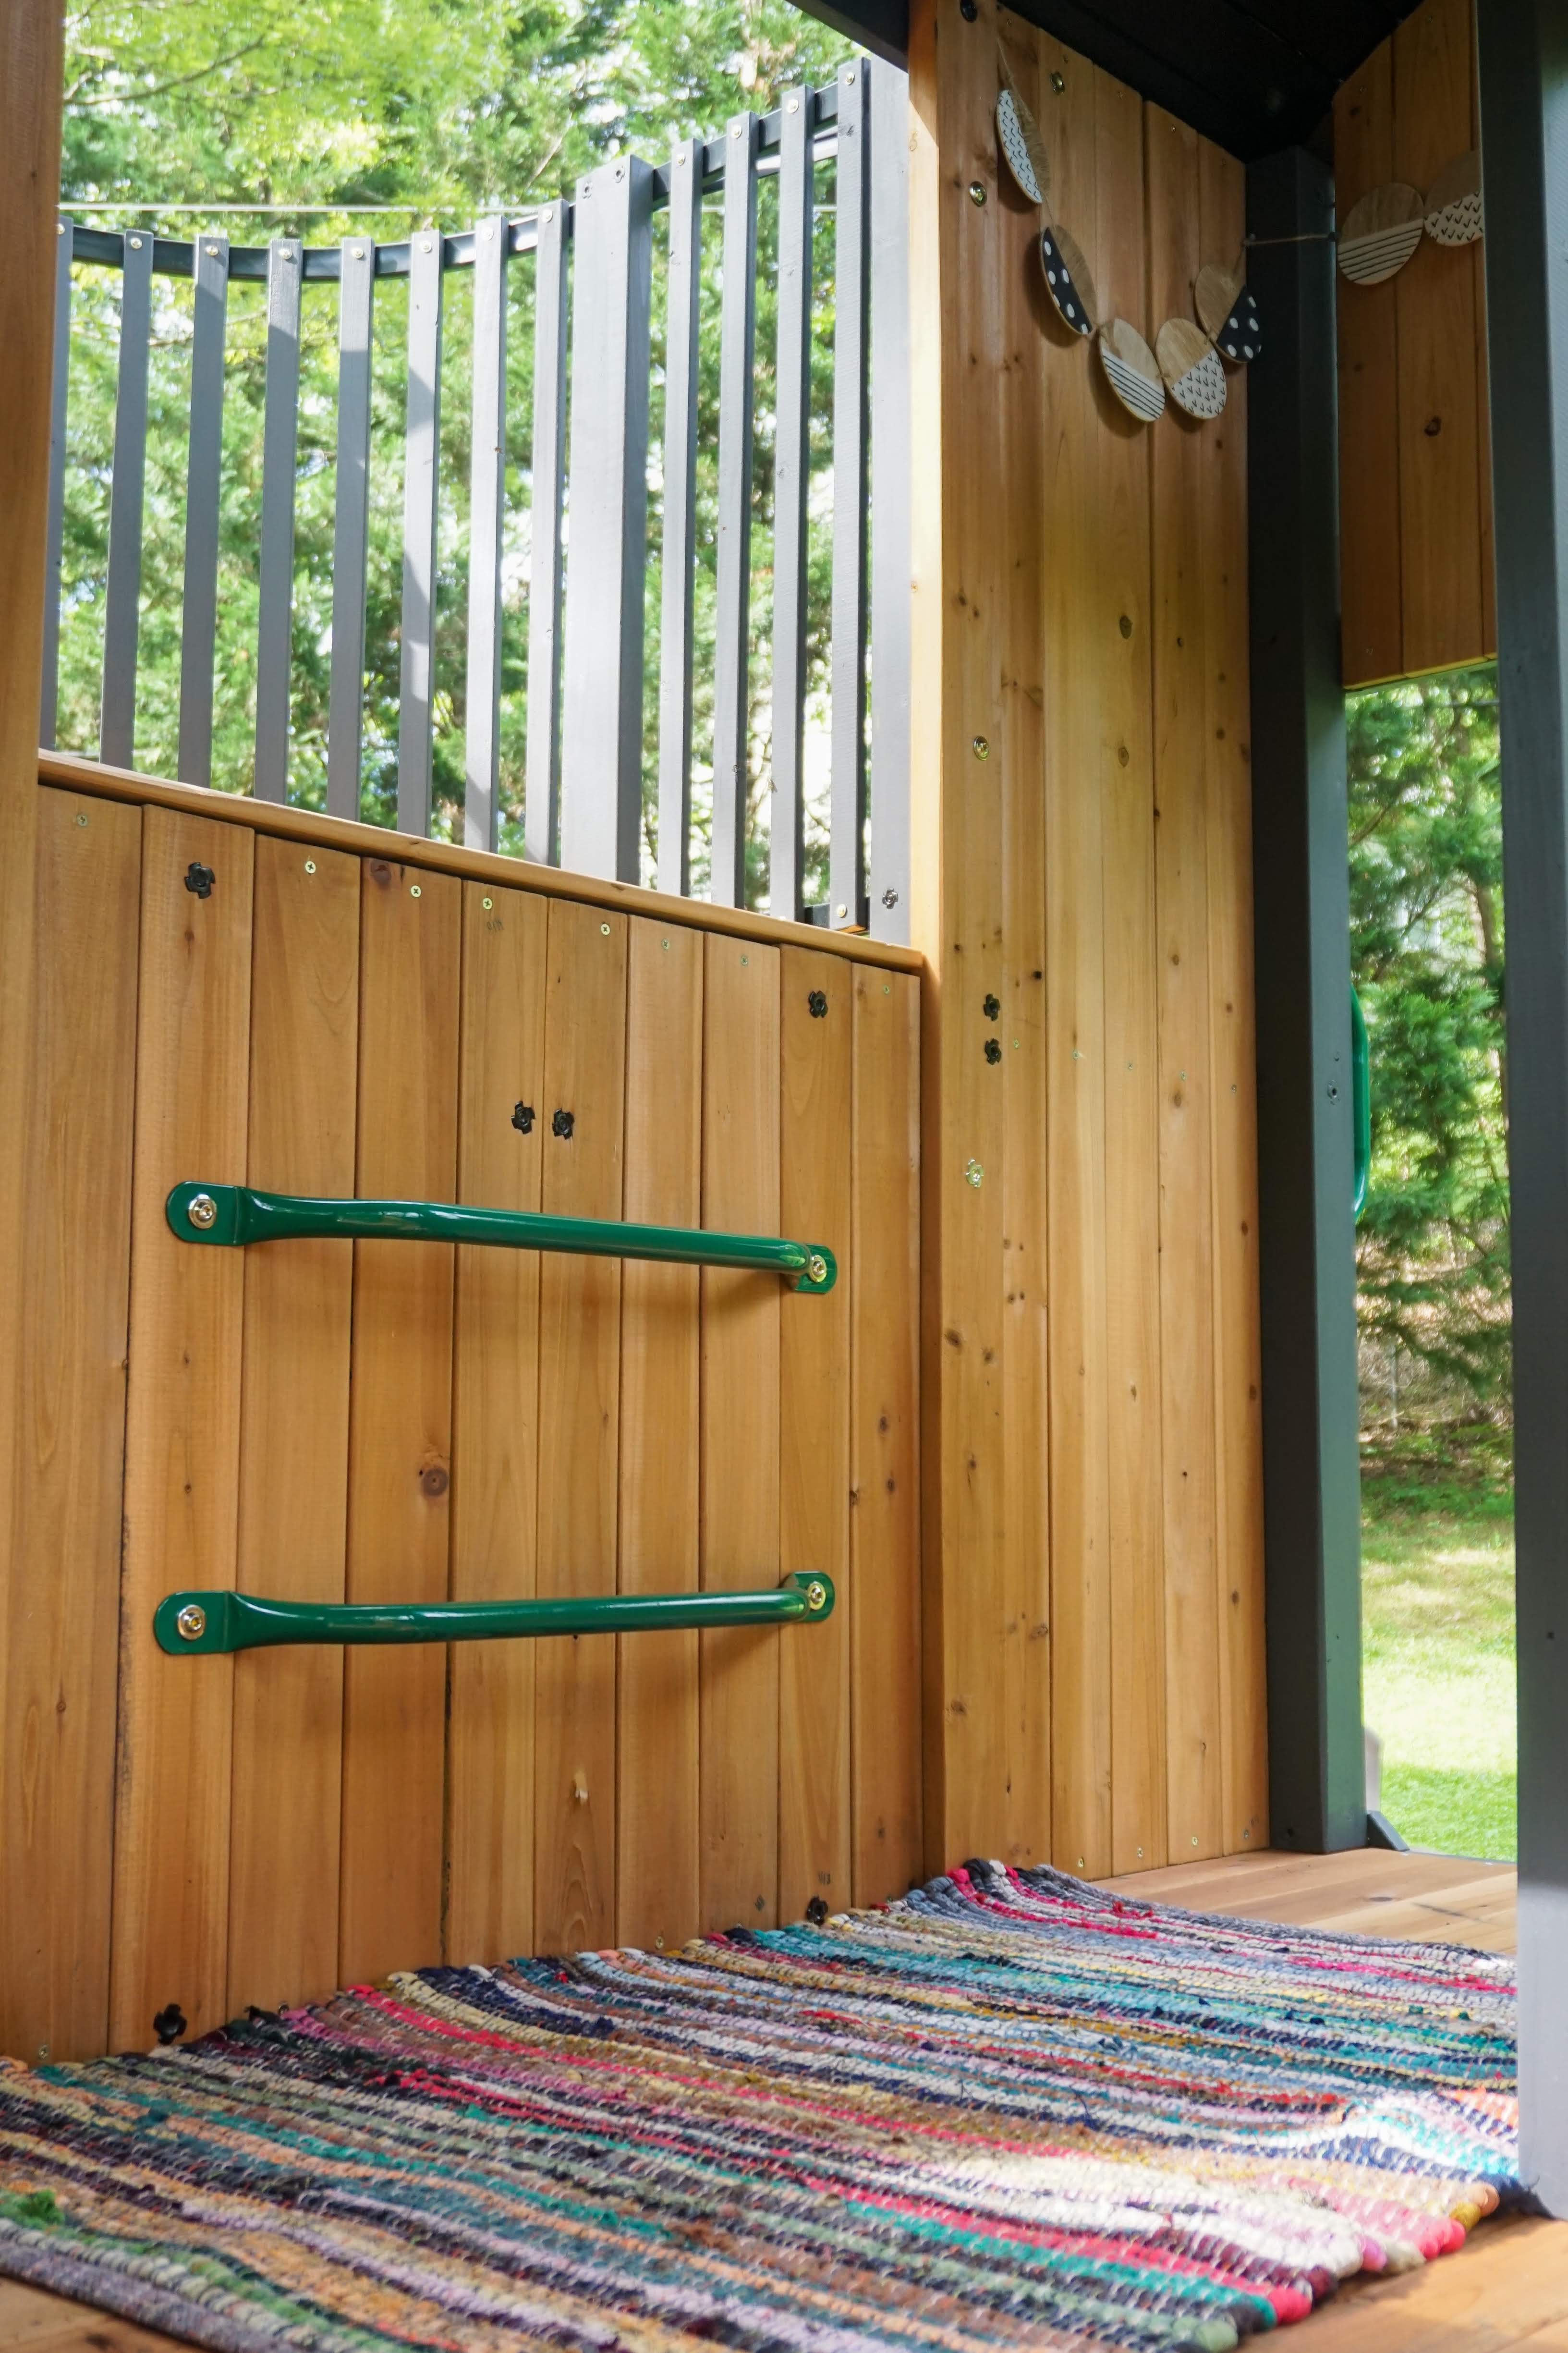
The Details
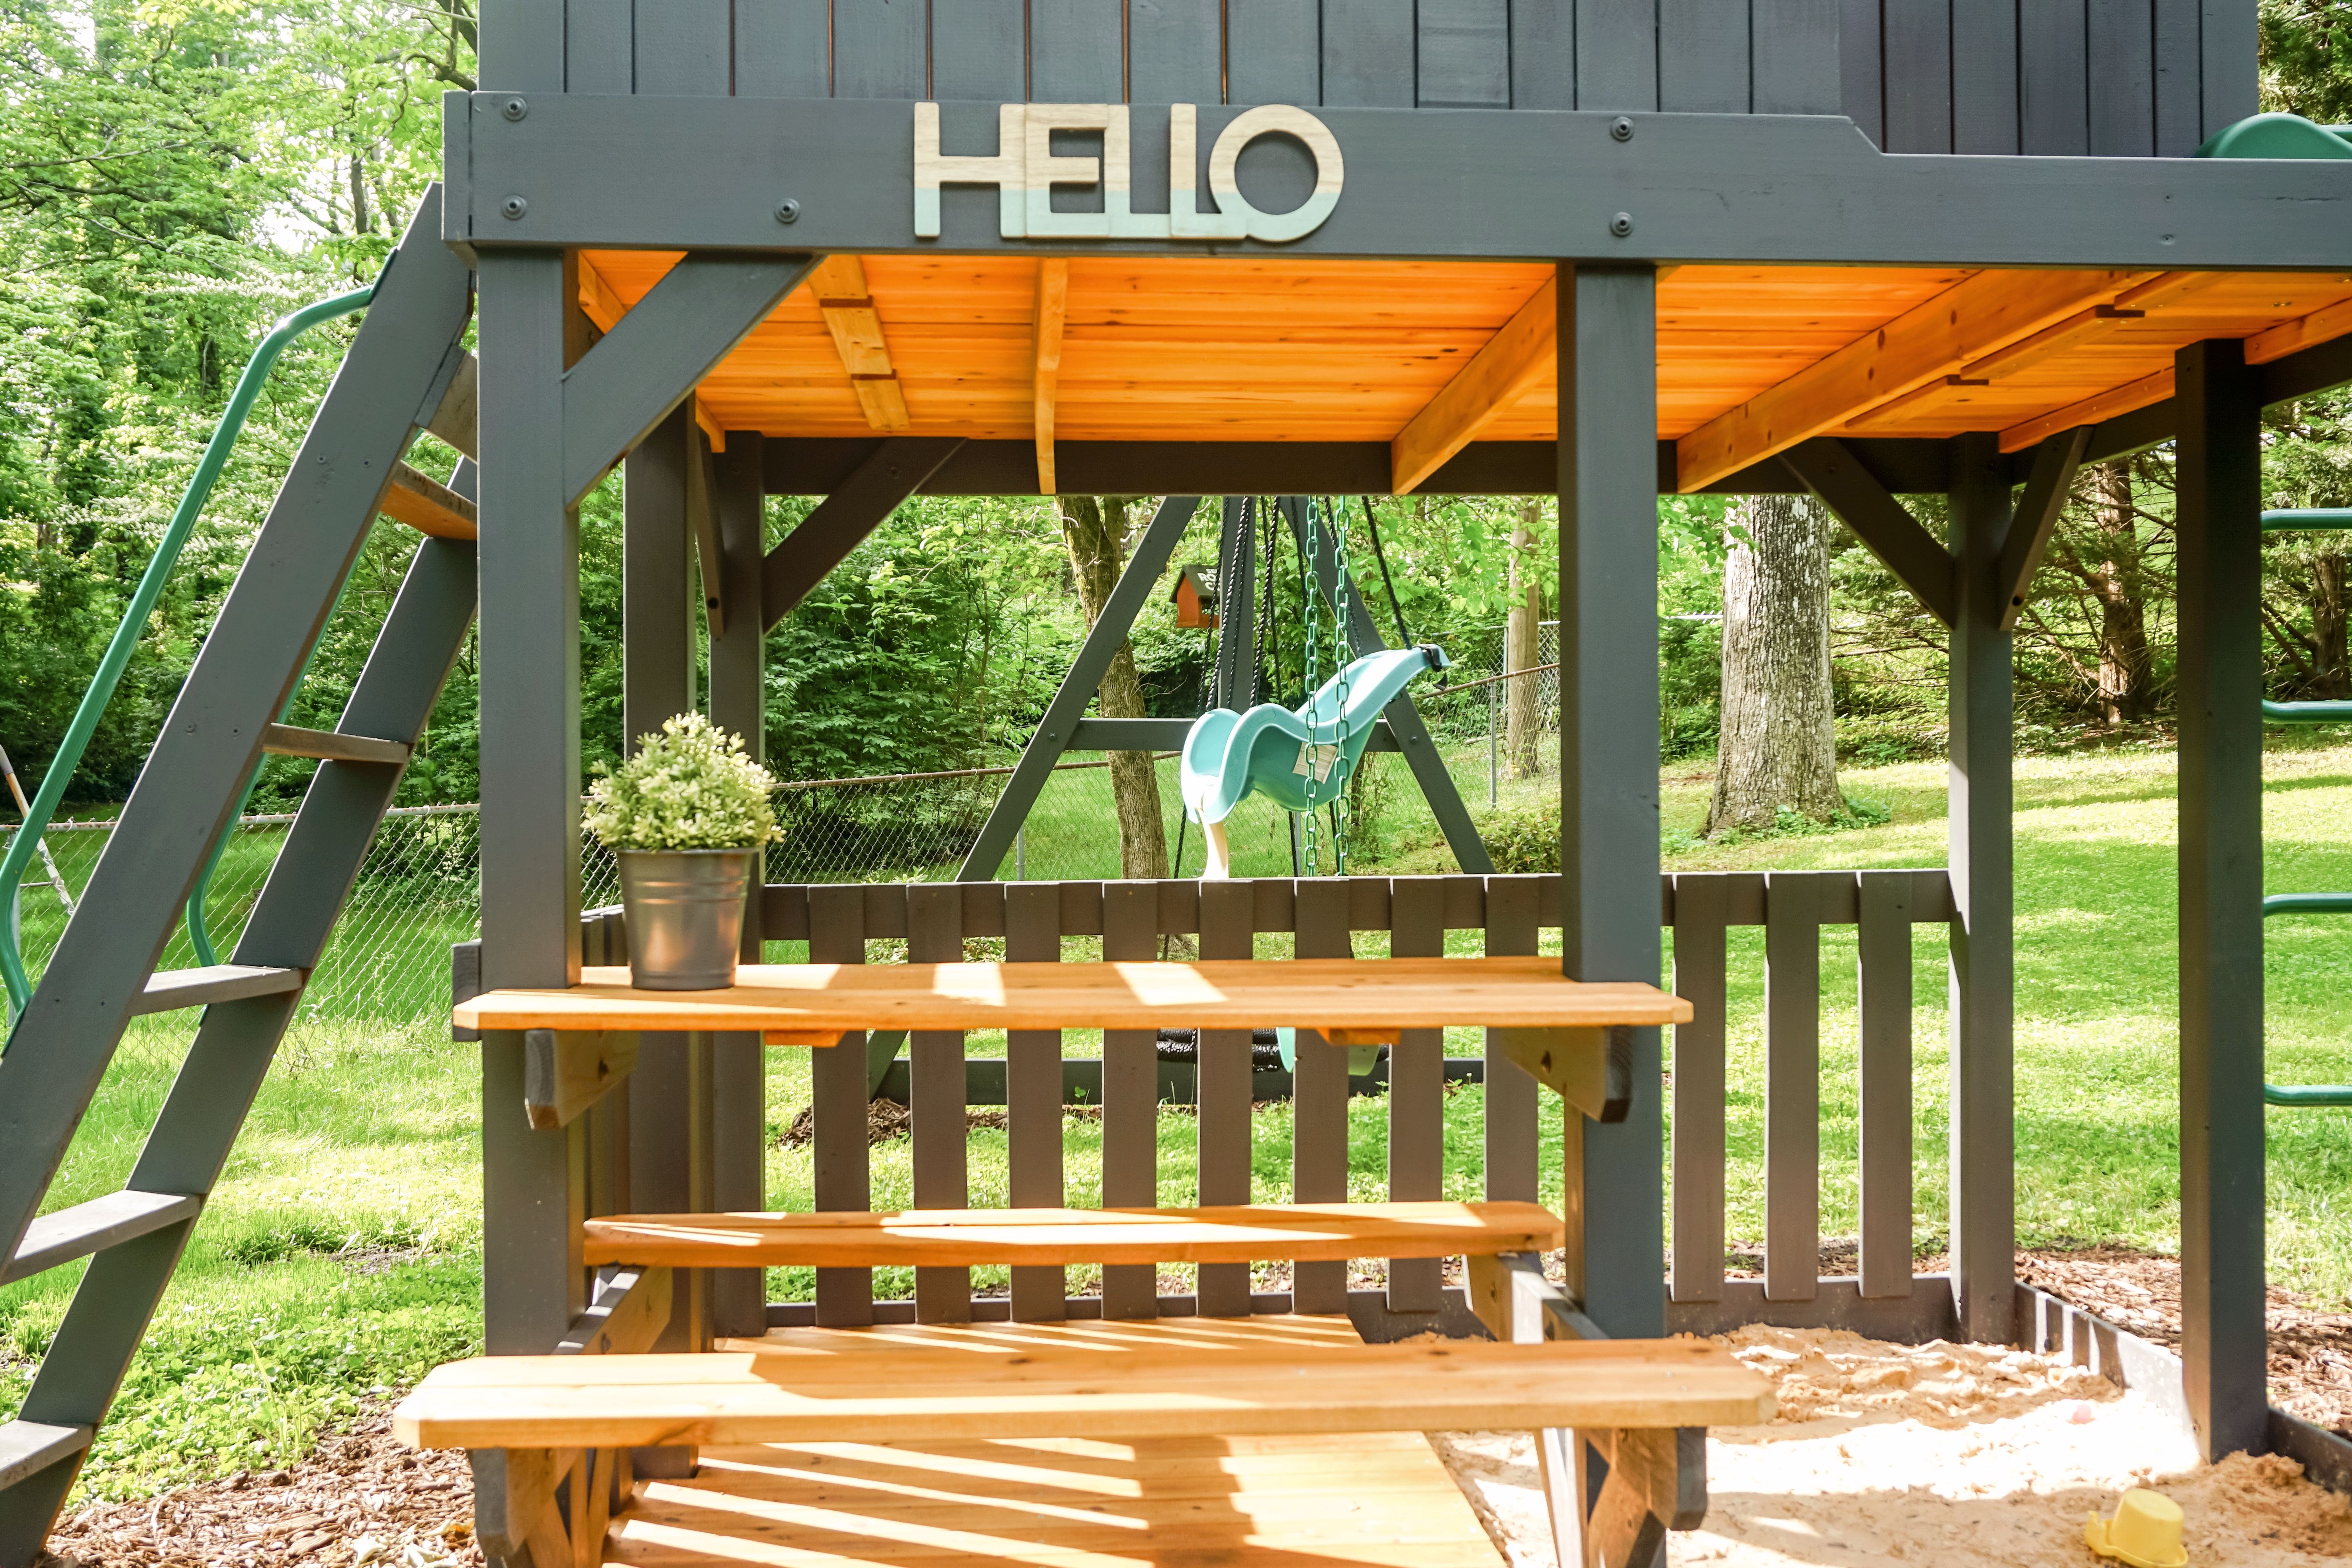
Like with any project, the devil is in the details. I added a few fun elements from Target’s dollar section and a $5 Aldi rug to make this space even more special.
I also spray painted the telescope gold so that the green and yellow wouldn’t be an eyesore.
Final Result
This project has been an incredible distraction from the world these days. It’s already given us hours of sliding (into the inflatable pool!), swinging, sand castle building, and tea parties. I can just imagine what it will be like to have friends over to play. We are ready for those days to come!
The delivery man said that he has delivered a lot of playsets lately. Are you one of the ones who have also bought a playset to keep your kids active during quarantine?
Save for later!
