Looking to update a dated cherry piece of furniture? I’ll show you how I took my dresser from a shiny cherry glaze to a trending matte, natural wood. If you have a little patience and the right tools, you can easily update your cherry piece to give it a modern, updated look.
If your mom was up-to-date on her home decor, then I’m sure you had a nice, shiny cherry piece of furniture in your home as a kid. Though cherry wood is beautiful, I’m not sure why manufacturers thought it would be a novel idea to glaze each piece shiny red. Even though I wouldn’t call myself a fan of this look, I didn’t let it stop me from snagging this FREE dresser on my church’s Facebook page. It had too good of bones and was in too good of shape to let it go.

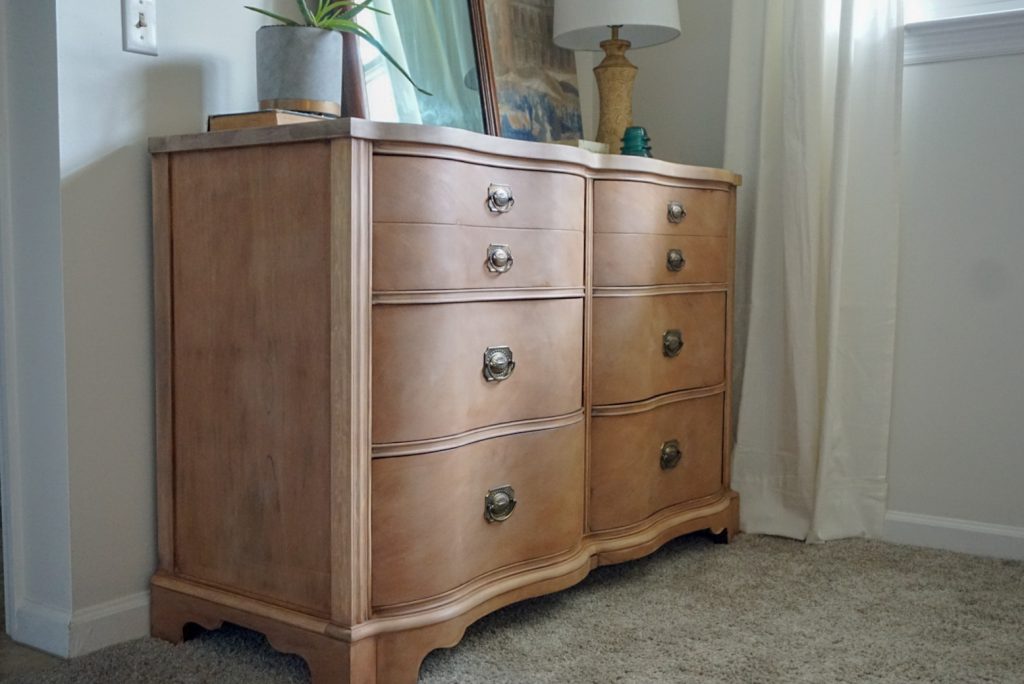
After scrolling through my bedroom Pinterest board and reaching out to my Instagram friends for ideas, I decided that I wanted to strip this dresser down to its bare bones to give it a natural, stonewashed, Scandi-ish finish. Little did I know it would be a month long process to completely finish it. I wouldn’t say it was a project. It was just a whole lot of hurry up and wait steps to get it to the right finish.
Supplies
Citristrip
Cheap Paint Brush
Scrapper
Wire Brush
Electric Hand Sander | 100 grit (remove) + 160 – 180 grit (smooth)
Clean Cloth
Mineral Spirits
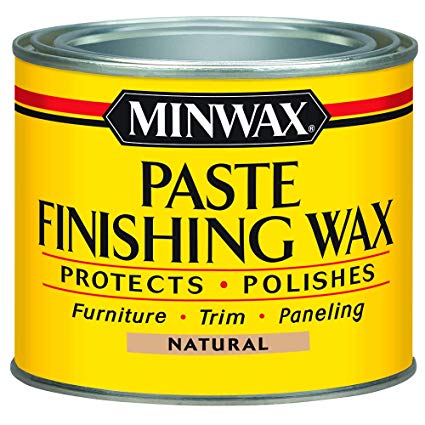
Minwax Finishing Wax
Stiff Bristle Wax Brush
(Some links are affiliated for your ease of shopping.)
Step 1 | Strip, Strip, and Strip Some More
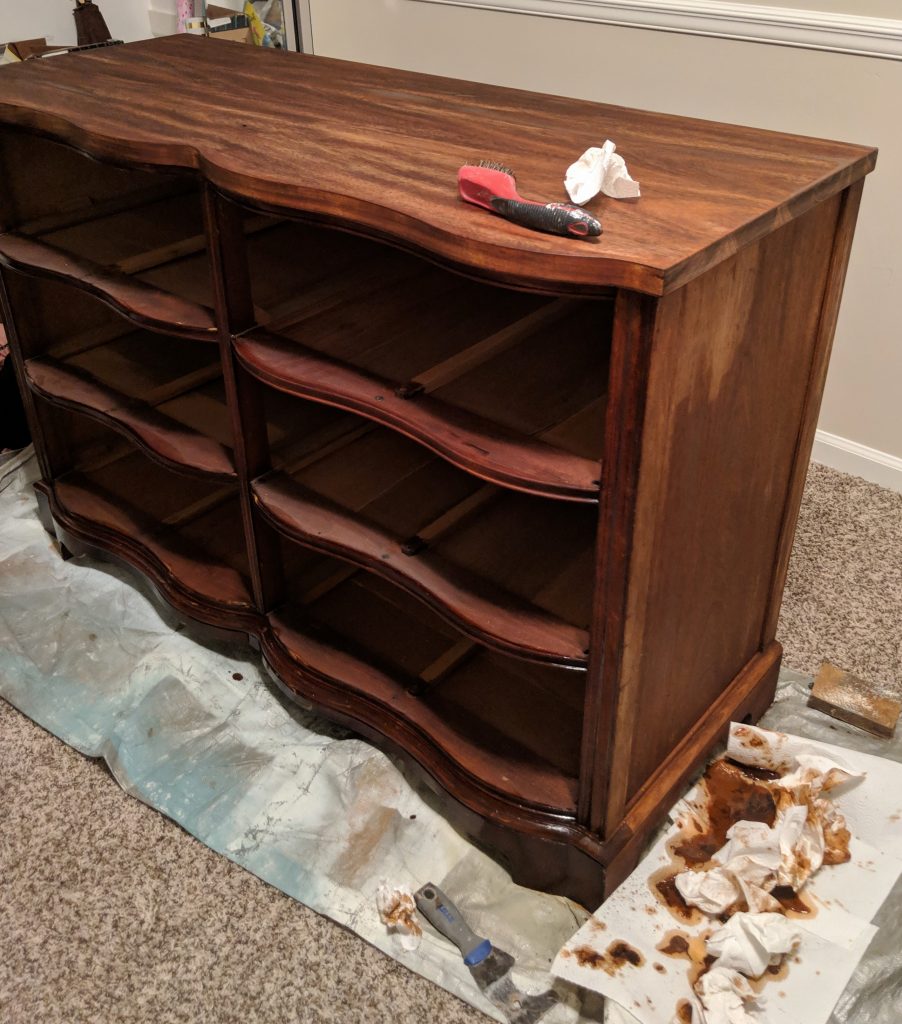
First, using a cheap paint brush, brush on a thick layer or Citristrip. (I like Citristrip because of the low odor.) Let it set for at least an hour before scraping it off onto a protected surface. Once most of the gel is removed with the scraper, go back in with your wire brush and rub with the grain to get the stain out in the crevices. You won’t damage your furniture with the wire brush as long as you go with the grain of the wood.
After the first strip, you will be left with just a slightly less red finish, which is disheartening. You will need to take into factor that the wood needs to dry before seeing if you need to apply another coat of stripper. In my case I applied up to 3 rounds of stripper in many areas of the dresser.
This is the most time consuming part because you have to wait after each step. Once you finished your last round of stripper, you’ll want the piece to dry out completely before moving to step two. This can take at least 24-36 hours. (Ugh! The waiting!)
Step 2 | Sand
Once the piece was dry, I took my electric hand sander with 100 grit sandpaper and sanded the entire piece with the grain of the wood. This removed any remaining stain or stripper. Then I went back with 160-180 grit sandpaper to give the wood a smooth finish. You may need to go in with a sanding block or regular sandpaper to get into the crevices.
Step 3 | Clean Off All Residue

After your piece is sanded down to your preferred finish, go in with your vacuum or shopvac to remove the dust. Then you will pour mineral spirits on a clean cloth (I used an old t-shirt) and rub down the entire piece. You may want to repeat this step. This is the other step where you will need to wait for your piece to completely dry before moving on. Luckily, it only takes an hour at the most.
The drawers on the top are dry and the bottom are wet from the mineral spirits.
Step 4 | Wax On
To protect the wood and give it a natural, matte finish, I opted to go with Minwax Finishing Wax. You can also use a matte or satin poly, which will give it a similar finish but may not look as natural.
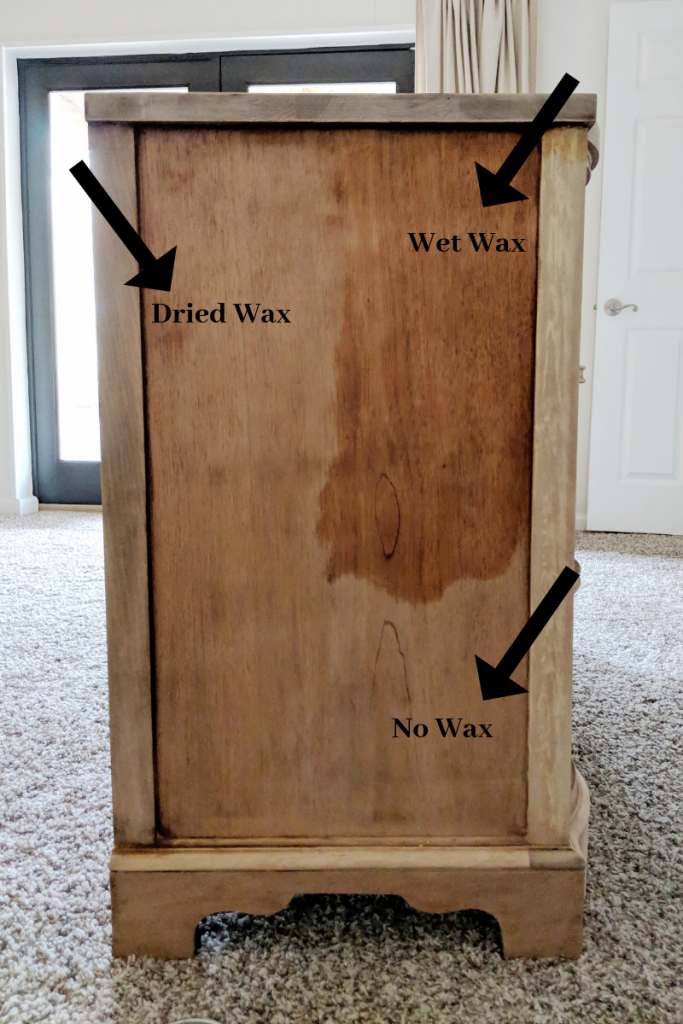
I swirled my wax brush around the wax and buffed it on using a circular motion. Don’t fret when you notice your wood taking on a much darker finish. The wax will dry within 15-20 minutes.
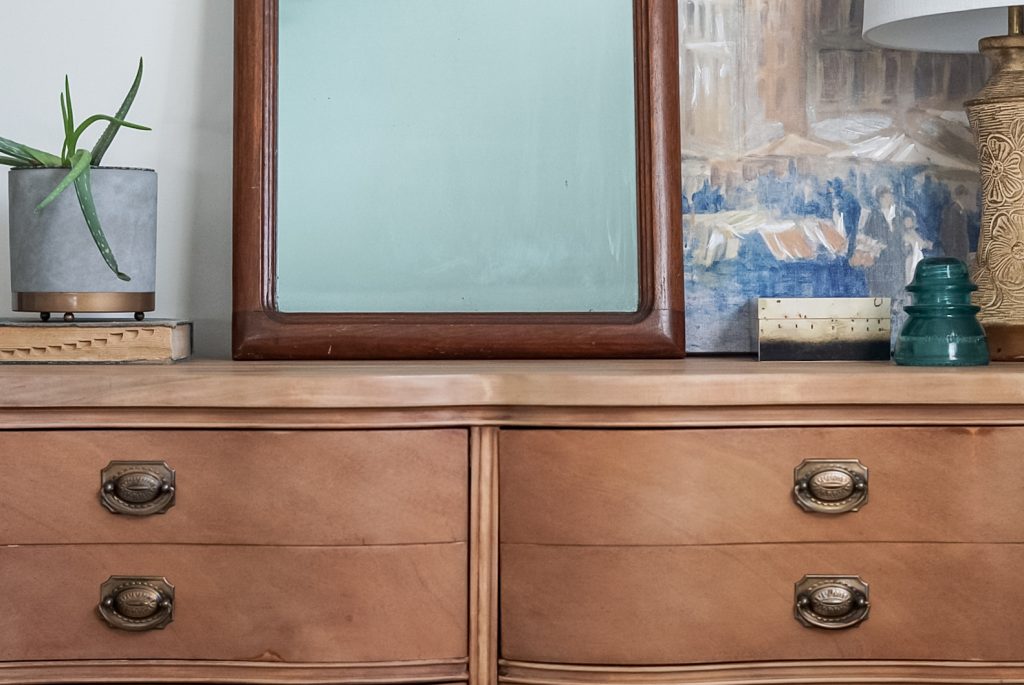
The finishing wax is the star of the show. It truly gives the wood a natural, matte look while protecting it as well. I would use a poly or shellac for a high traffic piece though.
You will want the wax to completely dry before putting any objects on top. This may take 2-3 days.
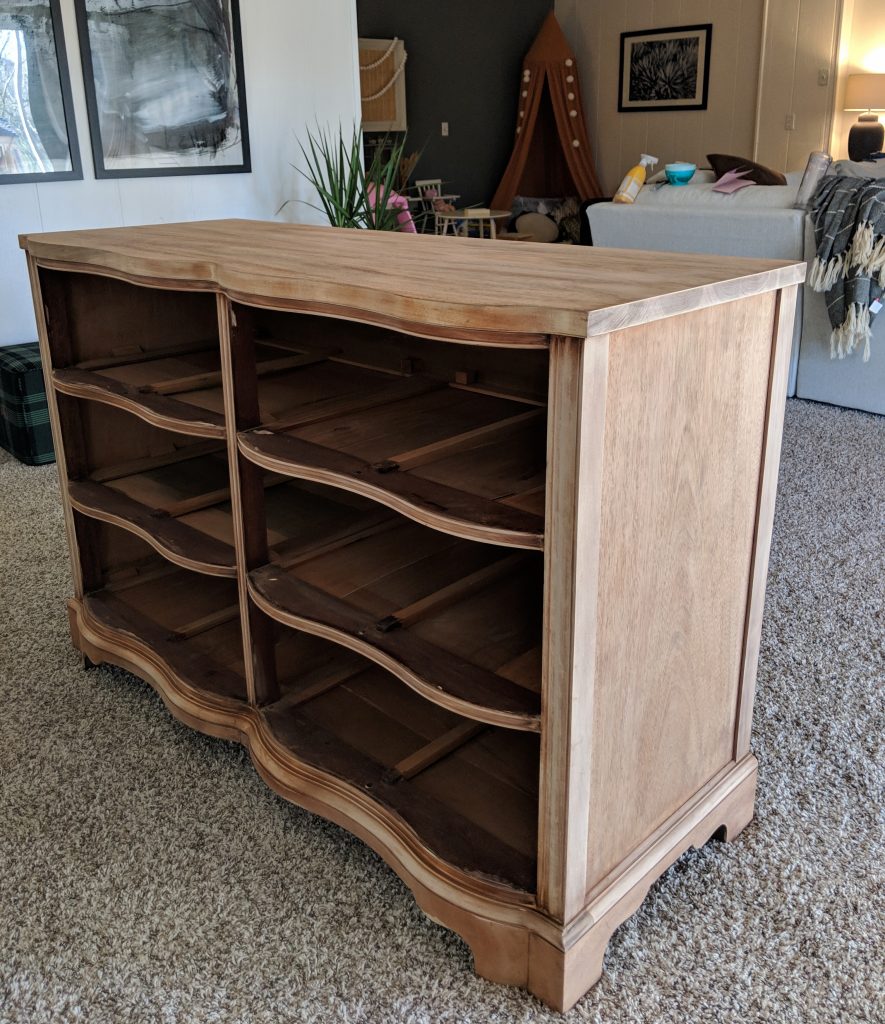
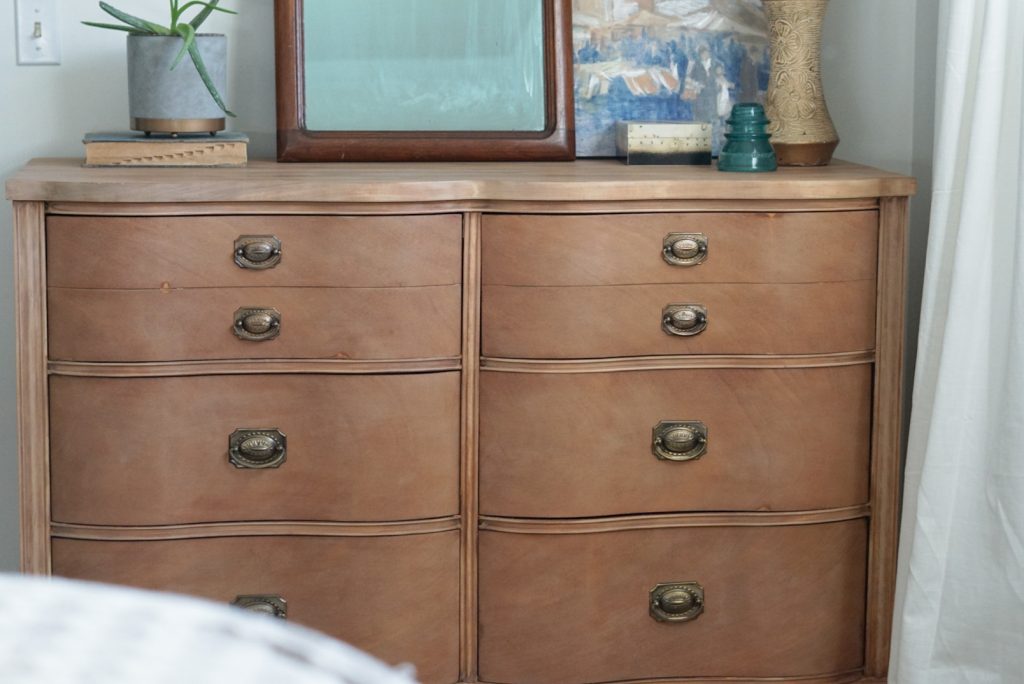
The Finished Product

I promise you, not every piece of furniture I refinish turns out the way I visioned and hoped for, but this one exceeded my expectations! This good-boned, yet dated shiny cherry dresser now has a high-end, high-style look. It has transformed the overall feel of our bedroom, which I’ll be sharing a full reveal soon!
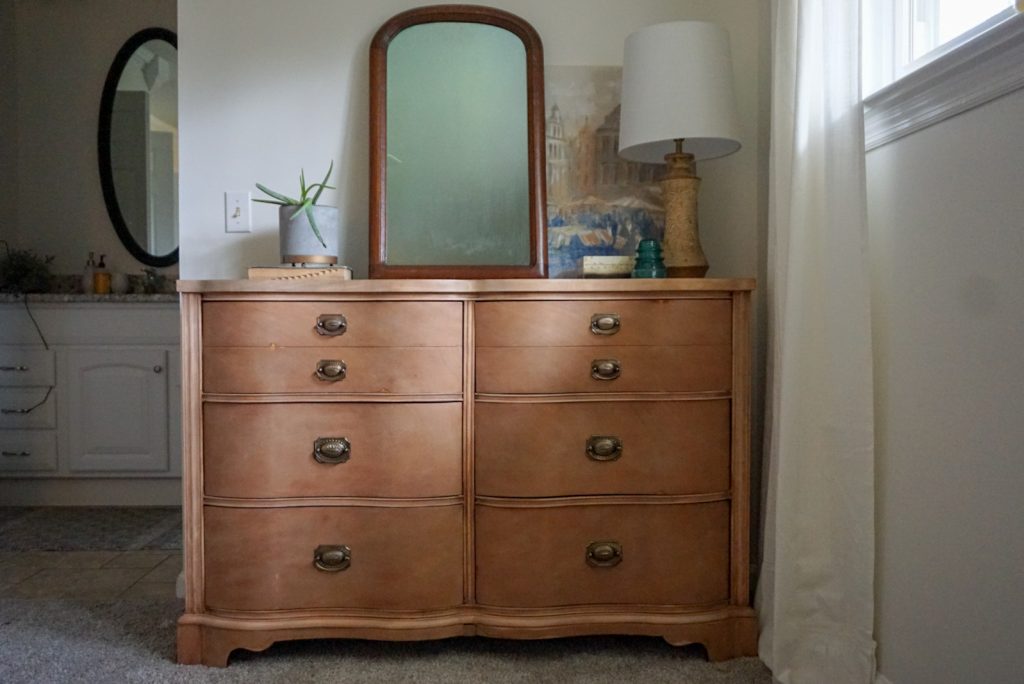
I usually either power clean the hardware (tutorial here), or I replace them, but for this piece, the worn hardware gave it just the old world feel I was going for.
Save this PIN for later!

Check out some past furniture makeovers below.
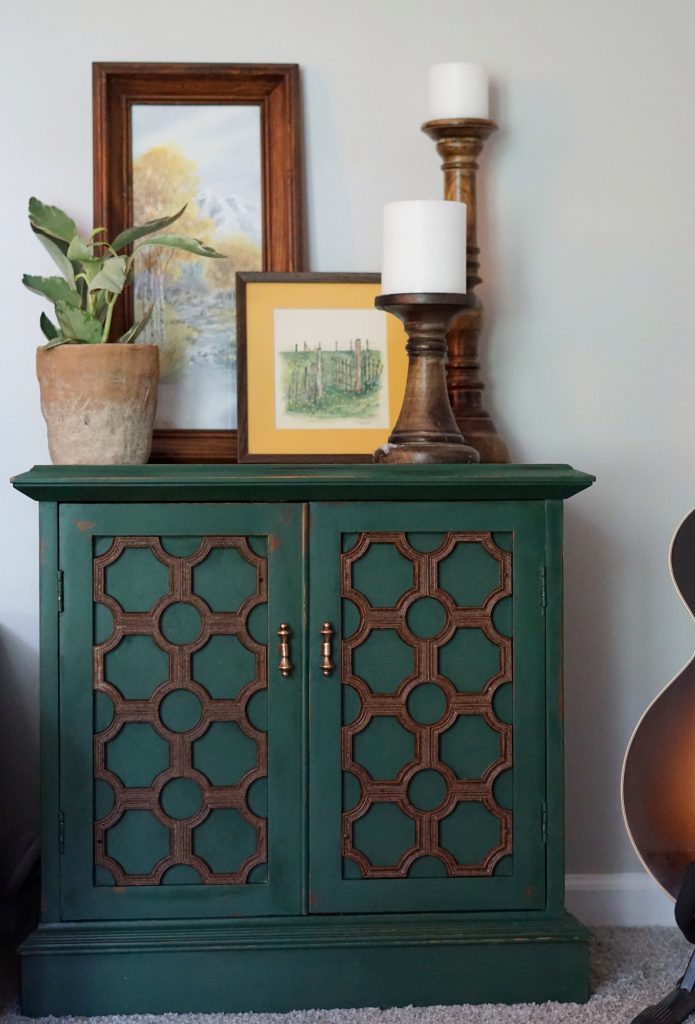
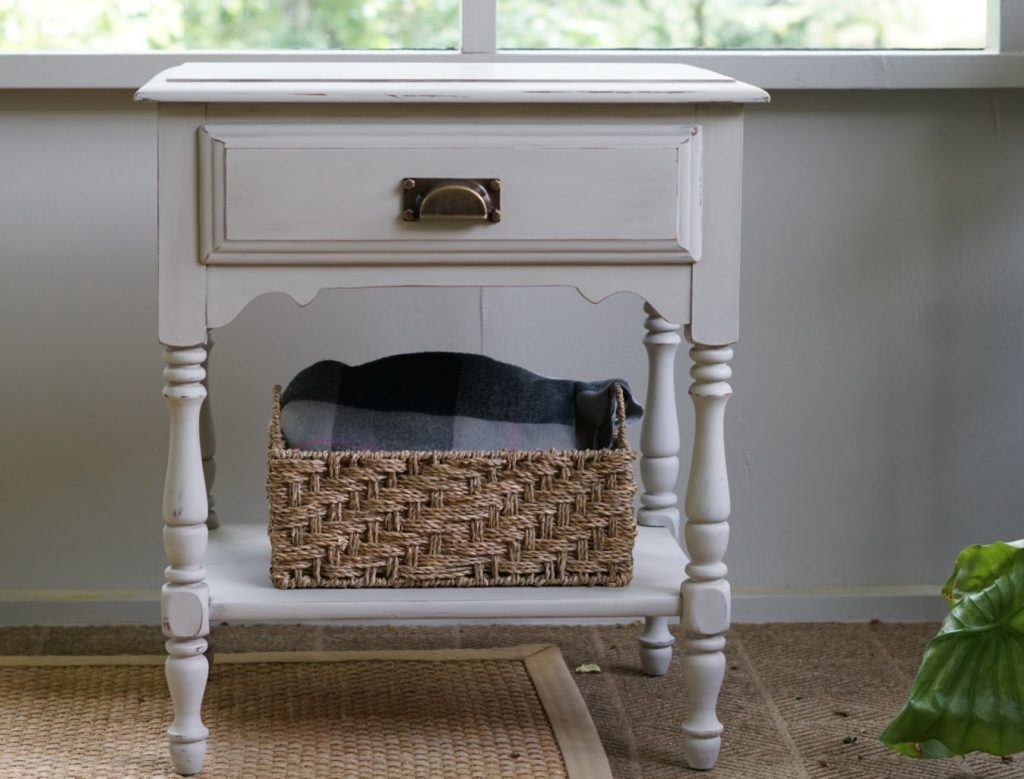
Chippy Eclectic Side Table
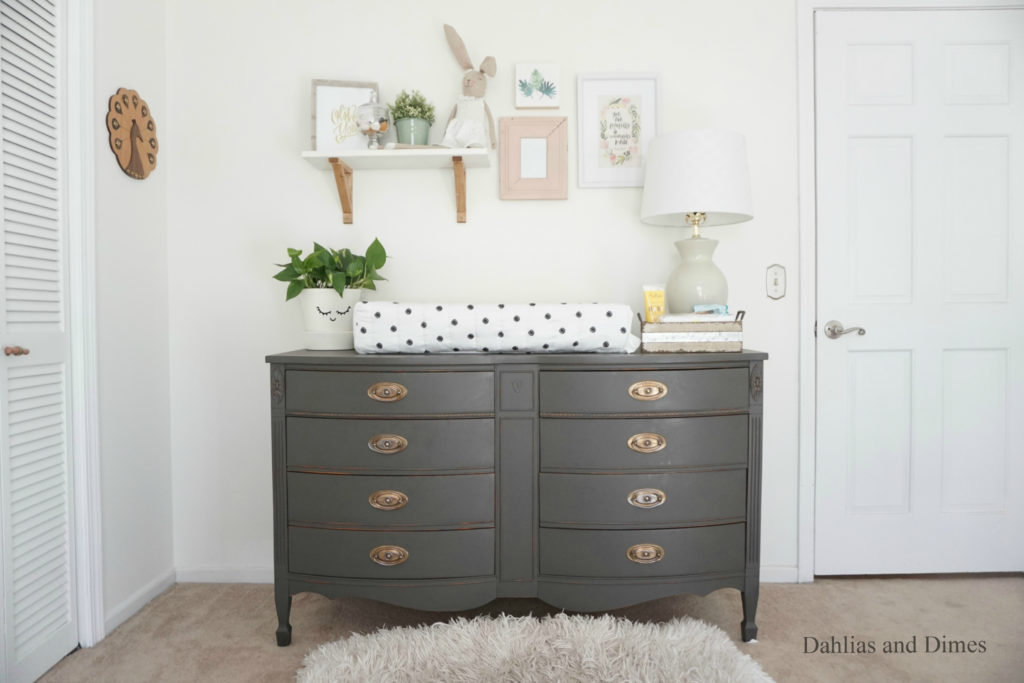
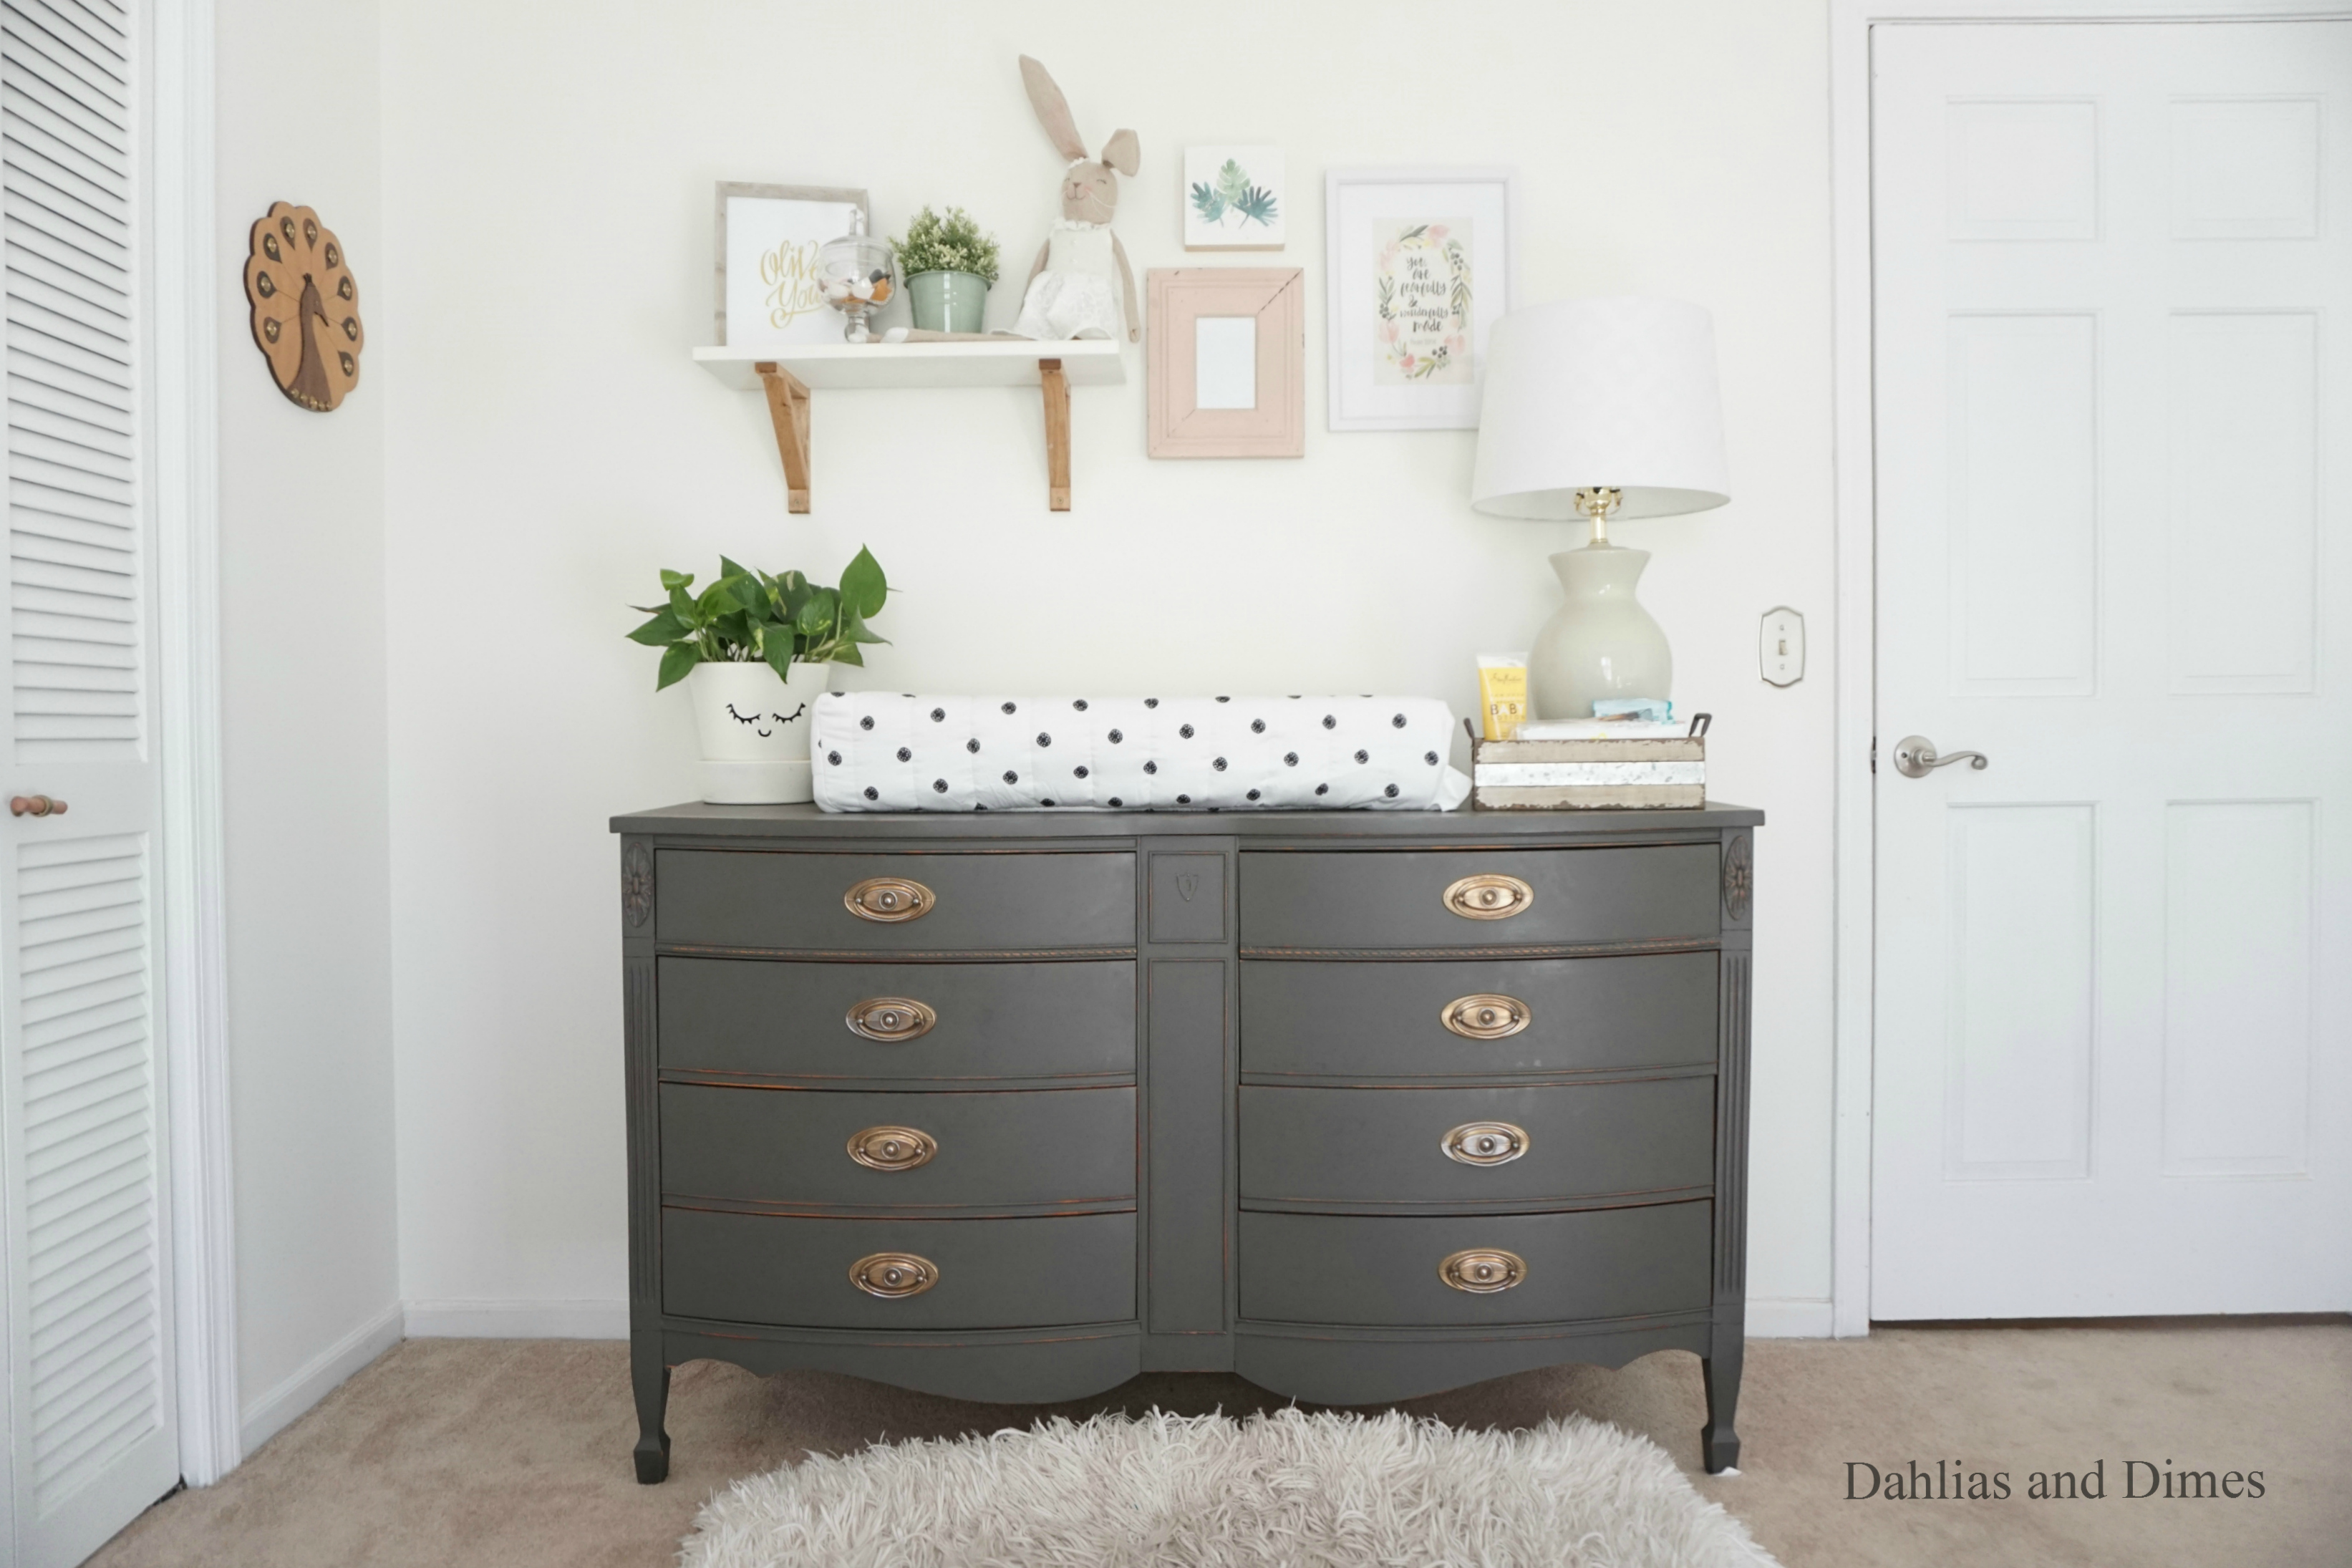
Chalk Painted Changing Dresser
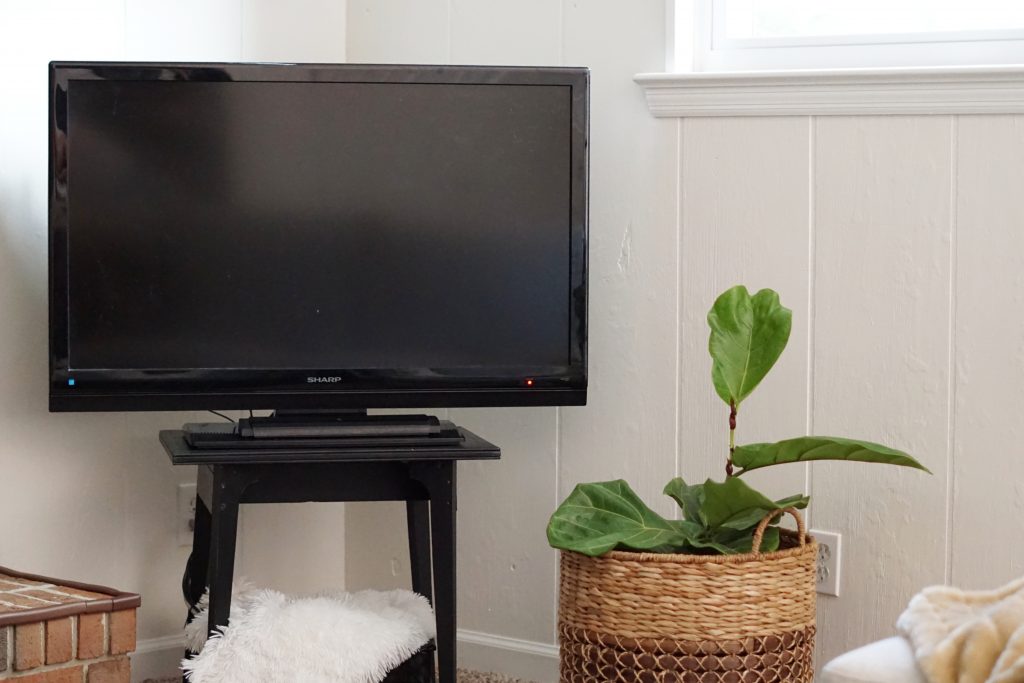
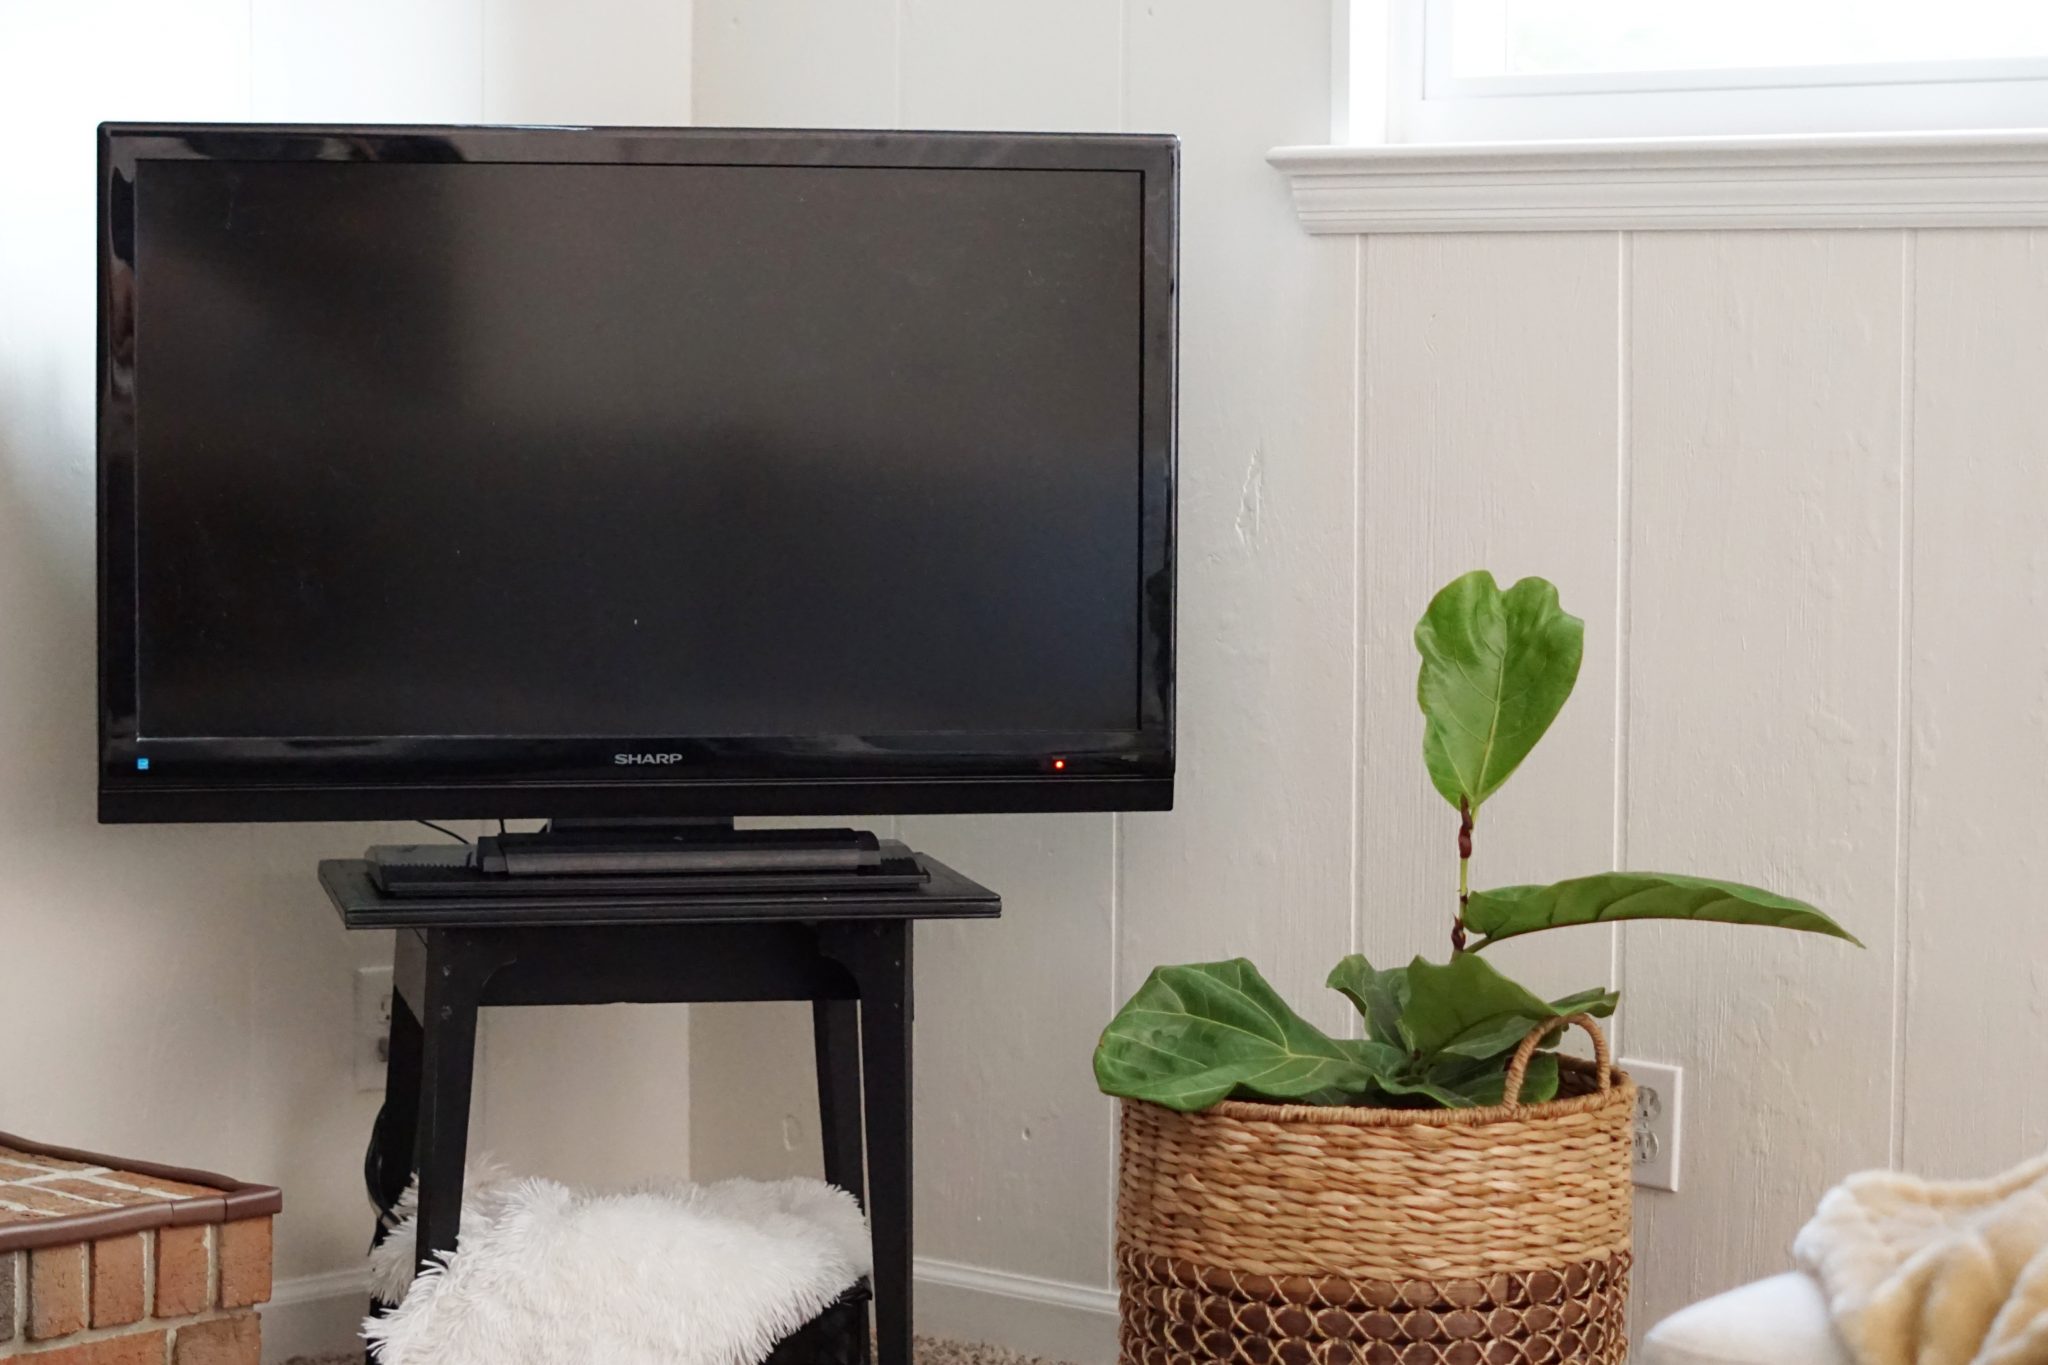
Modern Black TV Stand
Aging Furniture with Antiquing Dust

Chippy Eclectic Side Table
Chalk Painted Changing Dresser
Modern Black TV Stand

Aging Furniture with Antiquing Dust
