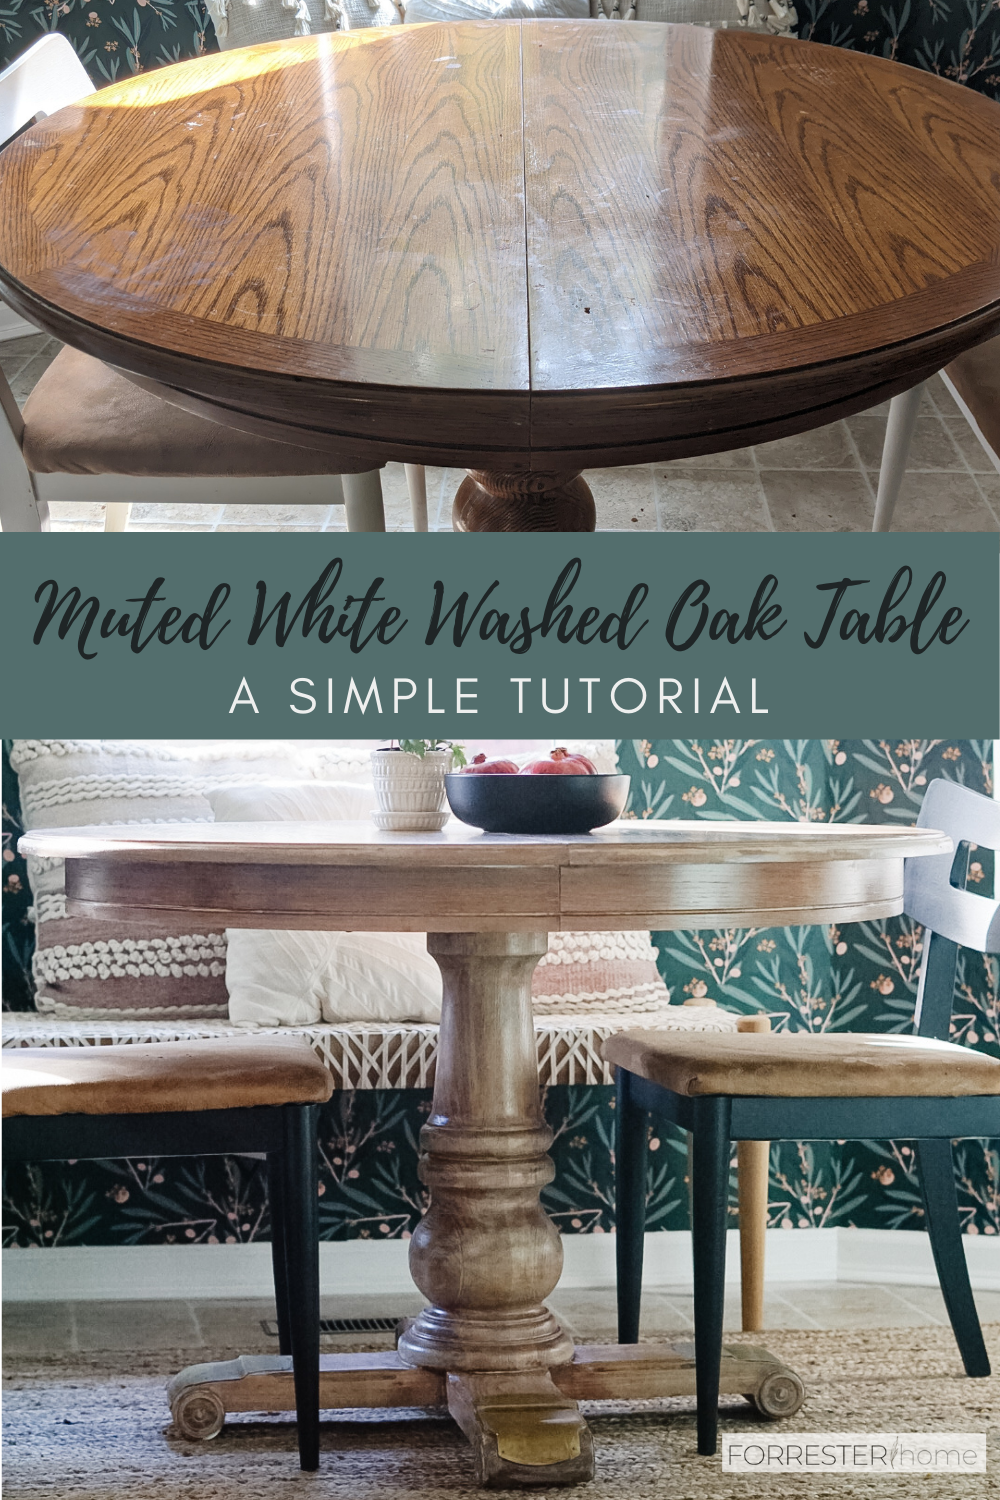
Follow along as I show you how I got a bleached, lightly whitewashed look on this thrifted oak table.
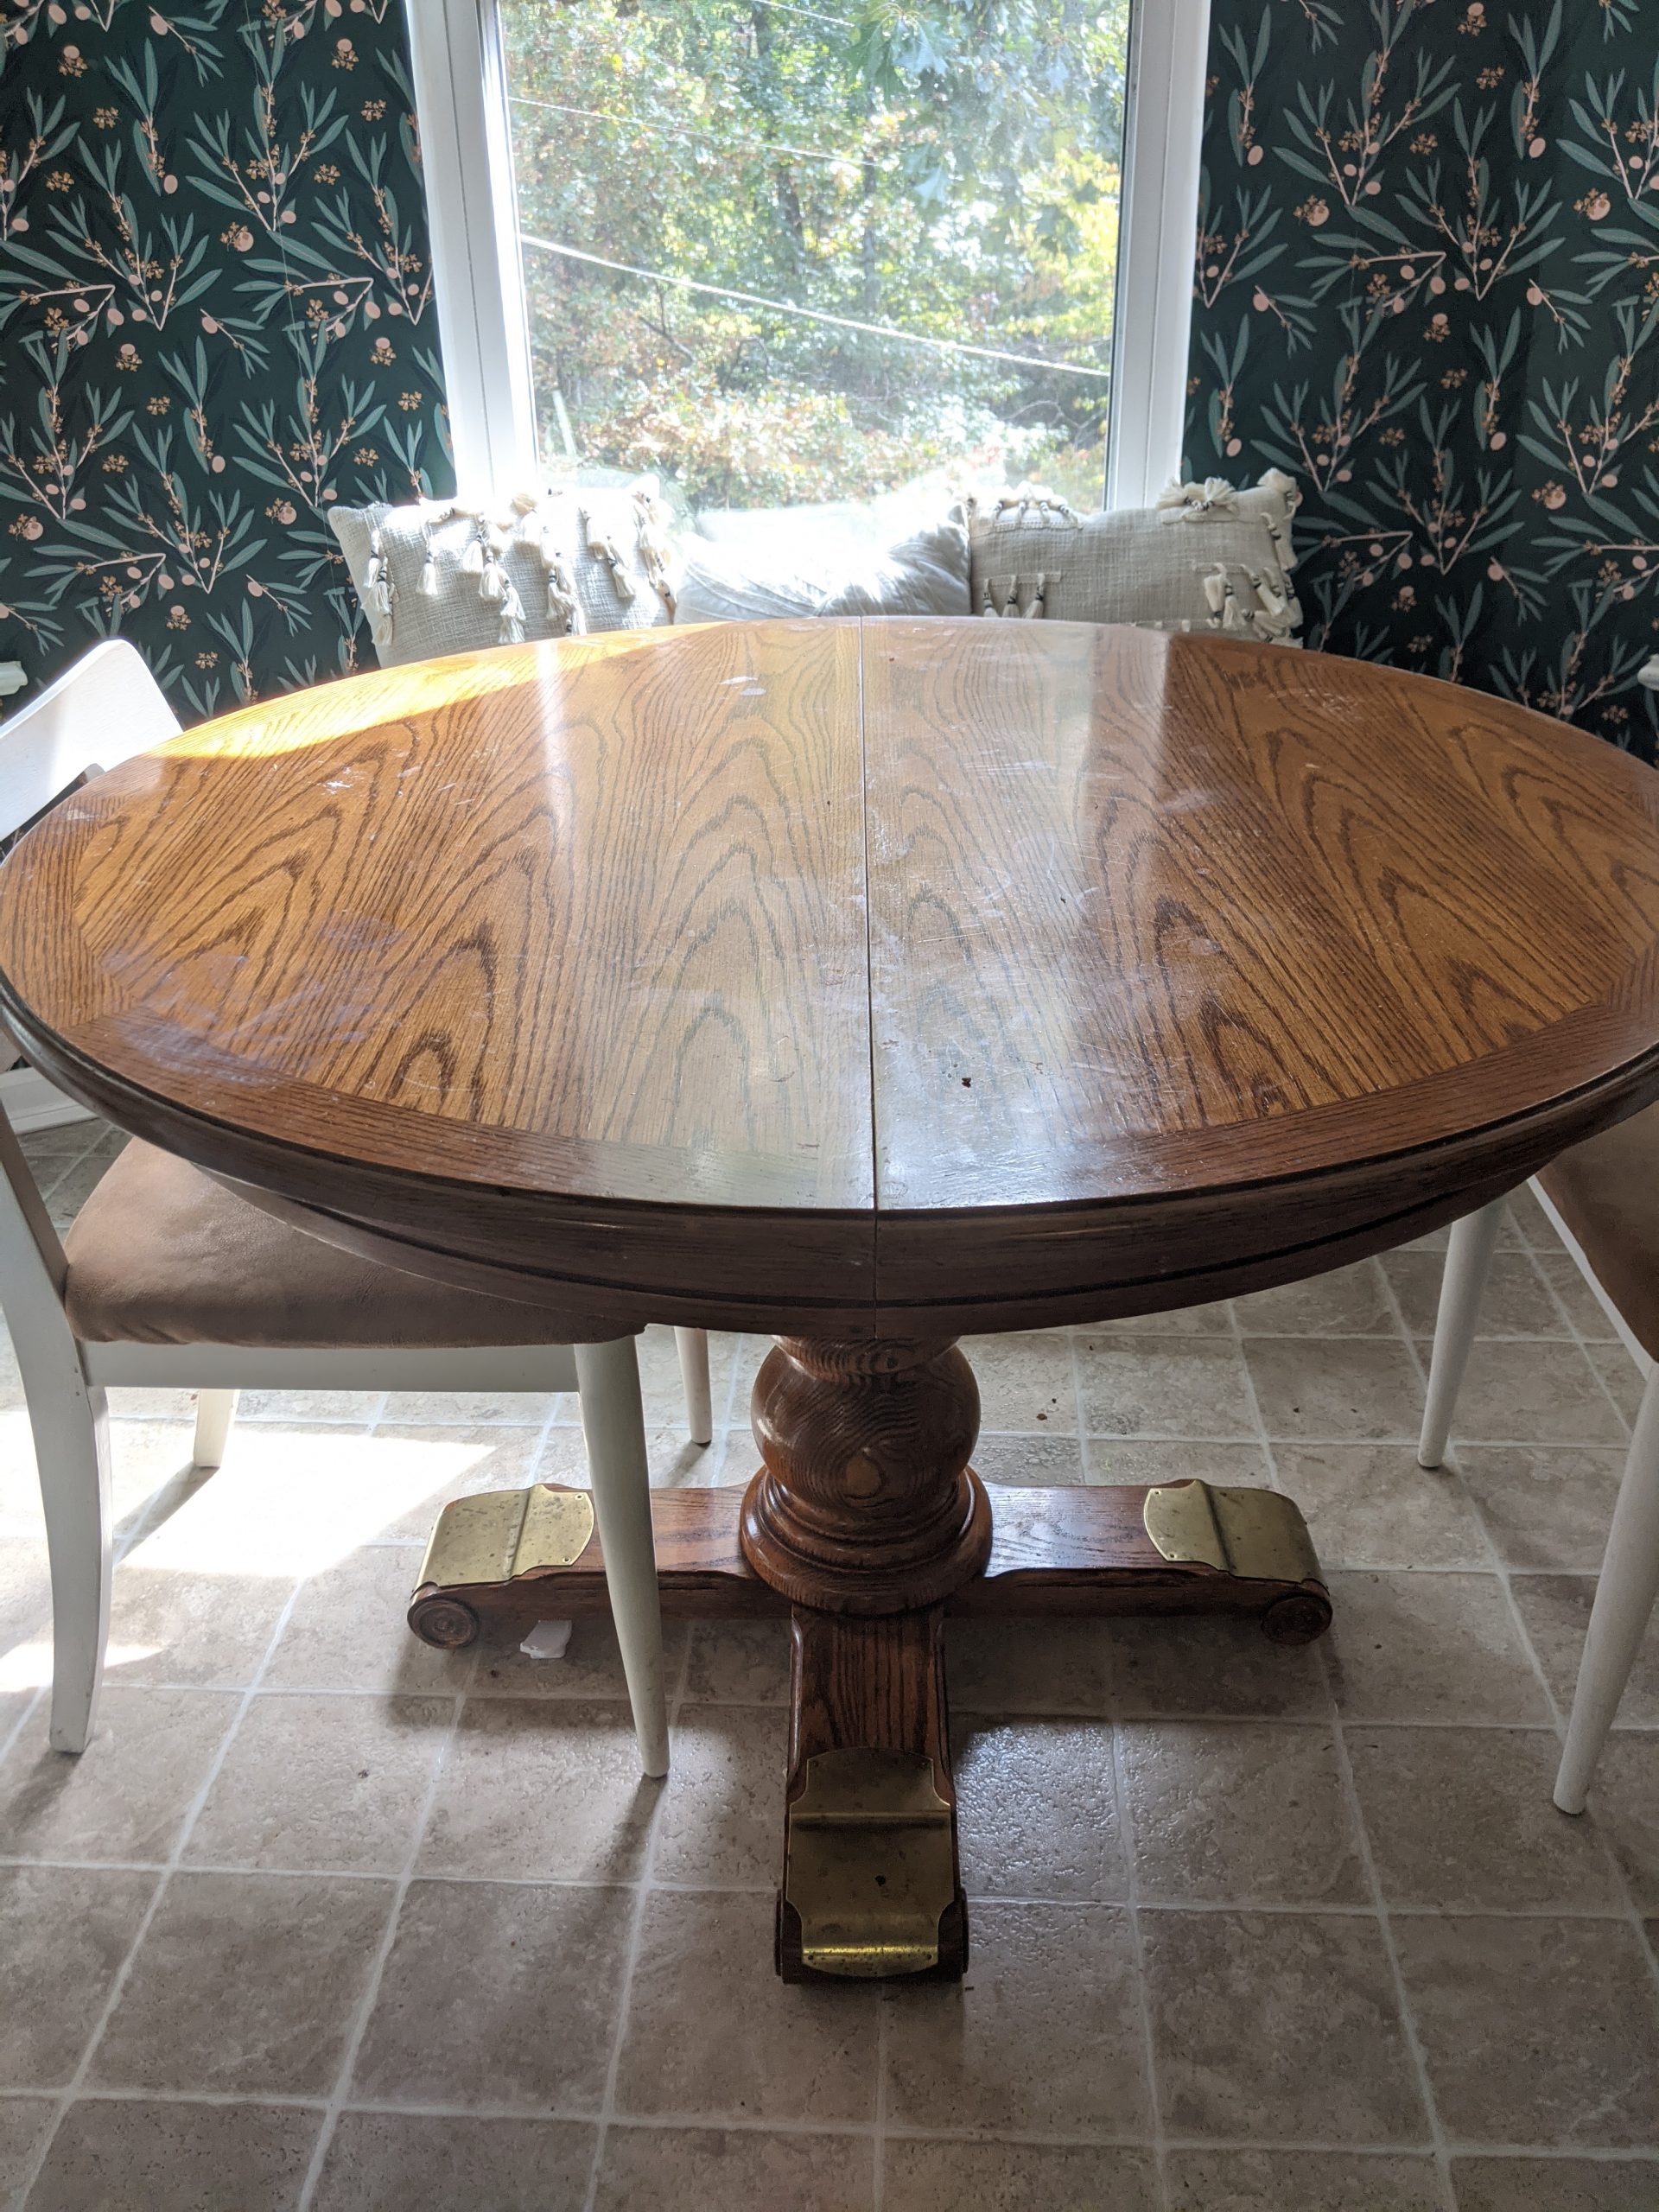
It was the perfect size, perfect detailing, and even had beautiful gold feet. The only issue was the worn, dated oak finish. I had a costly vision, as usual, of what I wanted, so I needed to get creative.

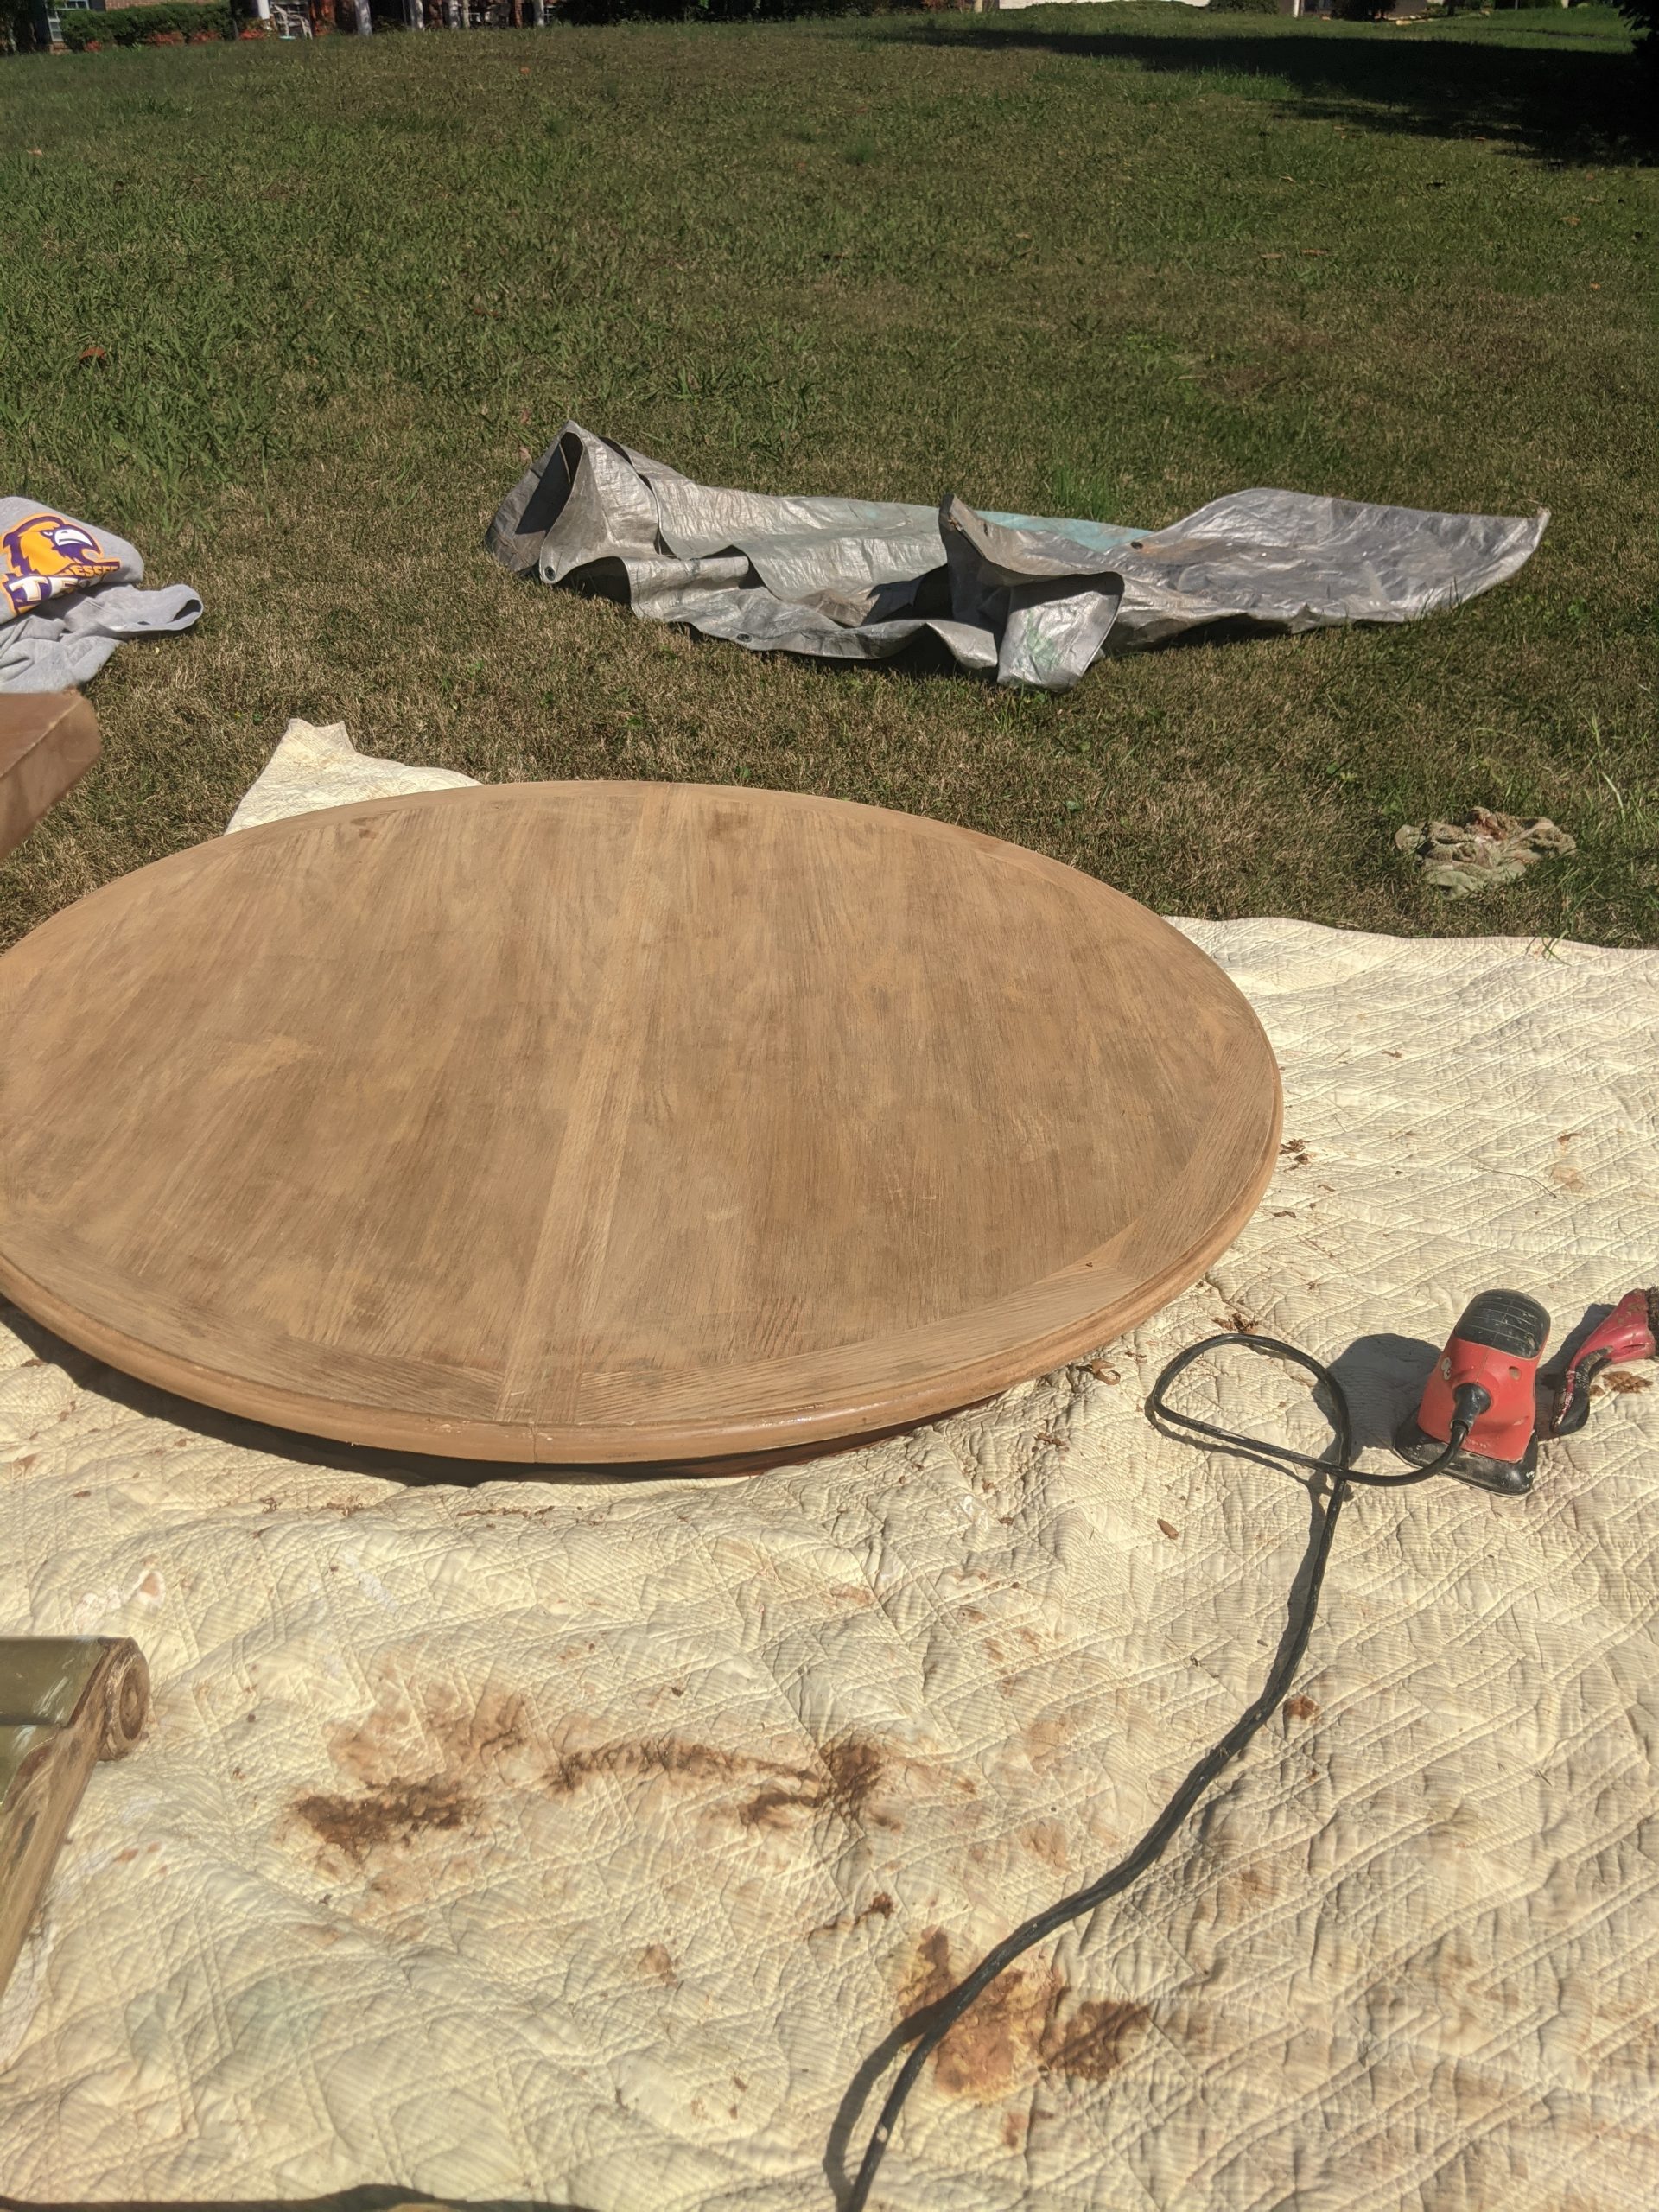
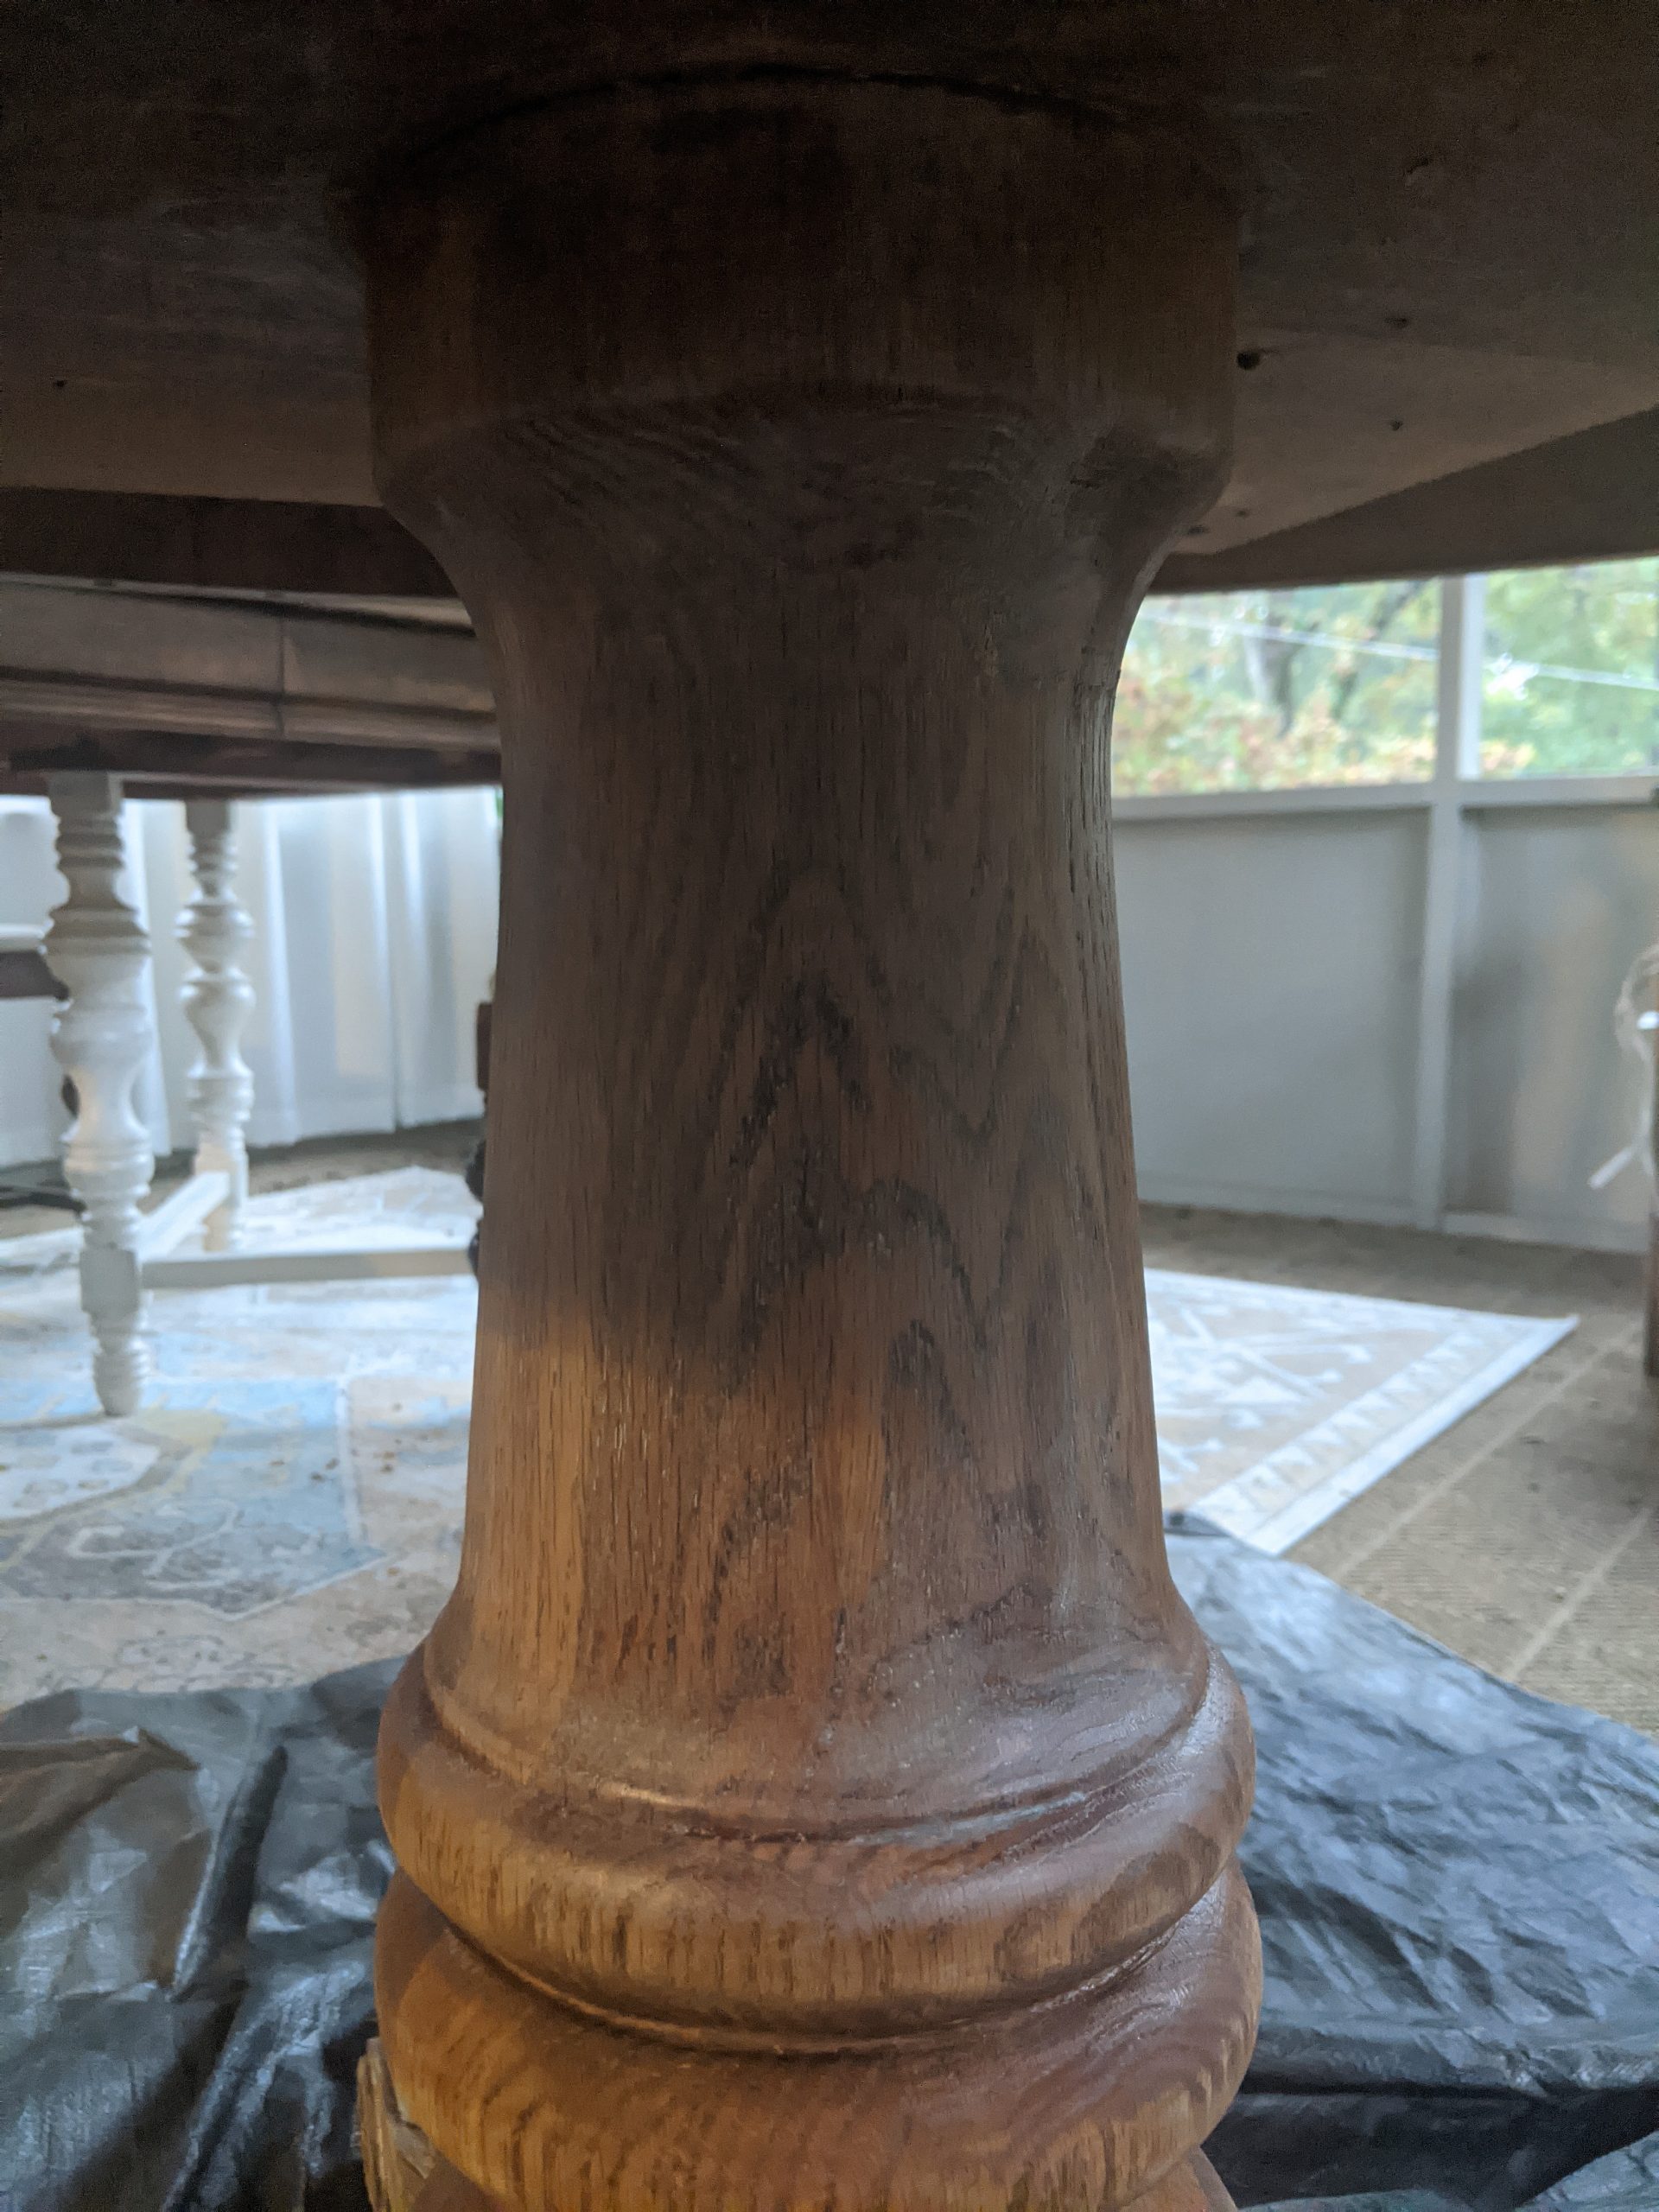
First, here’s a little before.
And now, here’s my little $1,000 inspiration.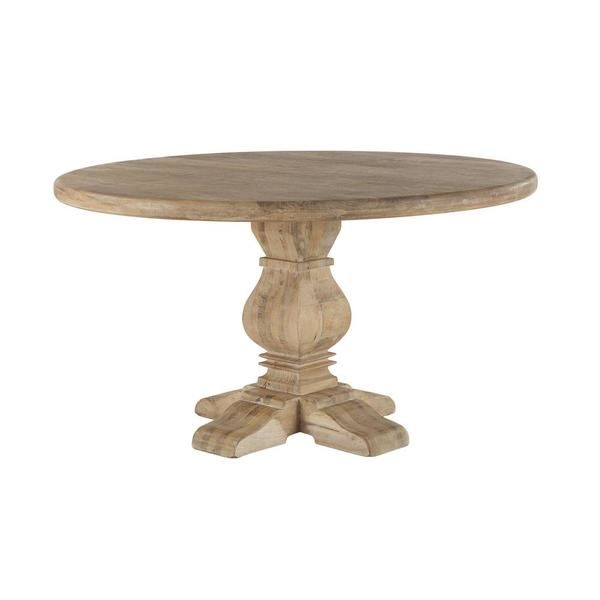
How hard could it be, right? Little did I know my journey would be stripping the table, sanding, bleaching, putting poly on it, sanding it again, whitewashing, and sealing again! It personally took me a few errors to get to where I wanted to be, but I’ve learned how you can achieve the same look with fewer steps. Check out my Instagram Highlight if you’d like the whole story. Moral: don’t use water-based polyurethane on a raw oak table. IT WILL TURN YELLOW!
Tools Needed
- Citristrip
- Electric Sander / Sanding Block
- Paint Scraper
- Varathane Stain in Antique White
- Country Chic Paint Tough Coat
- Paint Brush & Cloths
(Some links are affiliated for your ease of shopping.)
Step One – Remove
Remove the Old Finish. Paint on a thick layer of Citristrip and let it set for 1-24 hours (big margin, I know!). I cover mine with plastic outside over night to let the dew keep the stripper moist. This may take a couple rounds depending on your piece.
Then you will need to scrape it off with your paint scraper and let it dry. Waiting is the hard part! Once it’s dried, go in with your electric sander and/or sanding block to remove the rest of the finish to get it down to the natural finish. Wipe it clean with a microfiber table and clean water before moving on.
Step Two – Bleach (OPTIONAL)
I believe this step can be skipped entirely to achieve this look, but just in case your piece has some darker tones in it or the wood hasn’t completely lightened to a raw wood look, I would give it a go. It’s straight forward and simple.
While wearing protective gloves and googles, spray or wipe the bleach onto your surface on a sunny day, and let the sun dry it out. Repeat this step 3-4 times. Once you’ve achieved the color you want, take a damp cloth and wipe off the remaining bleach.
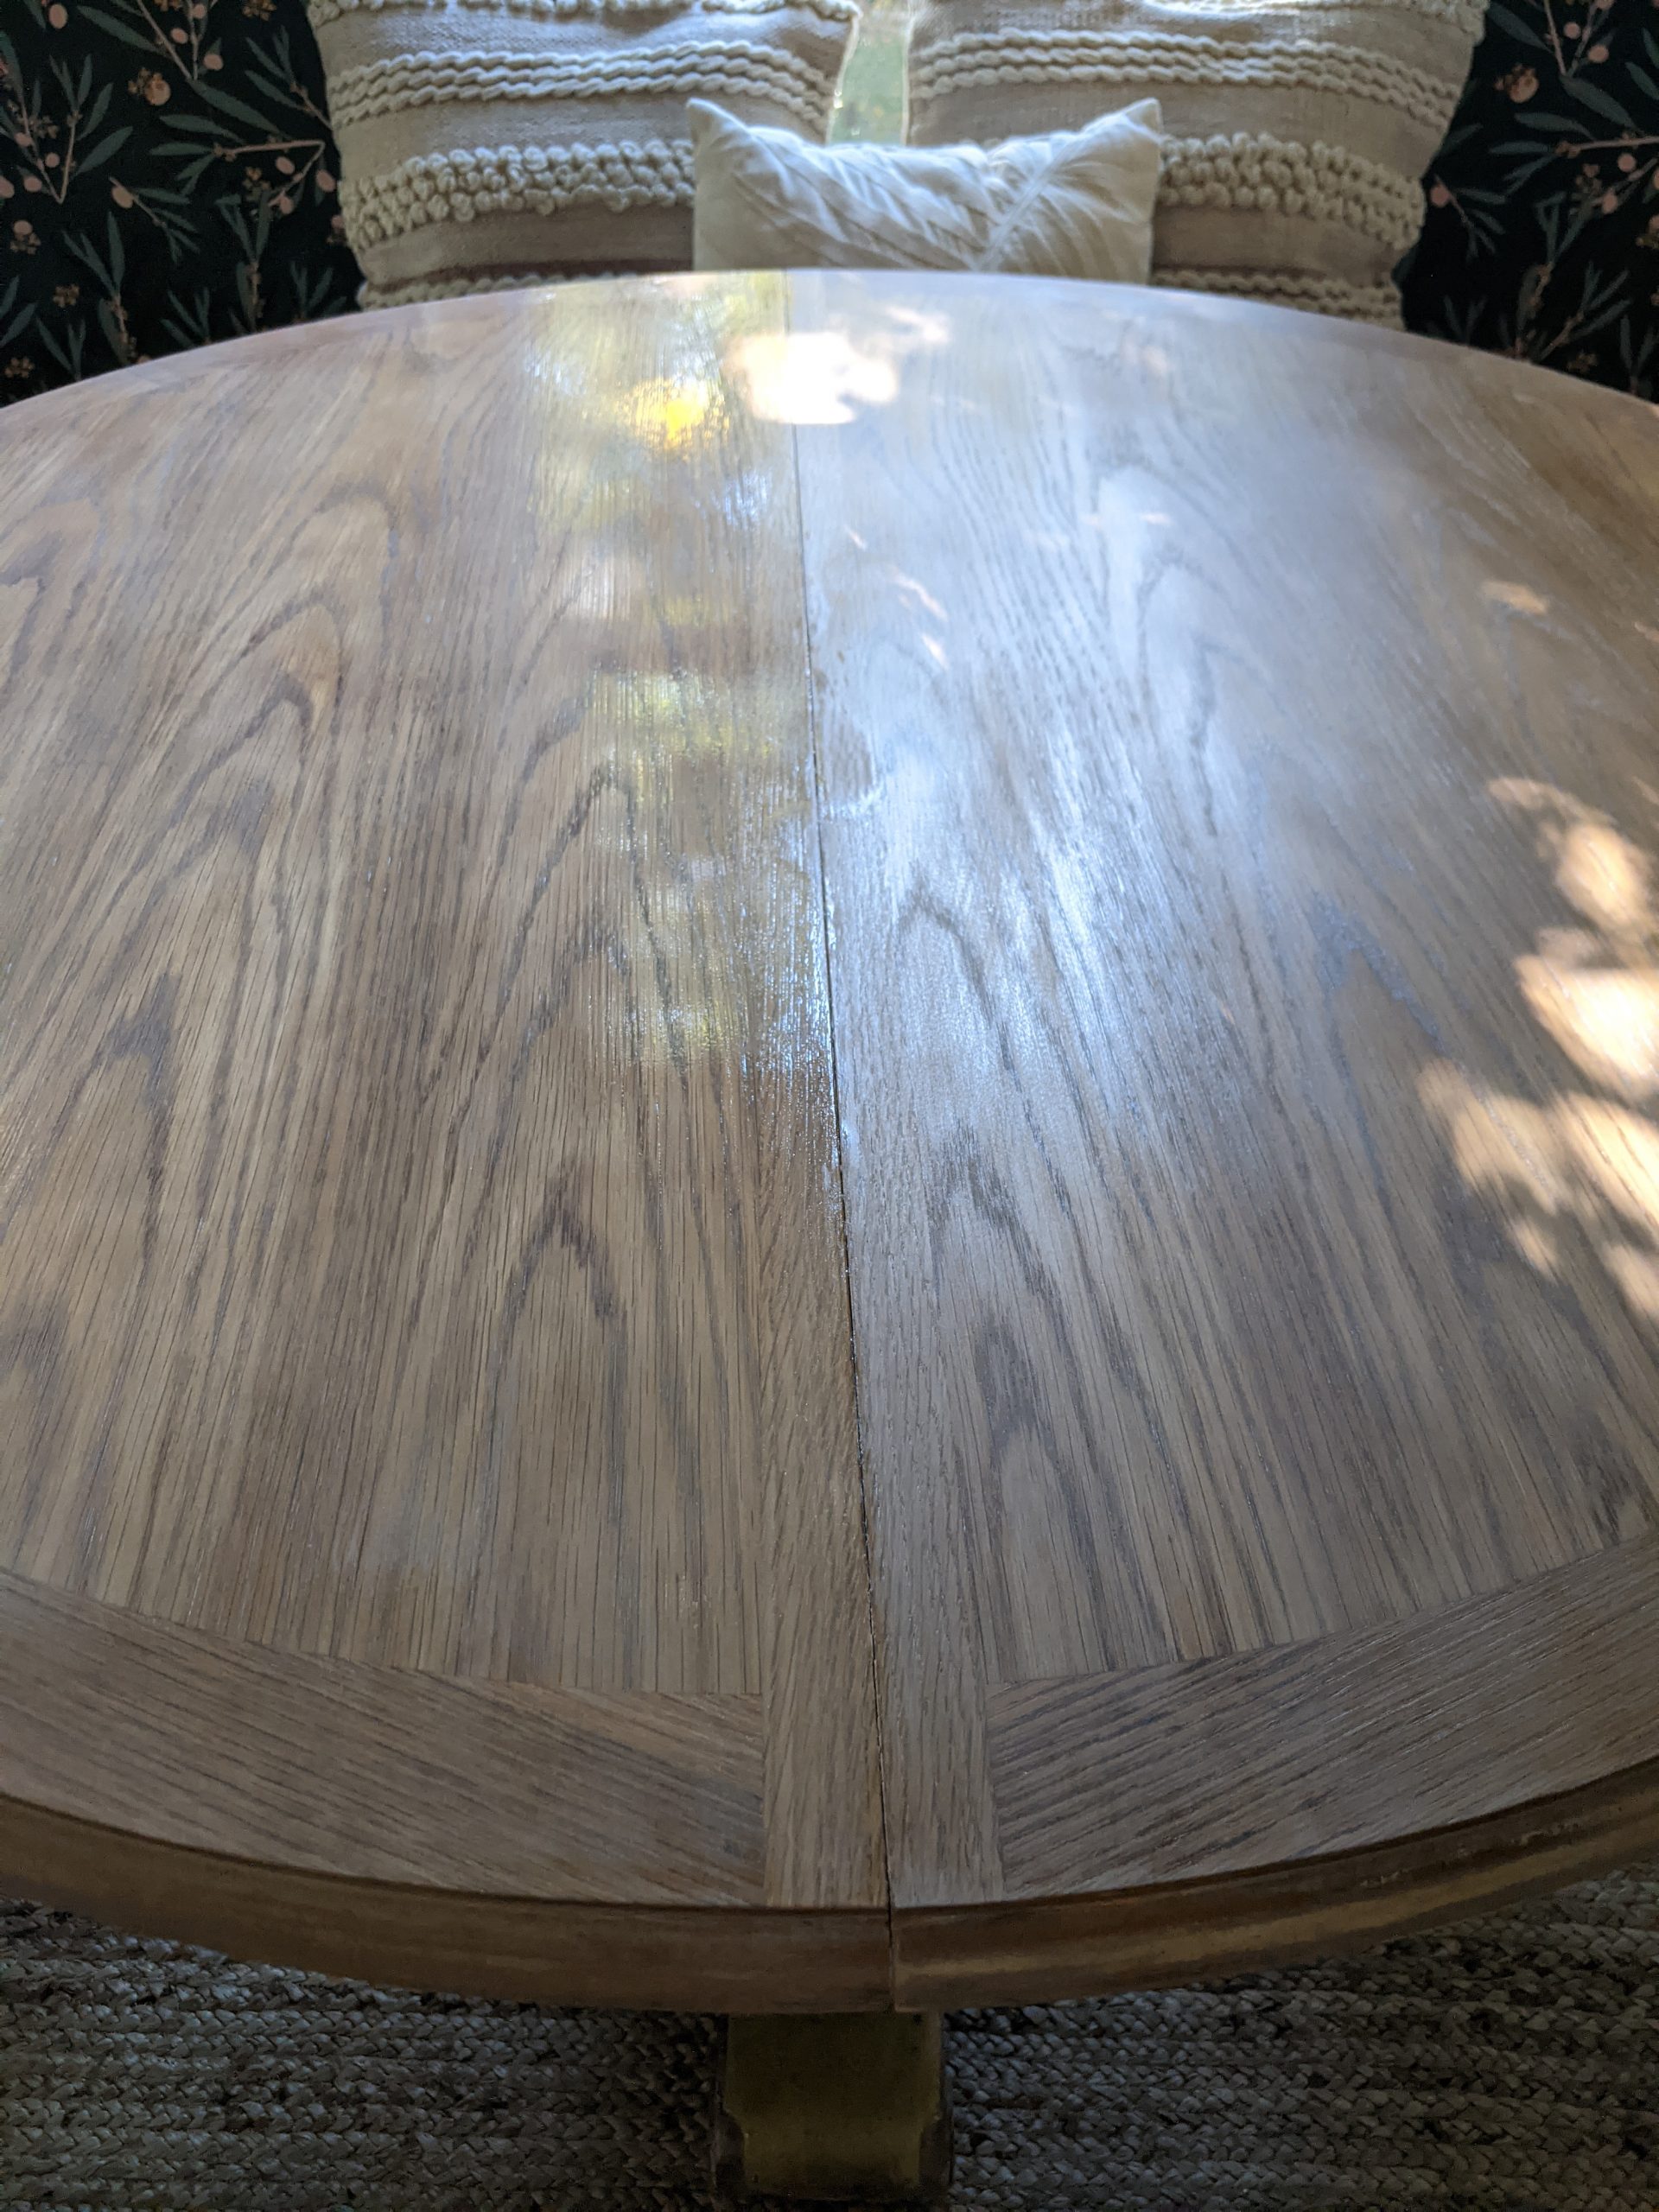
Step Three – Stain
Mix up the stain. I used about a 1:1 mix of Varathane Stain in Antique White and water. I placed a quart sized plastic bag in a plastic container for easy clean up.
With a paint brush or foam brush, paint on the stain in small sections.
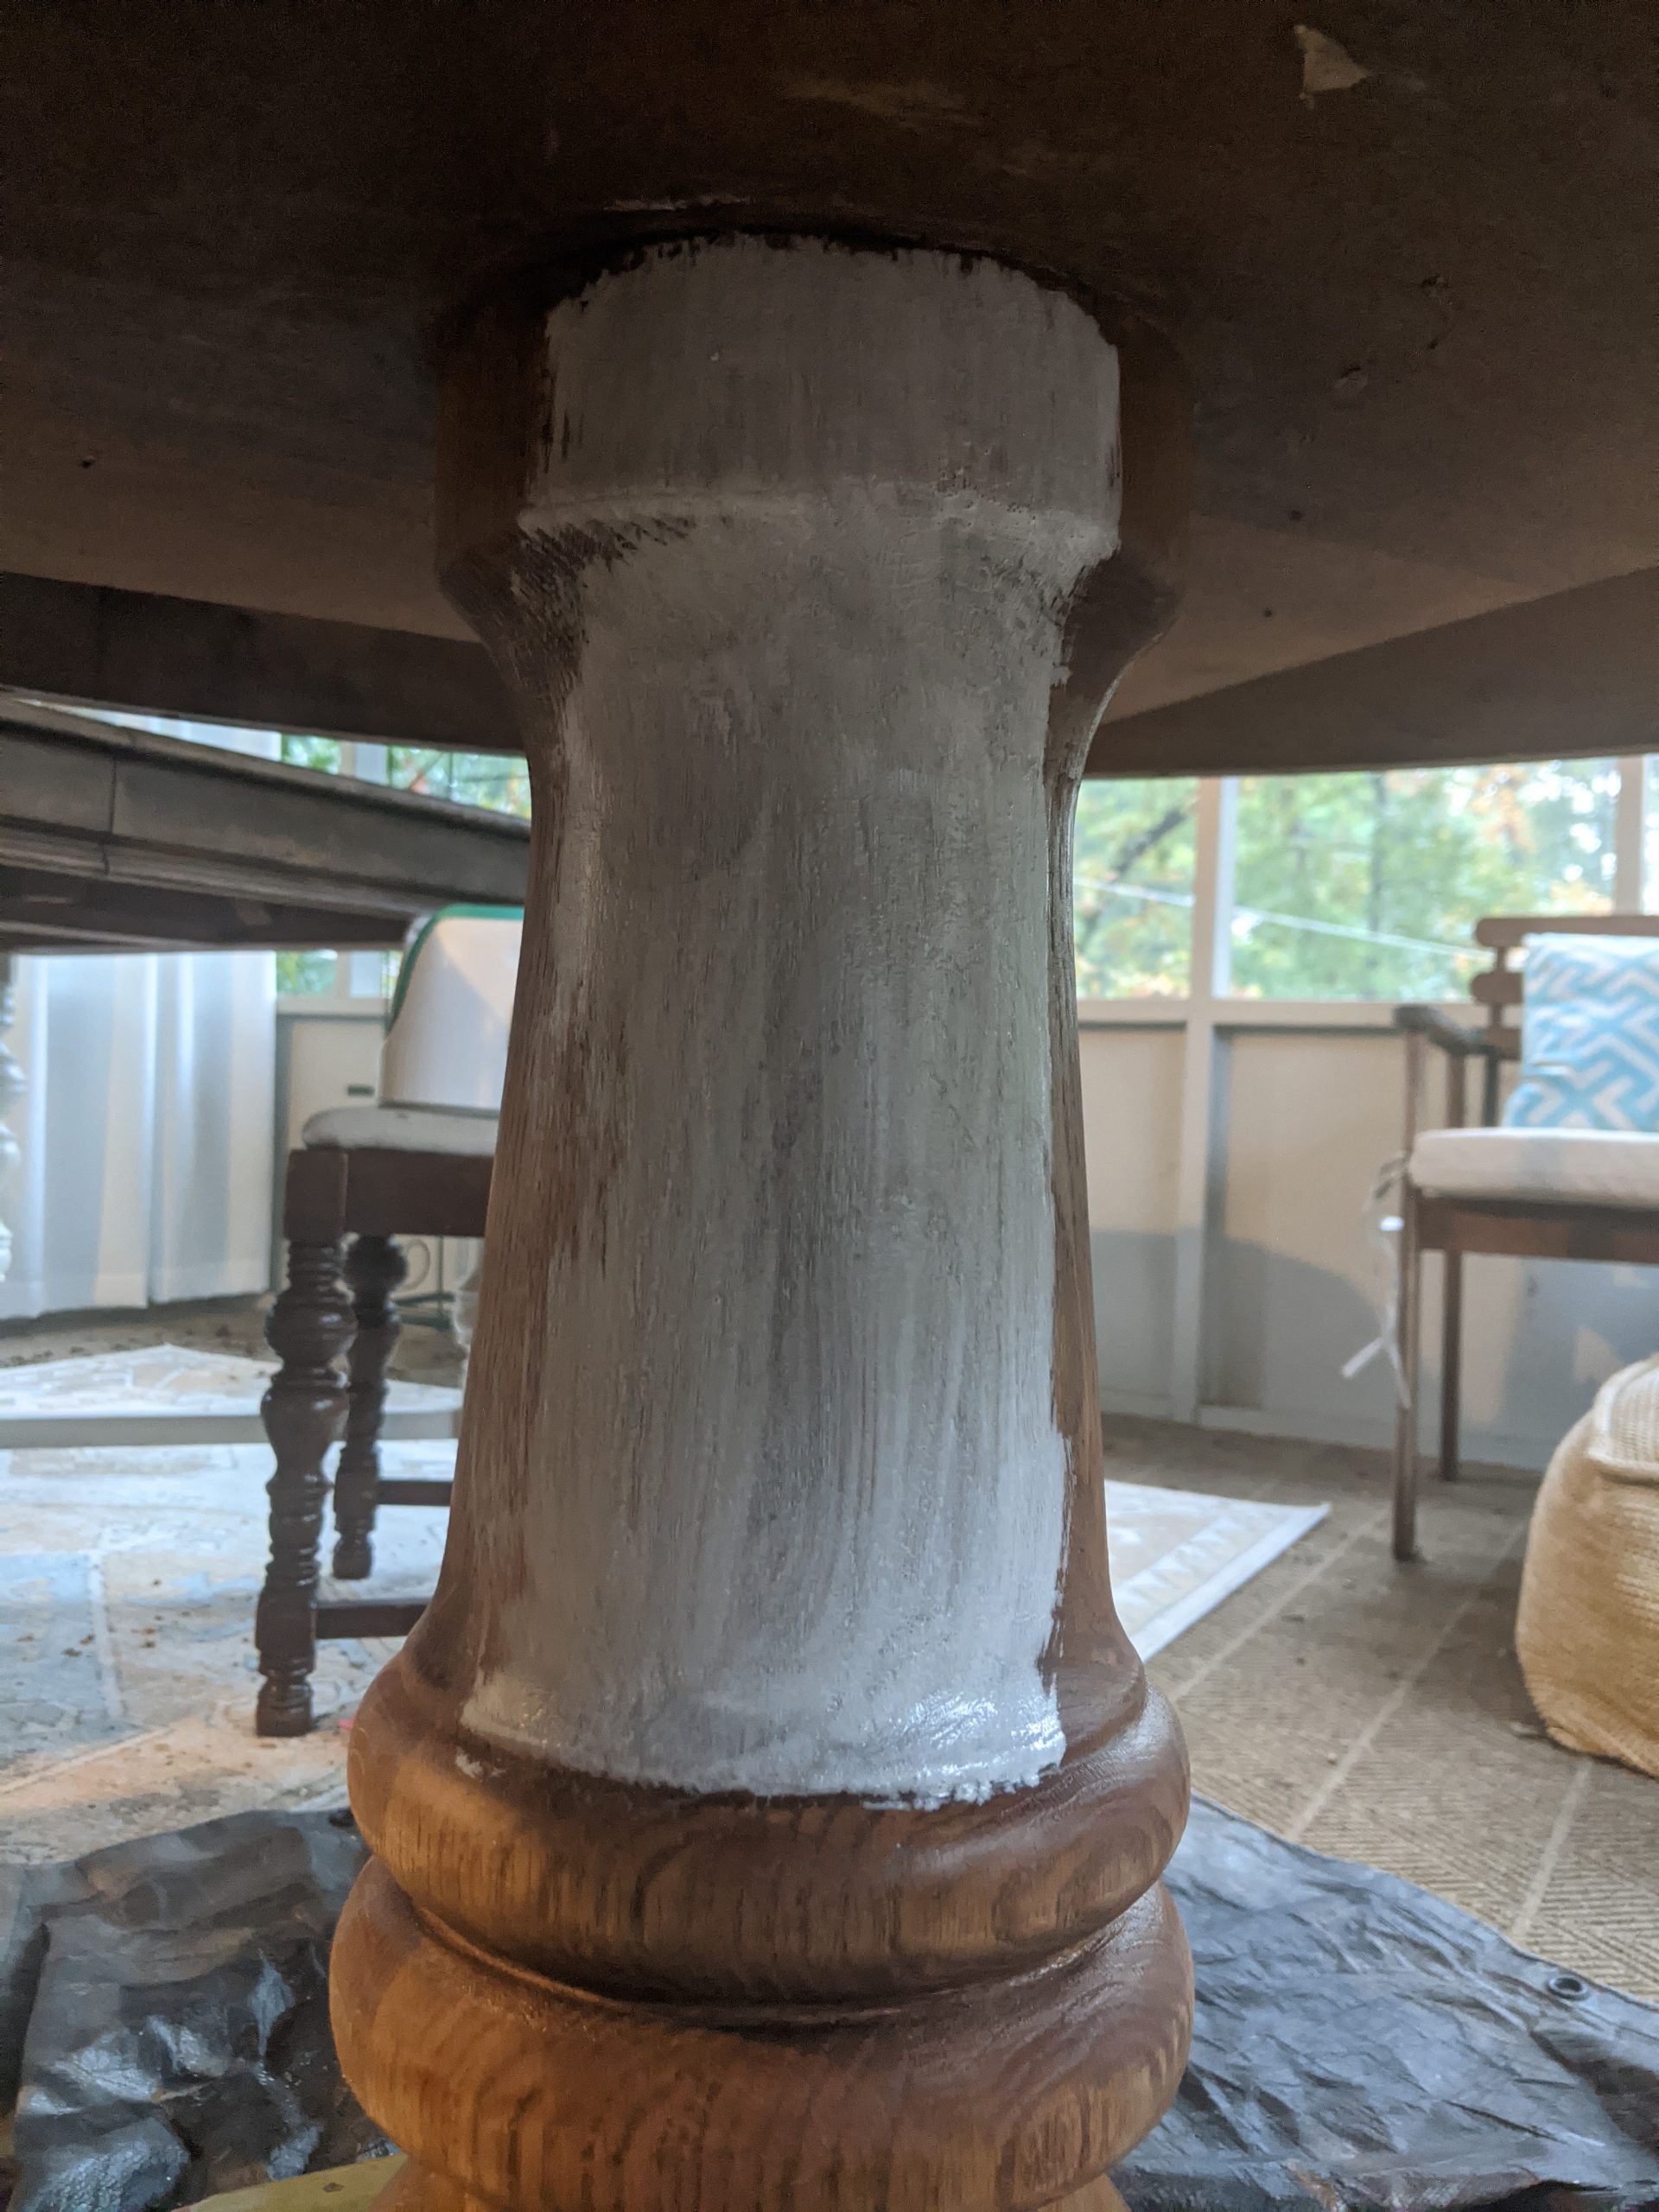
Then go in with a clean clothe (I used an old dish rag) and wipe off as much stain as you’d like.
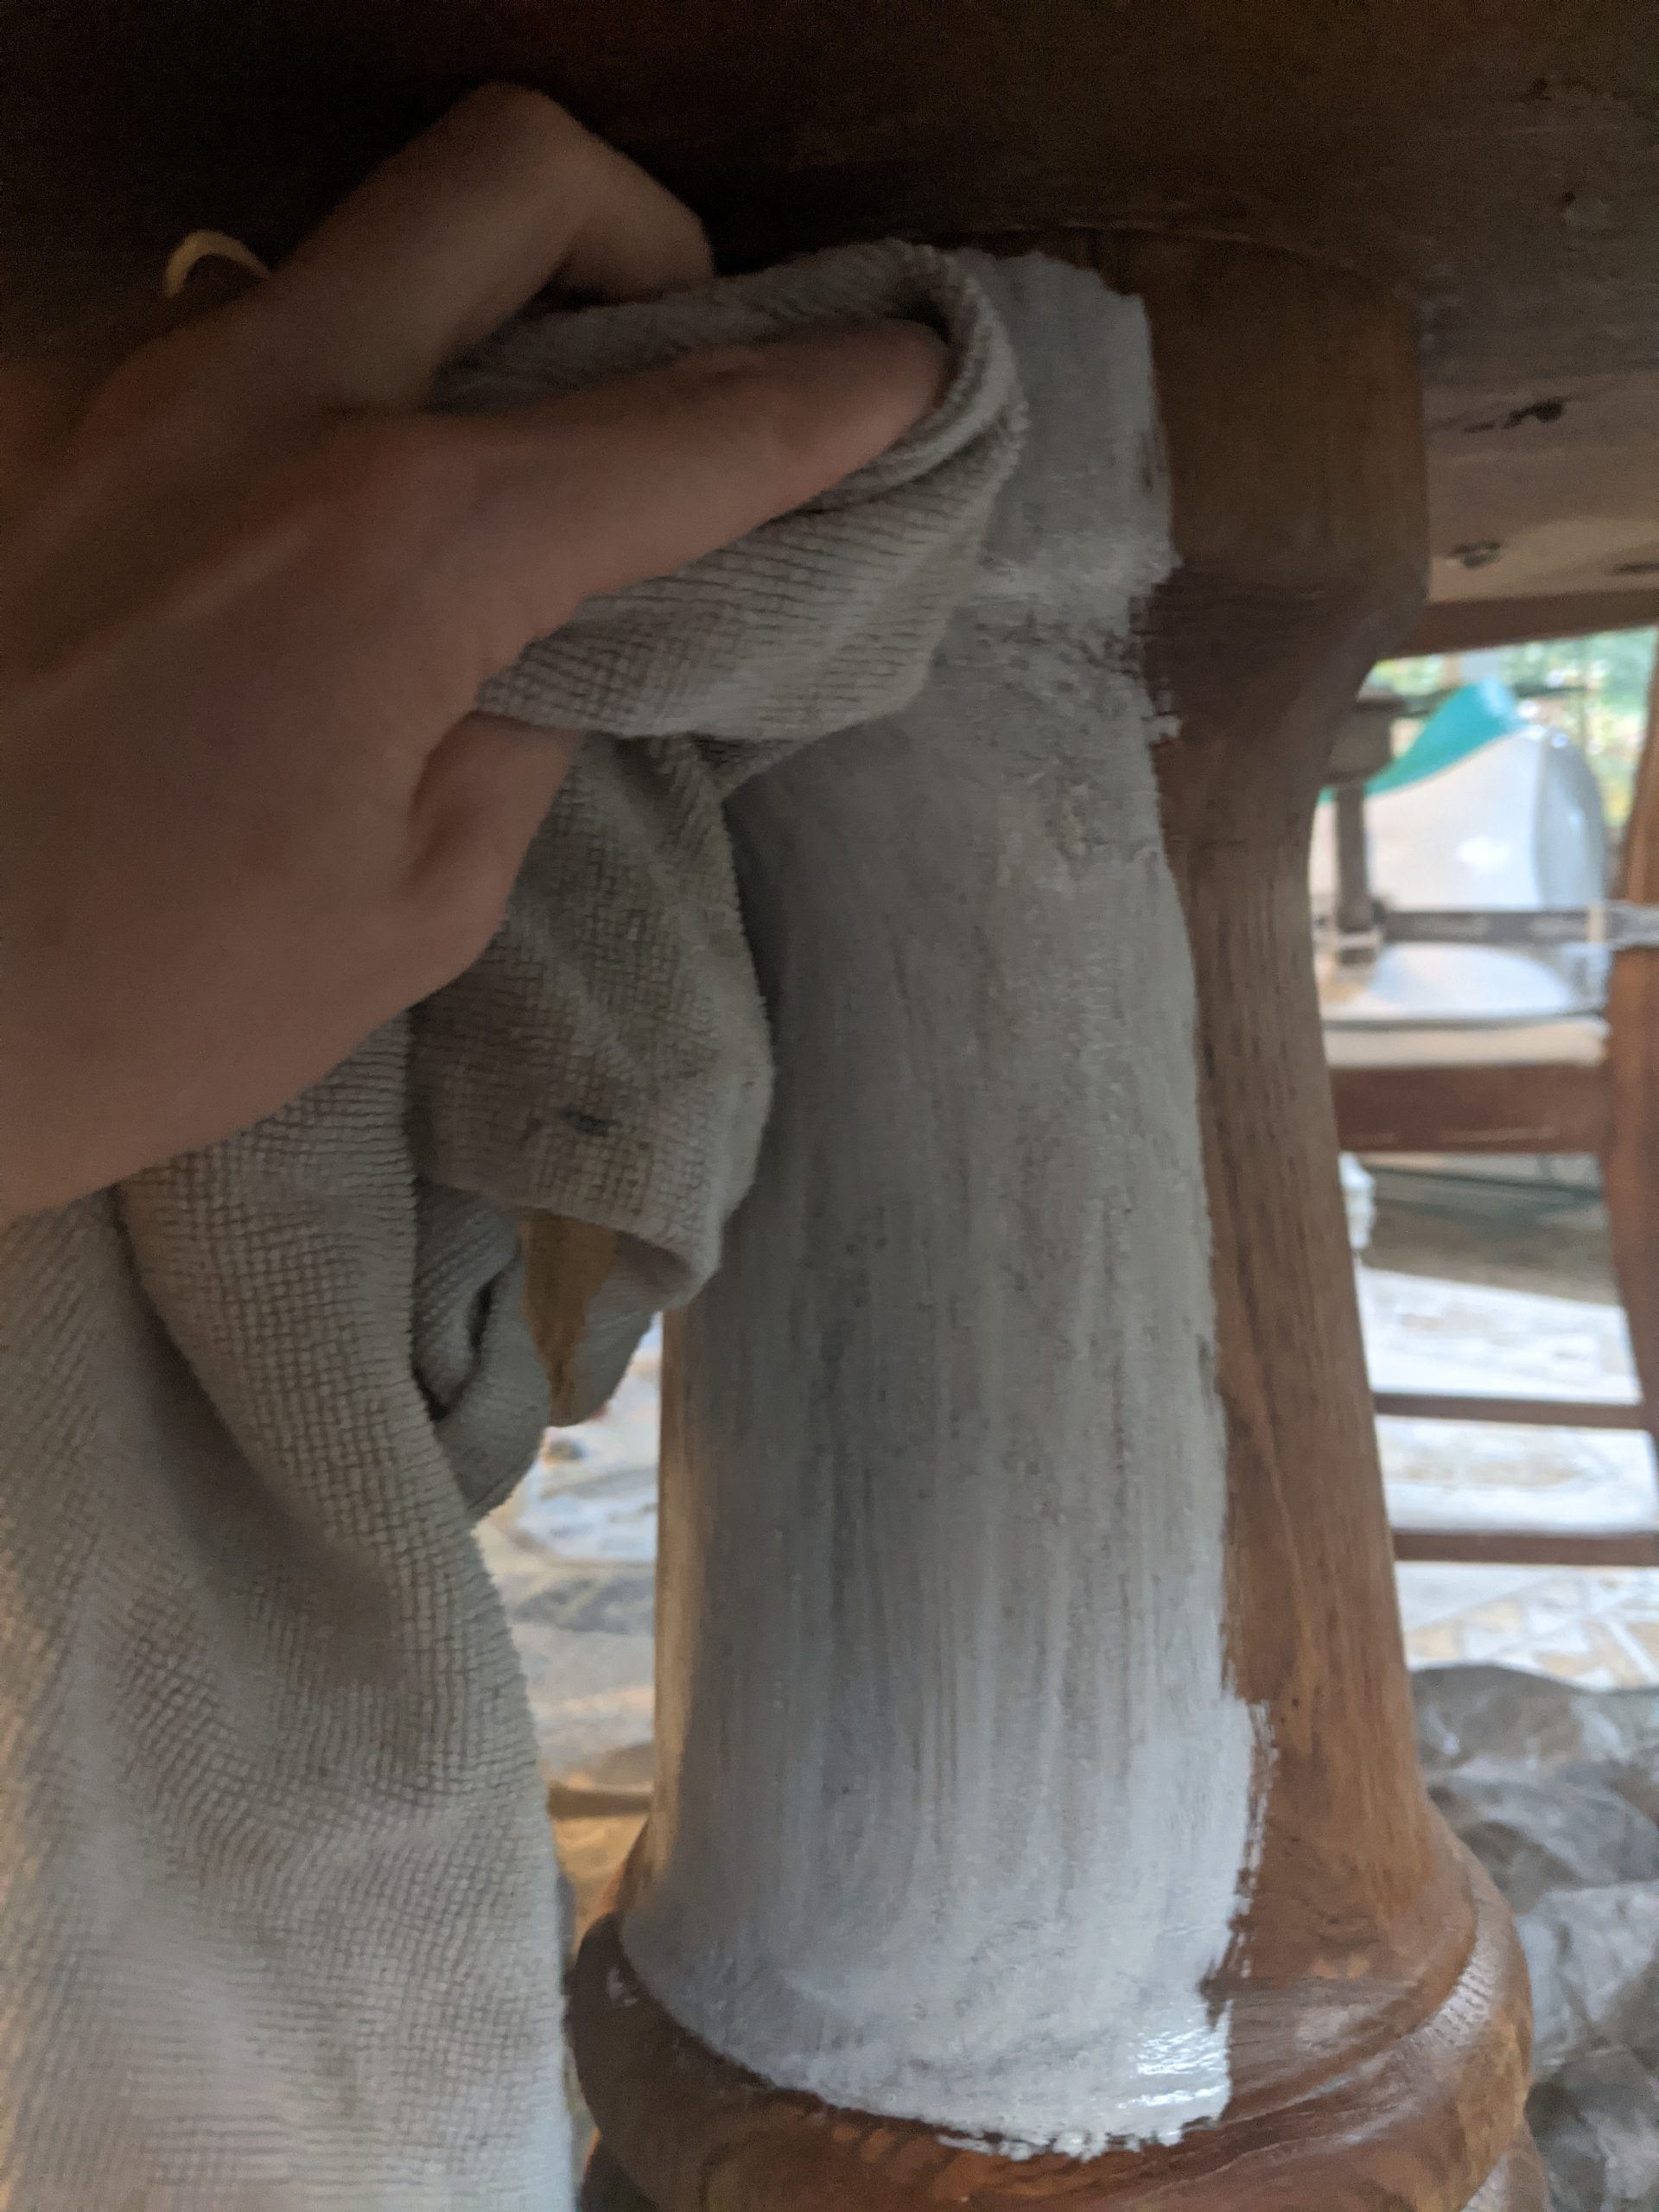
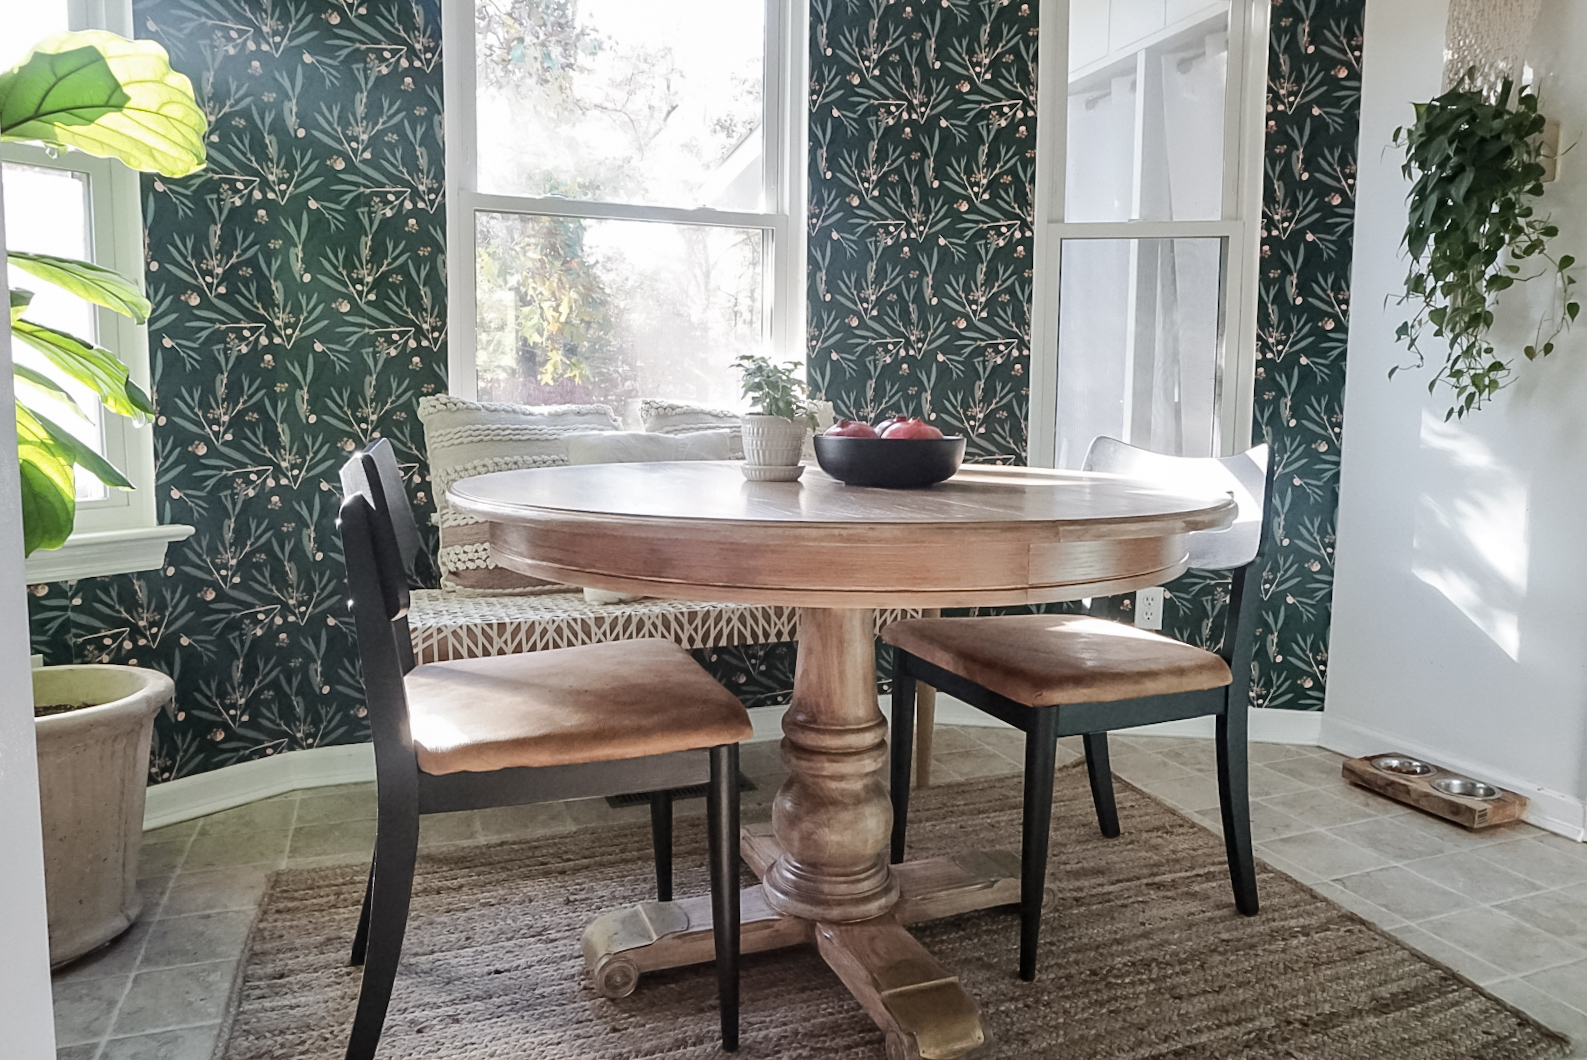
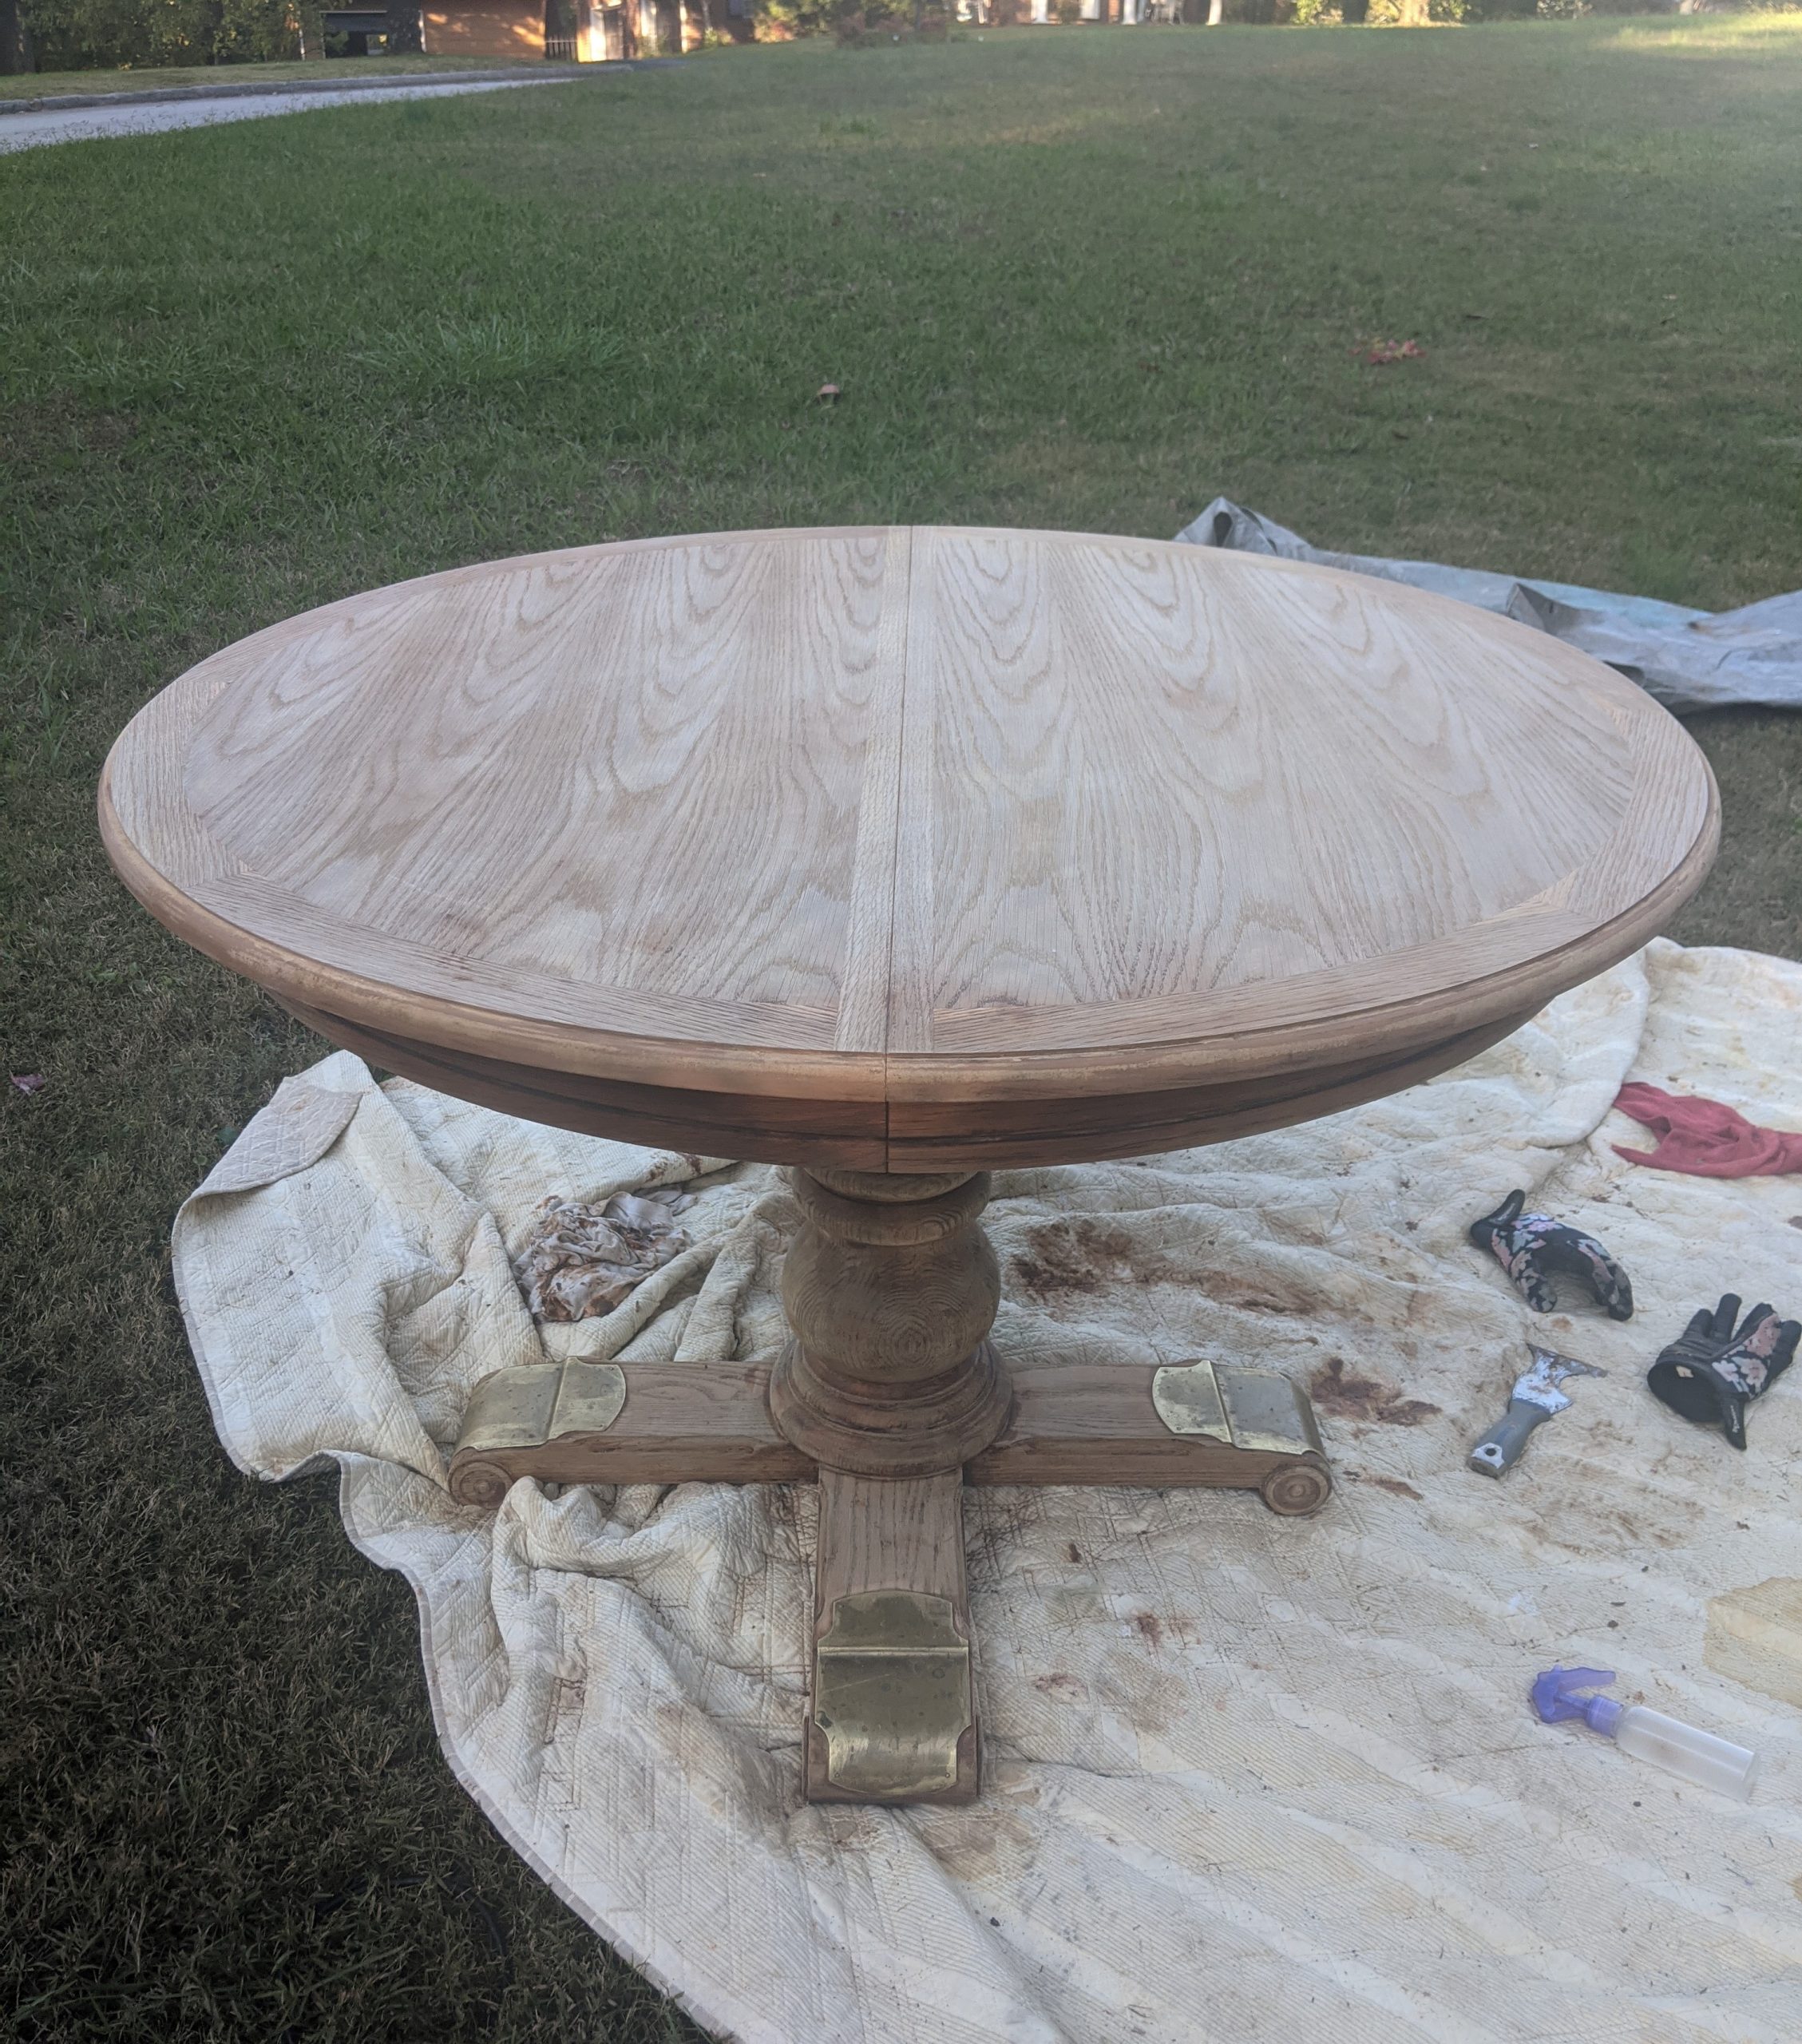
Personally, I wanted a muted white-washed/bleached look, so I took off as much stain as I could. I was just trying to lighten the table for a much lighter look than the yellowy oak.
You can do as much coats of this step as you prefer. Just continue to work in smaller sections so that the stain doesn’t start to dry or set in.
Step Four – Seal
Water-based poly has scarred me (see note above). It’s a given that I needed to seal the finish, but with it being a high traffic dining table, I knew I couldn’t get away with wax. Then I remembered how well my cabinets have held up with Country Chic Paint Tough Coat! It was the perfect choice.
Just brush on the tough coat with the grain in long, straight strokes. DO NOT overlap your brush if you missed a spot. Simply wait for the tough coat to dry (usually about an hour) before going back in with a second coat. Overlapping will cause the product to build up and not go on naturally or smoothly.
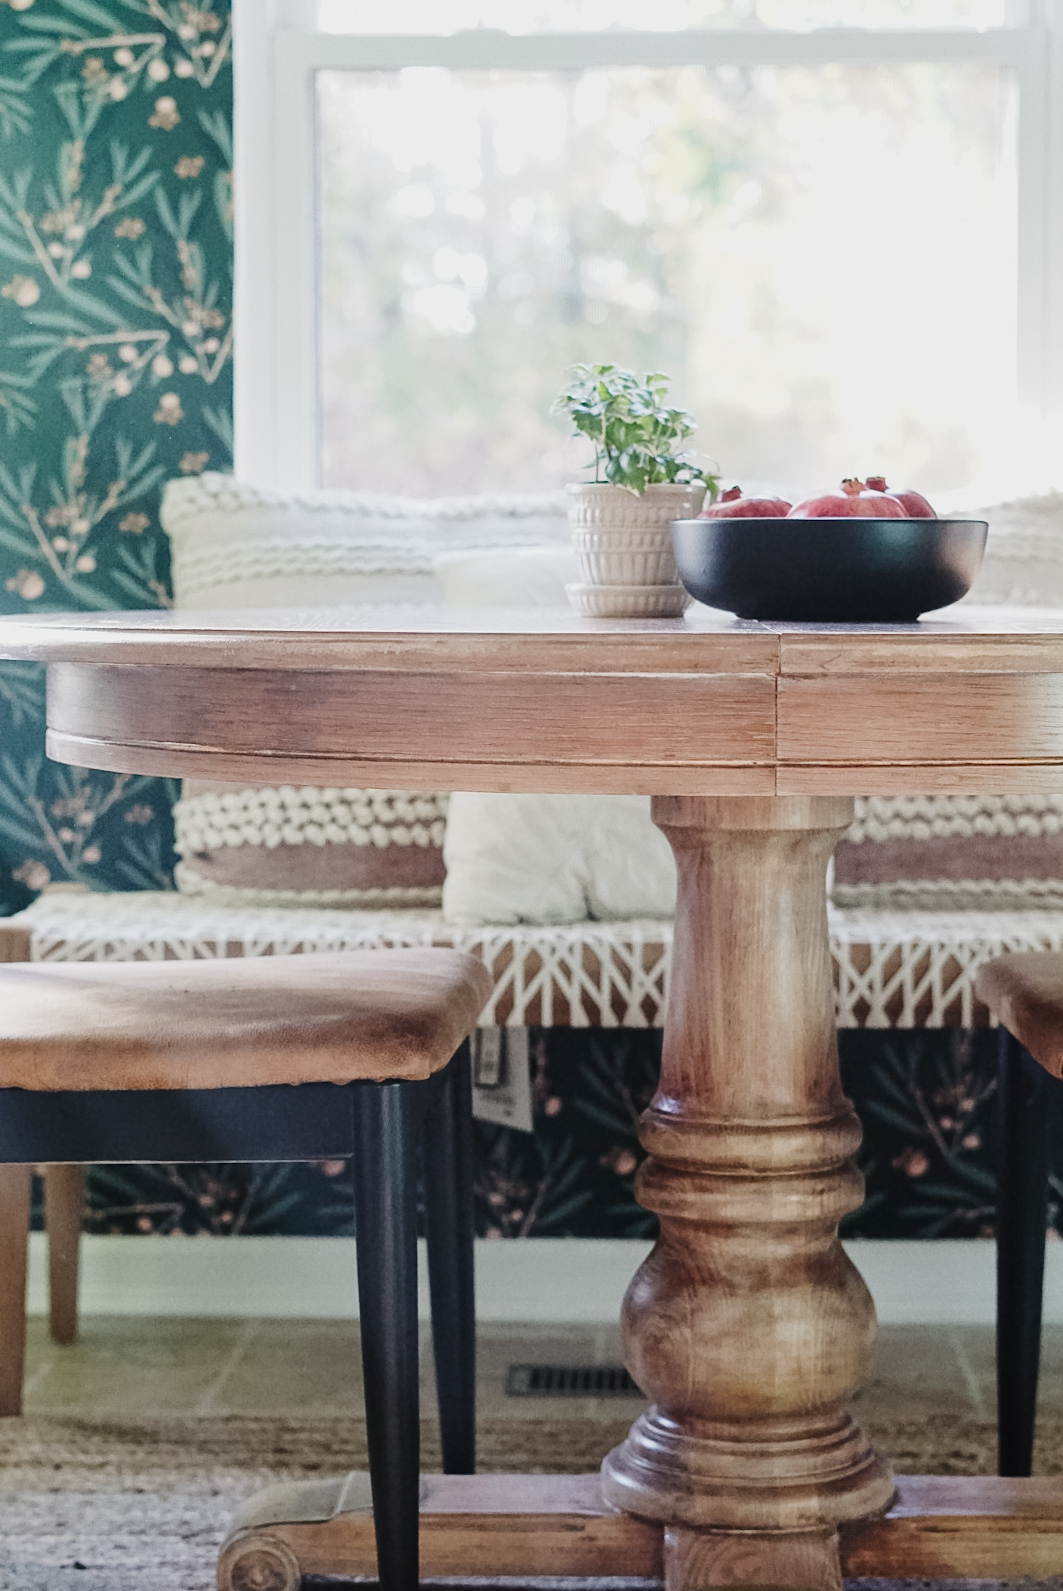
Once it’s cured for a day or two, you’re free to use your piece!
Final Thoughts
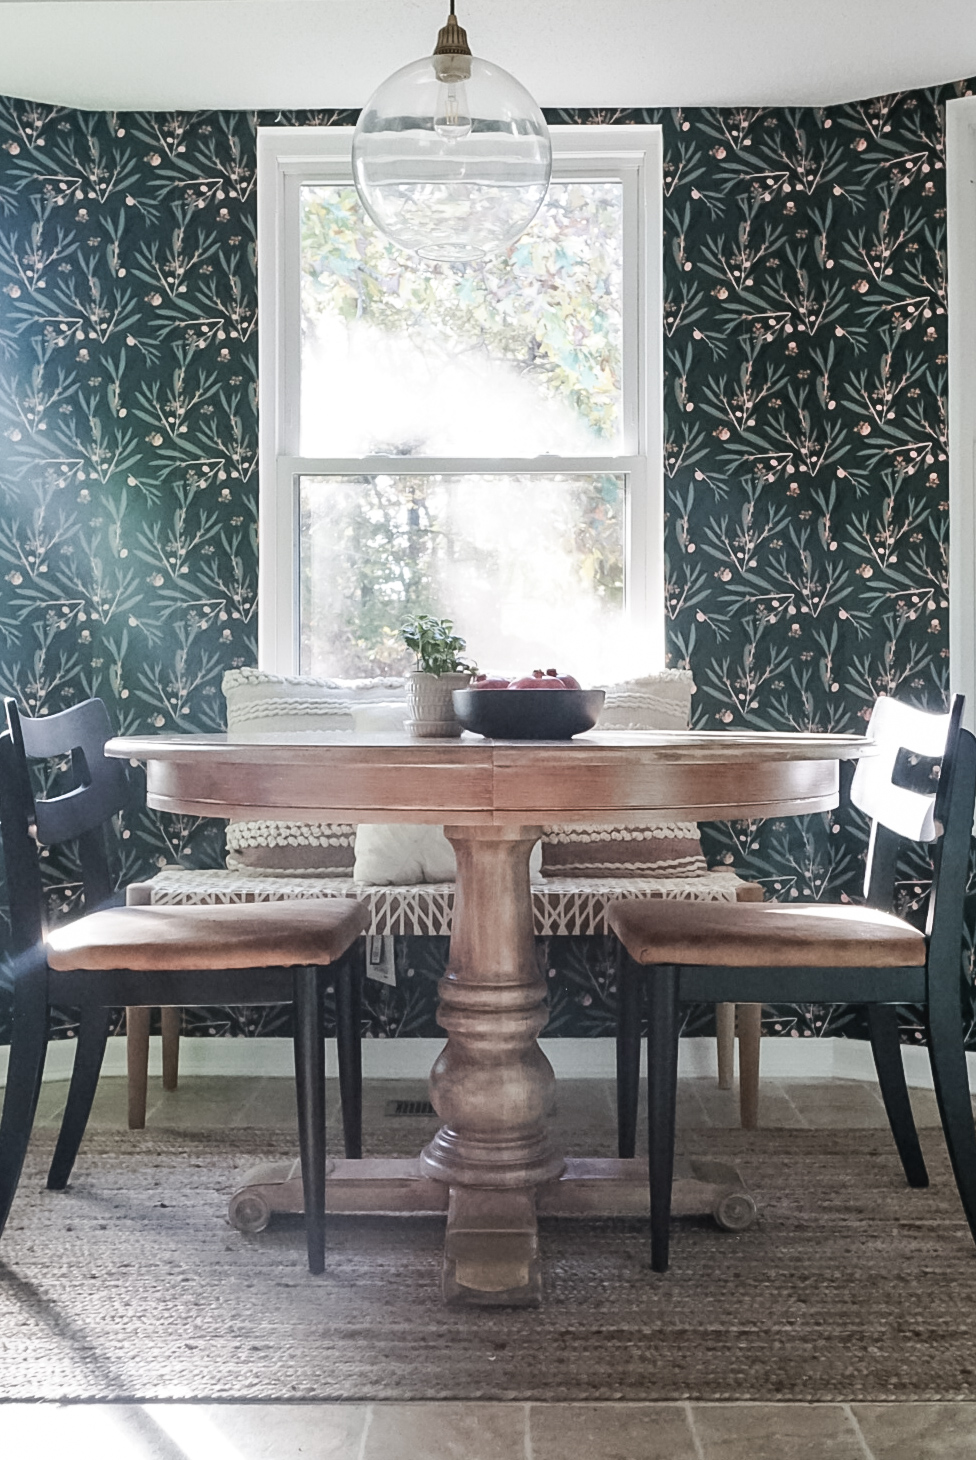
If you’re wanting the muted bleached/white-washed look like me, you don’t necessarily have to use bleach. Also, don’t mess with polyurethane, especially if you’re working with oak. There, I learned the hard way so that you can get this look much easier than I did. Let me know if you have any questions. You can reach me best by email or over on my Instagram.

Save for later!