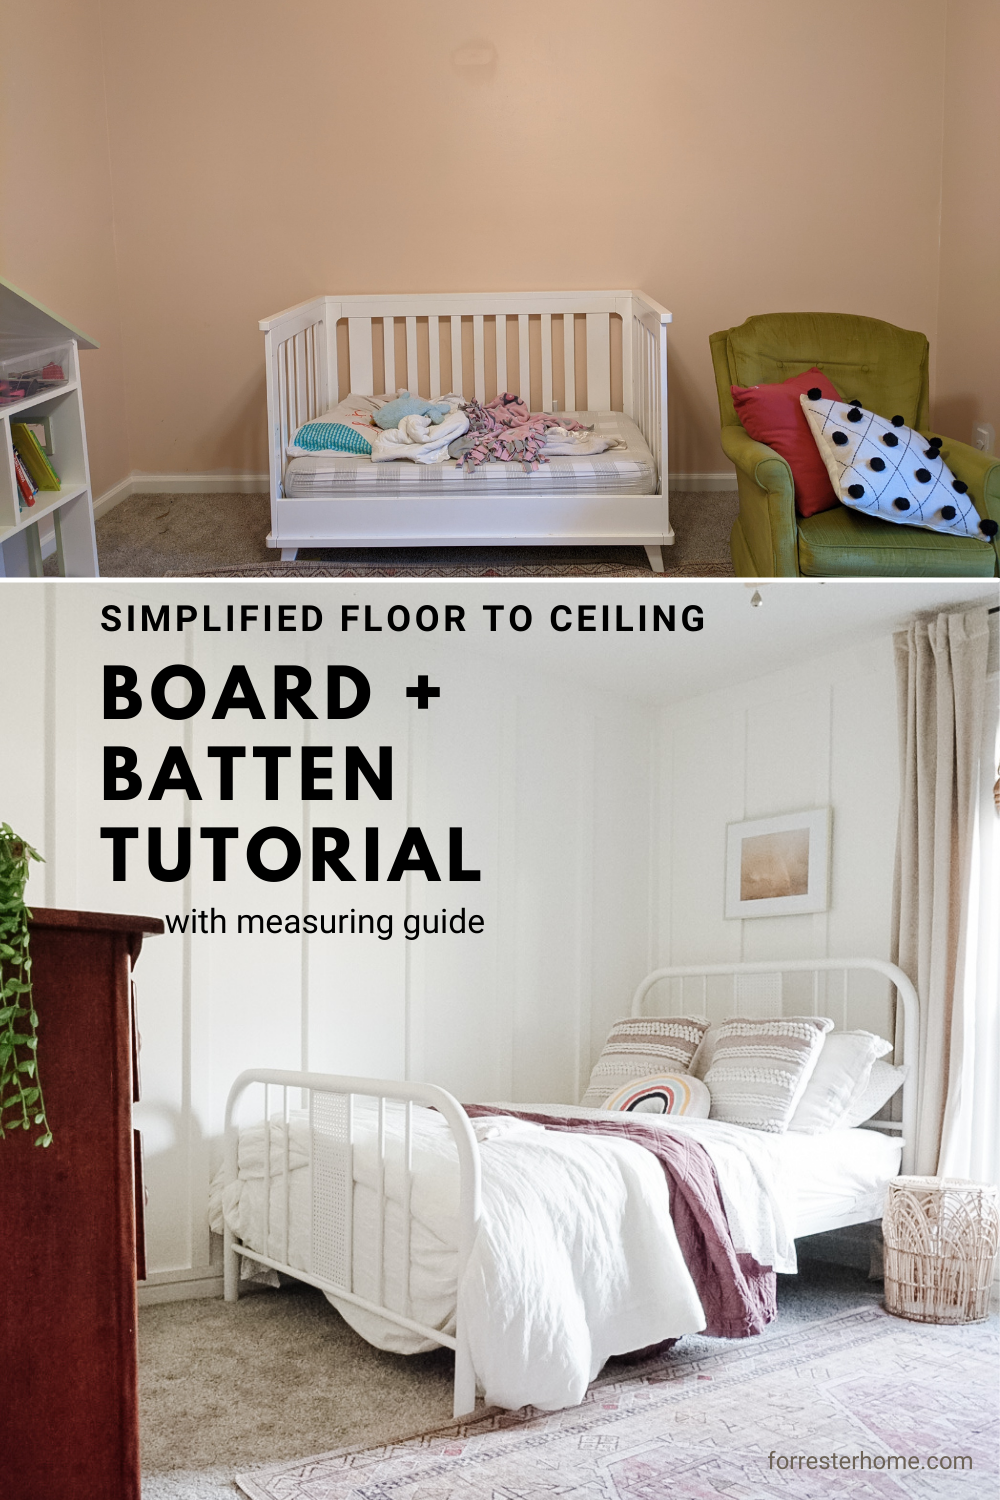
Board and batten tutorials are a dime a dozen. Trust me, I read them all! At least it seemed that way while doing research before tackling this project myself. How will mine be different? I will simply guide you through the process in FOUR easy steps and give you a simple measuring guide along the way!
The Look
There are a few different ways to achieve this look. I decided to go the easiest route that also made the biggest impact.
We installed 1×5 pine boards as crown molding and 1×2 boards directly on top of our original base boards.
Measuring Your Room
This is the part that overwhelms most (including myself at first) and makes them just not even want to mess with this project to begin with. I will break it down for you, and a good plan goes a long ways with this project!

Here is a summarized and personal version of Remodalohic’s measuring steps:
A. Measure the length of the wall.
B. Decide how many battens you would like on that wall (this is the general spacing. I wanted mine around 14″). Now divide the length of the wall by the general spacing. If you have a 150″ (12.5′) foot wall and would like the battens about every 14″-15″ that equals 9 spaces. 150/14=10.7
C. Now in order to have 9 spaces you will need 10 battens, so 9 spaces + 1 equals the number of battens you will need. (*You cannot forget the origin point or the “0” if you will)
D. Don’t forget the thickness of your batten’s themselves. Let’s say they are 3″ so multiply the number of battens (10) by the width of the battens (3″) which is 33″. 10×3=30
E. Subtract the width of the battens (33″) from the length of the wall (150″) which leave 117″. 150-30=120
F. Divide 120 (the length of the wall minus the width of the battens by the amount of spaces you would like (9). Which leaves you with a spacing of 13.3″. This is the exact spacing between each batten. 120/9=13.3
G. Attach your first batten to the end of the wall. Now measure from the edge of the batten 13.3″ and mark that will be the beginning edge of your next batten. Install the second batten and measure from the edge and repeat installation.
Supplies
1×5 pine boards for crown molding
1×2 pine boards for base boards
1×3 pine boards for vertical battens
Liquid Nails
1 1/5″ nails
Level
Caulk
Wall Spackle
Tools Needed
Miter Saw
Nail Gun (optional)
Hot Tips!
1 | You will read many posts about people ripping down mdf boards into 3″-4″ strips. Just a heads up. Home Depot (at least mine) will not cut boards that small. It would also be very time consuming and possibly dangerous to use a table saw to do this. We spent the extra $50 and just bought ready-to-go pine boards.
2 | Paint the walls and baseboards (if painting) BEFORE installing the board and batten. I did not do this and wish I had as I was tediously rolling 3 coats of paint between each batten.
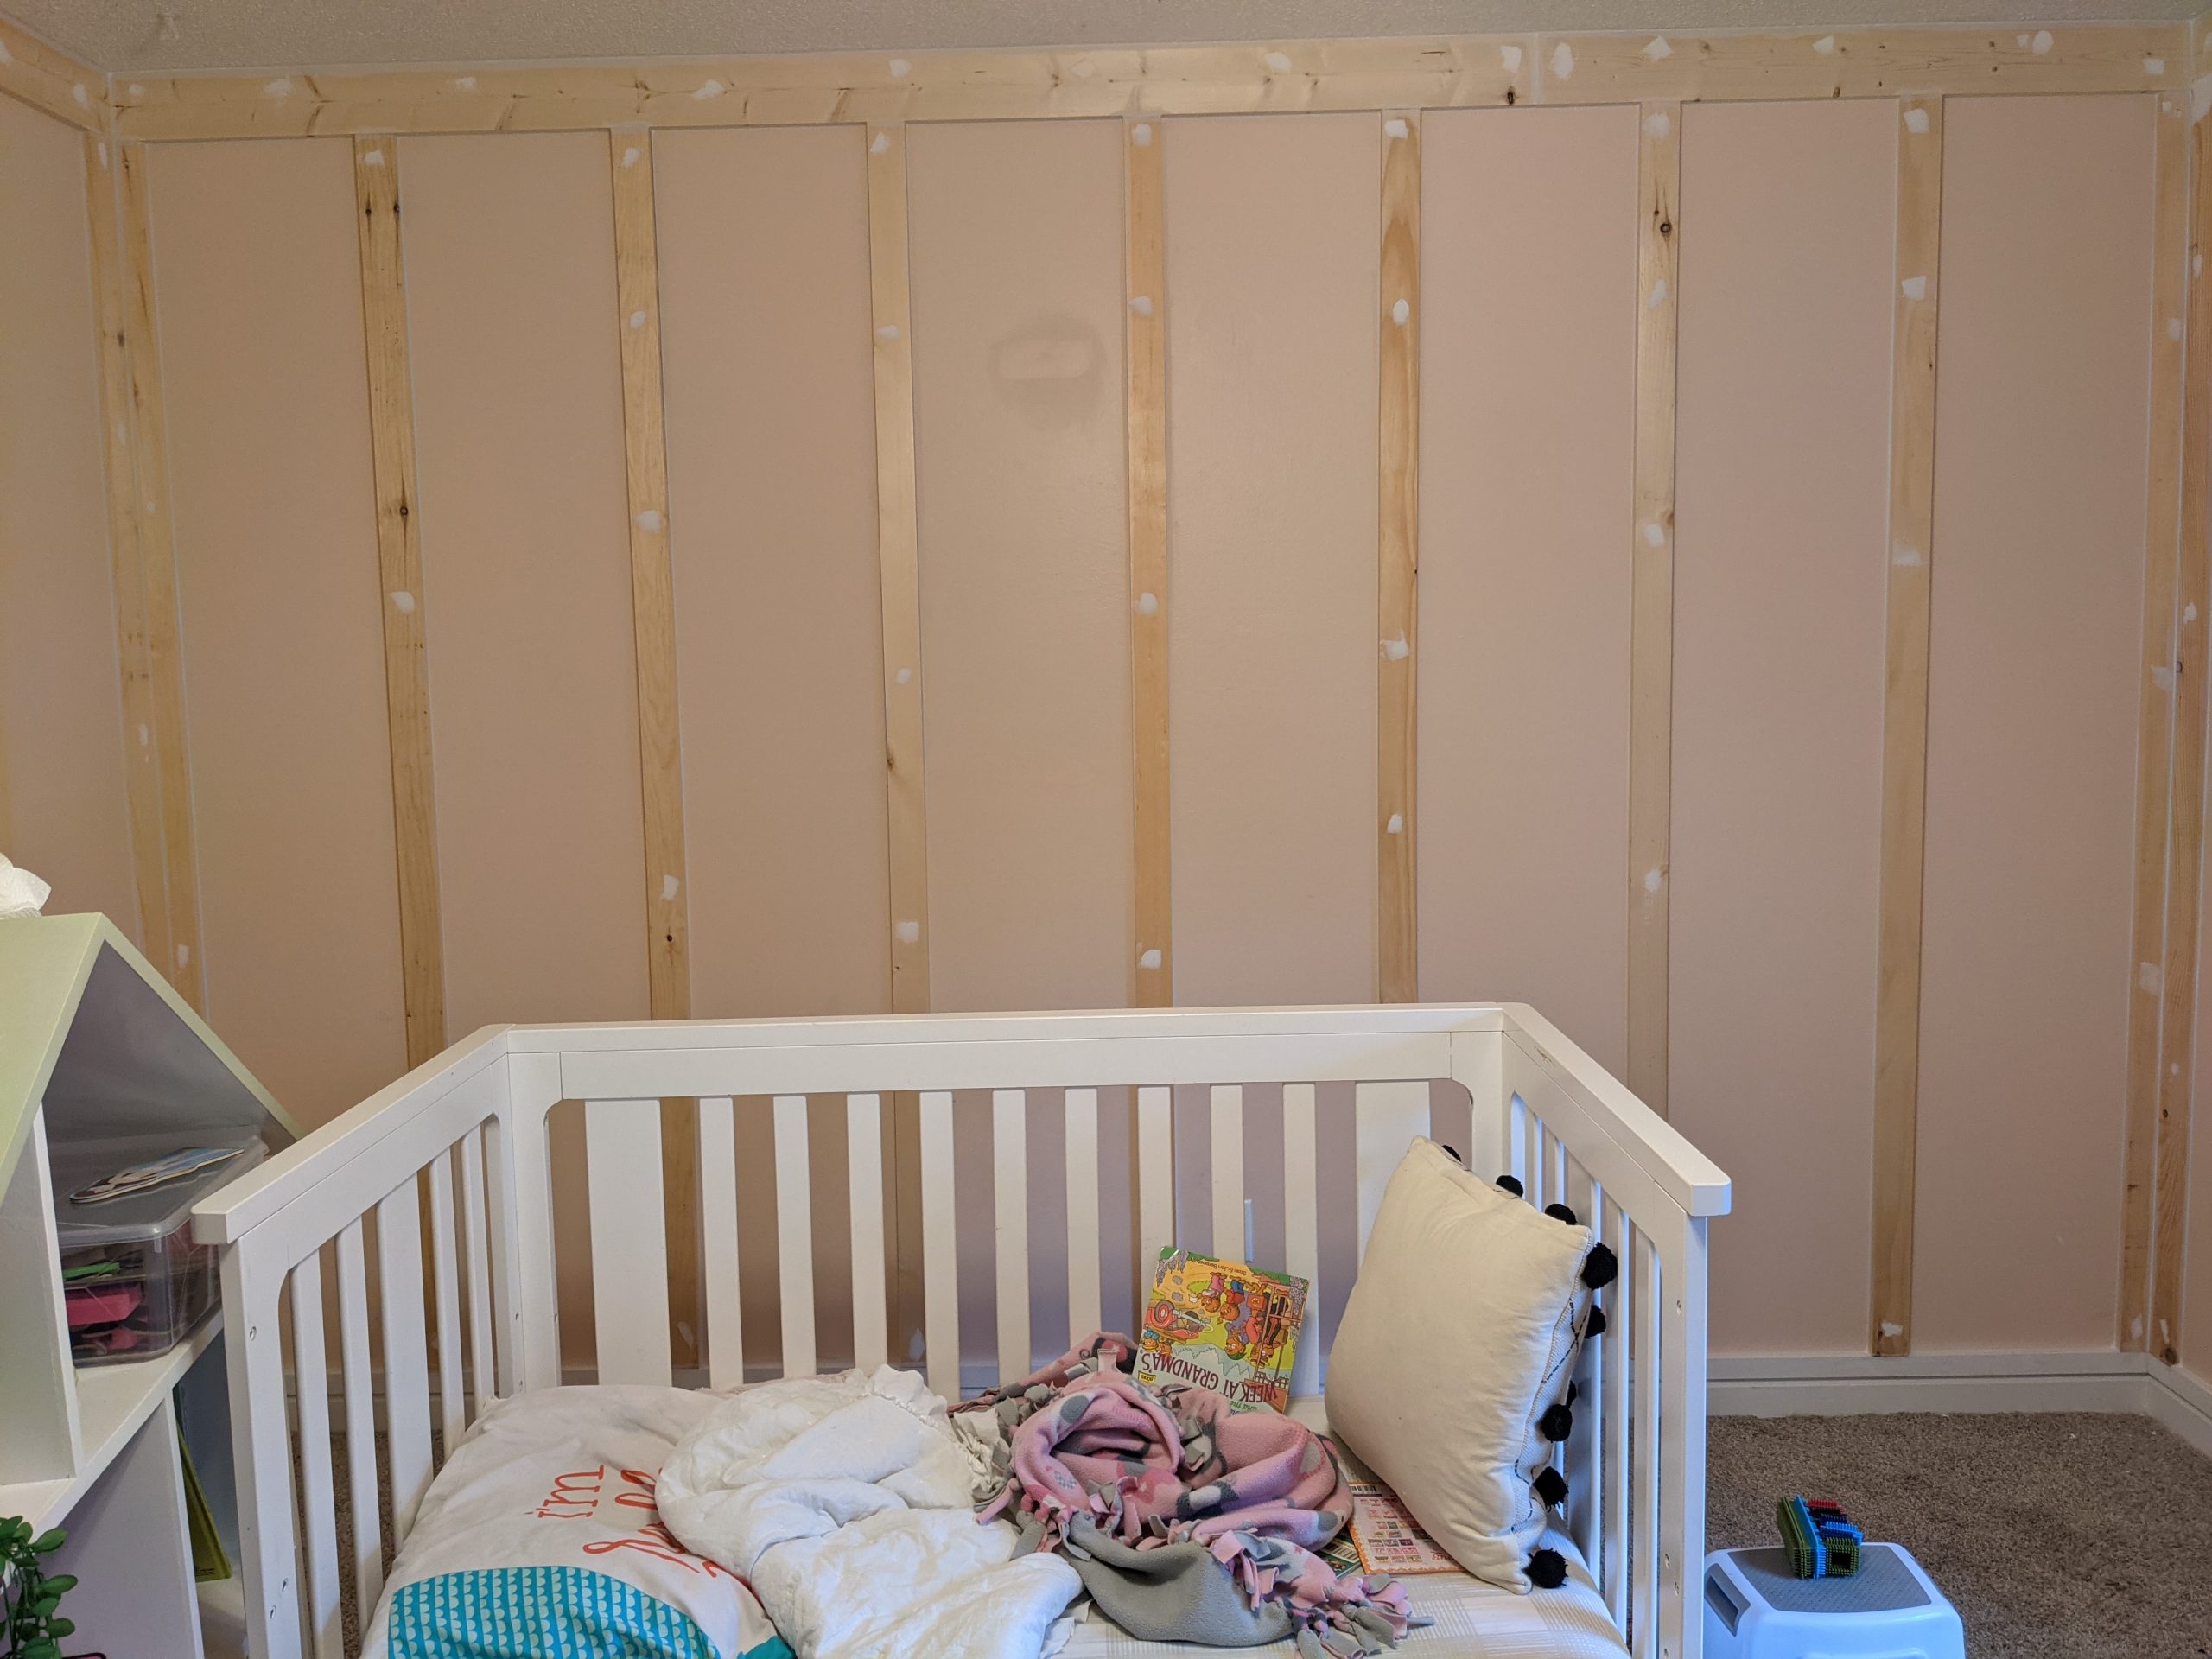
Step One | Install Horizontal Boards
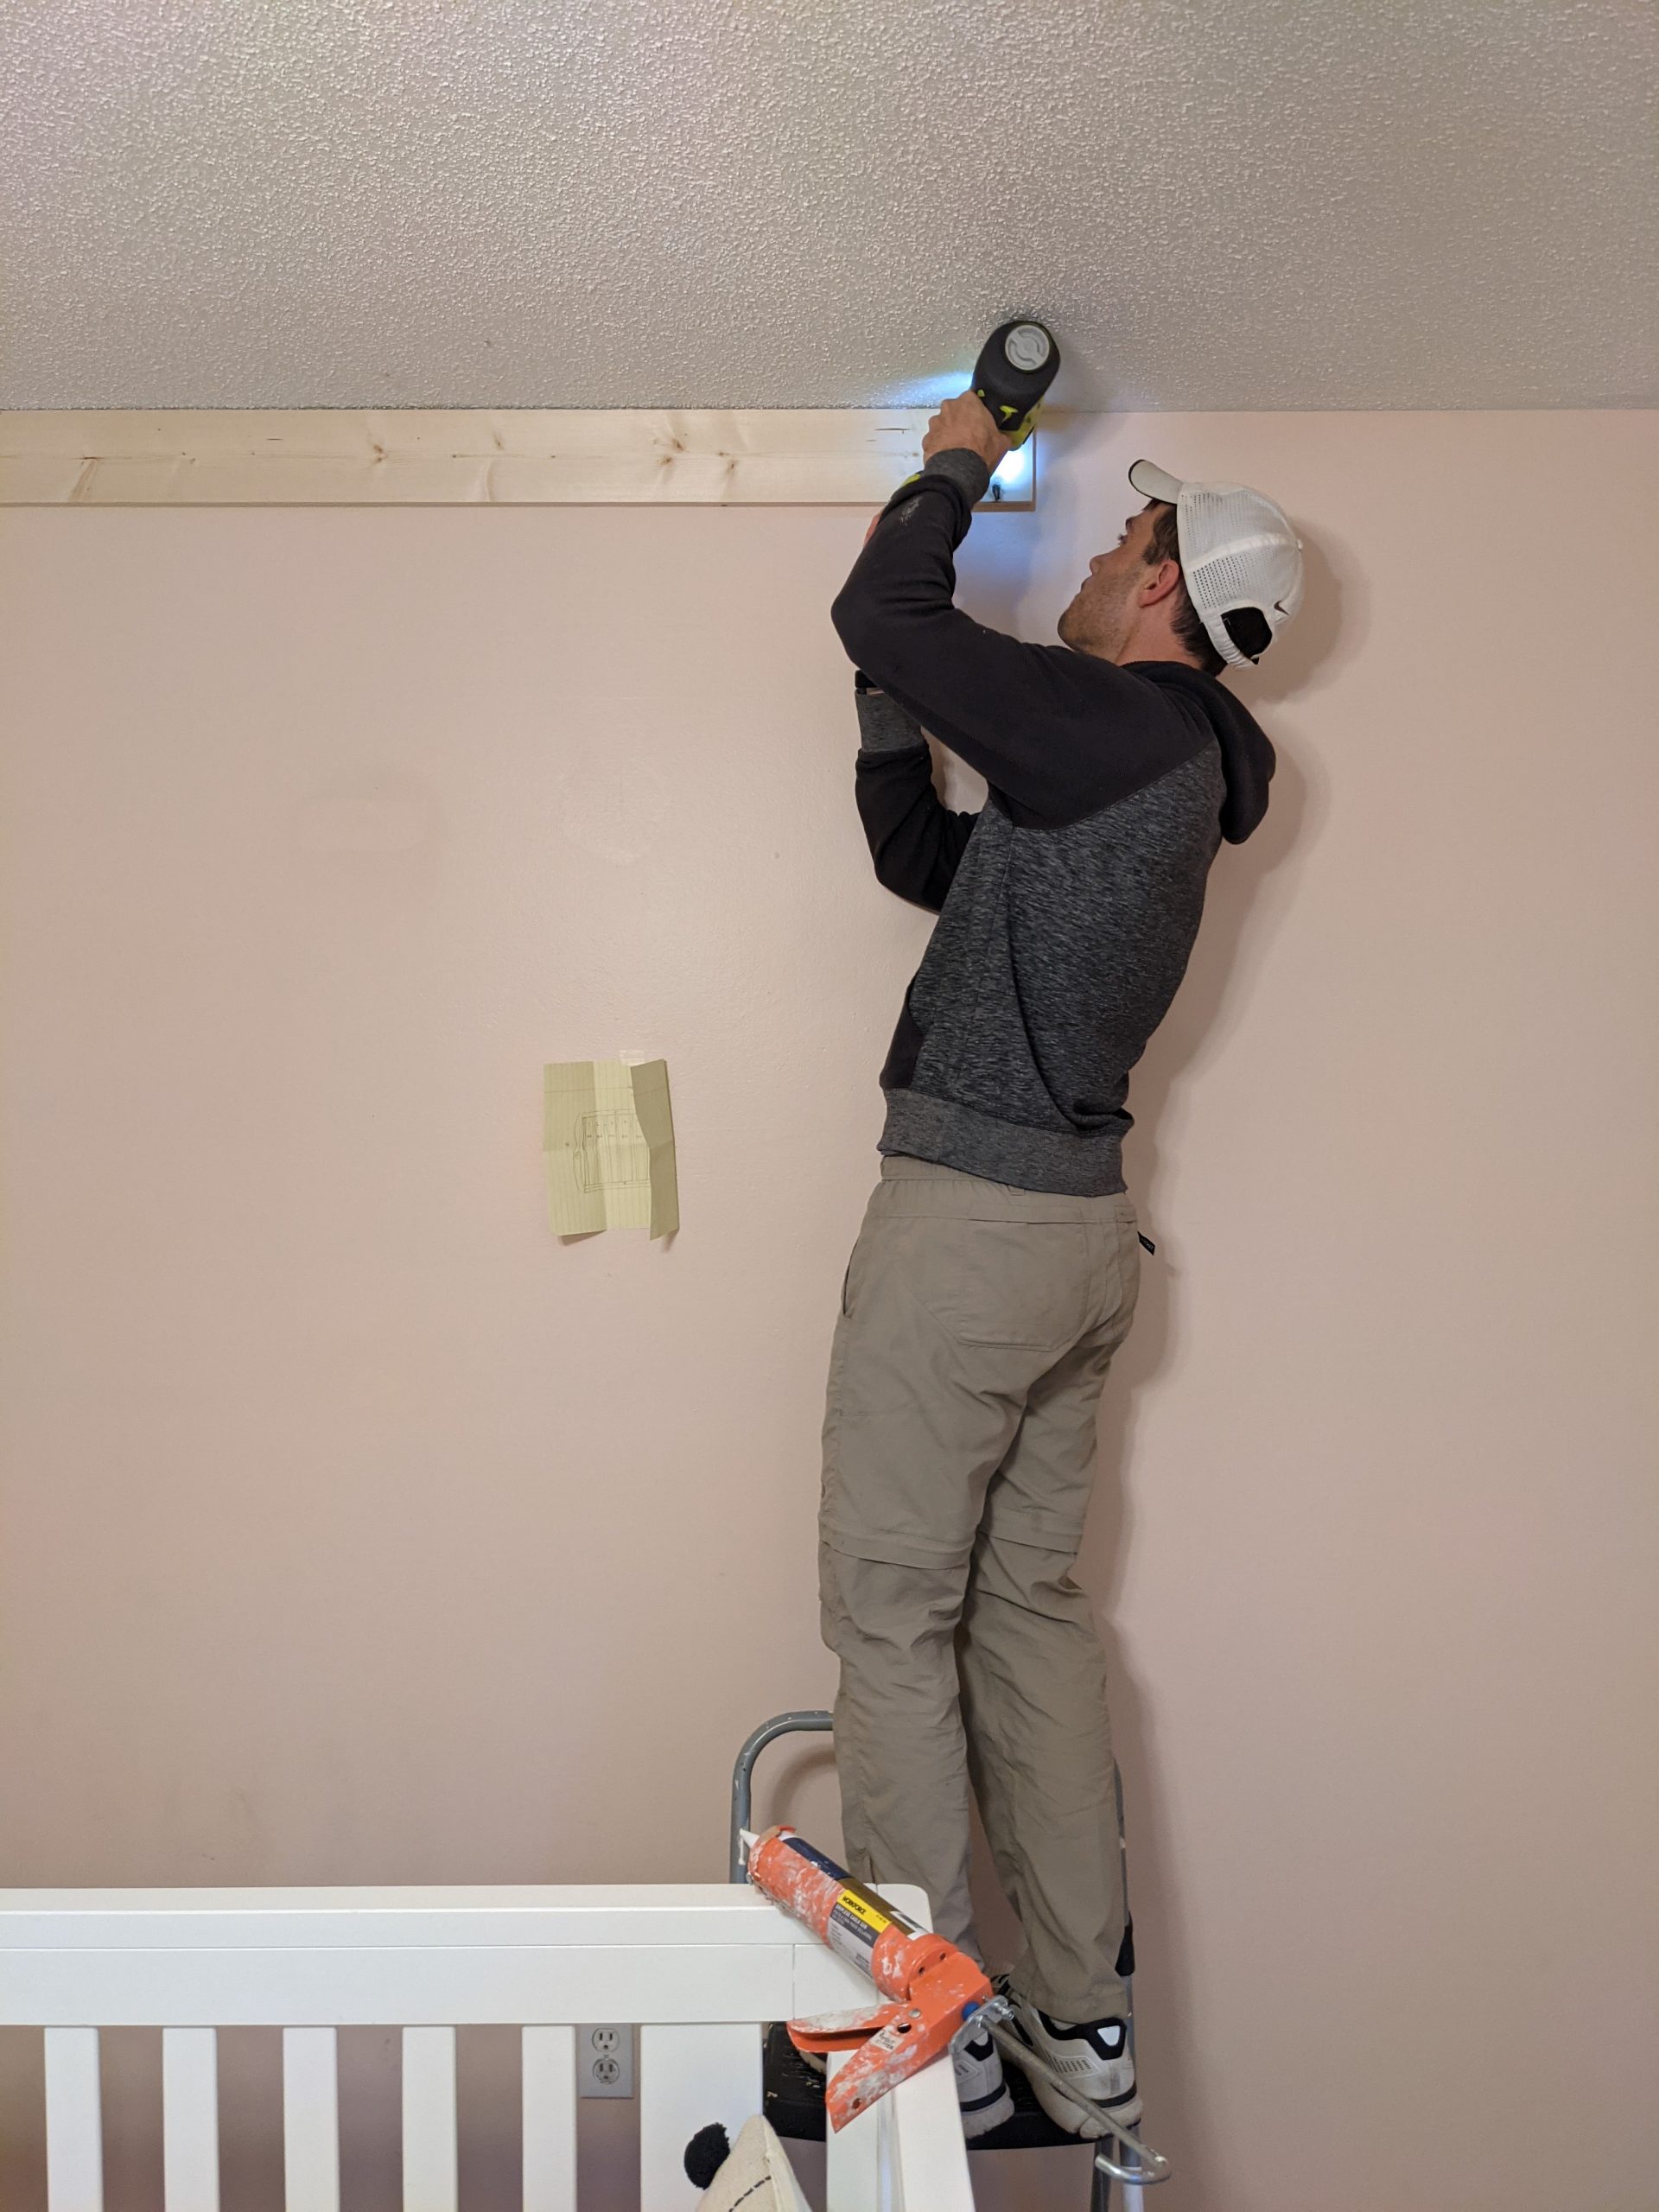
Simple cut to size, apply a thin strip of liquid nails, and attach in place using your nail gun (preferred) or hammer and nails.
You will simply just lay your 1×2 boards directly on top of your baseboards and attach. It will make a good stopping point for you vertical battens and look like a seamless, stately baseboard once it’s all painted.
Step Two | Install Your Vertical Battens
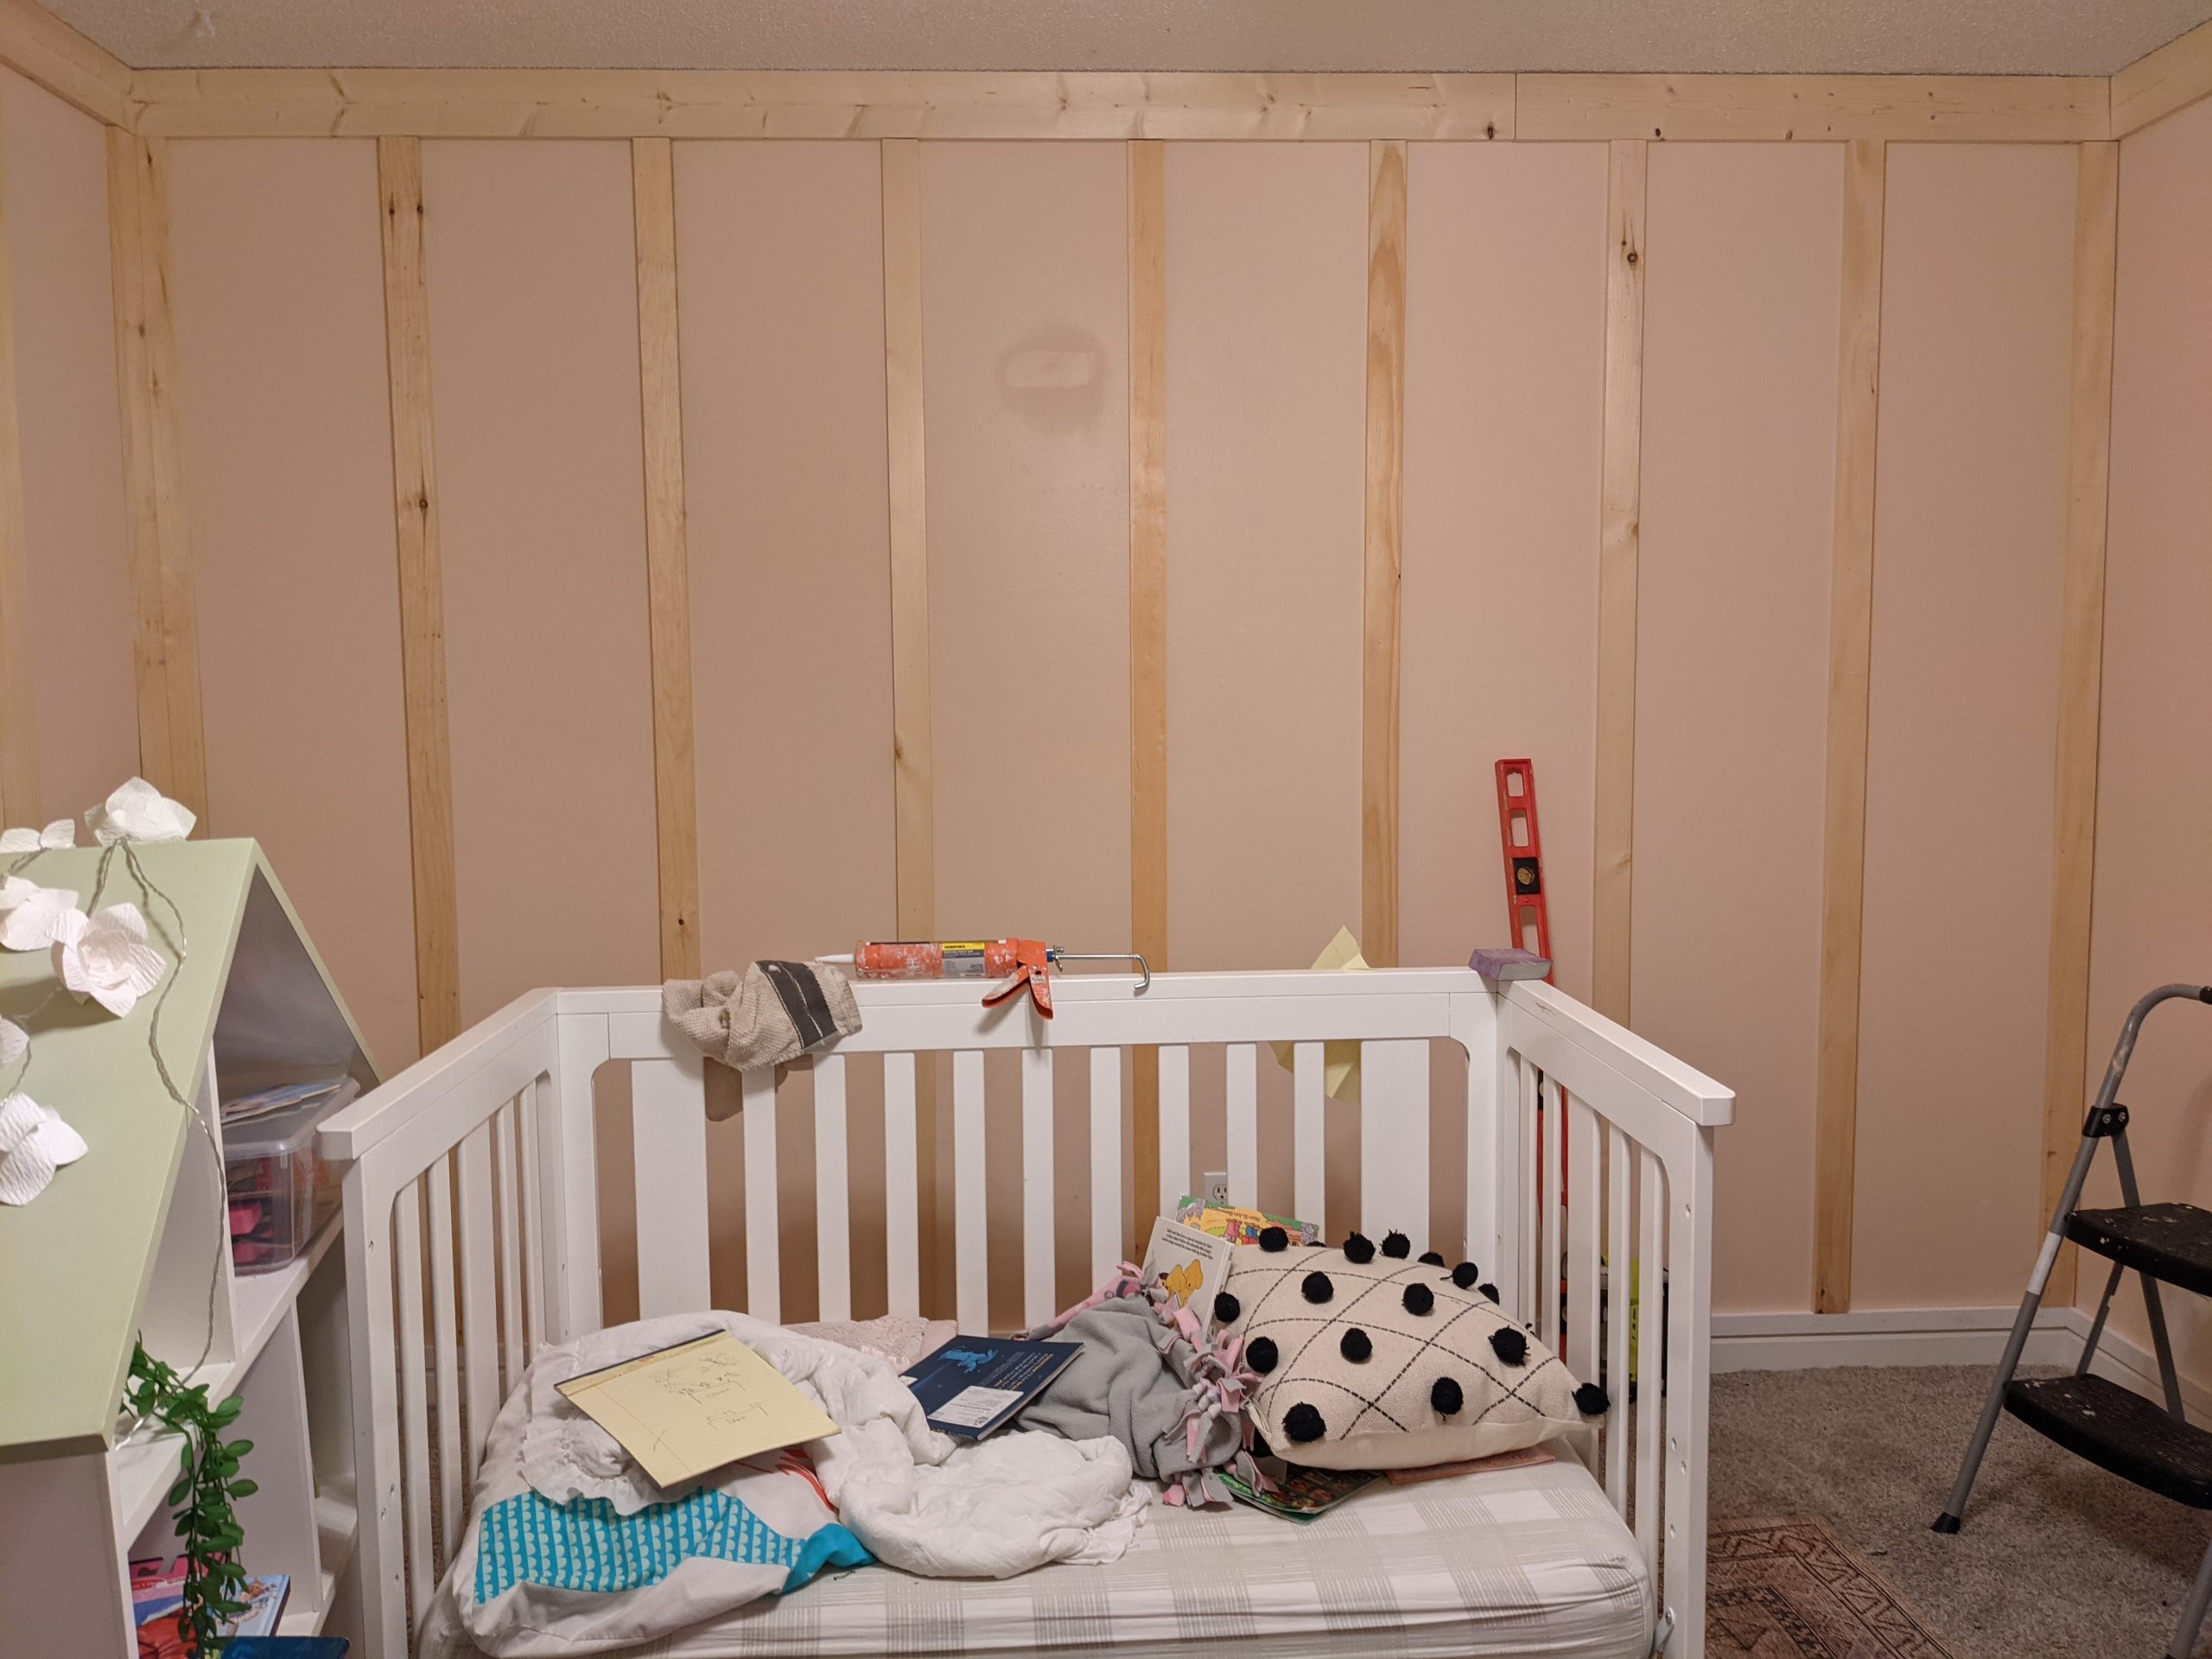
Assuming you did your homework above and have a good plan in place, this step should go fairly quickly.
A little note: we numbered each wall 1-4. We worked on the odd walls first and attached a board on each end. On the even walls, you will need to recalculate and subtract about an inch (measure the width of your boards) since they will be sitting on top of the corner boards on the odd walls.
Cut a piece of scrap wood to the width needed between each board. This will act as a spacer. Using a level along the way, attached each board with a thin layer of liquid nails and a few nails.
Another little note: if you need to cut around an outlet, move your board to one side of the other. It will look more professional in the end, and your eye will never notice the 1/2″ difference.
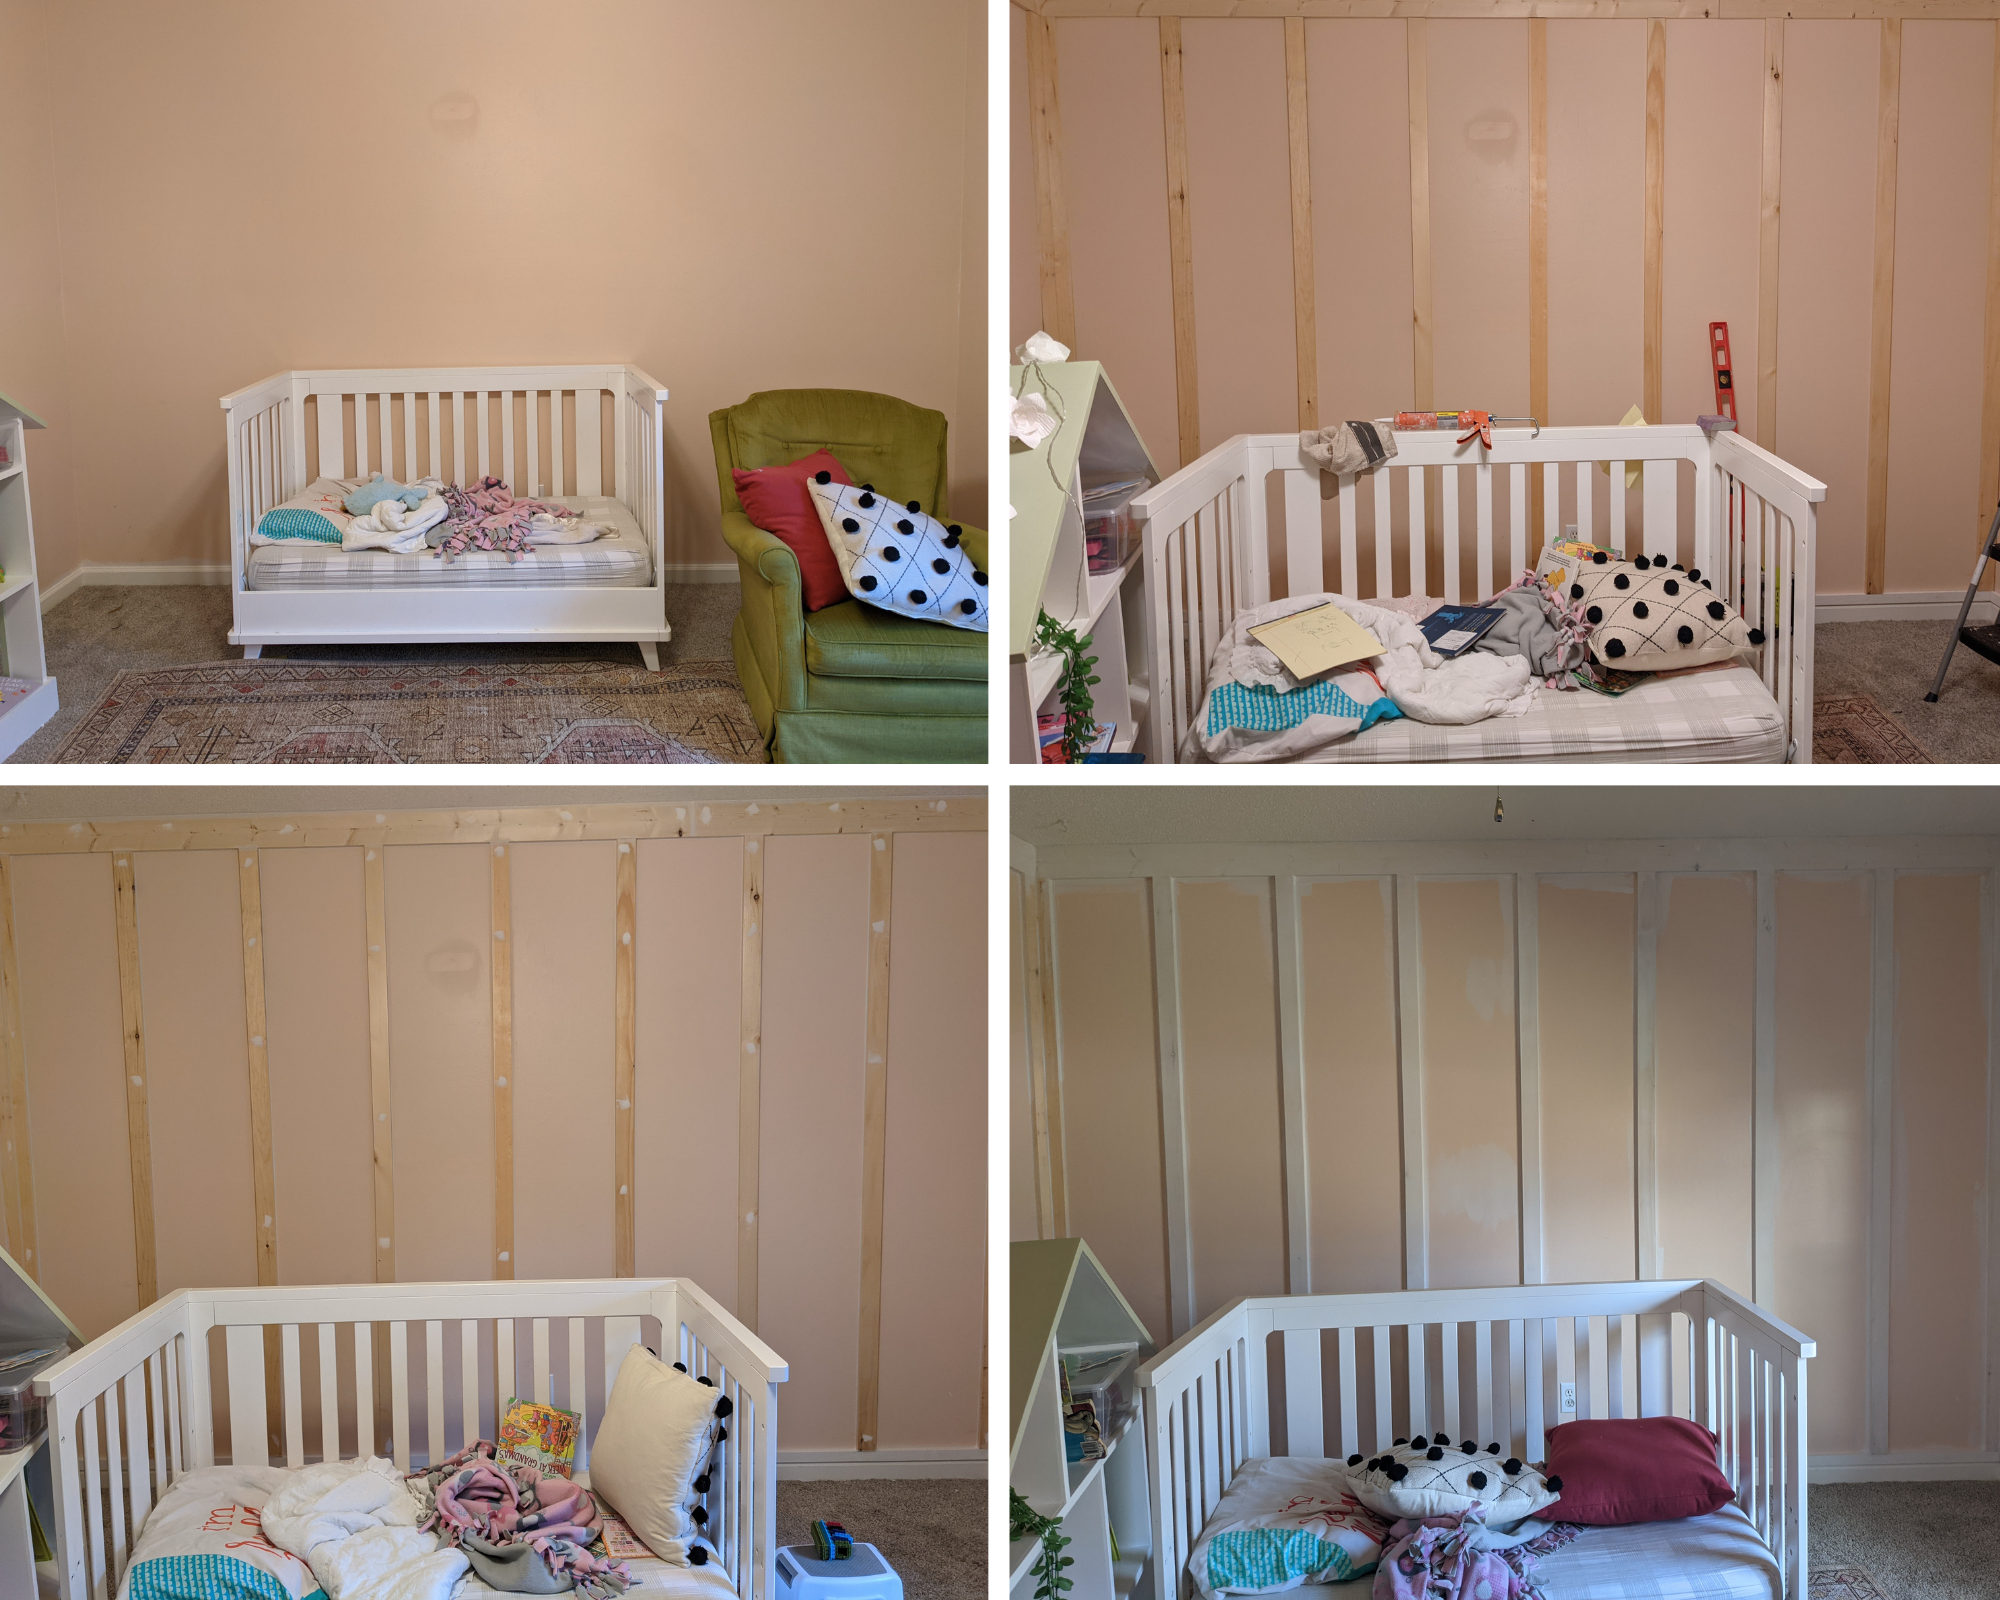
Step Three | Caulk and Spackle
I’ll just go ahead and say it. This is the worst part of the entire project. Want to make it easier? Find a friend to help! It will go twice as fast. ;)
Though this step can be tedious, it’s the part that makes it look like a million bucks in the end.
You will need to caulk every vertical and horizontal line between the wood and wall and between each boards. The old saying goes, “Do you best and caulk the rest!” It seriously hides a multitude of mistakes. It’s your best friend and worst enemy to say the least.
Once that is complete, go in with you wall spackle and fill in all the nail holes. When it’s dry, lightly sand.
Step Four | Prep for Paint

After sanding, take a vacuum attachment tool and vacuum the dust from the walls as best of you can. Then go in with a damp microfiber towel and wipe down all the wood.
I painted all the unfinished wood with Kiltz Primer before painting.
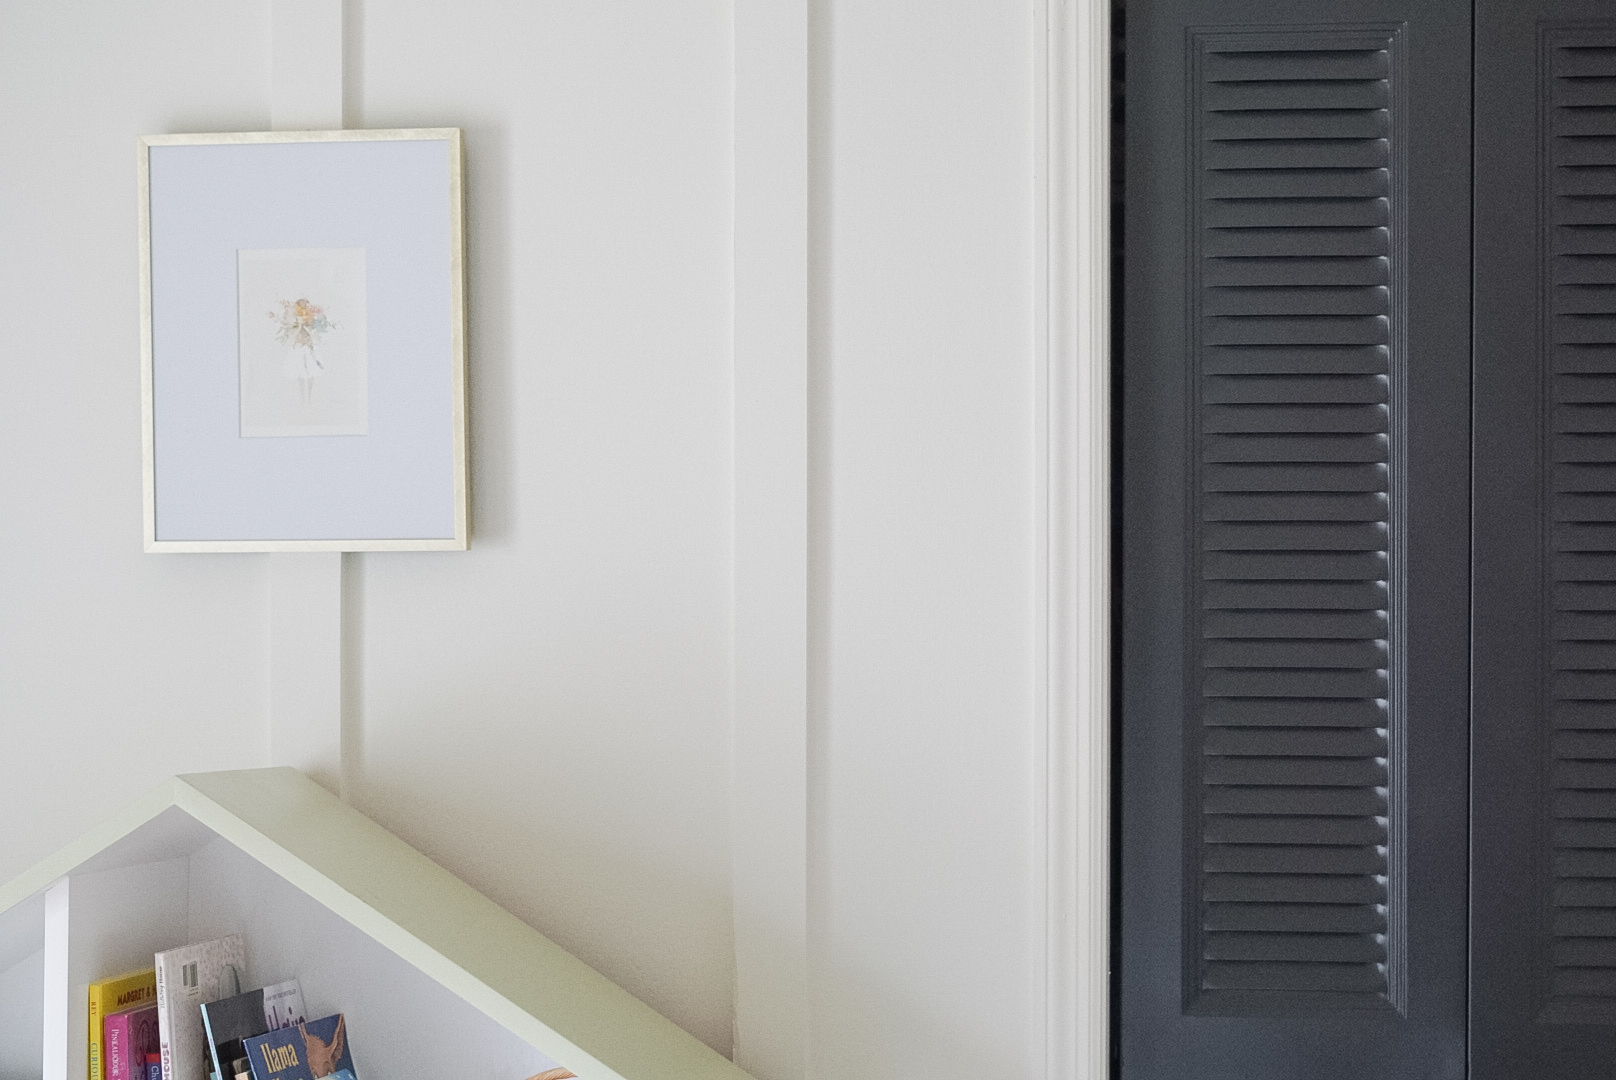
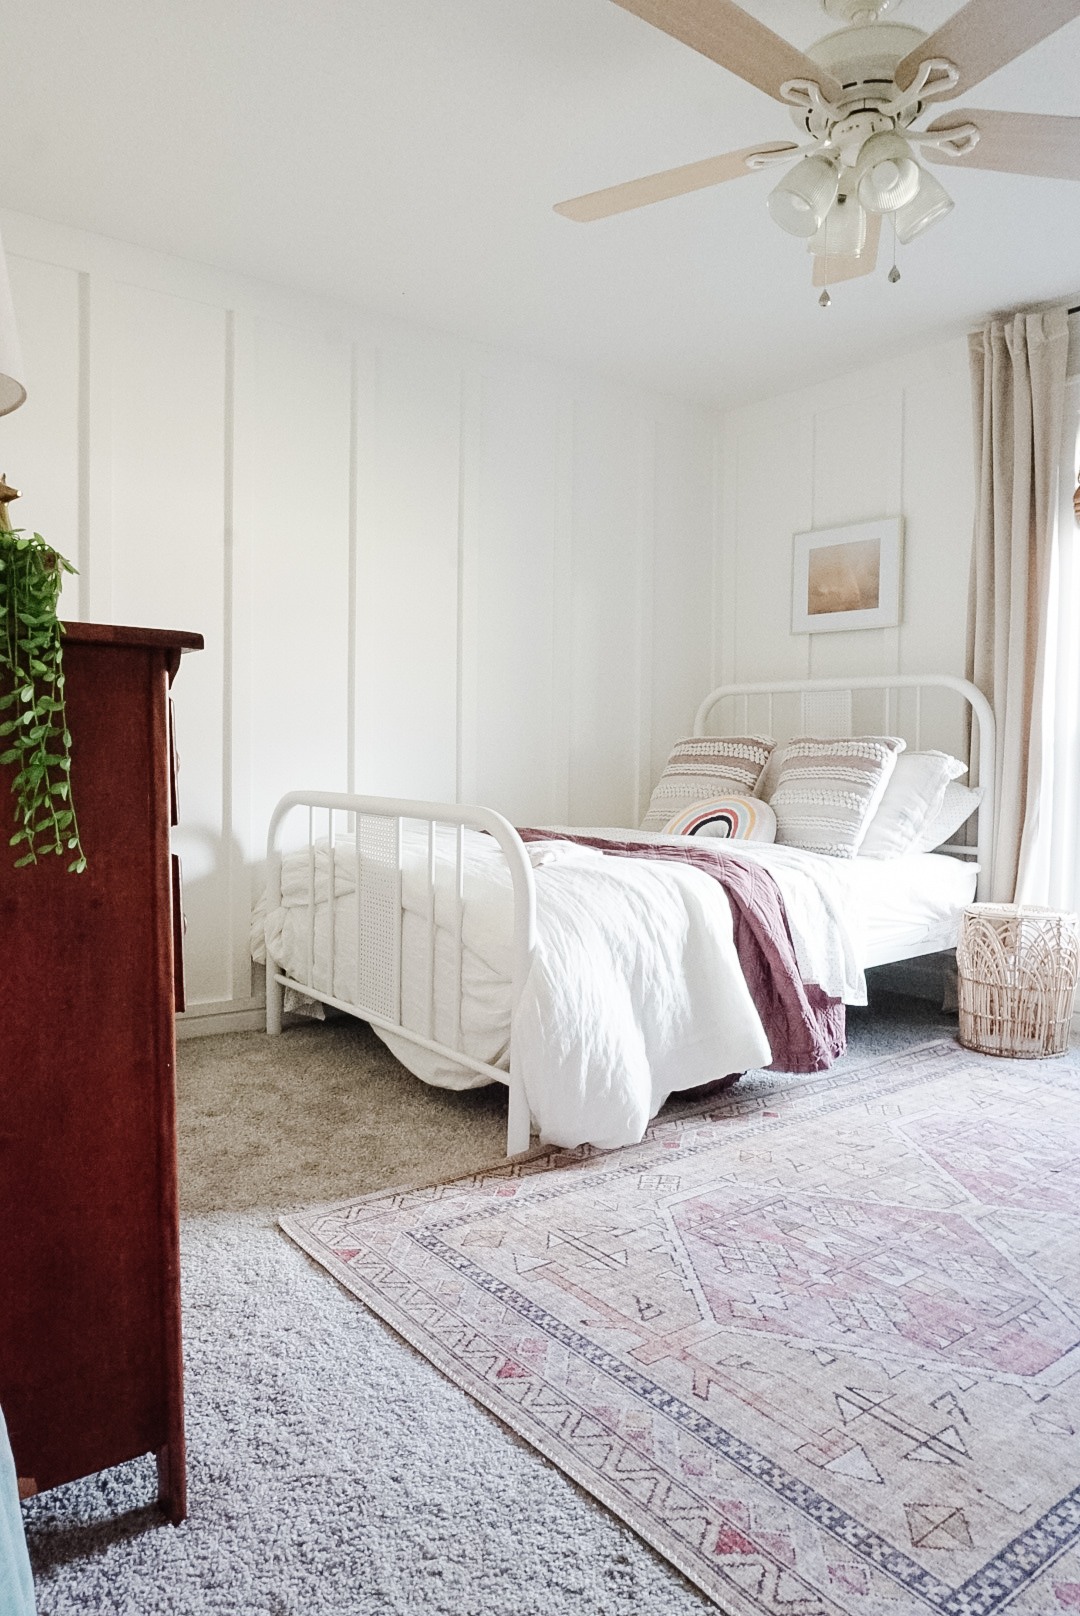
The Finished Product
There you have it. Four simple steps to creating a board and batten wall/room of your dreams. That wasn’t so bad, right?
Save for later!
